How to set up Git and GitHub from Zero
New Course Coming Soon:
Get Really Good at Git
A tutorial on how to set up Git and GitHub from scratch
Git is an invaluable tool.
It allows us to work for months and years on a project, and yet get back to each individual change we made on the codebase. And in a team, you can find out who made a change.
Each time we make a change or add a new feature or fix a bug we add a little explanation, and we commit the changes.
It also allows us to work with a team, because each individual person can push commits to the codebase and Git takes care of making sure there are no conflicts with changes made by other people.
Before going on, you need to install Git on your computer.
The easiest way to do that is by installing the GitHub Desktop application.
Available for Windows and Mac, you can download it from here:
This installs a graphical user interface to use Git, and also Git itself.
And it’s tightly integrated with GitHub.
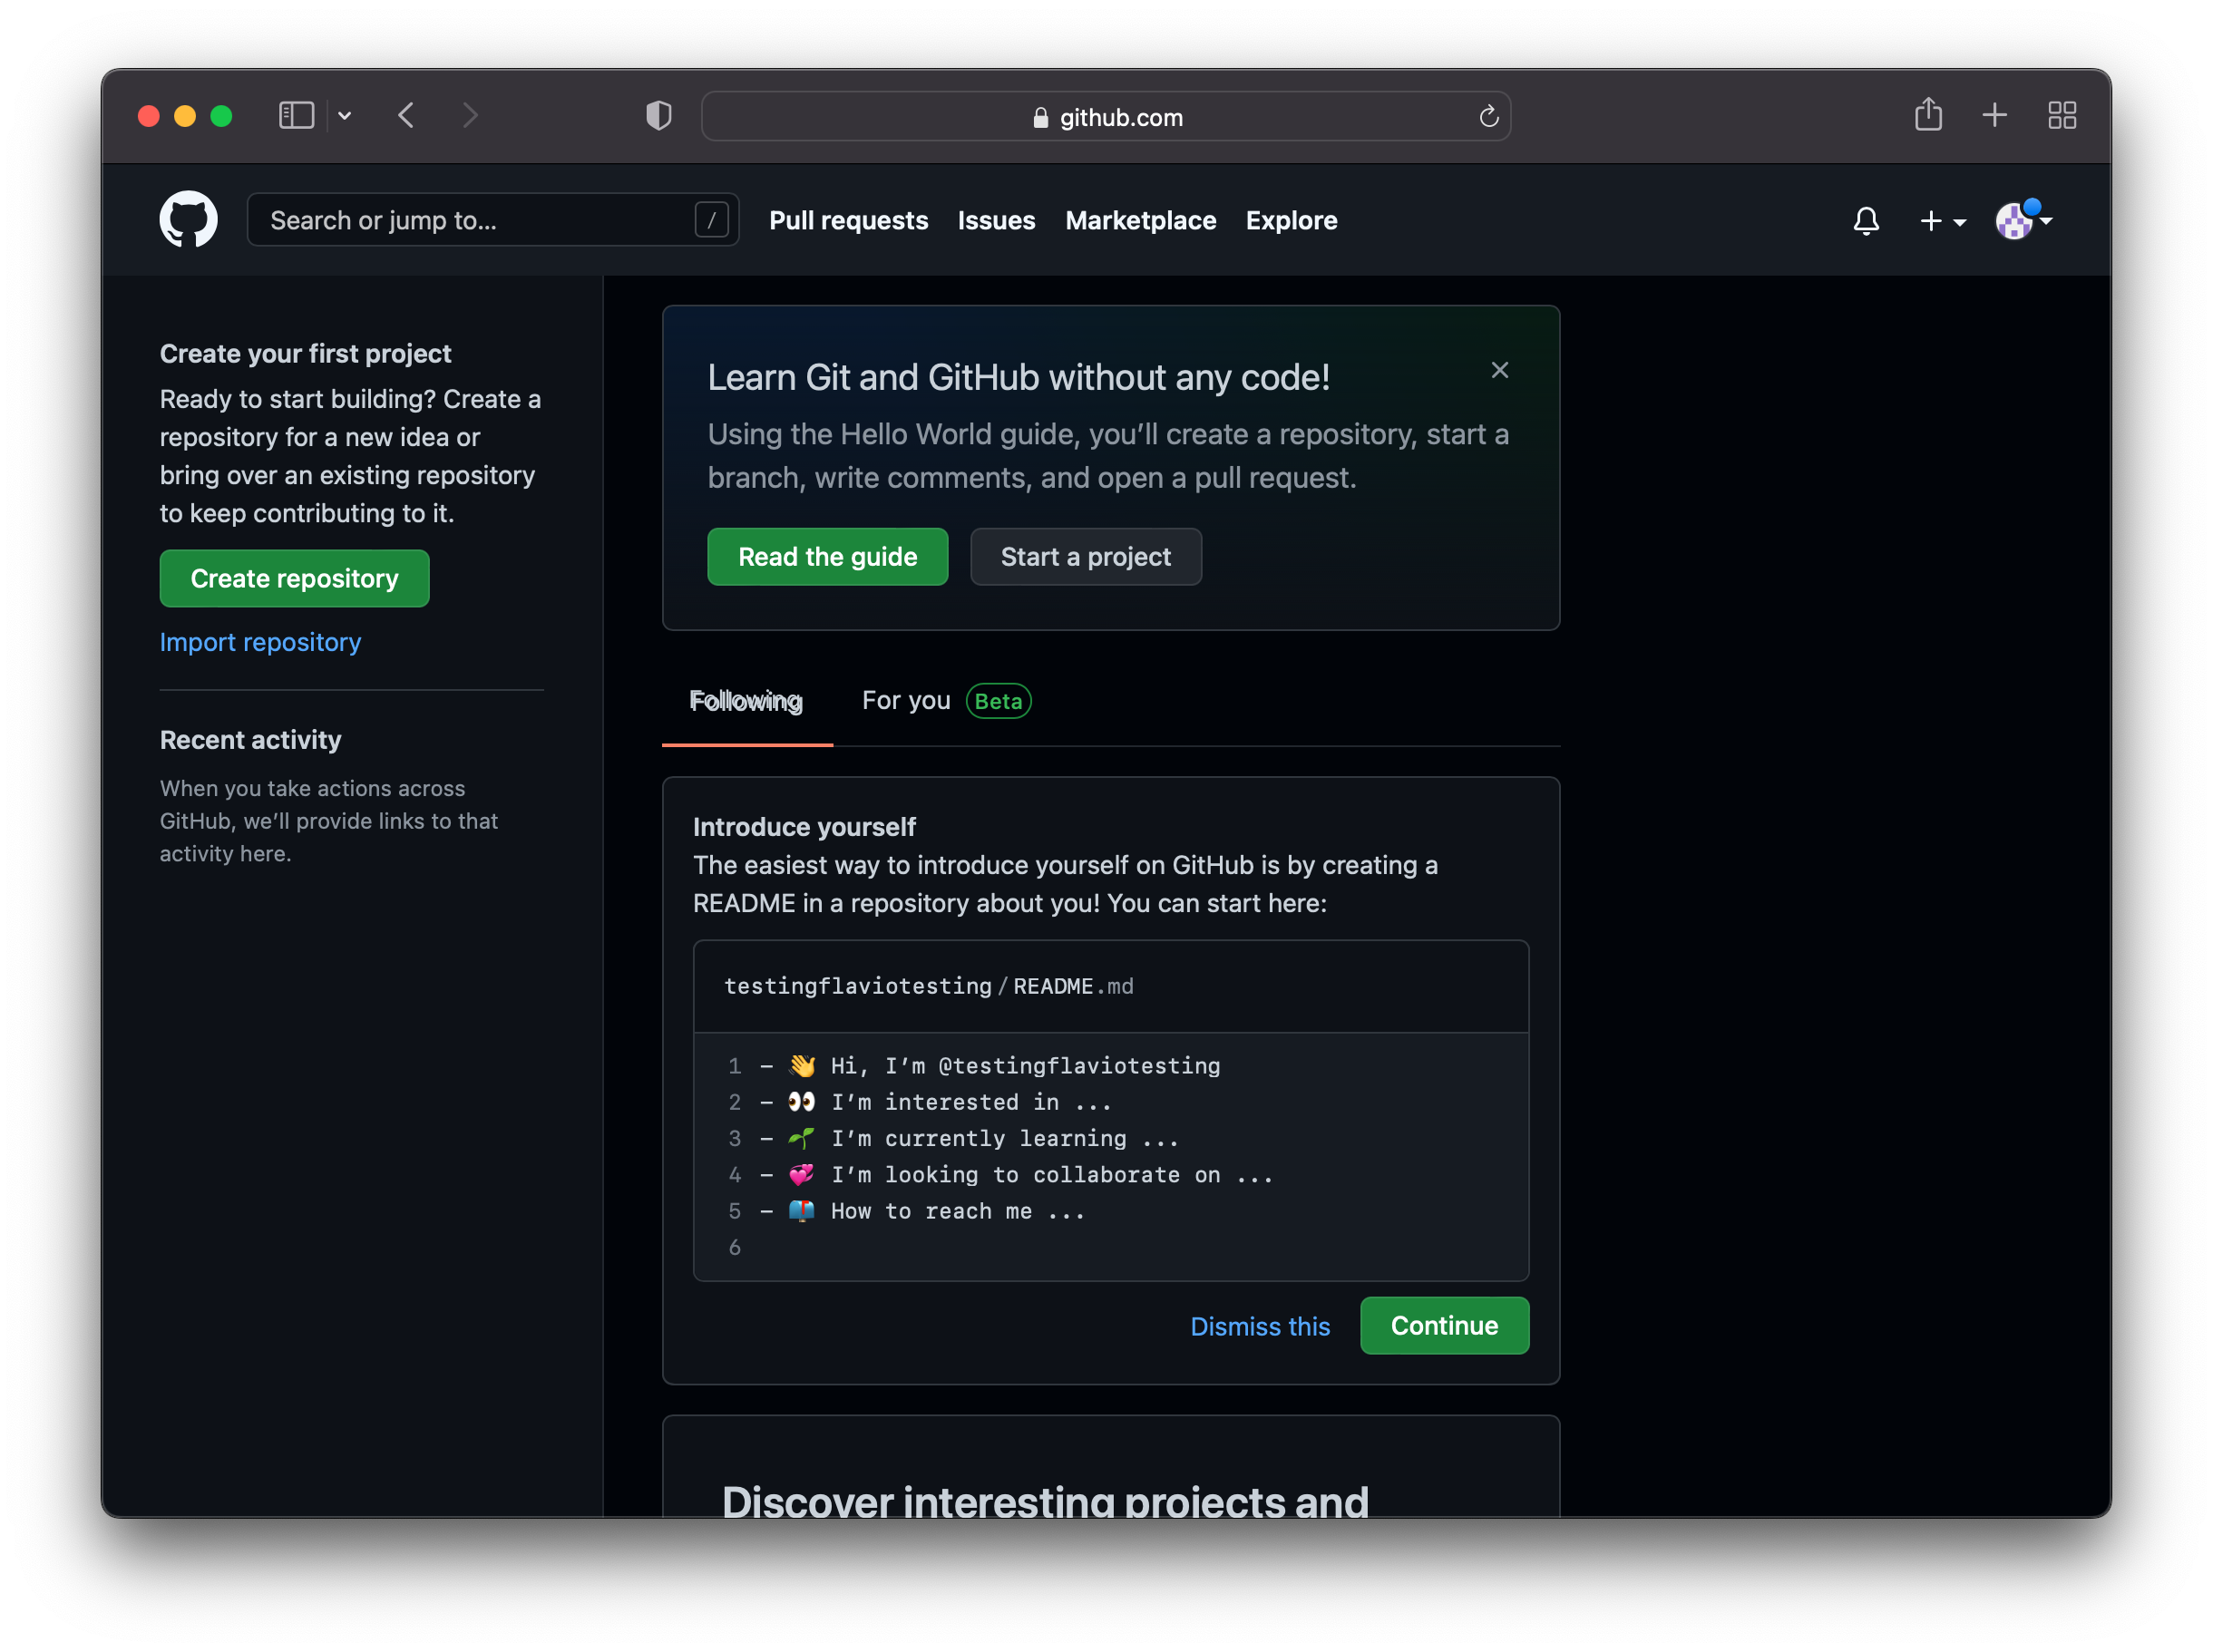
What is GitHub? 🤔 It’s a website that hosts code, and lets you collaborate on Open Source projects, host your own public and private repositories. We’re going to use this for all the projects in the bootcamp, and that’s where you’ll see the projects code I publish.
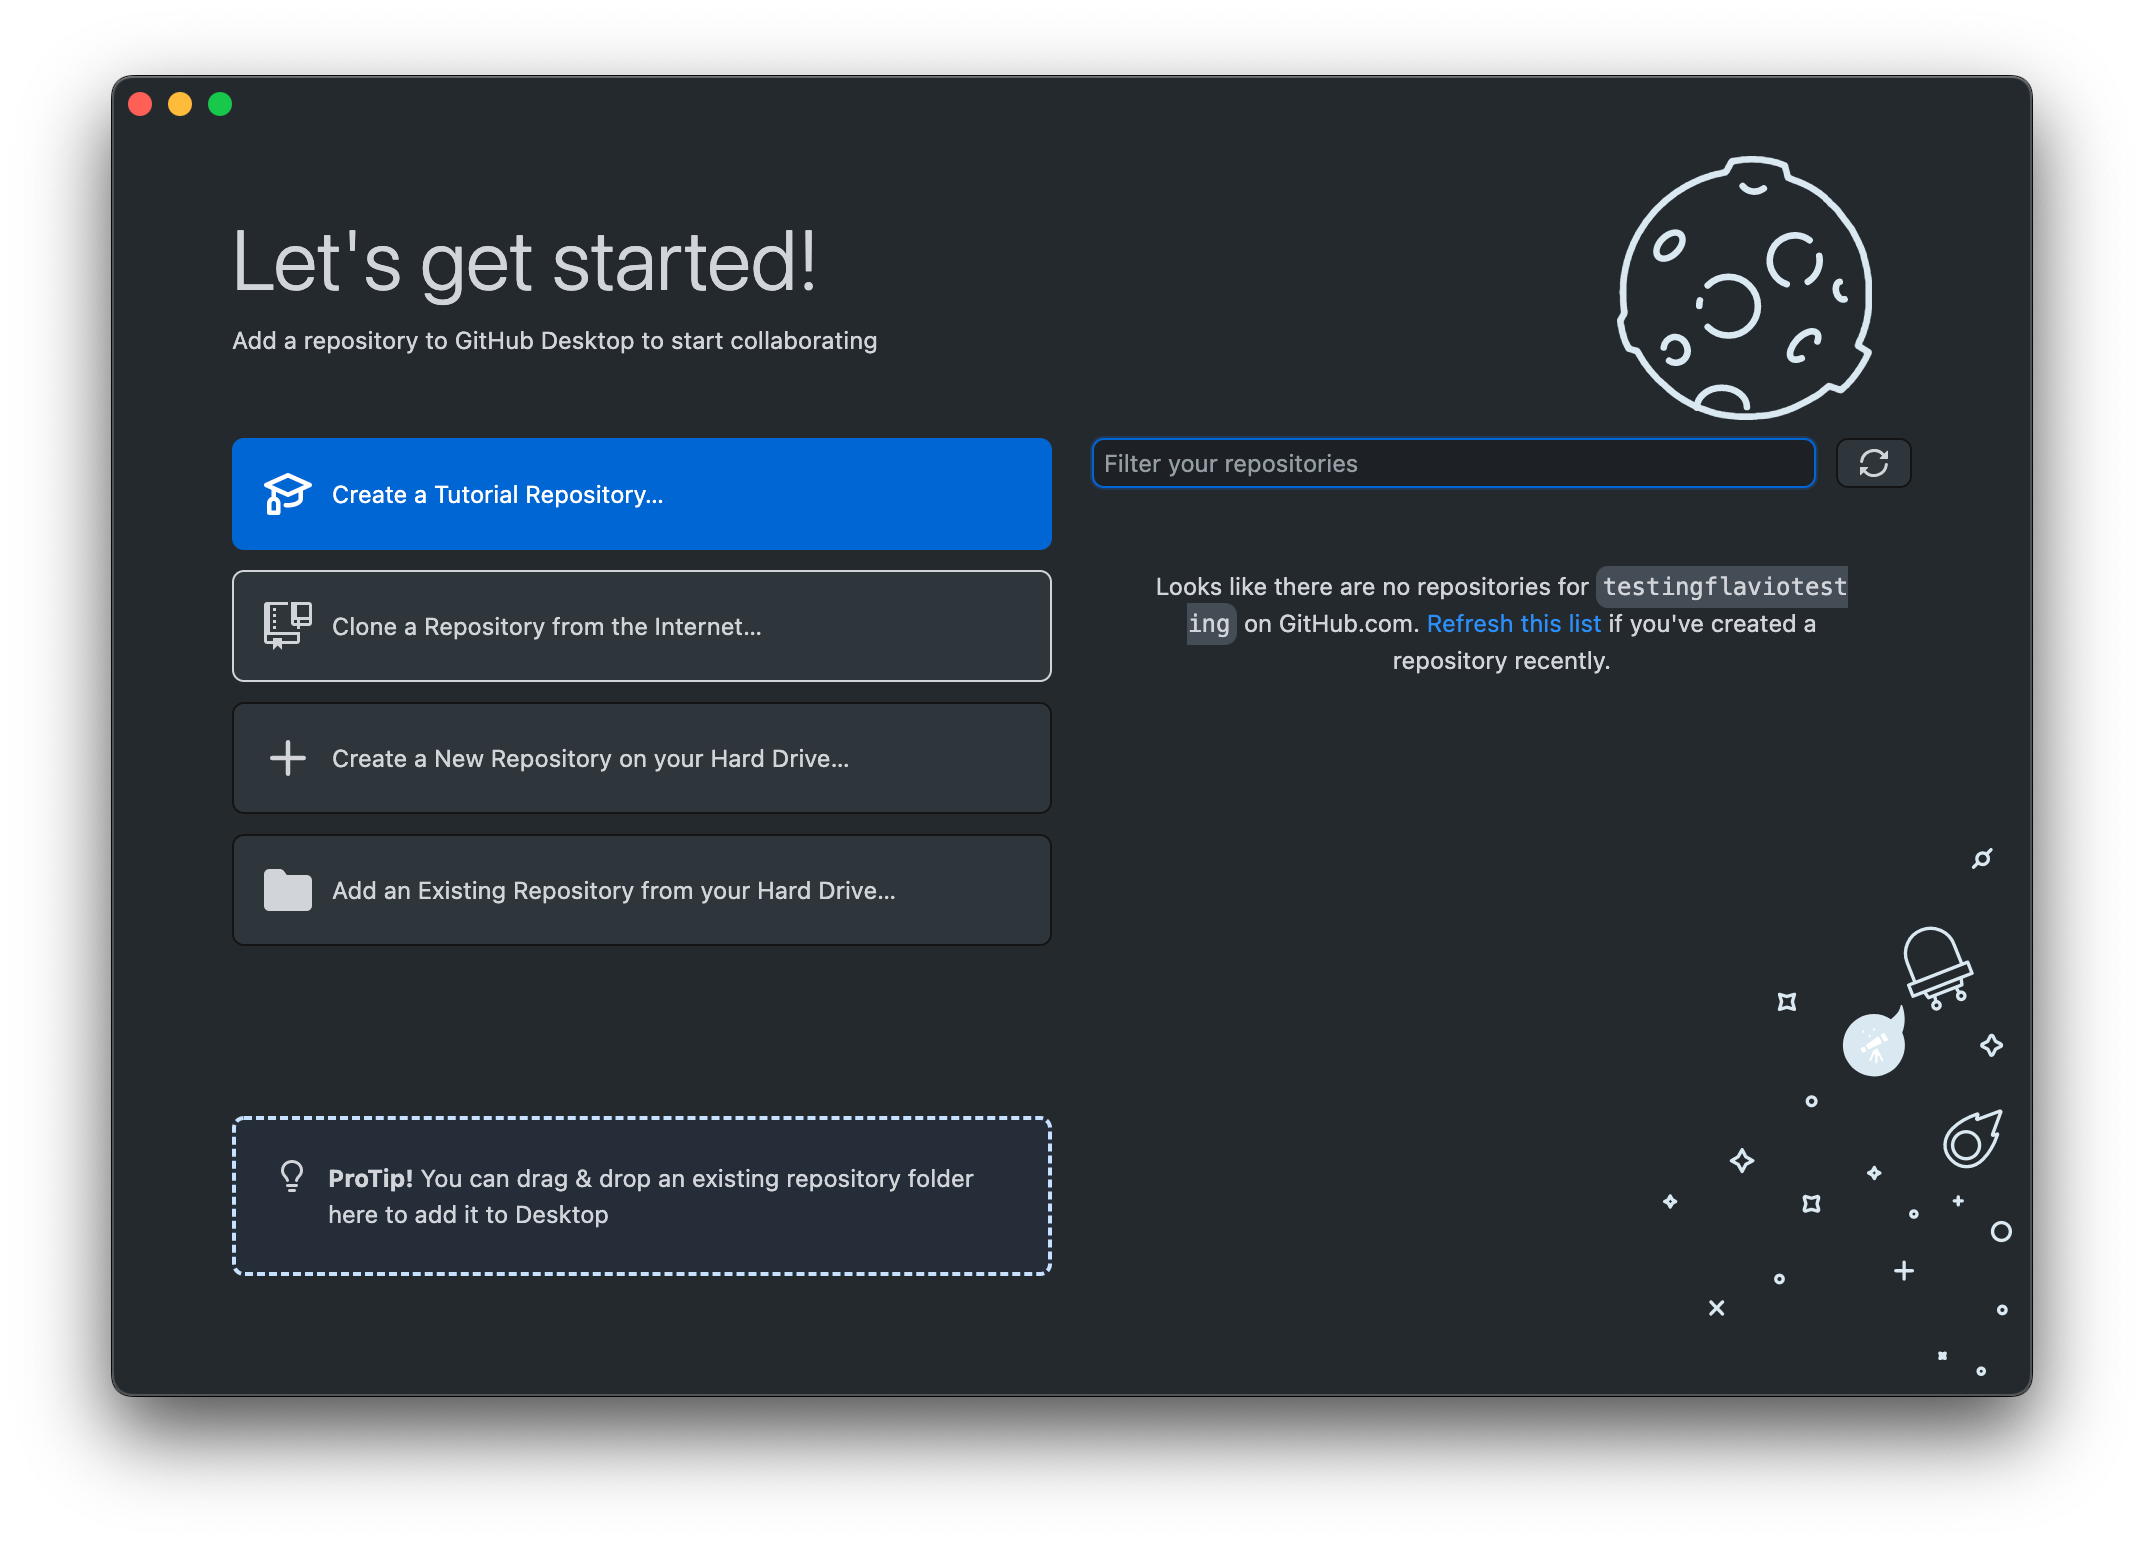
After installing it, open the application.
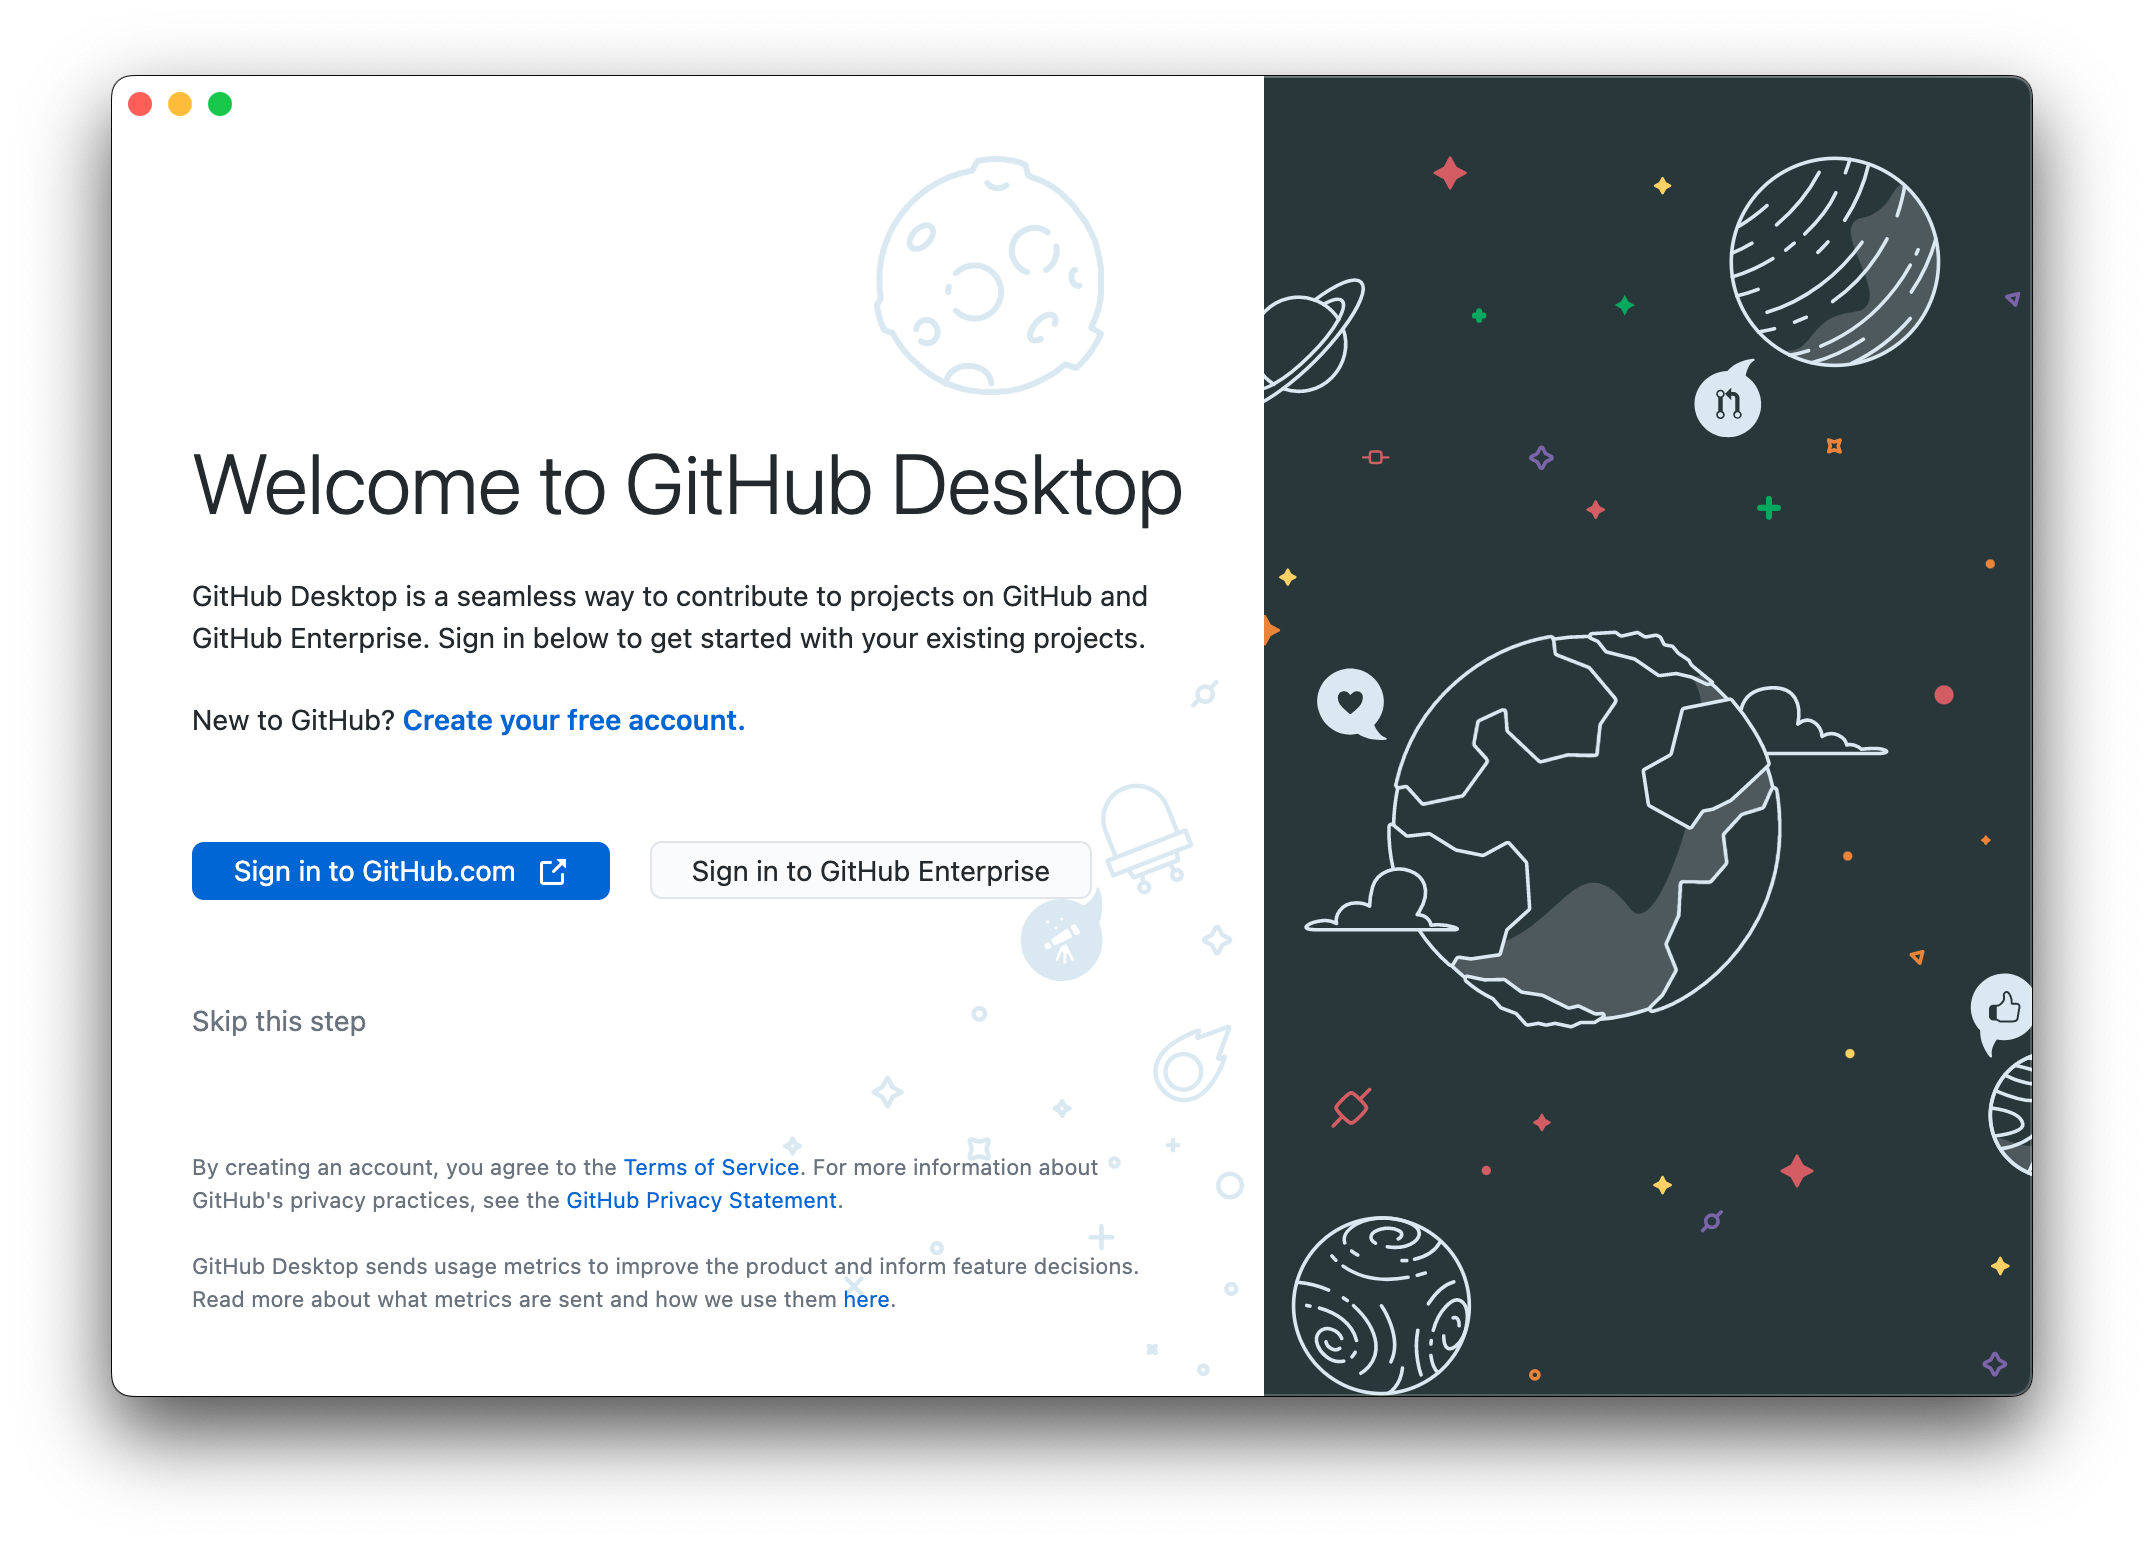
Click “Create your free account”. You’ll be sent to GitHub to create an account:
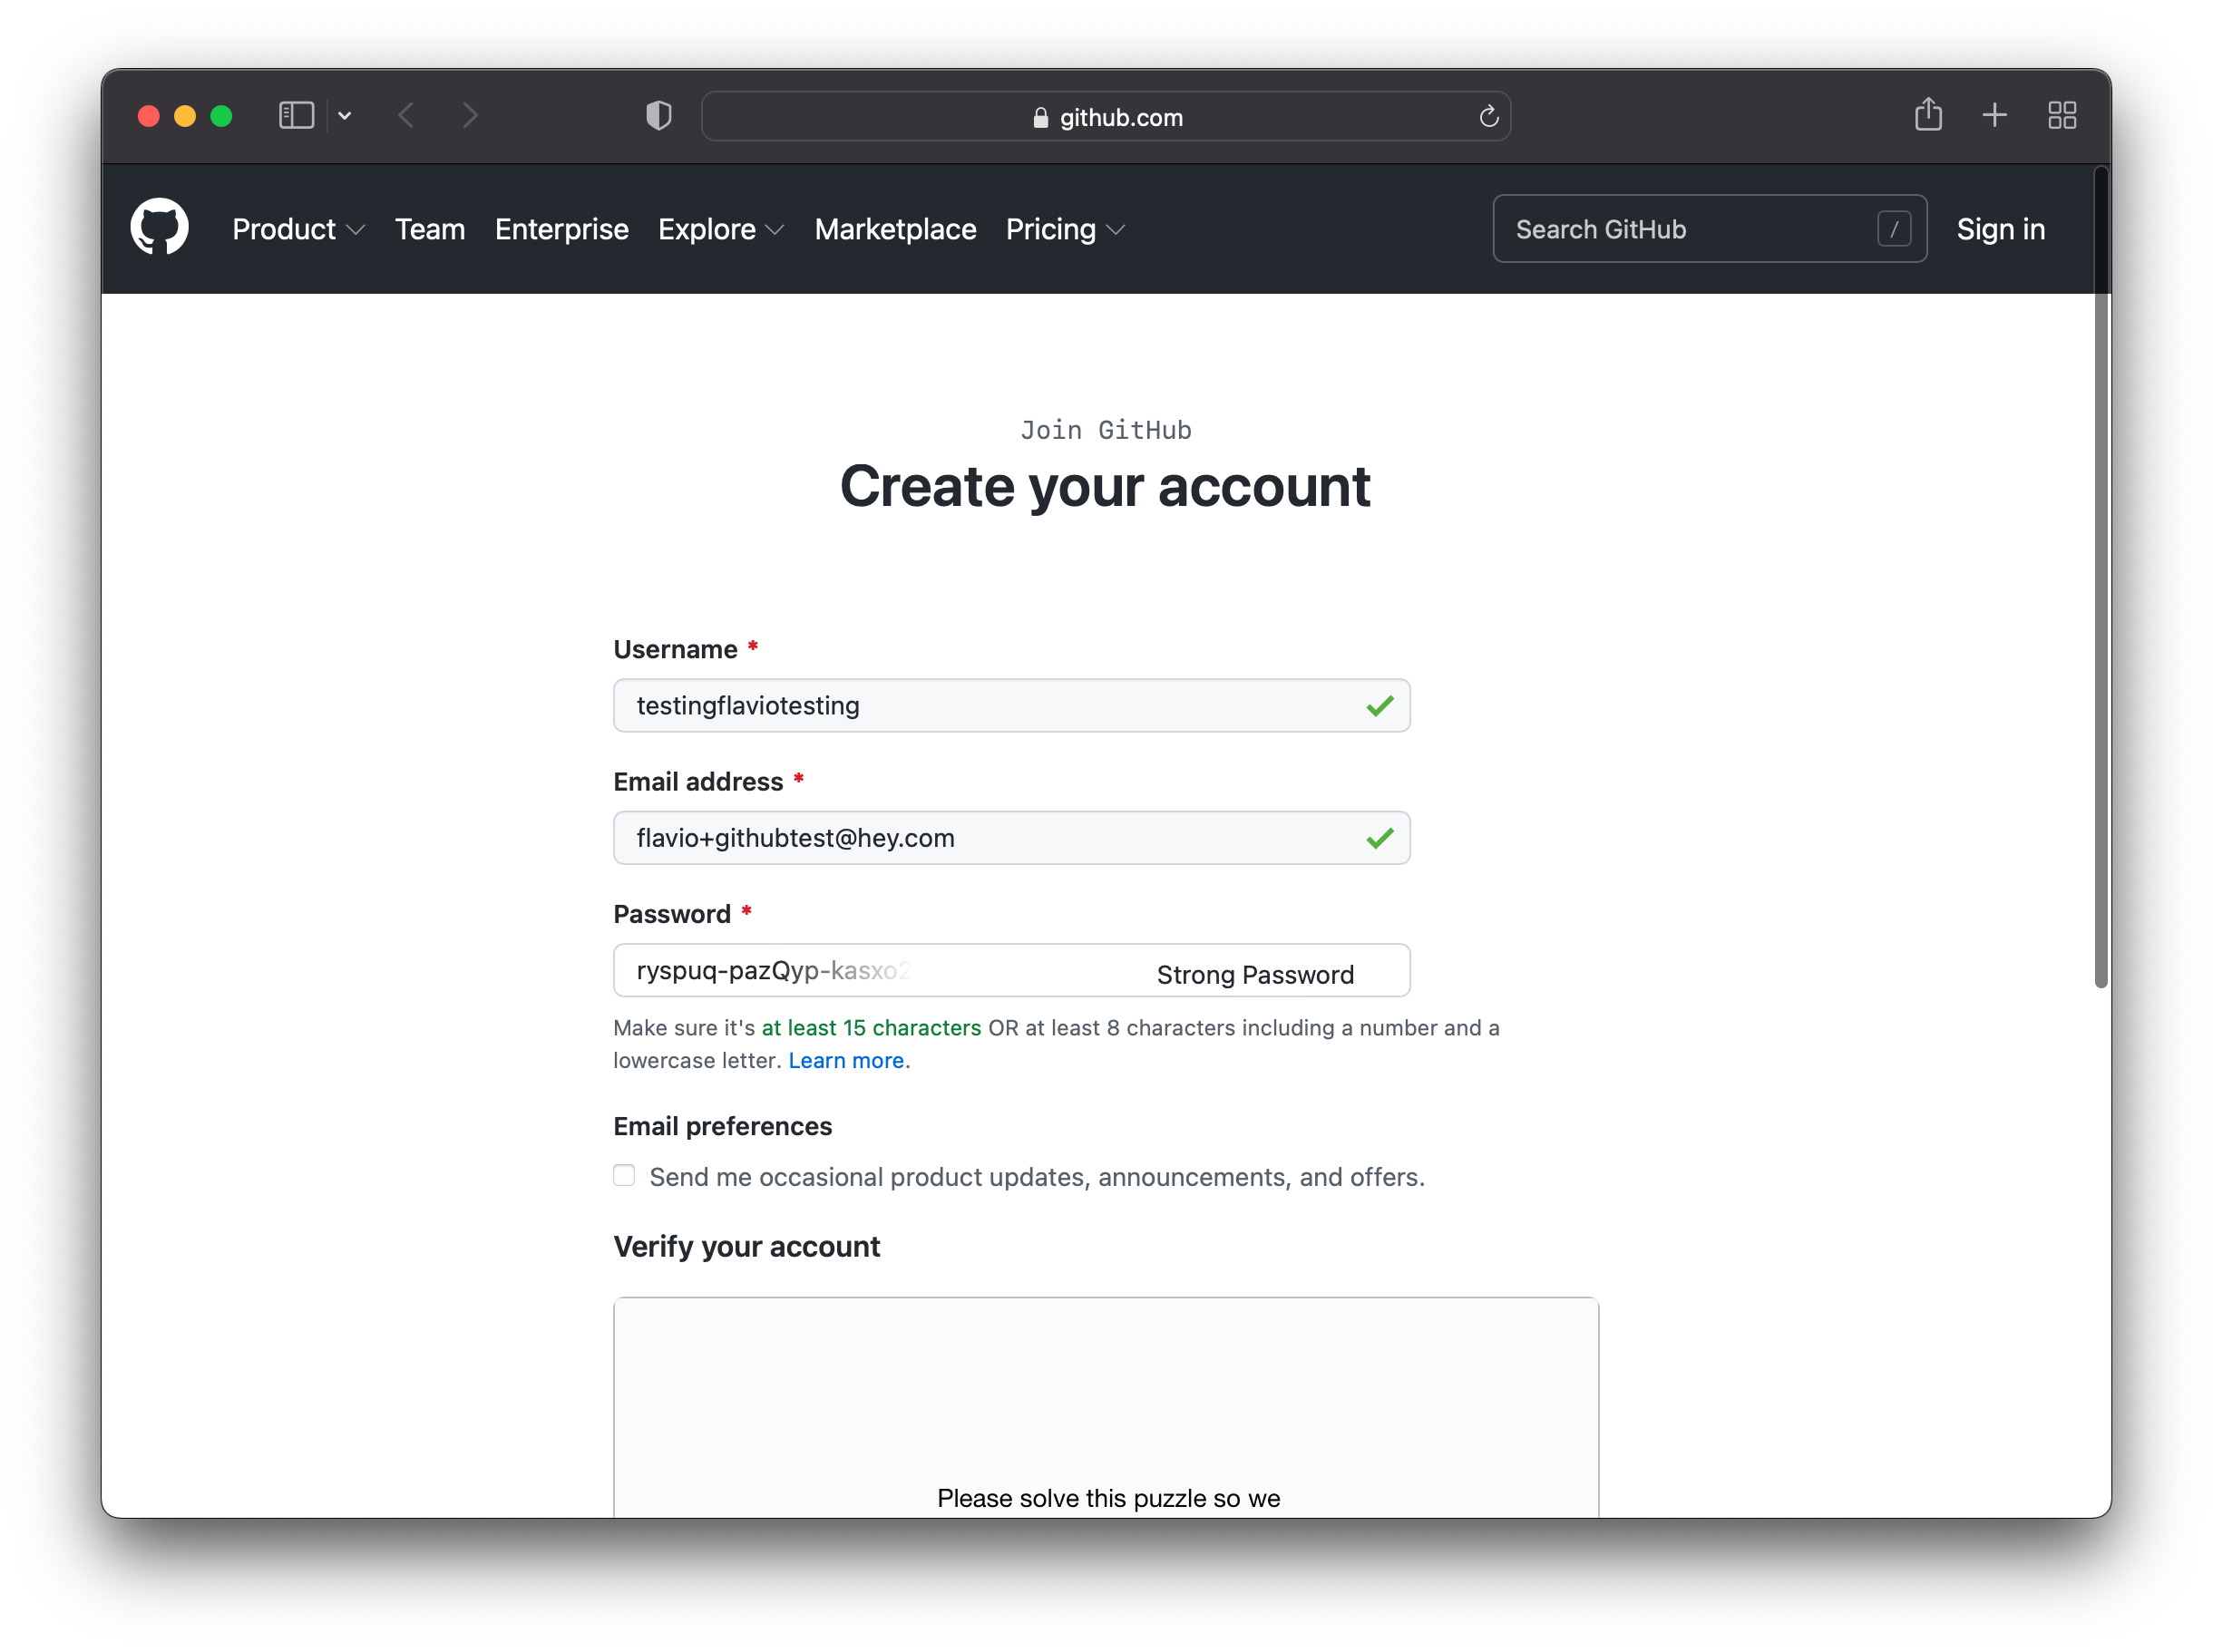
Pick the username wisely, you’ll have a public GitHub profile, like I do here: https://github.com/flaviocopes
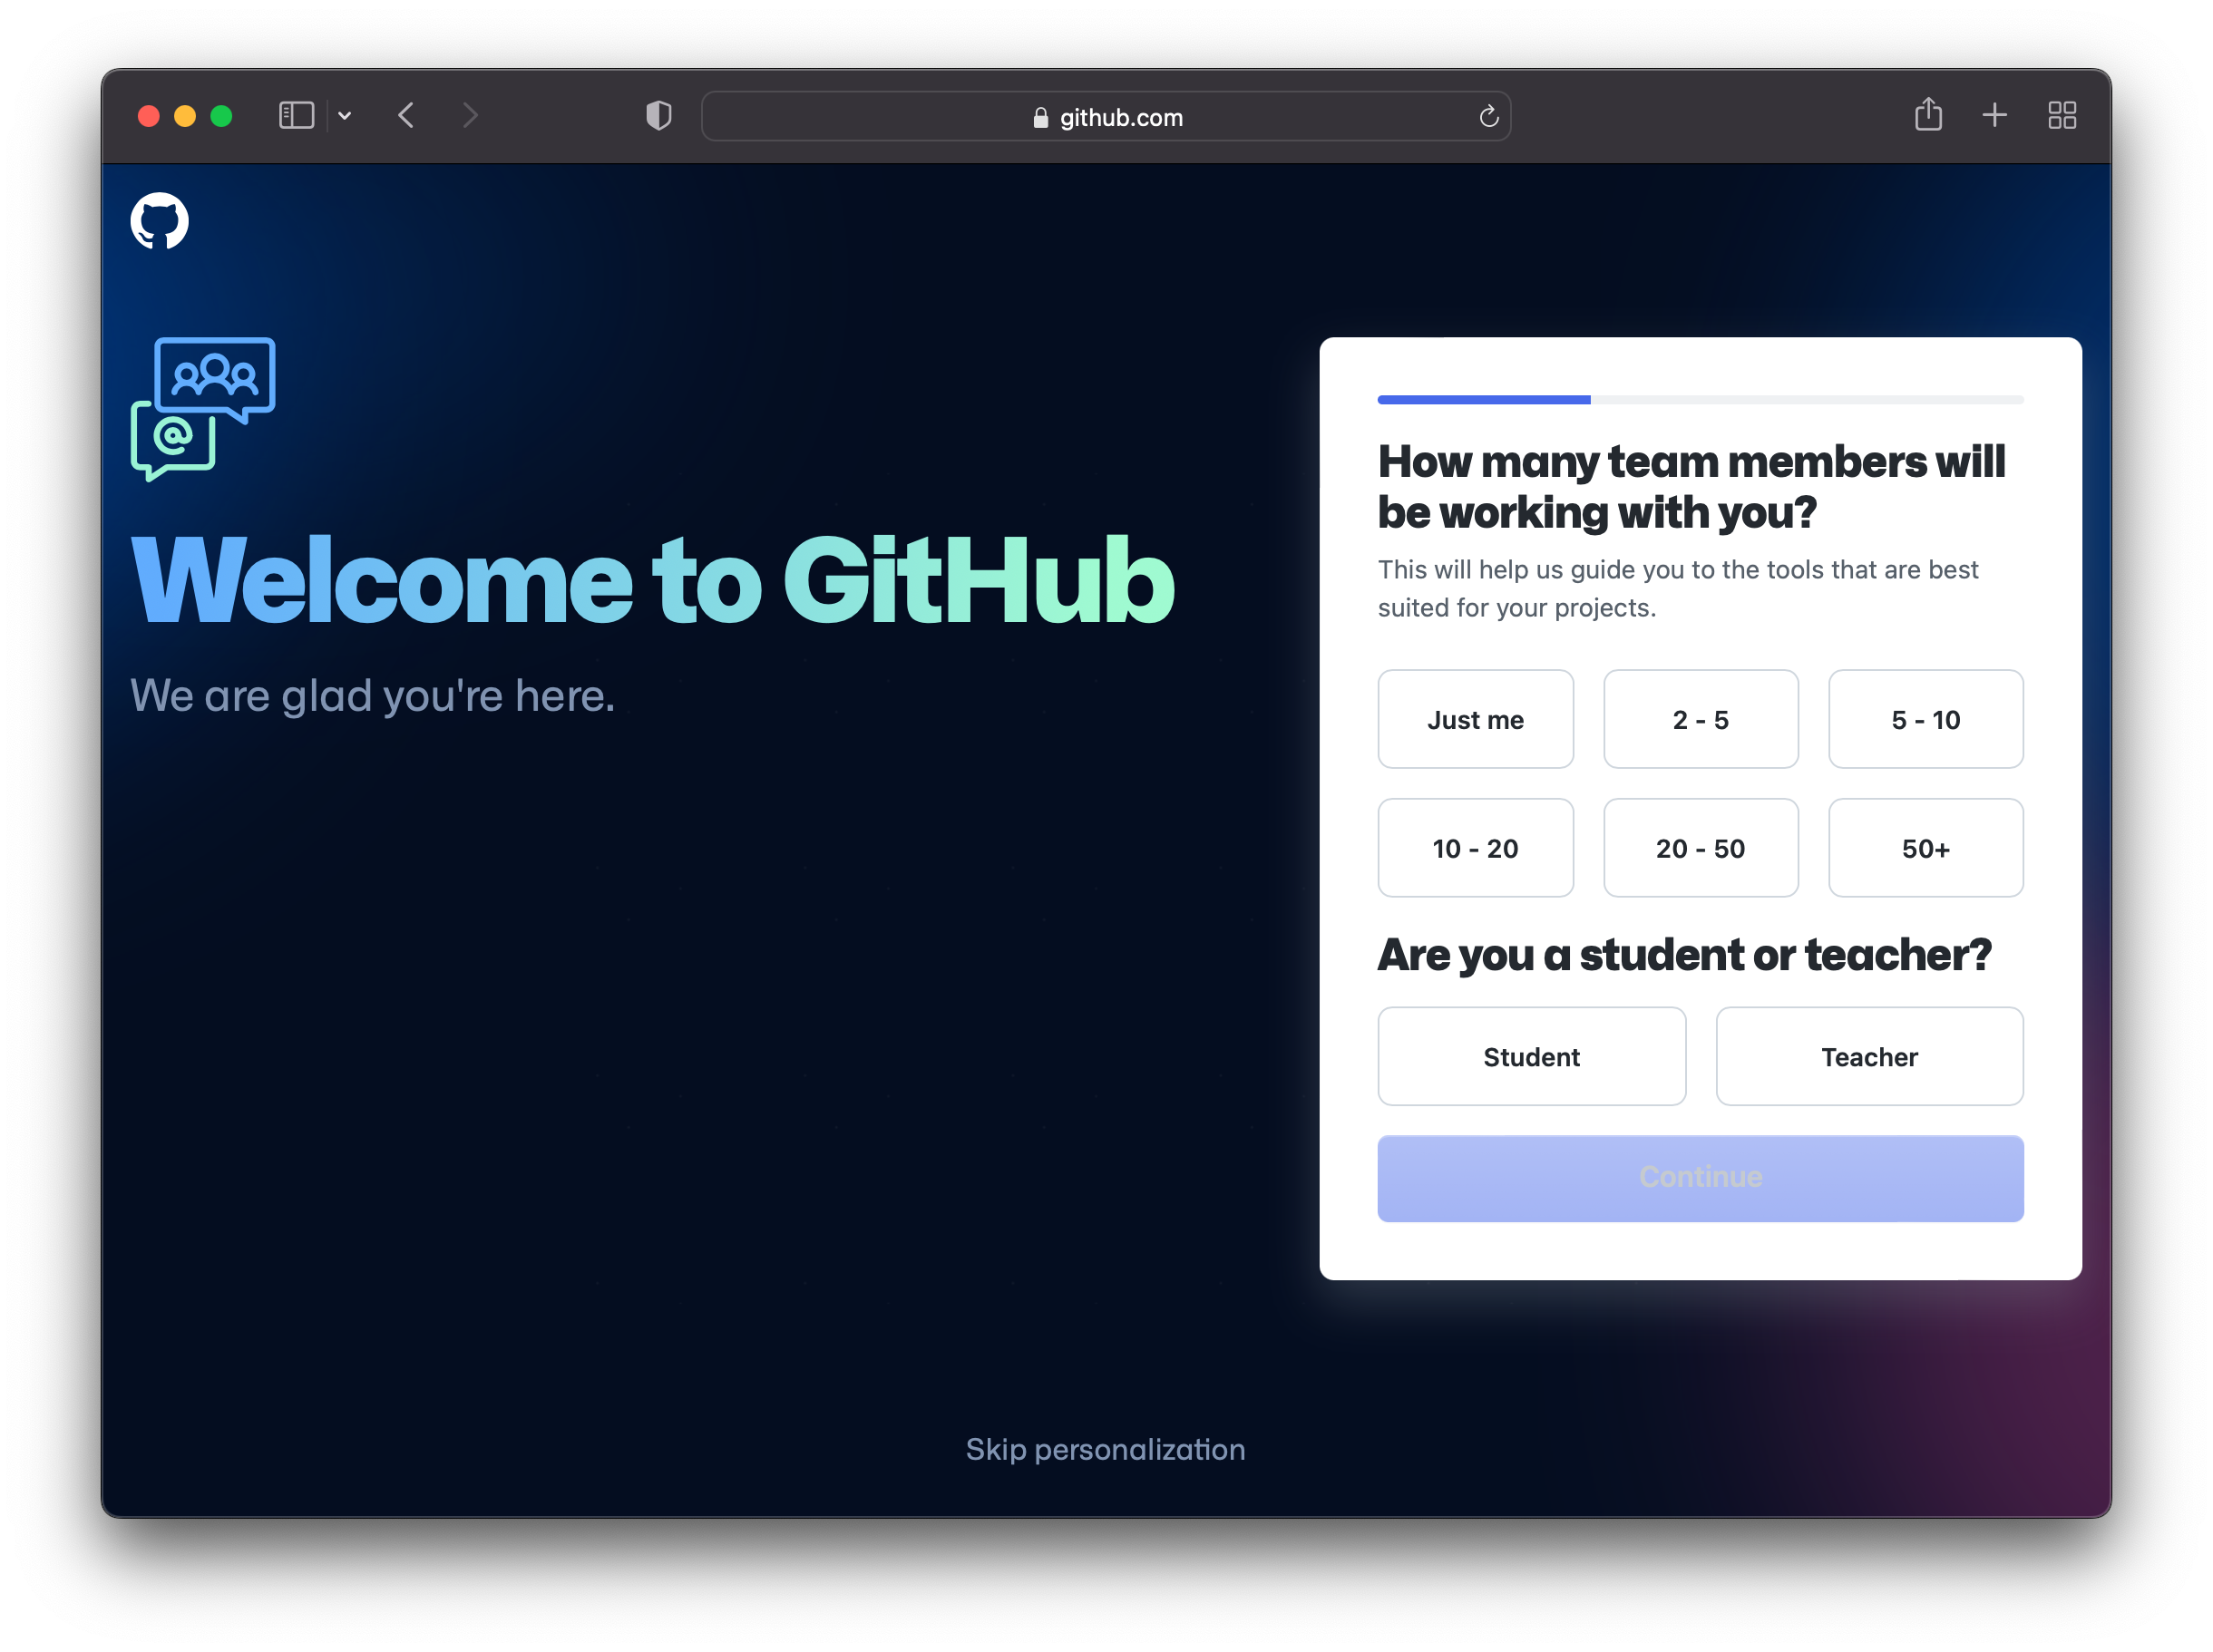
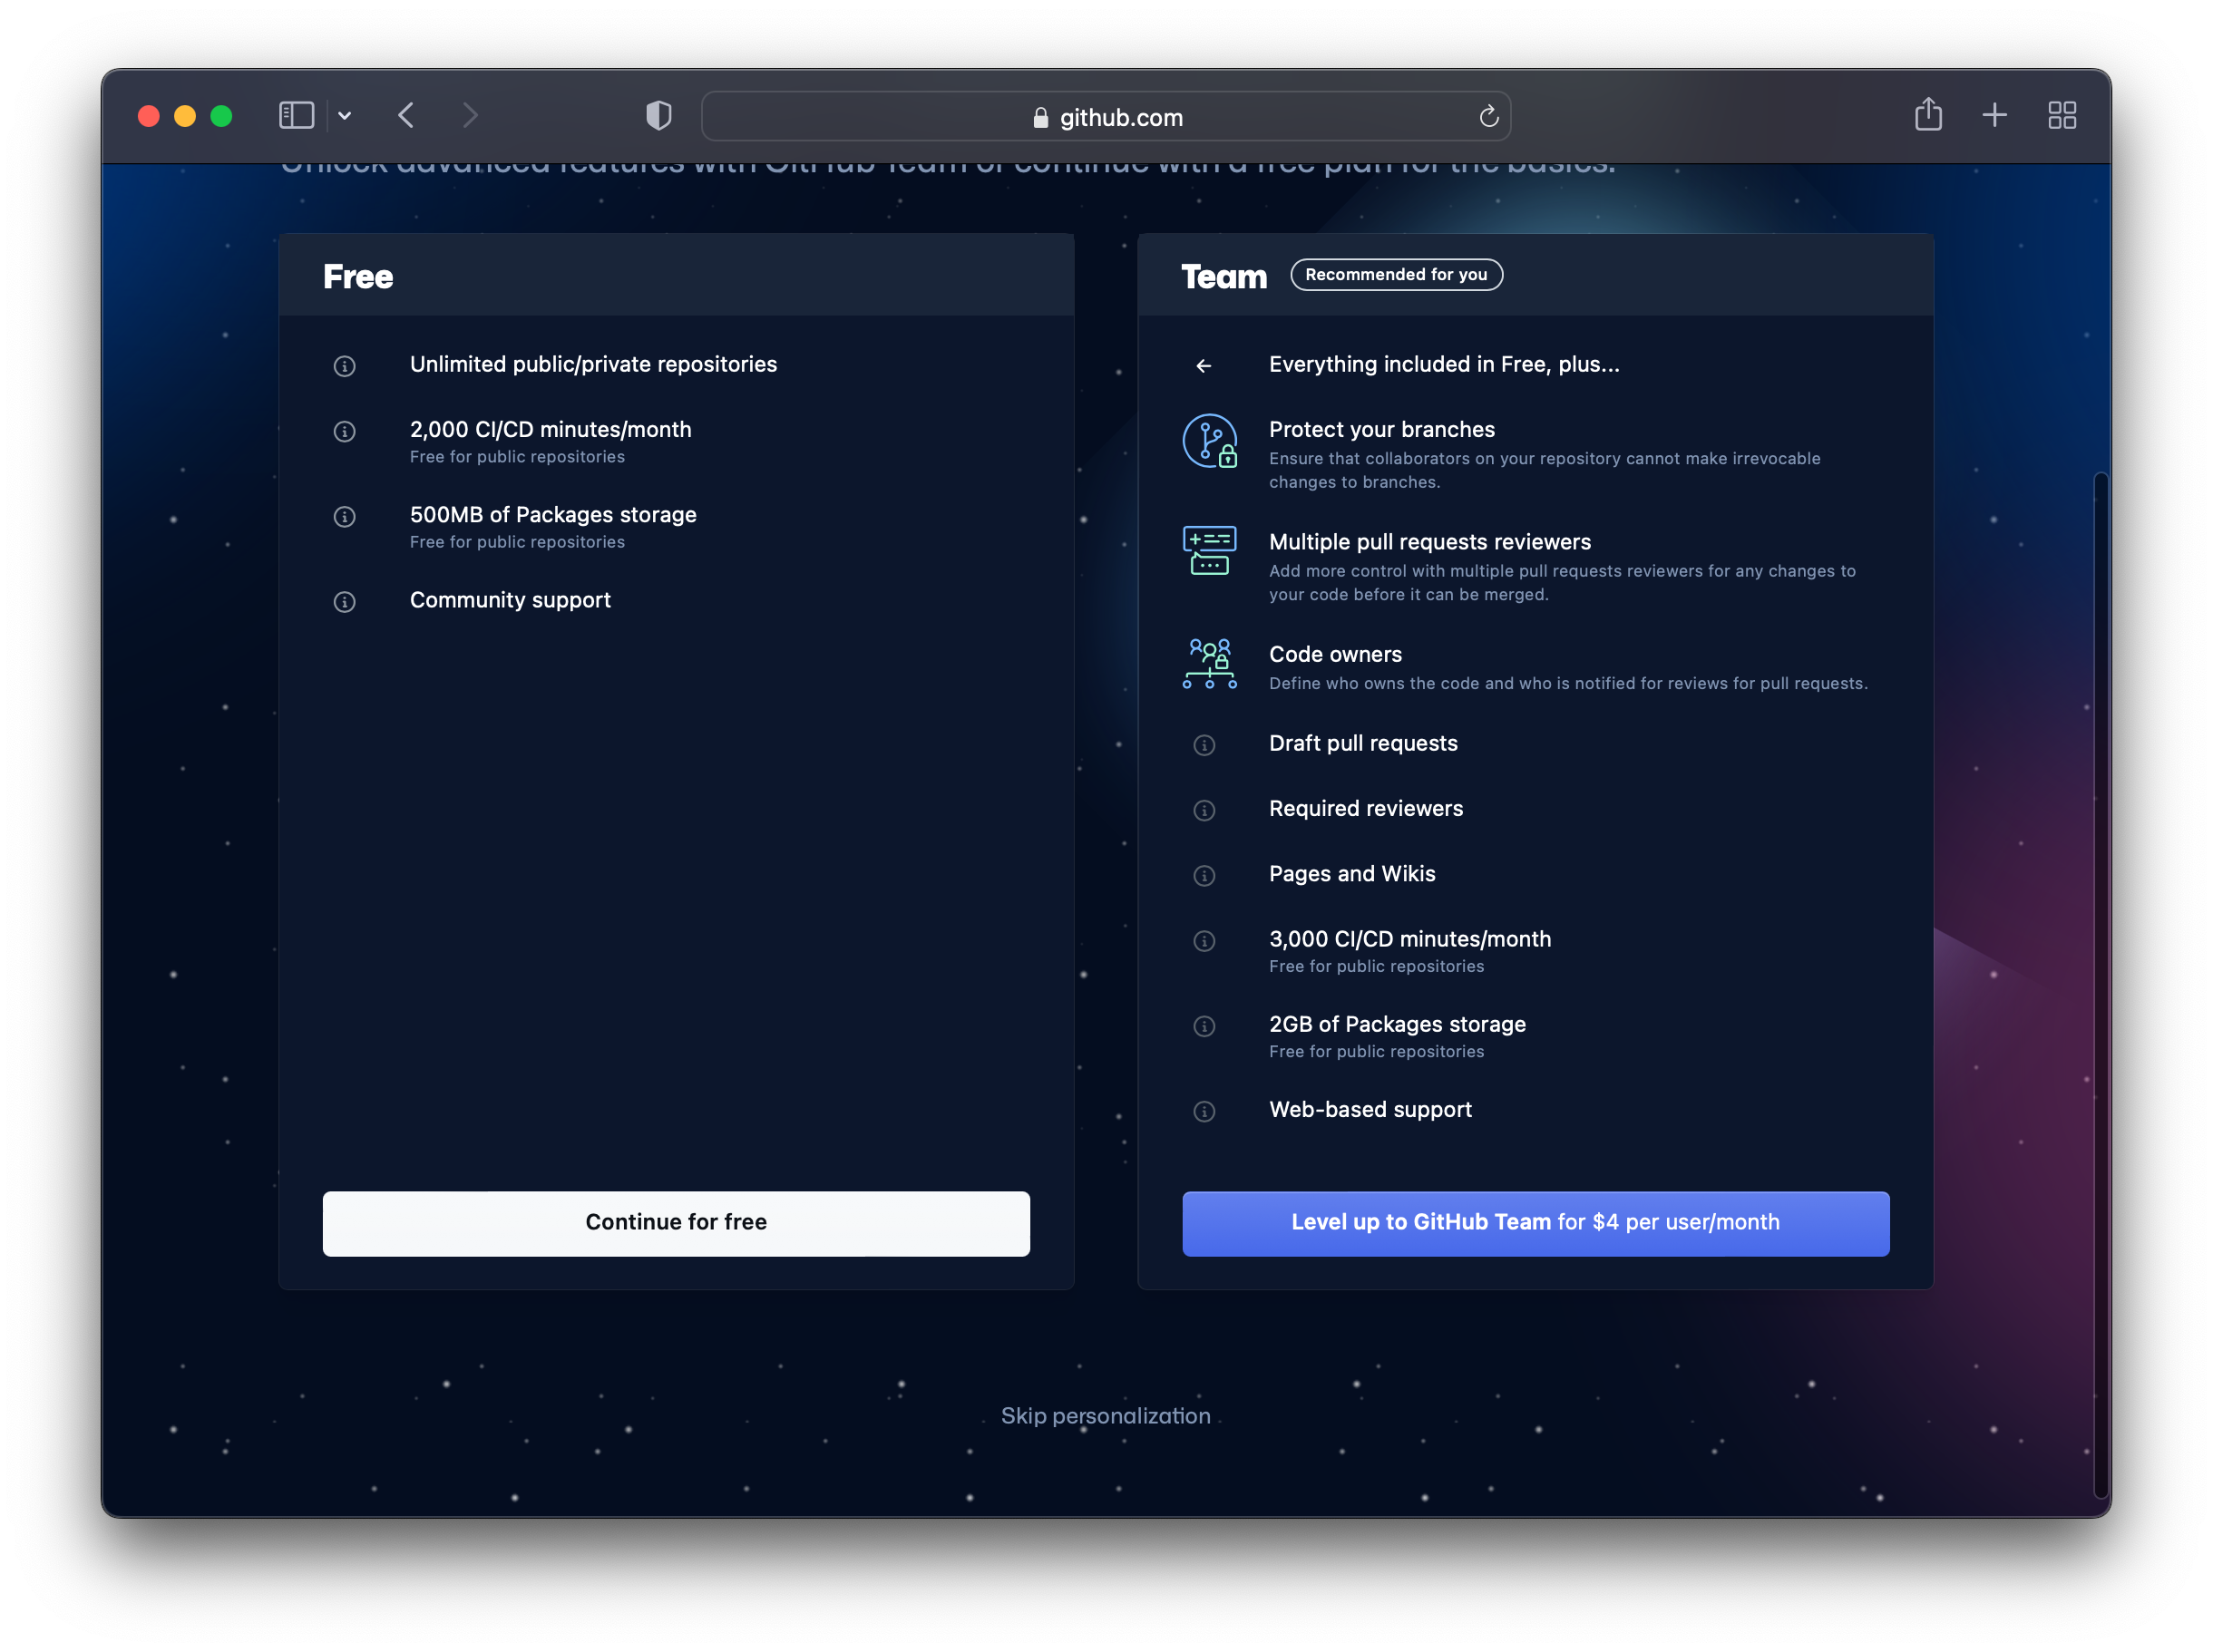
After confirming your email, you’ll be shown a screen, click “Skip personalization” and pick the free plan:
Finally, you’re on:
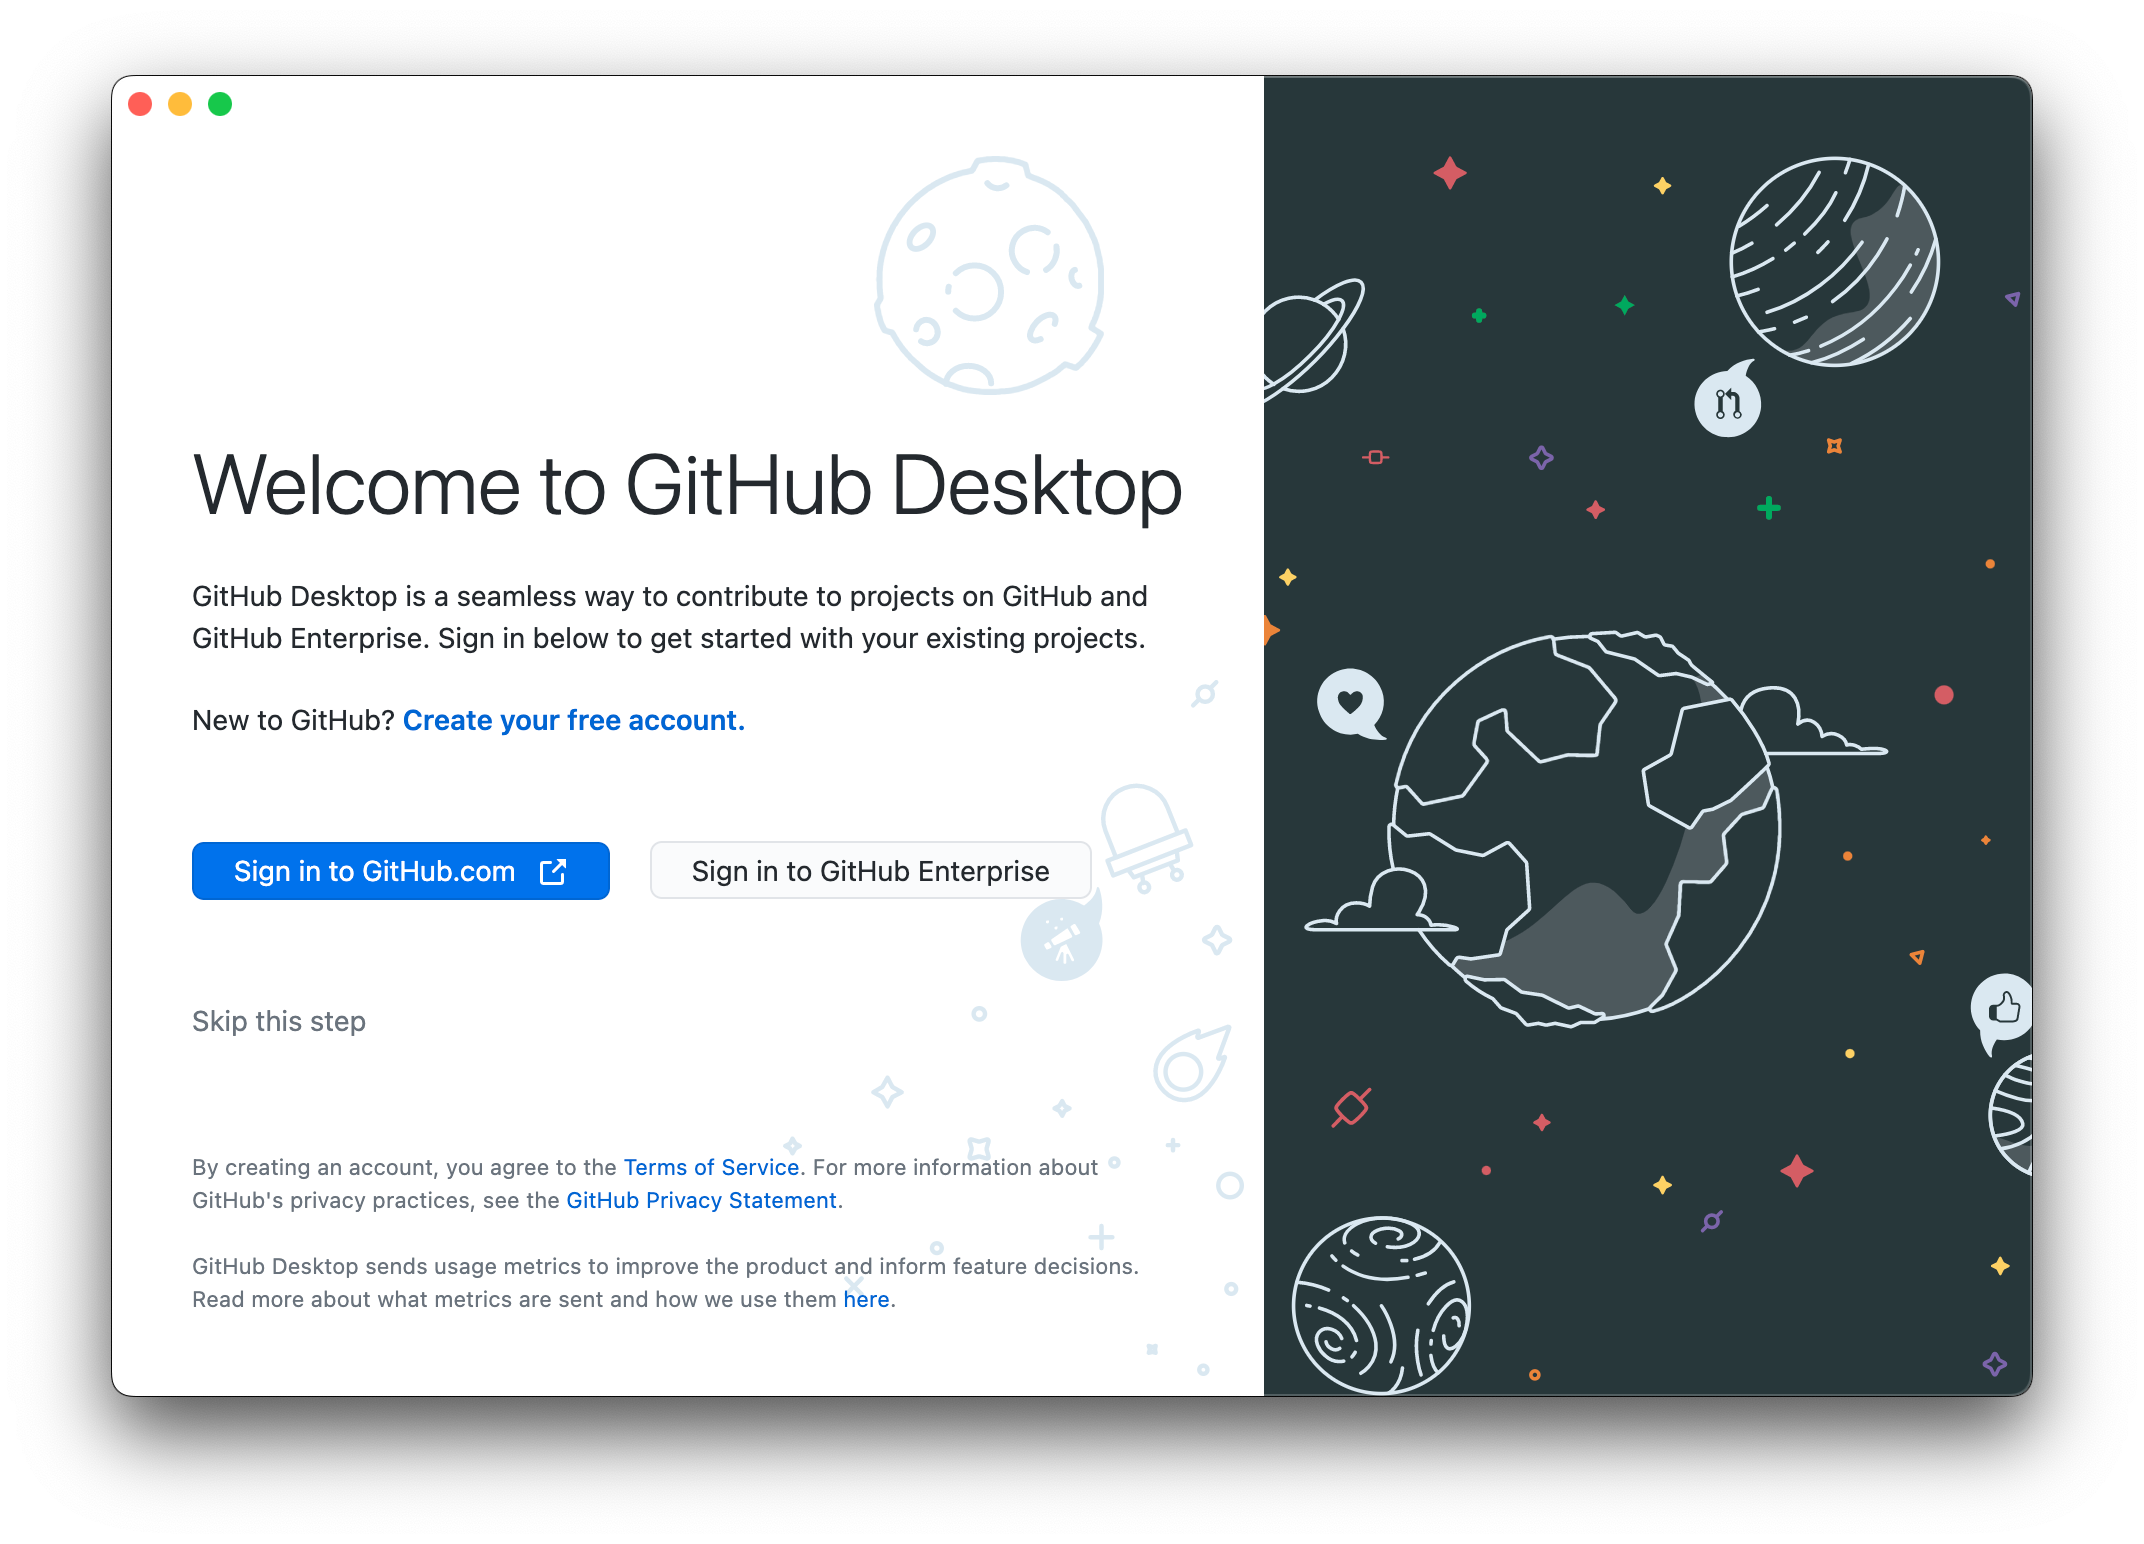
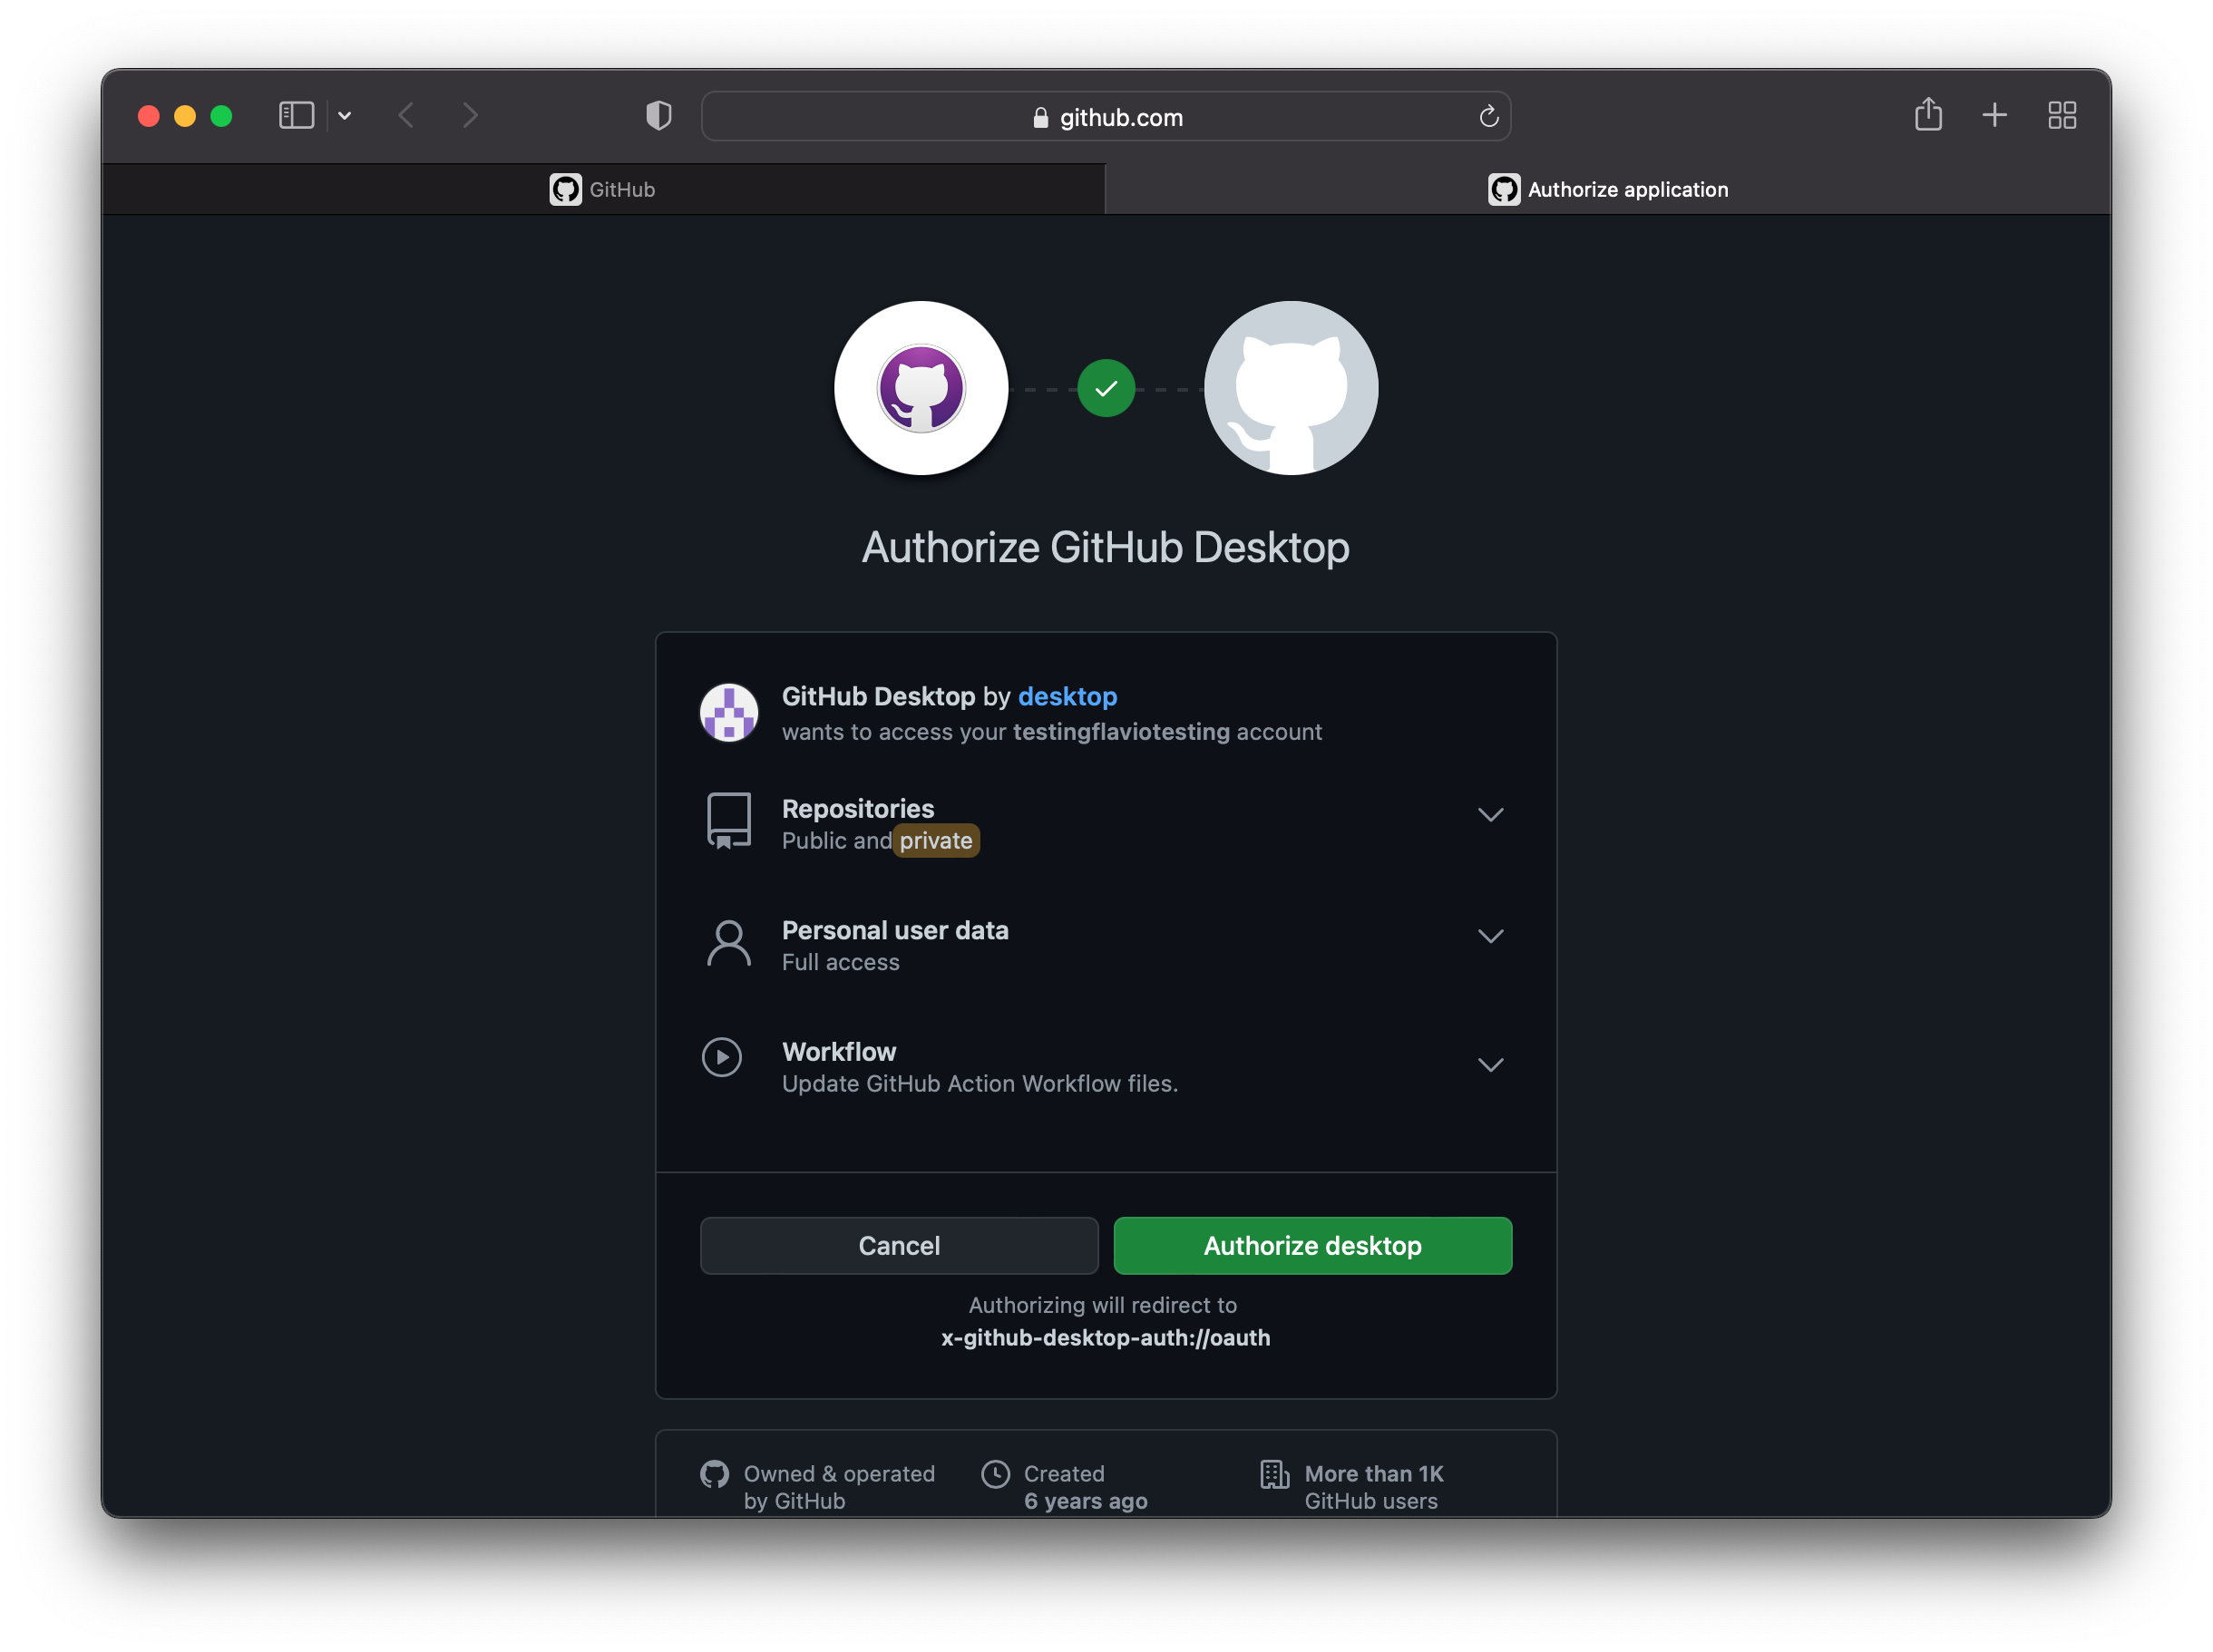
Now go back to the GitHub Desktop app, and click “Sign in to GitHub.com”, the blue button:
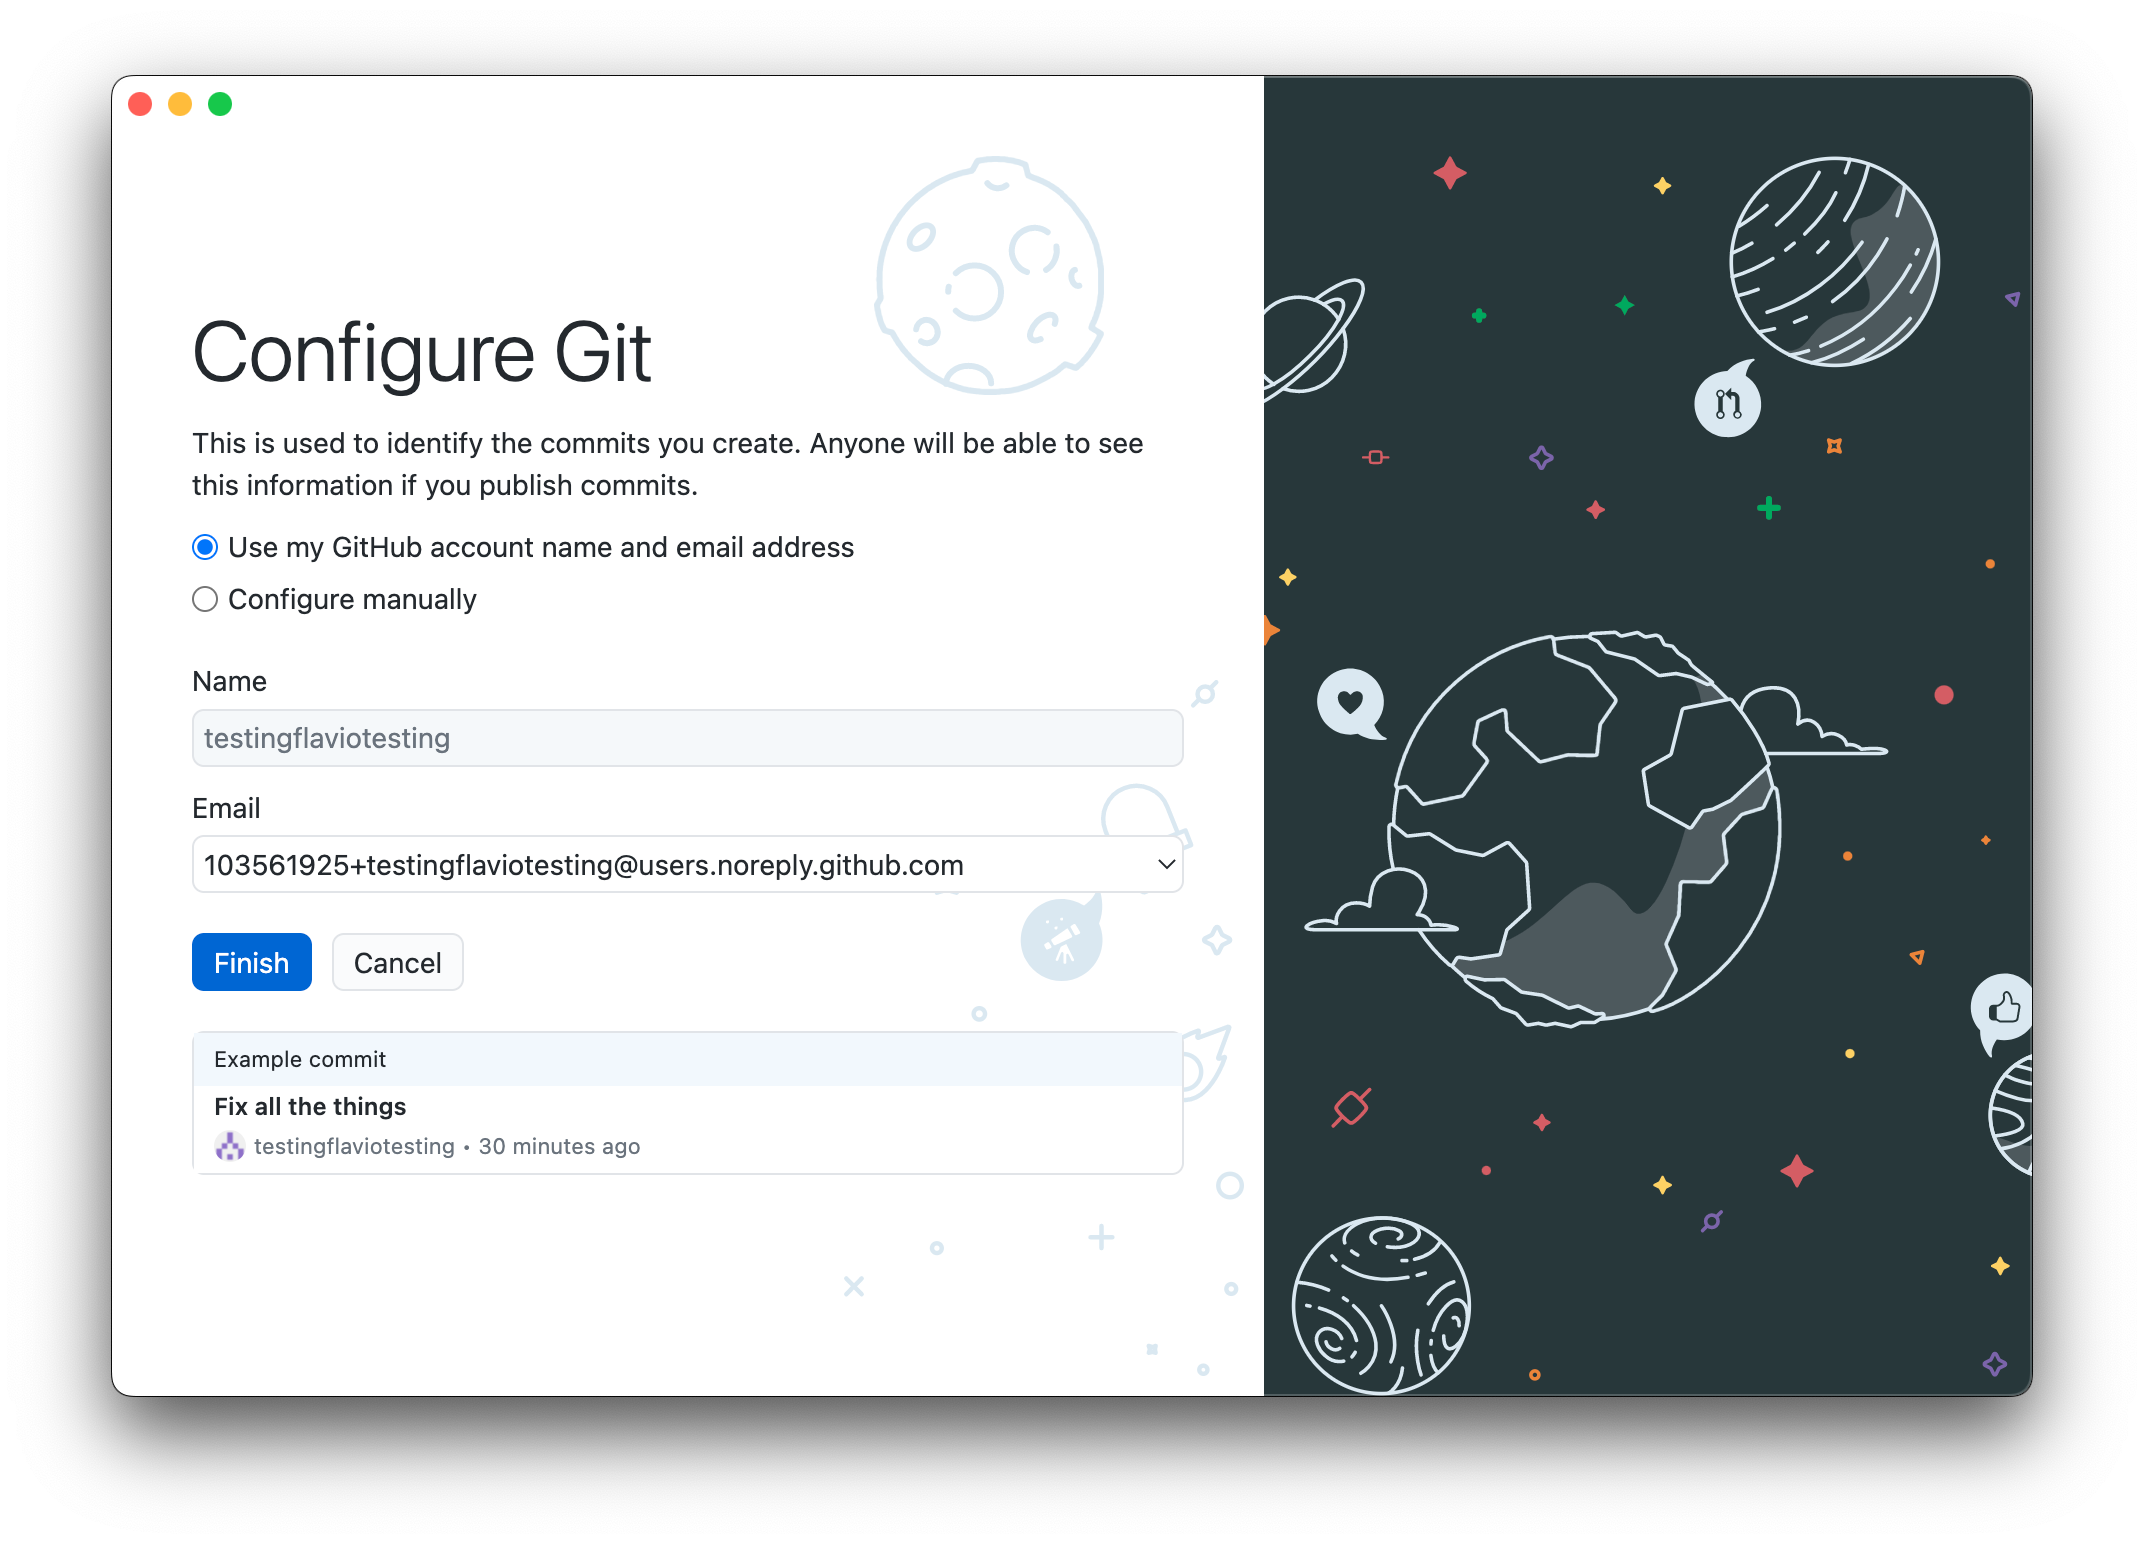
Finally you’re ready to configure Git. Accept this to set the username and email of Git, which you’ll need to create commits. Click “Finish”.
Installing this app also installs Git, so you don’t need to do anything more.
NOTE: If you prefer, you can download “just Git” from here https://git-scm.com/downloads, that will skip the GitHub integration). Using this method you have to set your name and email in the terminal using these 2 commands:
git config --global user.name "your name"
git config --global user.email "[email protected]"
Make sure you enter your name and email, not those fake ones!
Let’s now see how Git works within VS Code.
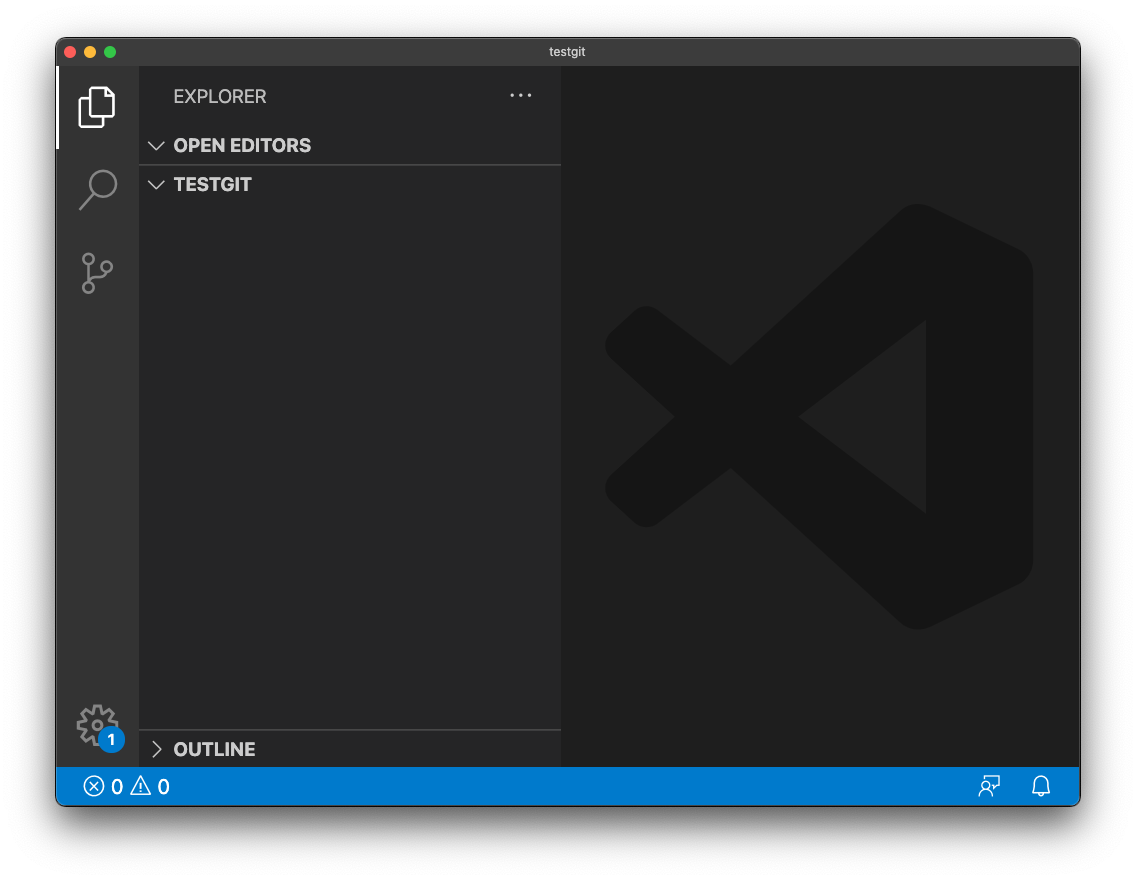
Create a folder dev in your user home folder on your computer. That’s where you’ll store all your projects.
Inside it, create a testgit folder.
Now drag this folder into the VS Code icon to open it in VS Code, or use the File → Open Folder... menu.
Create a test.js file by clicking the File → New File menu, or by right-clicking the in the left sidebar (under you see the TESTGIT line). Add some content to it, like alert('test'):
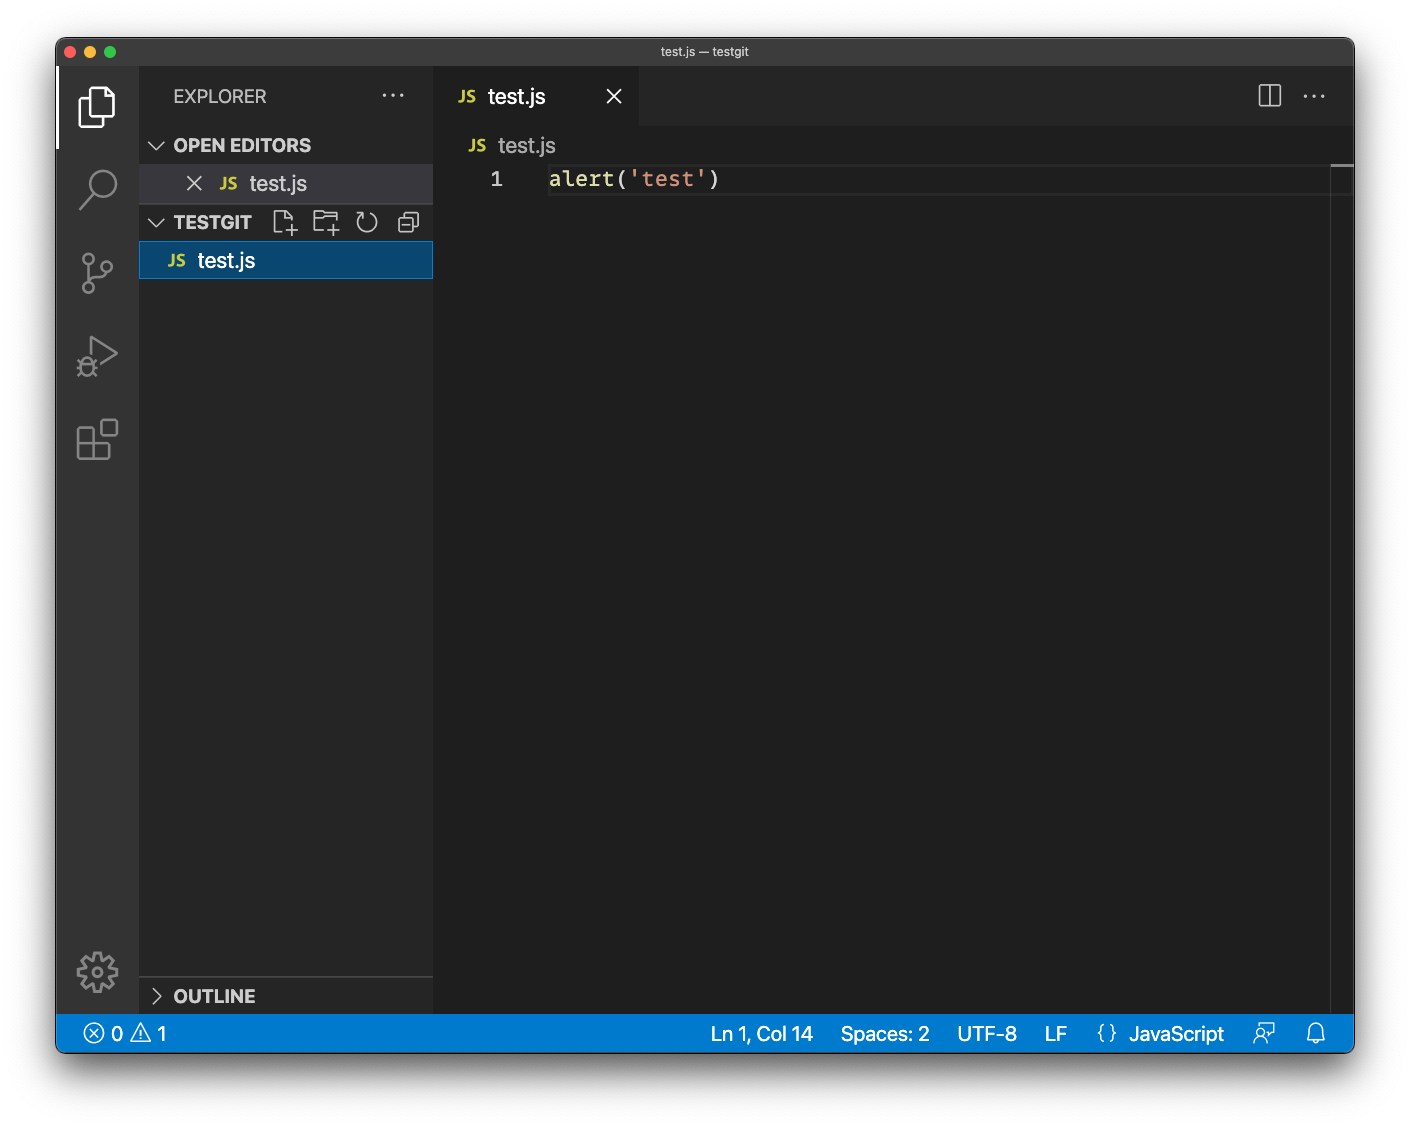
Press cmd-S or ctrl-S or use the File -> Save menu to save.
Now click the Source Control icon in the toolbar:
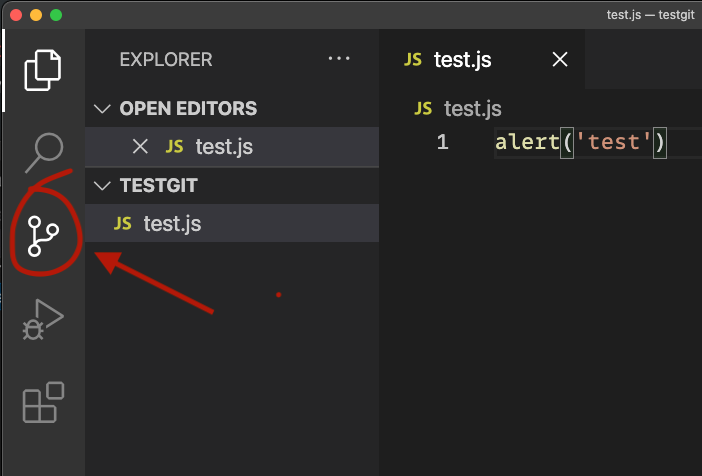
and you’ll see something like this:
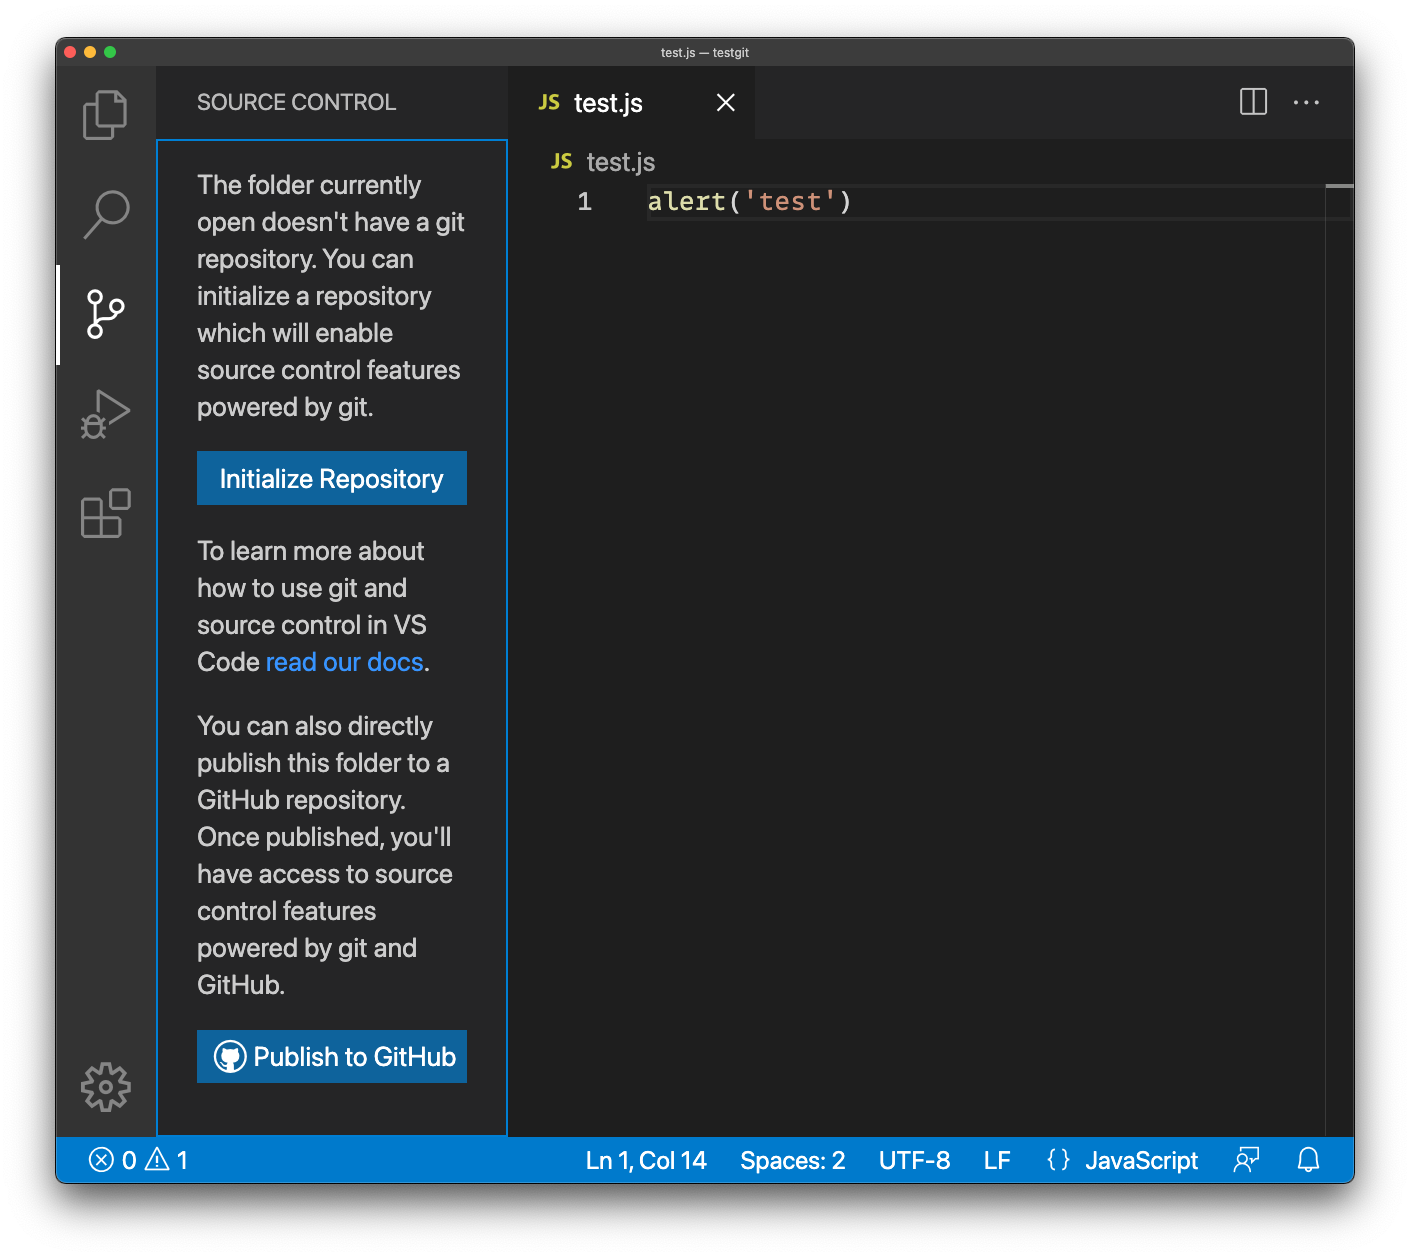
This is because we don’t have Git set up on the project yet. Git must be set up for every different project you have.
We must first initialize a repository.
Click Initialize Repository and you’ll see this:
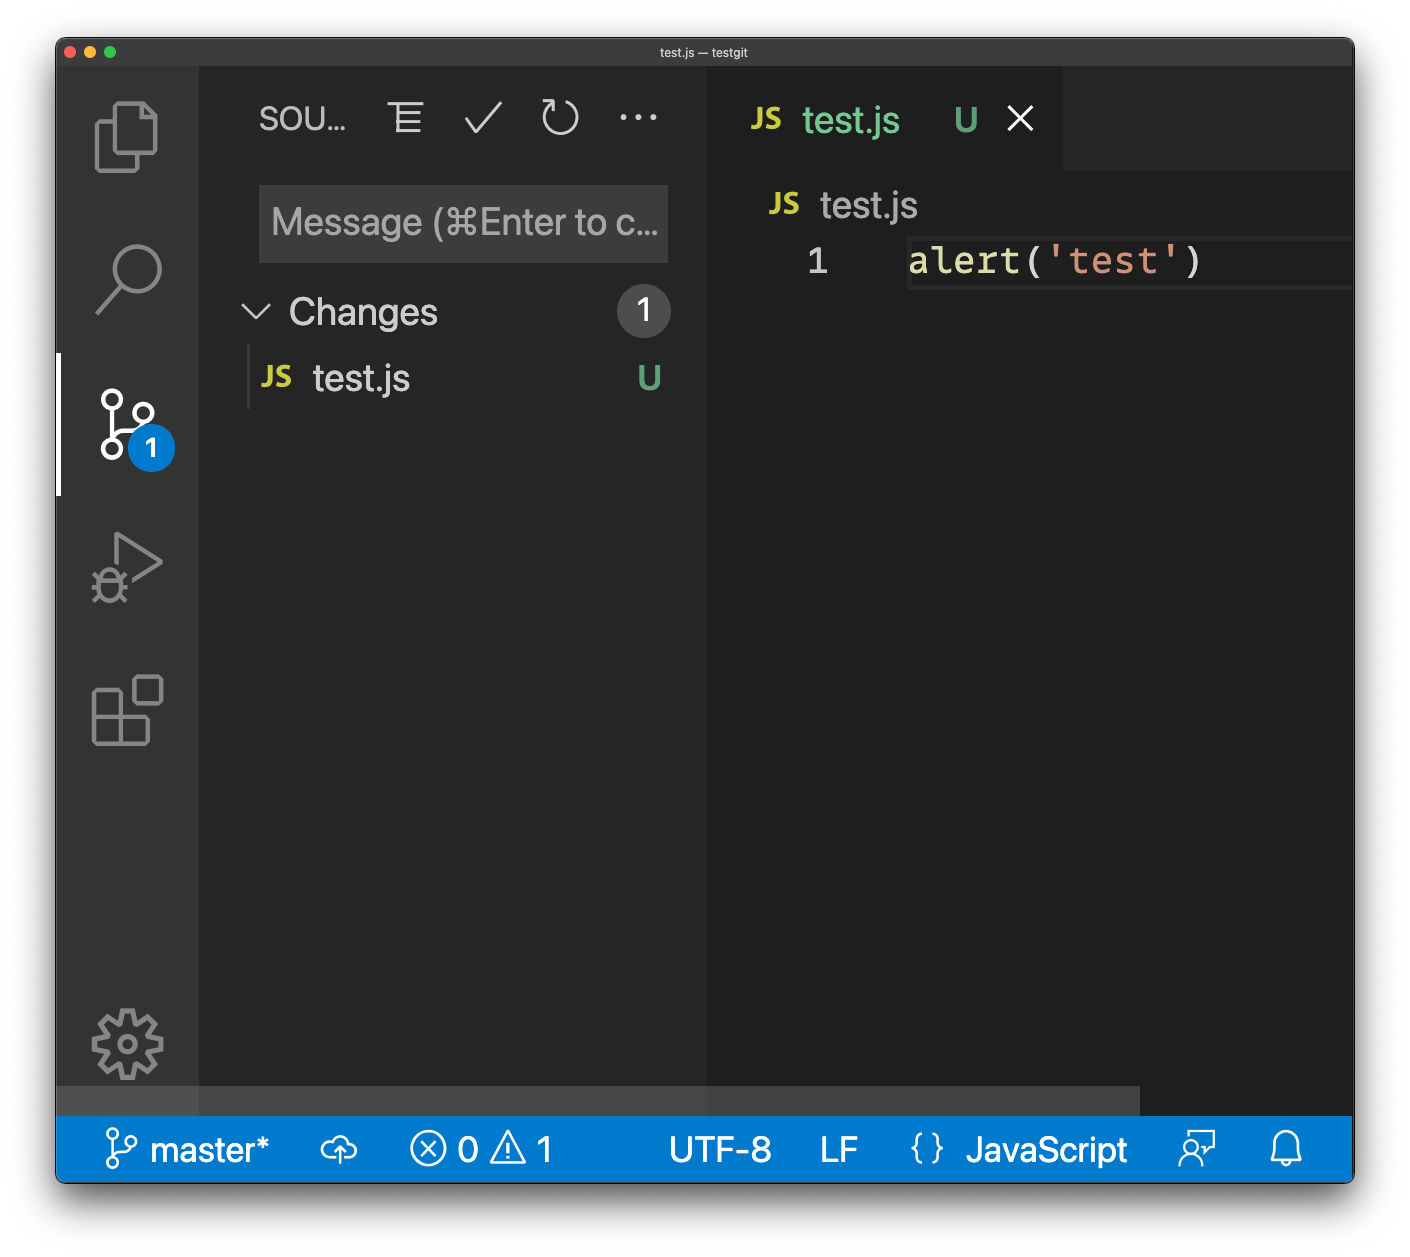
The file on the right is still the same, but the left sidebar changed to show the list of files changed in your repository.
Now the repository is ready for your first commit.
What’s a commit? It’s a set of changes you made to the codebase that you can wrap under a single, atomic change.
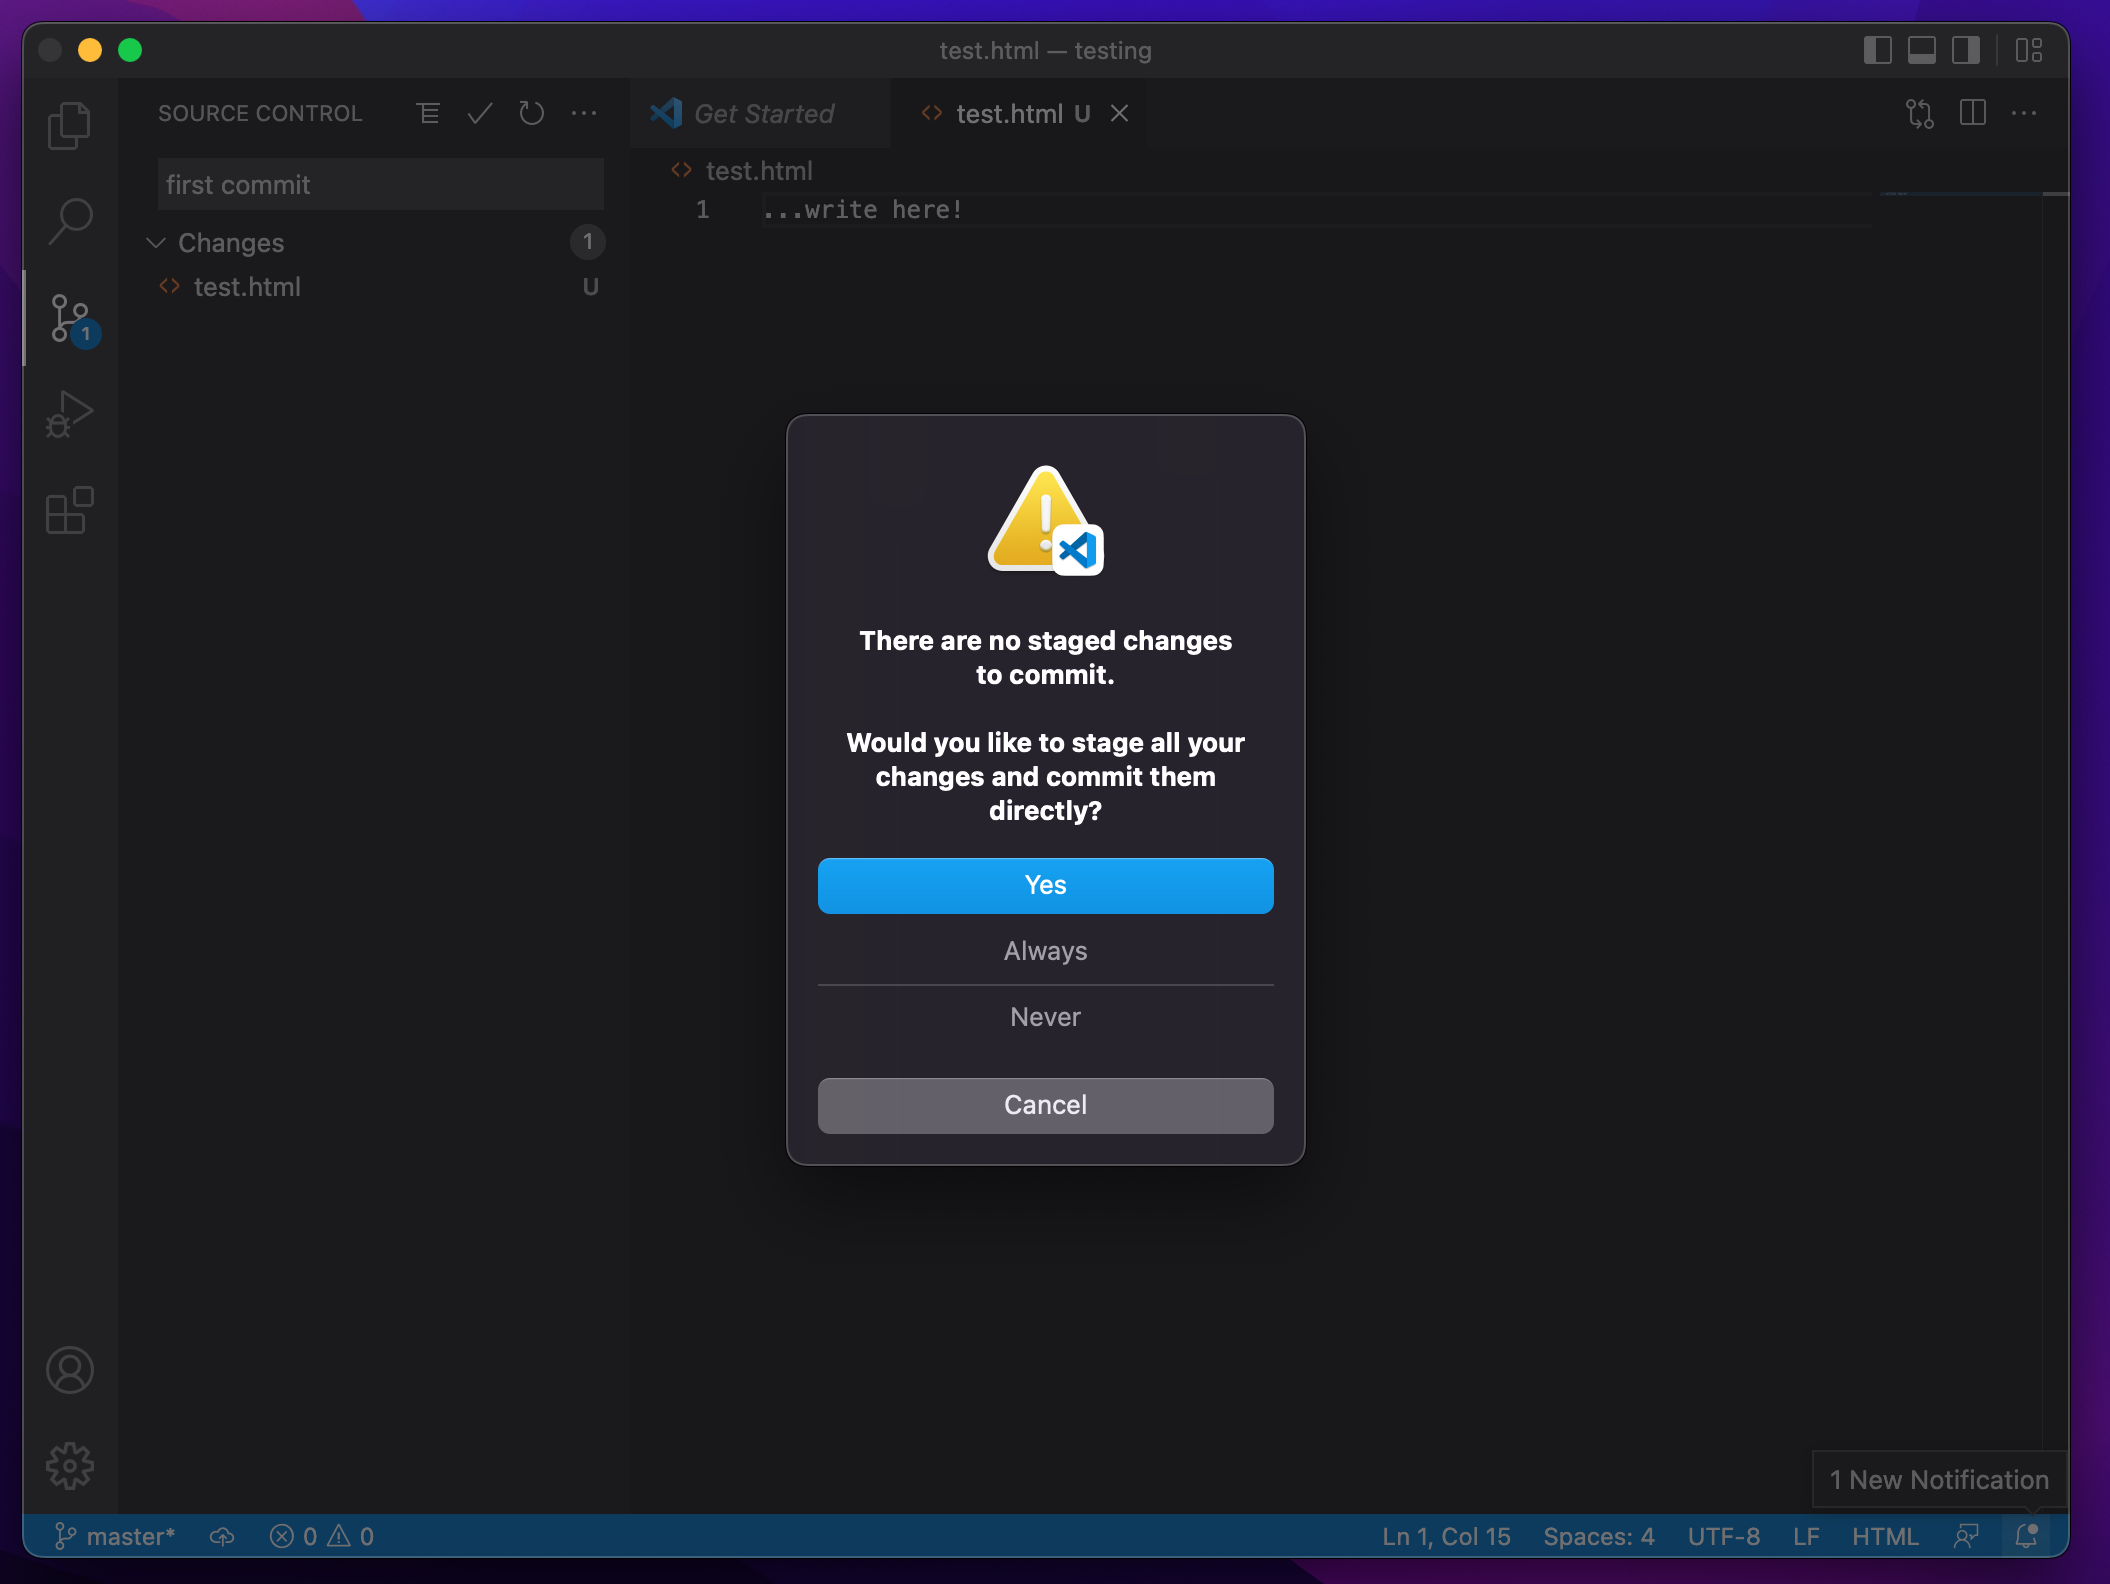
Try it: write “My first commit” to the “Message” box, and press cmd-Enter / ctrl-Enter, or press the ✔ icon:

You will get a pop up saying “There are no staged changes to commit. Would you like to stage all your changes and commit them directly?”
I suggest you click “Always” here.
If this is the first time you use Git, you might get this error message:
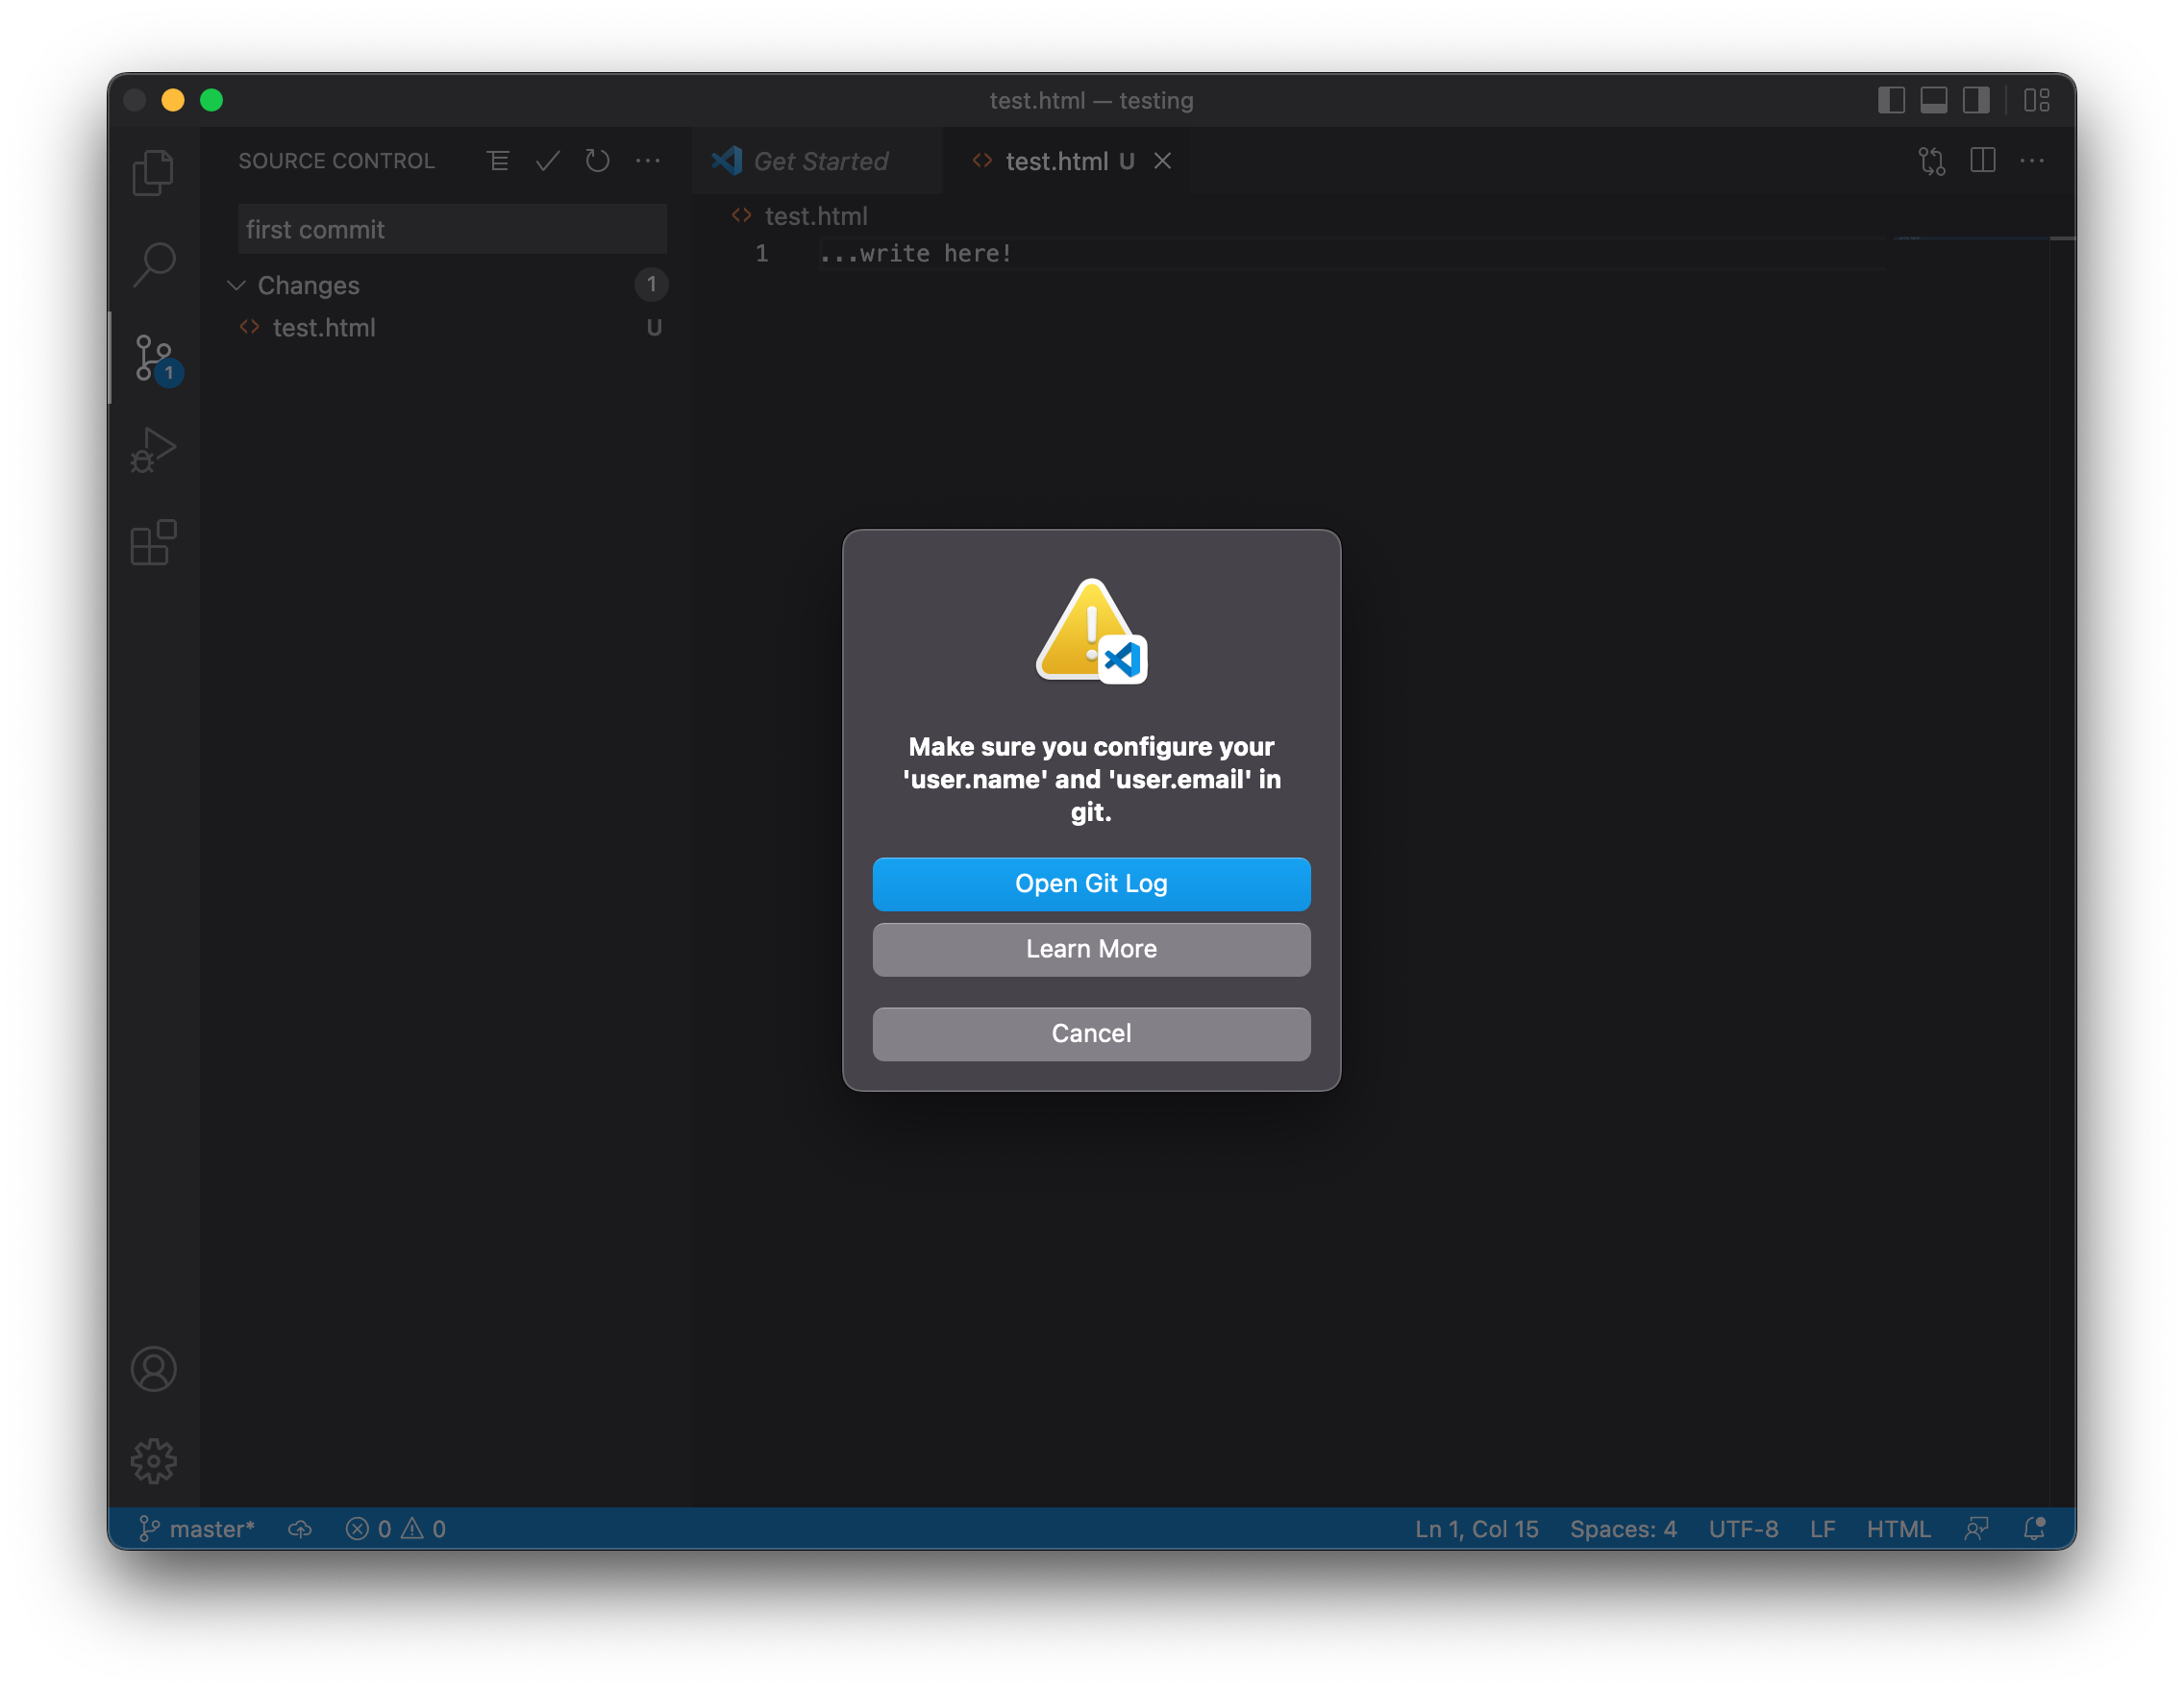
Click the “Cancel” button here and complete the step described here (or install and configure GitHub Desktop as I explained in the beginning of this lesson). Then repeat this step.
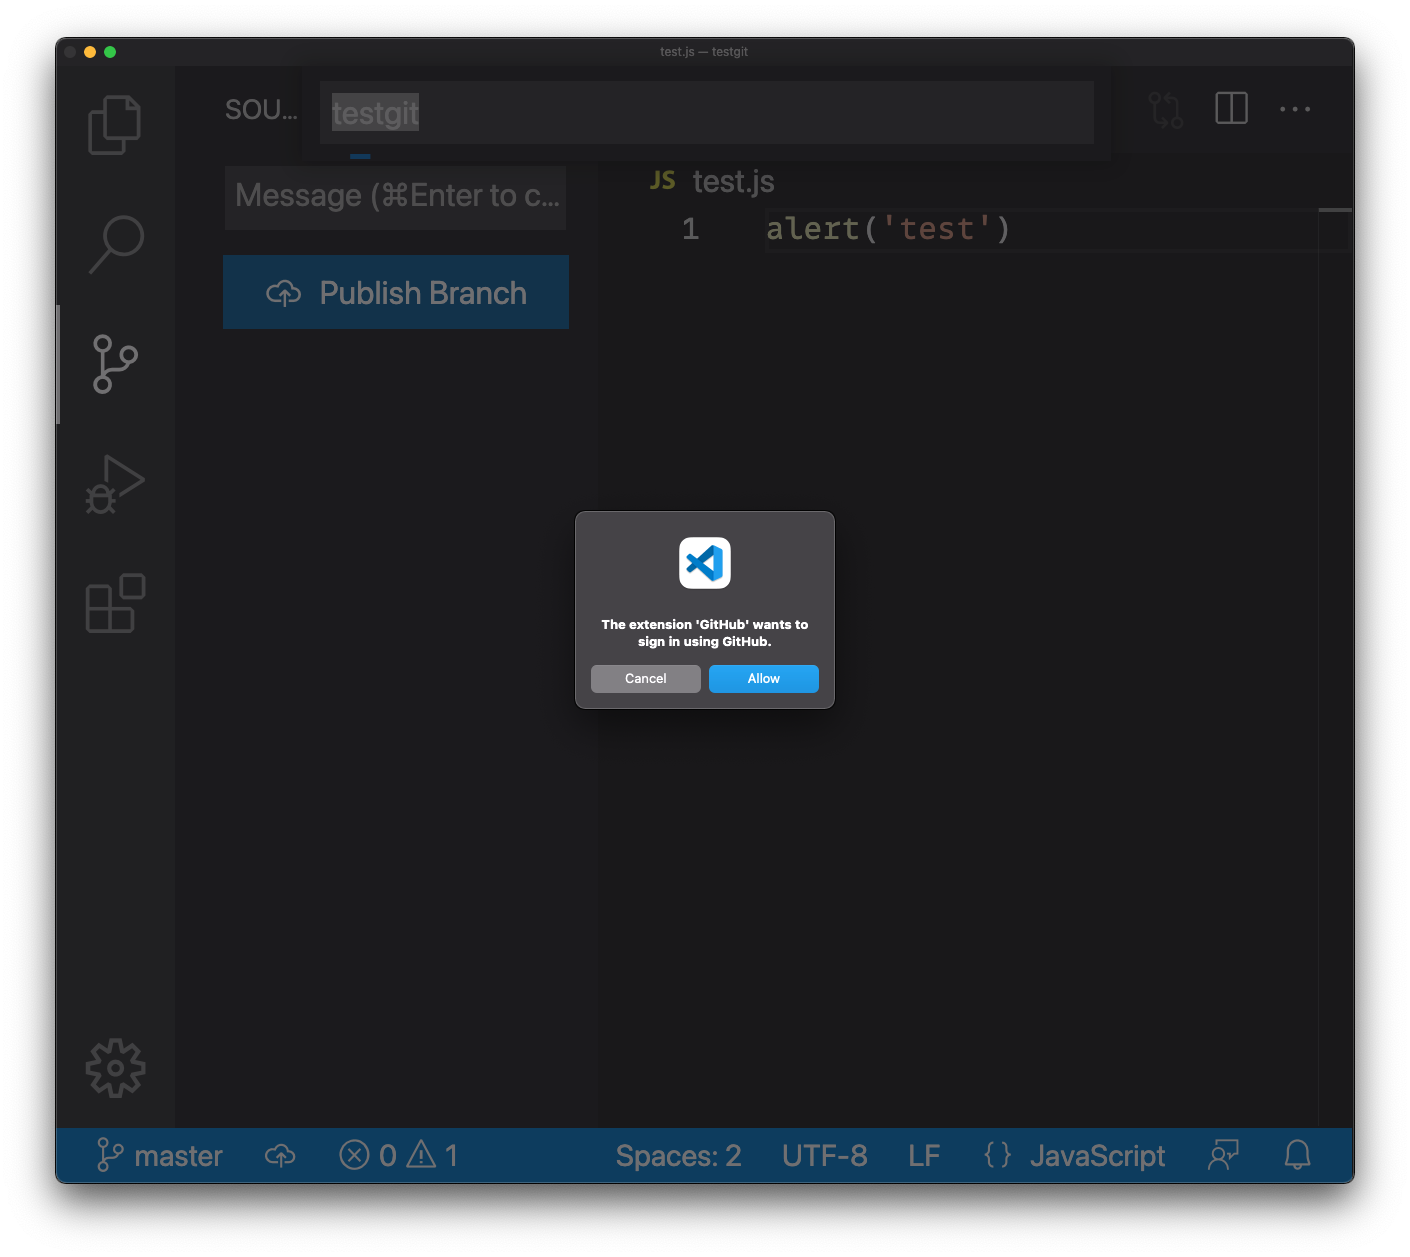
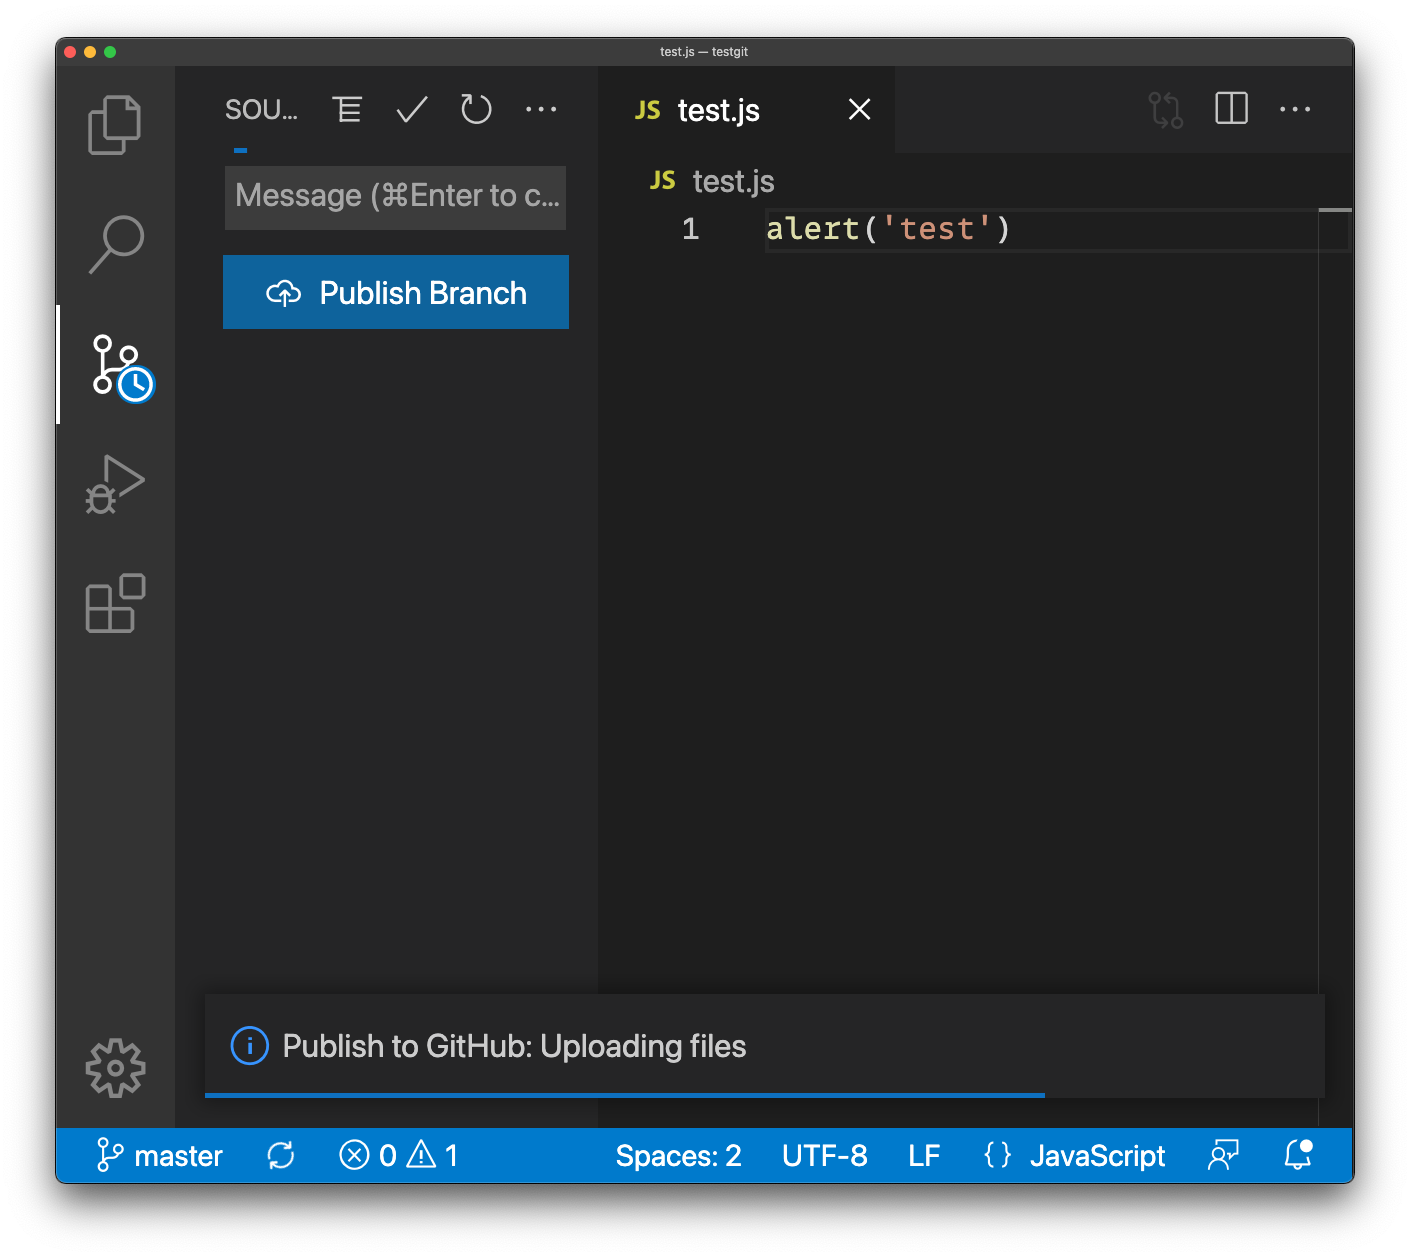
Now we’re going to publish this repository to GitHub.
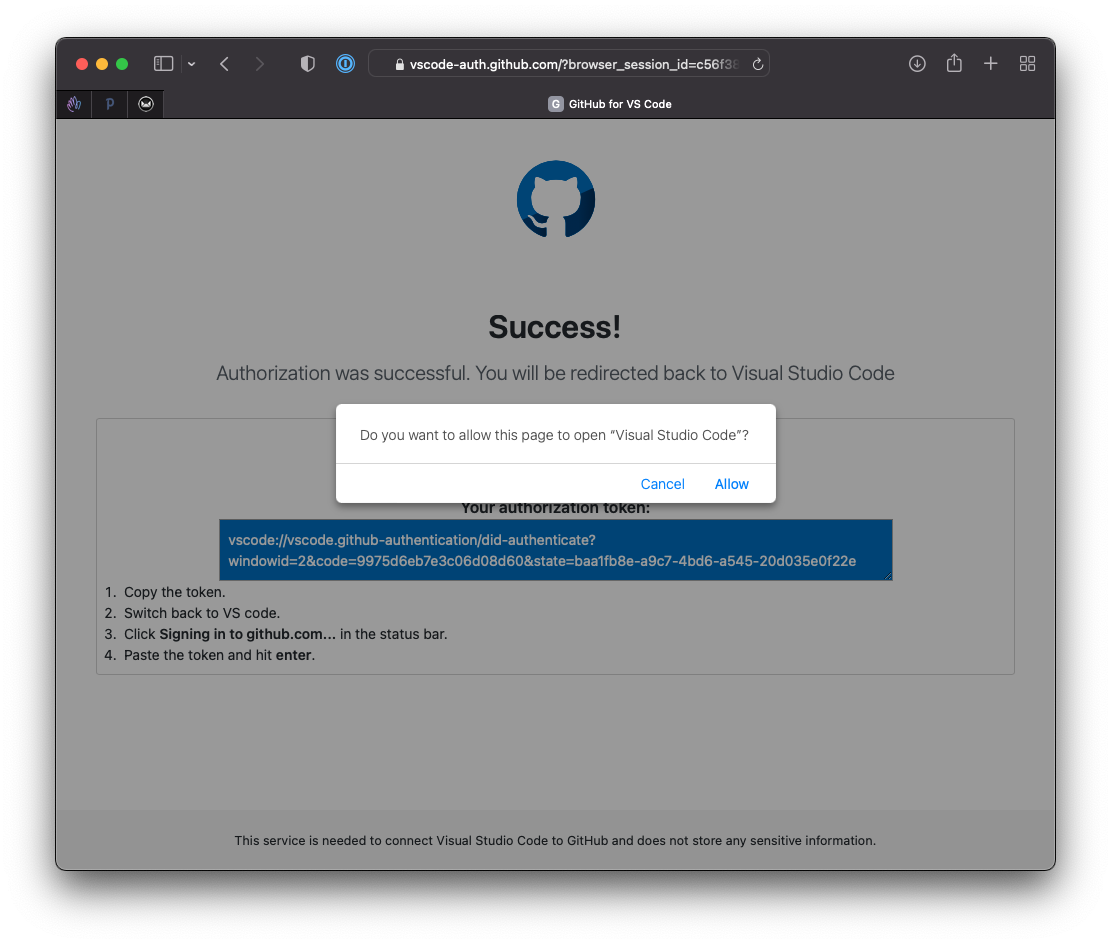
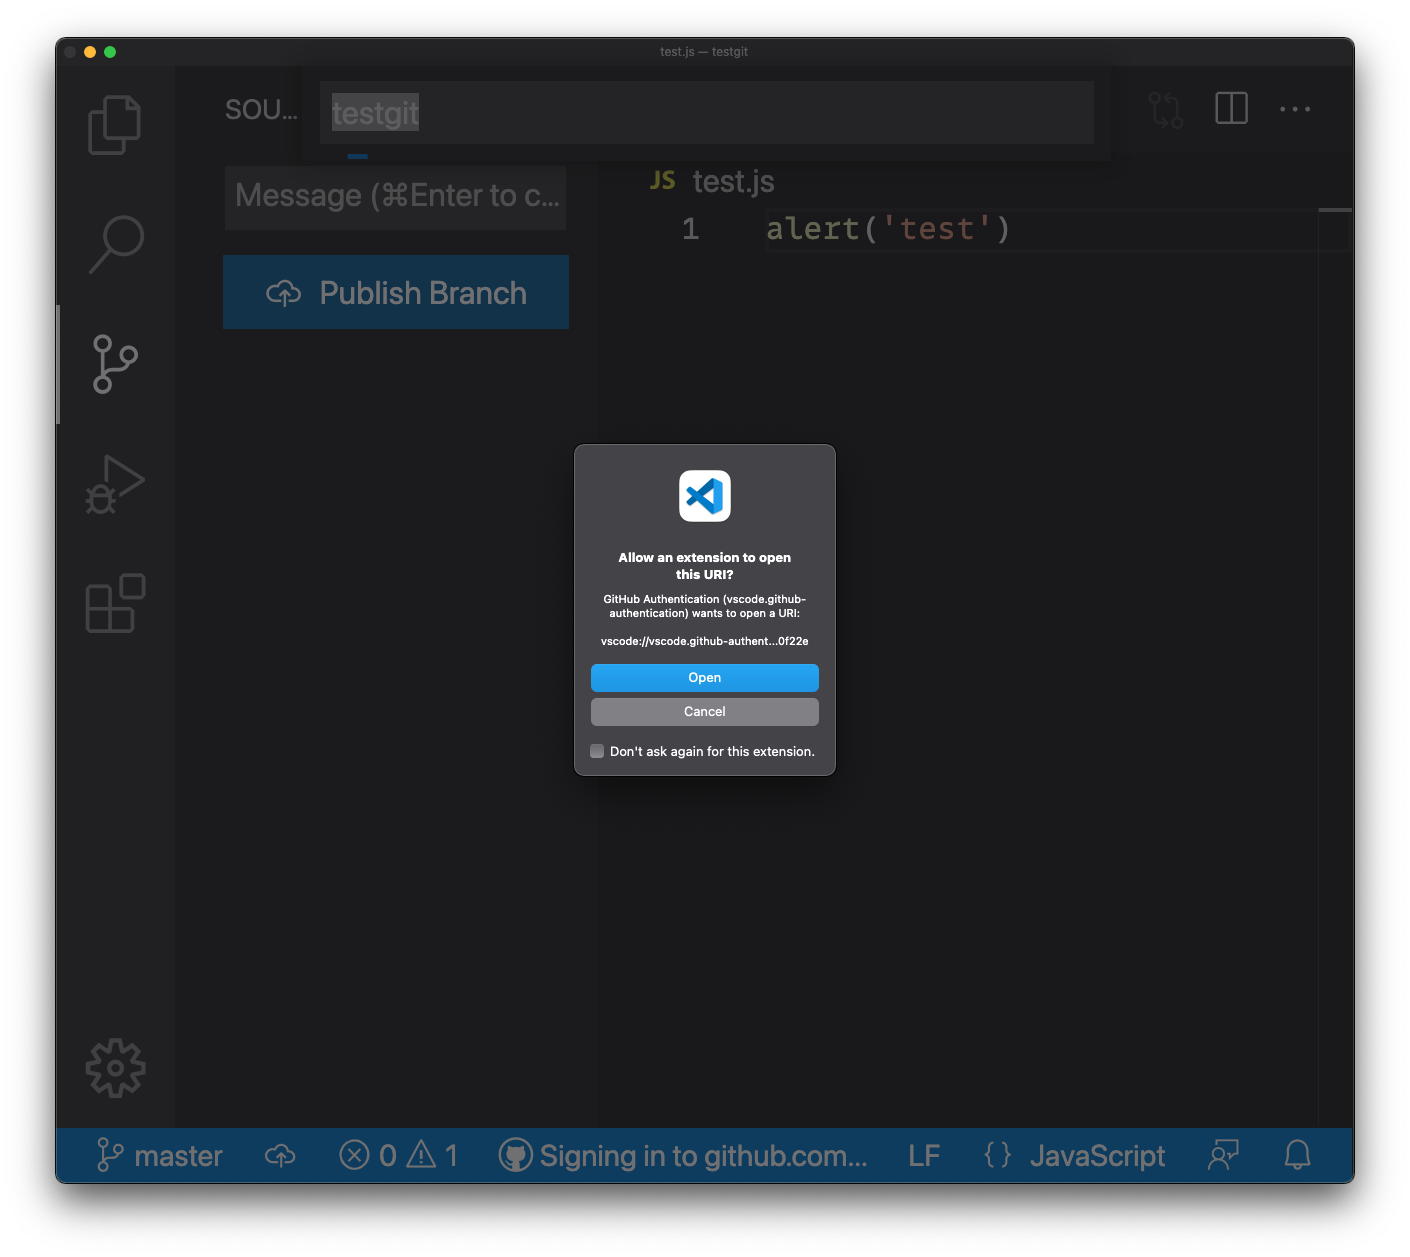
Click the “Publish Branch” blue button. We’ll go through the procedure of connecting VS Code to GitHub, which you only need to do once:


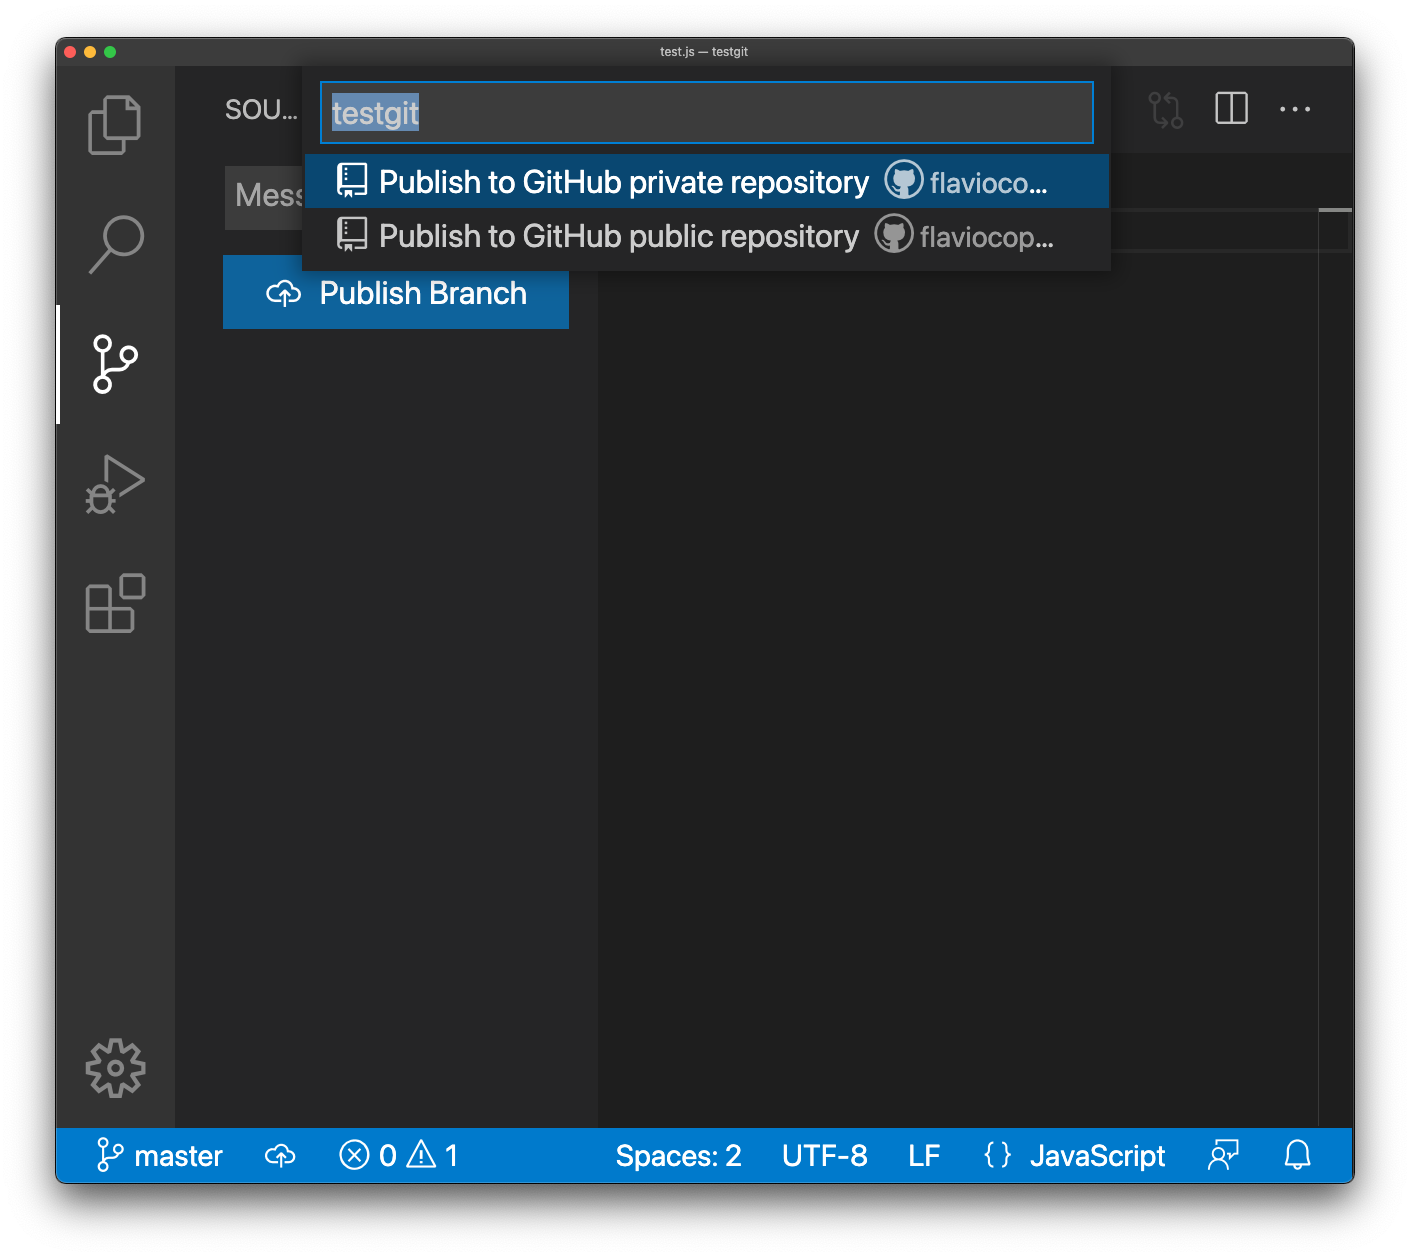
Now you can choose whether to post the project publicly, or privately.
I usually go private for all my projects, unless I want to share them when I feel they’re ok for public visibility. You can always change this later.
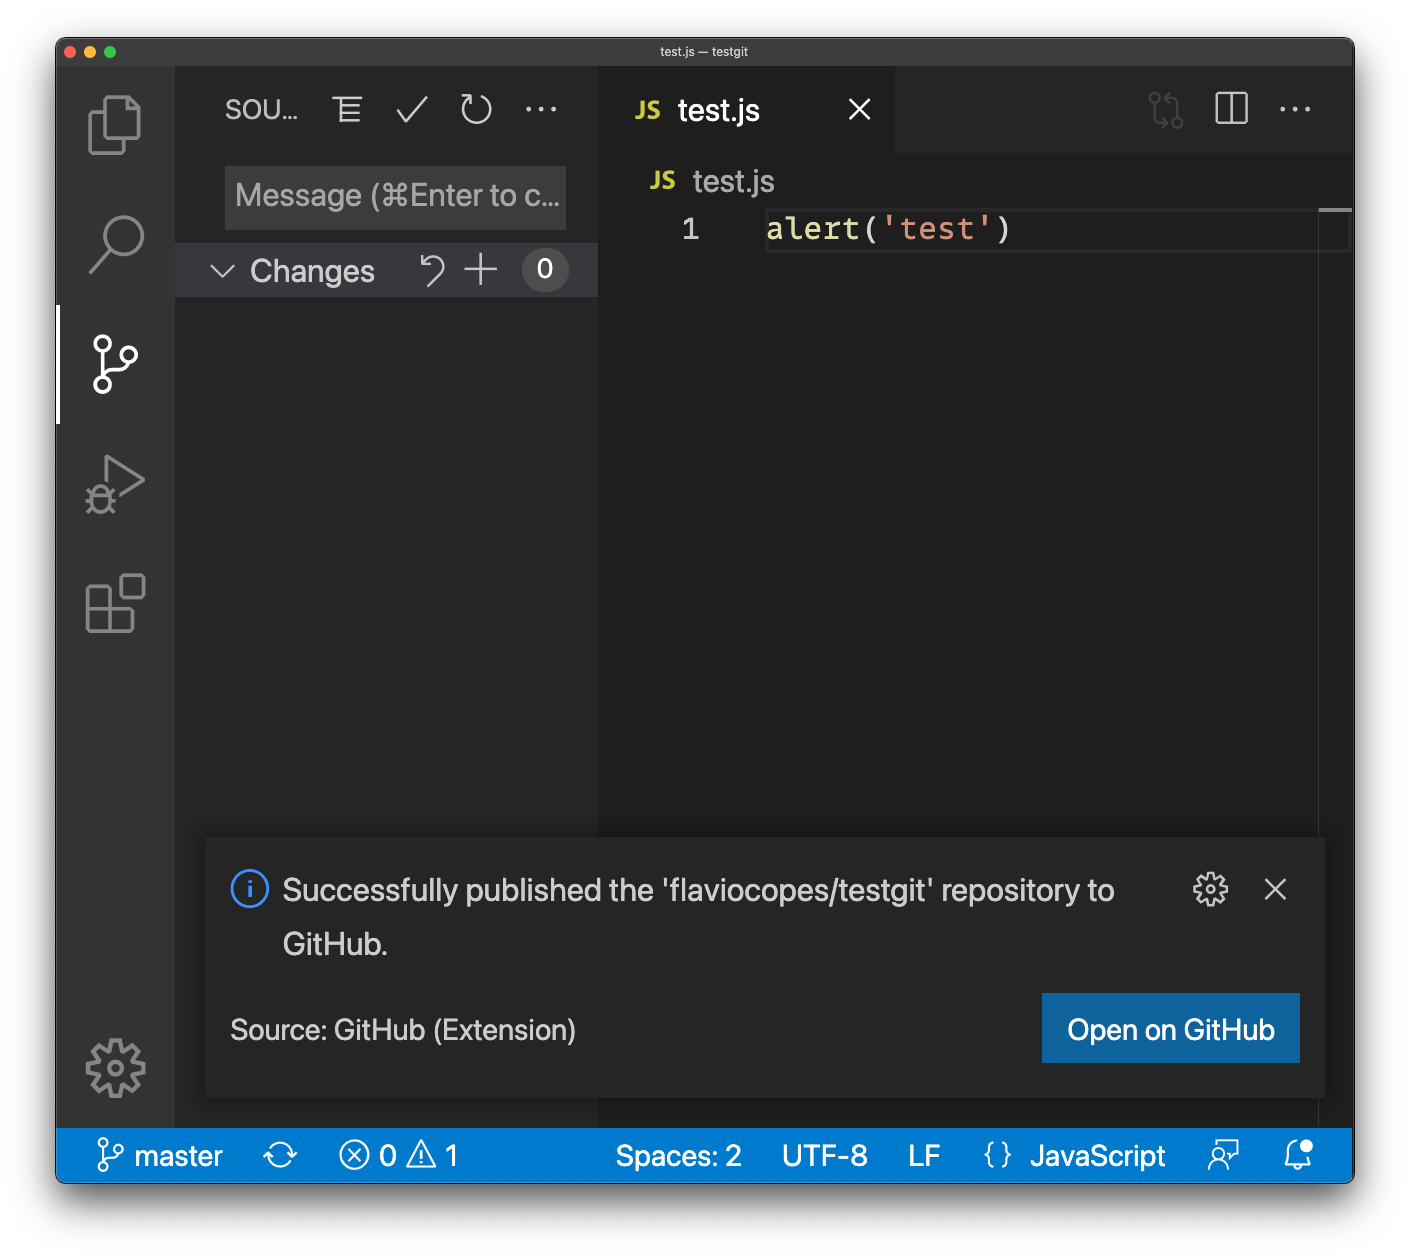
This process pushed your commits to GitHub.
This means they are now saved on github.com (which you can see also serves as a handy backup for your code in case anything goes wrong on your machine).
There you go:
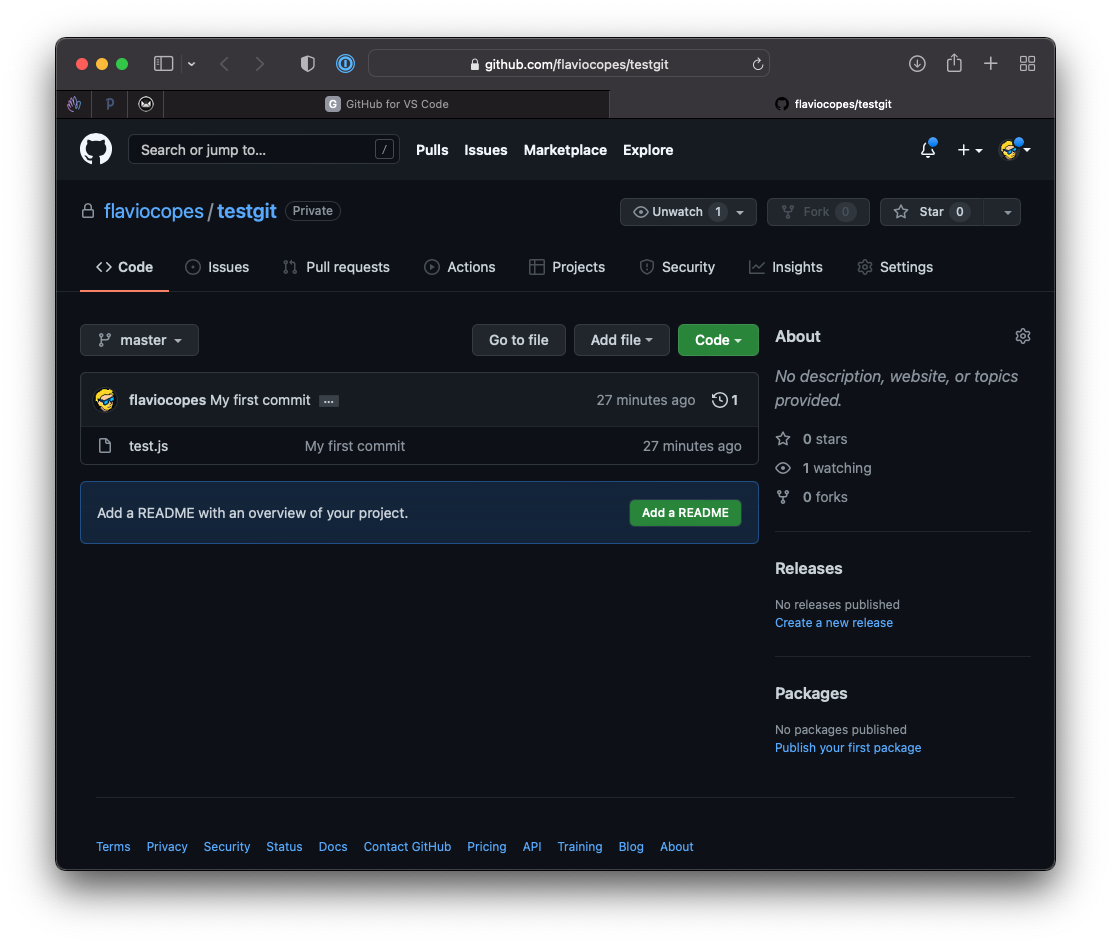
There’s a lot on this page, but the first thing we’ll look at is little icon with a clock and a 1 number:
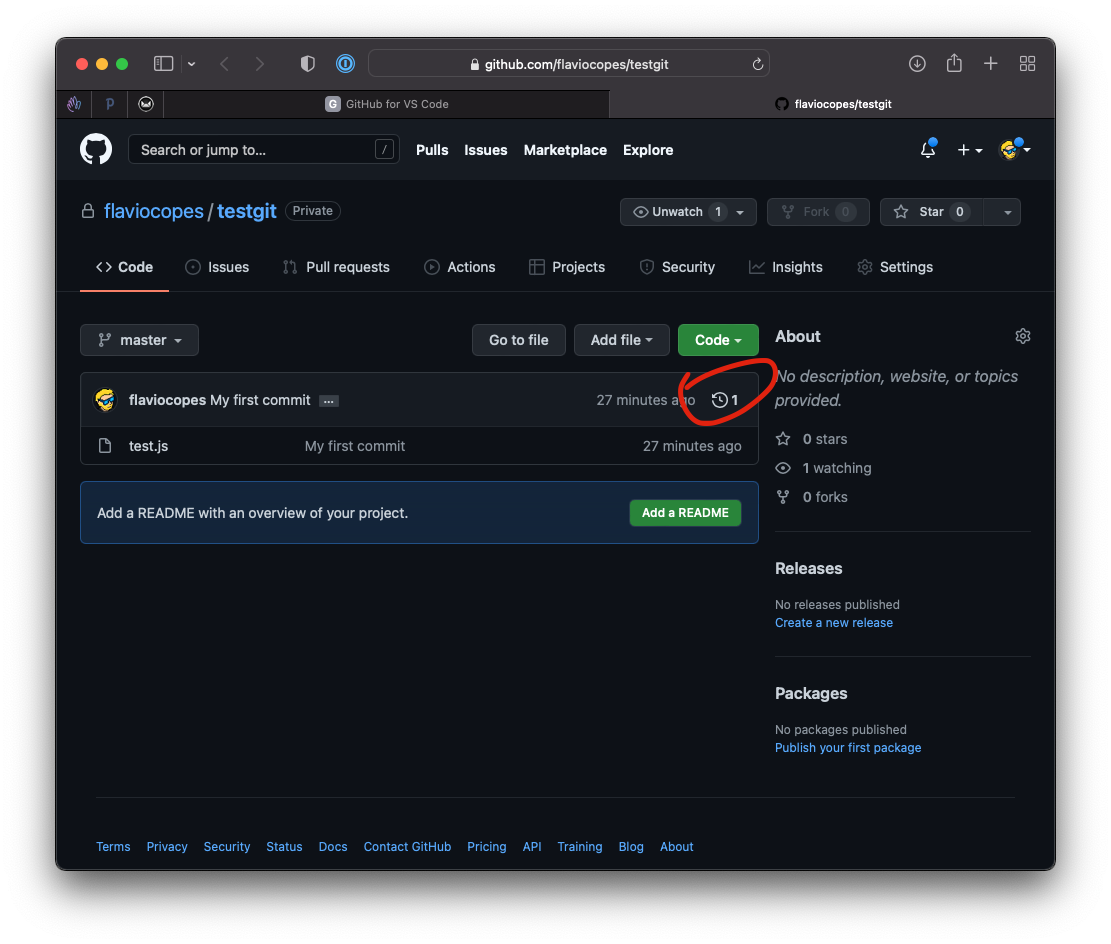
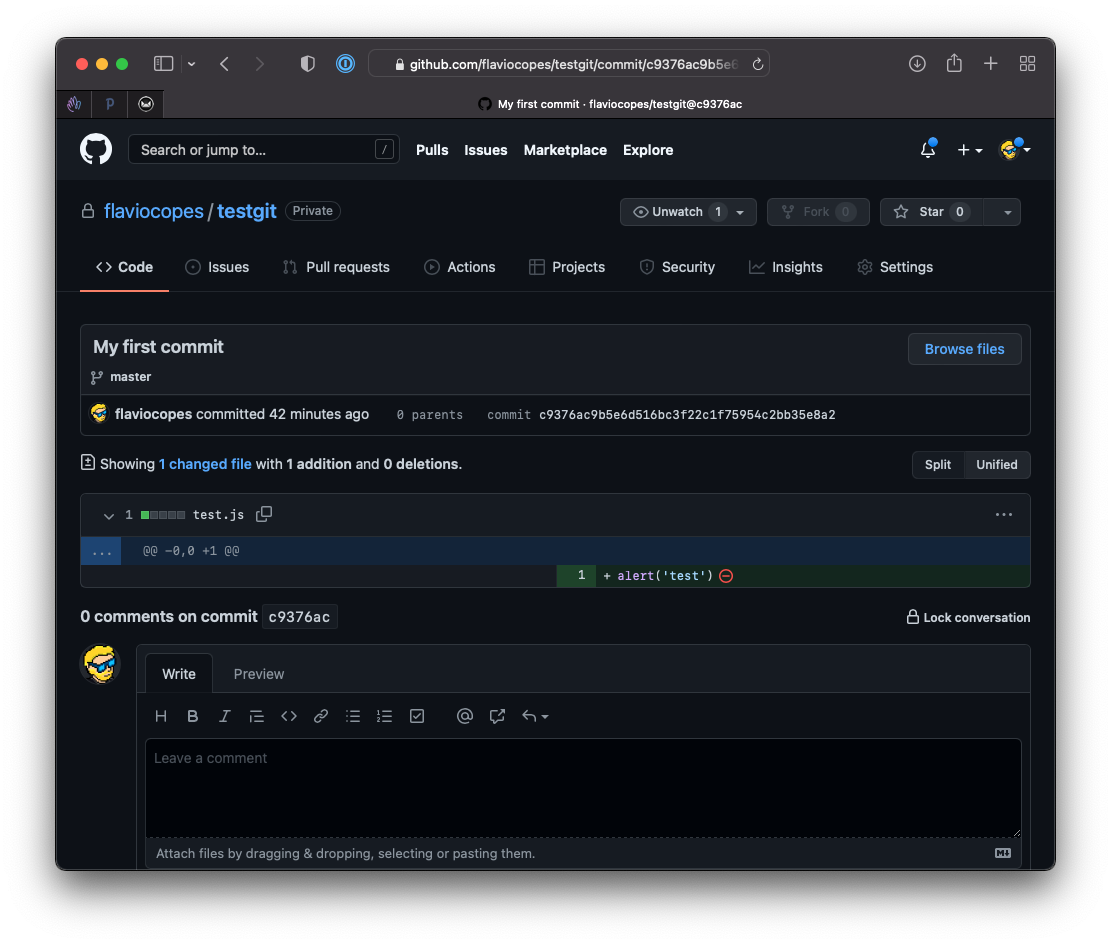
Click that, and you’ll have a view of all the commits made to this repository.
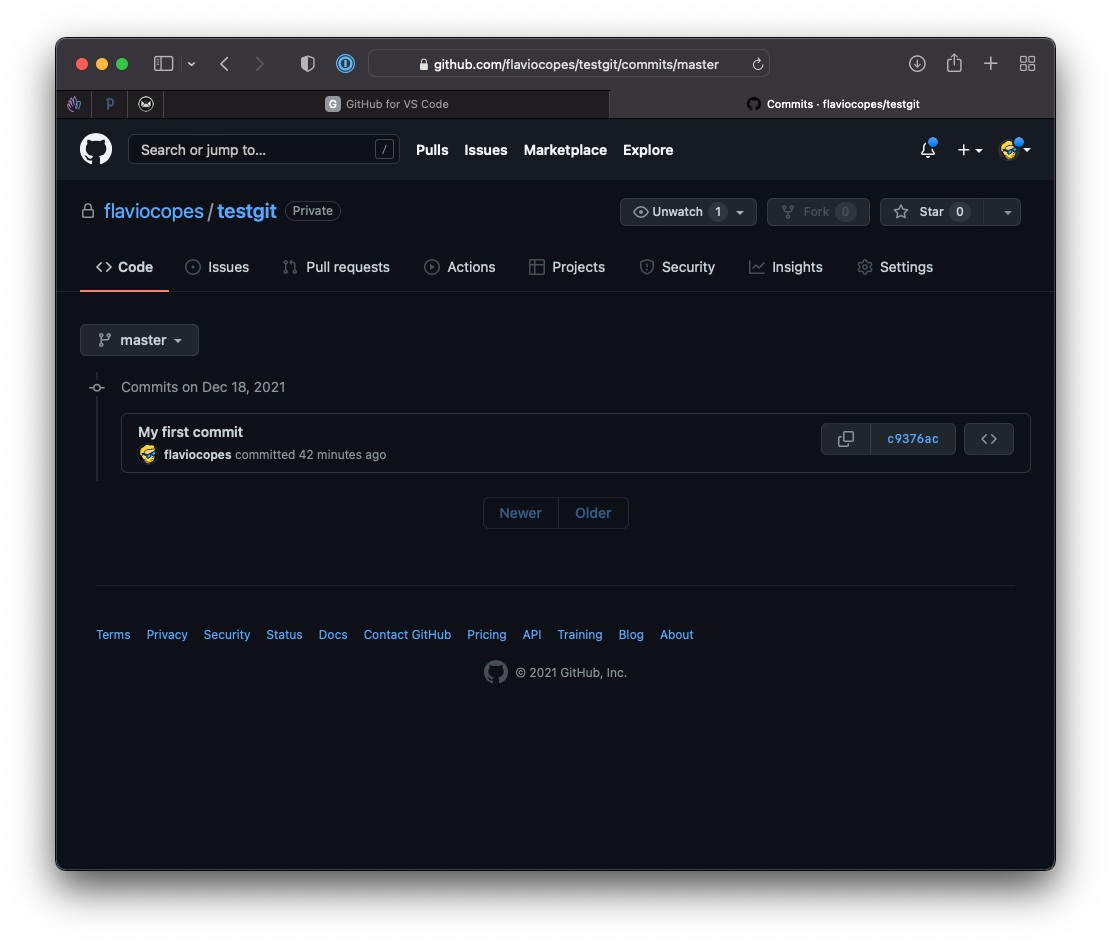
Over time, this view will have a long list of commits, and clicking the commit ID on the right will show the specific changes you made in each commit.
You can interact with Git from the command line (we’ll see the command line in the next lesson). Some people prefer that, but it’s not required for this bootcamp.
I highly recommend using GitHub Destktop, as it makes thing easier.
If you’re interested to learn more about Git and GitHub, I can recommend my own tutorials:
Here is how can I help you:
- COURSES where I teach everything I know
- THE VALLEY OF CODE your web development manual
- BOOTCAMP 2024 cohort in progress, next edition in 2025
- BOOKS 16 coding ebooks you can download for free on JS Python C PHP and lots more
- SOLO LAB everything I know about running a lifestyle business as a solopreneur
- Interesting links collection
- Follow me on X