Arduino project: use an active buzzer
By Flavio Copes
Learn how to make a sound with an Arduino and an active buzzer, wiring it to a digital pin and toggling it HIGH and LOW with digitalWrite() and delays.
In this project we’re going to use the Arduino to generate a sound using an active buzzer.
First connect the buzzer to a wire:
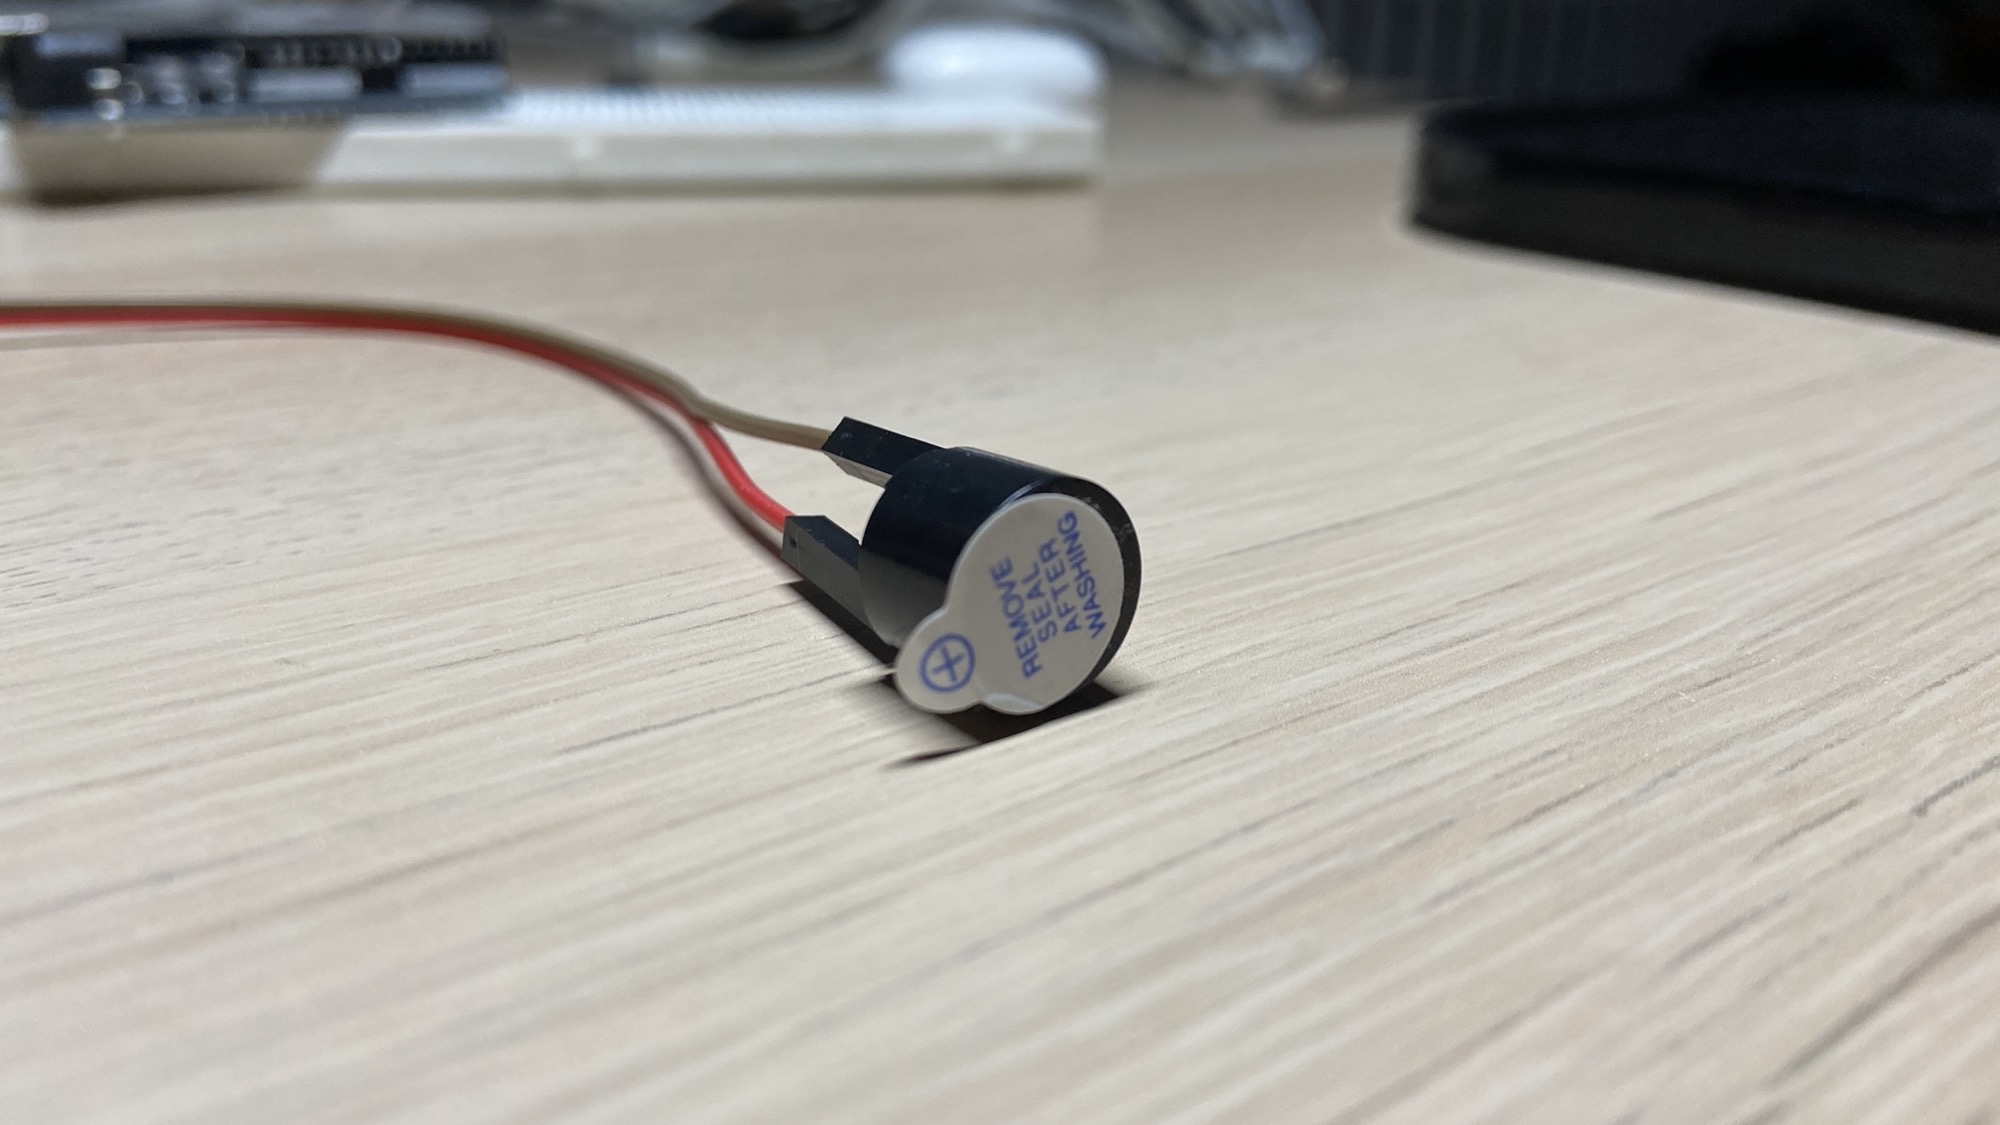
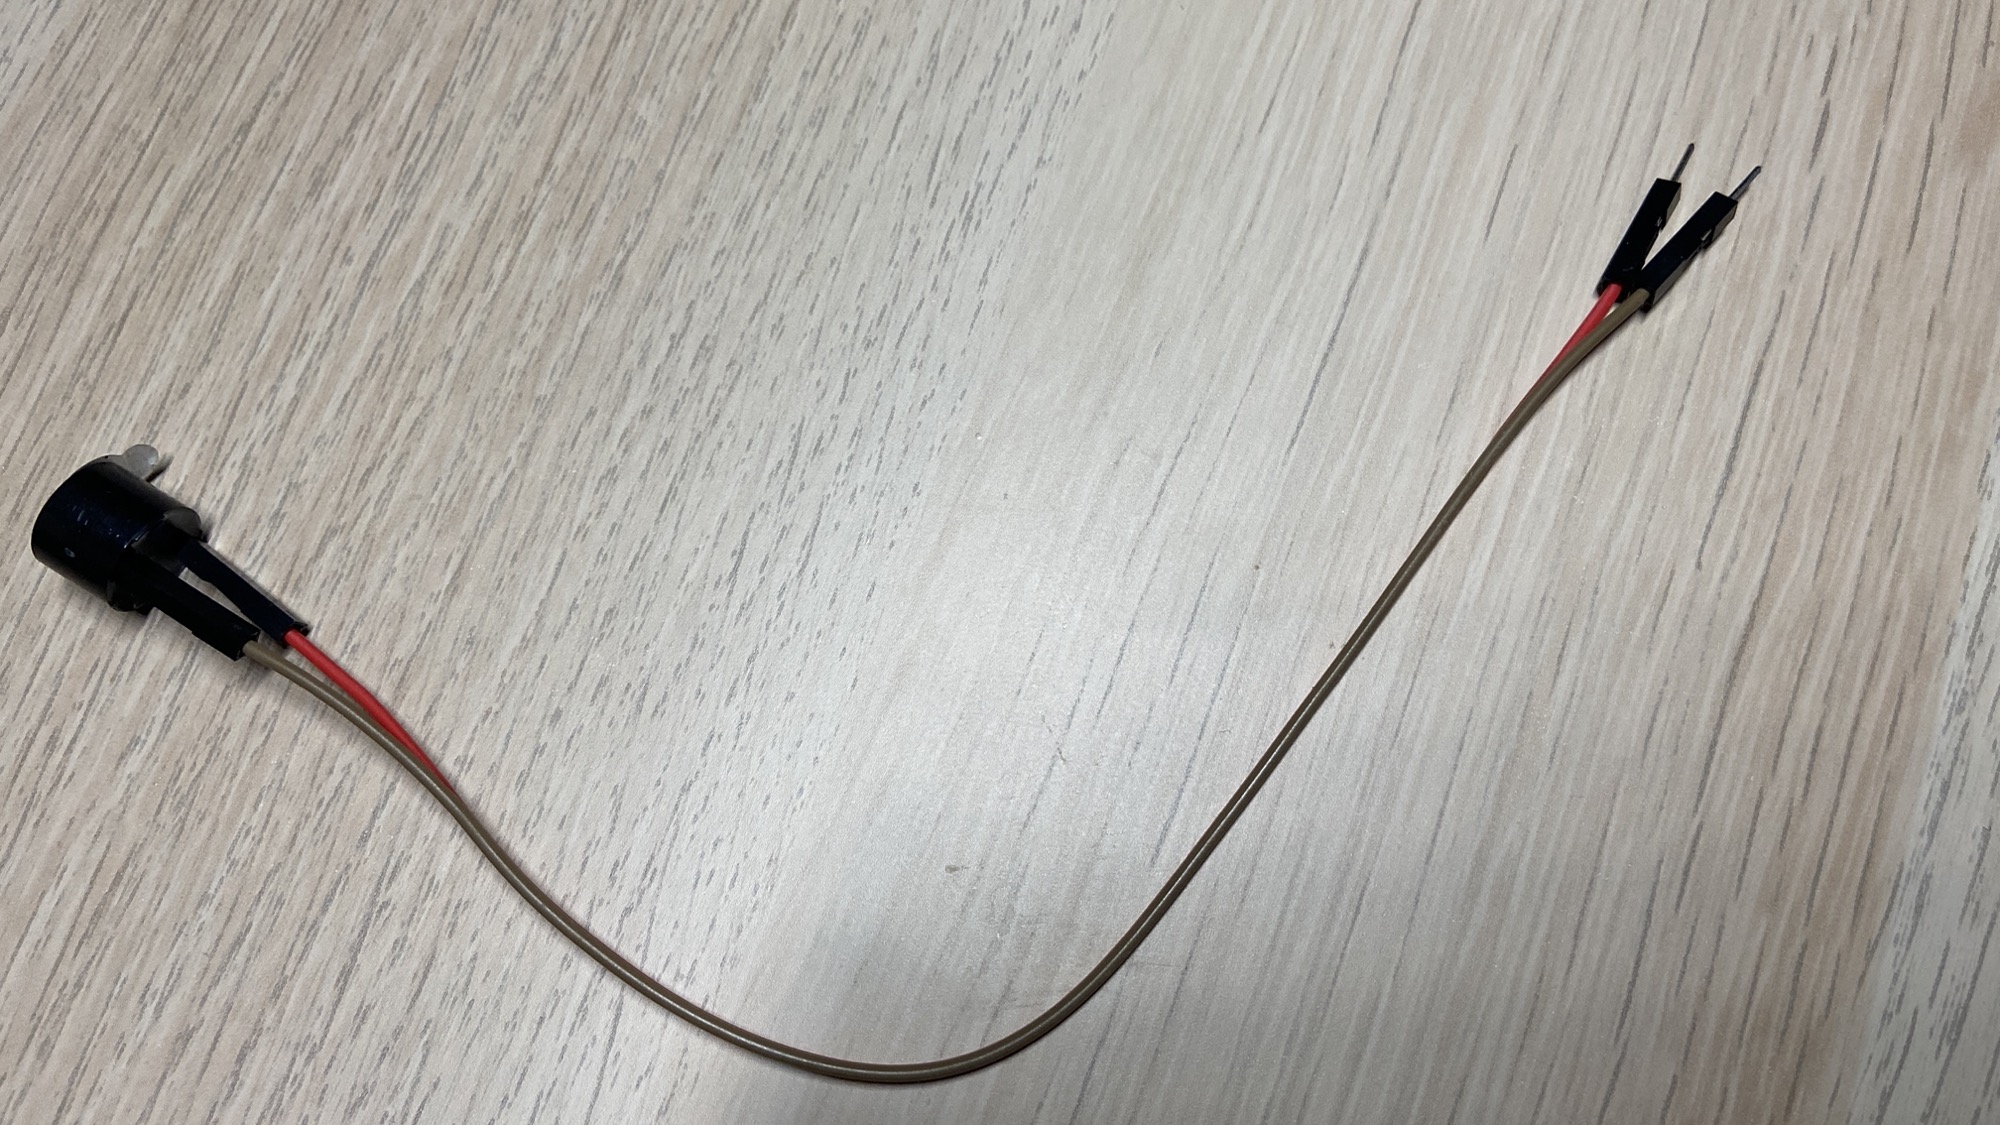
The buzzer has a + pole, I used the red wire for that (a good habit).
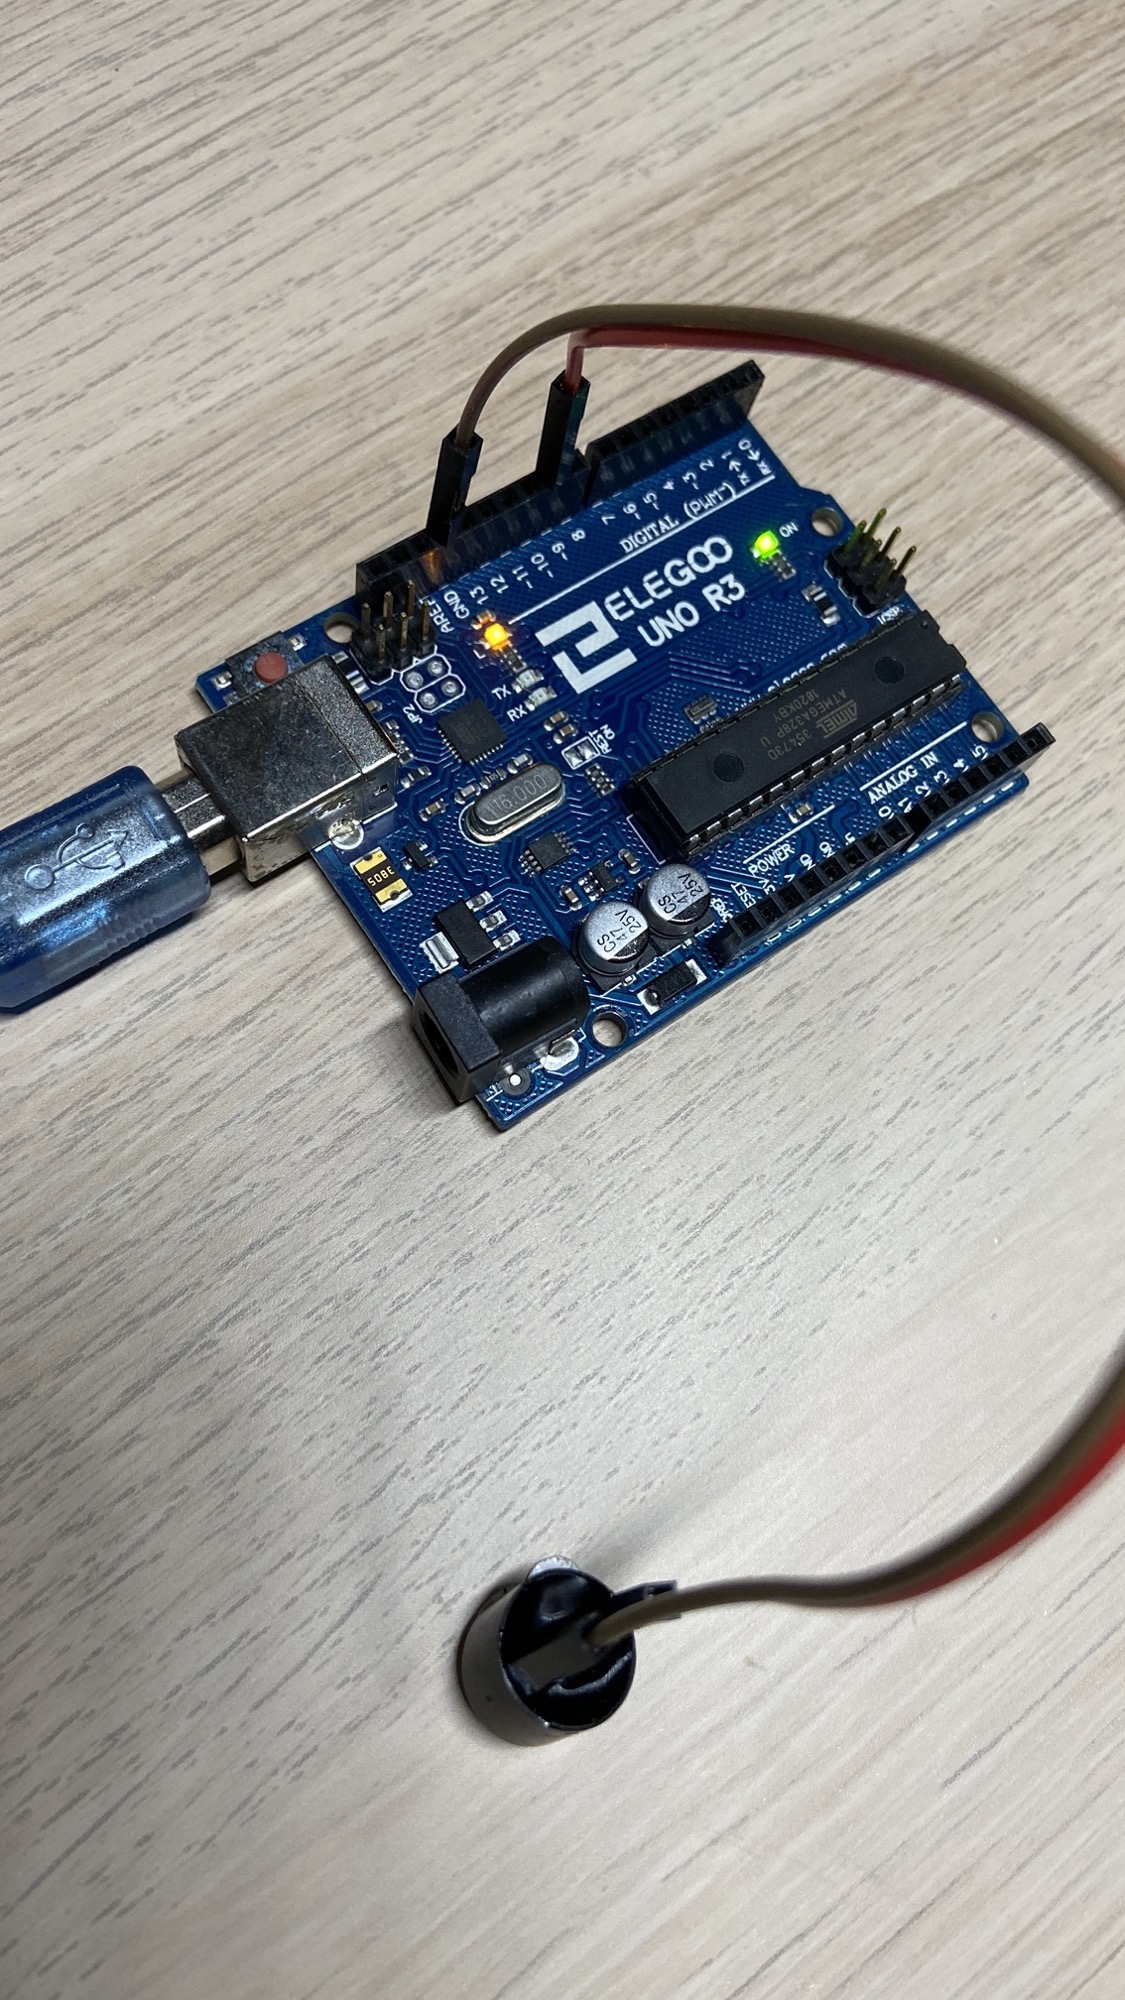
Then connect the - wire to GND on the Arduino, and the + wire to a digital output pin, in this case I picked pin #9:
Now we switch to the Arduino program. To generate a sound we need to write a HIGH value to the buzzer + pin, delay for a tiny amount of time, for example a millisecond, then write a LOW value on the same pin:
int delay_ms = 5;
int buzzer_pin = 9;

void setup() {
    pinMode(buzzer_pin, OUTPUT);
}

void loop() {
    digitalWrite(buzzer_pin, HIGH);
    delay(delay_ms);

    digitalWrite(buzzer_pin, LOW);
    delay(delay_ms);
}
Load the program on the Arduino and the buzzer will emit a low sound.
Try changing the delay_ms variable value to change the sound.
You can then go fancy by making it play different sounds, with a program like this:
int buzzer_pin = 9;

void setup() {
    pinMode(buzzer_pin, OUTPUT);
}

void play(int ms, int delay1, int delay2) {
    for (int i = 1; i <= ms; i++) {
        digitalWrite(buzzer_pin, HIGH);
        delay(delay1);
        digitalWrite(buzzer_pin, LOW);
        delay(delay2);
    }
}

void loop() {
    play(100, 1, 1);
    play(100, 2, 2);
    play(100, 1, 1);
    play(100, 2, 2);
    play(100, 1, 1);
    play(50, 2, 1);
    play(100, 3, 2);
    play(100, 4, 4);

}Related posts about electronics: