Arduino Serial Communication
By Flavio Copes
Learn how Arduino serial communication works: initialize Serial with a baud rate, then use Serial.print() to send data to your computer and debug projects.
To communicate between Arduino and other devices we can use serial communication. This is often used to “talk” to a computer, to visualize data coming from the Arduino, and to debug your projects. Or to communicate with other devices, too.
Arduino comes with the built-in Serial library. You don’t need to import anything special to use it.
The USB connection we make between the computer and the Arduino to upload the program to the device is automatically set up to handle serial communication, so we can send and receive messages through the Arduino IDE.
Let’s now see how to send data through the serial.
In the setup() function of an Arduino program you need to initialize the serial communication by setting the the data rate, expressed in bauds, for serial data transmission. Typically 9600:
Serial.begin(9600);bauds = bits per second
Then you can use one of the several Serial functions.
For example Serial.print():
Serial.print("Hello!");Let’s try it by compiling and uploading this program to the Arduino:
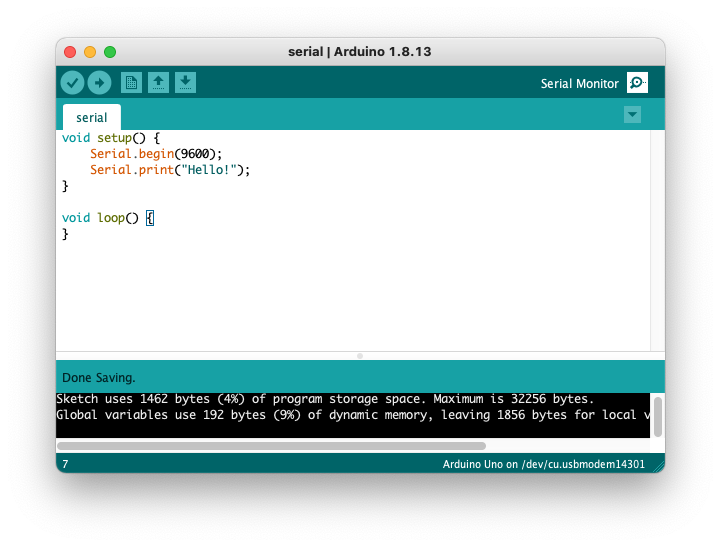
void setup() {
    Serial.begin(9600);
    Serial.print("Hello!");
}

void loop() {
}
Save and upload the program to the Arduino, then click the top-right button “Serial Monitor” in the Arduino IDE:
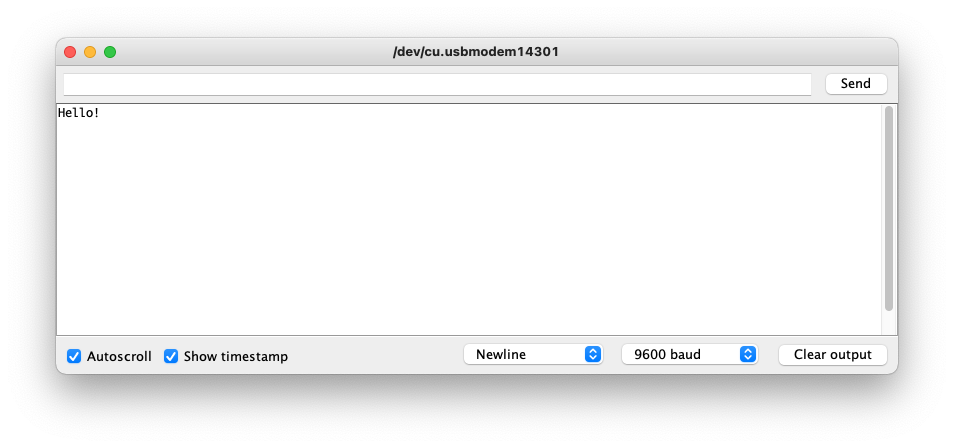
The button will open the serial interface monitor on the computer. Make sure it’s tuned to the baud rate set in the program, and you should see the “Hello!” string being printed:
Serial.print() is just one of the functions you can run.
You also have Serial.println() that writes something and adds a \n line terminator, so every message is printed on its own line.
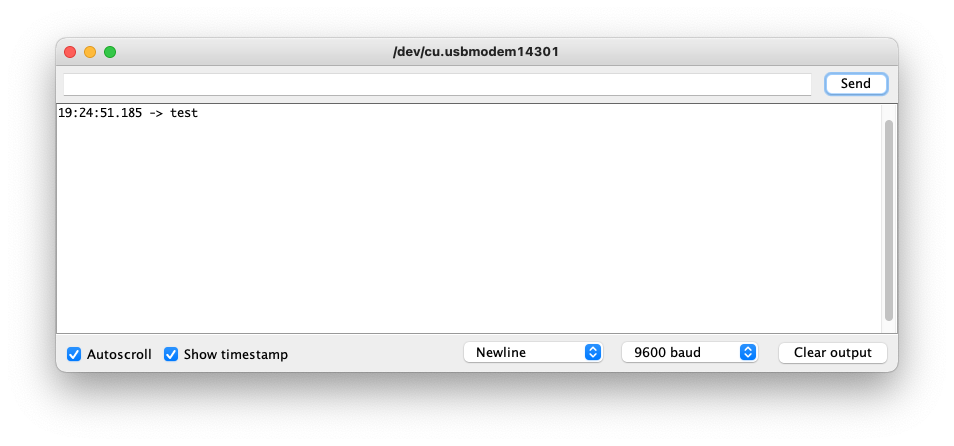
You can also send messages to the Arduino from this serial interface monitor. See the input box with the Send button on top?
In the Arduino program you can use Serial.read(). Characters are encoded using ASCII, and if you run this program:
void setup() {
    Serial.begin(9600);
}

void loop() {
  if (Serial.available() > 0) {
    Serial.print(Serial.read());
  }
}
You will see in the serial interface printed back the ASCII decimal value of the characters you send. Try writing test and hit Send:
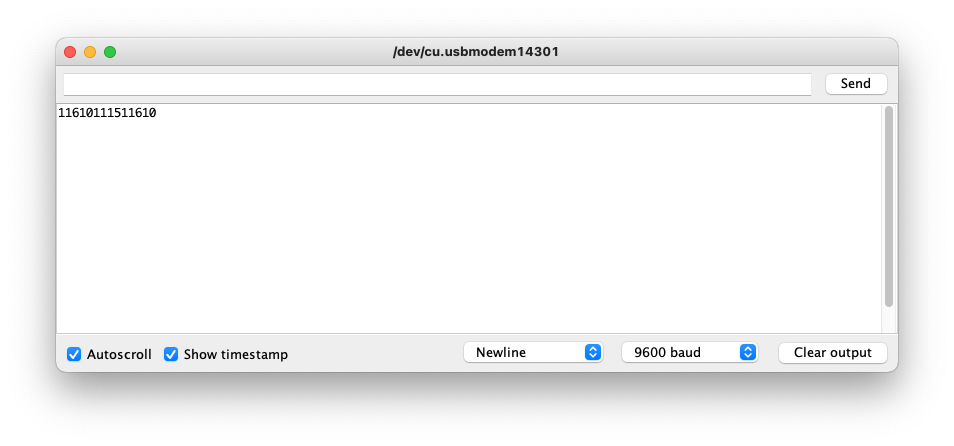
It’s best to use Serial.println() to have each number printed on a single line:
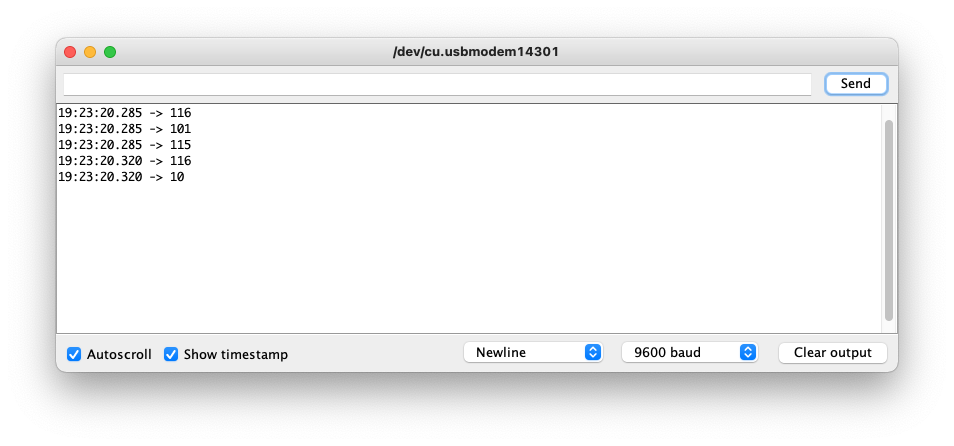
116 is the ASCII encoding for t
101 is the ASCII encoding for e
115 is the ASCII encoding for s
And 10 is the new line character.
See my list of printable and non-printable ASCII codes.
To print the character instead of the ASCII encoding, use the Serial.write() function:
void setup() {
    Serial.begin(9600);
}

void loop() {
  if (Serial.available() > 0) {
    Serial.write(Serial.read());
  }
}
Serial.available() makes sure there’s data ready to be read. It returns -1 if no data is sent, so if we don’t add this check we’ll just see a bunch of -1 repeated in the serial monitor.
There are more functions you can use in the Serial object.
Check them all in details here: https://www.arduino.cc/reference/en/language/functions/communication/serial/.
It’s important to note that on the Arduino you have a tx and a rx set of pins. On the Arduino Uno they are pins 0 and 1, on a MKR 1010 they are pins 13 and 14. Do not use those pins for I/O when you use serial communication via USB, or you might have interferences in your data.
That said, those pins are used as the serial interface, which is very useful to communicate directly to other devices, and not with your computer through USB.
Related posts about electronics: