A practical guide to Homebrew
An introduction to the popular Homebrew package manager
An introduction to the popular package manager
Homebrew is a great package manager. Originally created for macOS, it now runs on Linux and the Windows Subsystem for Linux, too.
Using it, you can install almost any CLI application you can think of, and even full GUI apps.
How do you install Homebrew?
On macOS, the command to install Homebrew is:
/usr/bin/ruby -e "$(curl -fsSL https://raw.githubusercontent.com/Homebrew/install/master/install)"
On Linux/Windows, see the instructions on the official website.
After the above command executes, you’ll have the brew command available in the terminal:
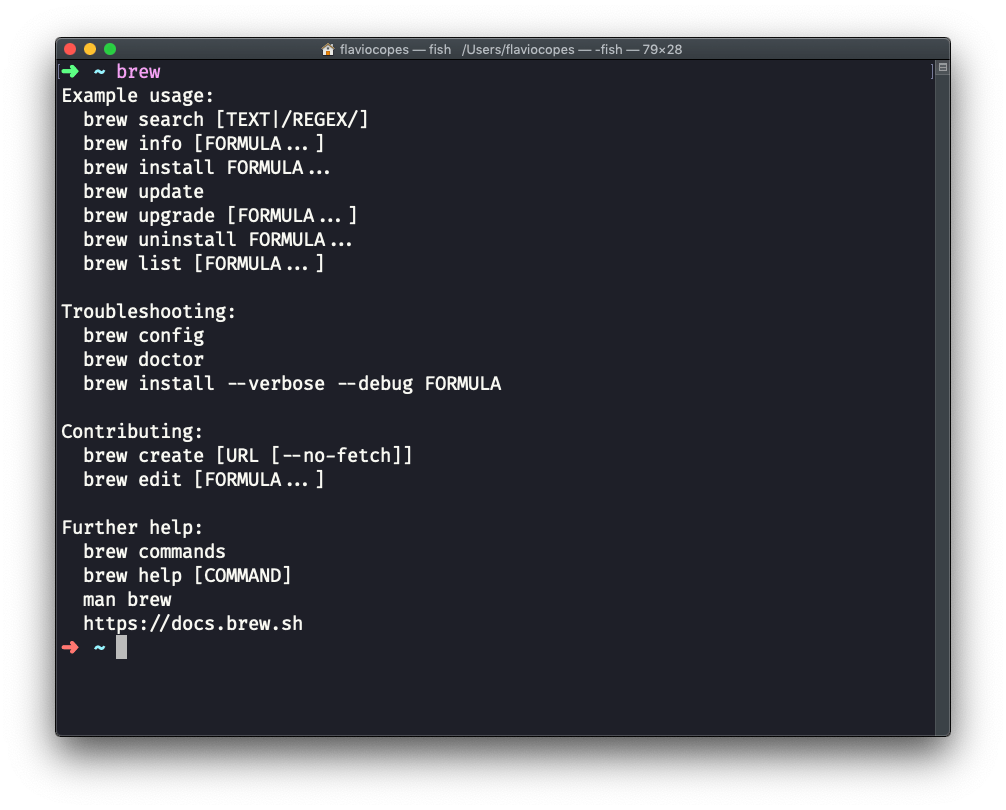
See? We have a list of sub-commands we can use: brew install, brew upgrade, brew uninstall, and more.
Installing applications
Use the brew install command to install an application:
brew install <packagename>
For example, to install mysql, run:
brew install mysql
The command has a lot of options available, and you can check them out
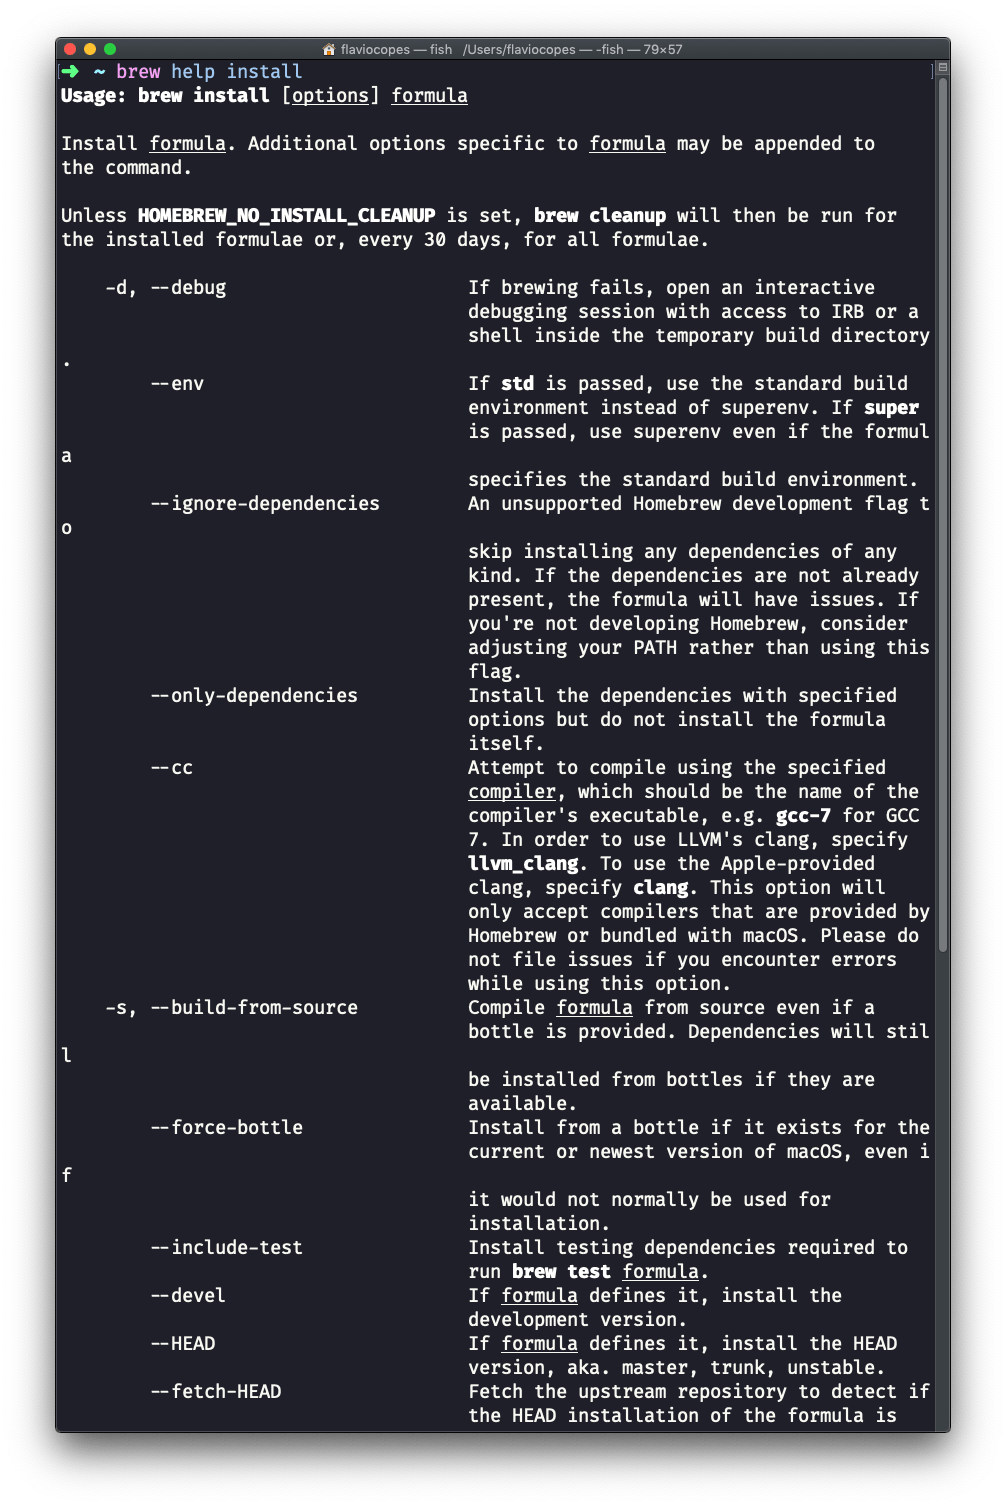
You might never need any of those options - I very rarely use anything else than the default brew install <package>.
Sometimes packages (like the mysql package I used in the example above) will install, but they will require some additional steps before you can run them.
If this is the case, those are typically highlighted to you at the end of the installation process. Make sure you read everything Homebrew prints to the console, to avoid headaches later.
Where are packages installed?
Packages installed using Homebrew are all installed in a specific folder.
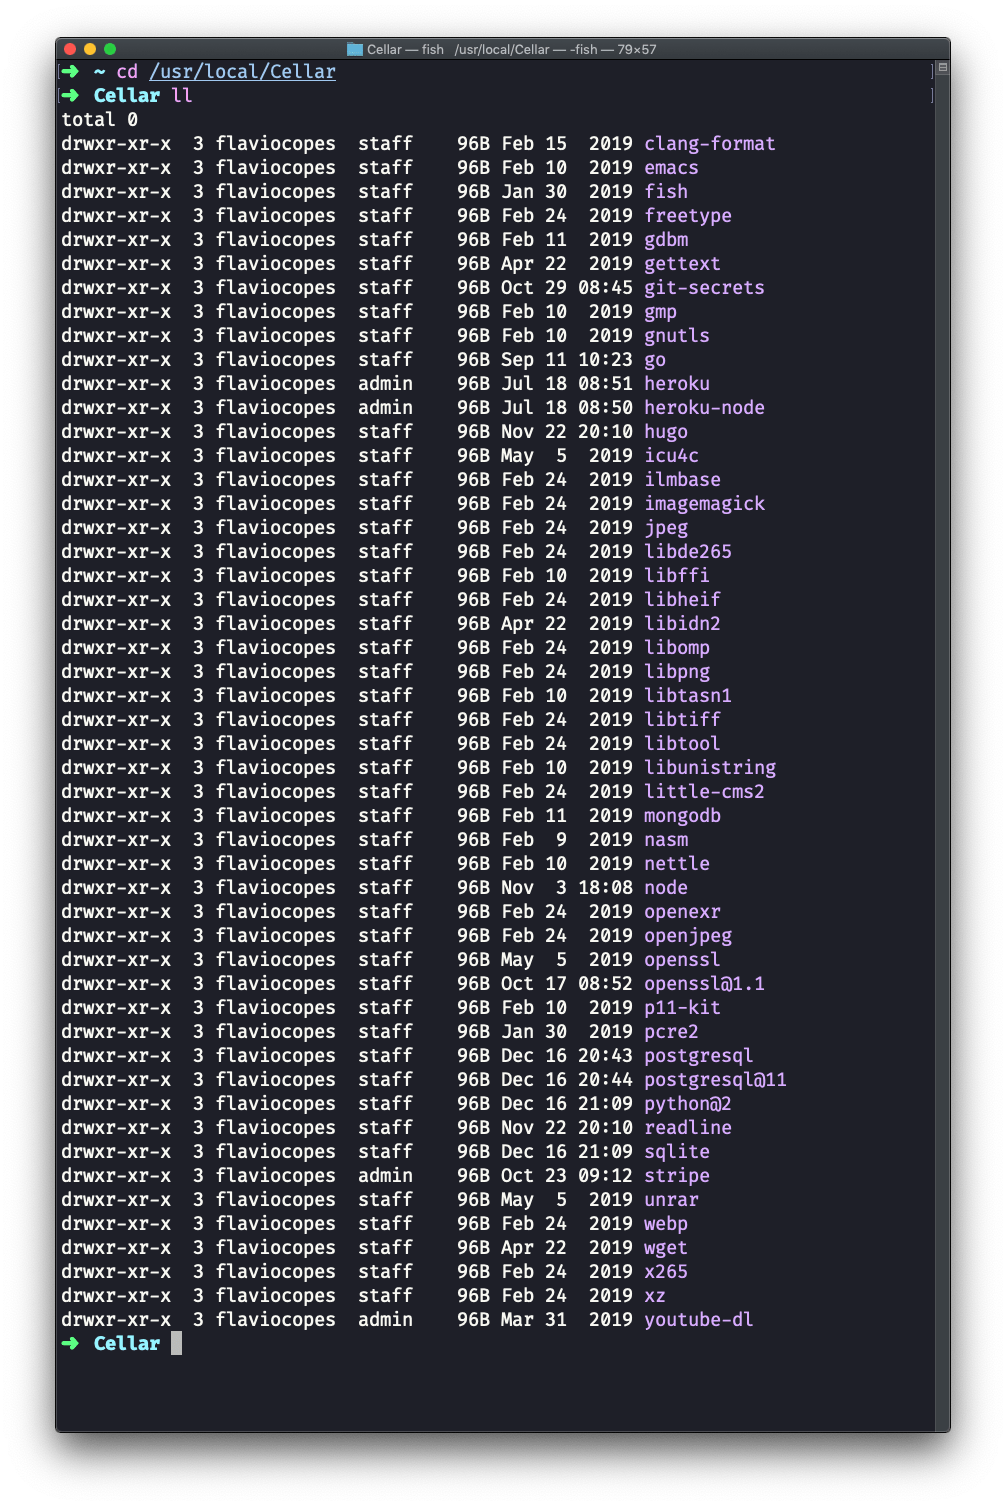
Typically it’s /usr/local/Cellar.
If you don’t find this folder, run brew --prefix to find the correct folder prefix. On my system, this command returned /usr/local, the place where the Cellar folder can be found.
In there, you’ll find the list of the packages you installed, each into its own folder:
Updating a package
A single package can be upgraded using
brew upgrade <packagename>
Updating Homebrew
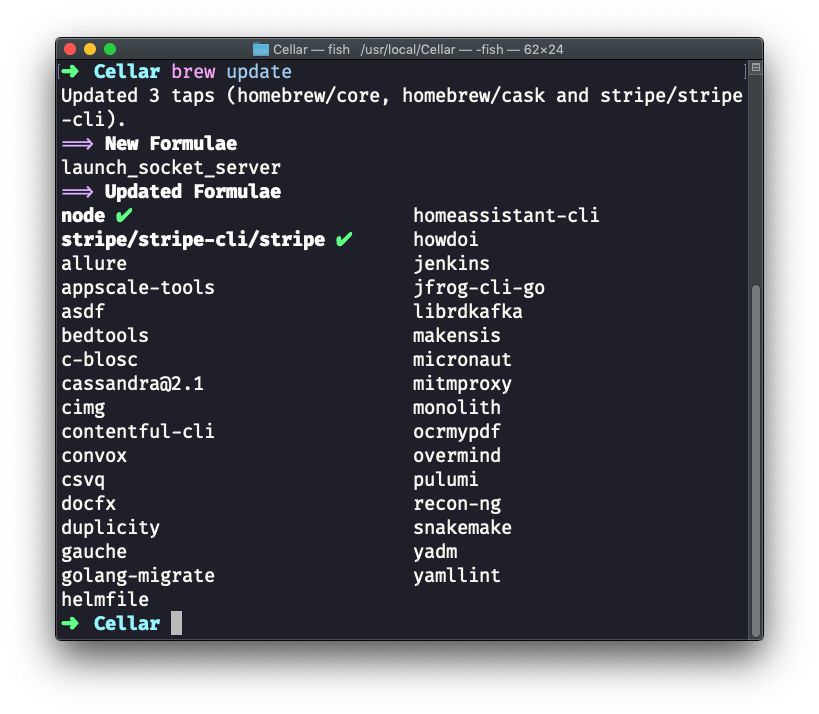
Homebrew itself needs to be updated from time to time. It will sometimes automatically updated when you run commands, but you can manually tell it to update by running
brew update
Removing a package
It’s very easy to install a new package. It’s also very easy to uninstall it.
Run:
brew uninstall <packagename>
Doing so, Homebrew will completely remove the package from the system.
Installing GUI apps
One cool thing that Homebrew can do, in addition to installing CLI (command line) apps is the ability to install GUI apps.
Using:
brew install --cask <appname>
You can install a GUI apps that you’d traditionally need to find the website, download the package, move to /Applications.. now it’s a single command.
For example:
brew install --cask firefox
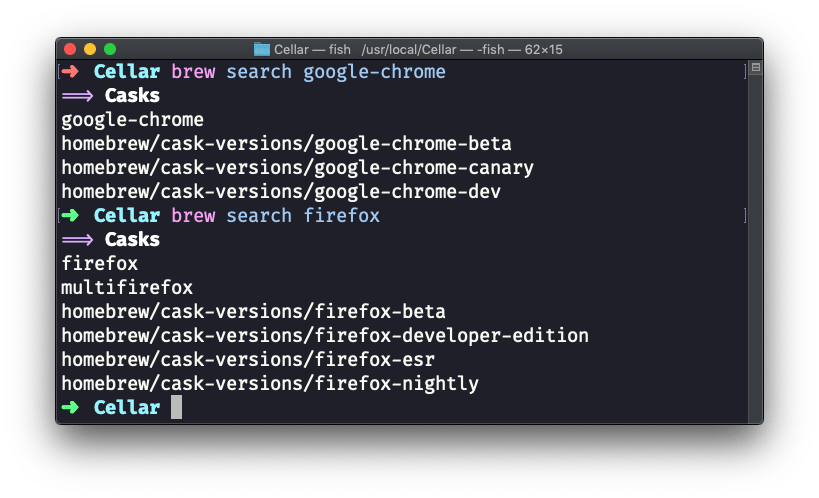
You can find a list of all the apps you can install using this method on https://github.com/Homebrew/homebrew-cask/blob/master/Casks and you can search for a particular package using
brew search <name>
like this:
brew search google-chrome
→ I wrote 17 books to help you become a better developer:
- C Handbook
- Command Line Handbook
- CSS Handbook
- Express Handbook
- Git Cheat Sheet
- Go Handbook
- HTML Handbook
- JS Handbook
- Laravel Handbook
- Next.js Handbook
- Node.js Handbook
- PHP Handbook
- Python Handbook
- React Handbook
- SQL Handbook
- Svelte Handbook
- Swift Handbook
Also, JOIN MY CODING BOOTCAMP, an amazing cohort course that will be a huge step up in your coding career - covering React, Next.js - next edition February 2025