Introduction to Laravel
By Flavio Copes
An introduction to Laravel: set up PHP and Composer, create a project, run it with php artisan serve, and learn how routes and Blade views render your pages.
To get started with Laravel, you need to set up your PHP environment on your computer.
You can do this in various ways.
Before going on, remove any older PHP installations you might have done in the past. How exactly depends on how you installed PHP on your machine. Hopefully you haven’t any and we can go on.
On macOS, use Homebrew (install Homebrew first if you haven’t already) and install both PHP and Composer using
brew install php composer(might take a while)
Once installed you should be able to run the php -v command to get the version of PHP installed (same for composer -v):

Now you can go into folder on your computer that you reserve for development. I have a dev folder in my home directory, for example.
In there, run:
composer create-project laravel/laravel firstTo create a new project in a folder called first.
Now go into that folder and run php artisan serve:
cd first
php artisan serve
php artisan <some_command> is something you’ll use often in Laravel, as it can do a lot of useful stuff for you. For example we’ll use it to “scaffold” models without having to create files by hand.
Open your browser and you’ll see the default welcome screen of a Laravel app:

If you have troubles reaching this stage, the official documentation has great guides for macOS, Linux and Windows.
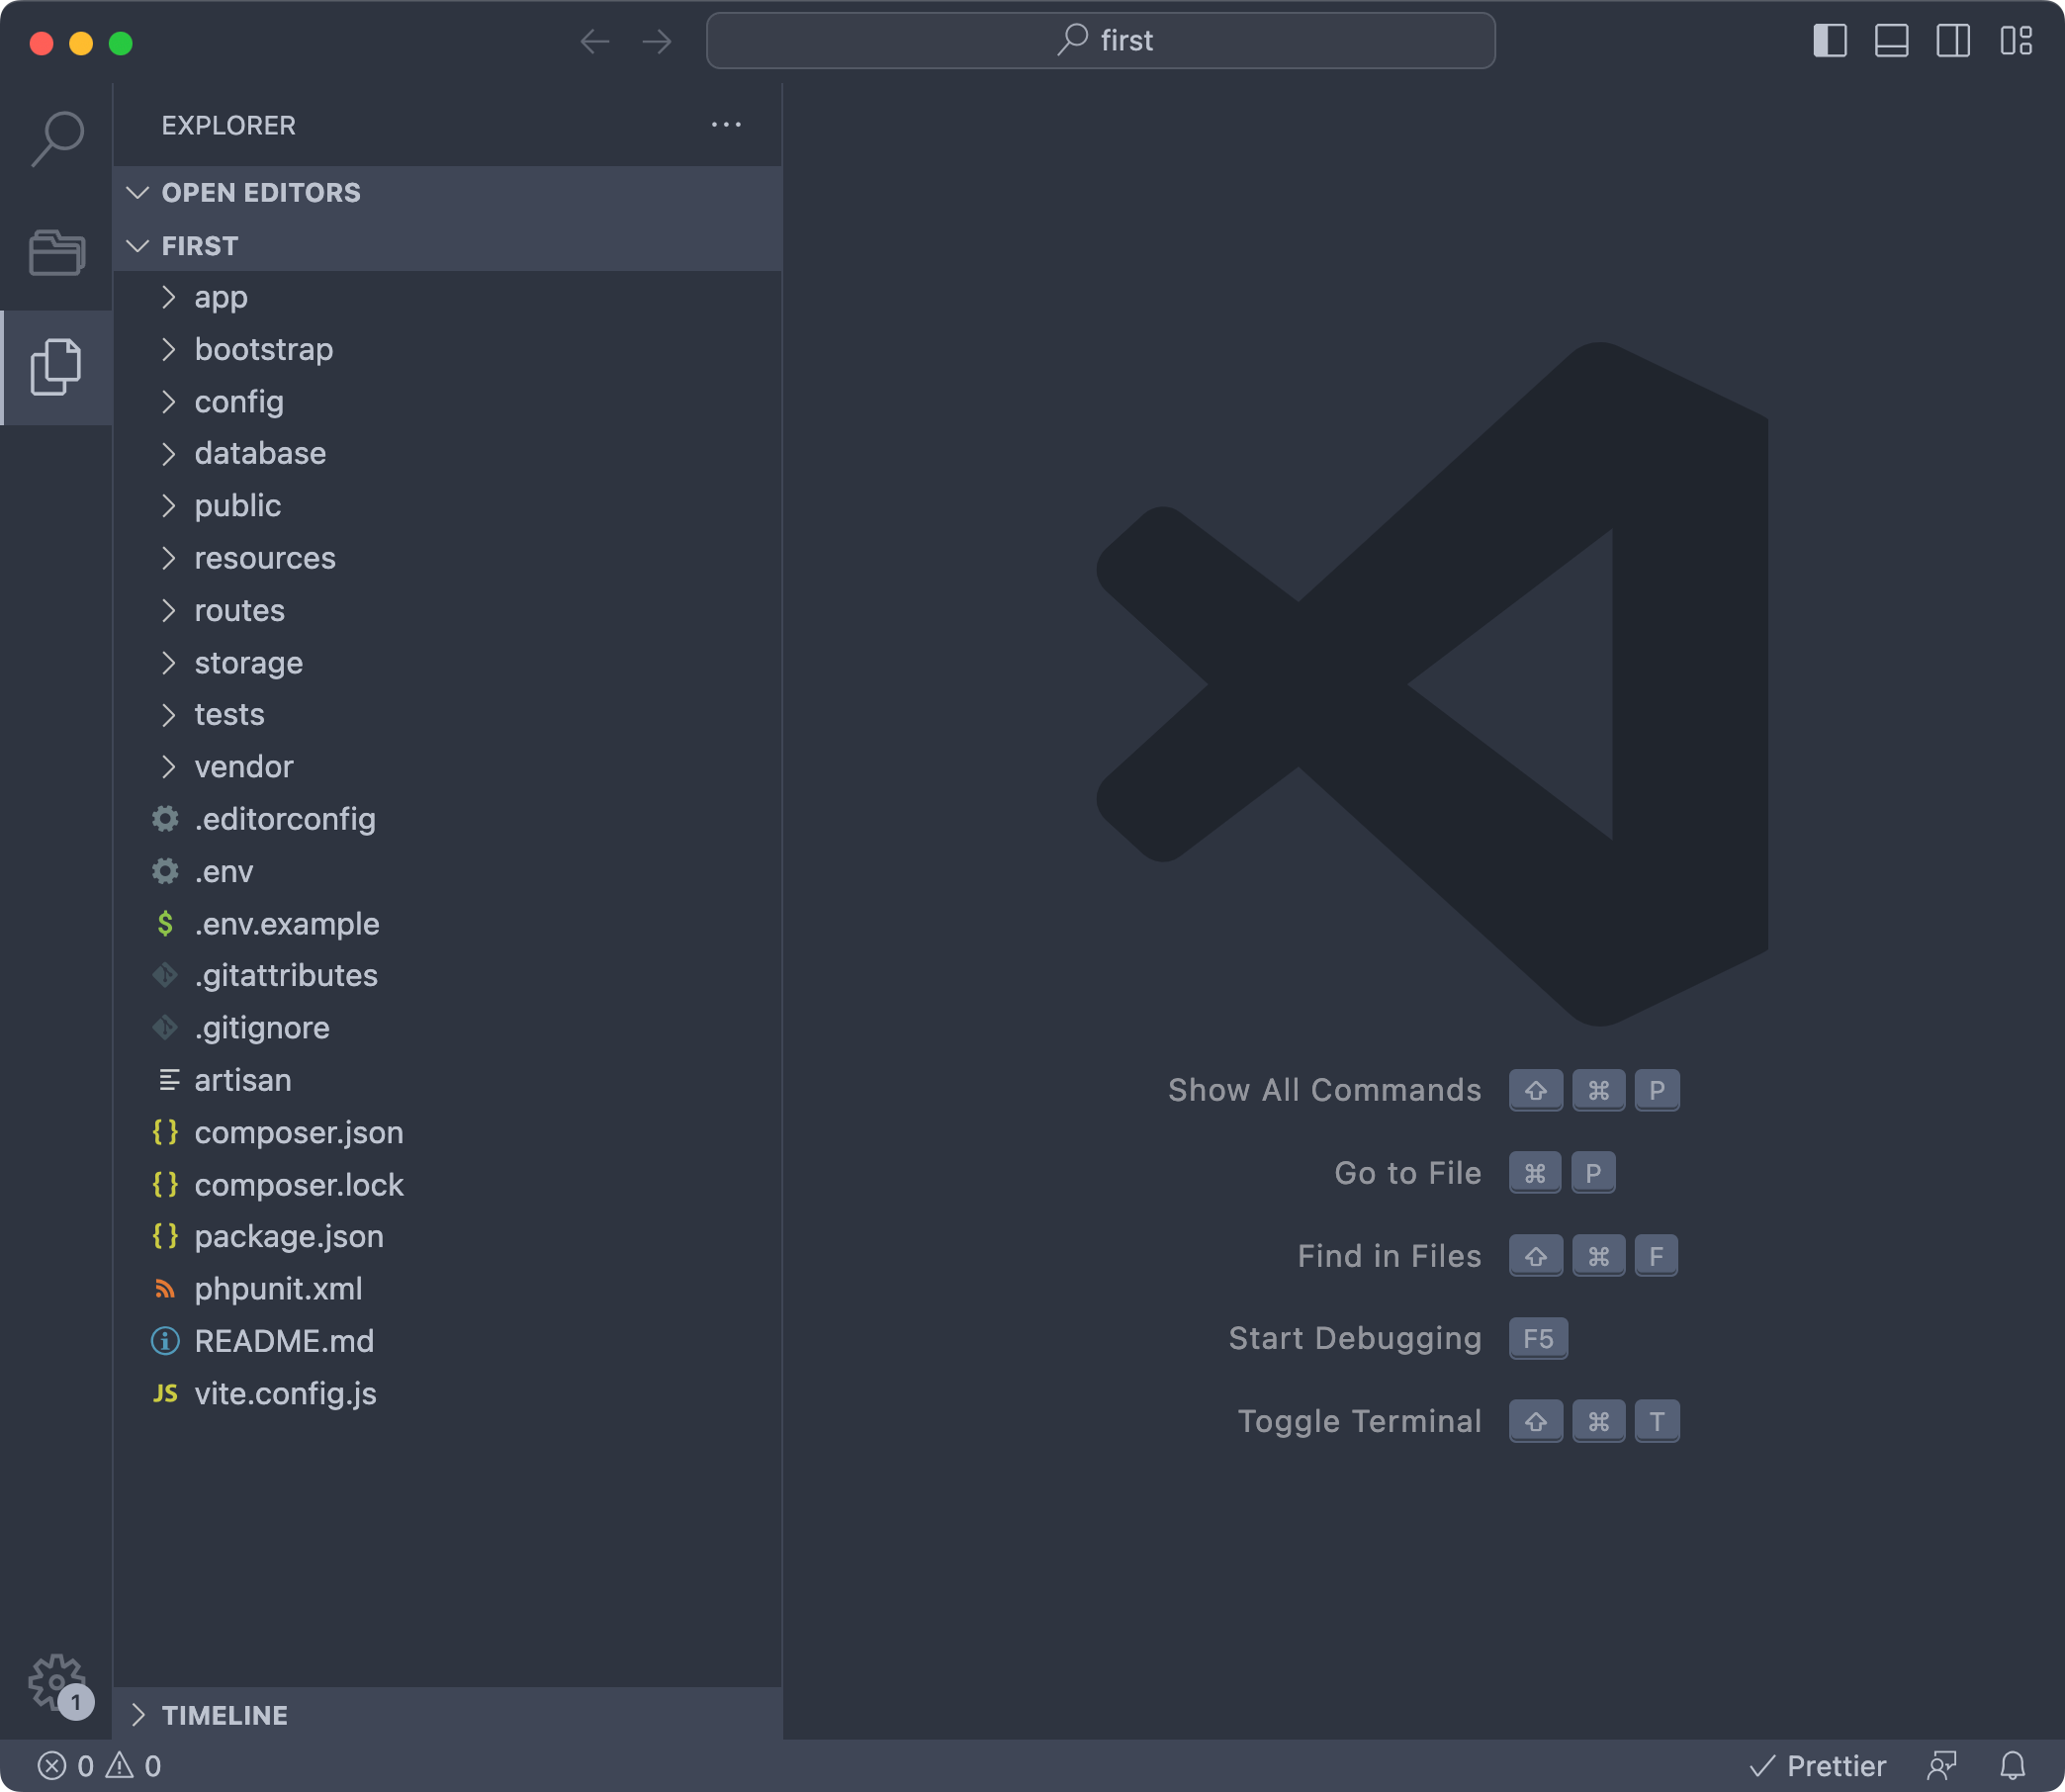
Open the newly created project folder in VS Code.
This should be the file structure:
While you’re here I recommend you install the extensions
We have a bunch of folders and a bunch of files.
The first thing you’re going to look at is the .env file.
It contains a lot of configuration options, called environment variables, for your app:

For example in this portion of the file you can see we set the app name, the debug flag, the URL, settings related to logging, to the database connection, email sending and much more.
One very useful folder is config. Here’s for example the config/app.php file:

Each file in the folder contain a lot of configuration options you can set, very well documented.
What’s the difference between config files and the .env file? Environment variables in .env can be changed depending on the deployment, for example locally in development you can have debug enabled, while on the production server you don’t want that.
Some options in config files, like the ones you see above, make use of the env() Laravel helper function to get the environment variable.
While options stored directly in the config folder hardcoded are “one for all environments”.
Before looking at changing any of the configuration options, let’s modify what you see in the browser.
Open the routes folder and you’ll 4 files. Open web.php:

This is the code that displays the sample home page of the Laravel application:

We made a request to the / relative URL (http://127.0.0.1:8000/****), which means the “home page”.
This URL is handled in the routes/web.php file, which contains the router dedicated to handling HTTP requests coming from the browser.
In this file, as shown in the screenshot, we tell Laravel to return the welcome view when someone visits the / URL using the GET HTTP method (the one used when you open the page in the browser):
Route::get('/', function () {
    return view('welcome');
});
To do this we use the view() Laravel helper, which knows where to find the welcome view because Laravel uses a set of conventions.
We have folders and files dedicated to holding specific, well-defined parts of our applications.
In this case the welcome view is defined in the file resources/views/welcome.blade.php:

You can clear all the content of this file, and type <h1>test</h1> into it. Save (cmd-s or ctrl-s) and reload in the browser, the homepage content will switch to displaying this string:

So now you know for sure that this file is responsible for what’s shown on that URL!
Now let’s add a second page.
In routes/web.php, add:
//...

Route::get('/test', function () {
    return view('welcome');
});
This will render the welcome view also when the /test route is called:


You can show a different content by creating a new view in resources/views and using that view in the route, for example create a new view resources/views/test.blade.php
resources/views/test.blade.php
<h1>new view!</h1>routes/web.php
//...

Route::get('/test', function () {
    return view('test');
});
Here is the result:

Notice that any URL that does not have a specific entry in routes/web.php renders a “404 not found” page:

You can customize this error page. Here’s how: create an errors folder in resources/views, and in there create a 404.blade.php file. Add any content, like
<img src="https://media.tenor.com/IHdlTRsmcS4AAAAM/404.gif" />And this will be rendered for 404 errors:

You didn’t have to do anything more than creating the file, because Laravel has this set of conventions, so adding a file in the right place with the right name will do something specific.
Related posts about laravel: