Setting up authentication using Laravel Breeze
By Flavio Copes
Learn how to add authentication to a Laravel app with Breeze, scaffolding registration, login and a dashboard, and what Laravel's official starter kits offer instead today.
We don’t want random people to come to the website and edit data.
We want people to log in first.
If logged out they will see the list of dogs.
If logged in they will have the ability to edit the list.
Laravel provides us built-in authentication support in the framework.
To make things even easier, it provides Breeze, an application starter kit tool that will create what we need in no time. Breeze scaffolds user registration, login, password reset, profile page, dashboard… and even API authentication. It’s great. For more advanced needs we also have JetStream, but Breeze is easier to set up.
A note before we start, because things changed since I wrote this in 2023. Breeze is no longer the kit Laravel recommends. Its README now says it’s for Laravel 11 and earlier, and the docs point new apps to the official starter kits: React, Vue, Svelte (all through Inertia) and Livewire, created with laravel new, with authentication built on Fortify. Breeze still installs fine though. Version 2.4 supports Laravel 11, 12 and 13, and everything below still works. If you want a small Blade setup with no JavaScript framework, it remains the quickest way to get auth pages.
First, create a new Laravel project, so we start from a clean slate.
The first one was named first, so to continue the tradition we’ll call this second project second:
composer create-project laravel/laravel secondGo into that folder:
cd secondInstall breeze using composer:
composer require laravel/breeze --devNow run
php artisan breeze:install and pick the Blade stack (option 0, “blade”, when I took the screenshot; current Breeze versions show it as “Blade with Alpine” in an interactive menu), and pick the default options for the other questions artisan asks you:

Now you can run php artisan serve and go to http://127.0.0.1:8000/.
You’ll see the “Log in” and “Register” links in the top right corner of the Laravel welcome page.
All the login functionality is working out of the box, including the password reset flow:
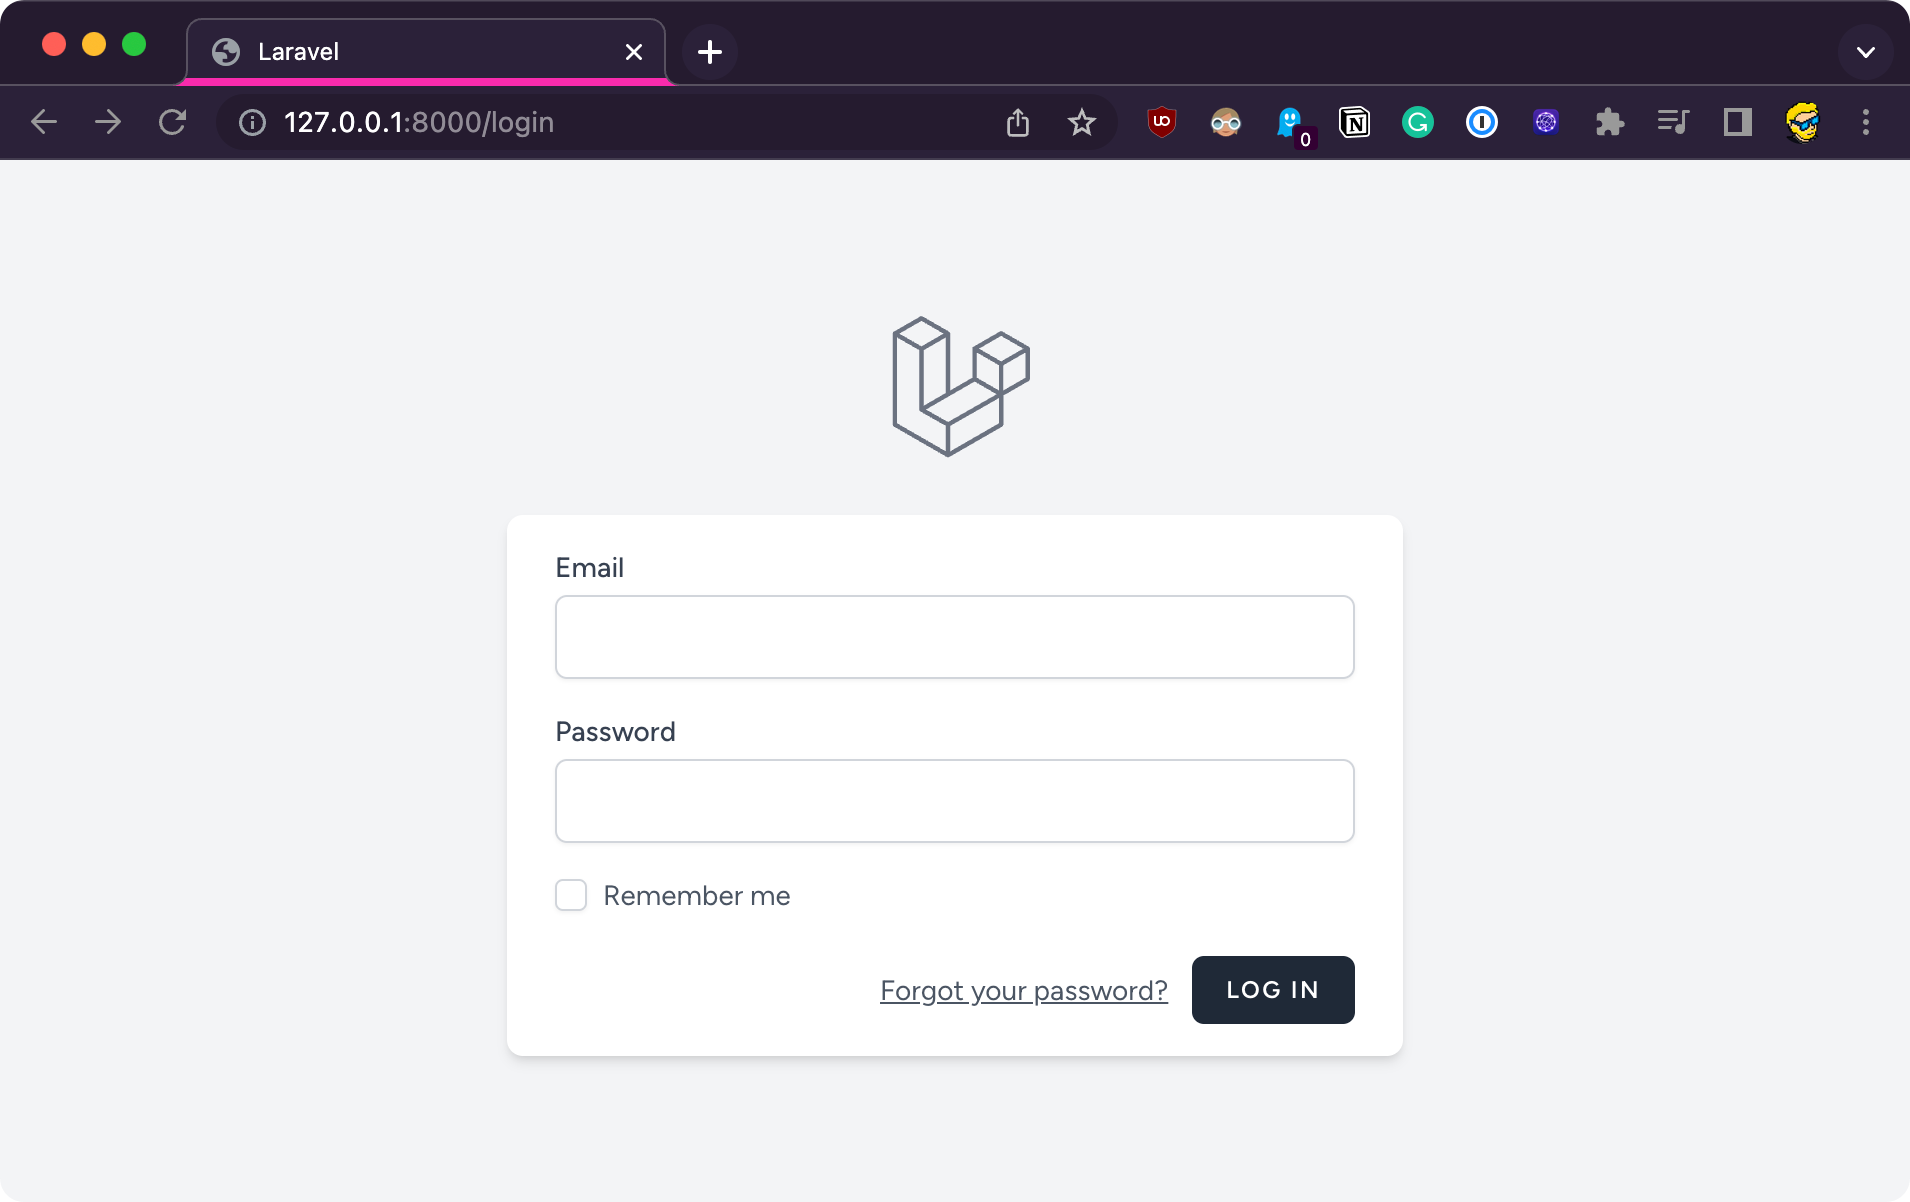

Laravel added a ton of resources to achieve this.
Easily days of work for a developer, and it’s battle-tested code which you don’t want to write yourself, as it’s a quite important and needs to be well tested for security issues.
I recommend you take a look at the file structure and compare it to the first project. Lots of new stuff has been added, for example views:
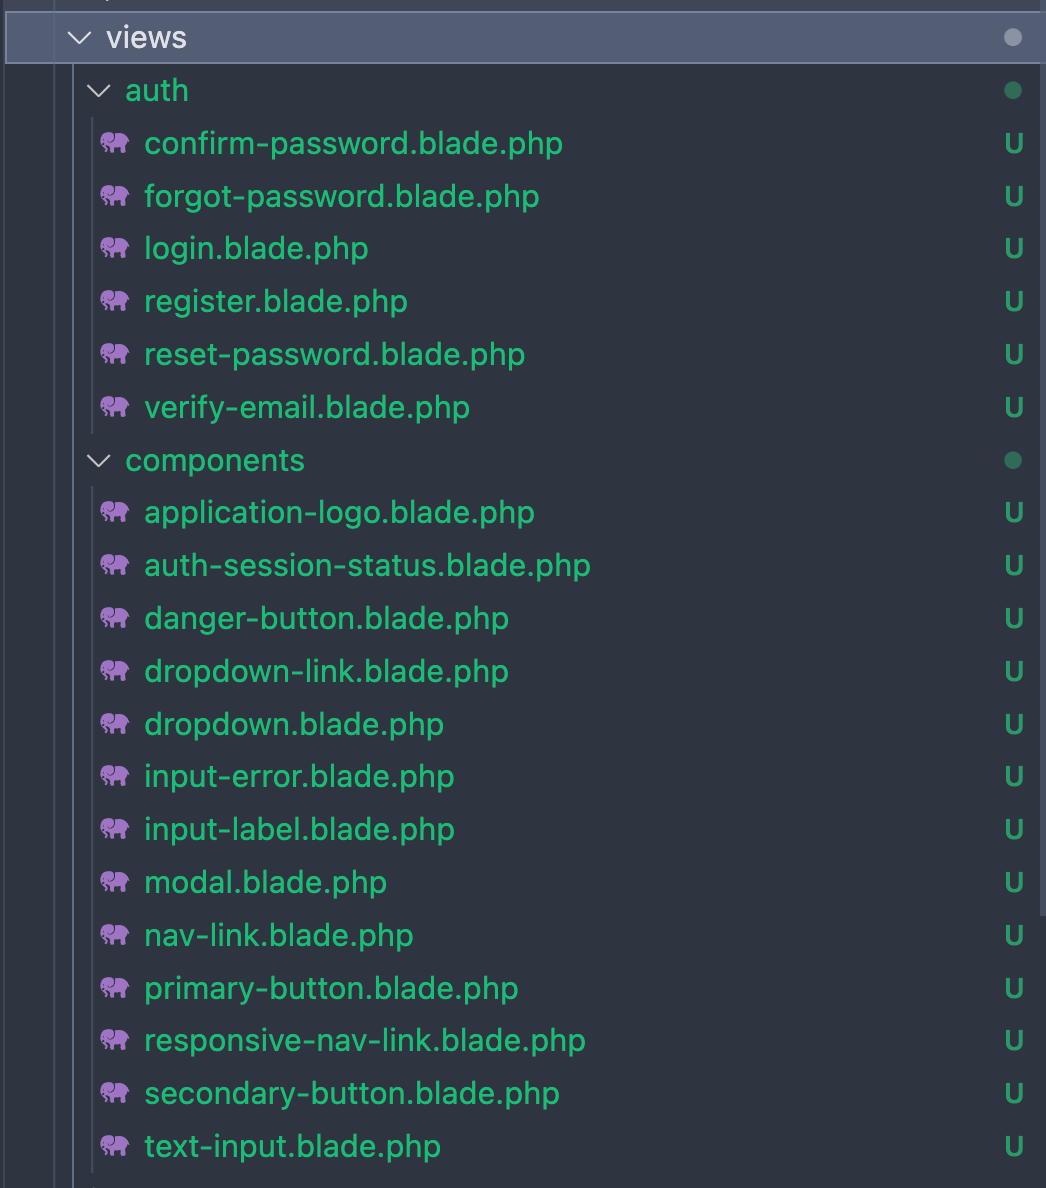
But before we can go on, we have to set up the database for this project, doing what we did in the first one. We go to the .env file and comment those lines:
# DB_CONNECTION=mysql
# DB_HOST=127.0.0.1
# DB_PORT=3306
# DB_DATABASE=laravel
# DB_USERNAME=root
# DB_PASSWORD=
and add
DB_CONNECTION=sqliteto configure the SQLite database.
Now run
php artisan migrate
In another terminal folder, run npm install followed by npm run dev, which is a long running process you’ll keep running alongside php artisan serve (⚠️ just make sure you’re running those in the second folder and not the first project, I just spent 15 minutes trying to figure out why I had a problem).
The Blade templates provided by Breeze use Tailwind CSS, and the setup of Tailwind was done automatically when we ran php artisan breeze:install.
As you can see we already have a tailwind.config.js file. Breeze still installs Tailwind 3, with tailwind.config.js and postcss.config.js, even on a recent Laravel. The official starter kits use Tailwind 4 instead, which is configured in CSS and has no JS config file.
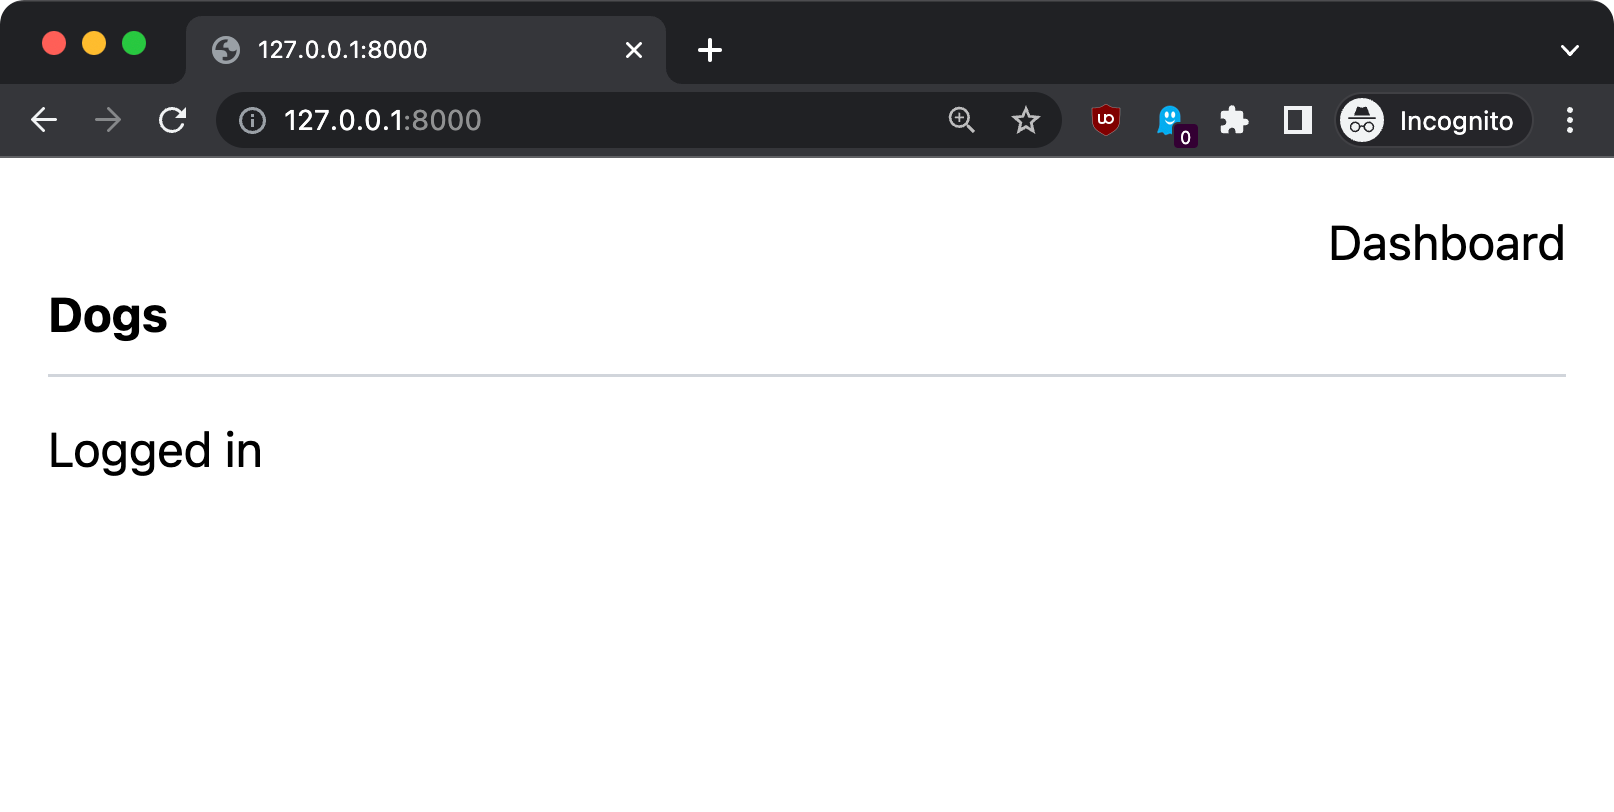
Now you can open resources/views/welcome.blade.php and look at all that content. For the sake of simplicity, swap everything in that file with this trimmed-down version:
<!doctype html>
<html>

<head>
    <meta charset="utf-8">
    <meta name="viewport" content="width=device-width, initial-scale=1.0">
    @vite('resources/css/app.css')
</head>

<body class="p-4">

    @if (Route::has('login'))
        <div class="text-right">
            @auth
                <a href="{{ url('/dashboard') }}" class="">Dashboard</a>
            @else
                <a href="{{ route('login') }}" class="">Log in</a>
                @if (Route::has('register'))
                    <a href="{{ route('register') }}" class="ml-4">Register</a>
                @endif
            @endauth
        </div>
    @endif

    <h1 class="pb-2 mb-3 font-bold border-b border-b-gray-300">
        Dogs
    </h1>

    <div>
        @auth
            <p>Logged in</p>
        @endauth

        @guest
            <p>Not logged in</p>
        @endguest
    </div>

</body>

</html>
@auth / @endauth and @guest / @endguest are two Blade directives that allow you to show content (or not) depending on the logged in state.
This should be the result in the browser:
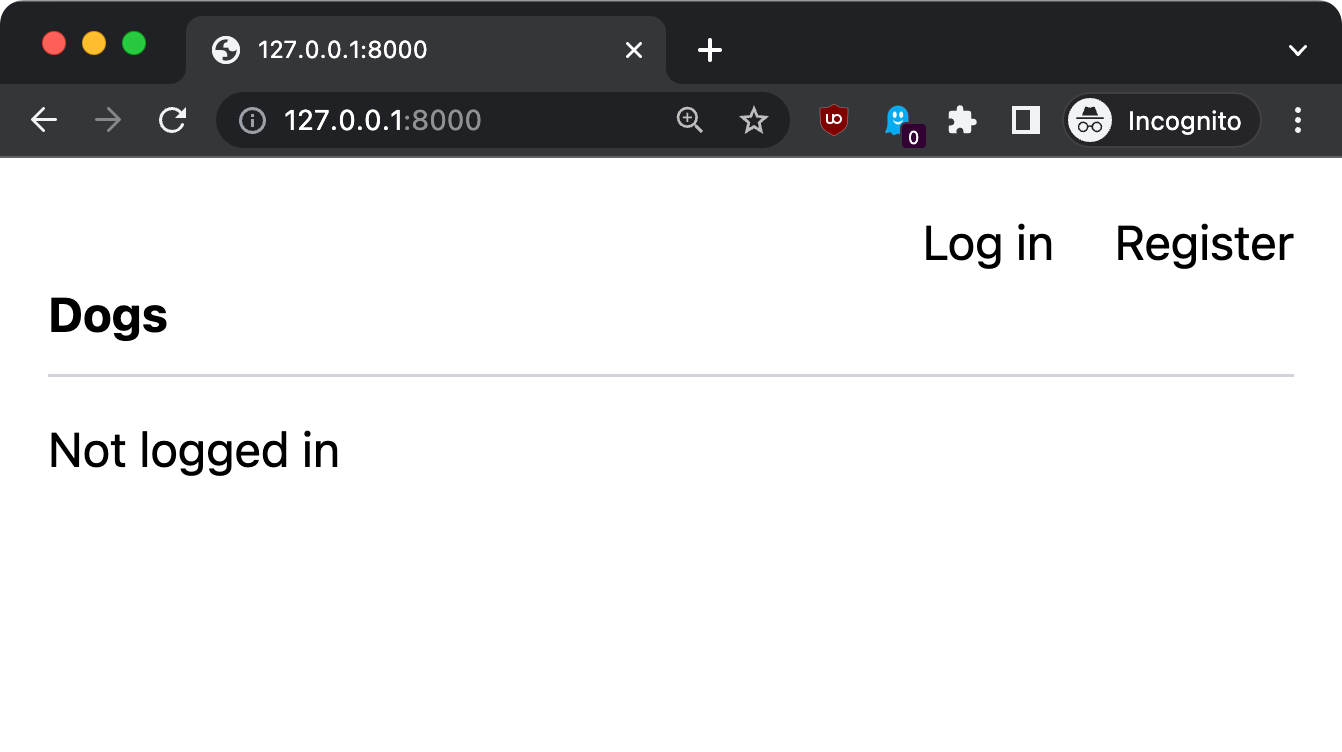
Click the Register link to create a new account:
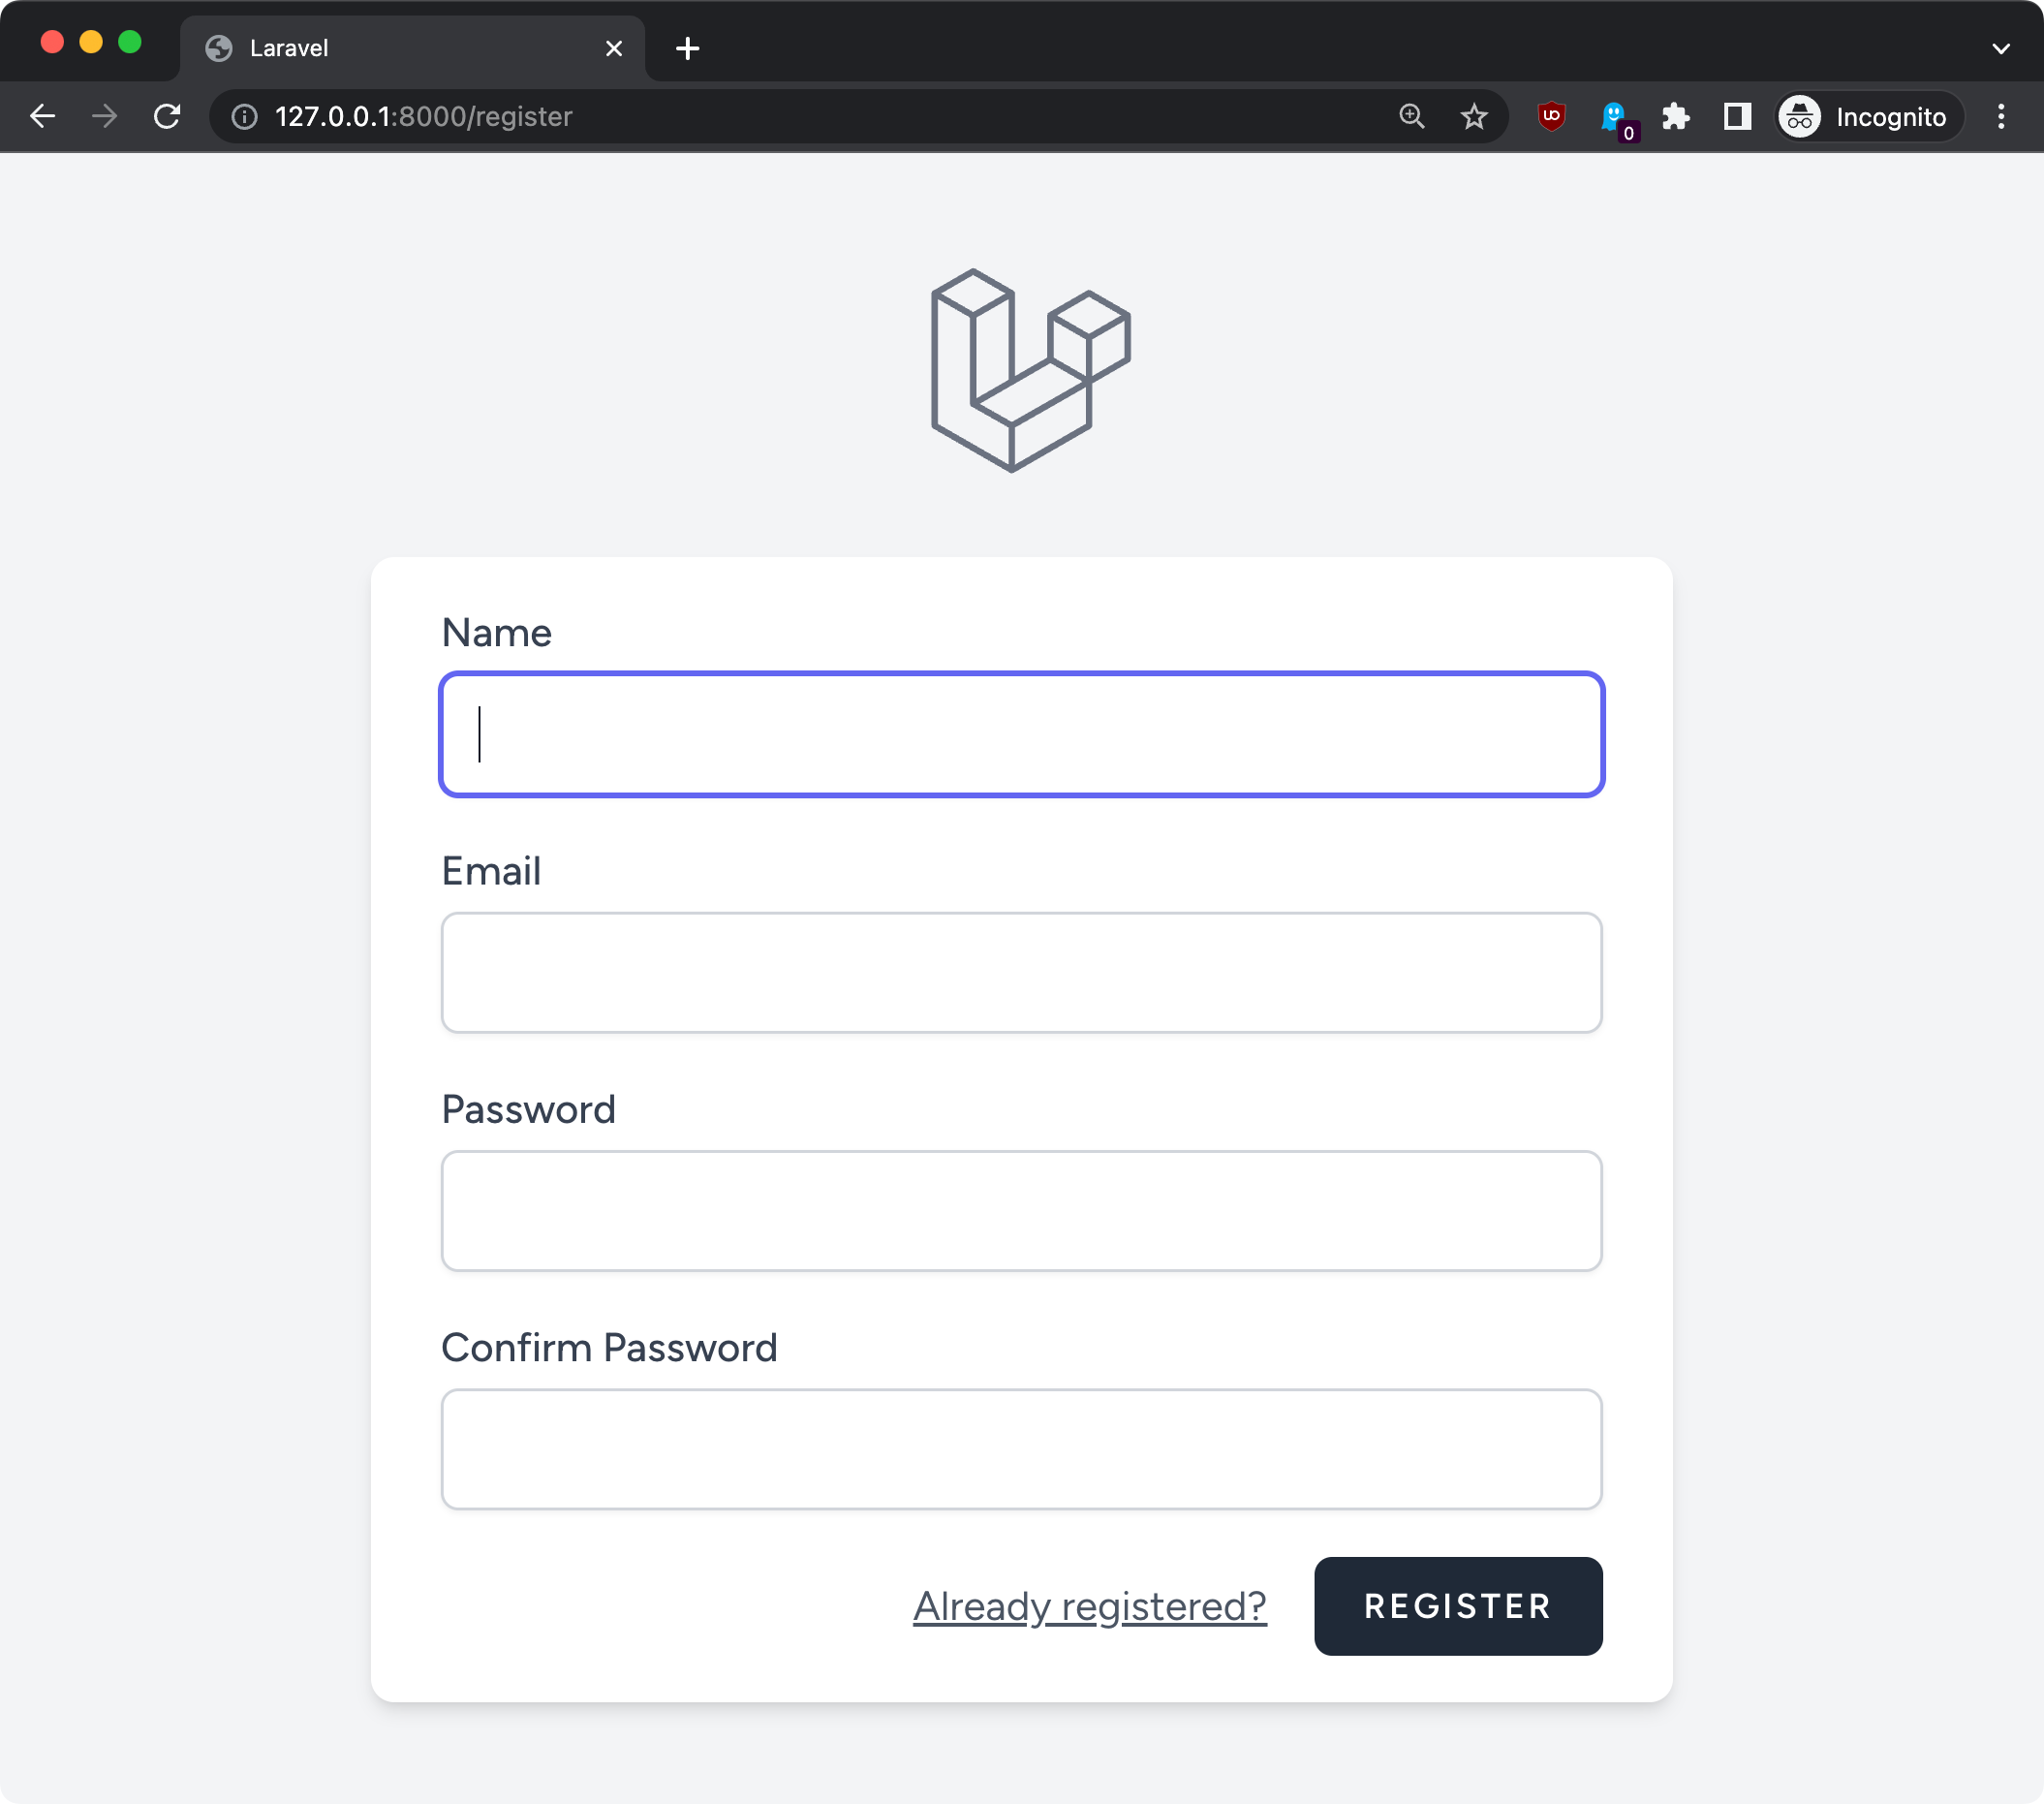
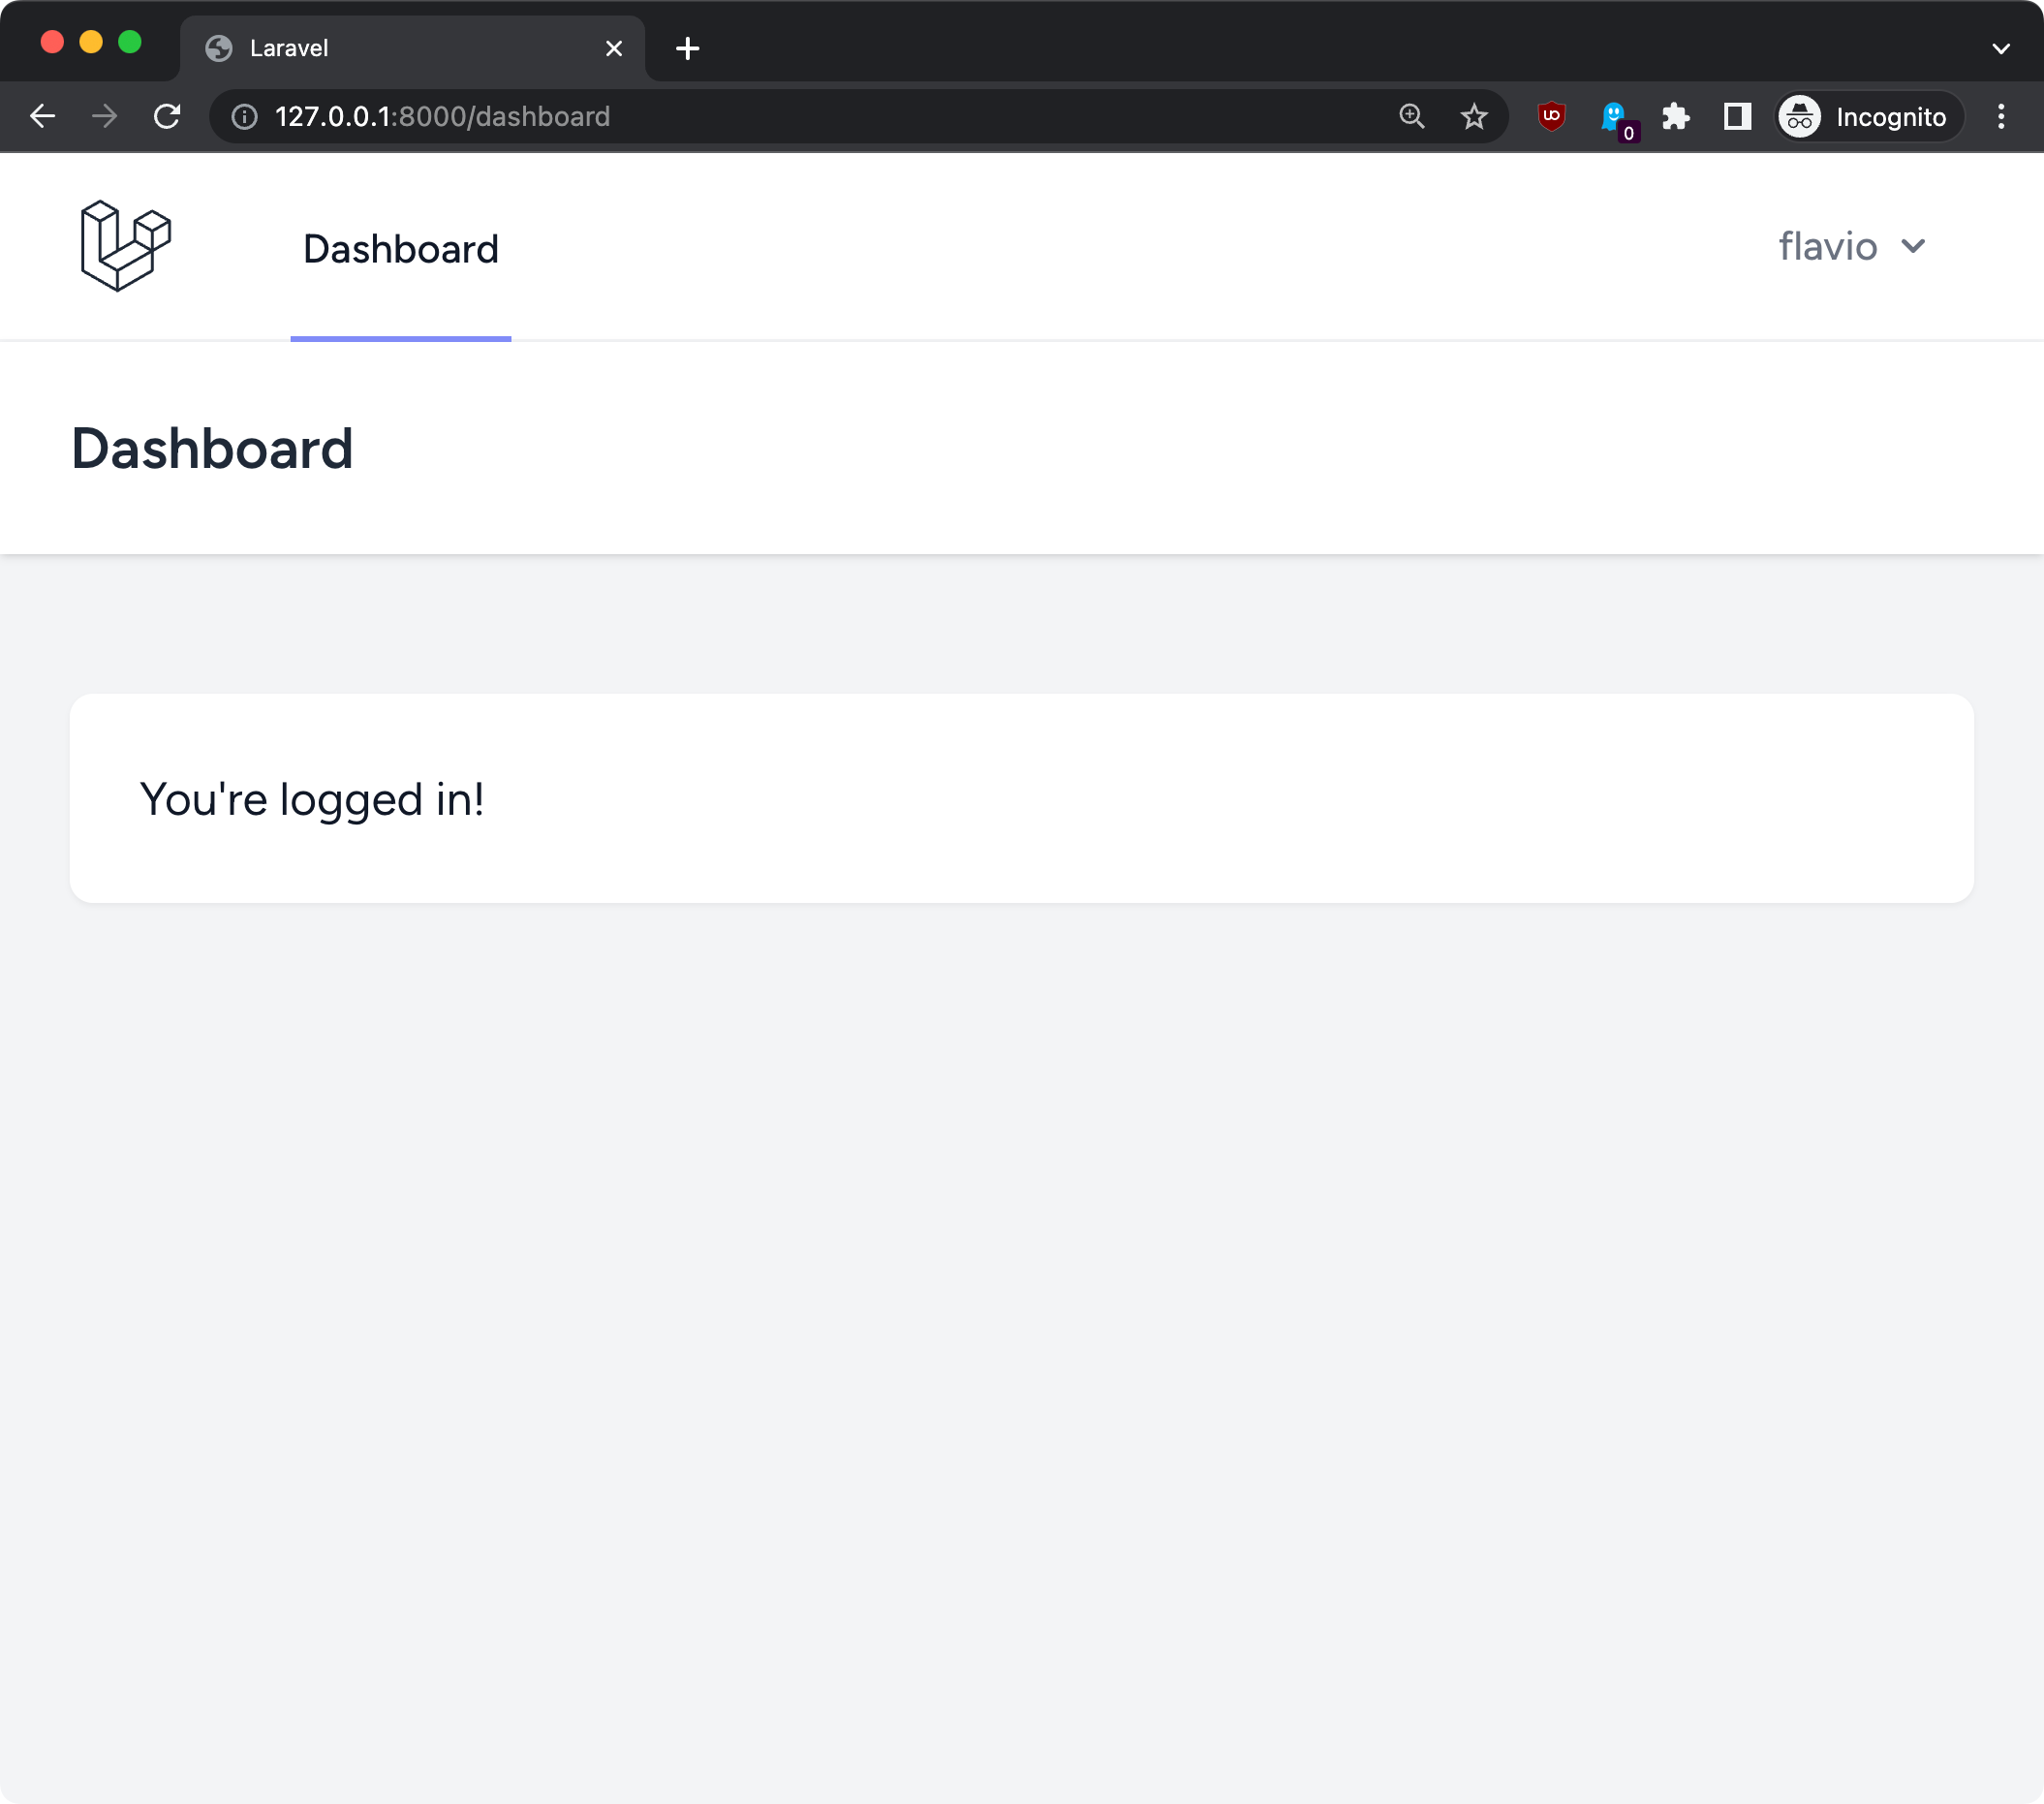
Create an account and you will be shown a dashboard page at the /dashboard route:
If you go back to the home, you will see the page in the logged in state:
Want me to talk about your product? You can sponsor this site.
Related posts about laravel: