How to create and save an image with Node.js and Canvas
By Flavio Copes
Learn how to create and save an image with Node.js and the canvas package, using createCanvas, fillText, loadImage and toBuffer to generate PNG social cards.
I share my blog posts on Twitter, and there’s been a time when I entertained myself drawing drawing an image for each blog post.
I set up Hugo so it uses an image named banner.png or banner.jpg stored in the post folder to be used as the Open Graph image, like this:
<meta property="og:image" content="https://flaviocopes.com/axios/banner.png" />If a post has no image, I show my avatar instead:
<meta property="og:image" content="https://flaviocopes.com/img/avatar.png" />There’s a problem: I stopped making those custom banner images a long time ago, and most of my posts don’t have a banner.
They all look the same on Twitter:
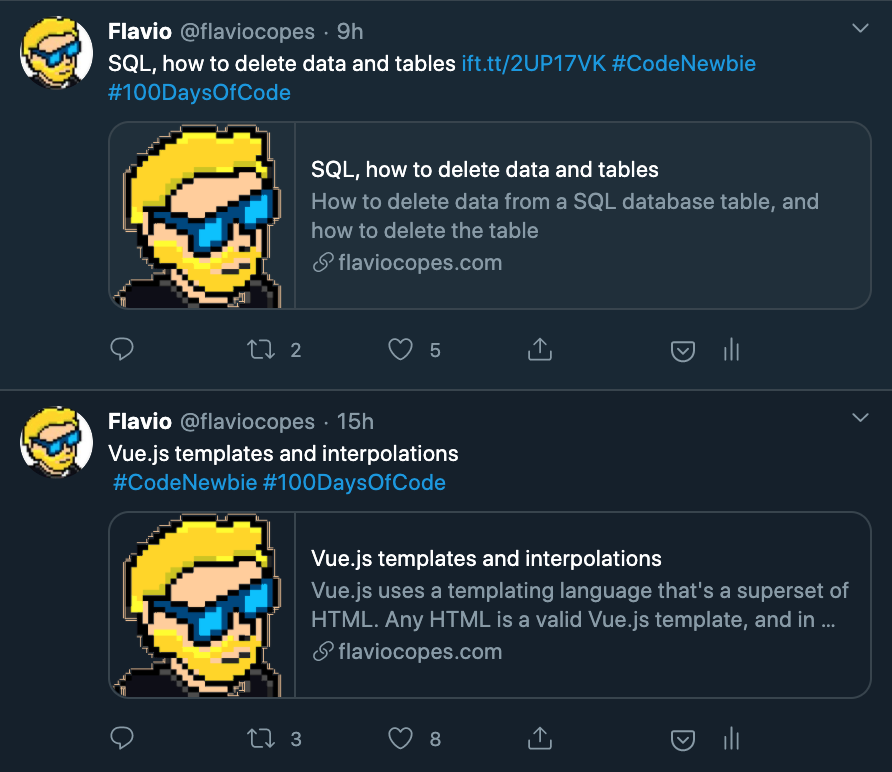
There’s no way I can make like 500 banner images at hand. I’ve had this thought of programmatically generating them since I saw Indie Hackers generating those images for forum blog posts (a great idea):

So after stumbling upon a nice inspiration for a banner image, I decided to make a custom banner for each of my blog posts.
The banner is a PNG image, and to keep the post focused on the subject (“how to create and save an image with Node.js and Canvas”) I’ll skip some parts.
Also, there are many different ways of doing what I did, here’s just one way.
First of all, what npm packages do we need?
Just one! canvas:
npm install canvasThis package provides us a Node.js based implementation of the Canvas API that we know and love in the browser.
In other words, everything I use to generate images also works in the browser.
Except instead of getting a Canvas instance from a <canvas> HTML element, I load the library, get the function createCanvas out of it:
const { createCanvas } = require('canvas')Then I call this function passing the canvas width and height, which I set to 1200x600:
const width = 1200
const height = 600

const canvas = createCanvas(width, height)
const context = canvas.getContext('2d')
Let’s paint it black (casually dropping a Rolling Stones reference):
context.fillStyle = '#fff'
context.fillRect(0, 0, width, height)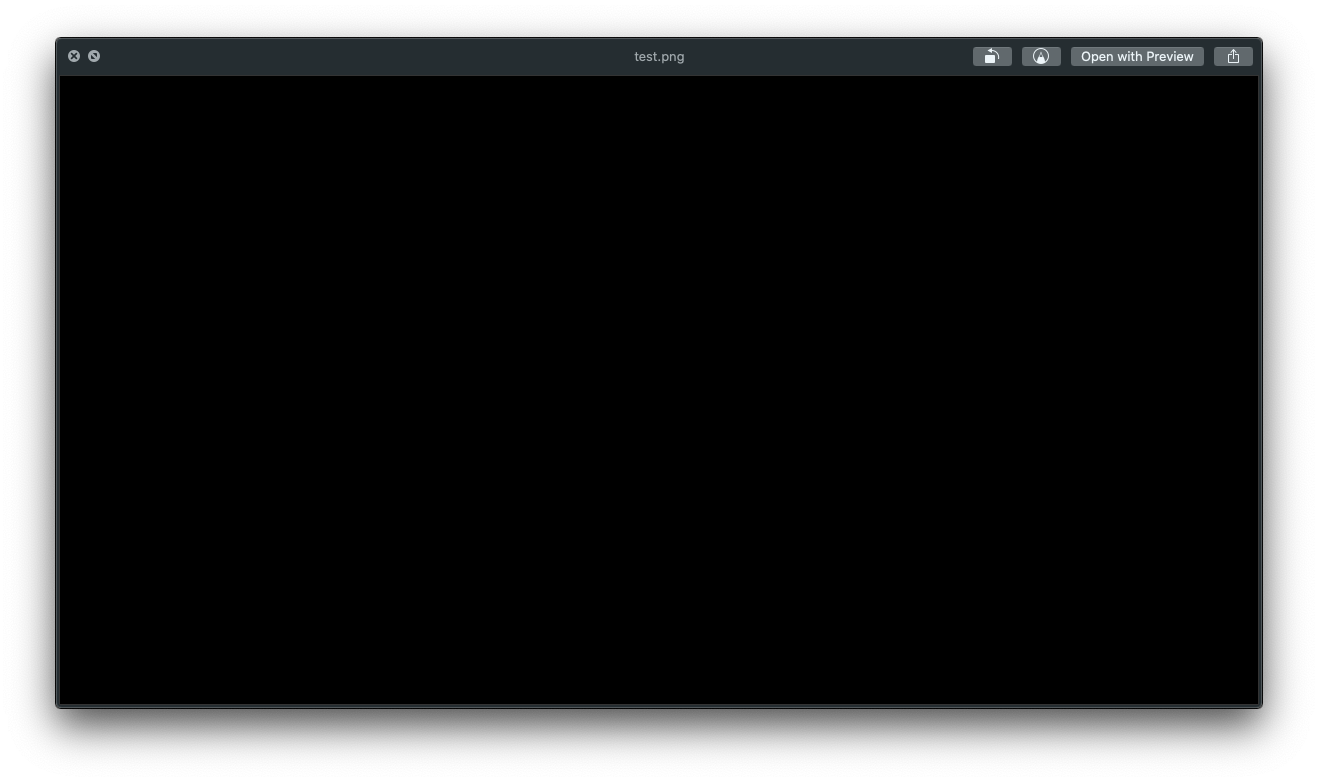
Let’s now switch to adding text.
I first pick the Menlo font, big and bold. I align it in the center, then I set the color white.
Finally I call context.fillText() to draw the text on the canvas:
const text = 'Hello, World!'

context.font = 'bold 70pt Menlo'
context.textAlign = 'center'
context.fillStyle = '#fff'
context.fillText(text, 600, 170)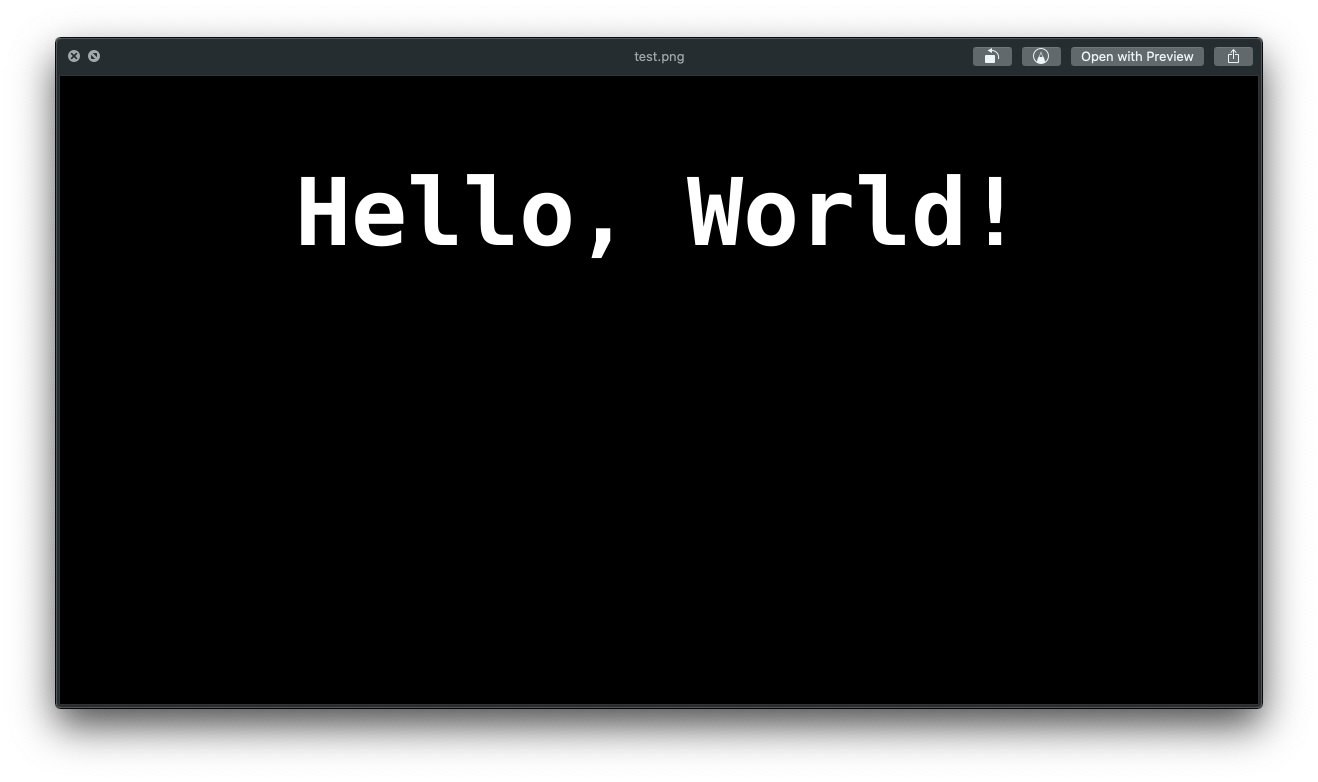
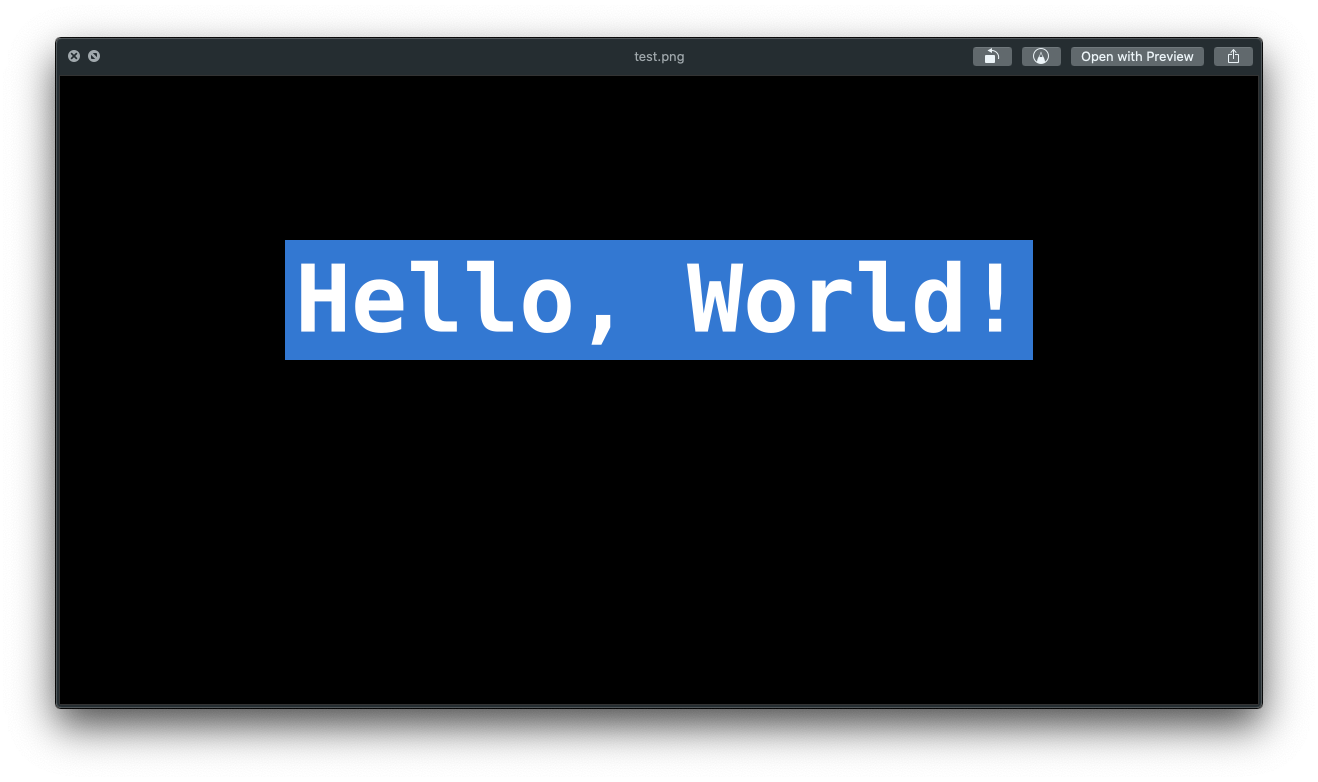
Let’s draw a blue box behind the text:
const text = 'Hello, World!'

context.textBaseline = 'top'
context.fillStyle = '#3574d4'
const textWidth = context.measureText(text).width
context.fillRect(600 - textWidth / 2 - 10, 170 - 5, textWidth + 20, 120)
context.fillStyle = '#fff'
context.fillText(text, 600, 170)
We set the textBaseline property to be top to ease the positioning of the rectangle. Then I check how ling the text is, using measureText(), and I draw it using the same coordinates we used to draw the text.
Make sure you draw the rectangle before the text, because in Canvas you draw things one on top of each other, in order:
Cool! Now I want to show my website URL at the bottom:
context.fillStyle = '#fff'
context.font = 'bold 30pt Menlo'
context.fillText('flaviocopes.com', 600, 530)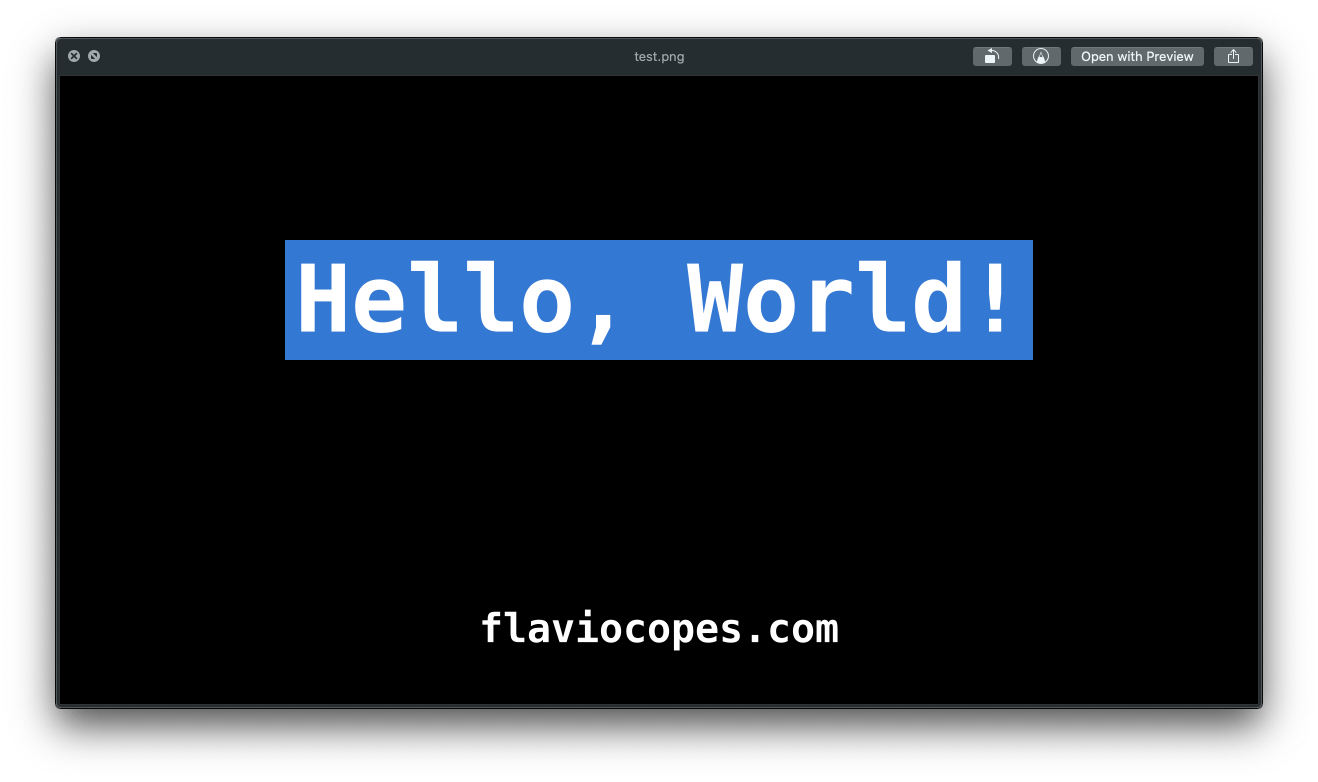
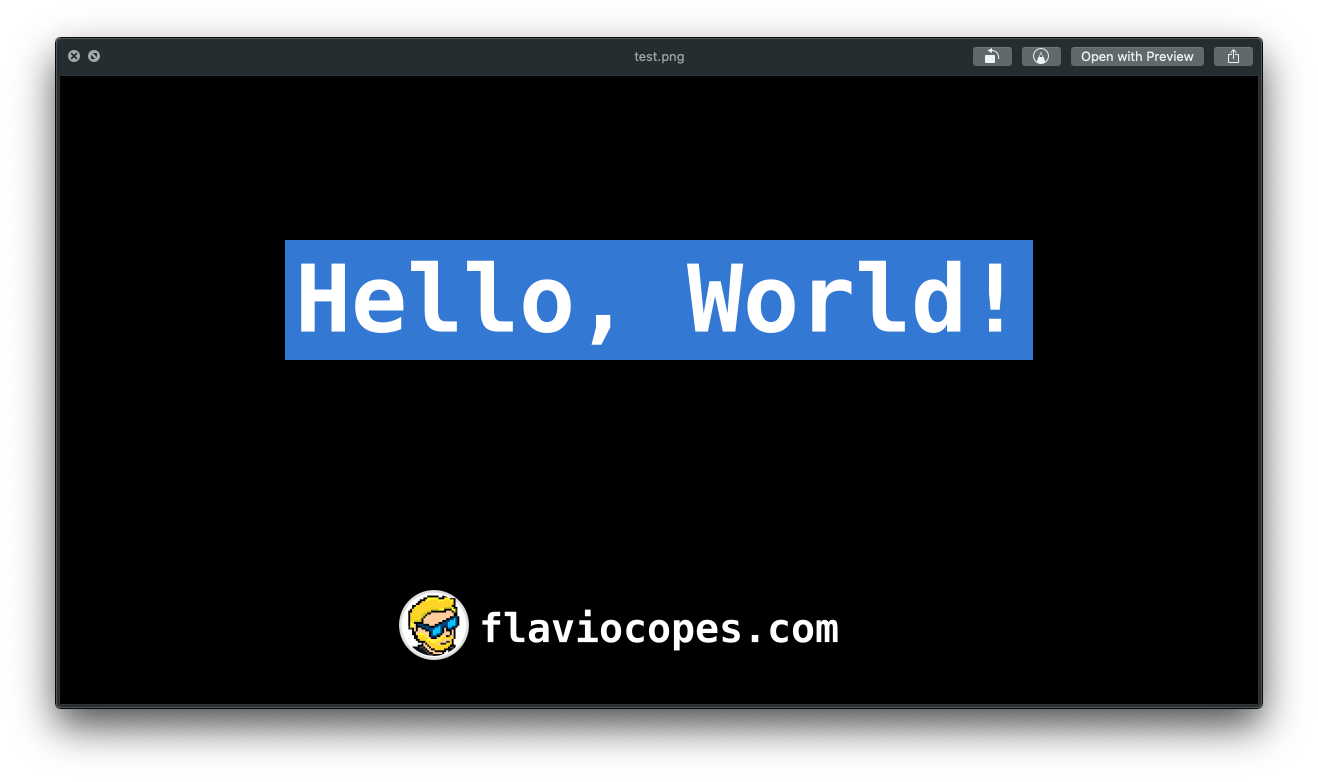
And I also want to add my logo. To do this, let’s import the loadImage function from the canvas module:
const { createCanvas, loadImage } = require('canvas')and we call it specifying the logo.png image contained in the same folder where we run the script:
loadImage('./logo.png').then(image => {

})
Once the promise is resolved, we have the image object and we can draw it to the canvas using drawImage():
loadImage('./logo.png').then(image => {
  context.drawImage(image, 340, 515, 70, 70)
})
That’s it! Now we can save the image to an image.png file using the toBuffer() method:
const buffer = canvas.toBuffer('image/png')
fs.writeFileSync('./image.png', buffer)
Here is the full code:
const fs = require('fs')
const { createCanvas, loadImage } = require('canvas')

const width = 1200
const height = 630

const canvas = createCanvas(width, height)
const context = canvas.getContext('2d')

context.fillStyle = '#000'
context.fillRect(0, 0, width, height)

context.font = 'bold 70pt Menlo'
context.textAlign = 'center'
context.textBaseline = 'top'
context.fillStyle = '#3574d4'

const text = 'Hello, World!'

const textWidth = context.measureText(text).width
context.fillRect(600 - textWidth / 2 - 10, 170 - 5, textWidth + 20, 120)
context.fillStyle = '#fff'
context.fillText(text, 600, 170)

context.fillStyle = '#fff'
context.font = 'bold 30pt Menlo'
context.fillText('flaviocopes.com', 600, 530)

loadImage('./logo.png').then(image => {
  context.drawImage(image, 340, 515, 70, 70)
  const buffer = canvas.toBuffer('image/png')
  fs.writeFileSync('./test.png', buffer)
})Related posts about node: