How to install MySQL on macOS
By Flavio Copes
Learn how to install MySQL on macOS with Homebrew, start the server with brew services, and lock it down by running mysql_secure_installation.
On macOS, you can install MySQL easily using Homebrew.
Run:
brew install mysqlA note on version numbers. As of September 2026 the mysql formula installs MySQL 26.7, the current Innovation release. MySQL switched to calendar-based version numbers in 2026 (26.7 means July 2026), so the jump from 9.x is not a typo. Innovation releases get a new version every quarter. If you’d rather stay on a LTS line, which only gets bug and security fixes, install one of the versioned formulas instead:
brew install [email protected]There is also [email protected], the most recent LTS line. For a local development database either choice is fine.
The above command should take a while, then print something like this:
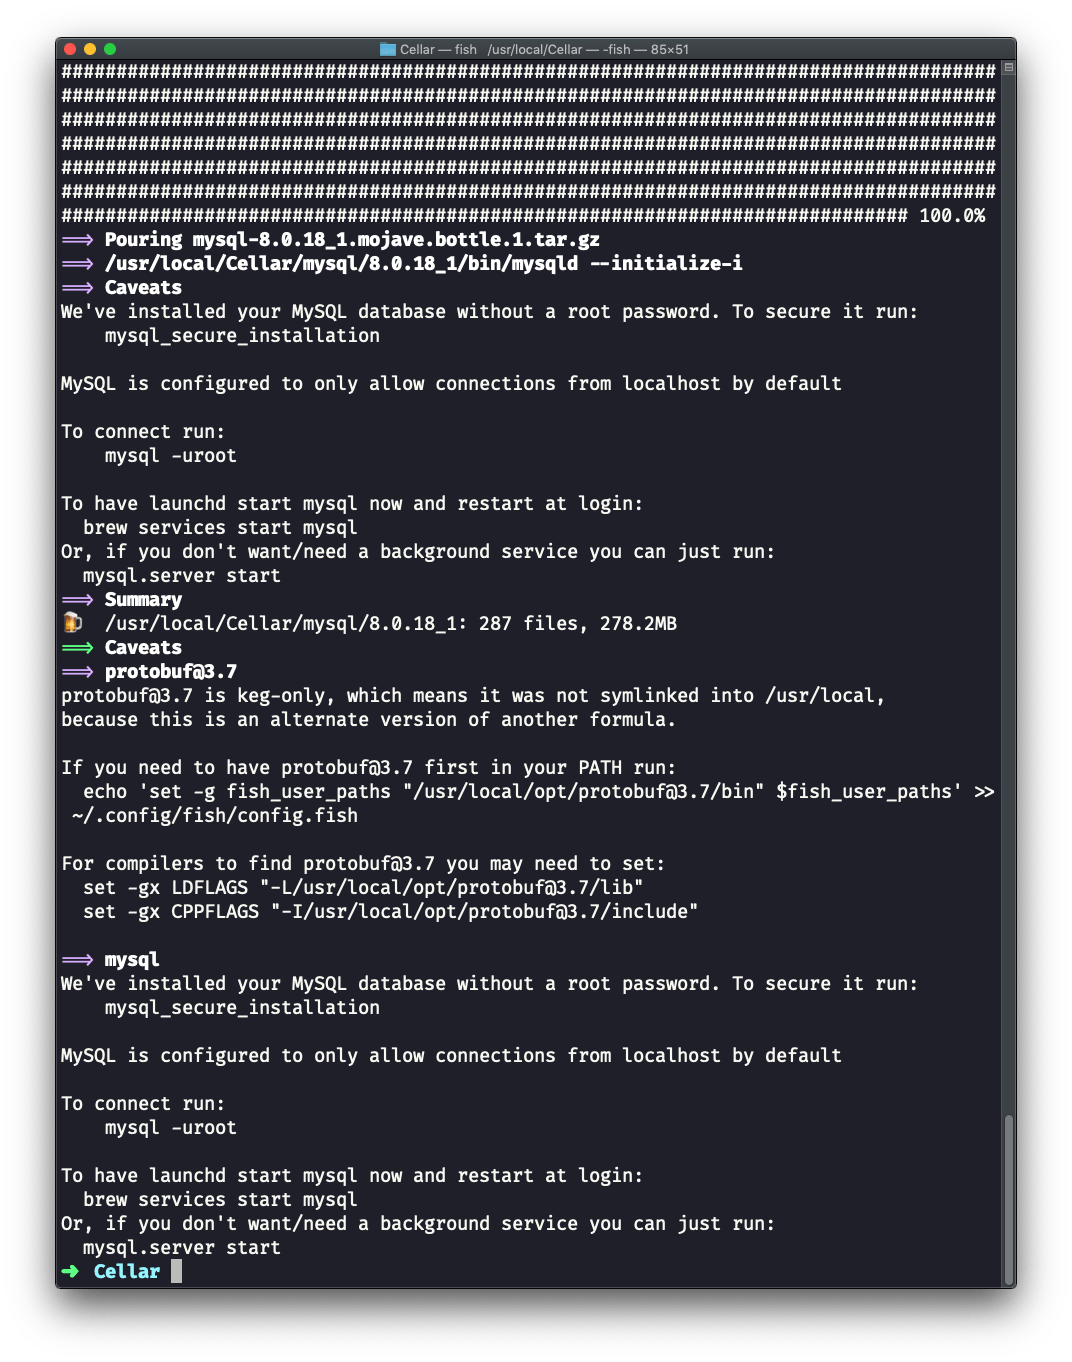
You can now start the MySQL server by running:
brew services start mysqlIf you installed a versioned formula, use its name instead: brew services start [email protected].
Now we need to secure the MySQL server. By default the Homebrew install comes without a root password (the caveats printed after the install tell you so), so we need to make sure it’s protected.
Run:
mysql_secure_installationThe procedure can take a while, but it gives a lot of power to make sure you get the best defaults out of the box:
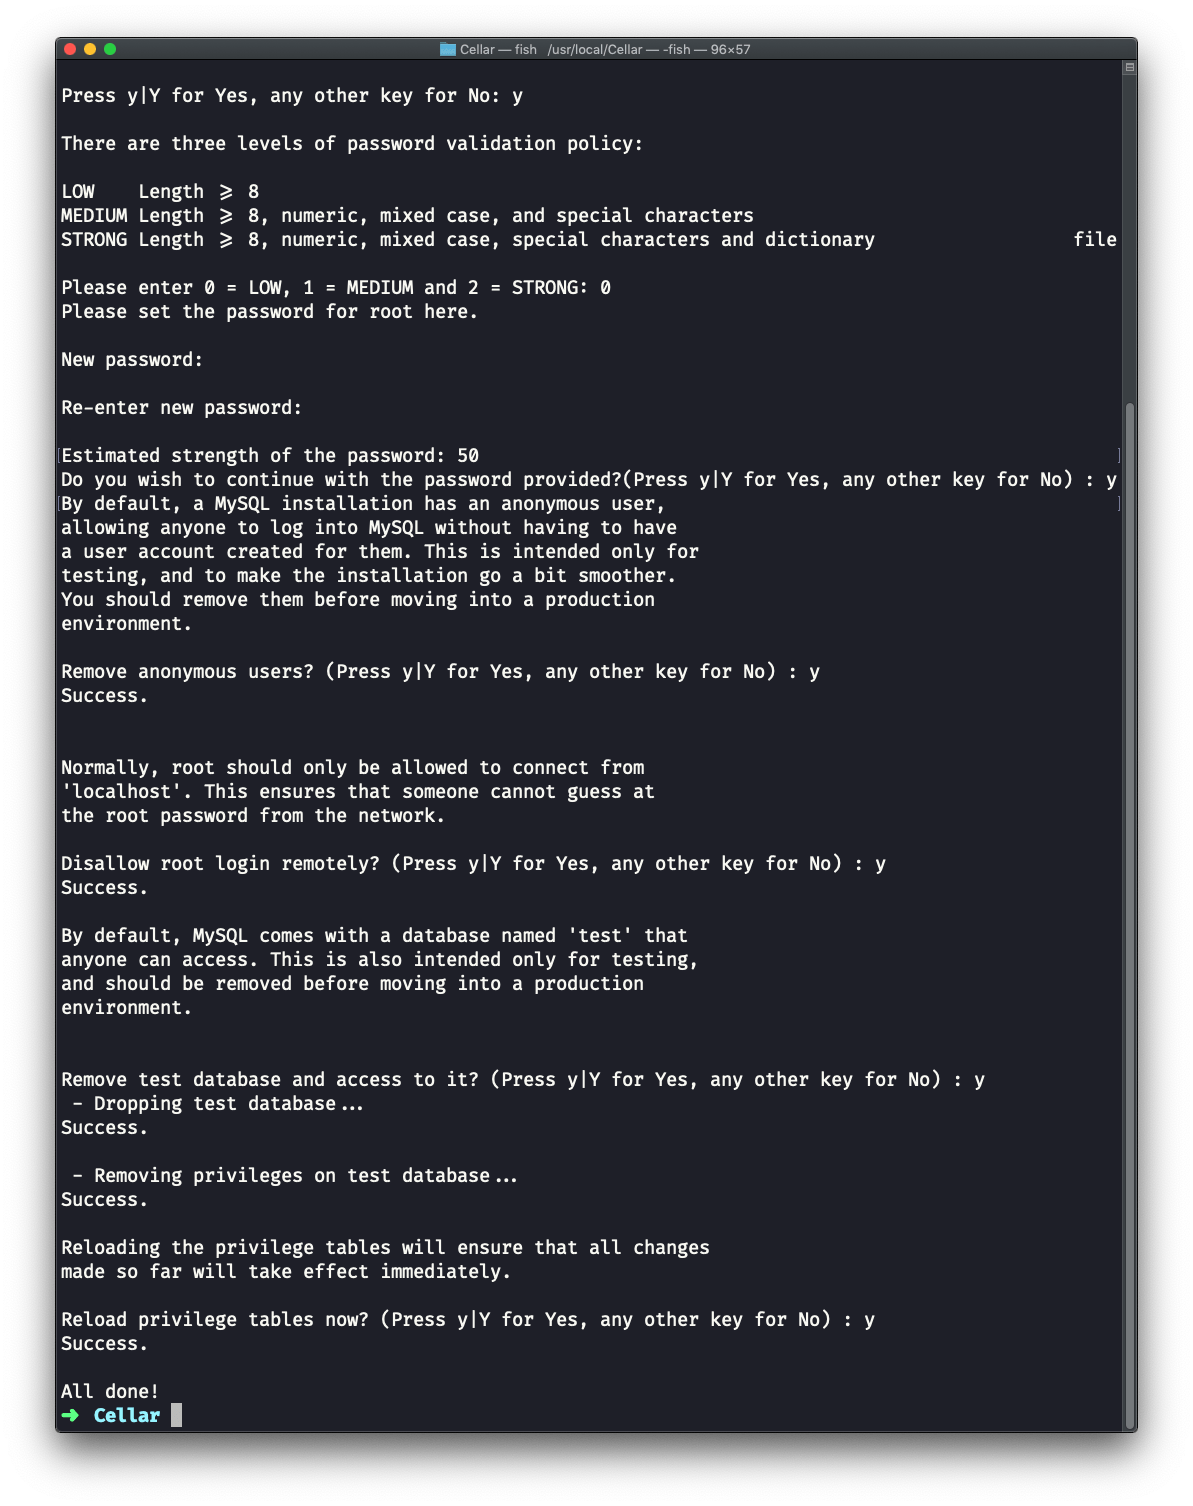
Since we used brew services start mysql to start MySQL, your Mac will re-start it at reboot. You can run:
brew services stop mysqlto stop this from happening, and also to immediately stop MySQL.
You can also avoid this daemon mode (that’s what we call programs that always run in the background and restart when the computer is restarted) by running:
mysql.server startThis will start MySQL and will keep it running until the computer is shut down, or until you run:
mysql.server stopand it will not re-start it at reboot.
It’s up to you to decide which one you prefer.
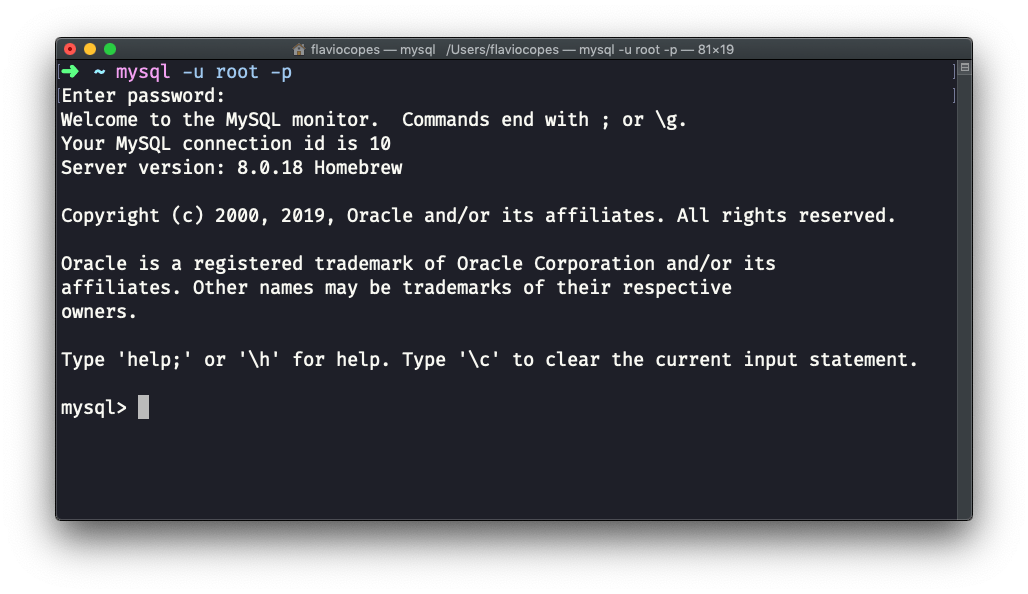
Now you can connect to the server using the command:
mysql -u root -pYou will need to type the root user password you set during mysql_secure_installation after you run this command, and once you are done you should see this screen:
A great GUI (graphical) software we can use to interact with a MySQL database is TablePlus.
It comes with a free trial that’s perfect for our usage, because it’s not time-based but rather it limits the amount of concurrent connections you can make to the database.
Download it from https://tableplus.com. I know there are macOS, Windows and Linux versions.
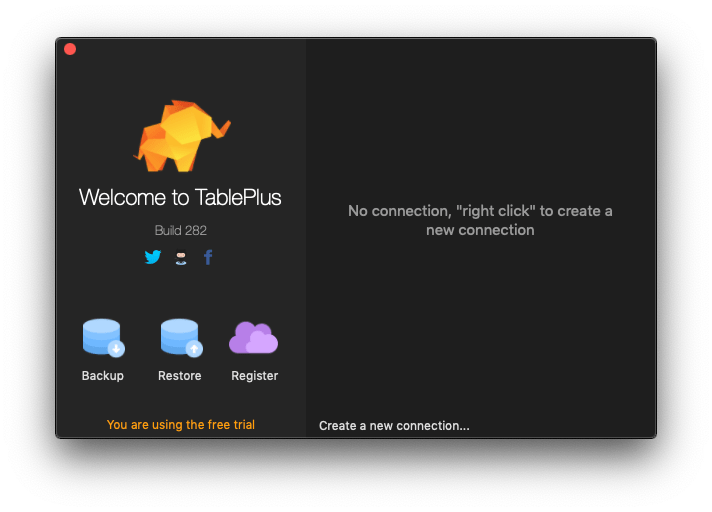
Click “Create a new connection…” and select MySQL in the list:
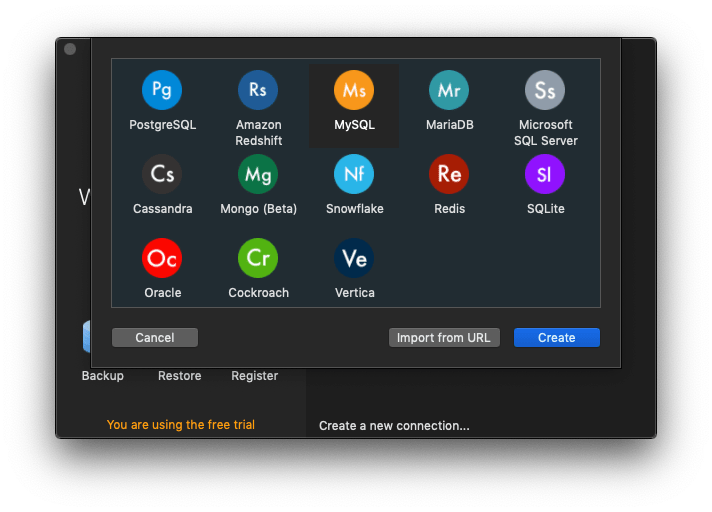
then set a name for the connection, and enter “root” and the password you set previously:
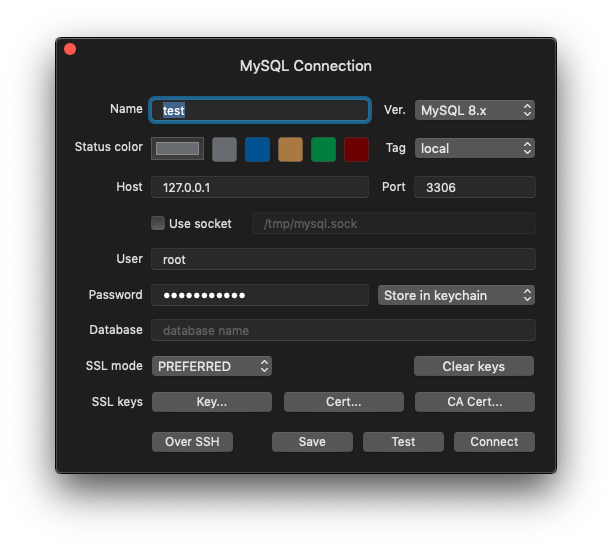
Click Connect, and you should be connected to MySQL!
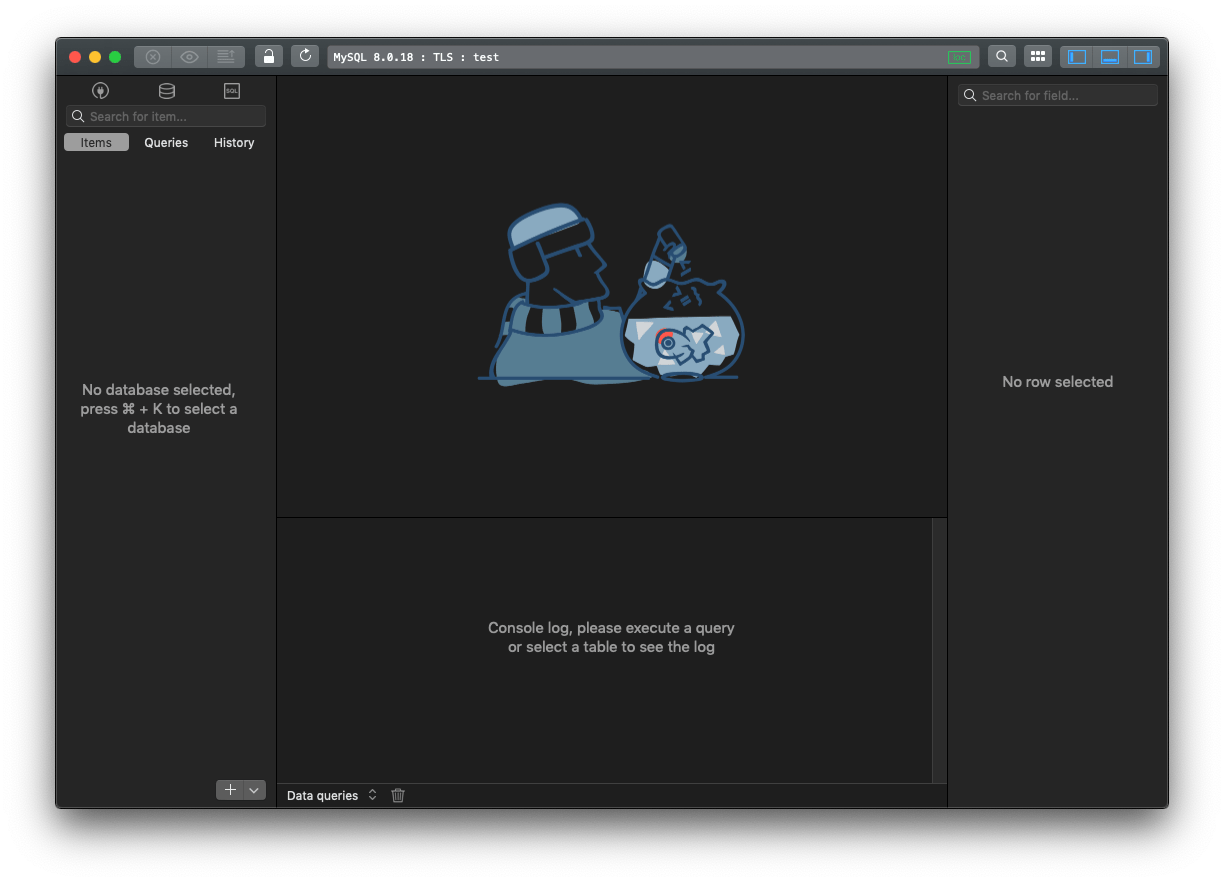
Note that we are connected using the root user, which should only be used for administration purposes.
Day to day use of a database should be done using a normal user. We’ll see it in a separate tutorial.
Want me to talk about your product? You can sponsor this site.
Related posts about database: