Hide HTML elements based on HTMX request status
By Flavio Copes
Learn how to show or hide HTML elements based on the HTMX request status, targeting the htmx-request and htmx-added classes with custom Tailwind variants.
To show or hide elements based on the status of an HTMX request, target the CSS classes HTMX adds during the request lifecycle. You can do it with plain CSS, or with custom Tailwind variants.
HTMX lets us create an HTTP request pretty easily using hx-get or hx-post, etc.
The request lifecycle goes through a set of stages: request, swapping, settling, added (see https://htmx.org/docs/#request-operations)
At each stage, HTMX adds a class to the elements involved:
htmx-requeston the element that triggered the request, while the request is in flighthtmx-swappingon the target, right before the new content is swapped inhtmx-settlingon the target, after the swap, during the settle windowhtmx-addedon the newly inserted content, removed once it settles
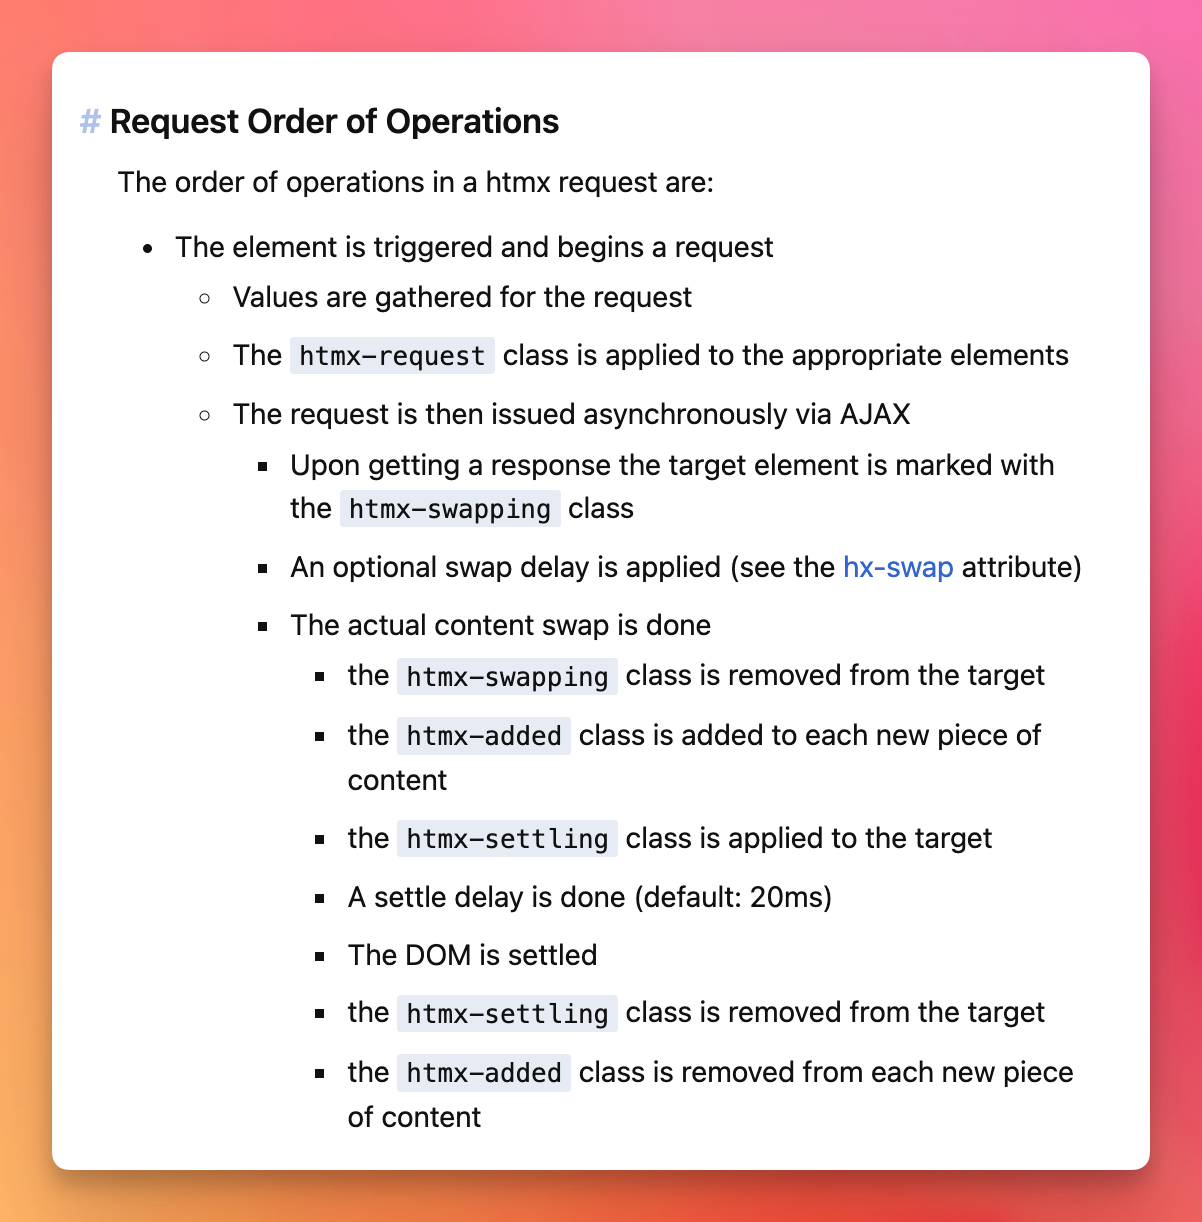
You can target those classes with CSS to add transitions or whatever to the elements based on the state of the request.
For example, this dims a button while its request is running:
button.htmx-request {
  opacity: 0.5;
}
There’s also htmx-indicator, but that one works the other way around: it’s a class you put on a spinner element, and HTMX makes it visible only during requests.
Styling the lifecycle classes with Tailwind CSS 4
With Tailwind CSS 4, you define custom variants in CSS with @custom-variant. No tailwind.config.js plugin needed:
@import "tailwindcss";

@custom-variant htmx-request (&.htmx-request, .htmx-request &);
@custom-variant htmx-settling (&.htmx-settling, .htmx-settling &);
@custom-variant htmx-swapping (&.htmx-swapping, .htmx-swapping &);
@custom-variant htmx-added (&.htmx-added, .htmx-added &);
Each variant maps to two selectors. &.htmx-request matches when the element itself has the class. .htmx-request & matches when any ancestor has it. That second one is handy: you can style children of the element making the request.
Now you can use those variants like this:
<button class="htmx-added:opacity-0 opacity-100 transition-opacity duration-1000">
  click this
</button>
When HTMX inserts this button into the page, it carries the htmx-added class, so it starts fully transparent. Once it settles, HTMX removes the class, and the transition fades it in over one second.
Legacy: Tailwind CSS 3 config
On Tailwind CSS 3, the same idea lived in tailwind.config.js with addVariant:
const plugin = require('tailwindcss/plugin')

module.exports = {
  //...
  plugins: [
    plugin(function({ addVariant }) {
      addVariant('htmx-settling', ['&.htmx-settling', '.htmx-settling &'])
      addVariant('htmx-request', ['&.htmx-request', '.htmx-request &'])
      addVariant('htmx-swapping', ['&.htmx-swapping', '.htmx-swapping &'])
      addVariant('htmx-added', ['&.htmx-added', '.htmx-added &'])
    }),
  ],
}
You had to import plugin from tailwindcss/plugin or the build failed with plugin is not defined. New projects should use the Tailwind CSS 4 CSS approach above.
Want me to talk about your product? You can sponsor this site.