Databases in practice
How to install SQLite on macOS
Learn how to install and use SQLite on macOS, where it comes preinstalled, by running the sqlite3 command and connecting to a database file with TablePlus.
I’m a Mac user and I do not own a Windows computer, so I can’t write the instructions for Windows. Google “how to install sqlite on windows” for specific instructions. Same goes for Linux.
On macOS, you don’t need to do anything to install sqlite. It’s preinstalled in all modern versions of macOS.
All you need to do is to open a terminal and run the
sqlite3command.
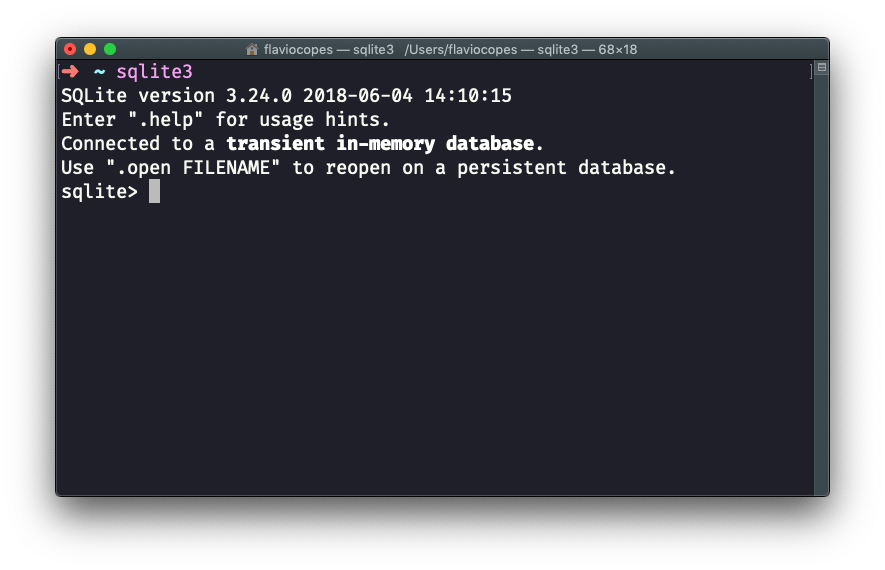
Press ctrl-C 2 times to exit the SQLite executable.
This is pretty cool!
macOS ships an older SQLite than the current release. My Mac reports 3.43, while the latest is newer. That is fine for this course. If you ever need a recent feature,
brew install sqlitegives you the current version, but I’m not going to cover that here.
A great app we can use to interact with a SQLite database is TablePlus. It comes with a free trial that’s perfect for our usage, because it’s not time-based but rather it limits the amount of concurrent connections you can make to the database.
Download it from https://tableplus.com. I know there are macOS, Windows and Linux versions.
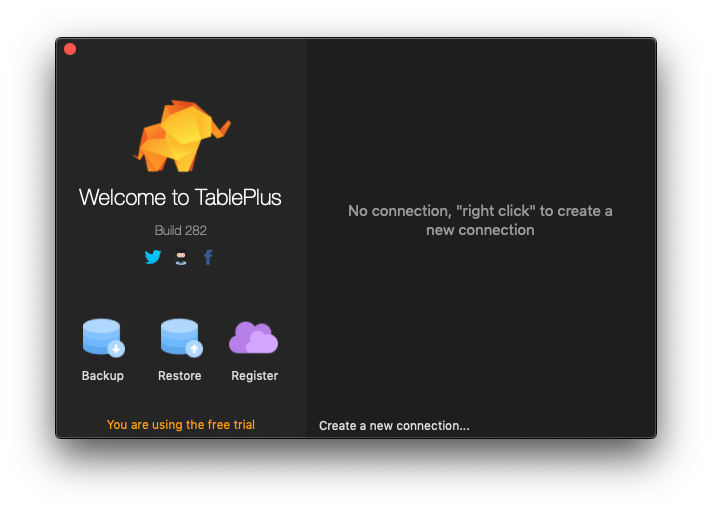
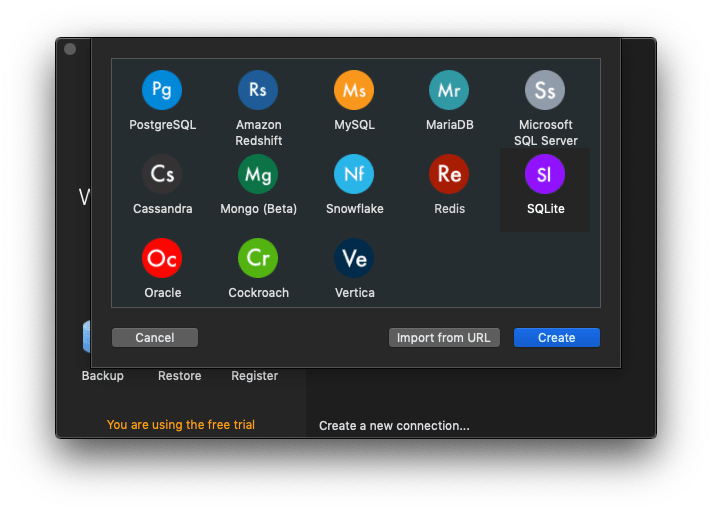
You create a new connection, choosing SQLite:
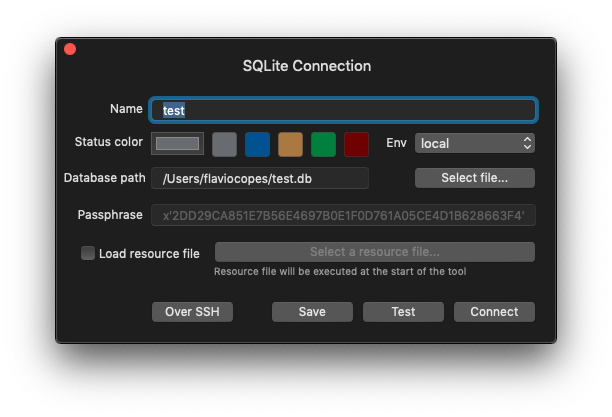
You select a name, and type a database path. I choose test.db, in the /Users/flaviocopes/ folder:
SQLite is pretty cool because the database is contained in a file, which you can put pretty much everywhere you want. This is radically different from PostgreSQL, and MySQL and other big DBMS.
If you’re wondering how SQLite compares to those bigger databases, I built a free Postgres vs SQLite vs MySQL comparison tool that lays out the differences.
Pressing Connect, the connection was successfully created:
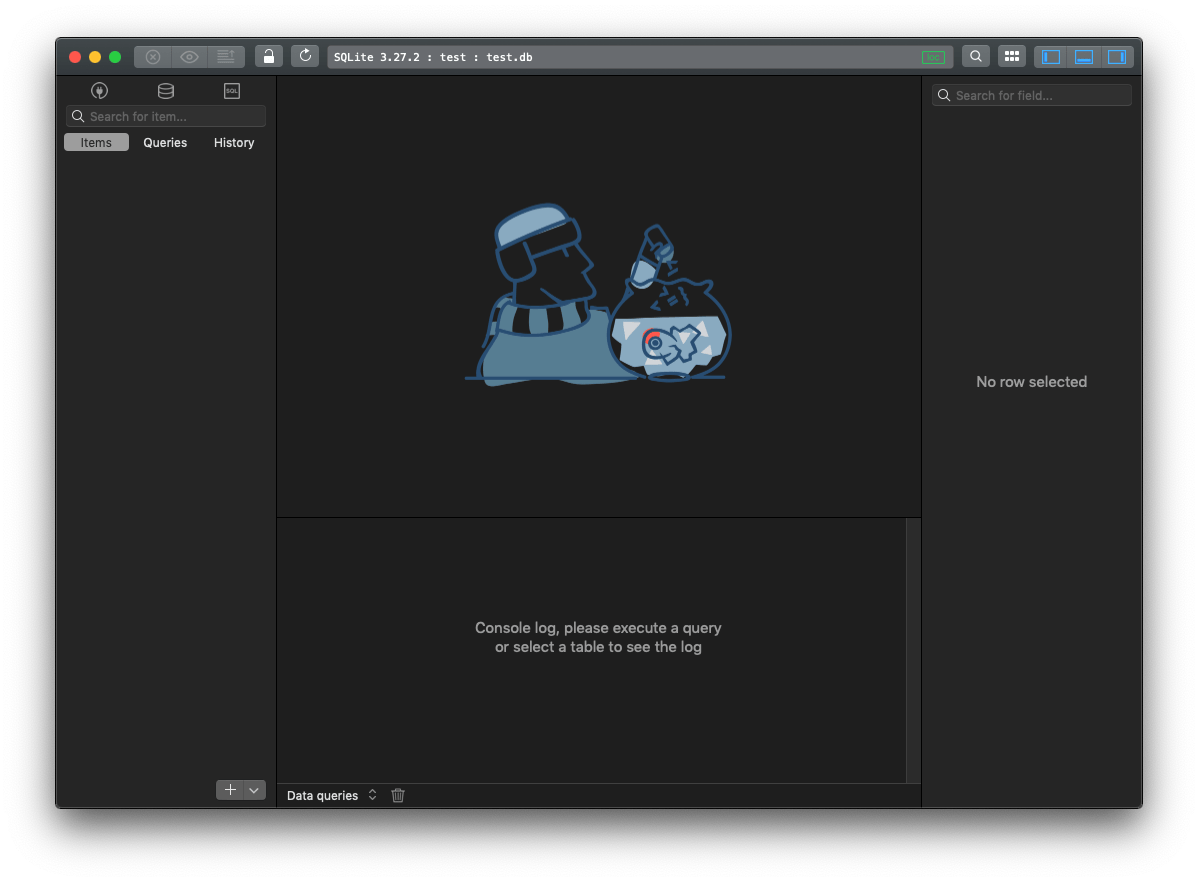
and I can see the file created in that folder, with zero KB of size:
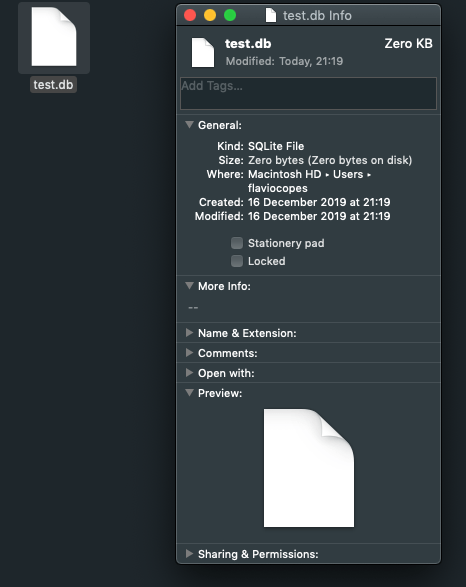
That’s it.
I’m going to make more tutorials on how to use this SQLite database, soon.
Lesson completed