Setting up a project to build a JavaScript game with Phaser
Setup a modern project and get started building a JavaScript HTML5 game using Phaser 3
AI workshop
join cohort #1
Phaser is an amazing platform that makes creating games very easy, along with support for physics and it’s popular enough that you can find plugins and tools to build better games, faster.
It is based on HTML5 technologies, which means you get to build games that can be distributed through the Web, but also packaged as desktop or mobile apps if you want.
Game programming is a big topic, and in this introduction I want to talk about the basics which will be enough to create simple games.
In this tutorial I want to detail an optimal setup to get started building a game using Phaser 3.
Let’s install phaser in a folder using npm:
npm init -y
npm install phaser
Now let’s setup Parcel to bundle our game:
npm install -g parcel-bundlerNow create a game.js file with this content:
import Phaser from 'phaser'

new Phaser.Game()
Now run
parcel watch game.jsand Parcel will build our JavaScript in the dist/game.js file.
Now create an index.html file with this content:
<!DOCTYPE html>
<html>
  <head>
    <script src="./dist/game.js"></script>
  </head>
</html>
Install browser-sync to run an HTTP server with the content of this folder:
npm install -g browser-syncthen run
browser-sync start --server --files "."The above command watches all files in the current folder (and all subfolders) for changes, and launches a web server on port 3000, automatically opening a browser window to connect to the server.
Any time you change a file, the browser will refresh.
This will be very useful while we prototype our games.
You should now see a blank screen in your browser, because we initialize Phaser:
import Phaser from 'phaser'

new Phaser.Game()
but nothing else happens.

Copy this code in game.js:
import Phaser from 'phaser'

function preload() {
  this.load.setBaseURL('http://labs.phaser.io')
  this.load.image('sky', 'assets/skies/space3.png')
  this.load.image('logo', 'assets/sprites/phaser3-logo.png')
  this.load.image('red', 'assets/particles/red.png')
}

function create() {
  this.add.image(400, 300, 'sky')

  const particles = this.add.particles('red')

  const emitter = particles.createEmitter({
    speed: 100,
    scale: { start: 1, end: 0 },
    blendMode: 'ADD'
  })

  const logo = this.physics.add.image(400, 100, 'logo')

  logo.setVelocity(100, 200)
  logo.setBounce(1, 1)
  logo.setCollideWorldBounds(true)

  emitter.startFollow(logo)
}

const config = {
  type: Phaser.AUTO,
  width: 800,
  height: 600,
  physics: {
    default: 'arcade',
    arcade: {
      gravity: { y: 200 }
    }
  },
  scene: {
    preload: preload,
    create: create
  }
}

const game = new Phaser.Game(config)
Note: you can download the asset from https://github.com/photonstorm/phaser3-examples/tree/master/public/assets
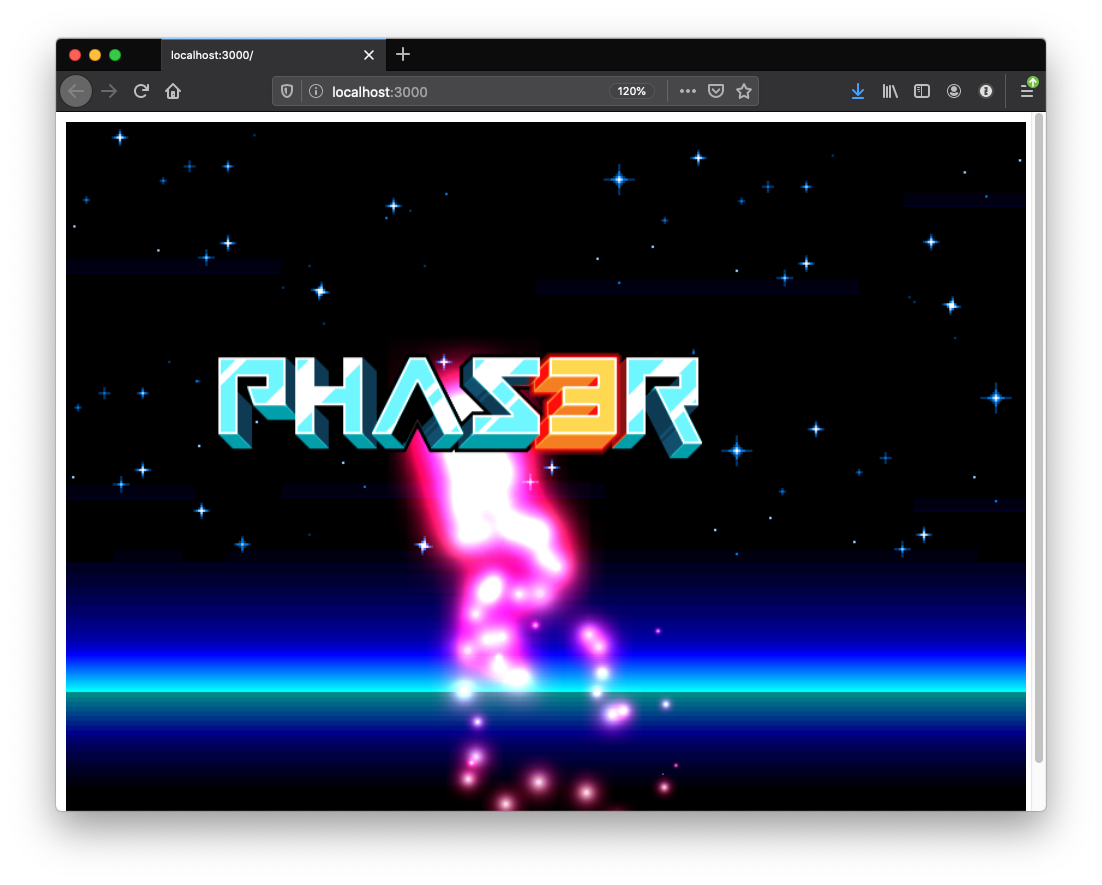
and you should quickly see the Phaser demo app running in your browser:

This is the introduction post to the Phaser series. Check the other posts.
I wrote 20 books to help you become a better developer:
- Astro Handbook
- HTML Handbook
- Next.js Pages Router Handbook
- Alpine.js Handbook
- HTMX Handbook
- TypeScript Handbook
- React Handbook
- SQL Handbook
- Git Cheat Sheet
- Laravel Handbook
- Express Handbook
- Swift Handbook
- Go Handbook
- PHP Handbook
- Python Handbook
- Linux Commands Handbook
- C Handbook
- JavaScript Handbook
- CSS Handbook
- Node.js Handbook