My current video recording setup
By Flavio Copes
Edit Jan 05 2023: of course this setup is now outdated. Things move fast. I might make an updated post.
I’ve been making videos since years, but I never properly detailed my setup.
Making videos is a never ending search for quality, and every year the quality baseline goes up and up.
So I recently upgraded a lot of gear to prepare for the recordings of the JavaScript Course, and it’s time to do a little overview of what I’m using, and how.
Hardware and software.
Let’s start with the camera. I now use an iPhone 13 Pro.
Previously I used a Canon EOS 200D (SL2) which was great because of the flipping screen and external microphone input, but not so great because of lack of clean HDMI output. And no dummy battery option.
This made the editing process longer as involved moving the video files from the camera SD card to the Mac.
And if there’s something I know about me is that to do something consistently I need to remove all the friction possible.
The iPhone of course is a new entry because it’s been released recently and I got it on launch day.
I use it to record screencasts at my desk on a small tripod.
The iPhone is connected to the MacBook Pro using a USB-C to lightning connector, and it runs Camo, a great application that makes it possible to use the iPhone as a camera and has many settings I can tweak.
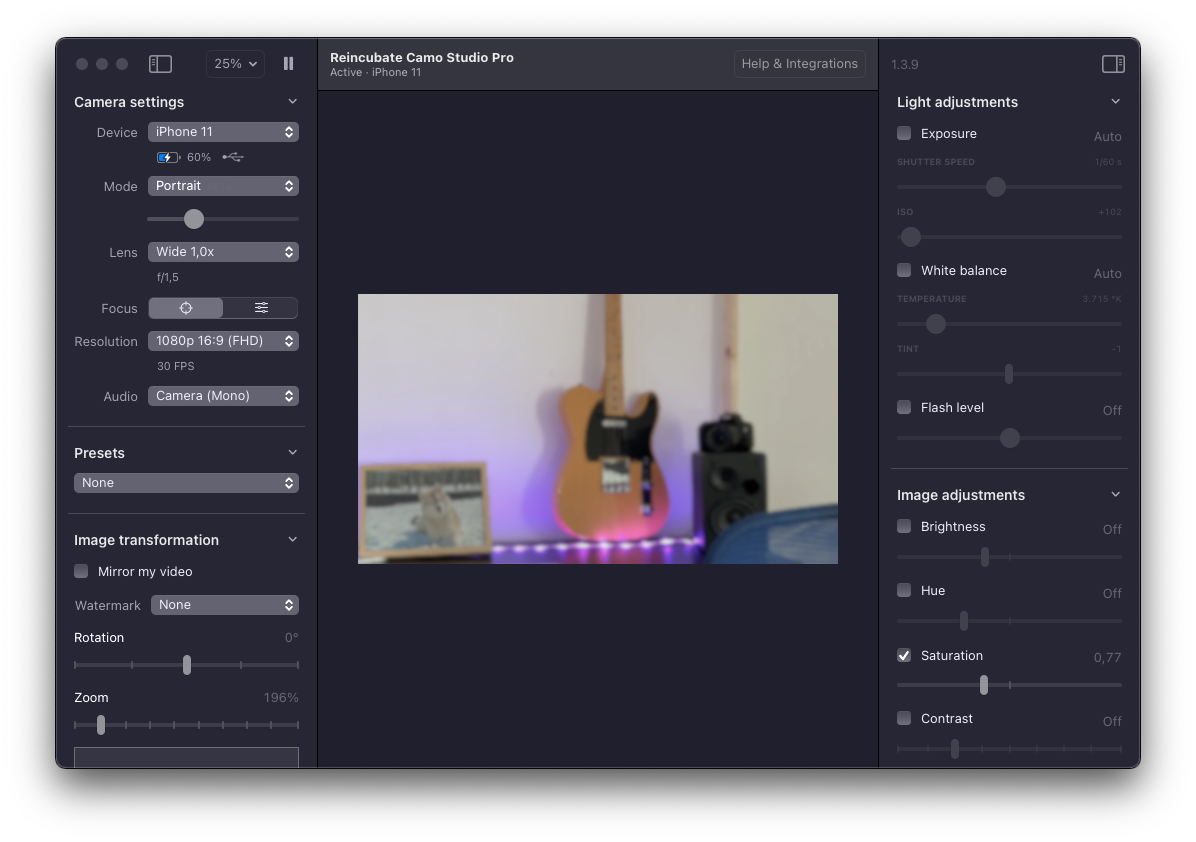
This makes it possible to use the iPhone with any app that gets video input, like Screenflow.
Sometimes I also use the iPhone to record videos with cinematic mode, which is just awesome.
In this case I just record and move the file to the Mac with Airdrop.
I mentioned a Mac, I use a MacBook Pro 16” with external 27” screen.
I also use an iPad Pro 12.9” for 2 things: either to keep some notes on screen, like what I have to say, or as a secondary screen with Sidecar.
Sometimes I keep the notes on the MacBook and film while I’m working on the iPad via Sidecar. Or the opposite, I keep notes on the iPad and file on the MacBook.
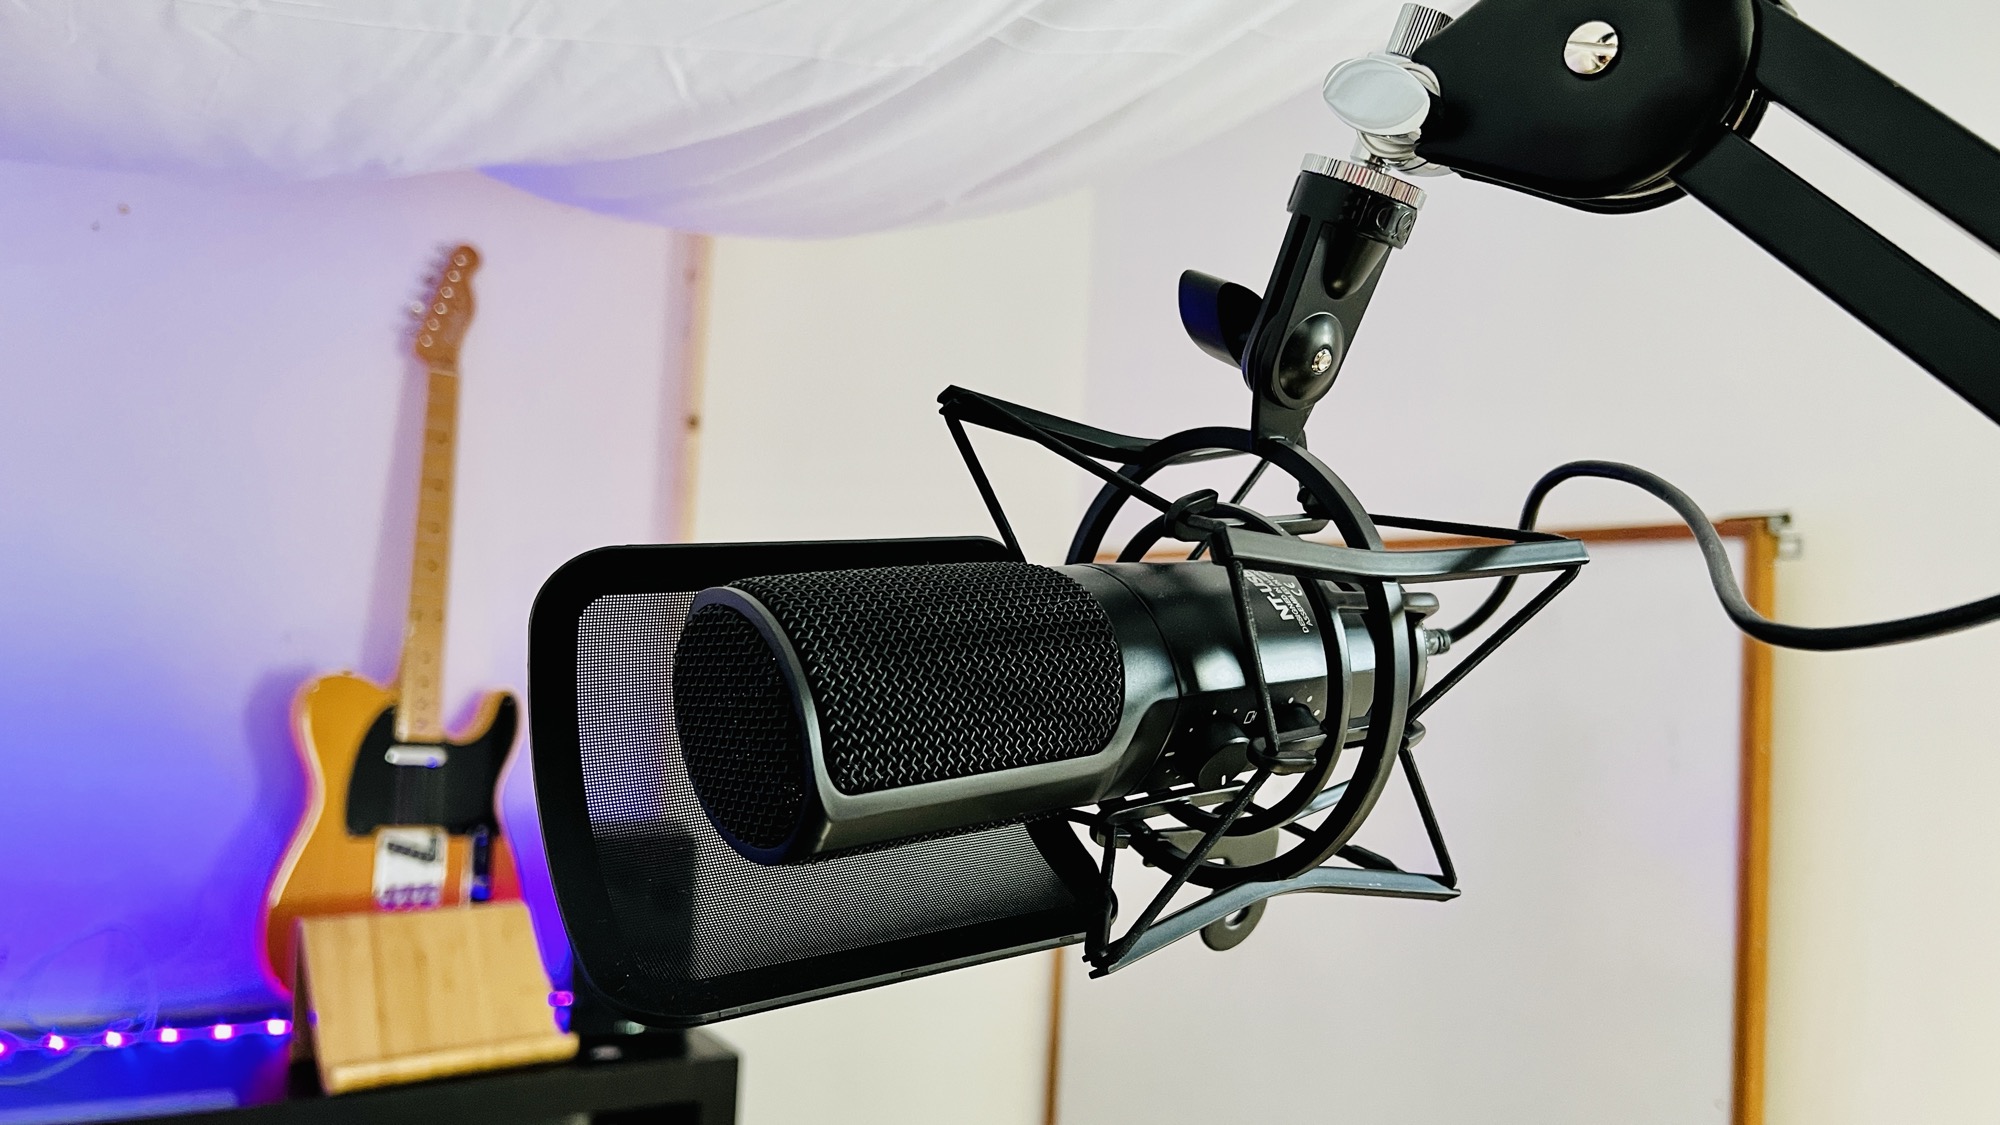
Let’s jump to the microphone. For the longest time I used a Samson Meteor but I recently got a Røde NT-USB and it’s such a massive improvement.
What’s also nice is that I can use its arm (Røde PSA1) with its shock mount and pop filter. The old mic I had could sit on the desk with no arm option. Good to start, but not good to continue.
Let’s get to the lights.
I have 2 Elgato Key Light Air. I love them, they are nice to see, they don’t do any heat or noise. I can control them using a little app via WiFi. I can set the light color and intensity. Very cool.

On the screen there’s the Elgato app in action, that lets me control the lights
I also have an Elgato Light Strip which is also controlled via WiFi using the same app. Pretty cool, I can set the colors and intensity and change it as I want.
I keep it on all the time as it makes the studio much nicer.
And when I’m recording I have a temporary wooden structure that I attach to the desk where I can put some blankets on and above, to reduce the echo and make the audio sound nicer. Plus it helps me keep a constant light scenario at day or night.
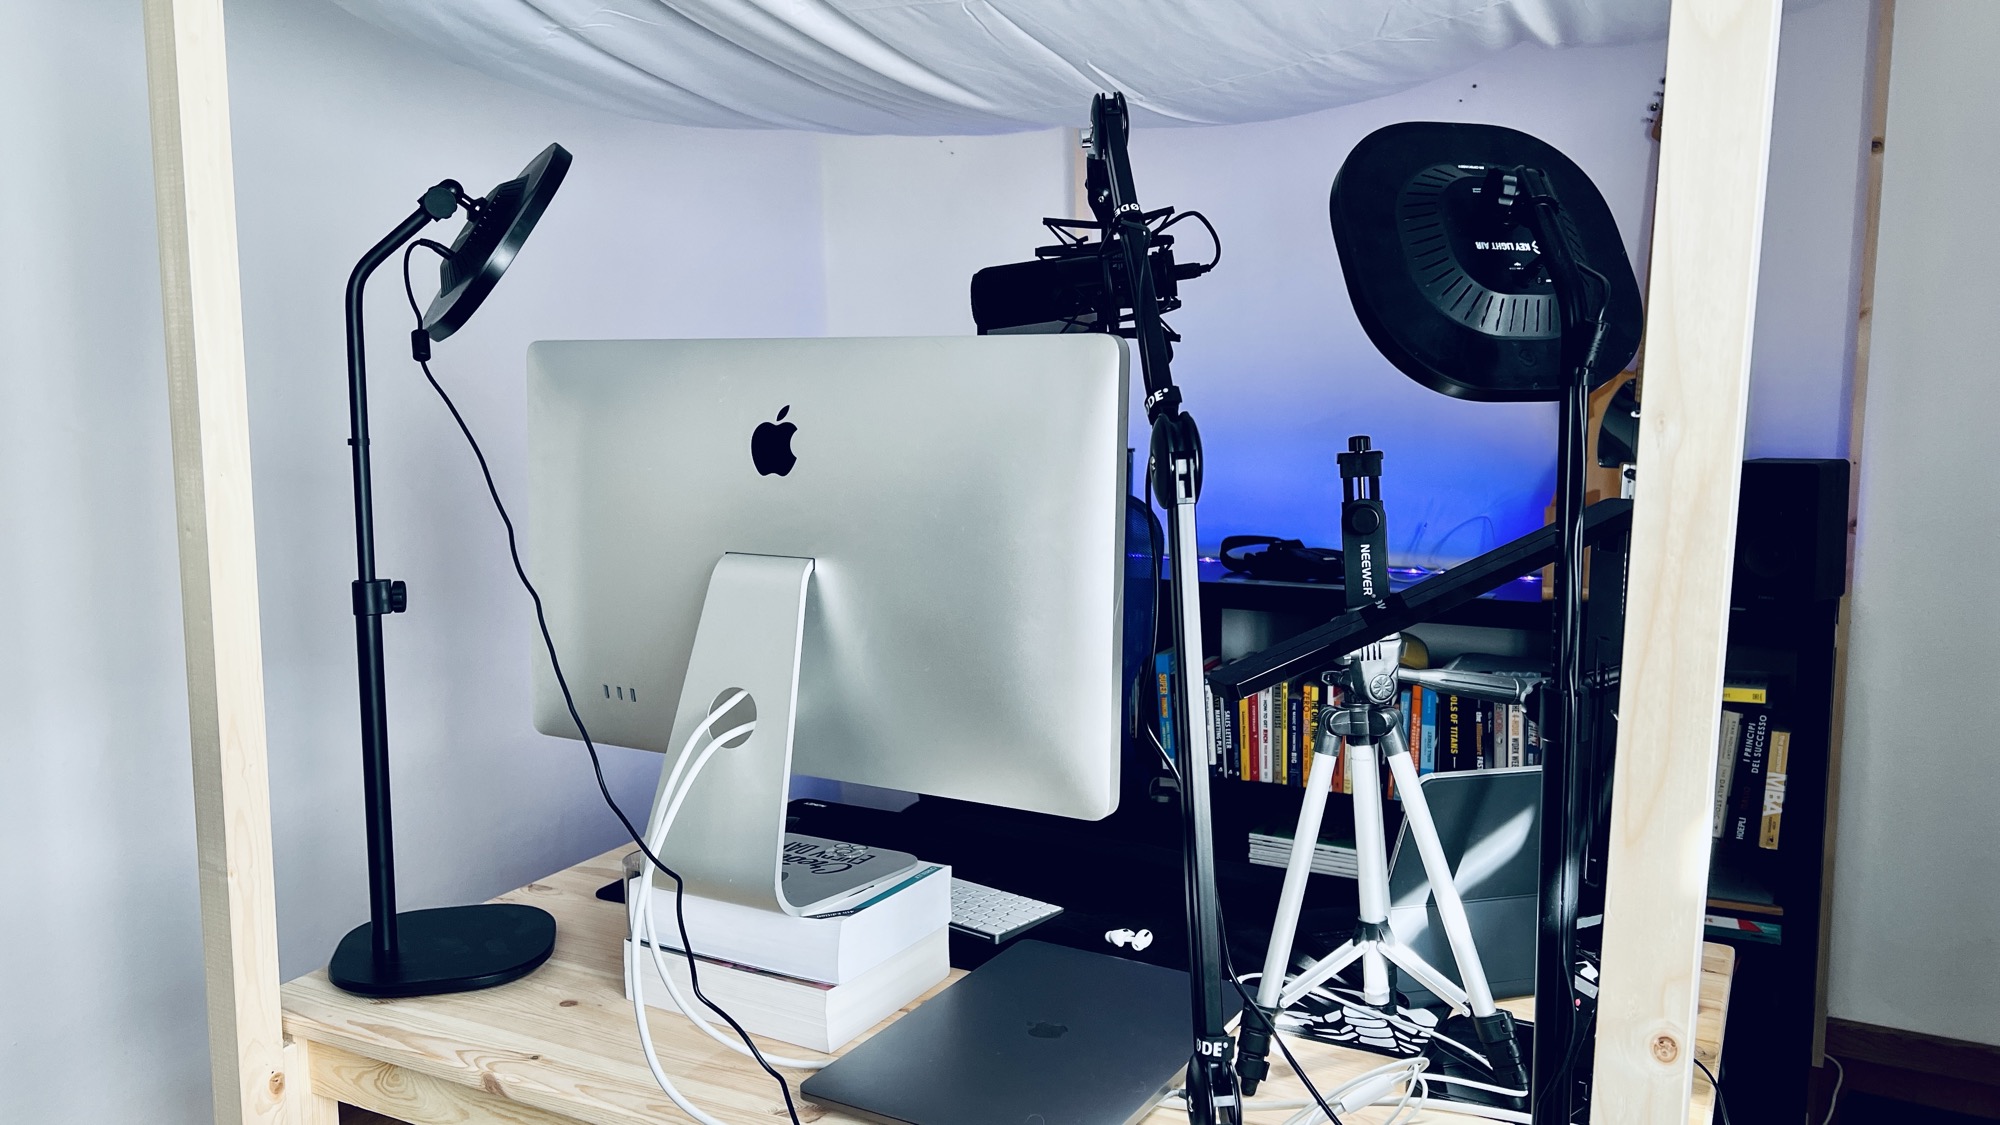
Monitor stand kindly provided by CSS The Definitive Guide, 2017 and Cocoa Programming, 2002. And yes, the desk is a mess, sorry I didn’t prepare it perfectly instagrammable for the picture
After recording, I remove the noise using Screenflow, which has a noise reduction feature.
That’s basically it. It took me a lot of experimentation to figure out the details and the perfect gear but now I record videos very fast and the quality of them is very good for my standards.
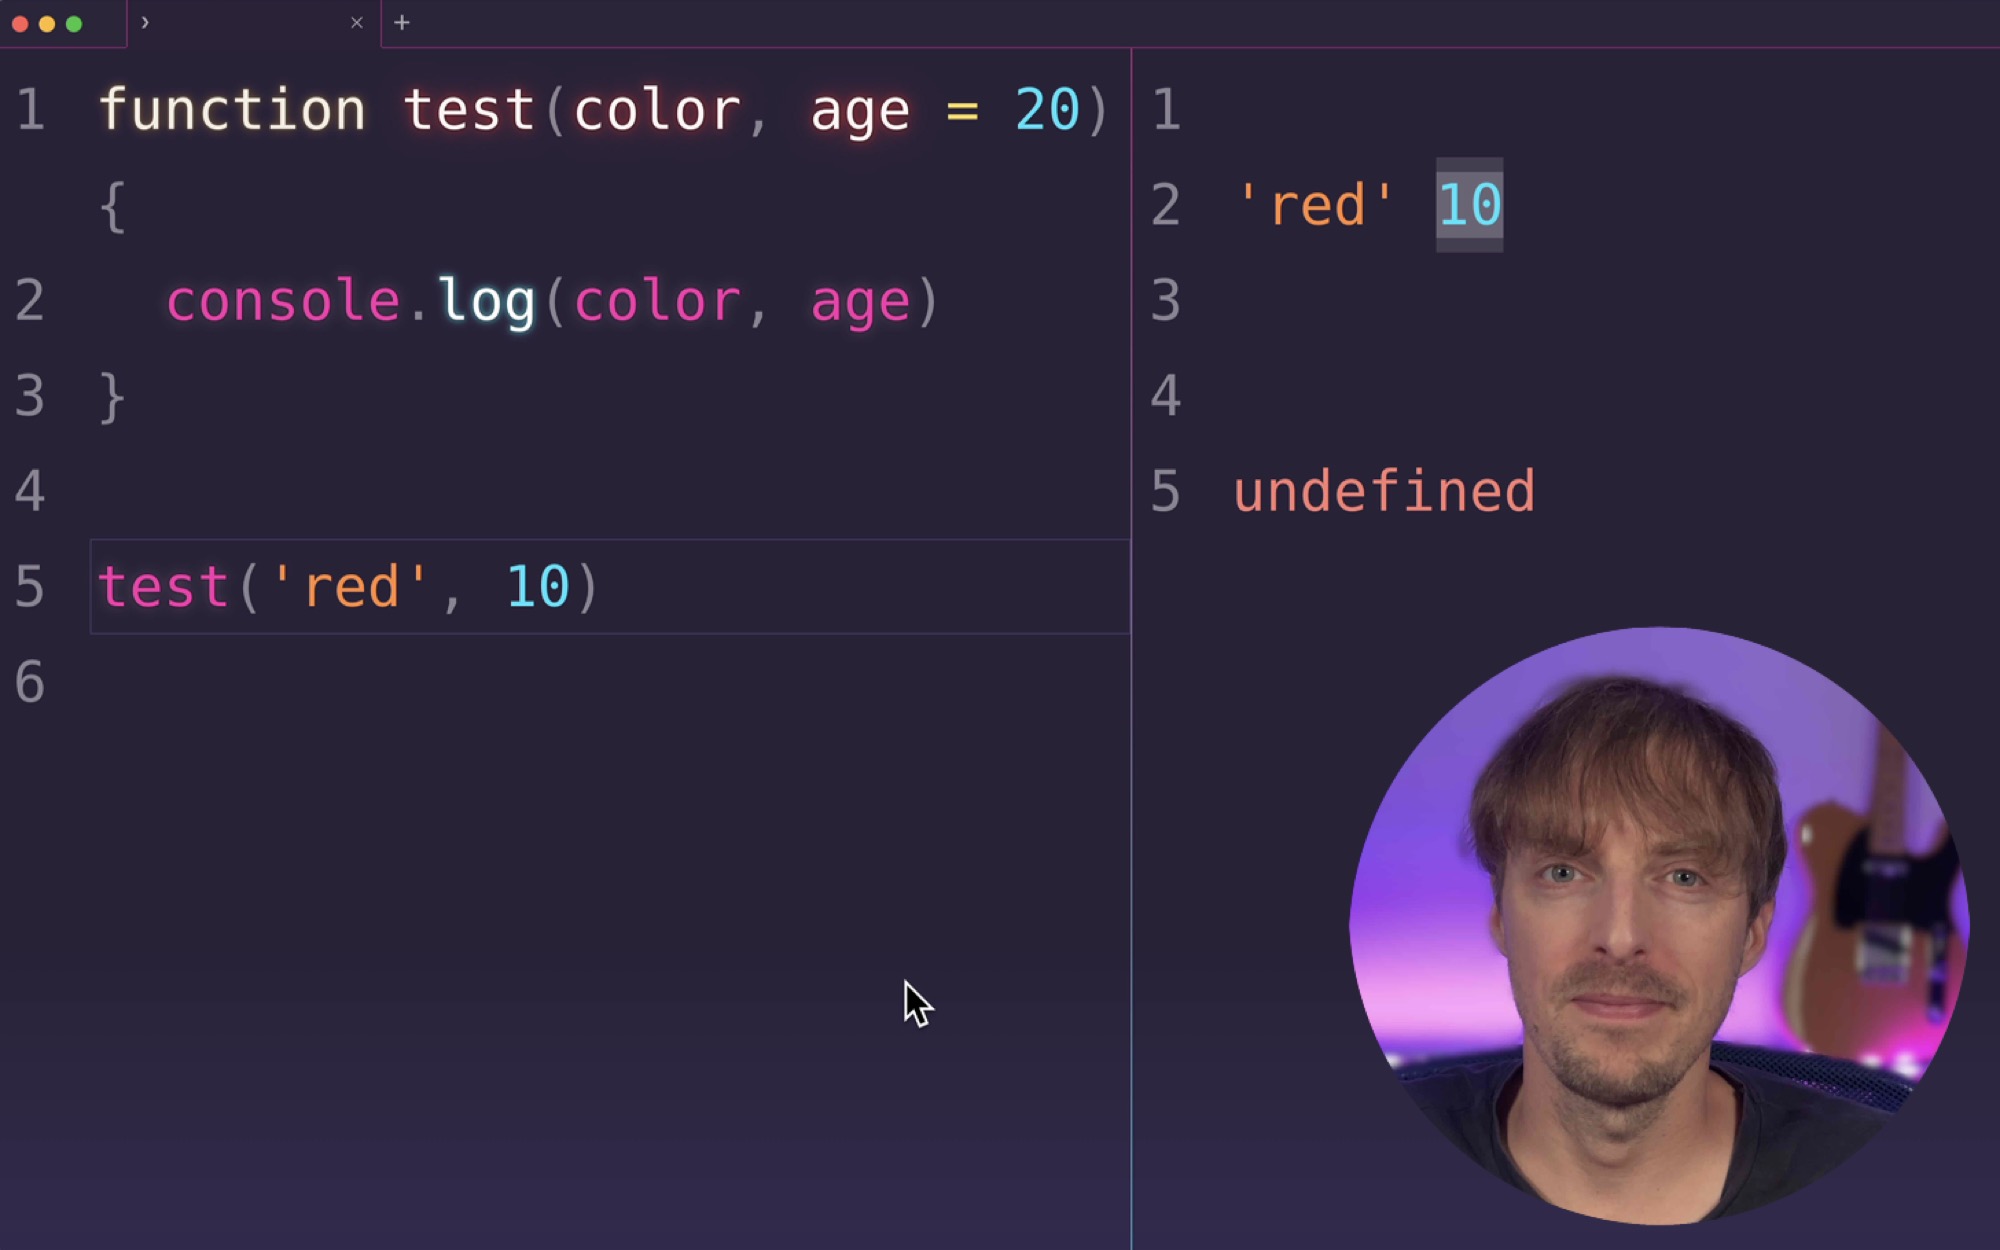
Here’s a sample of the lights + iPhone + Camo background blur in action

Although with screencasts it’s more common that I appear like this:
Related posts about business: