How to connect to a WiFi network using an Arduino
By Flavio Copes
Learn how to connect an Arduino to a WiFi network using the WiFiNINA library, calling WiFi.begin() until it reports WL_CONNECTED and printing the device IP.
Electronic devices you build with Arduino start to become very cool when you connect them to the network.
Let’s see how to connect an Arduino to a WiFi network.
The Arduino must have WiFi connectivity, for example the Arduino MKR WiFi 1010, which is the one I use, or the Arduino Uno WiFi Rev2 and others.
We’re going to use the library WiFiNINA. This library is super handy and lets us connect to a WiFi network, but also create a WiFi network if we want.
Start your Arduino sketch using:
#include <SPI.h>
#include <WiFiNINA.h>
The SPI library is used by the WiFiNINA library, so load it as well. SPI stands for Serial Peripheral Interface
The WiFiNINA library gives us access, among other things, to the WiFi object that we’re going to use.
Now let’s work on the body of the setup() function, the only Arduino core function we’re going to implement (we’ll leave loop() empty).
void setup() {

}
First, we’re going to define 2 strings to hold the network name, the SSID, and the network password.
I use Arduino Create, so I just use constants that I’ll fill separately in the Secret tab:
char ssid[] = SECRET_SSID;
char pass[] = SECRET_PASS;
Next we’re going to initialize the Serial interface to communicate information from the Arduino back to Arduino Create:
Serial.begin(9600);And we wait until it’s ready using
while (!Serial);Next we put WiFi.begin() inside a loop that checks if its return value is WL_CONNECTED, and keeps retrying every 2 seconds until it is:
int status = WL_IDLE_STATUS;
while (status != WL_CONNECTED) {
  Serial.print("Connecting to ");
  Serial.println(ssid);
  status = WiFi.begin(ssid, pass);
  delay(2000);
}
We first initialize it to WL_IDLE_STATUS, another constant of WiFiNINA, but we could also initialize it to an empty string.
Once we end this loop we are connected and we can call the WiFi.localIP() method to get the device IP address and print it to the serial:
Serial.print("IP address: ");
Serial.println(WiFi.localIP());
Here’s the full program:
#include <SPI.h>
#include <WiFiNINA.h>

void setup() {
  char ssid[] = SECRET_SSID;
  char pass[] = SECRET_PASS;

  Serial.begin(9600);
  while (!Serial);

  int status = WL_IDLE_STATUS;
  while (status != WL_CONNECTED) {
    Serial.print("Connecting to ");
    Serial.println(ssid);
    status = WiFi.begin(ssid, pass);
    delay(5000);
  }

  Serial.print("IP address: ");
  Serial.println(WiFi.localIP());
}

void loop() {

}
You have access to other information now, like the network SSID with WiFi.SSID() and the signal strength using WiFi.RSSI():
Serial.print("Signal strength in dBm: ");
Serial.print(WiFi.RSSI());
At this point you are connected and you can move on to other tasks.
Note: you might have a NINA firmware upgrade available. Add this check to your program:
if (WiFi.firmwareVersion() < WIFI_FIRMWARE_LATEST_VERSION) {
Serial.println("Firmware upgrade available");
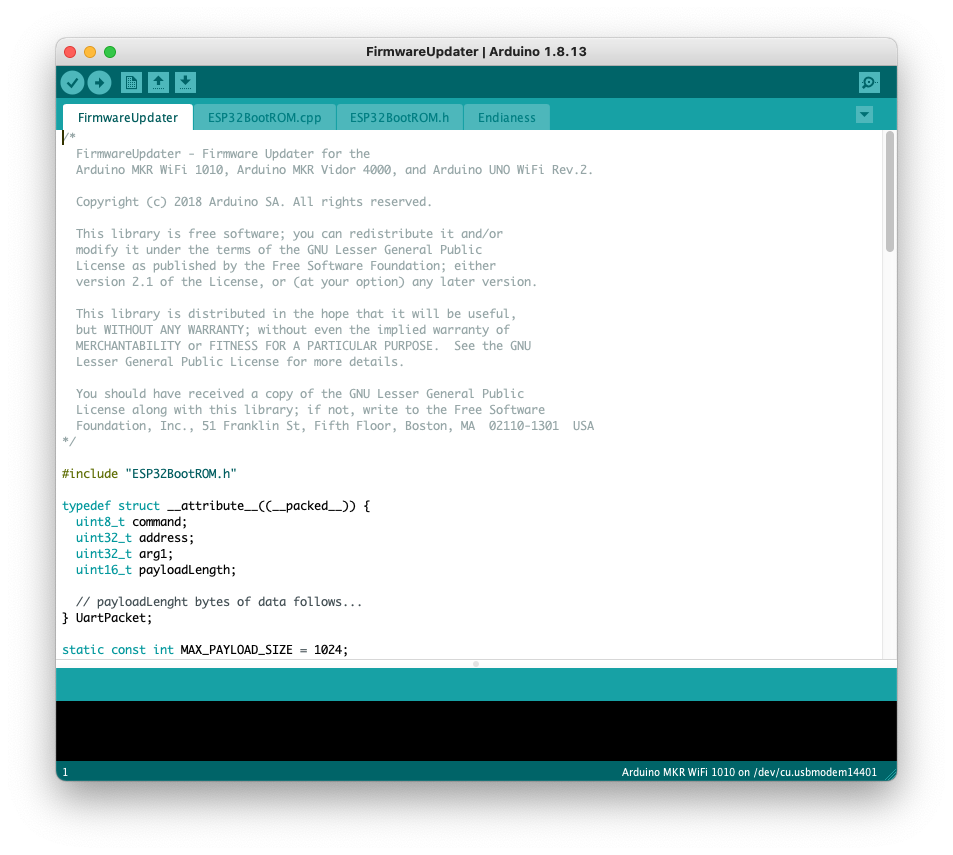
}to know if that’s the case. If so, using the Arduino IDE (I can’t see how to do this from Arduino Create) connect to the board then load the example sketch File -> Examples -> WiFiNINA -> Tools -> FirmwareUpdater
Then open the Tools -> WiFi101 / WiFiNINA Firmware Updater menu:
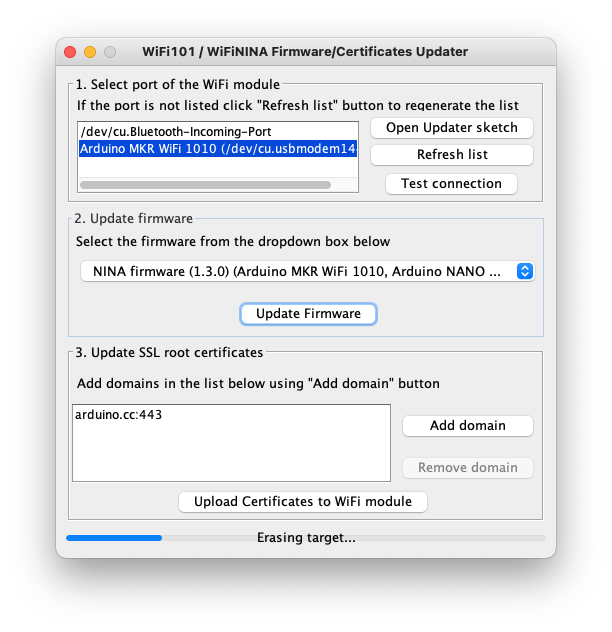
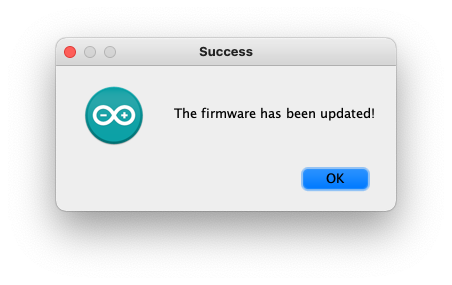
and press the Update Firmware button:
Related posts about electronics: