State and actions
SwiftUI: properties
Learn how properties hold data in SwiftUI views, from simple constants to State and Binding property wrappers that keep the UI in sync with data.
A SwiftUI view is a struct, so you can add properties to it like to any other struct. Then you use them inside body:
import SwiftUI

struct ContentView: View {
    let name = "Flavio"

    var body: some View {
        Text("Hello, \(name)!")
            .font(.largeTitle)
    }
}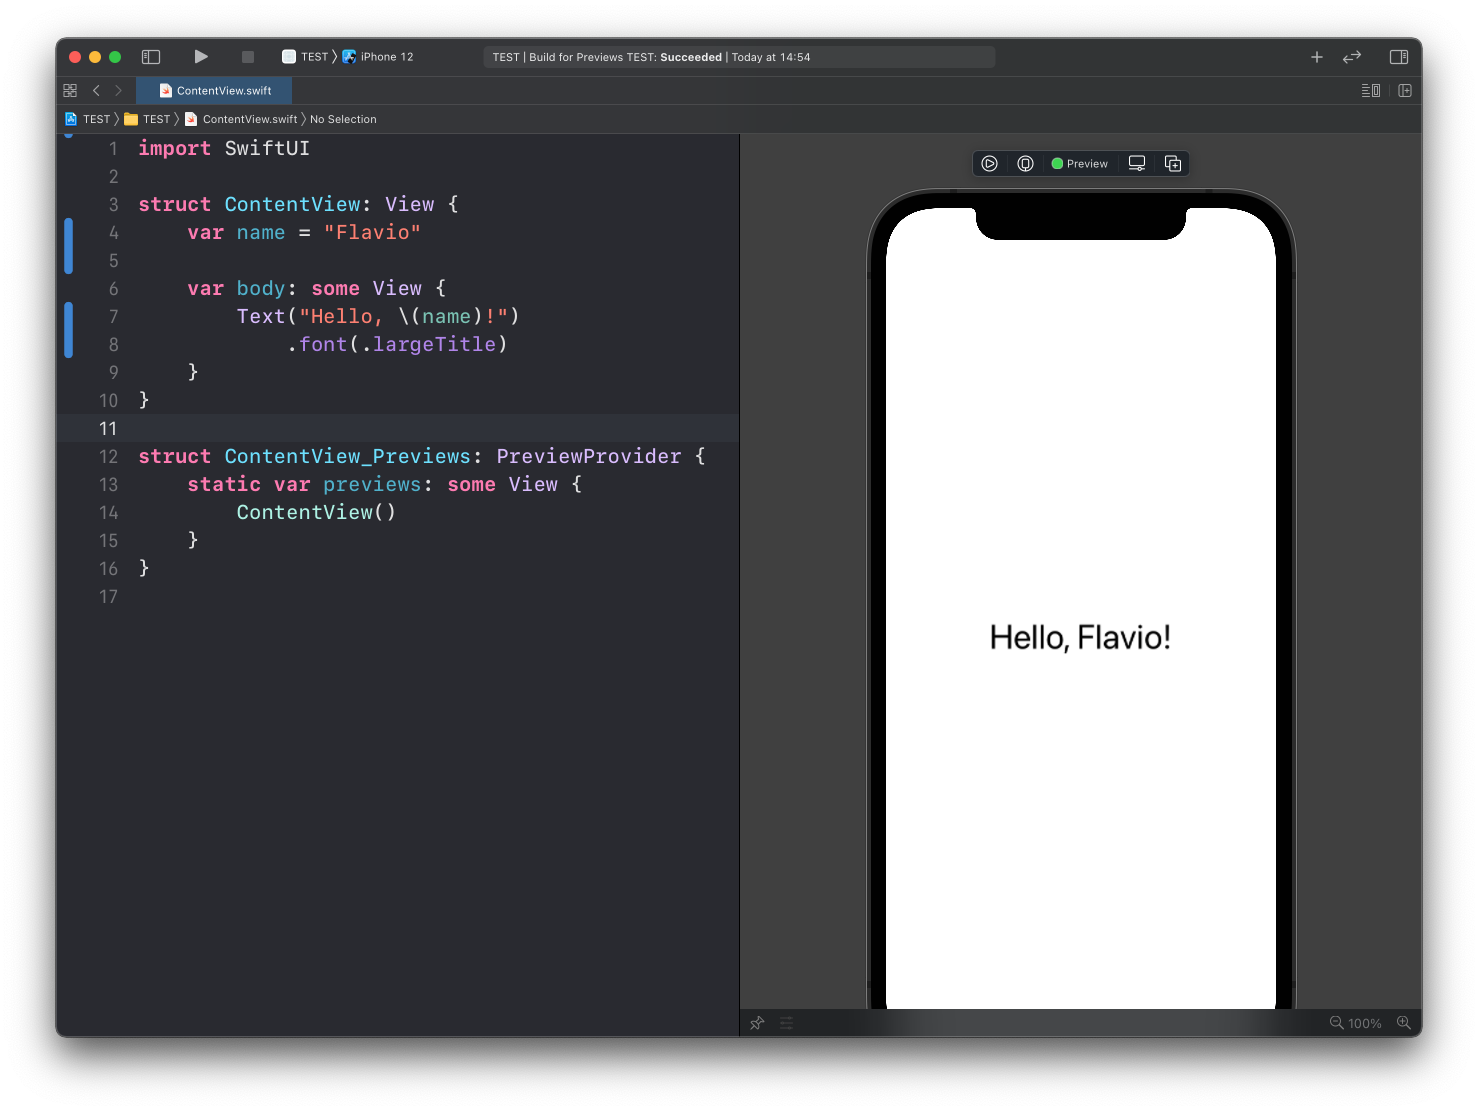
Notice I used let. The name never changes, so it’s a constant.
Here’s another example with an integer:
import SwiftUI

struct ContentView: View {
    let name = "Flavio"
    let age = 38

    var body: some View {
        VStack {
            Text("Hello, \(name)!")
                .font(.largeTitle)
            Text("You are \(age) years old")
        }
    }
}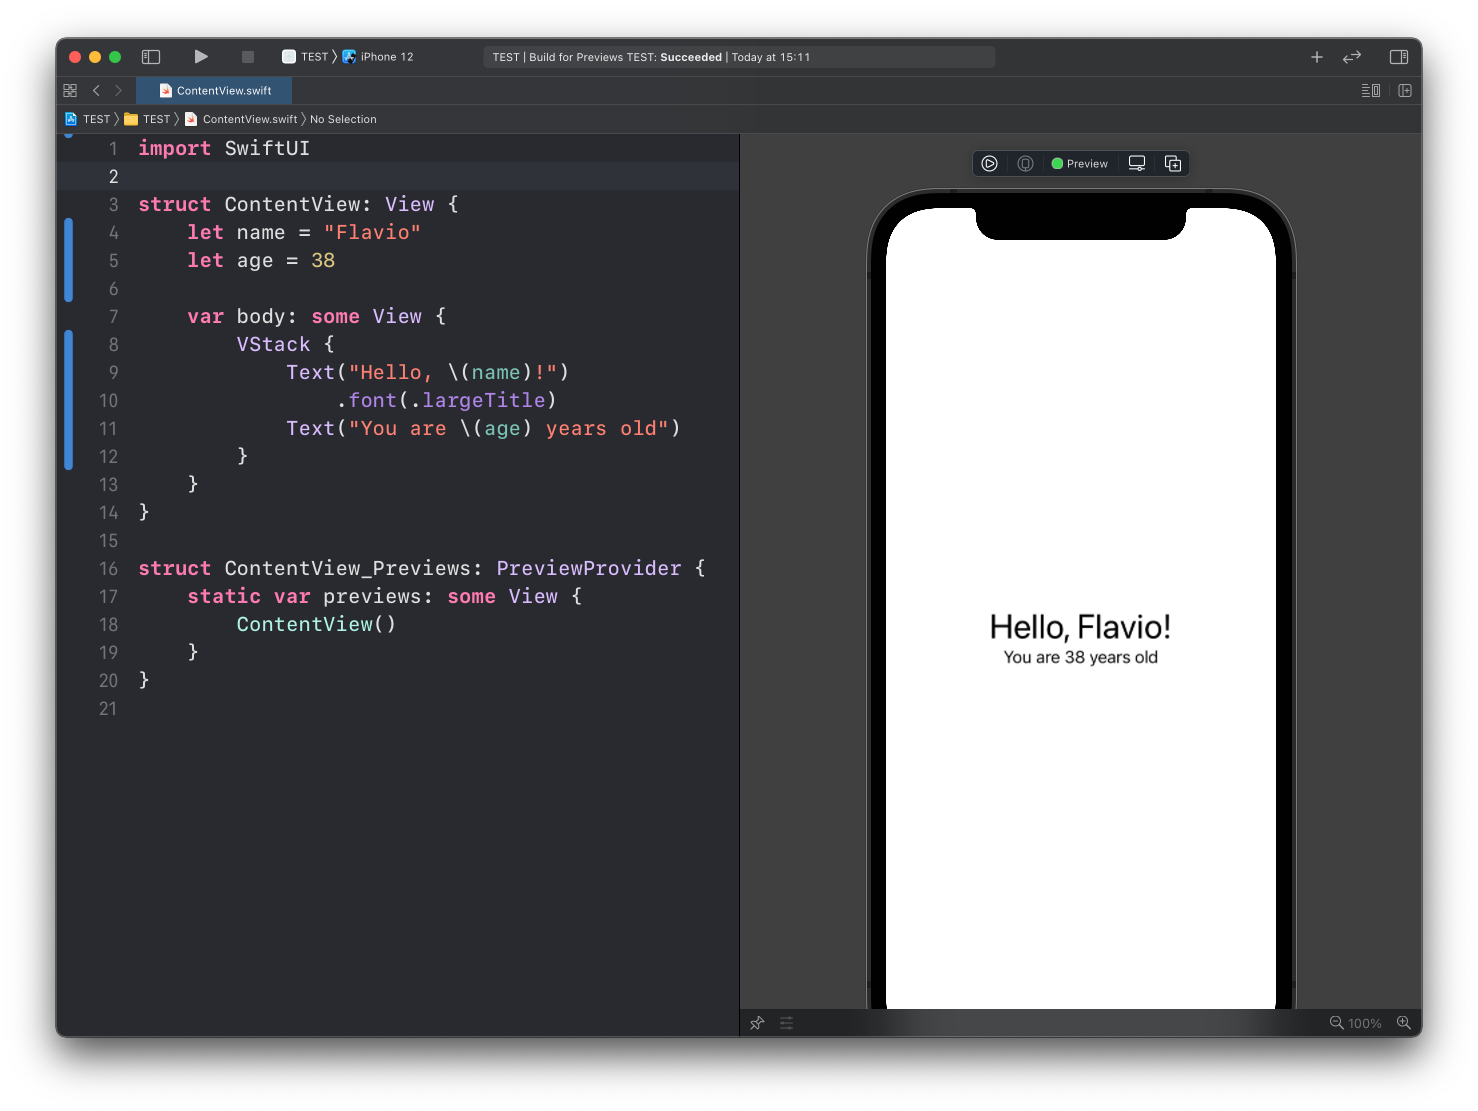
Constants are fine for data that never changes. Things get interesting when the data has to change.
Why a plain var doesn’t work
Say you want a counter that goes up when the user taps a button. The natural first try is a var:
struct ContentView: View {
    var count = 0

    var body: some View {
        Button("Taps: \(count)") {
            count += 1 // does not compile
        }
    }
}
This doesn’t compile. Views are structs, and a struct can’t change its own properties from inside body.
And even if it could, it wouldn’t help. SwiftUI throws away and recreates your view structs all the time, every time something on screen needs updating. A value stored in a plain property would reset on the next refresh. Your taps would never stick.
@State
The fix is the @State property wrapper:
struct ContentView: View {
    @State private var count = 0

    var body: some View {
        Button("Taps: \(count)") {
            count += 1
        }
    }
}
@State tells SwiftUI: store this value for me, outside the view struct, and keep it alive across refreshes. When the value changes, SwiftUI re-renders the parts of the interface that read it.
Two conventions I always follow. Mark @State properties private, because this is state the view owns and nobody else should touch it directly. And use it for small value types: a String, an Int, a Bool.
Passing state to children with @Binding
Often a view wants a child view to edit its state. Think of a settings screen that owns a Bool, and a reusable switch component that flips it.
The parent keeps the @State. The child declares a @Binding. To connect them, the parent passes the property with a $ prefix:
struct ContentView: View {
    @State private var isOn = false

    var body: some View {
        VStack {
            Text(isOn ? "Enabled" : "Disabled")
            PowerSwitch(isOn: $isOn)
        }
    }
}

struct PowerSwitch: View {
    @Binding var isOn: Bool

    var body: some View {
        Toggle("Power", isOn: $isOn)
    }
}
The $ prefix gives you the projected value of the state property, which is a Binding. A binding is a read-write connection to the original value. When PowerSwitch flips the toggle, it writes straight into the parent’s isOn, and the Text above switches to “Enabled”.
The rule of thumb: @State for state you own, @Binding for state someone hands to you.
What about bigger objects?
@State covers values local to one view. When you have a model class shared across many screens, you mark the class with the @Observable macro and pass instances around. The mental model stays the same: state you own versus state handed to you.
We’ll get there later. For now, @State and @Binding cover everything a small app needs.
Lesson completed