Collections and layout
SwiftUI: spacing
Learn how to control spacing in SwiftUI with the stack spacing parameter, the padding modifier, the Spacer view, and the frame modifier.
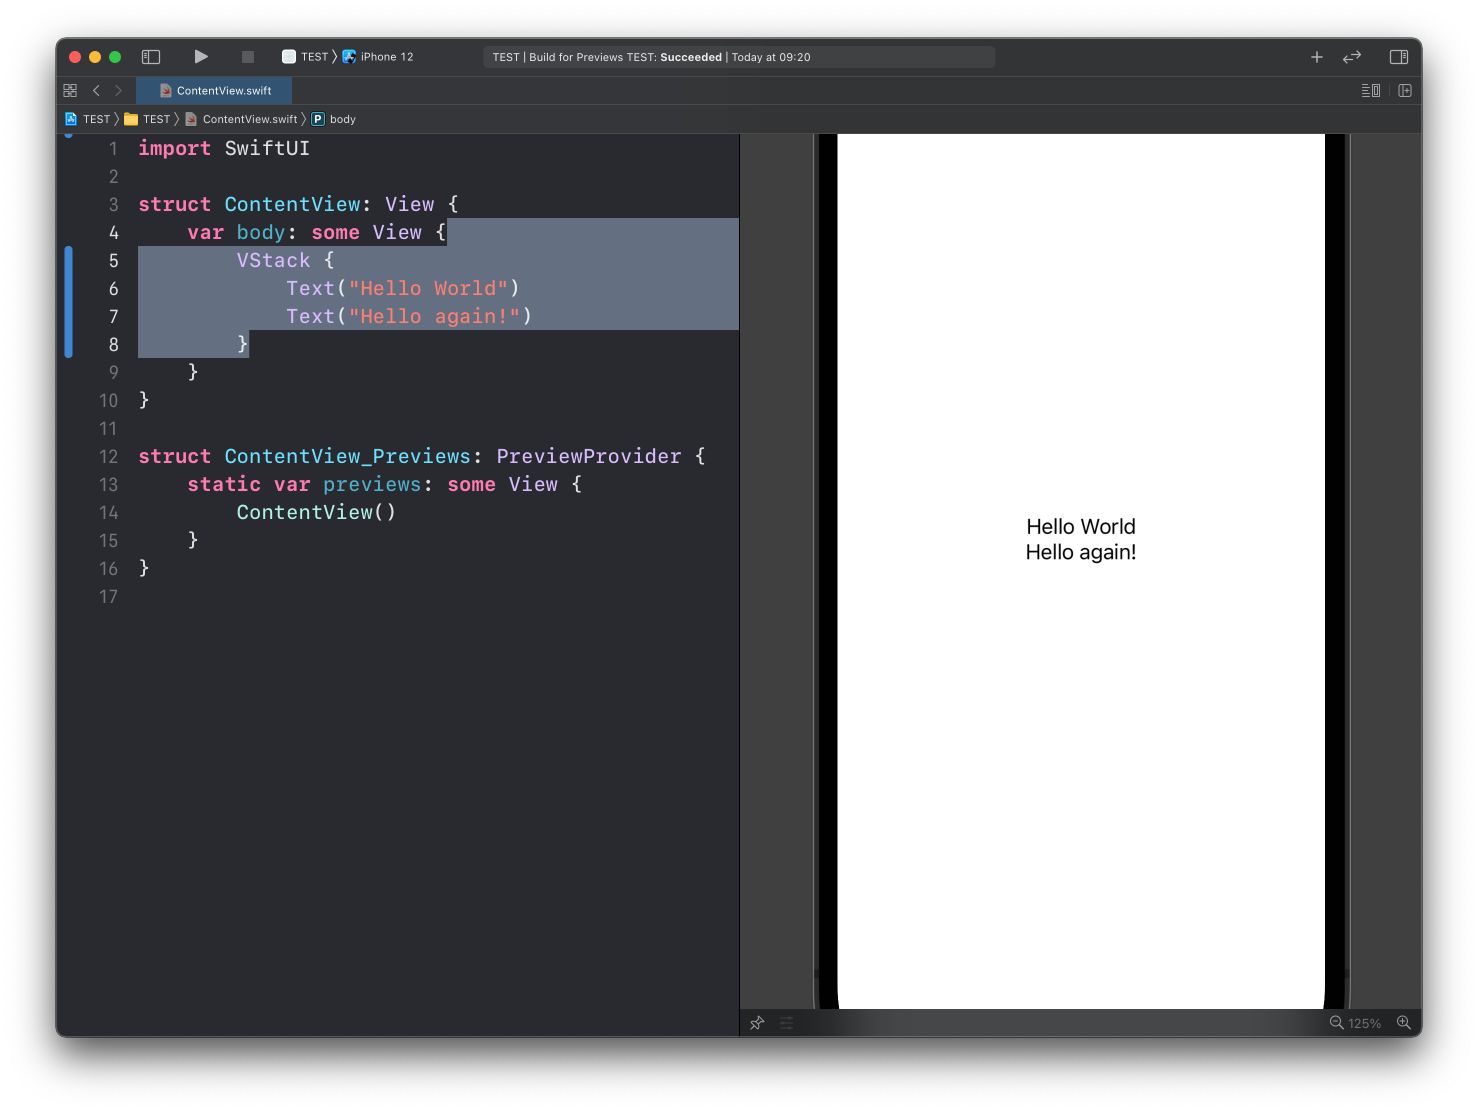
In the stacks lesson we arranged views with a VStack:
VStack {
    Text("Hello World")
    Text("Hello again!")
}
Let’s talk about spacing. You have three main tools: the spacing parameter of stacks, the padding() modifier, and the Spacer view. Each one solves a different problem.
The spacing parameter
See how the two Text views sit very close together? Stacks apply a small default spacing between children.
VStack (like HStack) accepts a spacing parameter to change it:
VStack(spacing: 100) {
    Text("Hello World")
    Text("Hello again!")
}
This puts 100 points of space between the views inside the VStack.
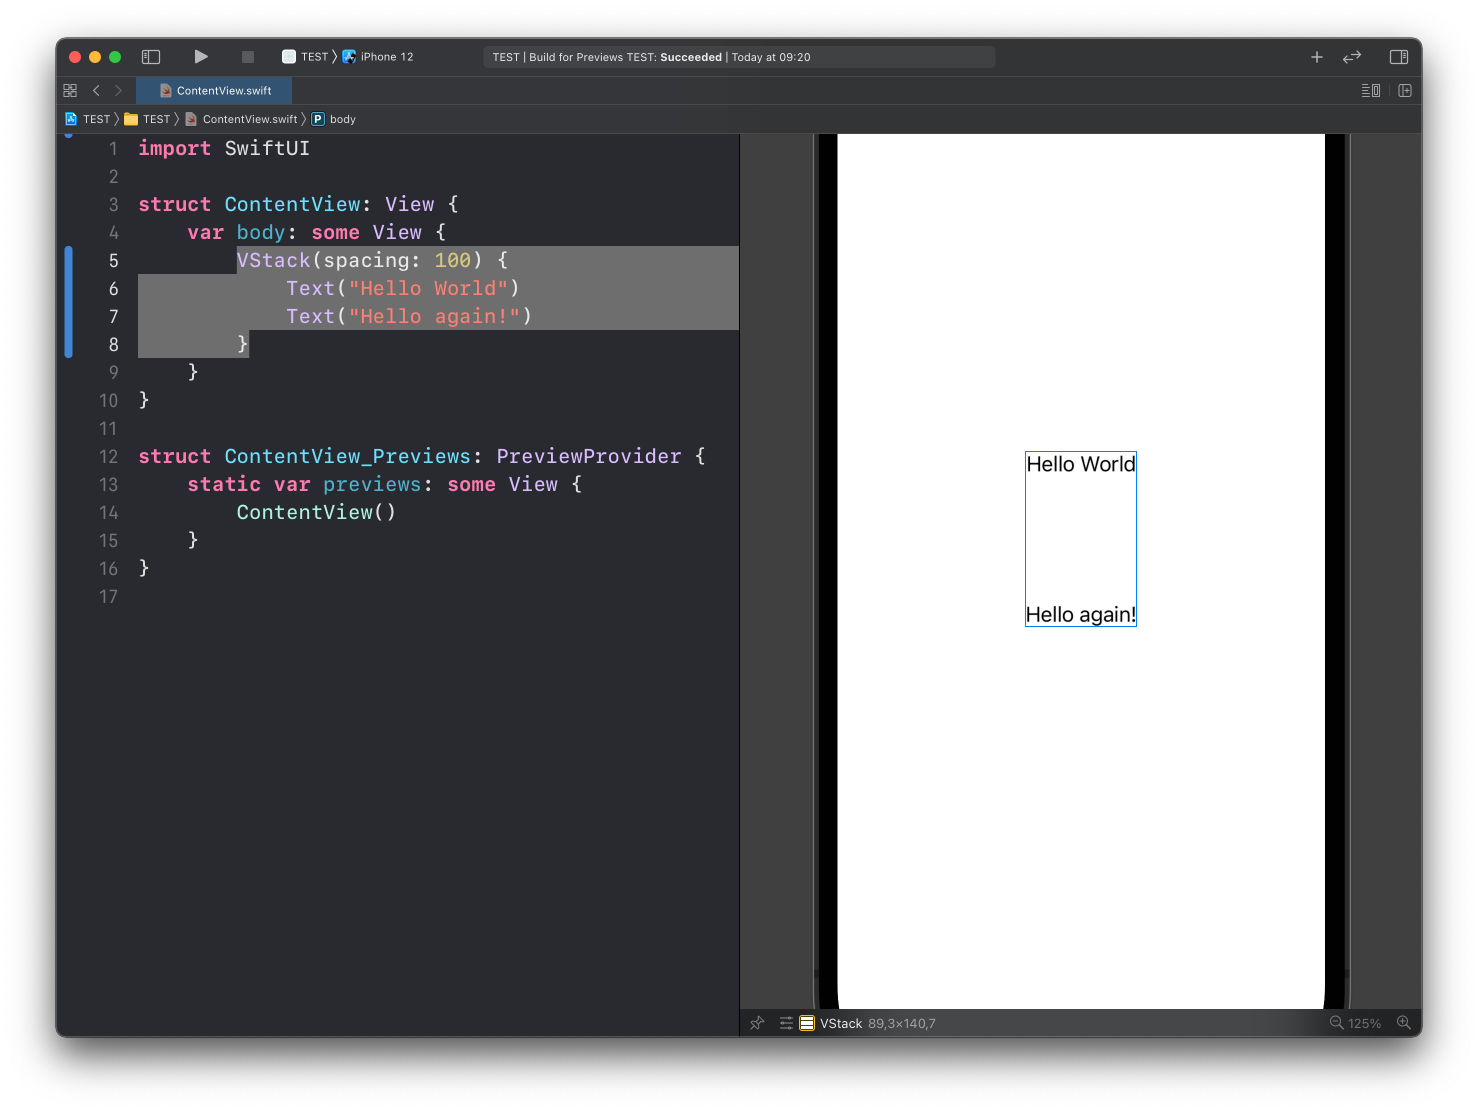
Use spacing for the gap between siblings. It applies to every pair of adjacent children, so the rhythm stays consistent.
padding()
While spacing works between views, padding() adds space around one view:
Text("Hello World")
    .padding()
With no arguments you get a system-chosen amount on all four edges. You can pick specific edges and an exact amount:
Text("Hello World")
    .padding(.horizontal, 16)
    .padding(.top, 8)
The edge options are .top, .bottom, .leading, .trailing, plus the shortcuts .horizontal, .vertical and .all.
Notice we say .leading and .trailing instead of left and right. In a right-to-left language the layout flips automatically.
Spacer
Spacer is a view that expands to fill all the available space:
VStack {
    Text("Hello World")
    Spacer()
    Text("Hello again!")
}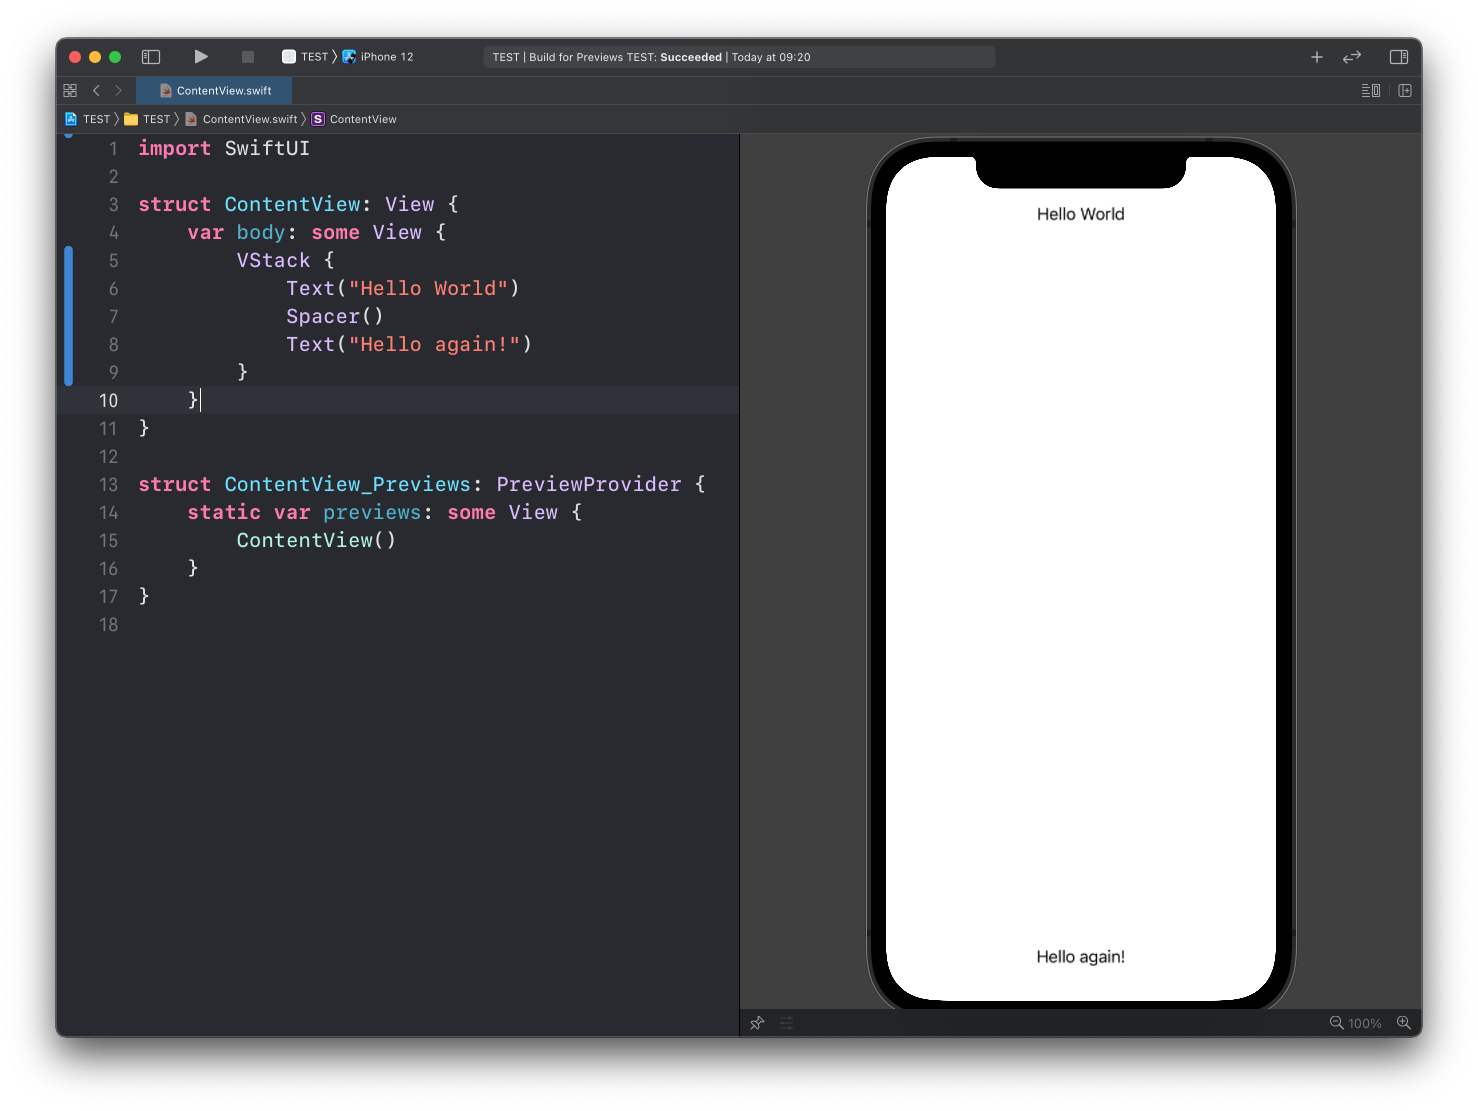
The spacer grabbed everything the texts didn’t need, pushing one to the top and one to the bottom. In an HStack, a Spacer pushes horizontally instead. That’s the classic way to push a button to the trailing edge.
You can cap it to a fixed size with the frame() modifier:
VStack {
    Text("Hello World")
    Spacer()
      .frame(height: 20)
    Text("Hello again!")
}
Although if you want a fixed 20 points gap, spacing or padding() says that more directly.
frame(maxWidth:) for filling and aligning
One more tool worth knowing early. You can ask a view to take all the available width, and control where its content sits:
Text("Hello World")
    .frame(maxWidth: .infinity, alignment: .leading)
The text now occupies the full width of its parent, with the content aligned to the leading edge. This is the standard way to left-align text inside a container that would otherwise center it.
My advice
Prefer adaptive spacing over fixed coordinates. Screens vary a lot: an iPhone SE, a Pro Max, an iPad in split view, larger Dynamic Type sizes. spacing, padding(), Spacer and frame(maxWidth:) all adapt to whatever space they’re given. Magic numbers don’t.
If you catch yourself typing something like .padding(.leading, 37) to nudge a view into place, step back. There’s almost always an alignment, a stack, or a Spacer that says what you actually want.
Lesson completed