How to quickly create a Windows computer on AWS
By Flavio Copes
Learn how to quickly create a Windows machine in the cloud with AWS WorkSpaces and connect to it remotely from your Mac using the WorkSpaces client app.
I recently had the need to “spin up” a Windows computer and access it remotely without actually having to go buy and set up a PC.
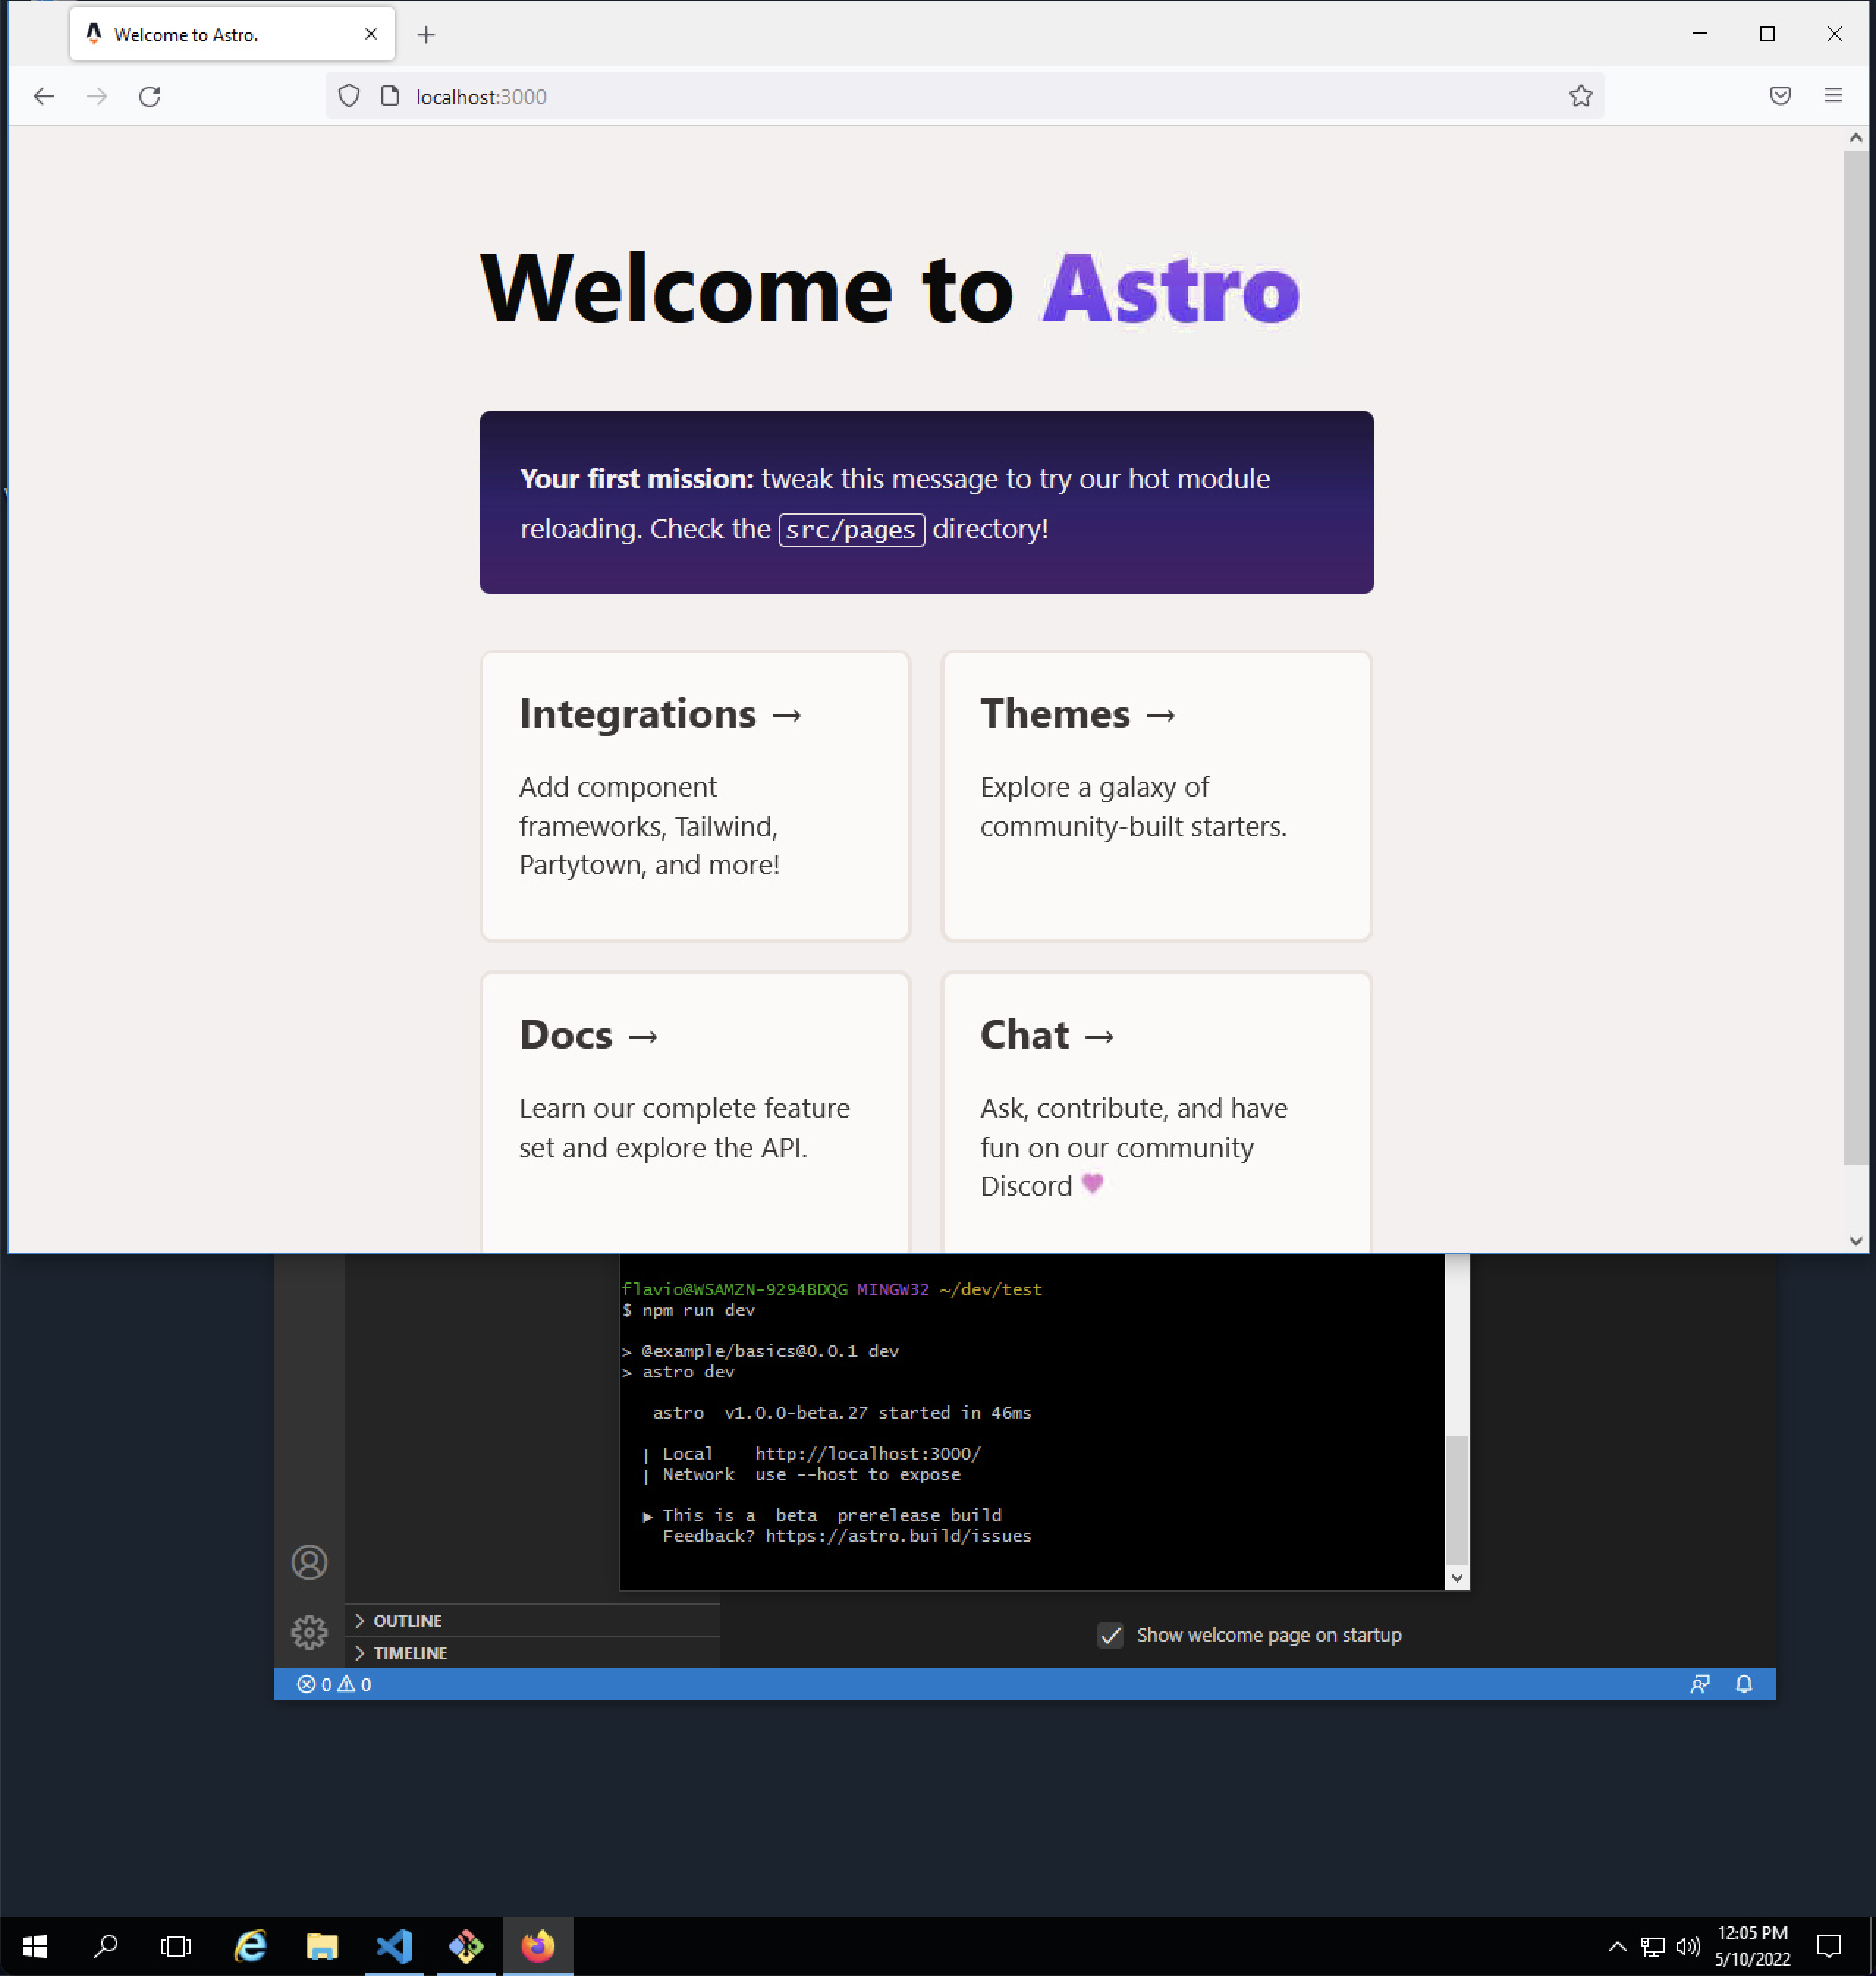
The goal was to have a freshly installed Windows machine, use it from my Mac, try running some commands to test installing npm Git all that stuff so I could test the instructions in my course were running, and then destroy it after 1 hour.
I reviewed various options and saw AWS WorkSpaces.
They allow far more complicated workflows, but it also worked for my simple use case.
I assume you have an AWS account already.
Once you’re in the AWS Console search for the WorkSpaces service in AWS.
Click Get Started Now and choose the Quick Setup.
The console changed a bit since I did this in 2022 (the last button is now called Create WorkSpace, for example), but the flow is the same: Quick setup, pick a bundle, create.
Now pick a machine. I chose Standard with Windows 10.
That “Windows 10” was a Windows Server image with the Windows 10 desktop experience, not the Windows 10 you install on a PC. It still works like that today: the public bundles give you Windows Server 2019, 2022 or 2025 with a Windows desktop, license included. A real Windows 10 or Windows 11 WorkSpace needs your own license (AWS calls it BYOL) and a dedicated directory, which is way more than a one-hour test needs.
The protocol changes how you can connect to it. I picked WSP (Amazon’s WorkSpaces Streaming Protocol). AWS renamed it Amazon DCV in October 2024, so today the picker says PCoIP or DCV. Pick DCV.
Enter the user’s details (username, first name, last name, email) and press Launch WorkSpaces. The console confirms the WorkSpace is being created.
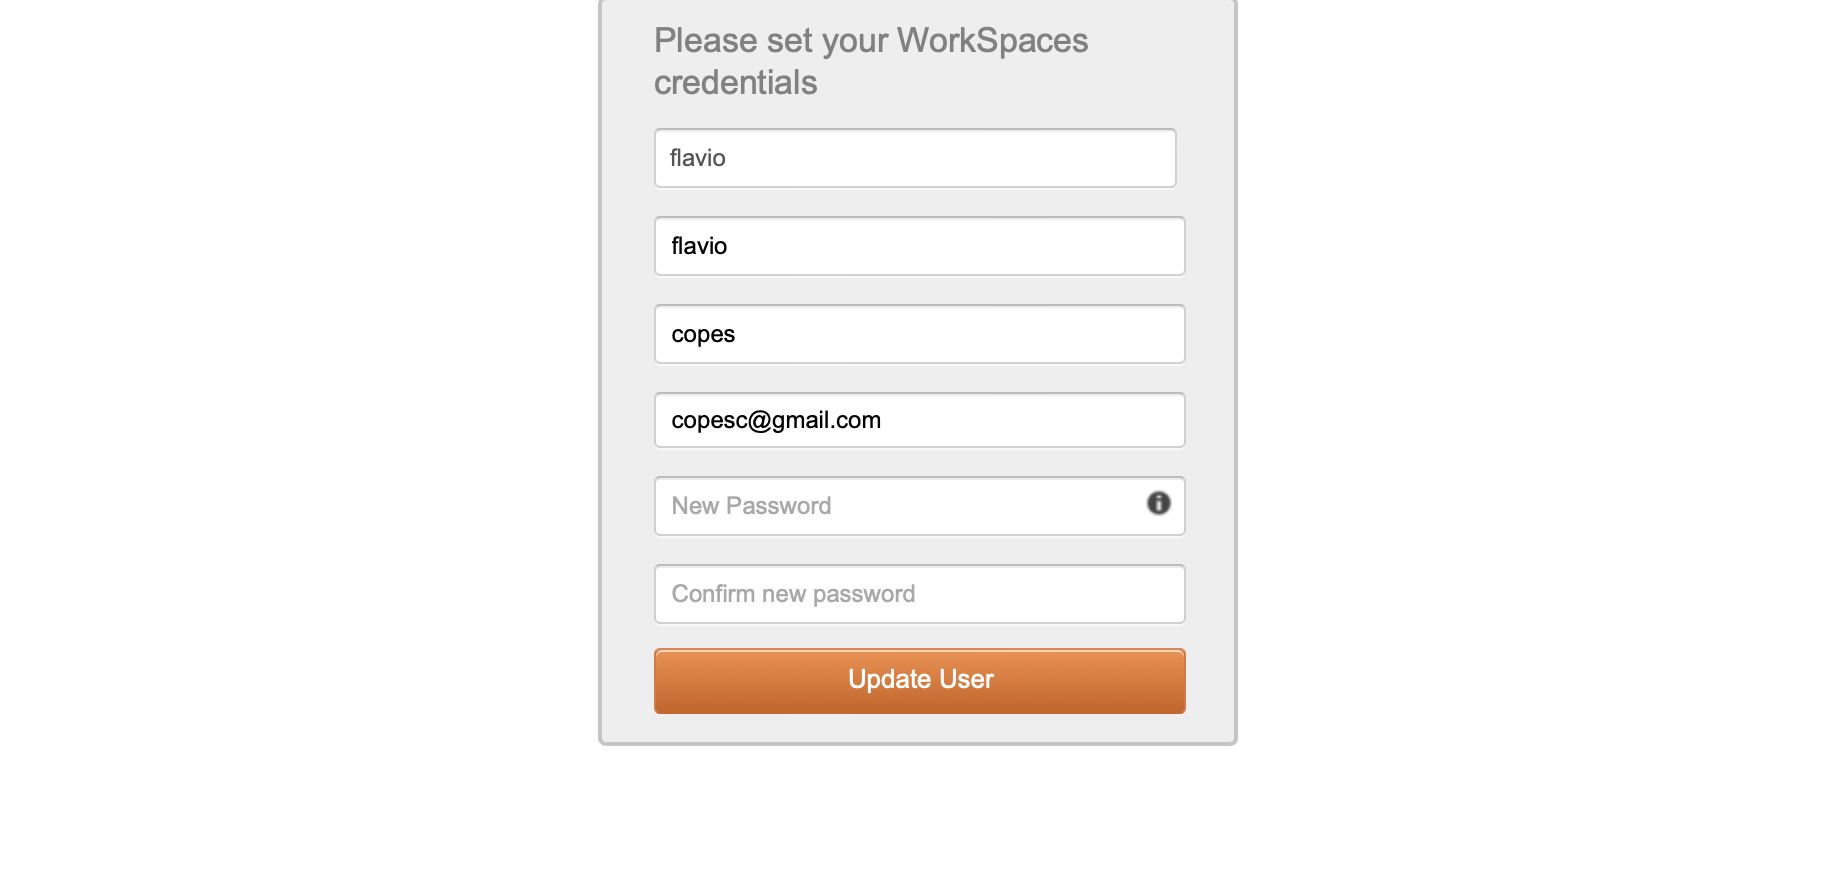
Next you’ll get an email with instructions on how to set the user’s password and how to download the AWS WorkSpaces client.
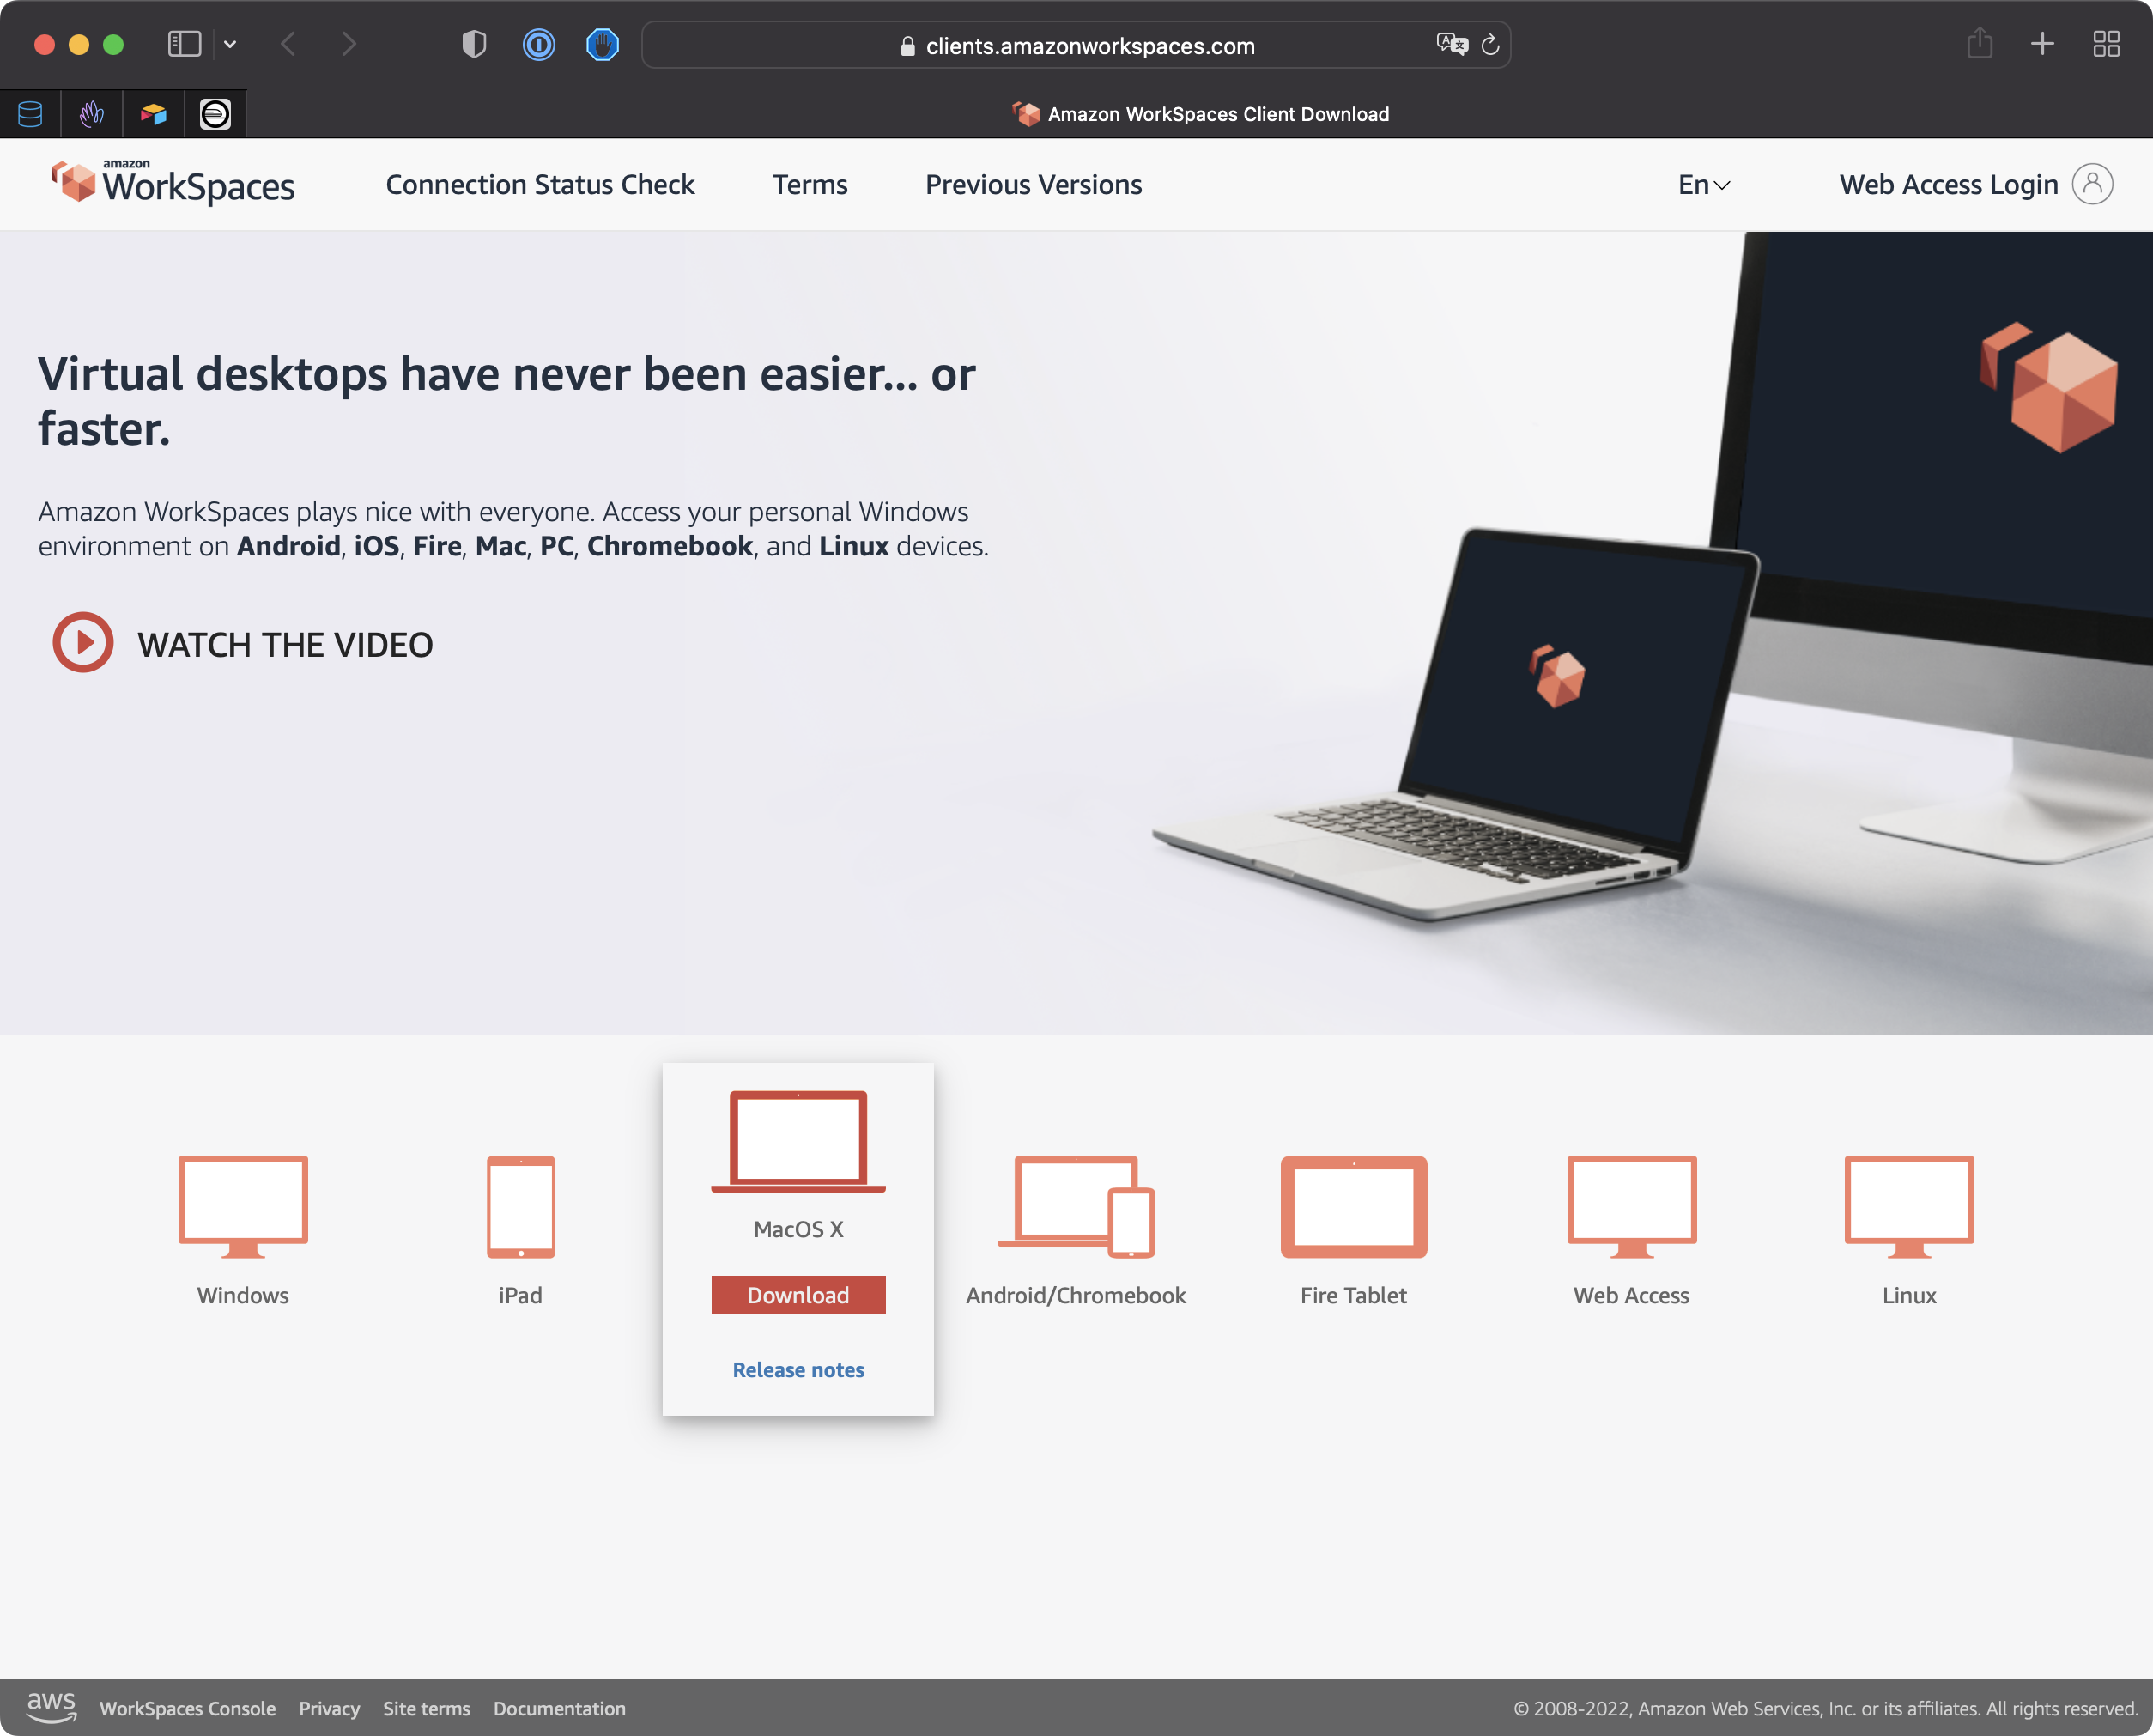
Install the app, then once you got the email (it can take 20 minutes) enter the registration code you got via email:
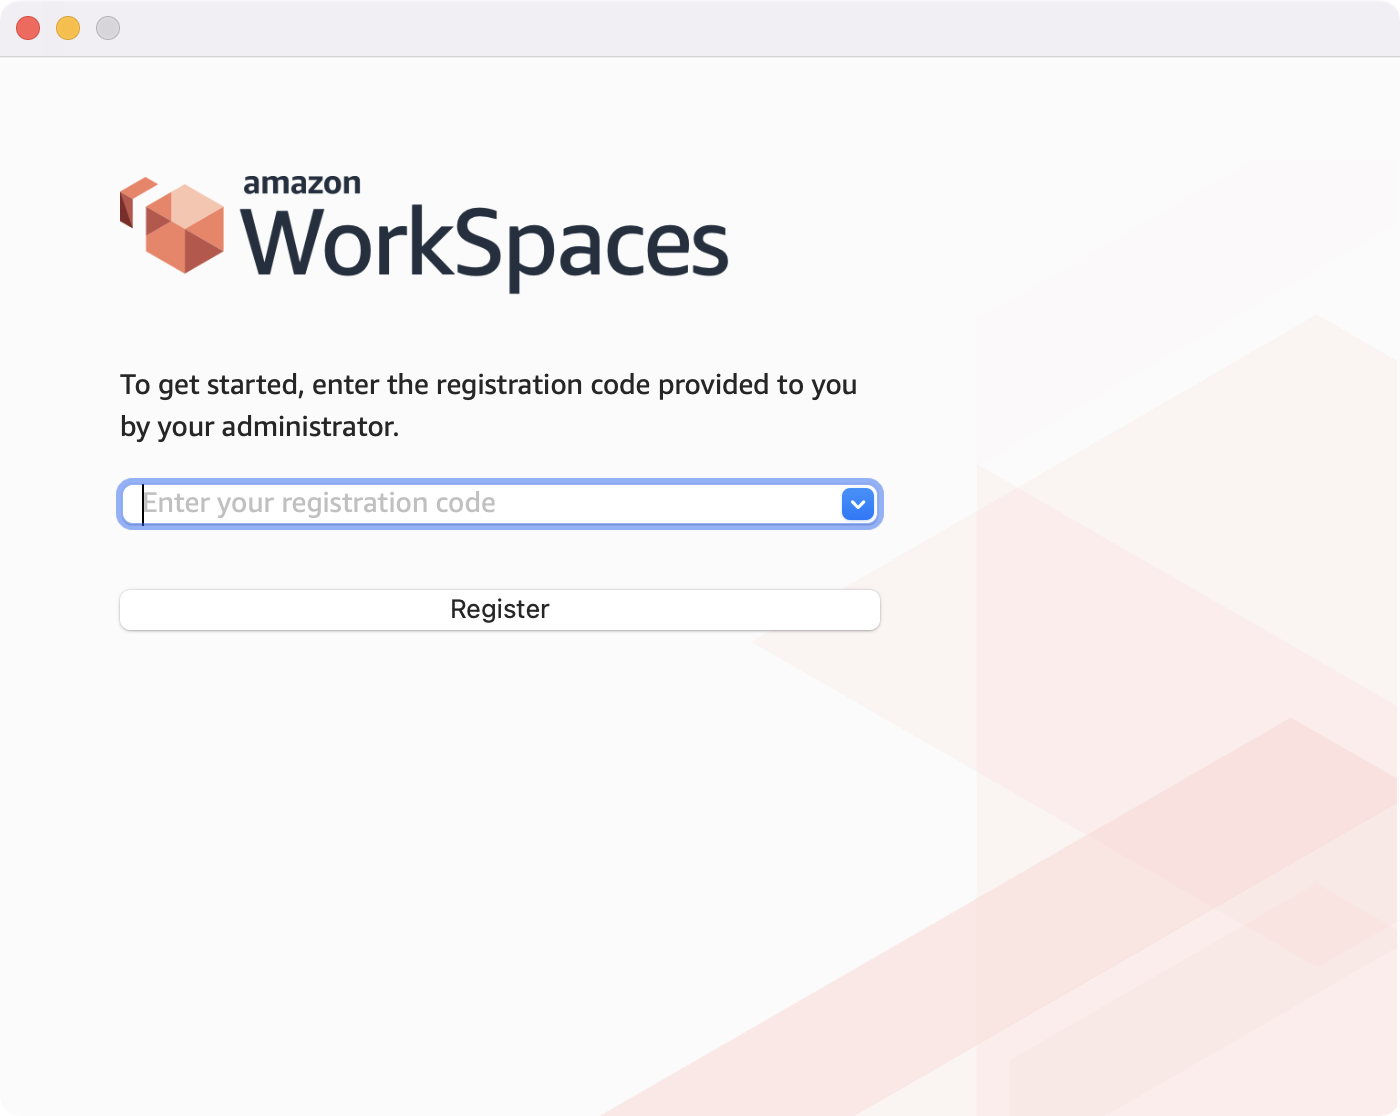
and enter your user password:
And you’re ready to go!
When you are done, delete the WorkSpace from the console. Quick setup creates it in AlwaysOn mode, which AWS bills as a flat monthly fee whether you use it or not, so for a one-hour test like mine there is no point in keeping it around. (The hourly AutoStop billing exists too, but you have to switch the running mode yourself.)
Also delete the Simple AD directory that Quick setup created for you. It is free while it has WorkSpaces in it, but if it sits empty for 30 days AWS starts charging for it.
Want me to talk about your product? You can sponsor this site.
Related posts about computers: