Configuring the macOS command line
By Flavio Copes
Learn how to set up the macOS command line from scratch, installing Homebrew, switching your default shell to Fish, and customizing it with fish_config.
See my how to use the macOS terminal post too
How to setup the macOS command line
I just got a new MacBook Air to replace my beloved 2010 MacBook Pro, and I decided to document the process of setting up the command line.
By default here’s what we have:
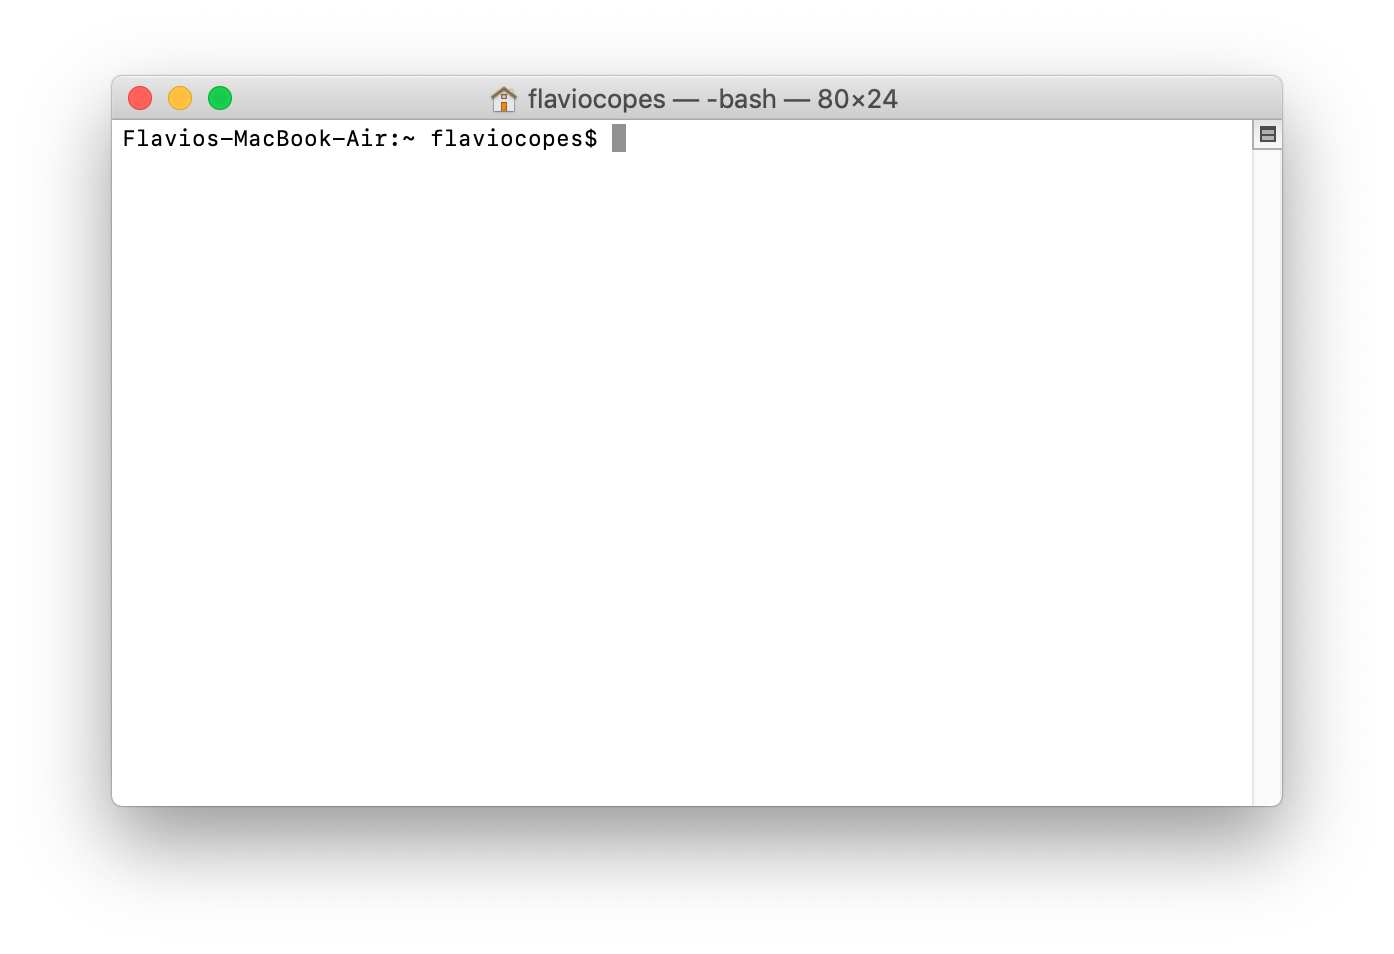
We’re going to have a much better terminal at the end of this article.
First thing is, install Homebrew. Head to https://brew.sh and copy the install command in your terminal, which should be:
/bin/bash -c "$(curl -fsSL https://raw.githubusercontent.com/Homebrew/install/HEAD/install.sh)"Homebrew supports macOS Sonoma 14 and newer (plus Linux / WSL). On Apple Silicon the prefix is typically /opt/homebrew. On Intel Macs it’s usually /usr/local.
This will take care of installing the Brew package manager, which is an incredible tool. It will take some time as it needs to download the Xcode command line tools from Apple.
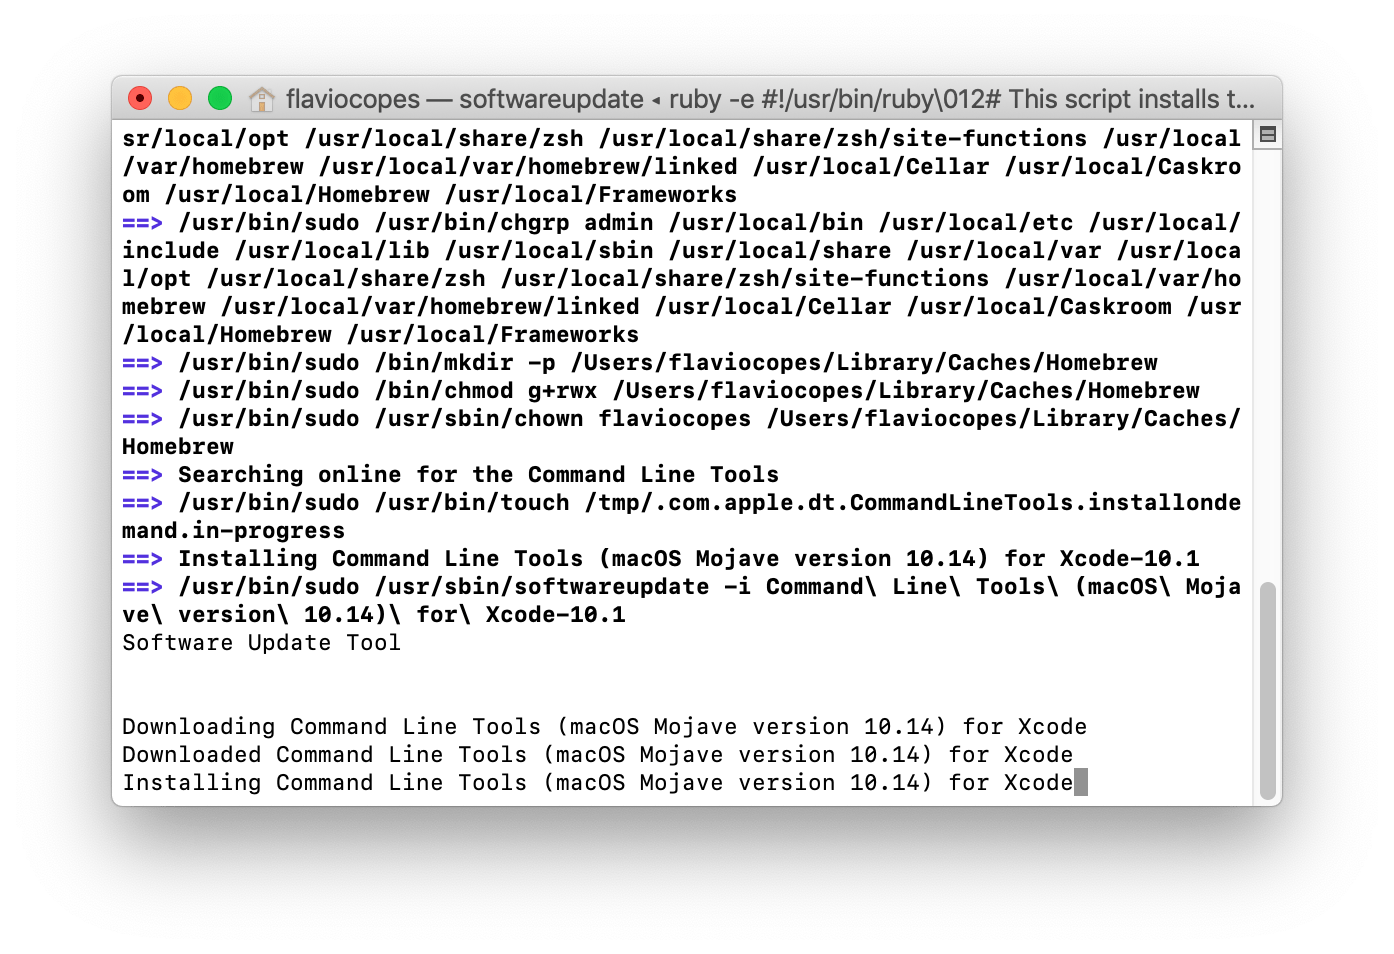
Next thing, we install the Fish Shell. Run brew install fish.
Now we need to make Fish our default shell. Run sudo vim /etc/shells, and press the i key to enter insert mode, then add /opt/homebrew/bin/fish at the end of this list.
Now press the esc key and then type :wq to save the file and exit the editor.
Type chsh -s /opt/homebrew/bin/fish to change your default shell to Fish.
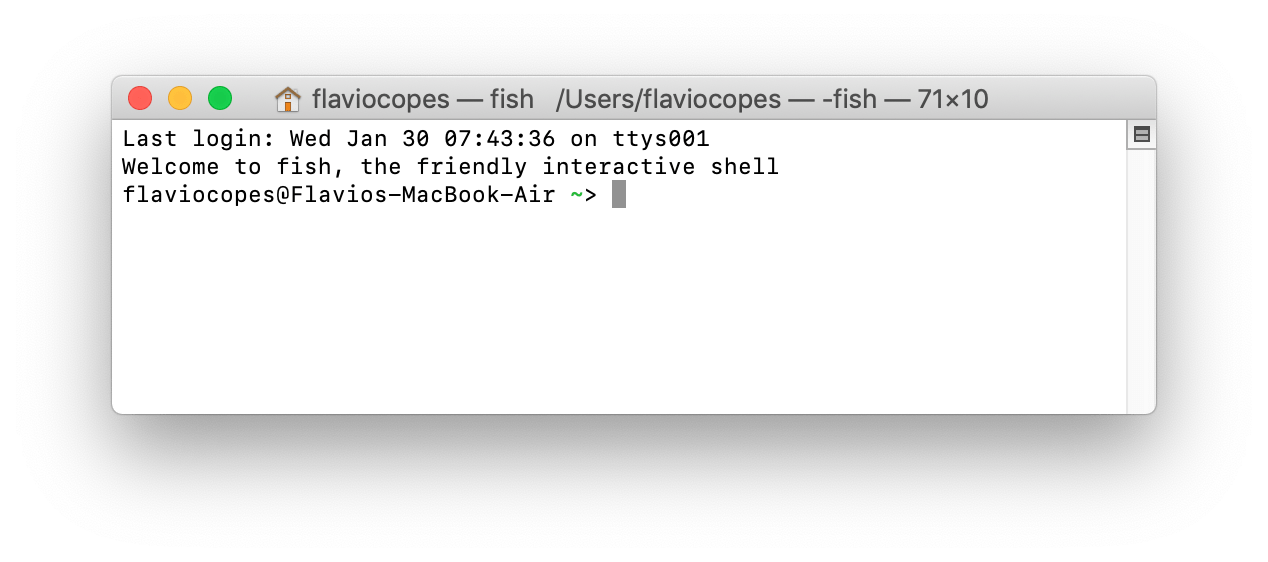
Try opening a new terminal window, you’ll see Fish greeting you:
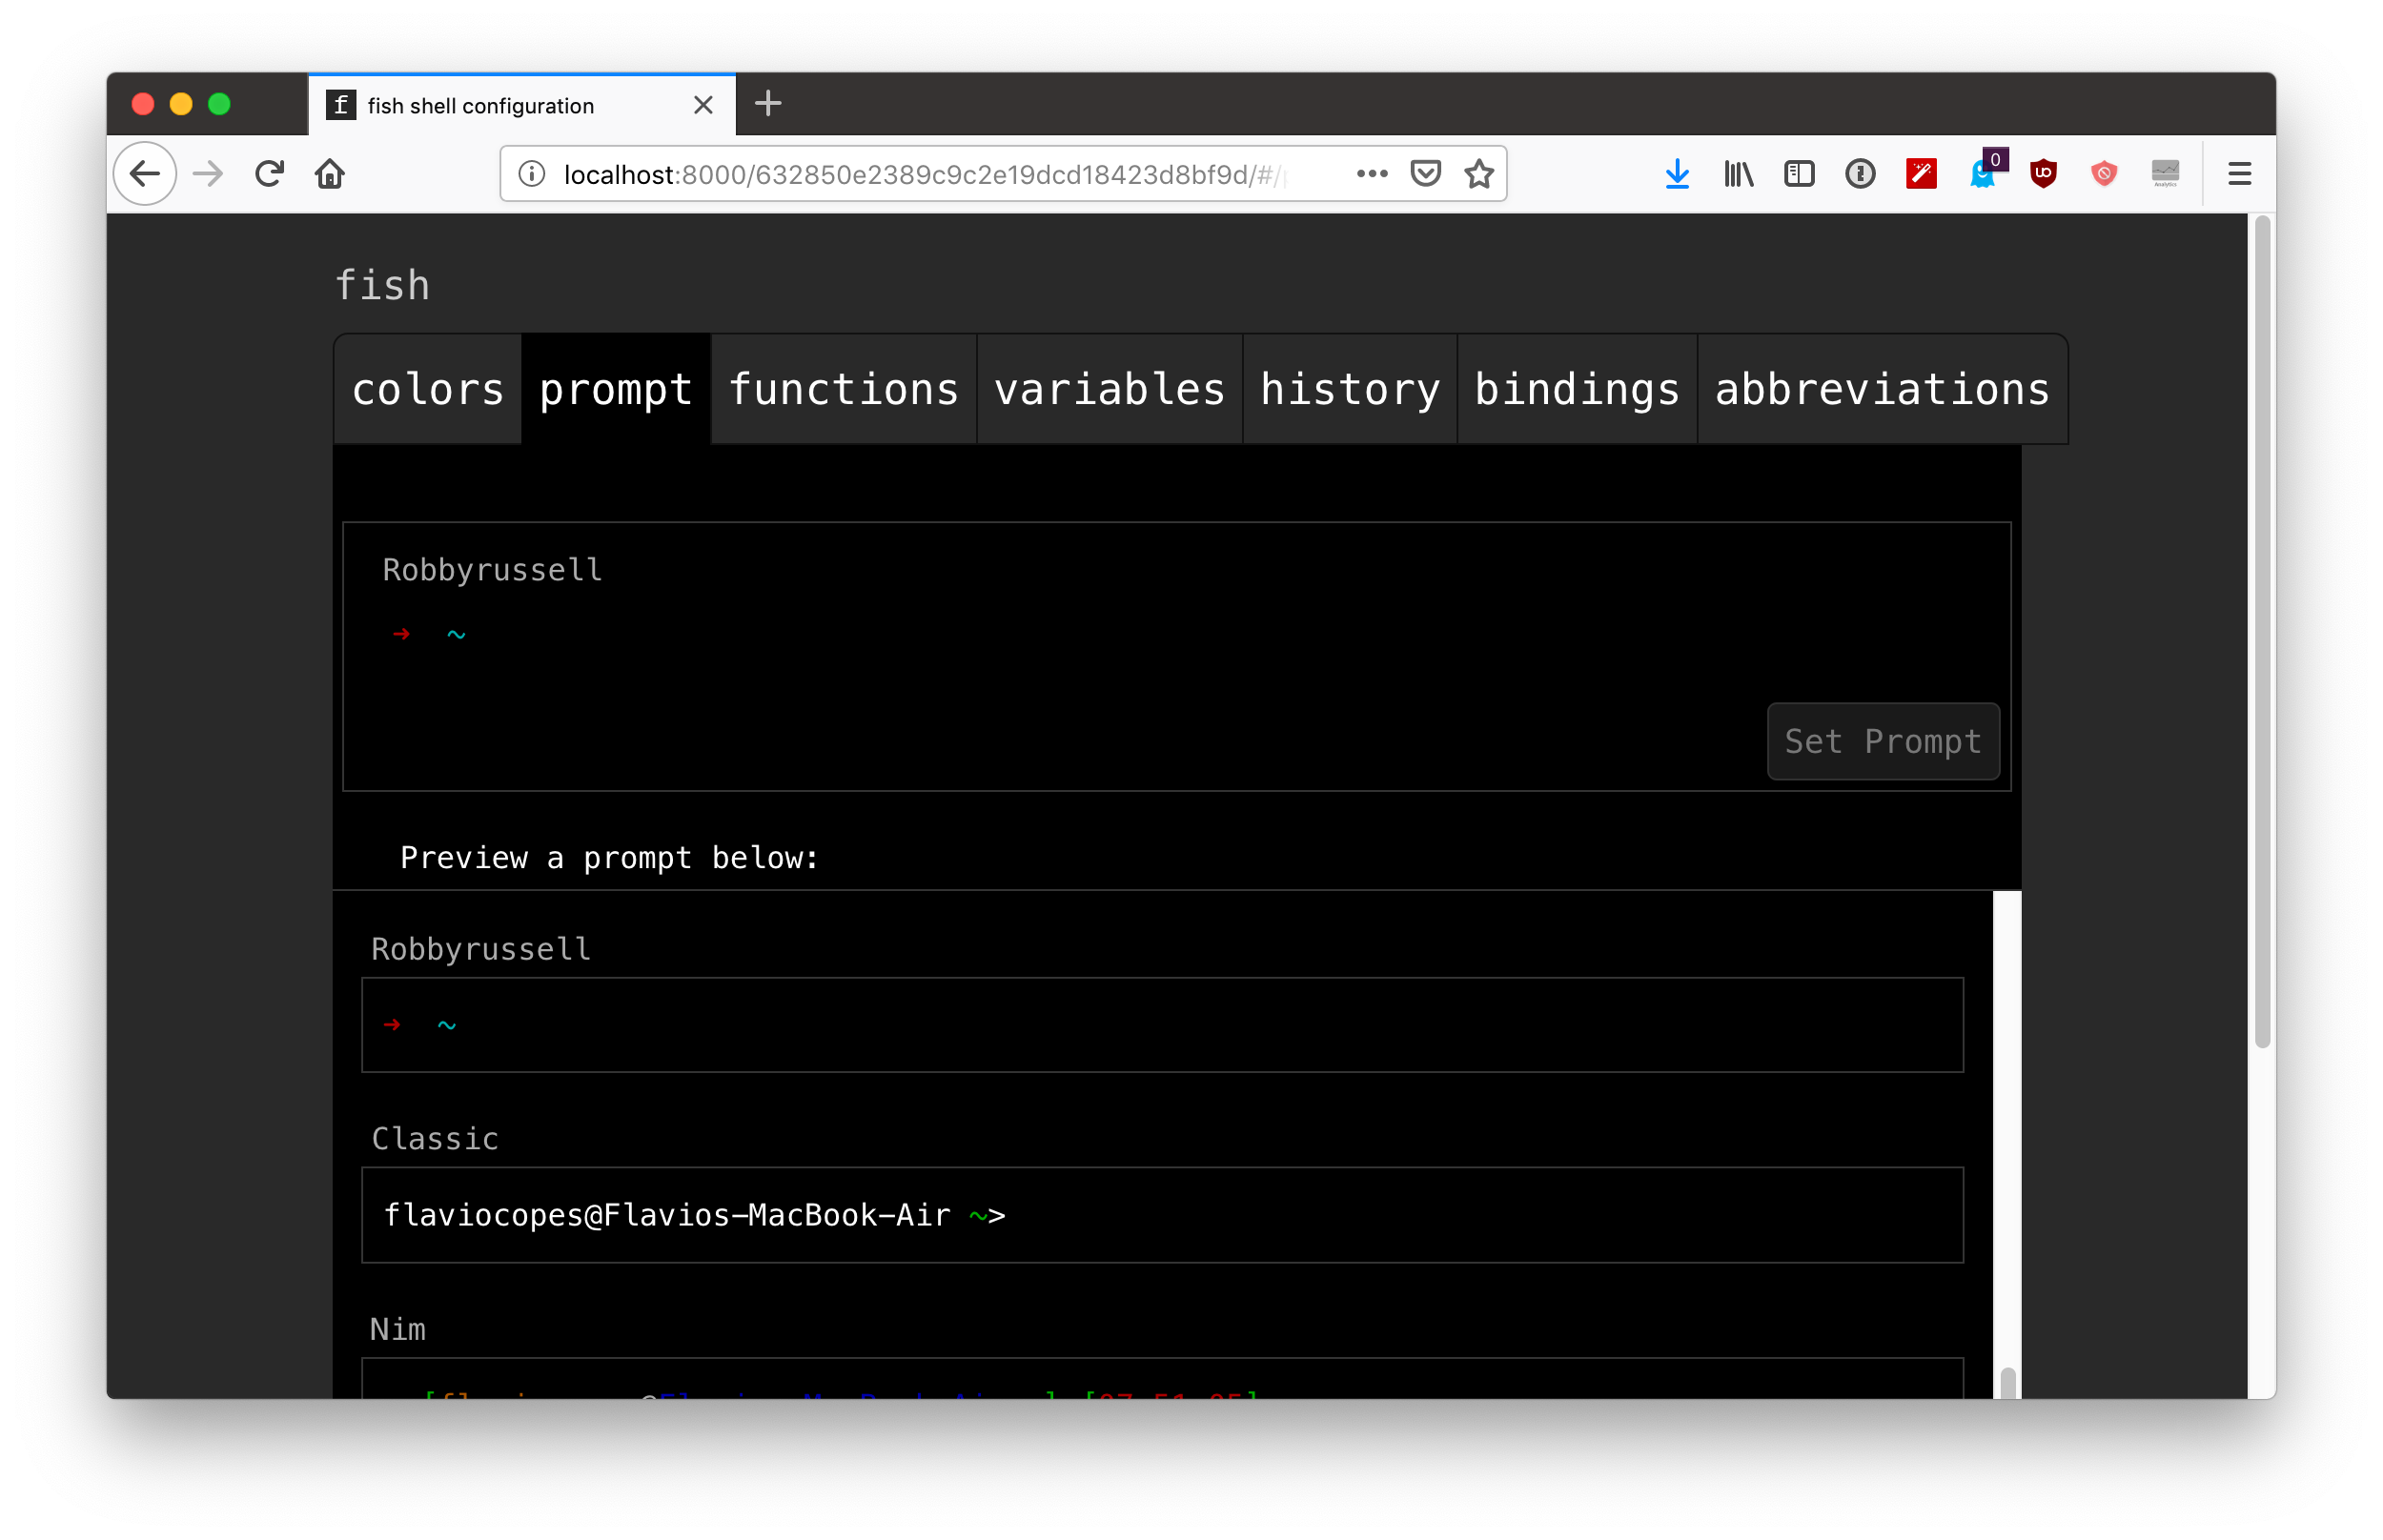
Time to add some colour. Type fish_config to enter the (awesome) configuration tool:
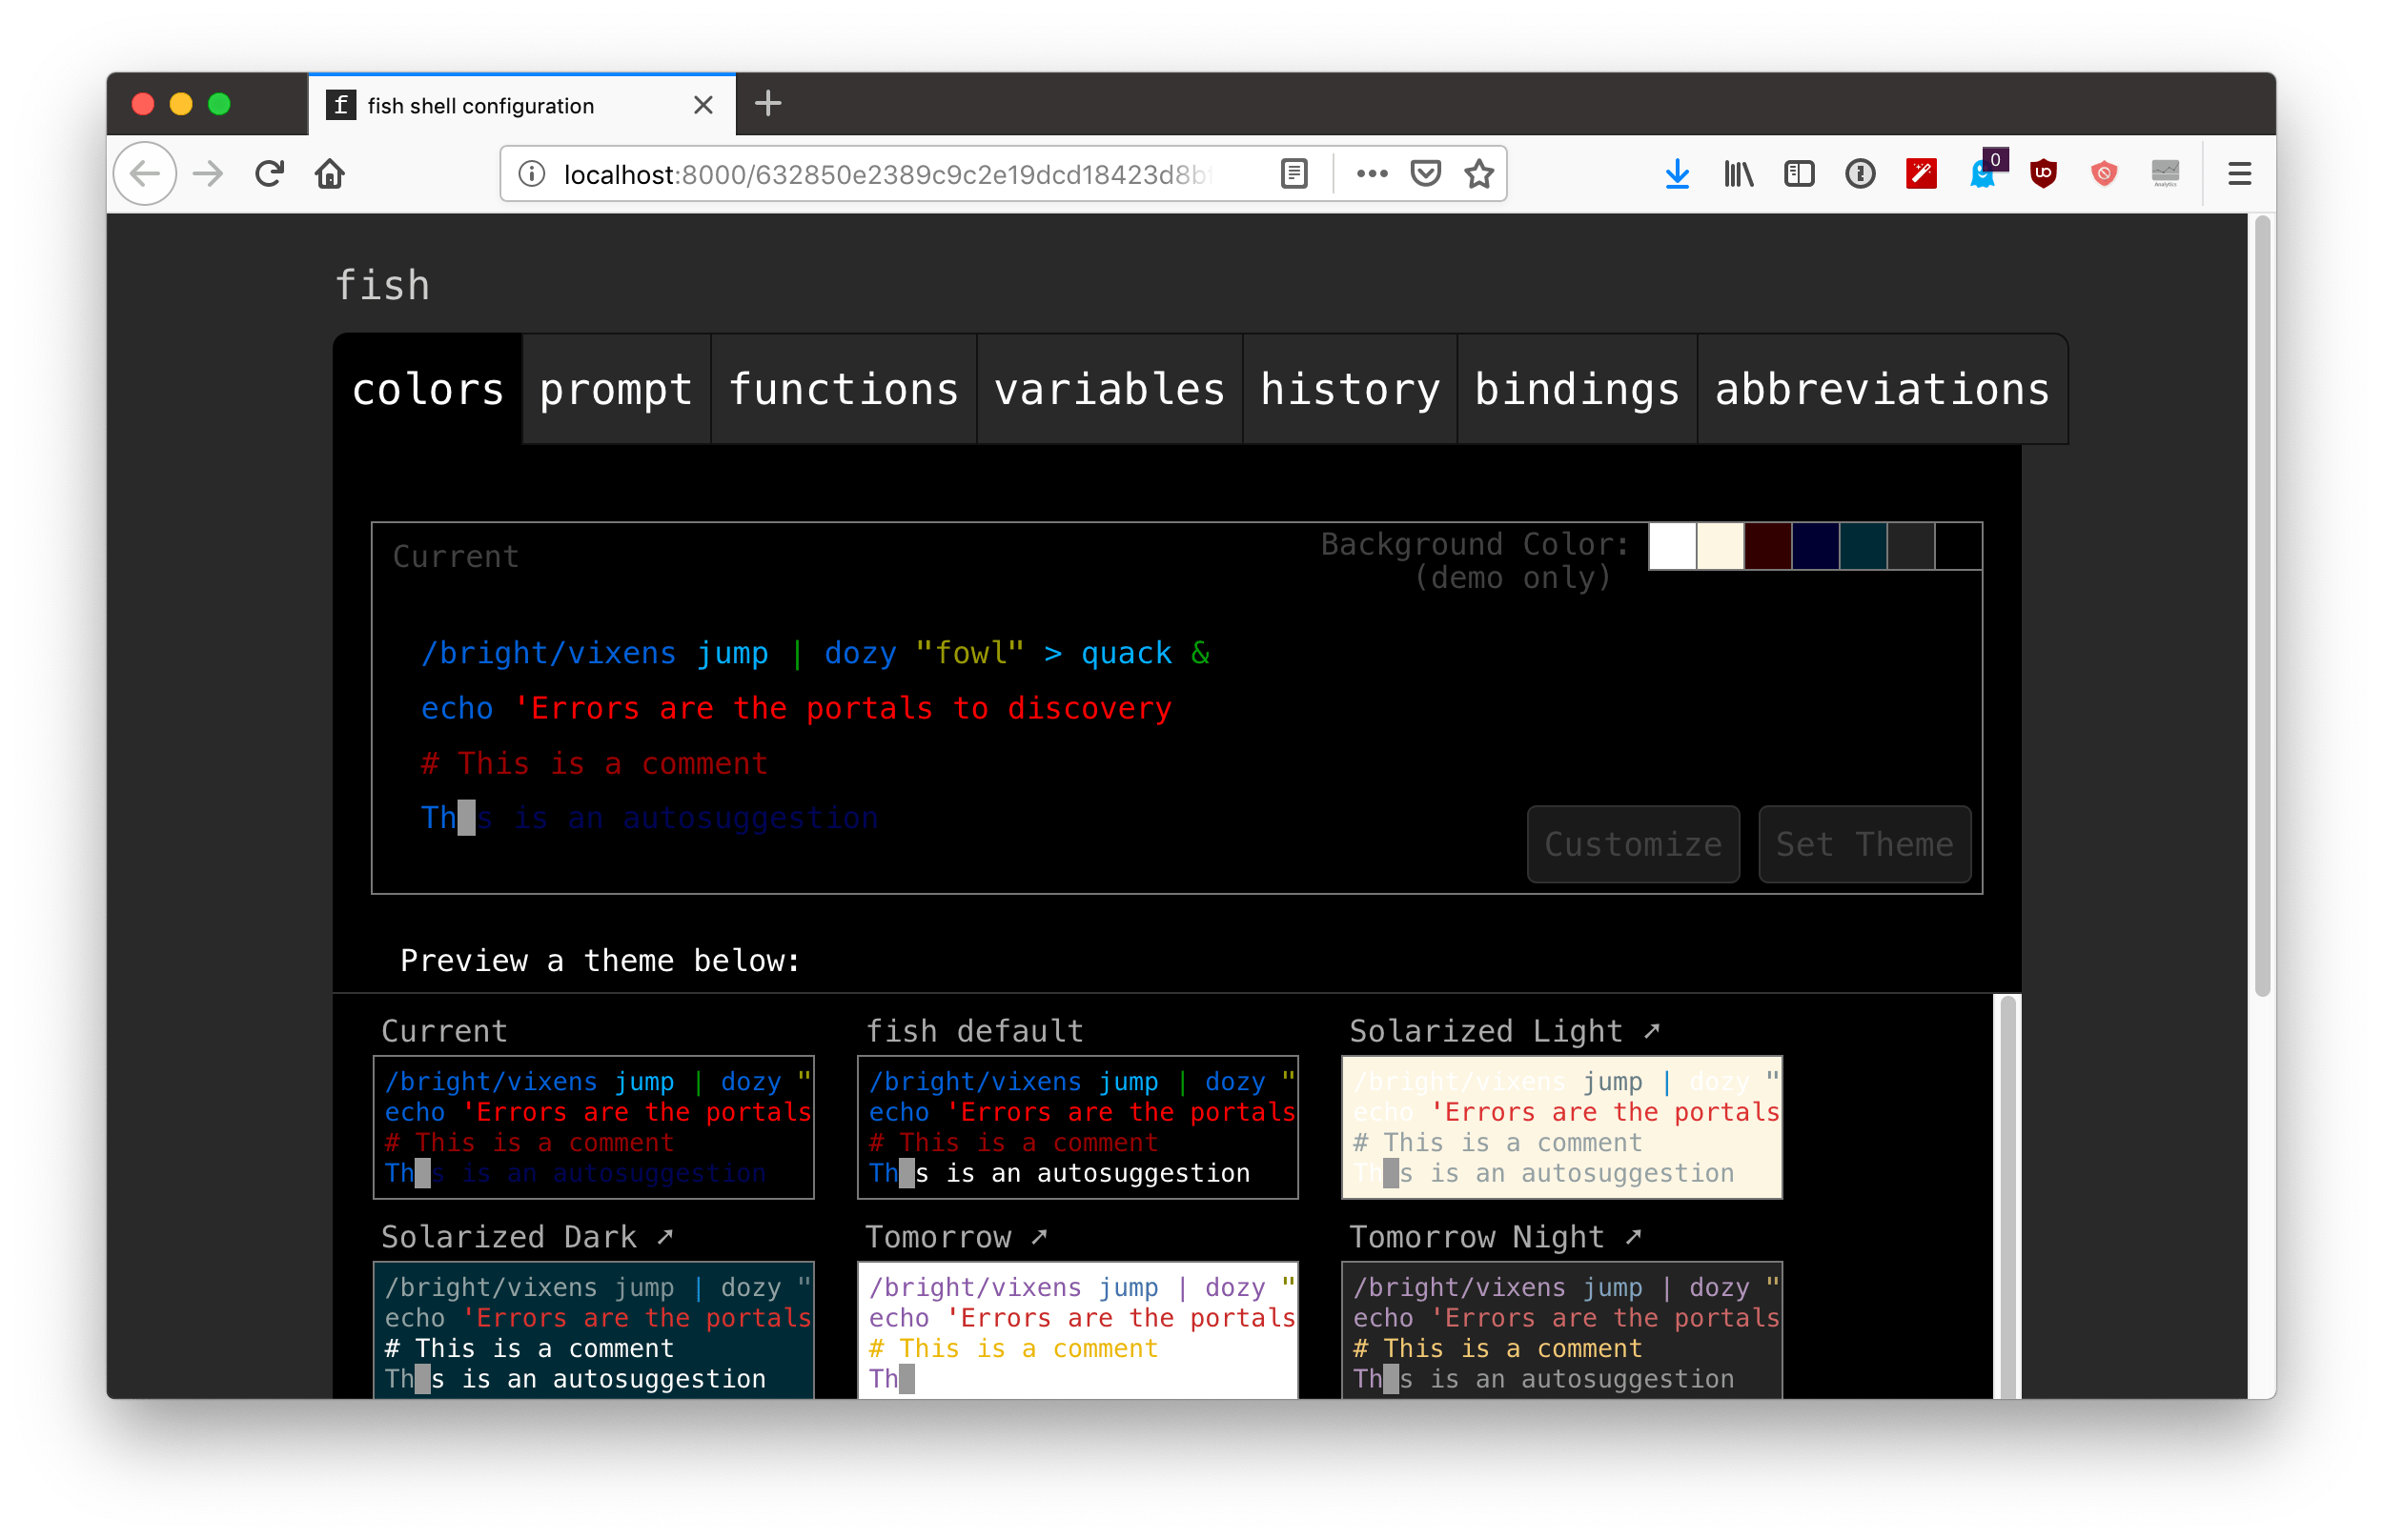
Pick one theme and press “Set Theme”. Then click the prompt to set the favourite prompt and click “Set Prompt”. My favourite is Rubbyrussell:
Now exit and press enter in the shell, to close the configuration program.
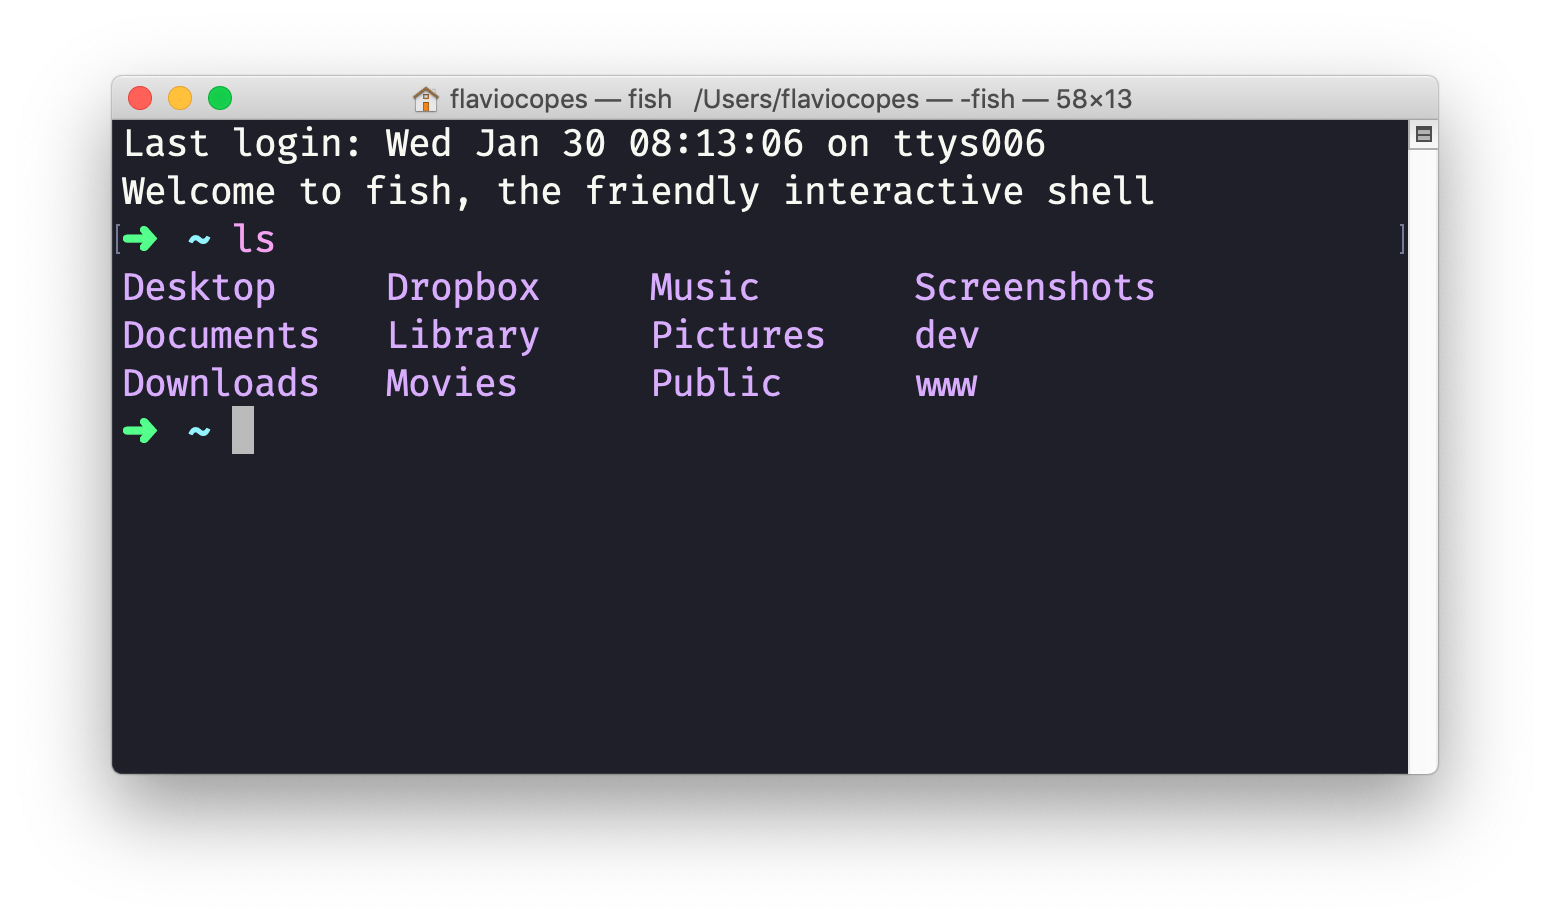
Your shell should now have a nice prompt, and colours! We just need to change the background - that needs to be set in the Terminal app preferences.
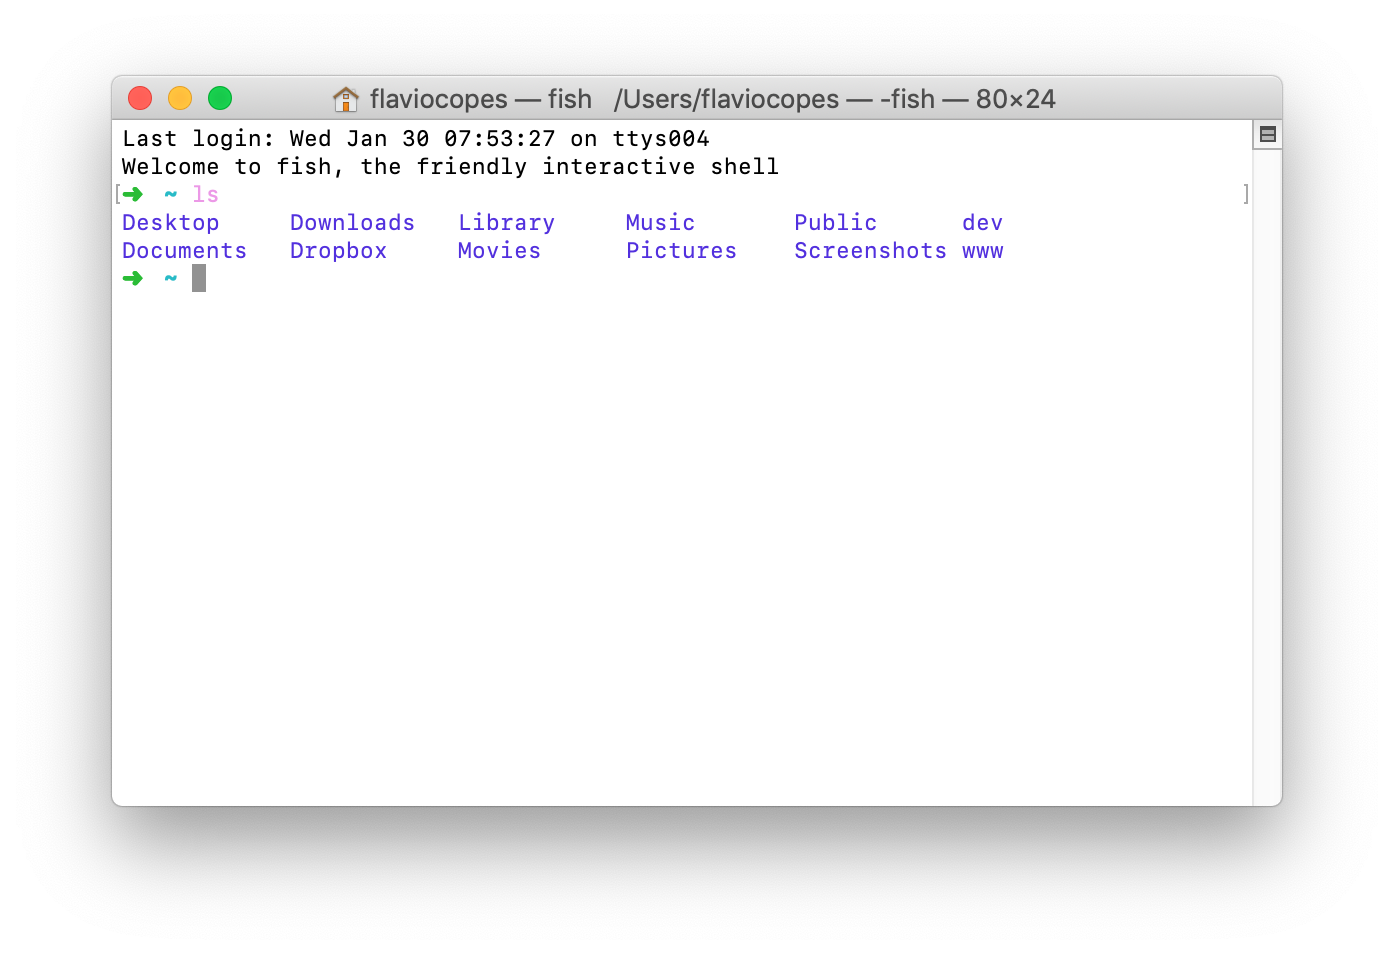
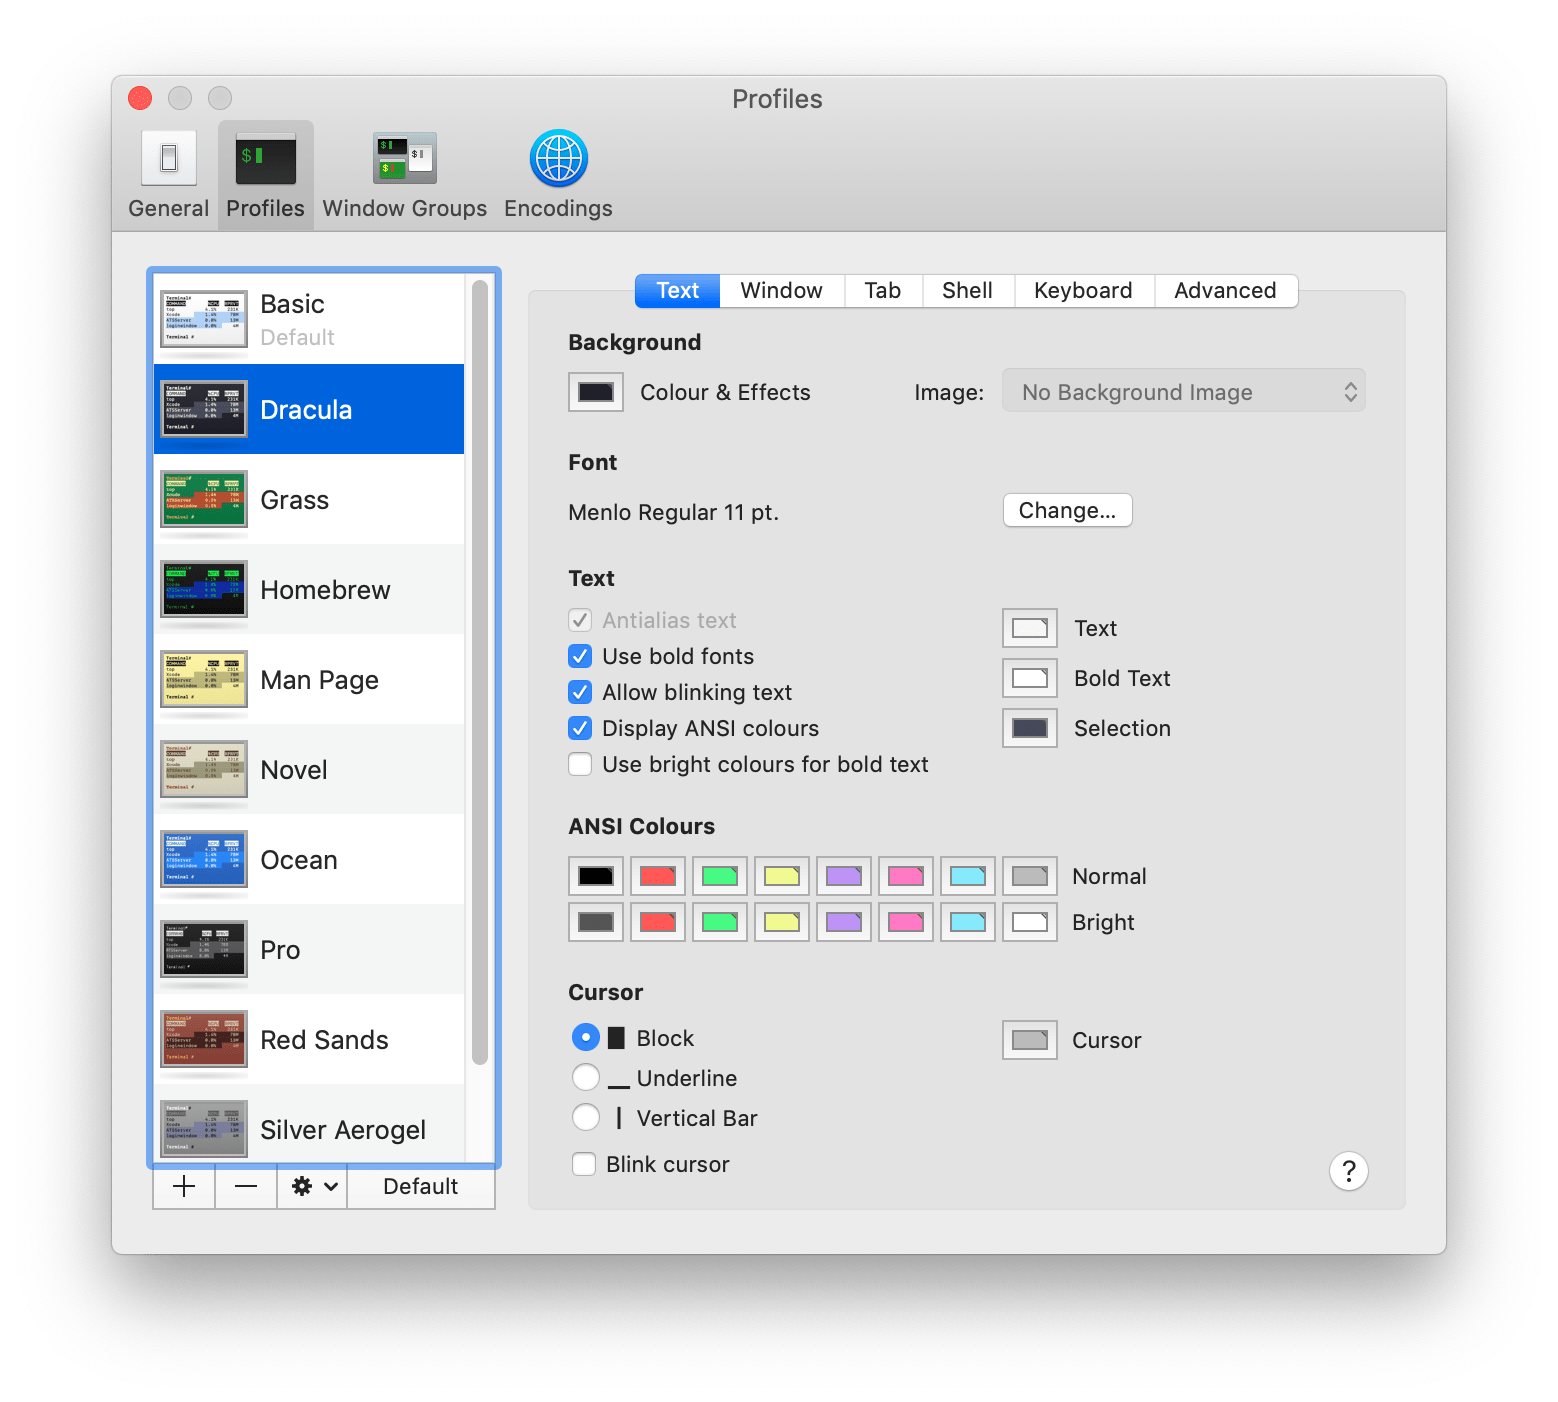
Press cmd-, or click Terminal -> Preferences.
Go to this GitHub repository: https://github.com/lysyi3m/macos-terminal-themes.
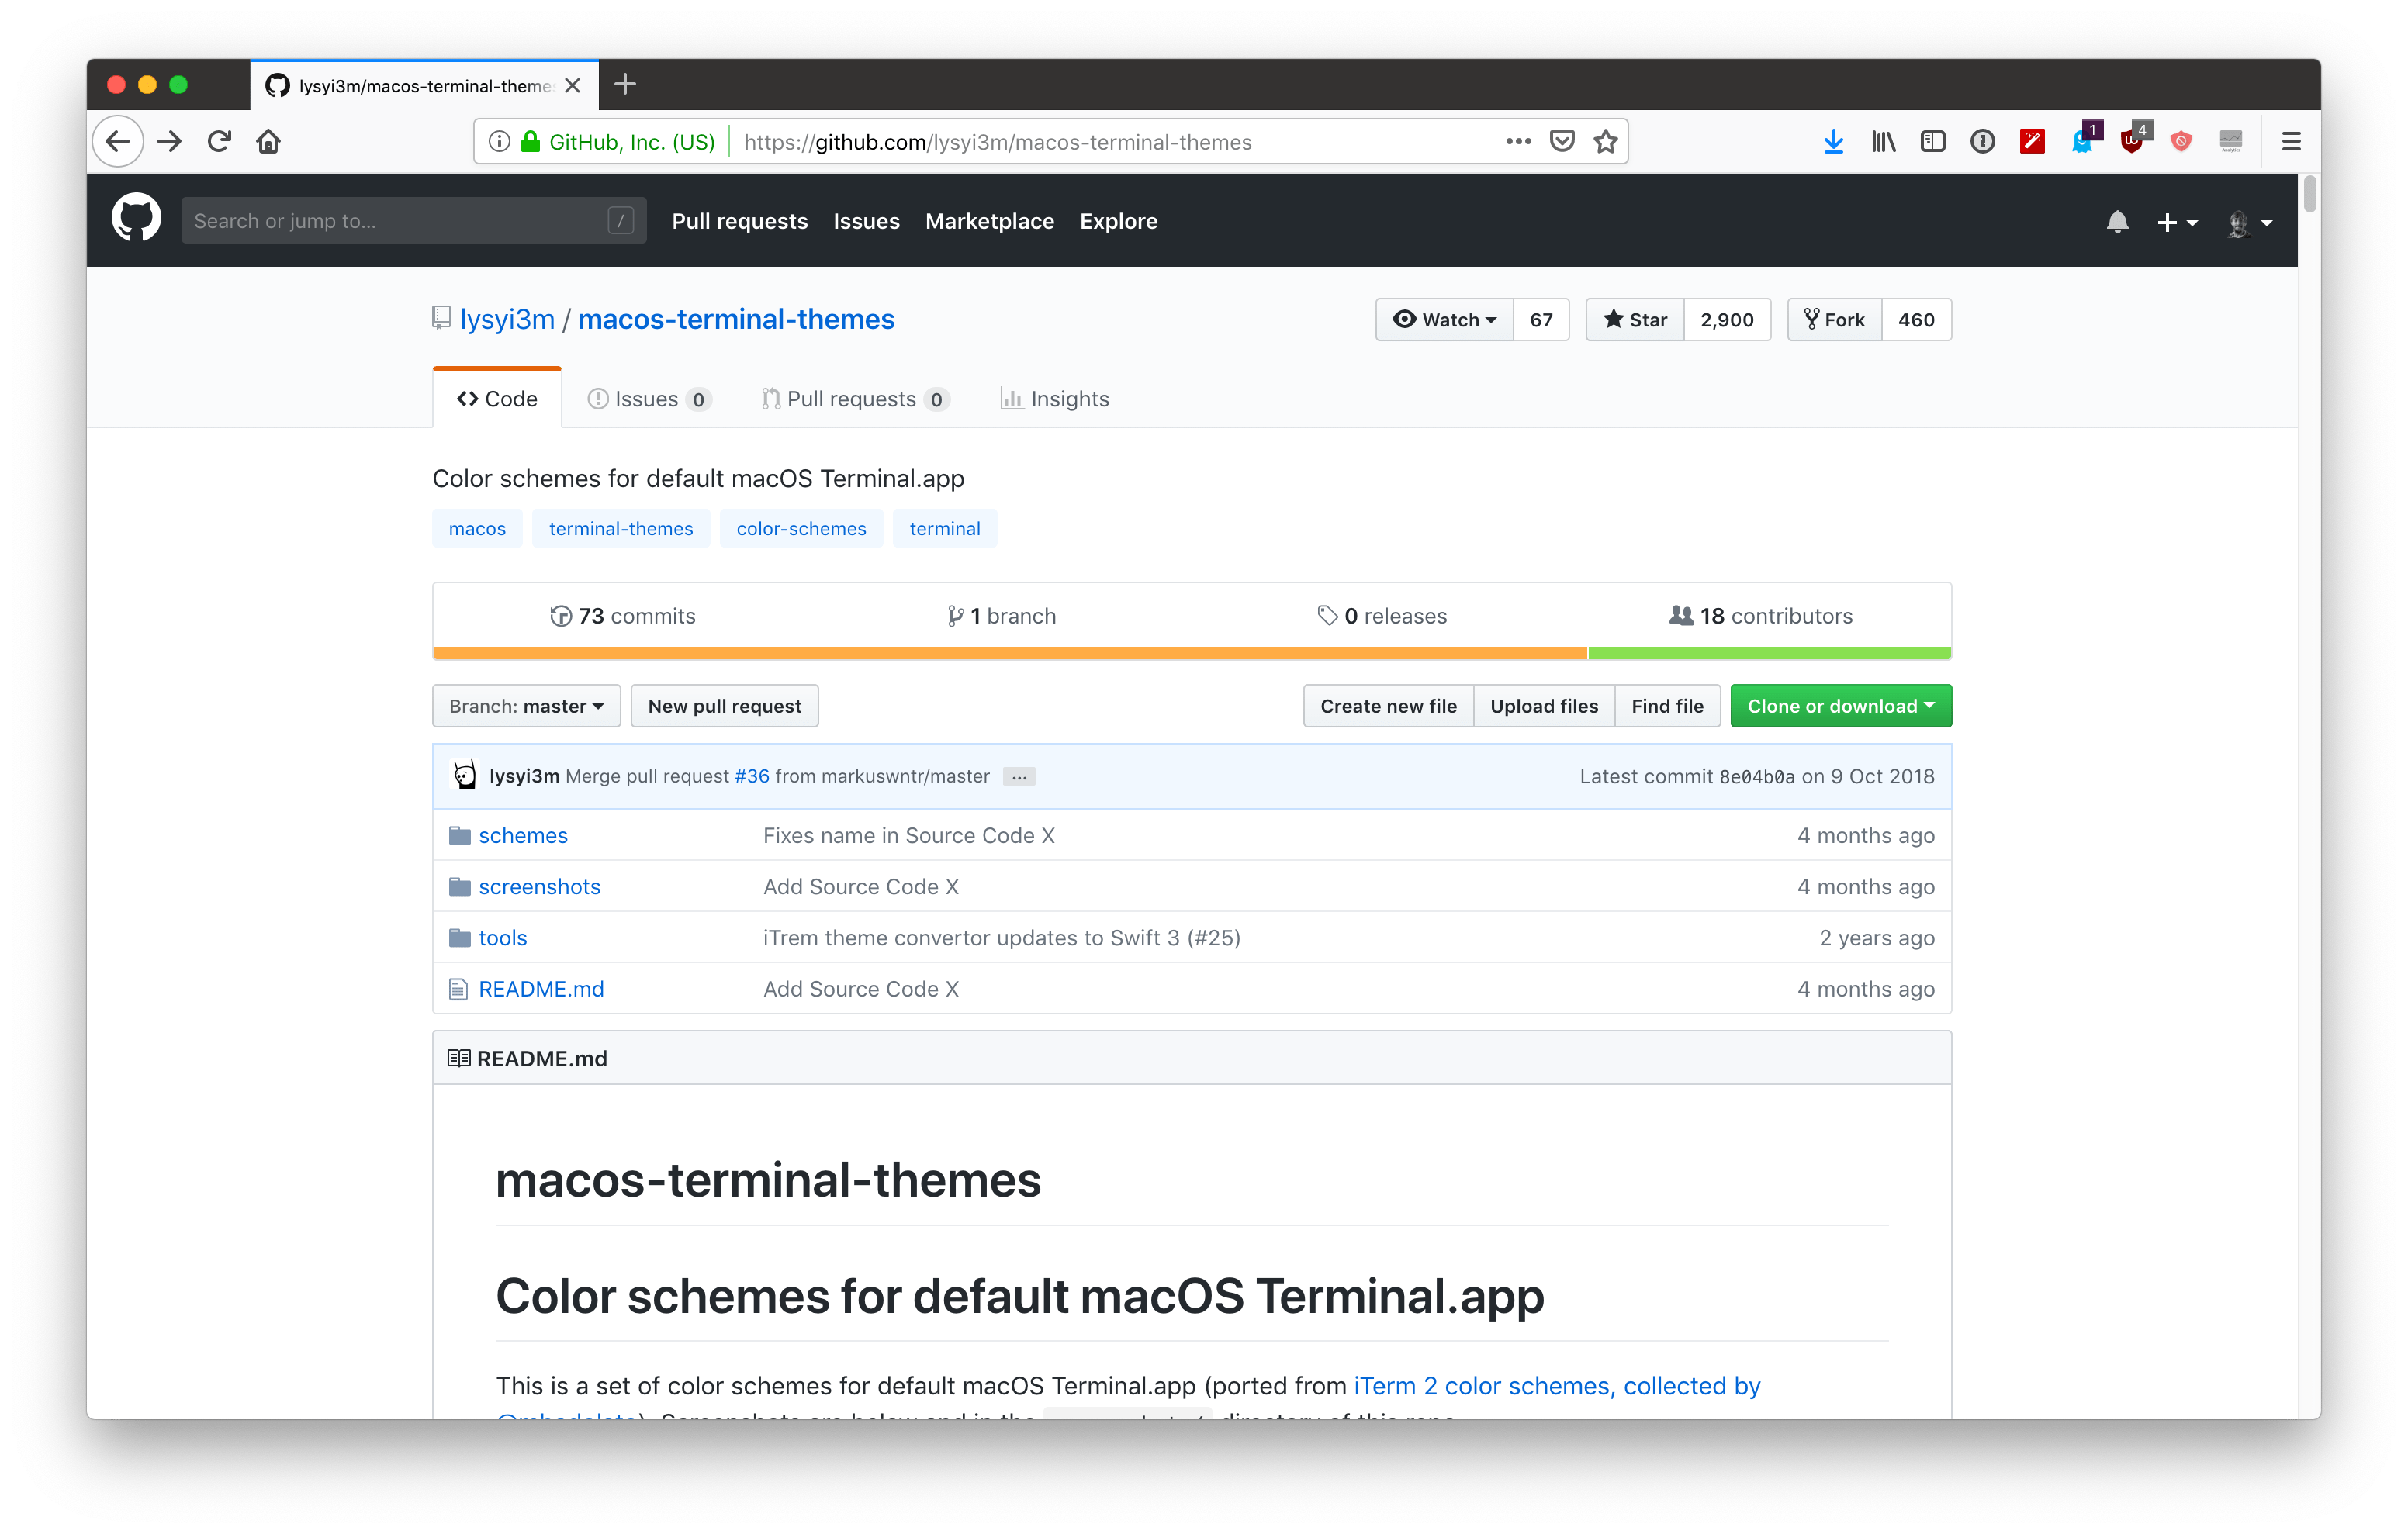
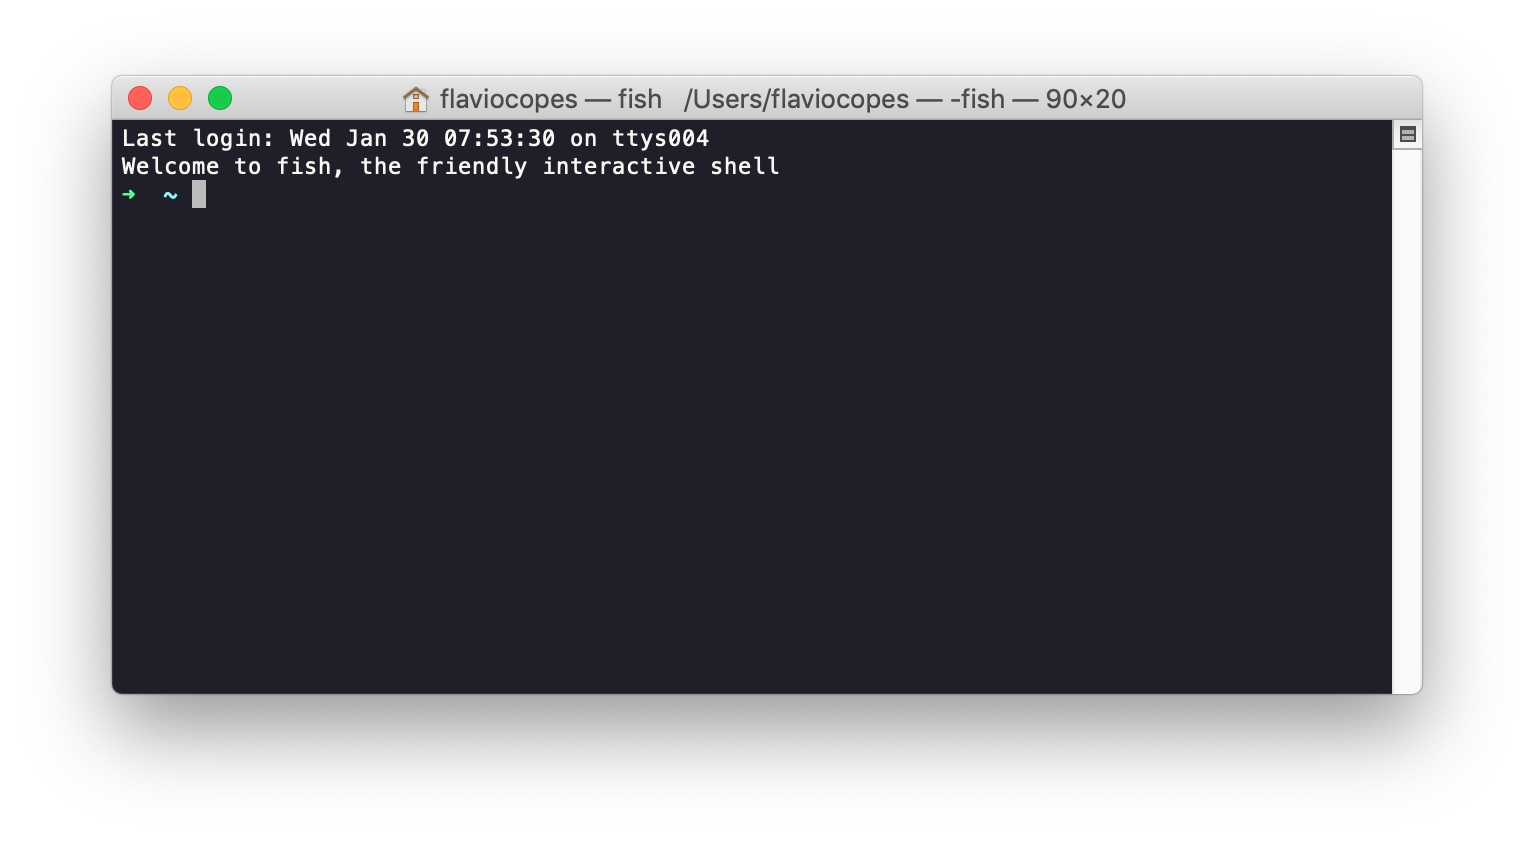
There is a huge number of great themes to choose from. One I like is Dracula (https://github.com/lysyi3m/macos-terminal-themes/blob/master/schemes/Dracula.terminal) Just click the “Raw” button and save it as Dracula.terminal.
Right-click it and click “Open”, as it’s not a signed binary (otherwise macOS prevents it from running). That’s it! The theme is now applied and available in the configuration:
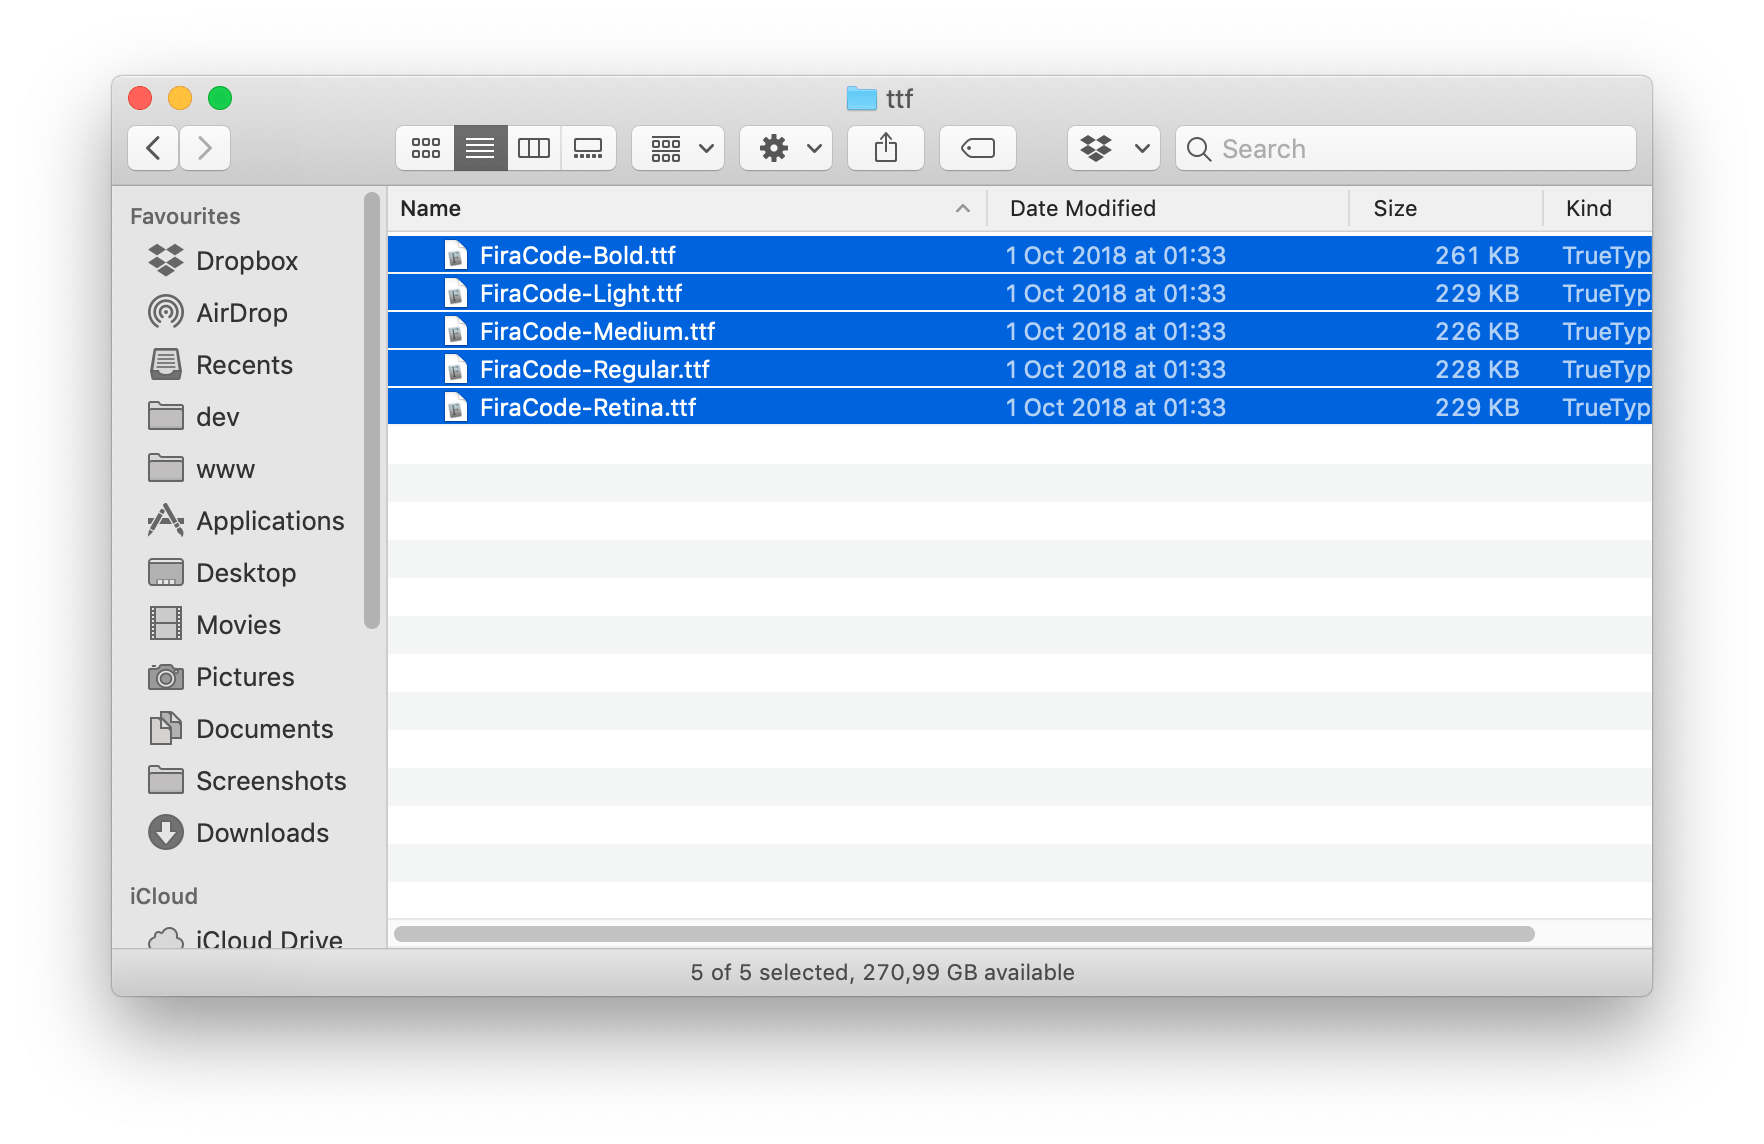
Next thing, the font. I like to use Fira Code, a free programmers friendly font with ligatures (the nice things with arrows). Download it from https://github.com/tonsky/FiraCode, open its ttf folder, select all files, right-click and press Open to install it.
Go back to the terminal configuration, and set it as your theme font. Open a new window, and it should be working fine:
That’s it!
Want me to talk about your product? You can sponsor this site.