How to use OpenCode
By Flavio Copes
Learn how to install OpenCode, connect a model, make your first code change, and configure project instructions and permissions in this hands-on tutorial.
OpenCode is an open source AI coding agent from Anomaly. You open it in a project and describe what you want to do. It can read the code, change files, and run commands.
You choose the model that does the work. You can connect a hosted provider, or use a model running on your computer through Ollama or LM Studio. The program is free to install, with its source code on GitHub. Hosted model usage depends on the provider and account you connect.
This tutorial uses OpenCode 2. Compared with v1, it starts a shared background service automatically, so the terminal, desktop app, and browser can access the same sessions. It also adds Code Mode, which lets the model write short JavaScript scripts that combine tool calls, and background tasks so commands or subagents can keep working while you continue the conversation. Existing supported project configuration still works, but v1 plugins need porting to the new plugin API, and integrations using the old server API need updating. Terminal settings move from tui.json to a global cli.json, with supported global settings migrated automatically. See the release announcement and migration guide for the details.
We’re going to start in the terminal and use a small JavaScript project to learn the workflow. You’ll need Git and a recent version of Node.js for the example.
Install OpenCode
On macOS, open your terminal and run the official installer:
curl -fsSL https://opencode.ai/v2/install | bashThe same installer works on Linux, including Omarchy. It downloads the binary for your machine. On Omarchy, you can install the tools for our example with omarchy pkg add nodejs npm git if you don’t have them already.
Alternatively, on a Mac with Homebrew:
brew install anomalyco/tap/opencode-v2If you prefer npm, install the CLI globally:
npm install -g @opencode/cliPick one installation method. You don’t need all of them.
Open a new terminal, then check that the command works:
opencode --versionThis tutorial uses the current OpenCode CLI. If an older installation takes precedence, which opencode shows the executable your shell found. The curl installer also provides opencode2 to reach the new binary. The migration guide covers existing setups.
I use Ghostty as my terminal. OpenCode also suggests WezTerm, Alacritty, and Kitty for their true color support.
Open a project
Let’s make a small folder where we can try OpenCode without touching an existing app:
mkdir opencode-practice
cd opencode-practice
git init
We’re going to build a function that adds up prices. Save this in total.mjs:
export const total = prices => {
  return prices.reduce((sum, price) => sum + price, 0)
}
Add a test in total.test.mjs. Node has a built-in test runner, so we don’t need to install a package:
import test from 'node:test'
import assert from 'node:assert/strict'
import { total } from './total.mjs'

test('adds the prices', () => {
  assert.equal(total([10, 20, 5]), 35)
})
Run the test:
node --testYou should get one passing test. Commit these files so we have a starting point to compare against:
git add total.mjs total.test.mjs
git commit -m "Add price total function"
Now open OpenCode from this directory:
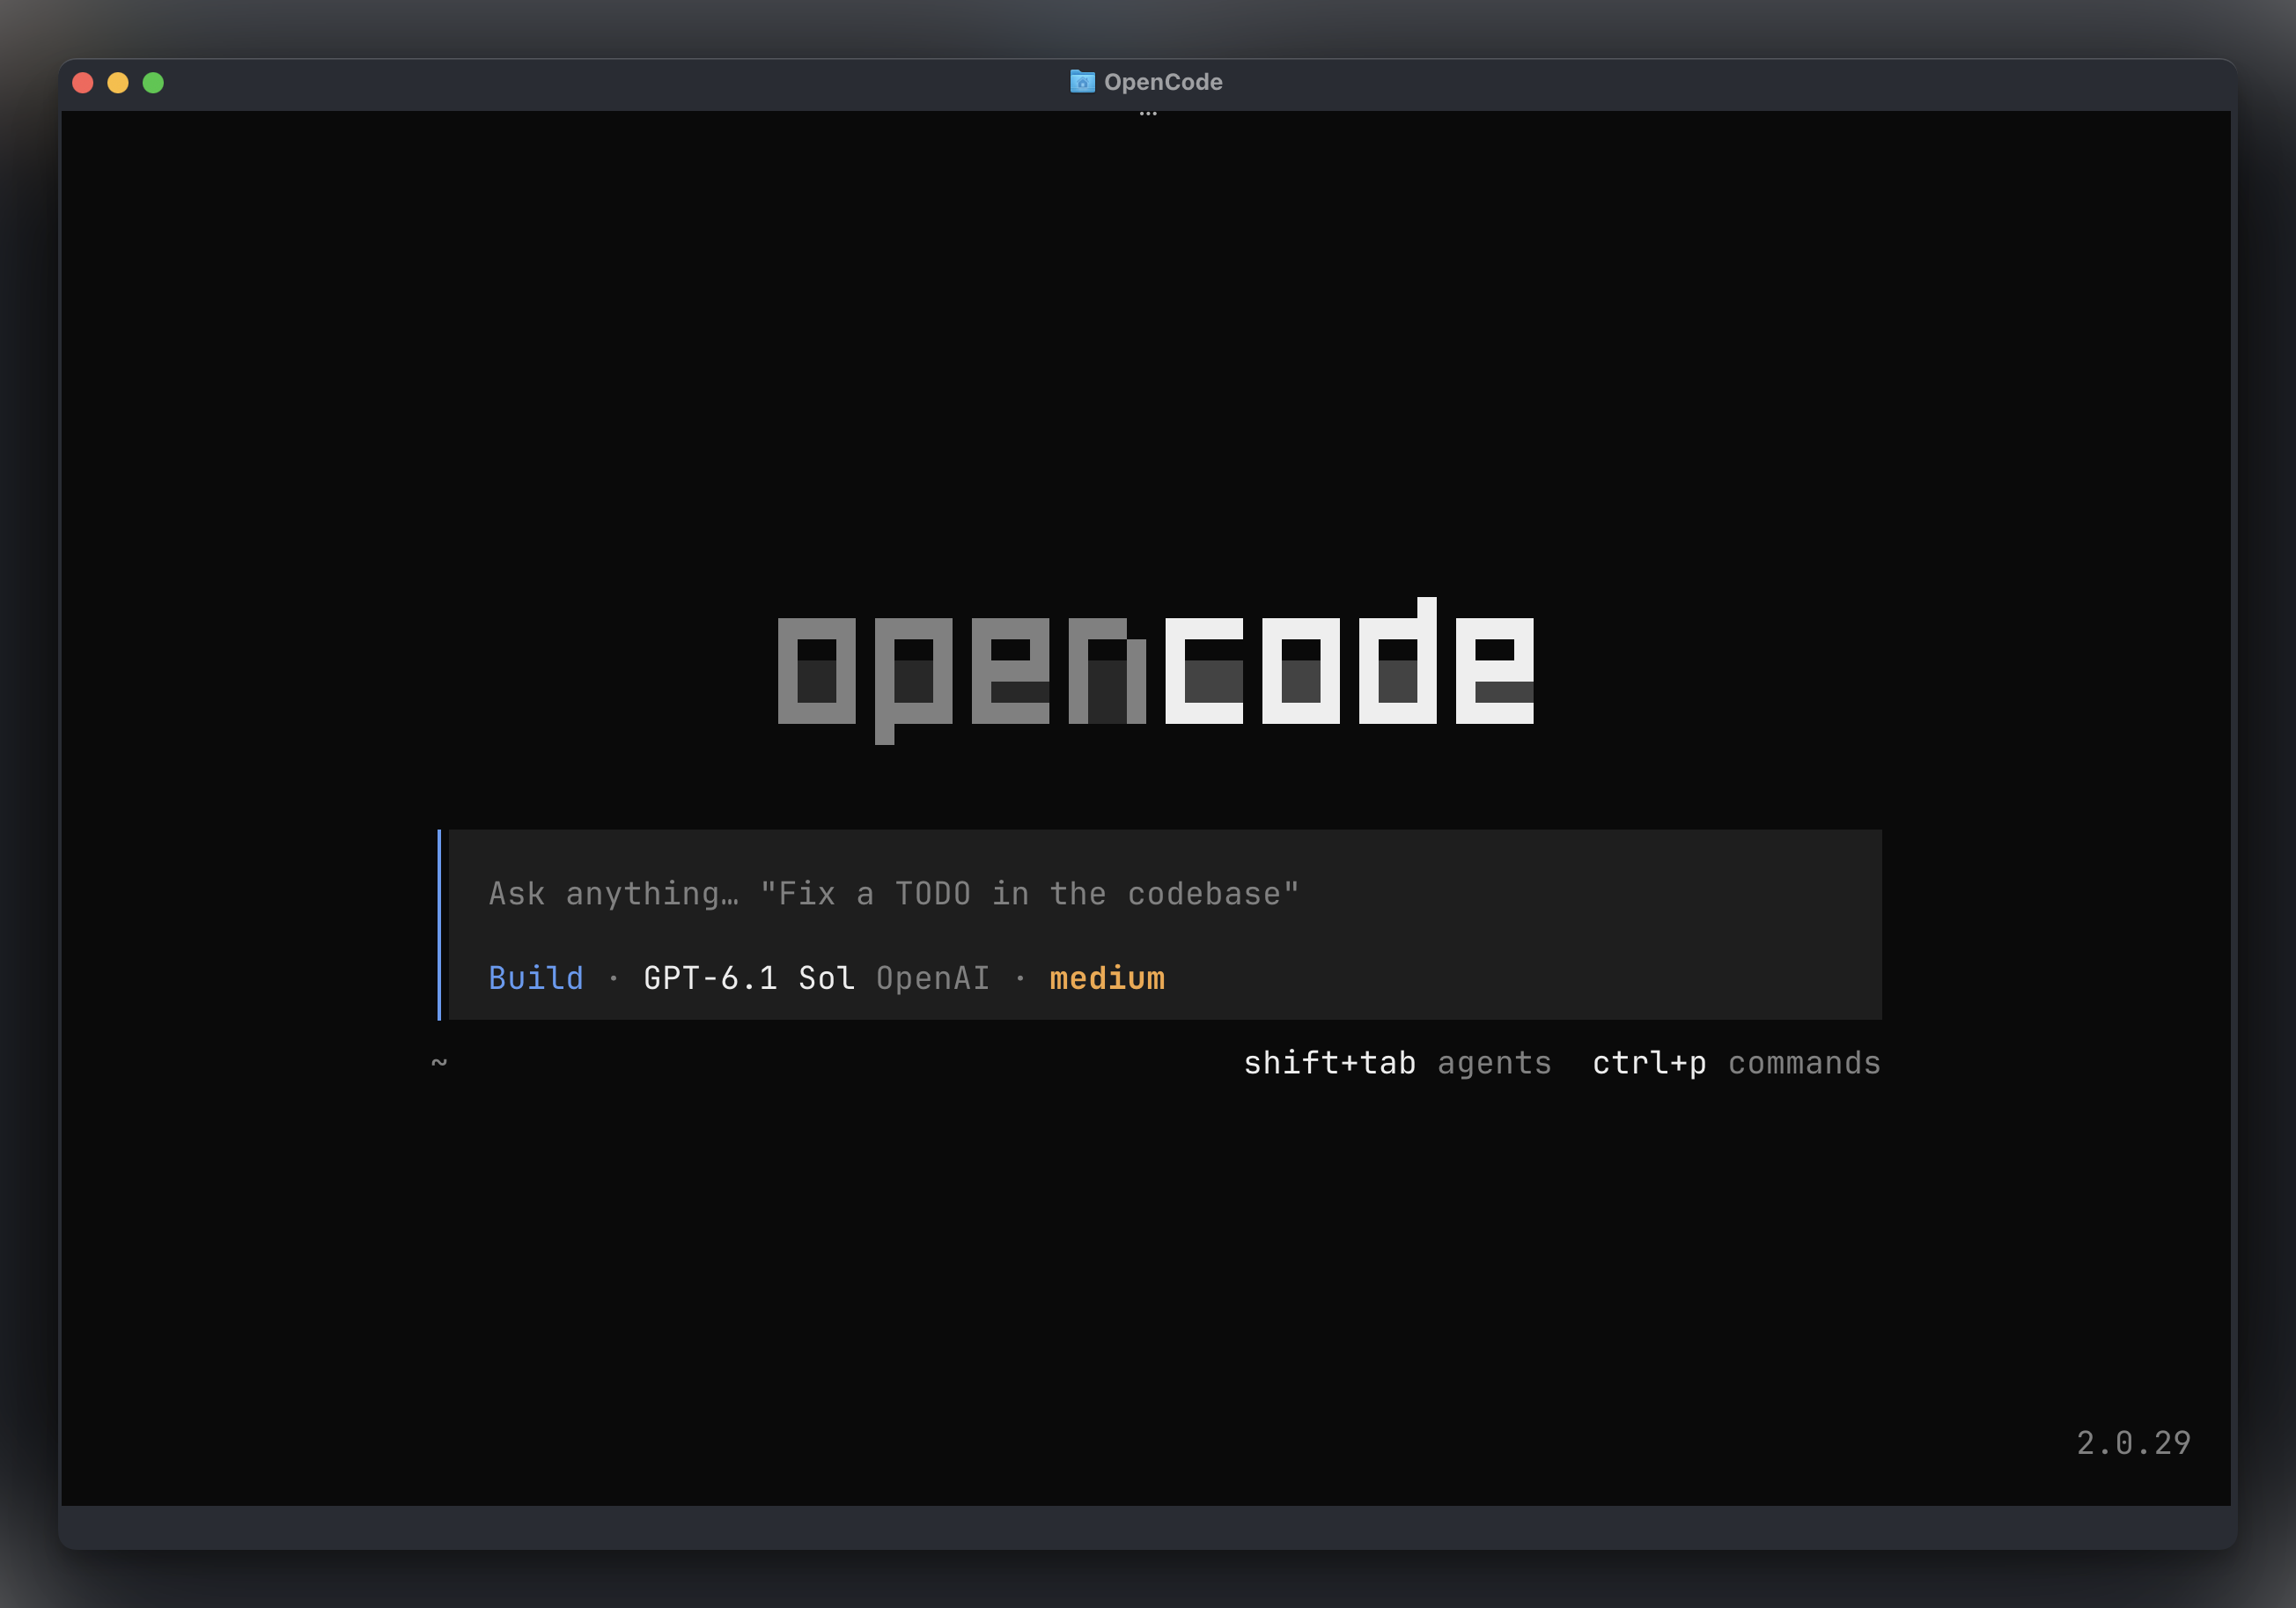
opencodeThis starts its interactive terminal interface. You type requests at the prompt and press Enter to send them.
Connect a model
OpenCode needs a model before it can answer. A provider is the service that supplies that model.
Inside OpenCode, type:
/connectChoose a provider and follow its login steps. Depending on the integration, you’ll enter an API key or authorize an account in the browser. The provider guide explains the supported methods.
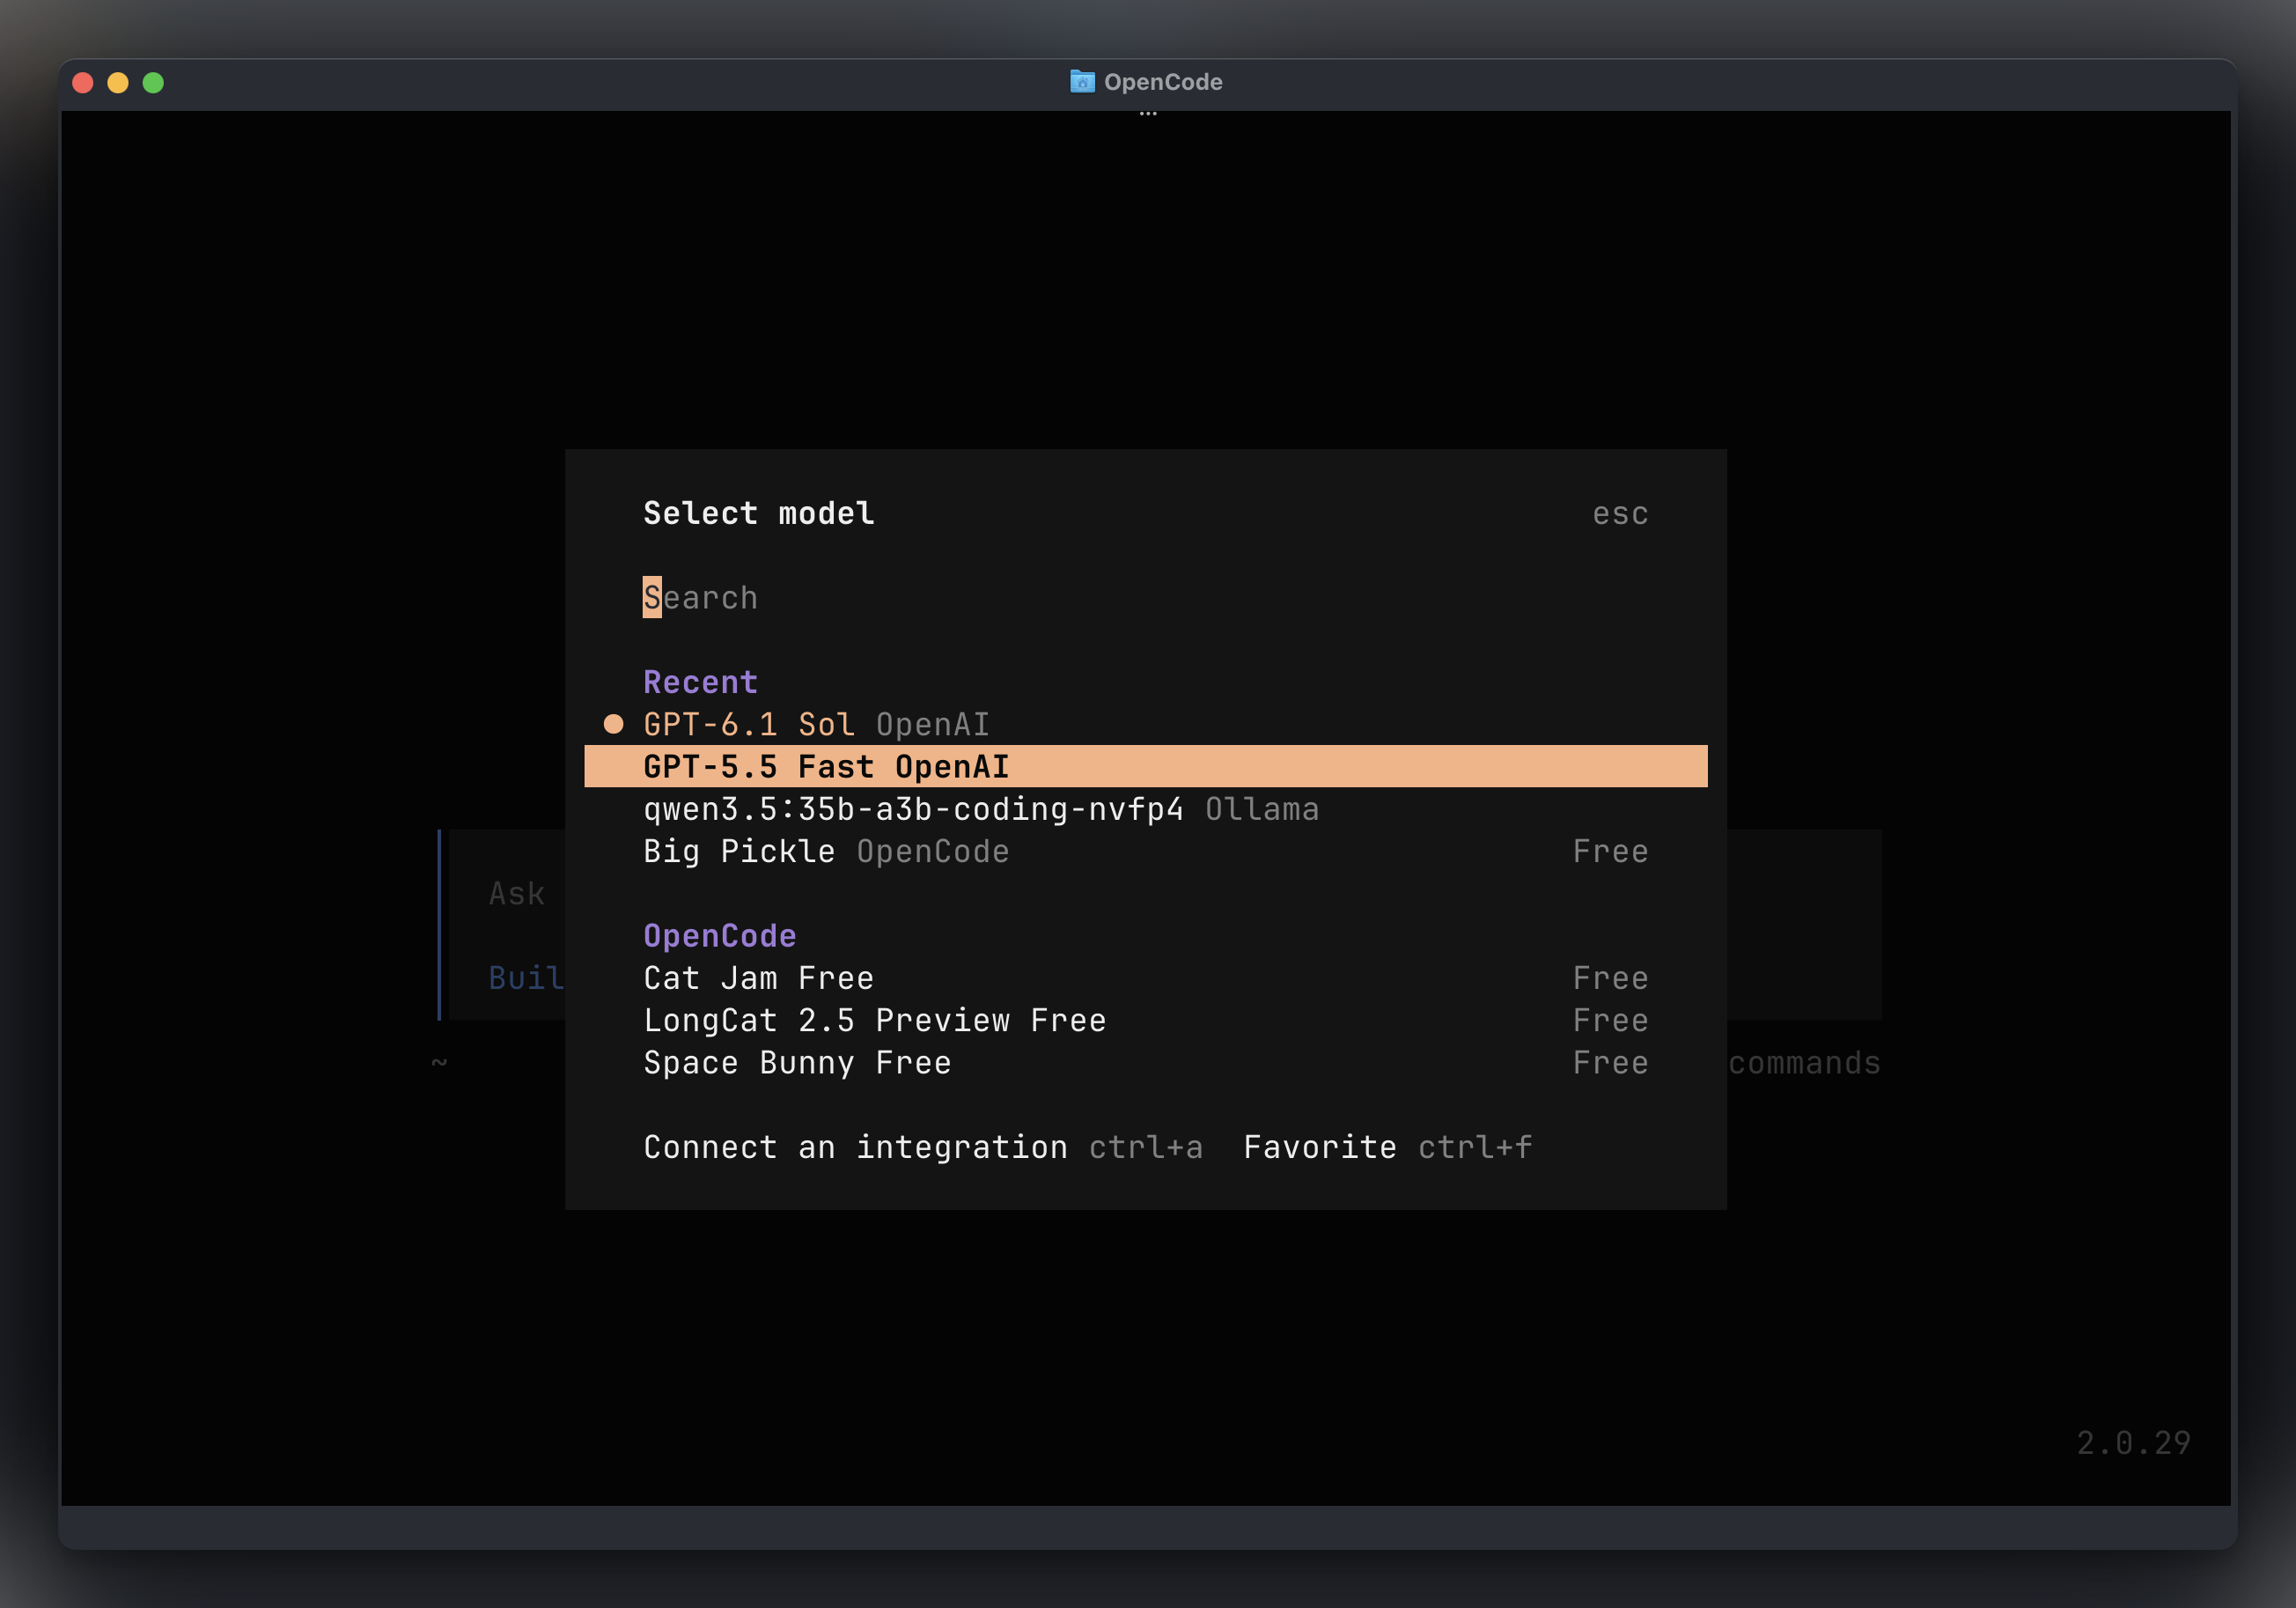
Then choose a model:
/modelsPick from the list OpenCode shows you. That list reflects what’s available in the current project. Selecting a model here changes the current session.
You can also log in from a regular terminal with opencode auth login. Use opencode auth list to see your connections.
If authentication succeeds but a model request fails, check the provider account’s access and billing. An API key and a subscription to a provider’s chat app can have separate usage arrangements.
Ask it to explain the code
Start with a question about the files we just created:
Read total.mjs and total.test.mjs. Explain what the function does and what the test checks. Don't change any files.OpenCode can search and read files itself. You can also attach a particular file by typing @ and choosing it from the file picker.
For example:
Explain @total.mjs. What happens when prices is an empty array?The answer should be 0, because that’s the starting value passed to reduce().
Watch the tool calls as it works. They show which files it reads and which commands it runs. If it asks for permission, read the proposed action before approving it.
Plan a change
We want to add a discount to our function. Before changing the code, let’s ask OpenCode to work out the details.
Run /agents and select Plan. The Plan agent explores the task without editing normal project files. Shell commands still follow the configured permissions.
Give it this request:
Plan a change to total(). Add an optional discount percentage that defaults to 0. A 10% discount on [10, 20, 5] should return 31.5. Reject percentages below 0 or above 100 with a RangeError. Describe the implementation and the tests. Don't implement it yet.We gave it a concrete result to check. We also said what should happen with invalid input, which saves the model from choosing that behavior for us.
Read the plan. If it proposes dependencies or unrelated changes, narrow the request before continuing.
Let it edit and run the tests
Use /agents again and select Build, the default coding agent. Ask it to implement the plan:
Implement the discount change in total.mjs. Update total.test.mjs to cover the default discount, 10%, 100%, an empty array, and invalid percentages. Run node --test. Don't add dependencies or commit anything.OpenCode can edit the files and run the test command. If a test fails, it can read the failure and try a correction.
You can follow up in the same conversation. For example, if the error message isn’t useful:
Make the RangeError message say that the discount must be between 0 and 100. Run the tests again.Keep follow-ups small enough that you can review the result. A passing test suite only checks the cases those tests cover.
Review what changed
In another terminal, open opencode-practice and inspect the diff:
git diffCheck that the default call still works and the discount is applied to the total. Look at the tests too. An agent can write an incorrect implementation and tests that agree with it.
Run them yourself:
node --testYou can also check the result directly:
node --input-type=module -e "import { total } from './total.mjs'; console.log(total([10, 20, 5], 10))"That should print 31.5.
If you want to back out the latest request, OpenCode has /undo. /redo restores reverted work. These act on conversation history and the associated changes; see the terminal guide for the details.
Once you’re happy, commit the change yourself:
git add total.mjs total.test.mjs
git commit -m "Support discounts in price totals"
Give OpenCode project instructions
You don’t want to repeat the test command and coding conventions in every conversation.
Put that information in an AGENTS.md file at the project root. For our example, it could contain:
# Project instructions

Use JavaScript modules with the .mjs extension.
Use single quotes and no semicolons.
Keep this project dependency-free.
Run node --test after changing code.
Ask before committing or pushing.
OpenCode loads project instructions from AGENTS.md. Commit the file so the guidance travels with the project.
Instructions tell the model how you want it to work. For actions that need an approval rule, configure permissions too.
Configure permissions
Create opencode.jsonc at the project root. This file holds OpenCode settings for this project. JSONC also allows comments and trailing commas.
Here’s a small configuration that asks before running shell commands, with an exception for our test command:
{
  "$schema": "https://opencode.ai/config.json",
  "permissions": [
    { "action": "shell", "resource": "*", "effect": "ask" },
    { "action": "shell", "resource": "node --test", "effect": "allow" }
  ]
}
Each rule identifies an action, the resource it applies to, and an effect. The effects are allow, ask, and deny. The last matching rule wins, so put specific exceptions after broad rules.
These are permission checks inside OpenCode. A shell command still runs with your user’s access to the machine. Check the permissions documentation when defining rules for a real project, especially if you use custom agents with their own permissions.
For settings you want across projects, use ~/.config/opencode/opencode.jsonc. Terminal appearance and keybindings go in a separate file, ~/.config/opencode/cli.json. The configuration guide explains how the files combine.
Save prompts you use often
After a few sessions, you’ll have requests you keep repeating.
You can turn one into a slash command. Create .opencode/commands/review.md with this content:
Review the current Git diff for bugs and missing test cases.
Read the surrounding code before reporting a problem.
Don't edit files or commit changes.
Now /review sends that prompt. OpenCode’s custom commands can also accept arguments, so you can build more specific prompts later.
Continue a session or start a new one
Use /sessions to return to an earlier conversation. Use /new for a fresh task.
A session keeps the conversation you’ve had about the project. Continuing one is useful when you’re refining the same change. Start a new one when the task changes and the earlier discussion would get in the way.
Press Ctrl+P to open the command palette if you forget a command or shortcut.
You can also send a request from the shell without opening the full-screen interface:
opencode run "Explain total.mjs without changing any files"That still runs an agent. Its tools and permissions apply just as they do in an interactive session. Asking it to edit files can change the project.
Use a local model
If you already run a model in Ollama or LM Studio, you can use it with OpenCode.
Start the local model server, then open /models. OpenCode discovers local models at the default Ollama and LM Studio addresses. Choose an available model that supports tool use for coding work.
The model runs on your hardware, so its speed and capacity depend on your machine. Try the explanation request from earlier before giving it a larger change.
You can switch models within a session. You don’t have to start a new conversation to try another one.
Open the browser interface
OpenCode also has a desktop app and a web interface. The terminal and these clients use a shared background service that owns your sessions.
From another terminal, run:
opencode pairFollow the local pairing link and the login details it prints to open the browser interface. The web guide covers pairing and remote access.
You can download the desktop app from the OpenCode site. You don’t need it to follow the terminal workflow above.
Add external tools when you need them
The built-in tools cover file editing, search, and shell commands. For a connection to another service, OpenCode supports MCP servers.
Use opencode mcp add to add a server and opencode mcp list to check its connection. Only connect services you need for the task, and check what access each server provides.
For your next session, open a small existing project and ask OpenCode to explain one part of it. Then pick a change you already understand well enough to review.
Want me to talk about your product? You can sponsor this site.
Related posts about ai: