terminal-mac: give your computer-use agent its own Mac
By Flavio
Tagged: Mac
terminal-mac runs a macOS guest inside your terminal, so an agent drives that VM instead of your desktop. Install, setup, MCP tools and isolation limits.
The first time you let an agent use a computer, it clicks around in the same desktop where your email is signed in, your password manager is unlocked, and your bank tab is open.
On 3 November 2026, govi published terminal-mac, a tool that runs a full macOS virtual machine inside your terminal and gives an agent computer use inside that VM. The announcement post puts it as “give your agent its own Mac, and keep yours”. It is MIT licensed.
I haven’t run this build yet, so what follows comes from the README, the agent docs and the release.
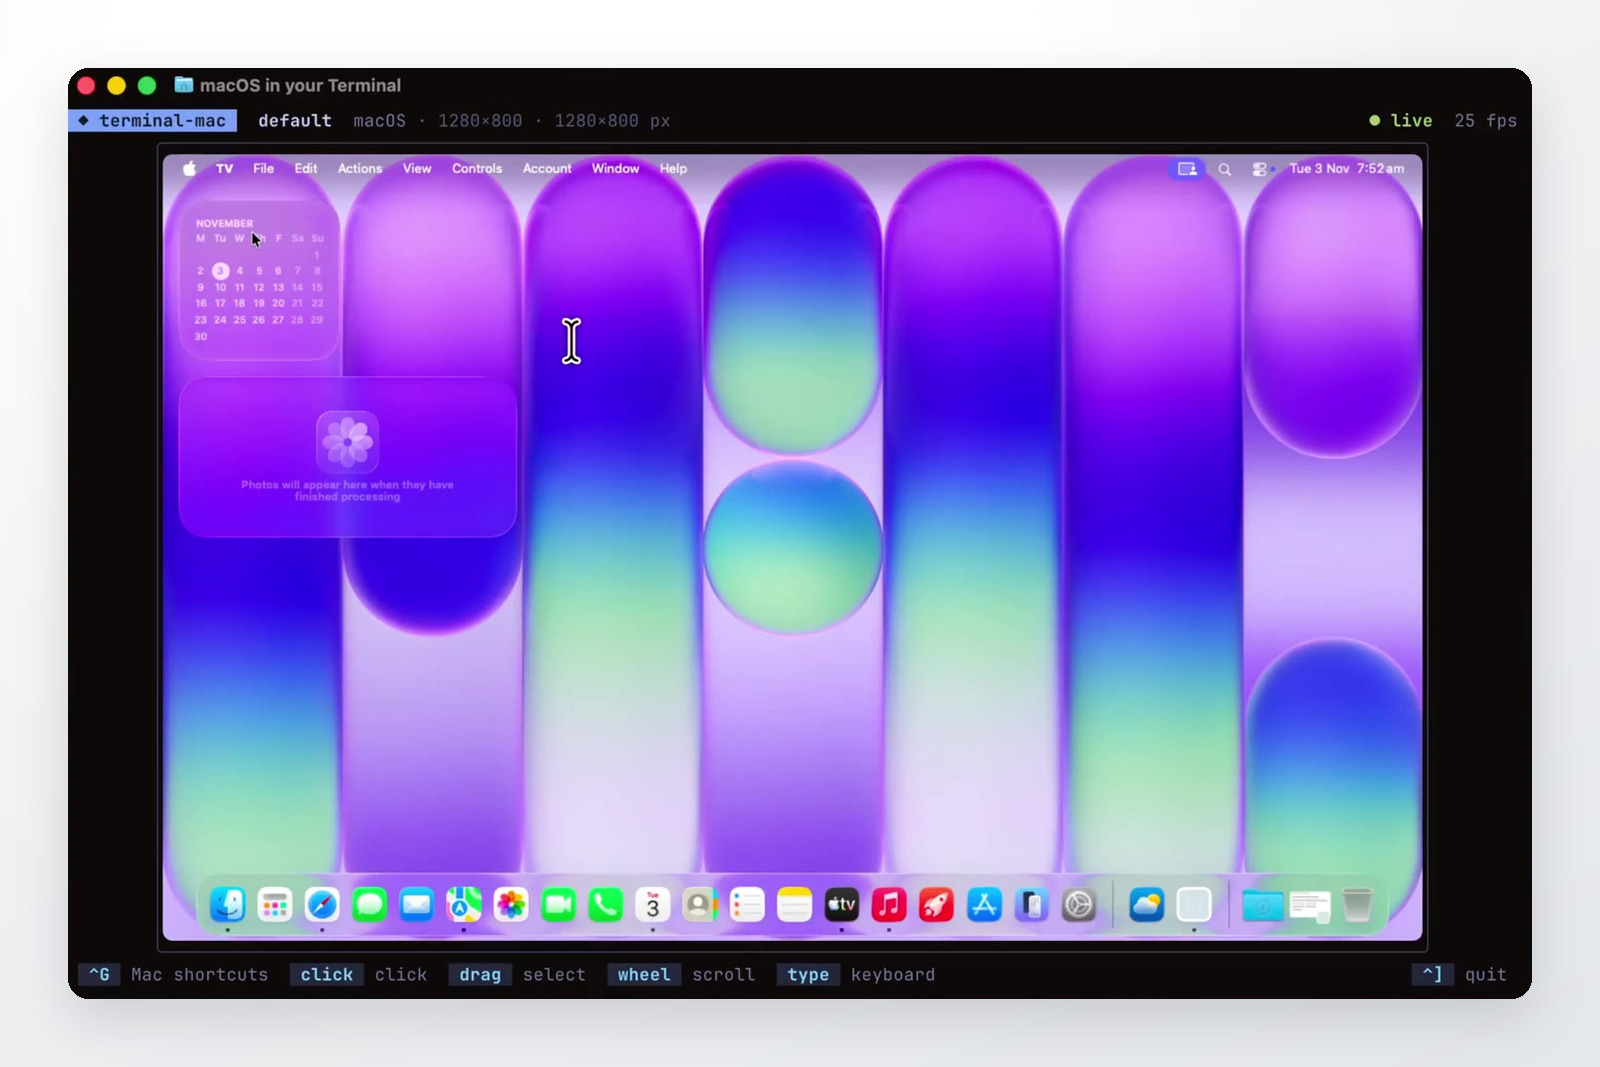
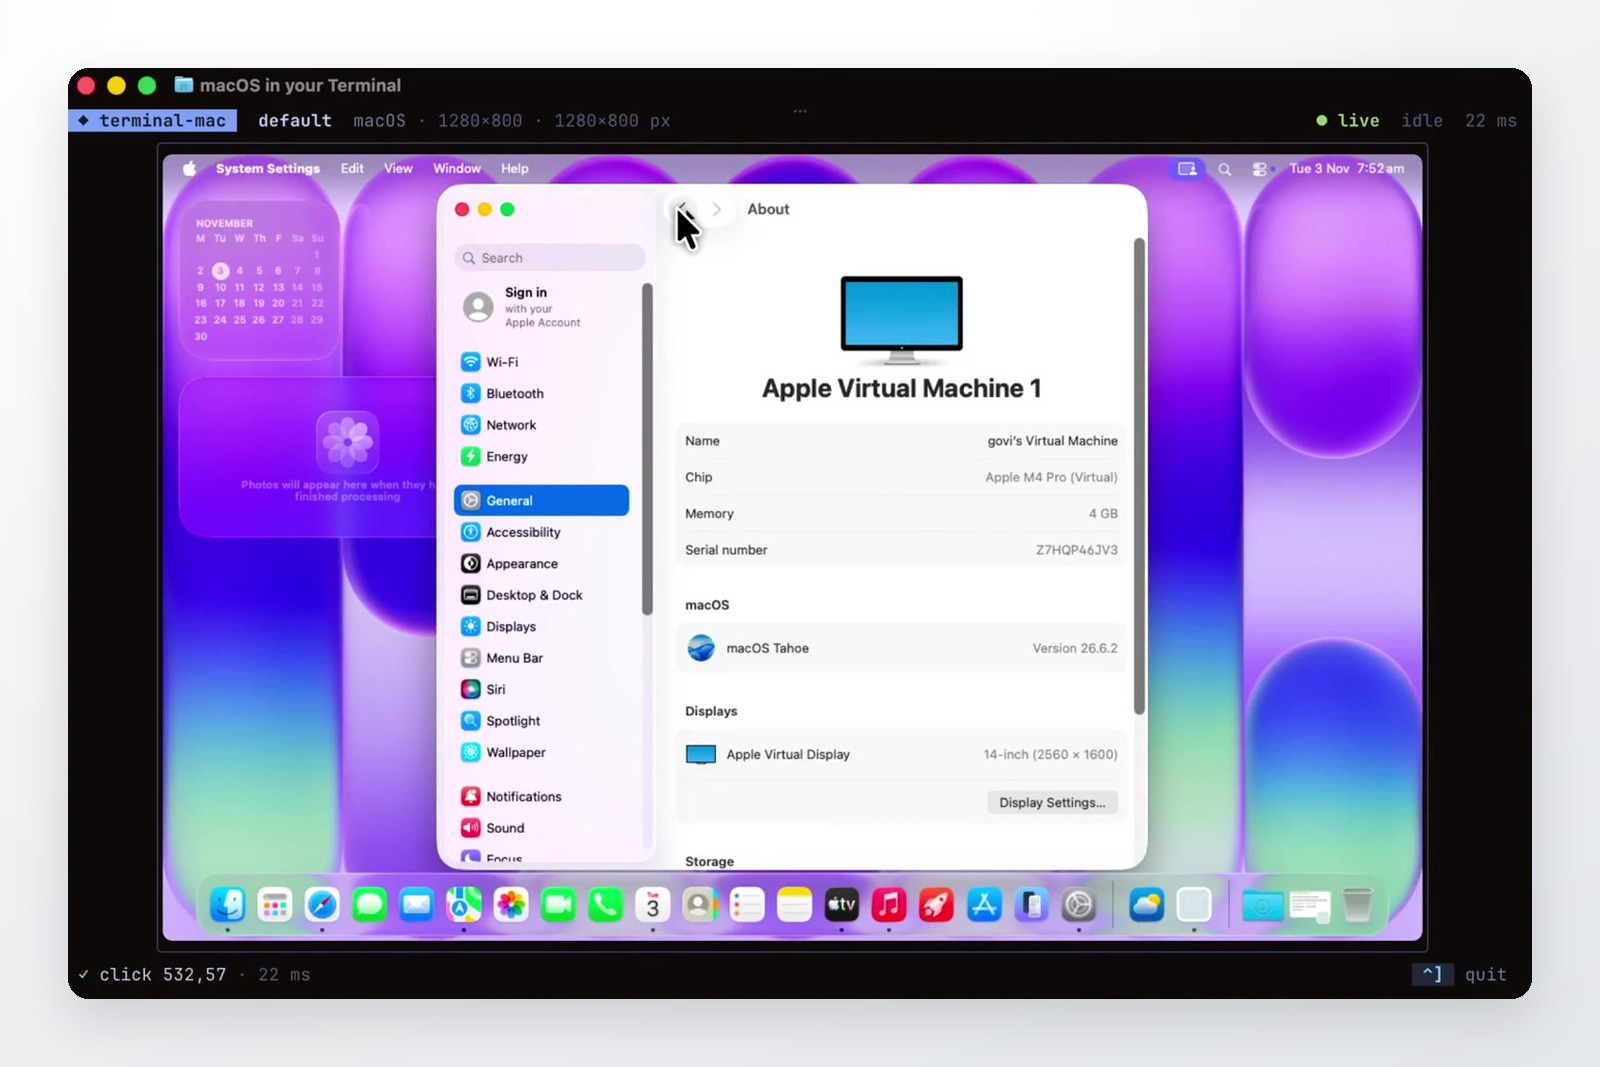
Both screenshots in this post are stills from the launch video, captured at full resolution and framed. They show the viewer, not an agent driving the guest.
What it actually is
terminal-mac is a Swift app around Apple’s Virtualization framework, and it boots a real macOS guest rather than a container.
A small helper app installed inside the guest captures the guest screen and posts input events into it.
The viewer is what makes it feel different: the guest screen streams into your terminal using the Kitty graphics protocol or iTerm2 inline images, so the virtual Mac sits inline in Ghostty, Kitty or iTerm2 next to your shell. In any other terminal you get a normal VM window instead.
The launch video shows the viewer with a hand on the guest: a header with the resolution and a live frame counter, a footer logging each click and scroll, and no agent in sight. The agent path is the part you set up yourself.
The same helper is also what agents talk to. They never reach the host’s pointer, keyboard, clipboard or screen APIs.
What you need
- An Apple silicon Mac on macOS 14 or later.
- Internet on first run, because the first boot downloads a macOS restore image from Apple. It is several GB, and the tool caches it after that.
- Disk and memory to spare. The VM disk is 64 GiB sparse by default, and the guest uses your host CPU and RAM while it runs.
- No developer tools for a prebuilt release. Building from source needs Xcode 16 or later and Swift 6.
Install and first run
The installer checks a SHA-256 for the release it downloads, puts a launcher in ~/.local/bin and the runtime in ~/.local/lib/terminal-mac. No administrator rights, and it doesn’t edit your shell config.
curl -fsSL https://github.com/govijr/terminal-mac/releases/latest/download/get.sh | bash
terminal-mac up
terminal-mac up downloads a compatible restore image, installs the virtual Mac, boots it, and opens the VM window. Later runs reuse the same machine and reconnect to it.
The first download is the slow part. The README is honest that packaging can’t remove the step of downloading and installing macOS.
The one-time setup inside the guest
This part isn’t automatic yet. Complete macOS Setup Assistant in the VM window and create an account inside the guest. Then, still inside the guest, open Finder, go to /Volumes/My Shared Files/tools and open TerminalMacGuest.app. The helper installs itself in the guest’s ~/Applications and registers to start at login.
That app has two buttons for the permissions it needs, Screen Recording and Accessibility, granted inside the guest’s own System Settings. Your host Mac needs neither permission. Once both are on, the CLI moves on to the terminal viewer.
The README calls this guided setup, not unattended installation. Apple documents automatic account provisioning for macOS 27 guests, and this build targets the macOS 26 SDK instead.
If you want more than one machine, terminal-mac up work creates another. --offline skips the guest network device, --cpus, --memory and --disk size it, and terminal-mac ls lists what you have.
Giving an agent control
The MCP server is the main path. It exposes screenshot, click, drag, scroll, type, key and status.
For Claude Code, one plugin installs the server and a skill that teaches the observe, act, verify loop:
/plugin install terminal-mac --marketplace govijr/terminal-macFor Cursor, Codex, VS Code or any other MCP client, paste the output of this into the client’s MCP settings:
terminal-mac mcp --configIf you prefer the CLI, every action is a command that prints JSON, which is easy to script or to read in a log:
terminal-mac action default screenshot --output /tmp/guest.png
terminal-mac action default click 640 400
terminal-mac action default type 'Hello from the agent'
terminal-mac action default key cmd+space
Coordinates are pixels in the last screenshot, top-left origin. The README says screenshots use guest display points so the same numbers work on a Retina display.
There is also a skill install for agents that read a skills folder: terminal-mac skills install, or npx skills add govijr/terminal-mac --skill terminal-mac. The skill’s advice is the same loop you’d give an agent by hand. Open apps with cmd+space, then type the name and press return, and take a fresh screenshot after each step that mattered.
What the isolation covers
The guest is a separate Mac with its own apps, files, accounts and permissions. It does not inherit your host apps or your signed-in sessions. The host home folder, your project folders, the clipboard, the microphone and the camera are not attached. The guest sees two shares only: a read/write control share for requests, replies and screenshots, and a read-only tools share holding the helper app.
The helper refuses to run unless the hardware model starts with VirtualMac. The README says that check stops accidental execution on your own Mac, and that it is not hardware attestation and not a defence against a compromised host.
There is no remote-control network listener. The mailbox between host and guest pins its directory and rejects symlinks, hardlinks and non-regular files.
Networking is the weak spot. Default NAT networking gives the guest internet access, and may let it reach services on your host or local network. The README says plainly that this is not a network-isolated or hardened hostile-code environment. --offline removes that network path, at the cost of some macOS setup flows and anything that needs the internet.
So it keeps an agent out of your desktop, your session cookies and your files, but it doesn’t turn the guest into a sandbox for code you already believe is malicious.
What it costs
The VM uses your CPU, memory and storage while it runs, so use pause and resume when you aren’t using it.
Releases are self-signed and not notarized by Apple. The README notes the curl installer doesn’t need notarization, and that a stable signing identity is what keeps the guest helper’s permissions across rebuilds.
The project calls itself an early release candidate, and per the README, live guest acceptance on a clean Mac is still pending. VM cloning, rollback checkpoints, accessibility snapshots, fully unattended guest setup, terminal splits and tmux transport are listed as future work. snapshot today is a screenshot alias, not an accessibility tree.
Where it fits
If your agent has to test a Mac app, walk through a website as a signed-out user, or try a flow you don’t want in your own account, a separate Mac is the straightforward answer.
There are other ways to get computer use on a Mac. agent-desktop drives your actual desktop through the accessibility tree with stable refs, which is fast and precise and still your desktop. Browser-only work is better served by a dedicated browser setup. terminal-mac is the option for when the agent needs the whole Mac and the whole Mac should be disposable.
Whatever machine the agent is on, the rules in what I let agents do unattended still apply. A separate Mac lowers the cost of a mistake, but an email sent or a purchase made from the guest is still real.
Trying it
- Check you’re on Apple silicon and macOS 14 or later.
- Run the installer, then
terminal-mac up. Start the macOS download before you need the VM. - Do the guest setup, including both privacy permissions inside the guest.
- Register the MCP server with your agent, and ask it to take a screenshot and describe what it sees.
- Then ask it to open Safari and load a page, and watch the frames in your terminal.
The repo is at github.com/govijr/terminal-mac. There is a sibling project, terminal-phone, that does the same thing for iOS simulators and real iPhones.
Want me to talk about your product? You can sponsor this site.
Related posts about mac: