How to start a blog using Hugo
A detailed tutorial to start a new blog using Hugo from zero to deployment
THE SOLOPRENEUR MASTERCLASS
Now open with 50% OFF launch discount!
Hugo is a great tool to start a blog.
I use Hugo myself in this blog, since more than 2 years. I have a few reasons for loving using Hugo.
It is simple, boring, flexible, fast.
The main reason is that it is simple. There’s not much you have to learn to get started.
You write content in Markdown, a format that lets me use my favorite editor (Bear) to write posts.
Hugo is boring. Don’t get me wrong, this is a very positive thing. As a developer I am tempted to tweak things here and there all the time. There’s no fancy technology underlying Hugo. It’s built using Go, one of the languages I love the most, but that does not mean I want to dive into the internals of Hugo and change how it works.
And it does not surface any cool or next-generation stuff like many JavaScript frameworks tend to do.
Hence it is boring, which gives me a lot of time to do what is really useful when working on a blog: writing content. I focus on the content, not on the content container.
That said, Hugo is pretty darn flexible. I started my own blog with an open source theme, then changed it completely over time. Sometimes I want to do things in my website that are out of the scope of a simple blog, and Hugo allows me to create those things.
Finally, another reason I love Hugo is that it is fast. Why? First, it has Go at the core, which is known to be a very fast language. And in the Go ecosystem, there’s no concept of 100 megabytes dependencies. Things are made to be as fast as possible. Plus, Hugo does not need to do some of the fancy stuff that is needed when using fancy technology. This is a by-product of being boring.
Anyway, enough with words.
Hugo is amazing, especially if you are a developer and you’re willing to write in Markdown. Non-tech people might just refuse to use Markdown, and it’s perfectly understandable.
Also, you have to be prepared for a Git-centric workflow to make things really click.
What you do is that you write a post using Markdown, then commit your changes to a Git repository, most commonly on GitHub, and some glue technology deploys the changes on the server that hosts the site.
Hosting a Hugo website
A Hugo blog is completely static. This means you don’t need to host your own server, or use a special service for it.
Netlify, Now and GitHub Pages are 3 great places where you can host a Hugo blog, for free.
The only cost is the one you have to sustain for the domain name. I can’t stress more the importance of having your own domain name. No .github.io or .netlify.com or .now.sh sites, please.
My own Hugo sites are hosted on Netlify.
Choose a domain
Put your blog under your own domain. Pick one. Use your own name. And use .com or .blog. Don’t try to be clever by using a localized domain, don’t use .io. .com just gives a better impression and it’s reusable for all your future projects, not just to host your blog. I picked that.
Oh and if you have an old domain lying around, just use that. Why? The older your domain is, the better.
Note on subdomains: every subdomain, to Google, is a different website. So if your domain is flaviocopes.com, and you create your blog in blog.flaviocopes.com, then that’s a completely new website to Google, and it will have its own ranking separate from the main domain.
My suggestion is to avoid subdomains completely.
Install Hugo
To install Hugo on macOS, from your terminal run
brew install hugoThe
brewcommand does not exist on your Mac? Check the Homebrew guide
For Windows and Linux, check the official installation guide.
Create a Hugo site
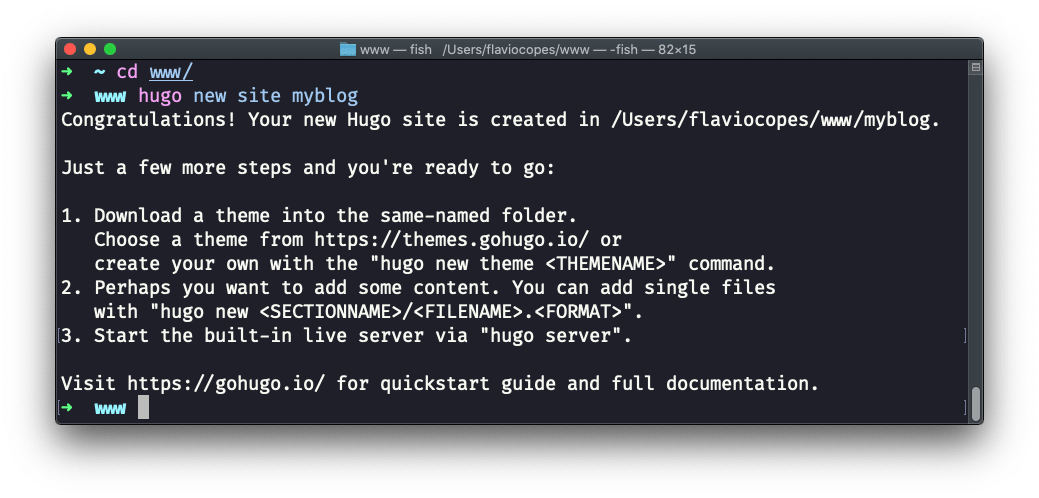
Once Hugo is installed, you can create a Hugo site by running
hugo new site myblogI suggest to run this into a www folder in your Home directory, because the command will create a new myblog folder where you run it.
Pick a theme
Now before you can start you need to pick a theme. I wish Hugo included a default theme to make things straightforward, but it does not.
There’s a lot of choice on https://themes.gohugo.io. My personal recommendation is to start with https://themes.gohugo.io/ghostwriter/ and tweak it later.
I also recommend to avoid the git clone workflow they suggest on that page, because you’ll be surely tweaking the theme in the future, and I find it best to have a single repository for both content and theme. It simplifies deployment.
So, go to https://github.com/jbub/ghostwriter/archive/master.zip to download the current version of the theme.
Then unpackage it in the themes/ghostwriter folder in your newly created Hugo website:
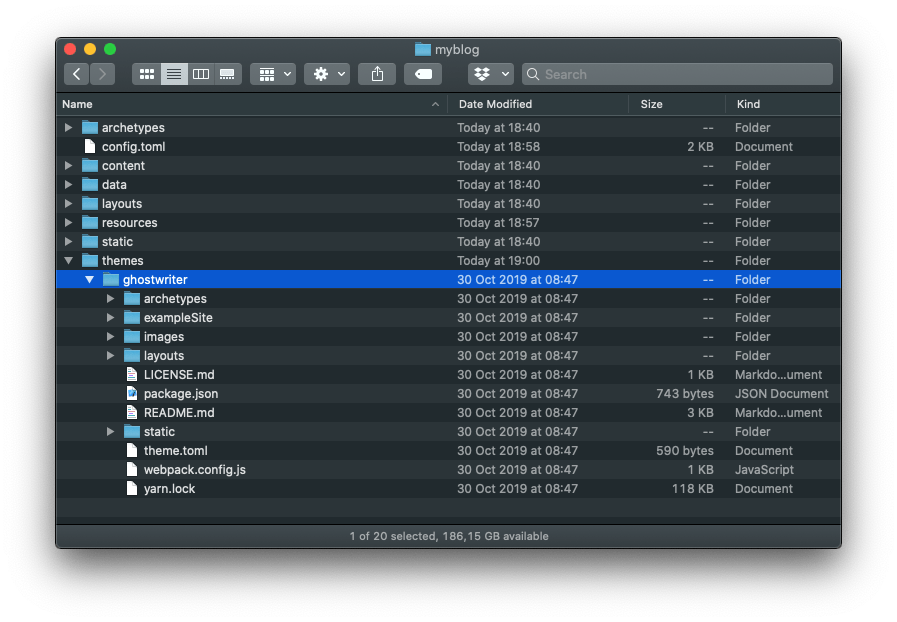
Notice there is a exampleSite folder in the themes/ghostwriter. Open it, and open its content subfolder. In there, you can see the page, post and project subfolders.
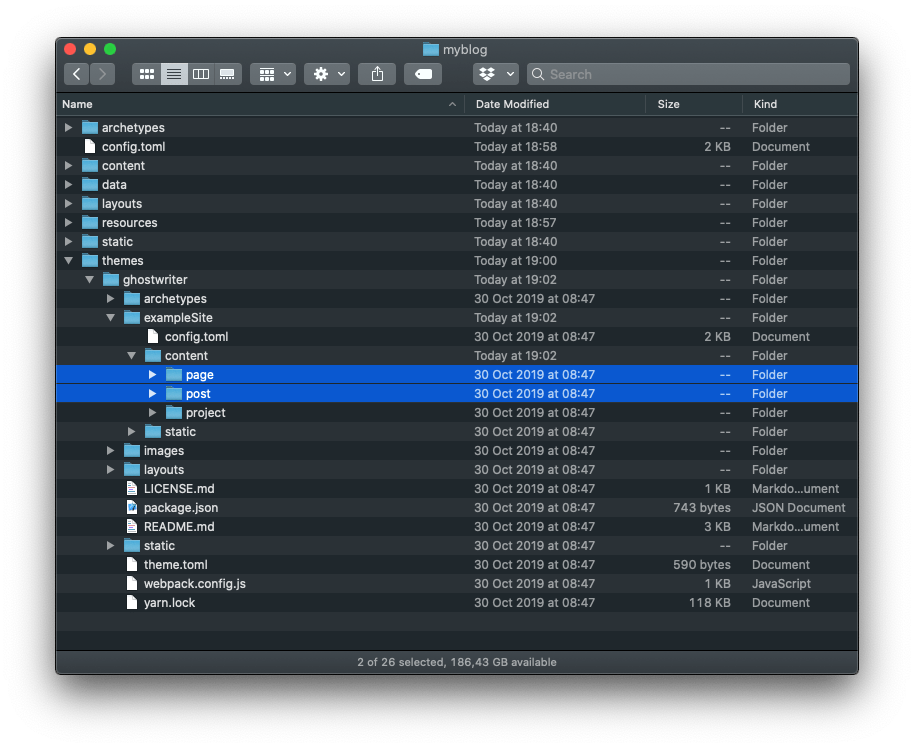
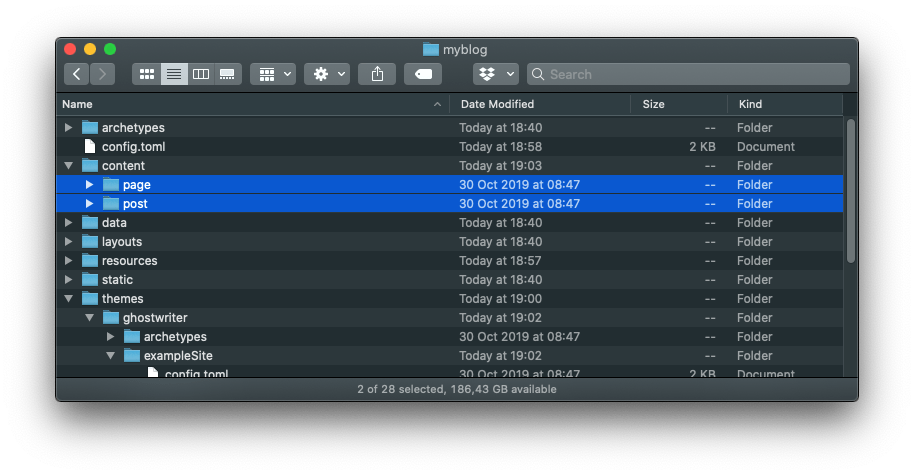
Copy page and post in the content folder of the site:
The configuration
The sample data also provide a sample config.toml file in themes/ghostwriter/exampleSite/config.toml. This is the Hugo configuration file, which tells Hugo some details of the configuration without you having to hardcode information in the theme.
I recommend you to not copy that, because it has too many things, and instead use this:
baseurl = "/"
title = "My blog"
theme = "ghostwriter"

[Params]
    mainSections = ["post"]
    intro = true
    headline = "My headline"
    description = "My description"
    github = "https://github.com/XXX"
    twitter = "https://twitter.com/XXX"
    email = "[email protected]"
    opengraph = true
    shareTwitter = true
    dateFormat = "Mon, Jan 2, 2006"

[Permalinks]
    post = "/:filename/"
You can freely customize the information in this file, later.
Now from the command line, run:
hugo serve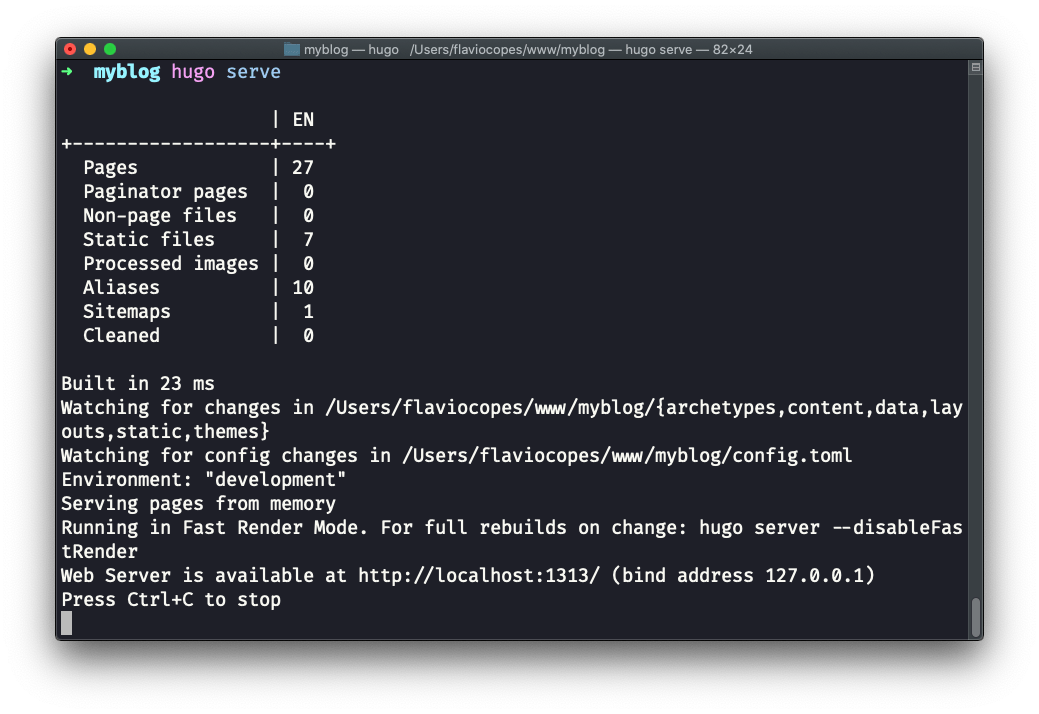
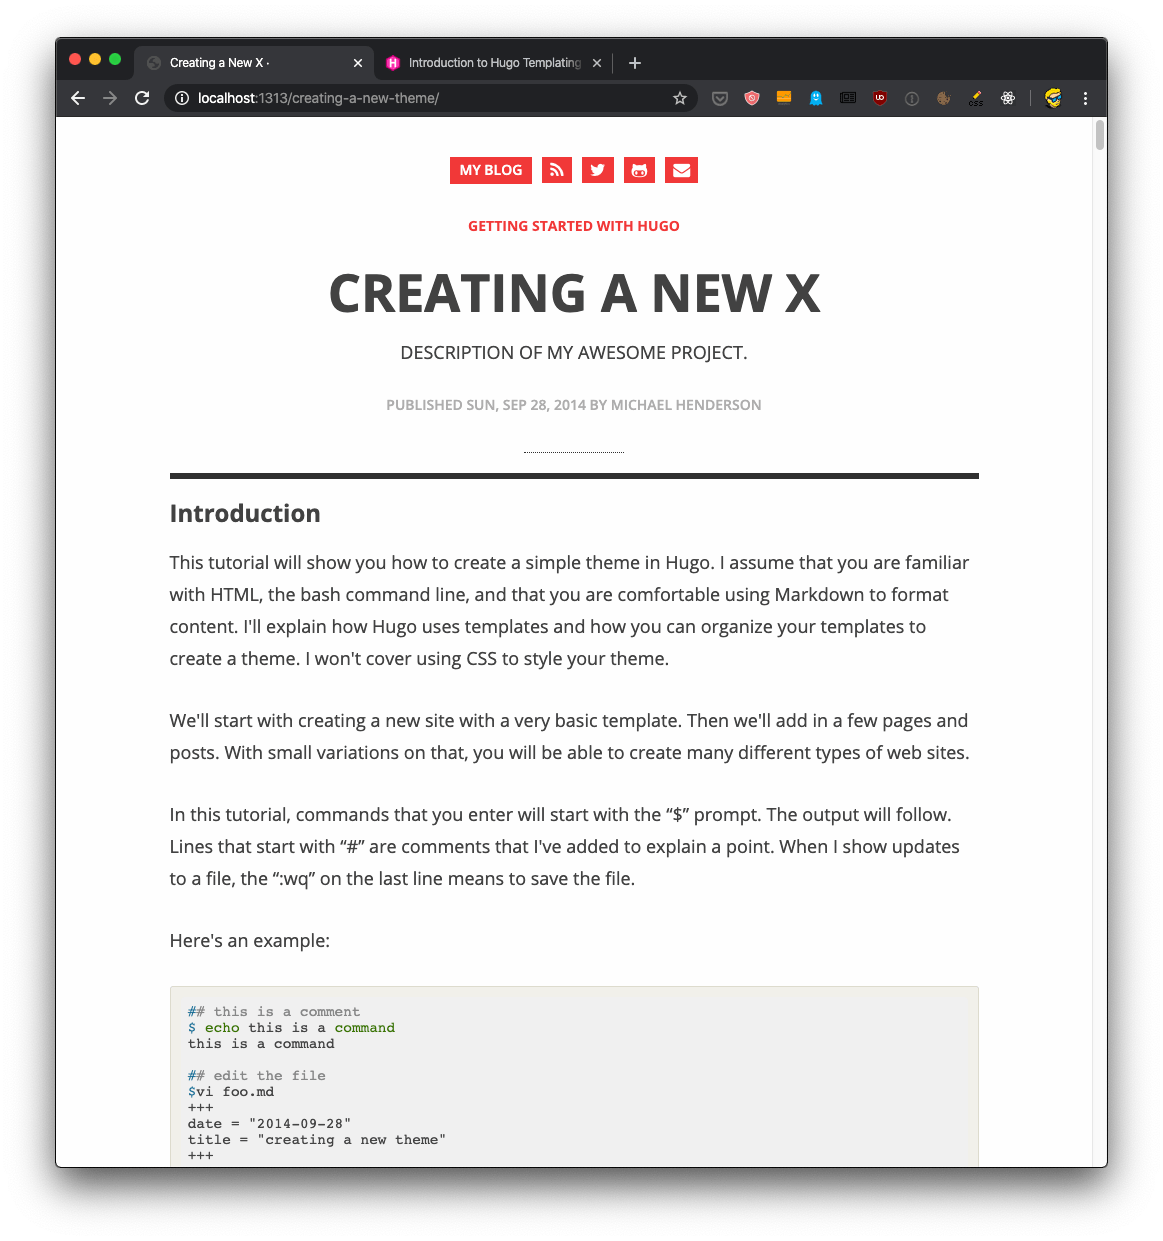
Open http://localhost:1313 in your browser, and you should be able to see the site live!
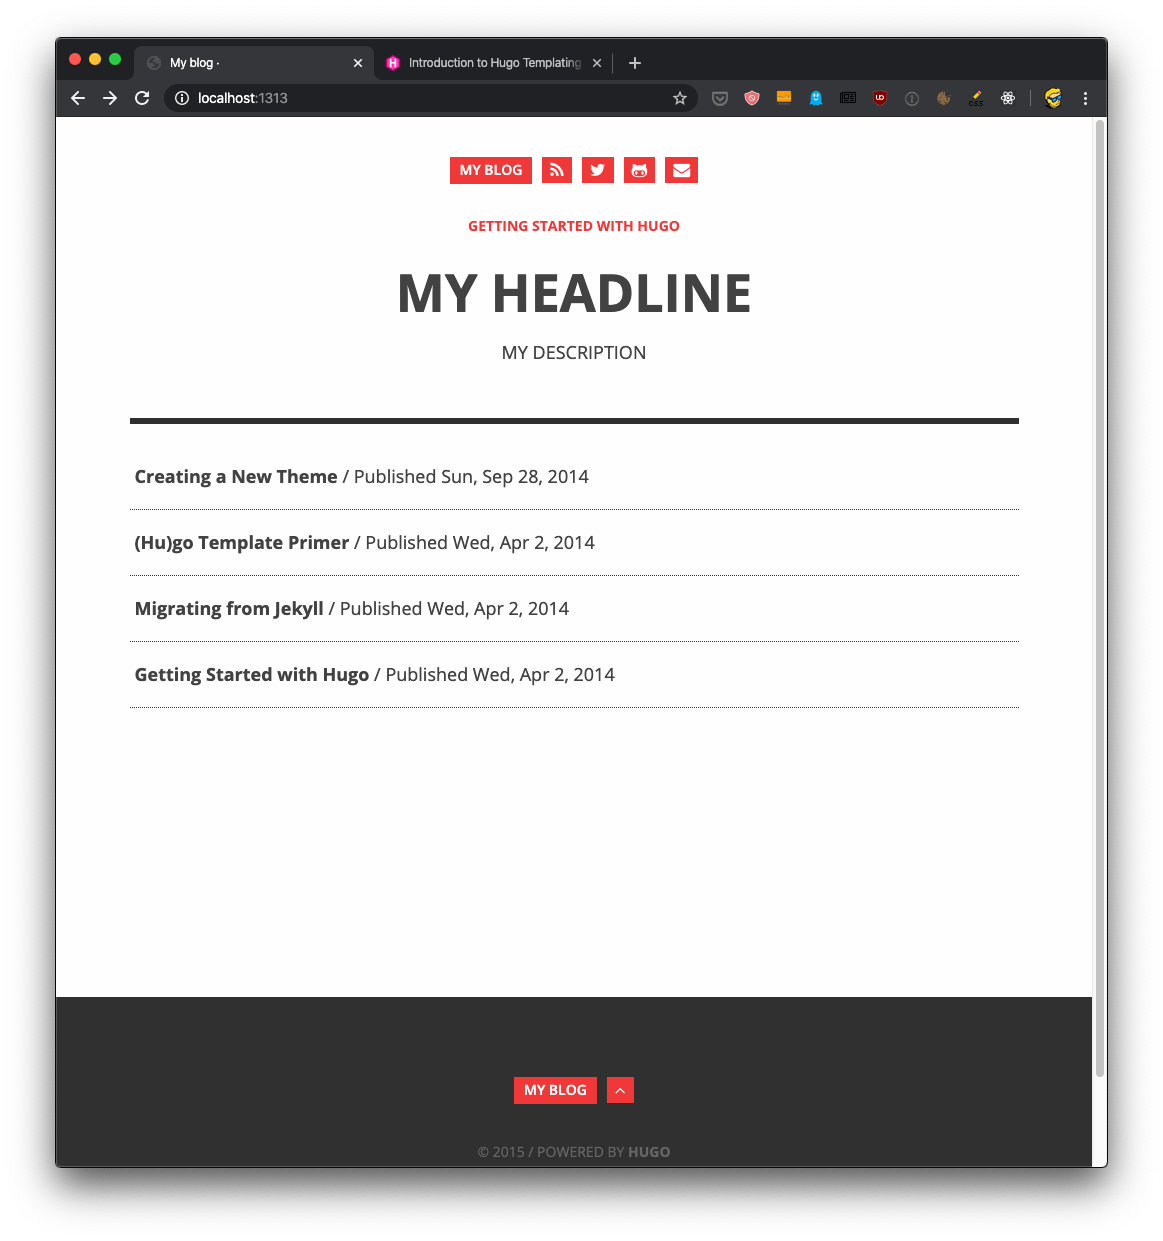
This is the site home page.
There is a list of posts that is taken from the content/post folder of your website:
Click the first, called “Creating a New Theme”:
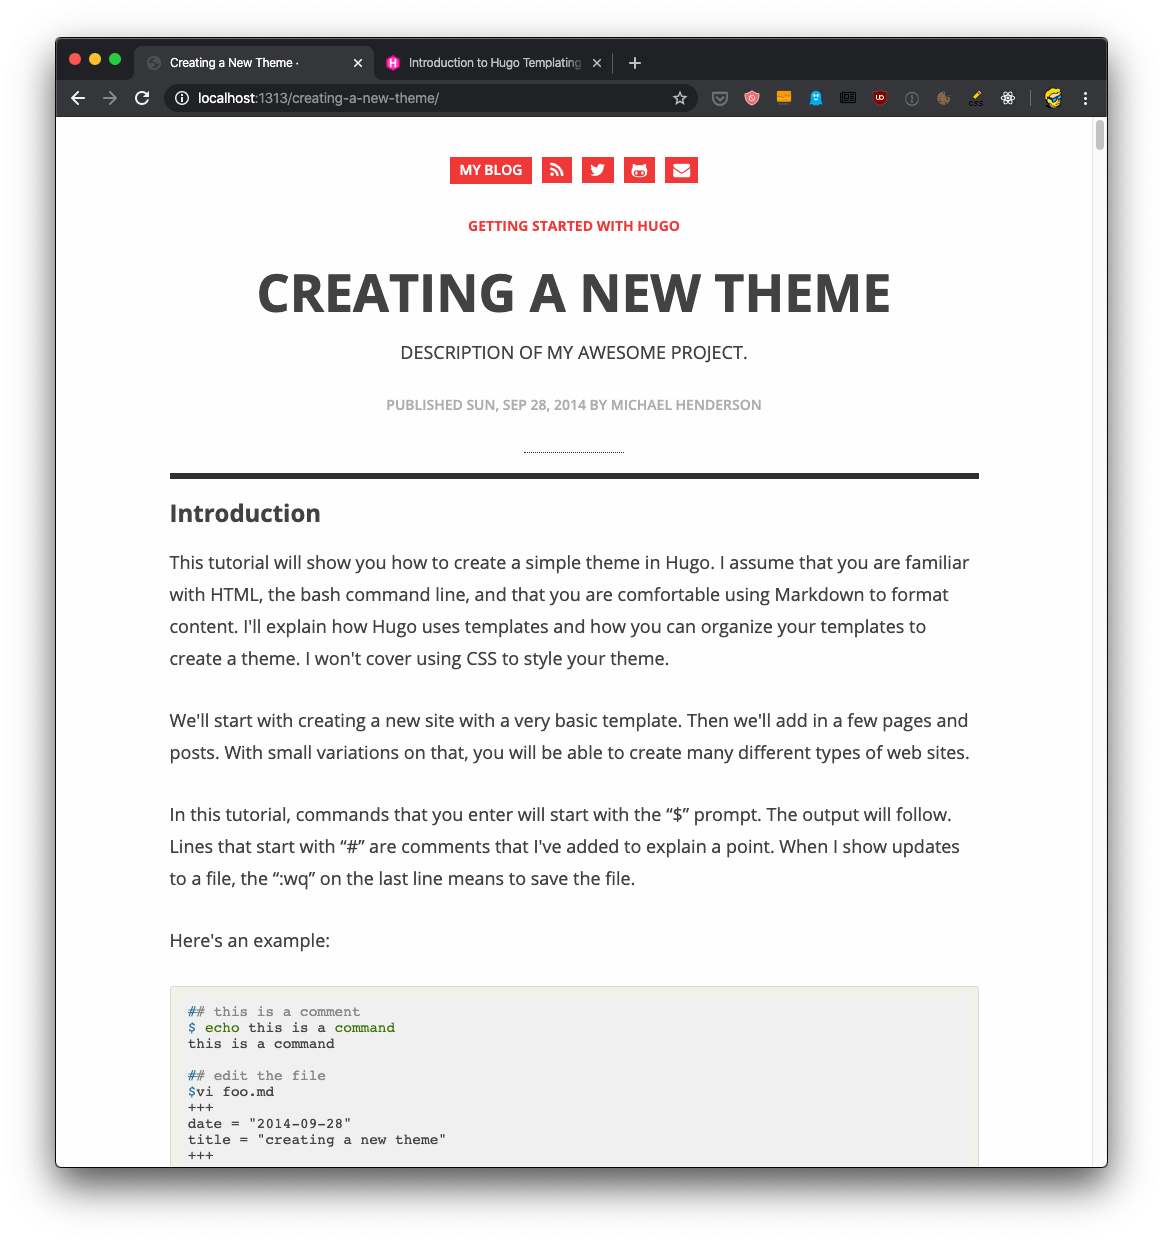
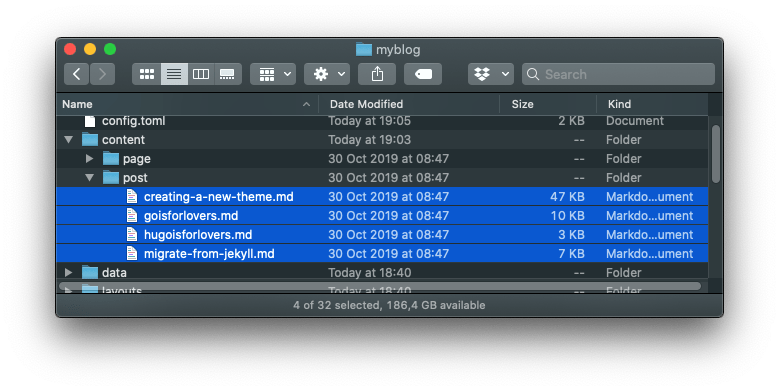
You can open the file content/post/creating-a-new-theme.md to change anything in the post.
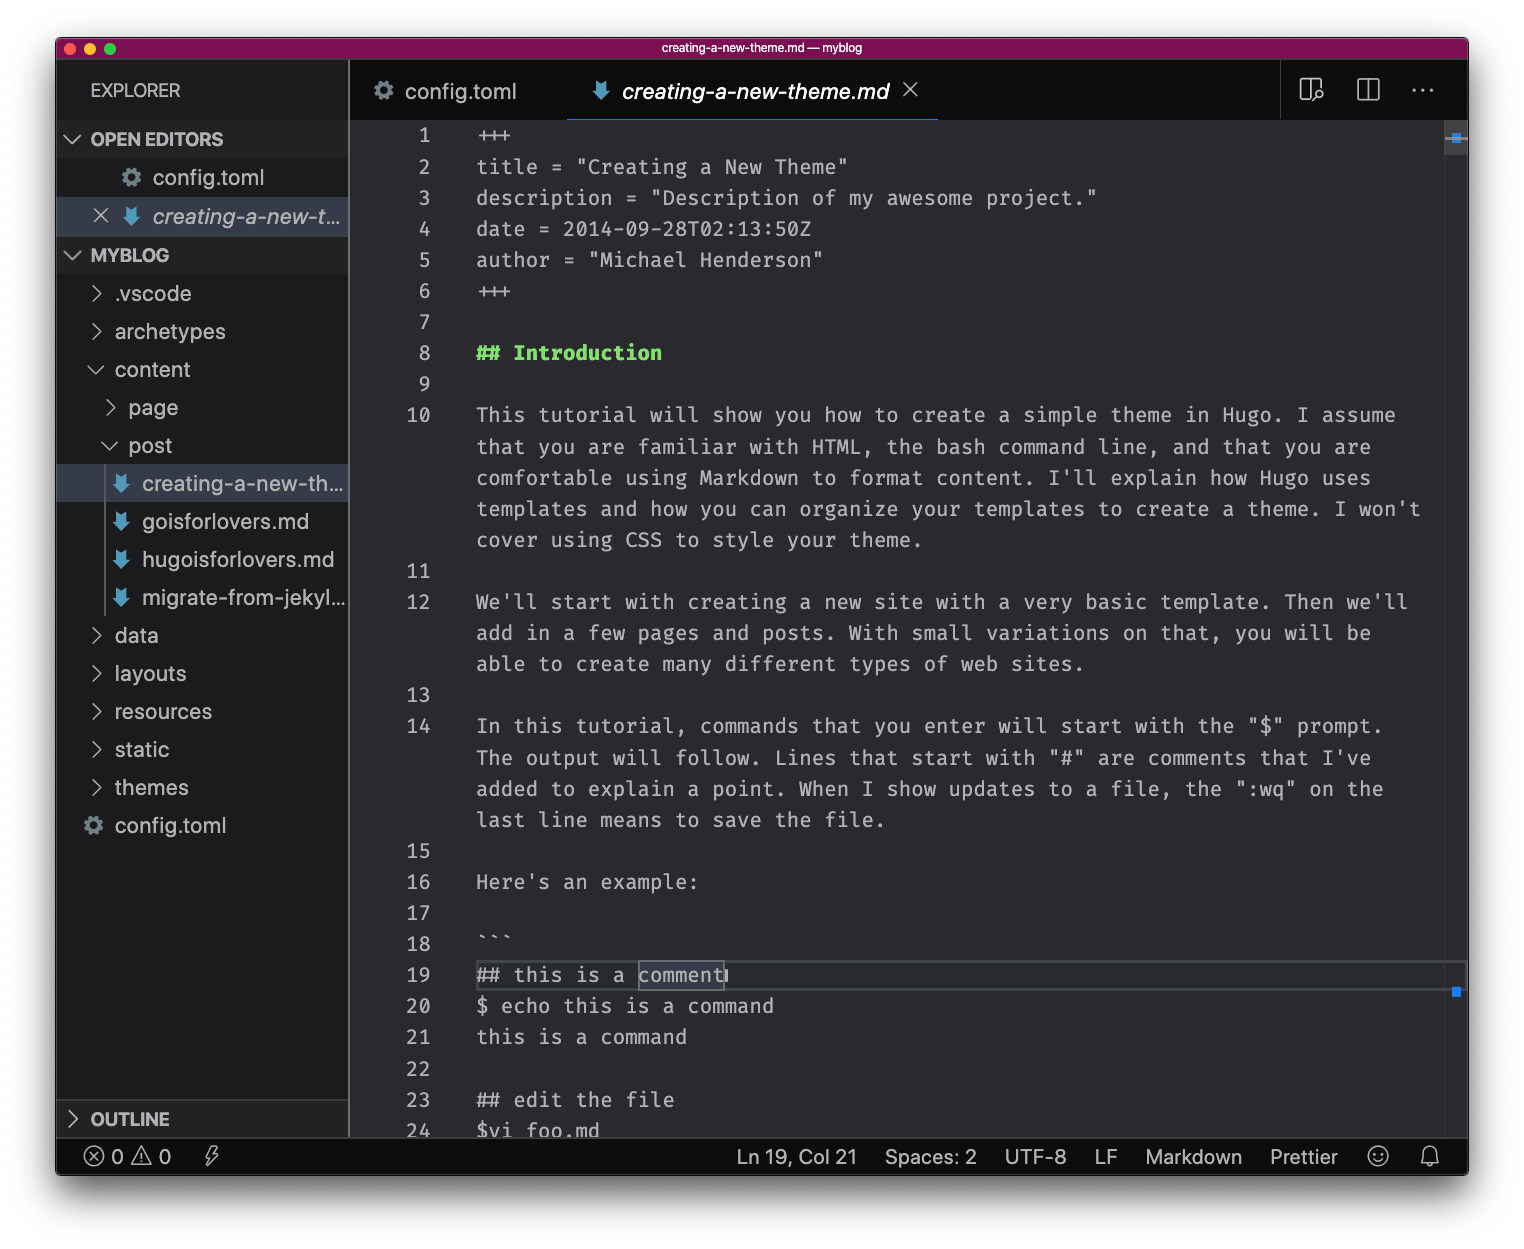
If you save, the website will automatically update with the new content.
This is pretty awesome, right?
You can create a new post by creating a new .md file, prefixing it with anything you want. You can use incremental numbers, if you prefer. Or use a date.
If something is not looking like you want, you can open the themes/ghostwriter/layouts folder and tweak it.
The “post” template is defined in themes/ghostwriter/layouts/post/single.html:
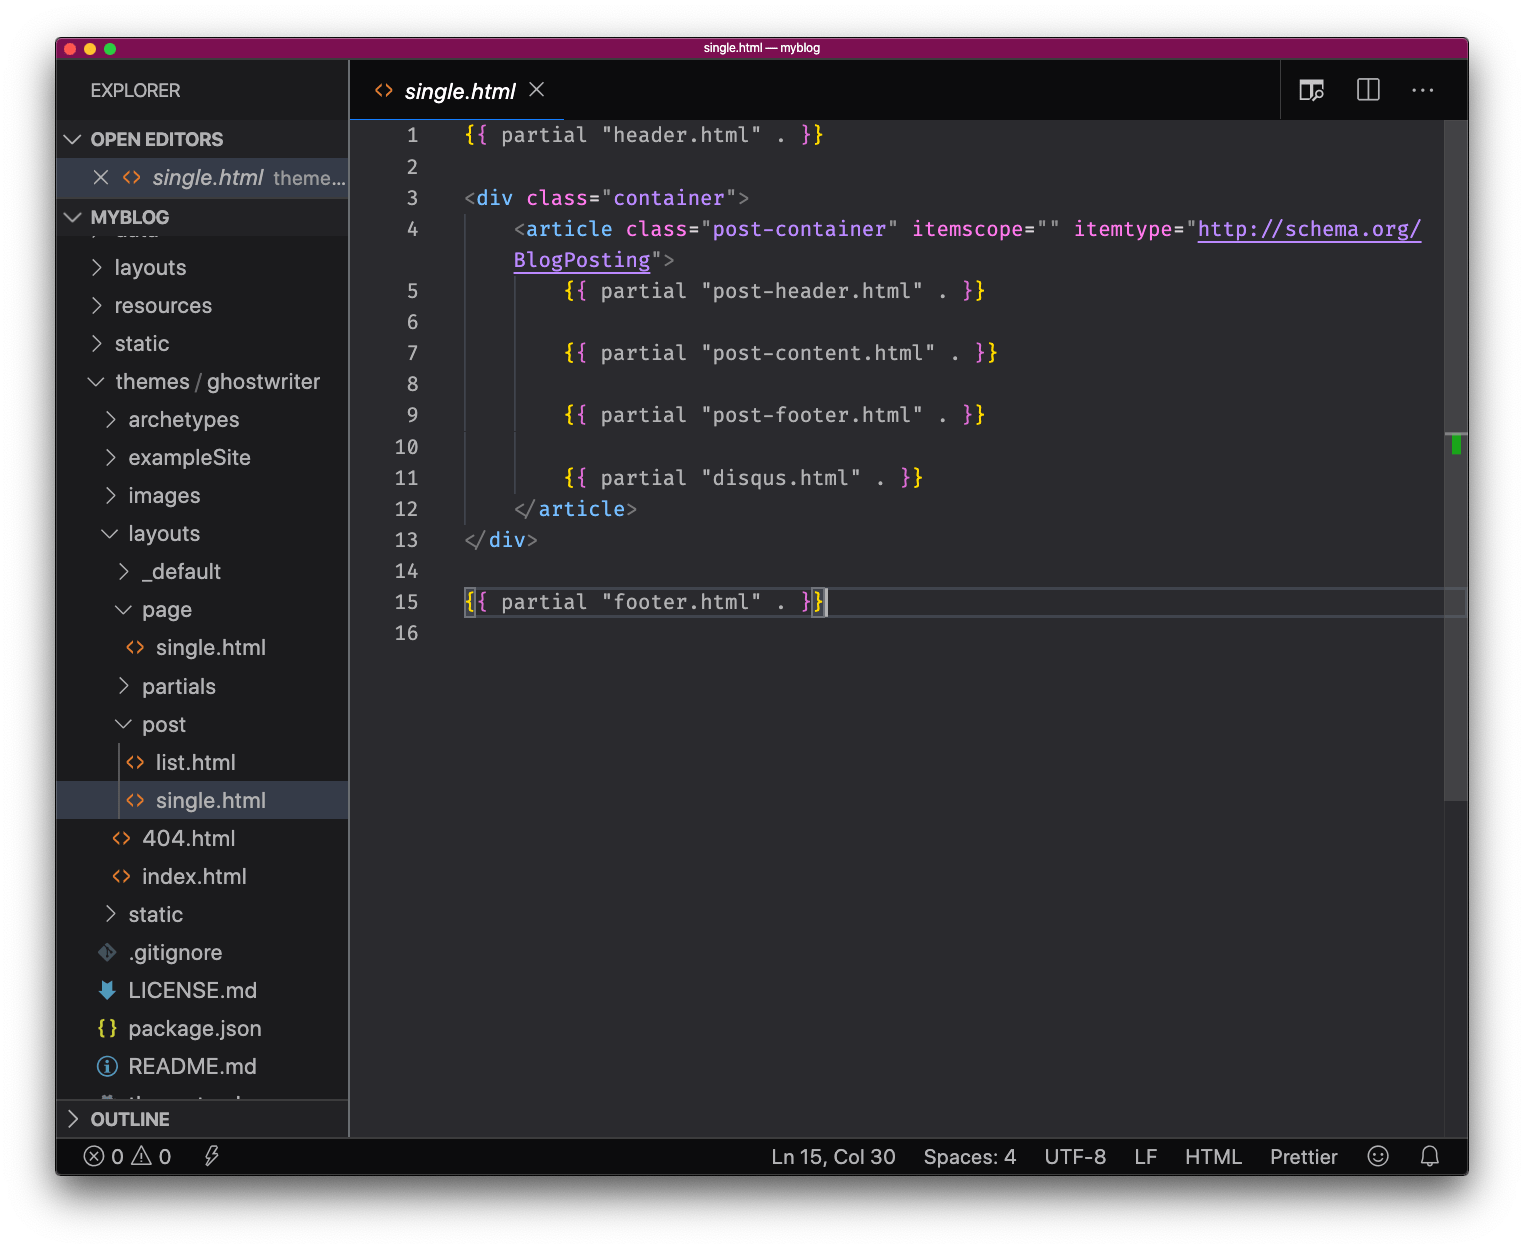
Hugo uses Go templates. The syntax can be pretty unfamiliar but the Hugo website does a very good job at explaining them in this Go templates introduction.
However, try to not look at customizing your template now.
If you want to tweak the colors, add a <style> tag with some CSS in the themes/ghostwriter/layouts/partials/header.html.
For example, make links black:
<style>
  .site-title a,
  .button-square {
    background: black;
  }
  a {
    color: black;
  }
</style>
Focus on the content instead.
Remove the existing files, and write 2-3 posts to start with.
It’s too easy to get trapped in making things perfectly like you want, but the important thing is the content.
And the cleaner your site is, the better for your readers.
Let me now write a little about deployment.
Deploy the Hugo site to Netlify
I want to showcase how to deploy a Hugo site in 2 of the services I enjoy the most: Netlify and Now.
First, I’m going to create a GitHub repository to host the site.
I open GitHub Desktop, an app I use every day and is part of my workflow. It’s the simplest way to use Git.
From the File menu, I pressed the “New Repository” option:
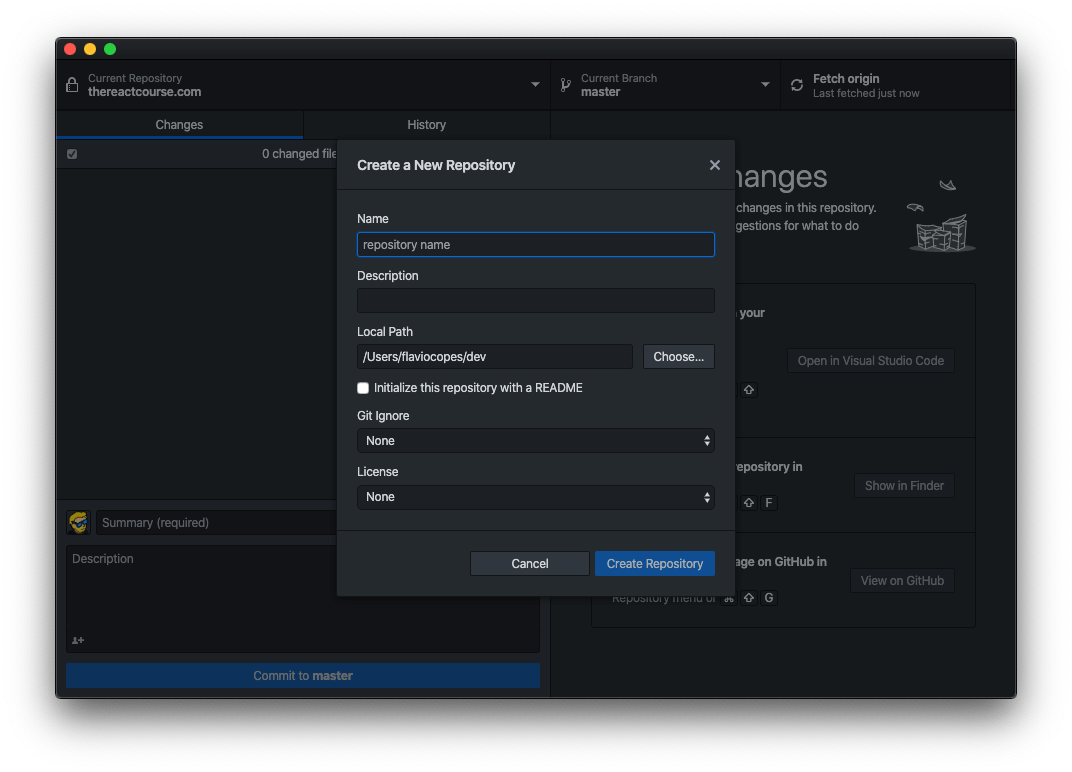
The same screen can be generated by simply dragging the myblog folder into the app.
I gave the myblog name to the repository, and picked the correct path for the repo.
The process automatically makes the first commit:

Now we can click the “Publish repository” button to push the repo to GitHub:
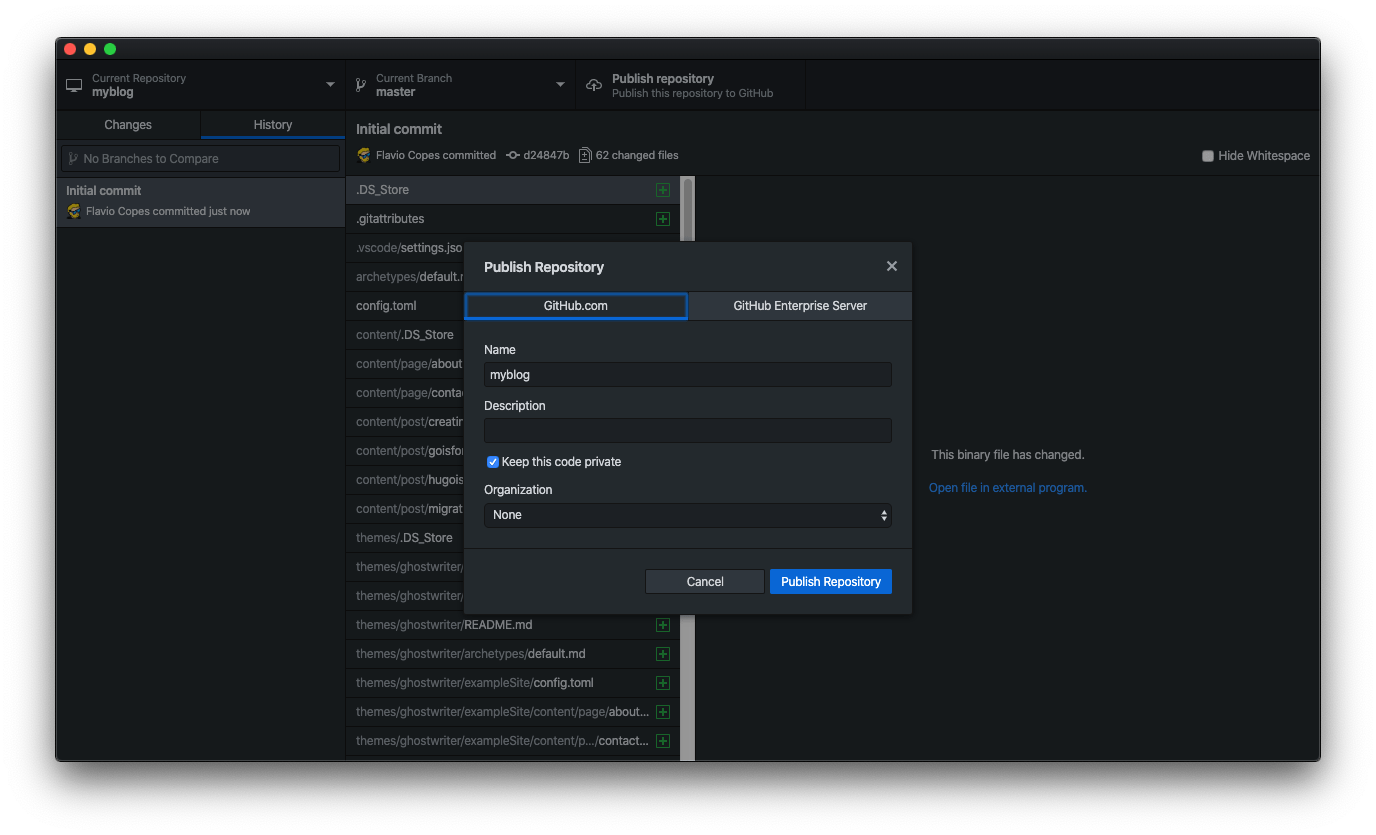
You can keep the repo private, of course.
Once the repo is in GitHub:
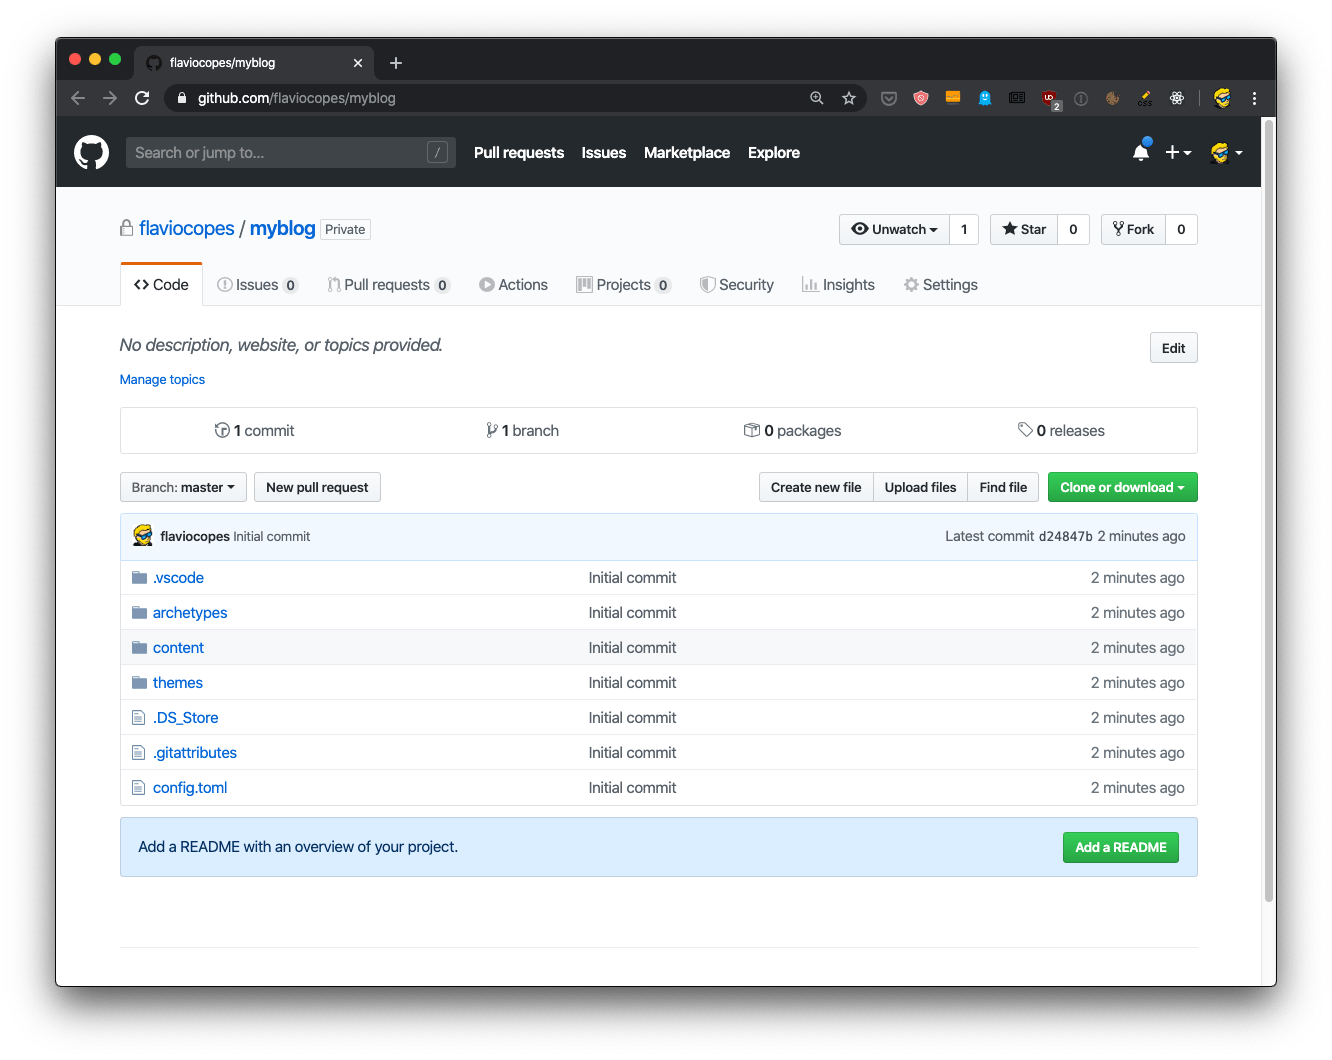
we can move to Netlify.
From my Netlify dashboard I pressed the “New site from Git” button:
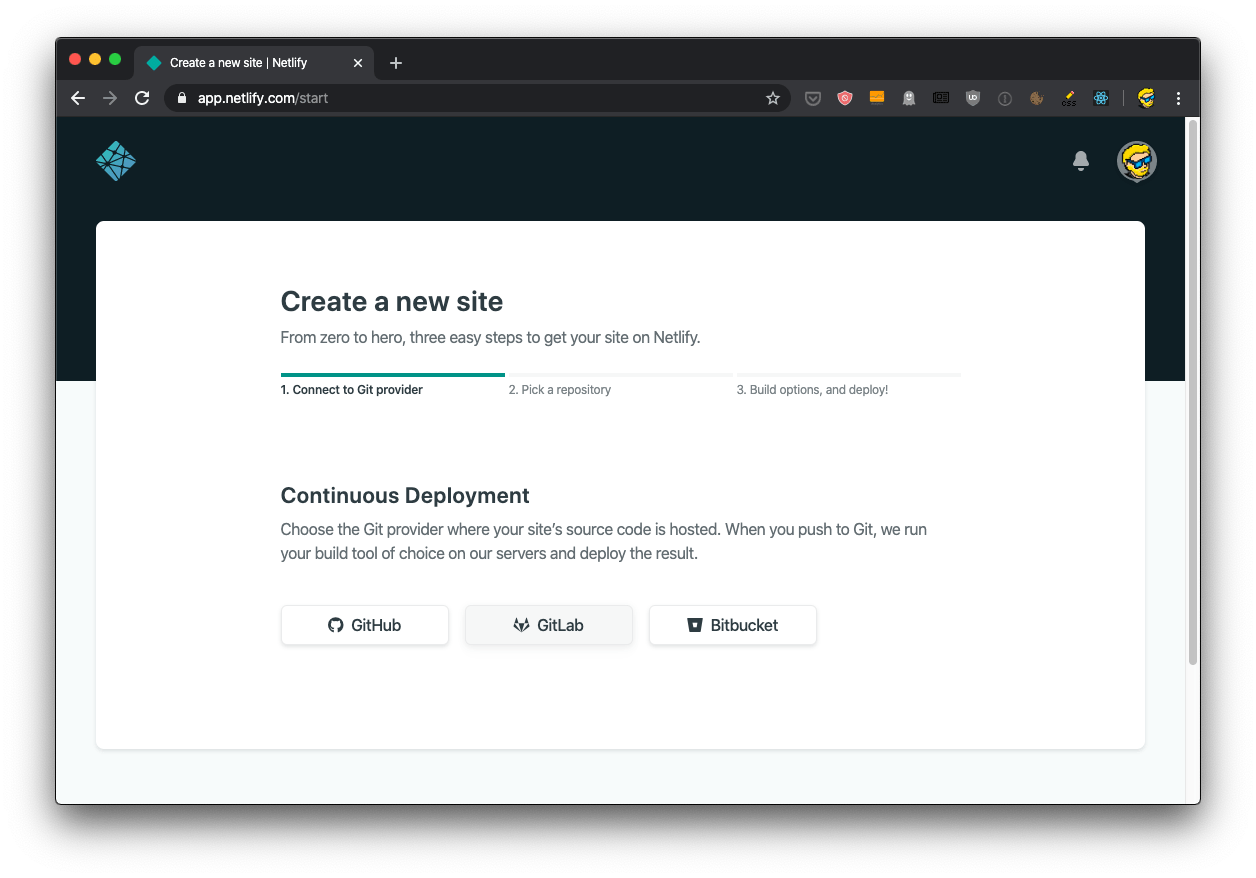
Pressed GitHub, authorized Netlify to access my private repositories, then I picked the repo I just created:
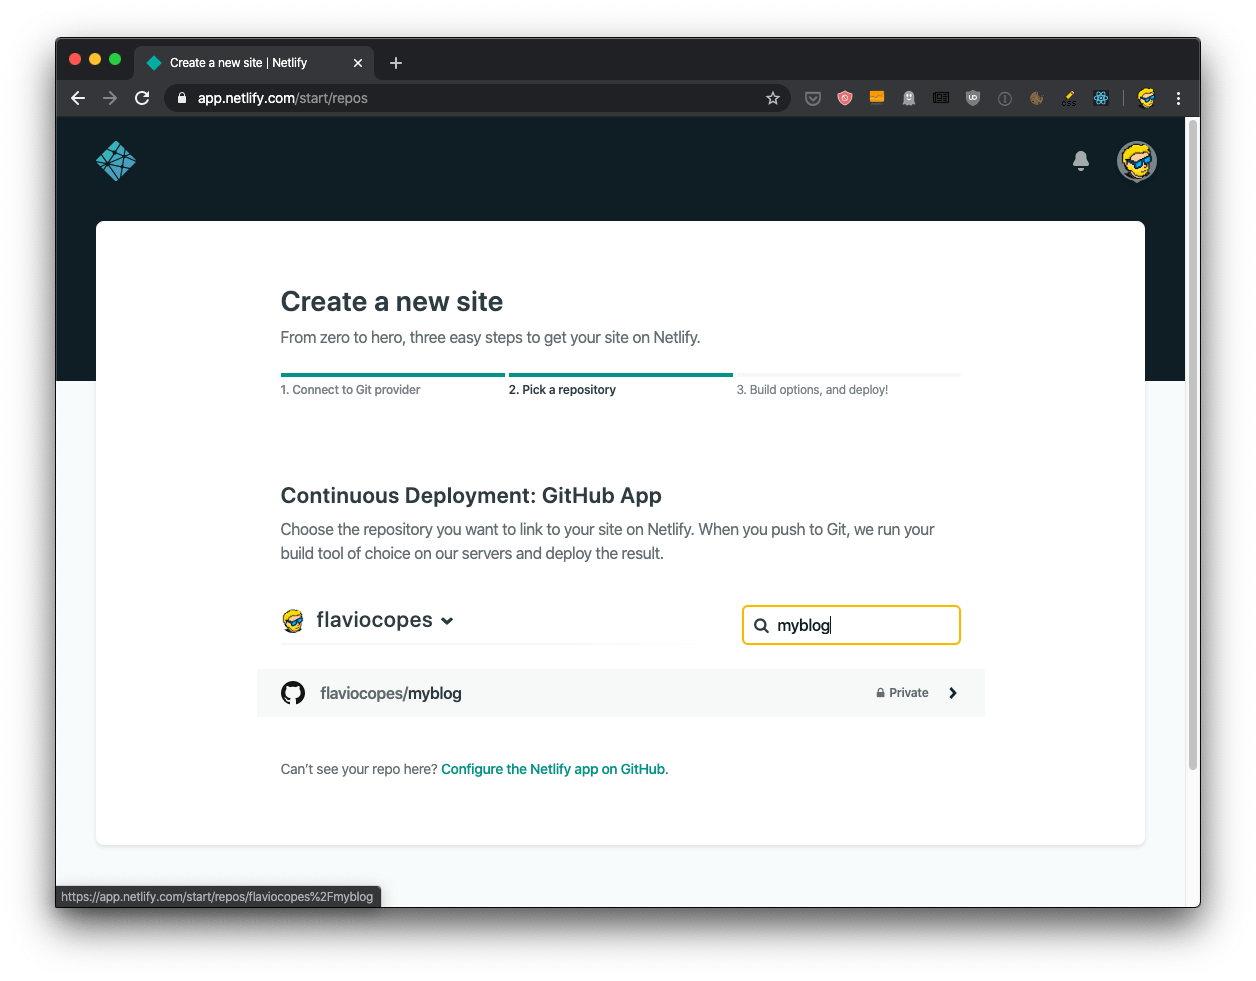
Netlify automatically identified it as a Hugo repo, and entered the build command automatically:
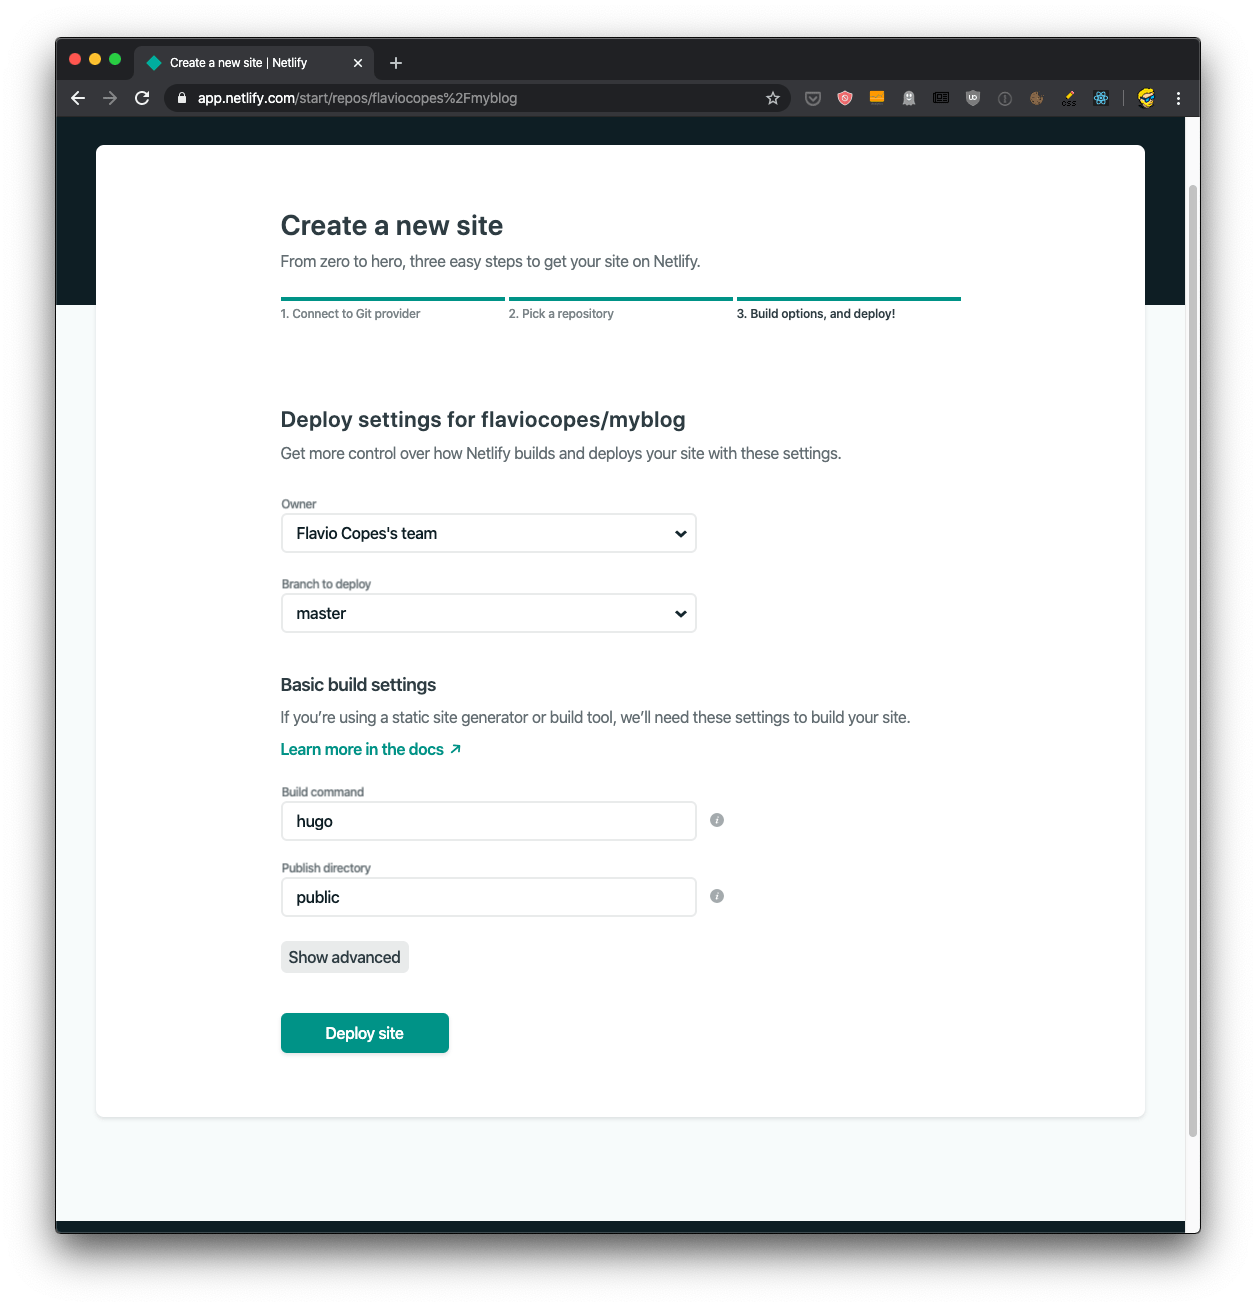
Clicking “Deploy site” starts the deploy process:
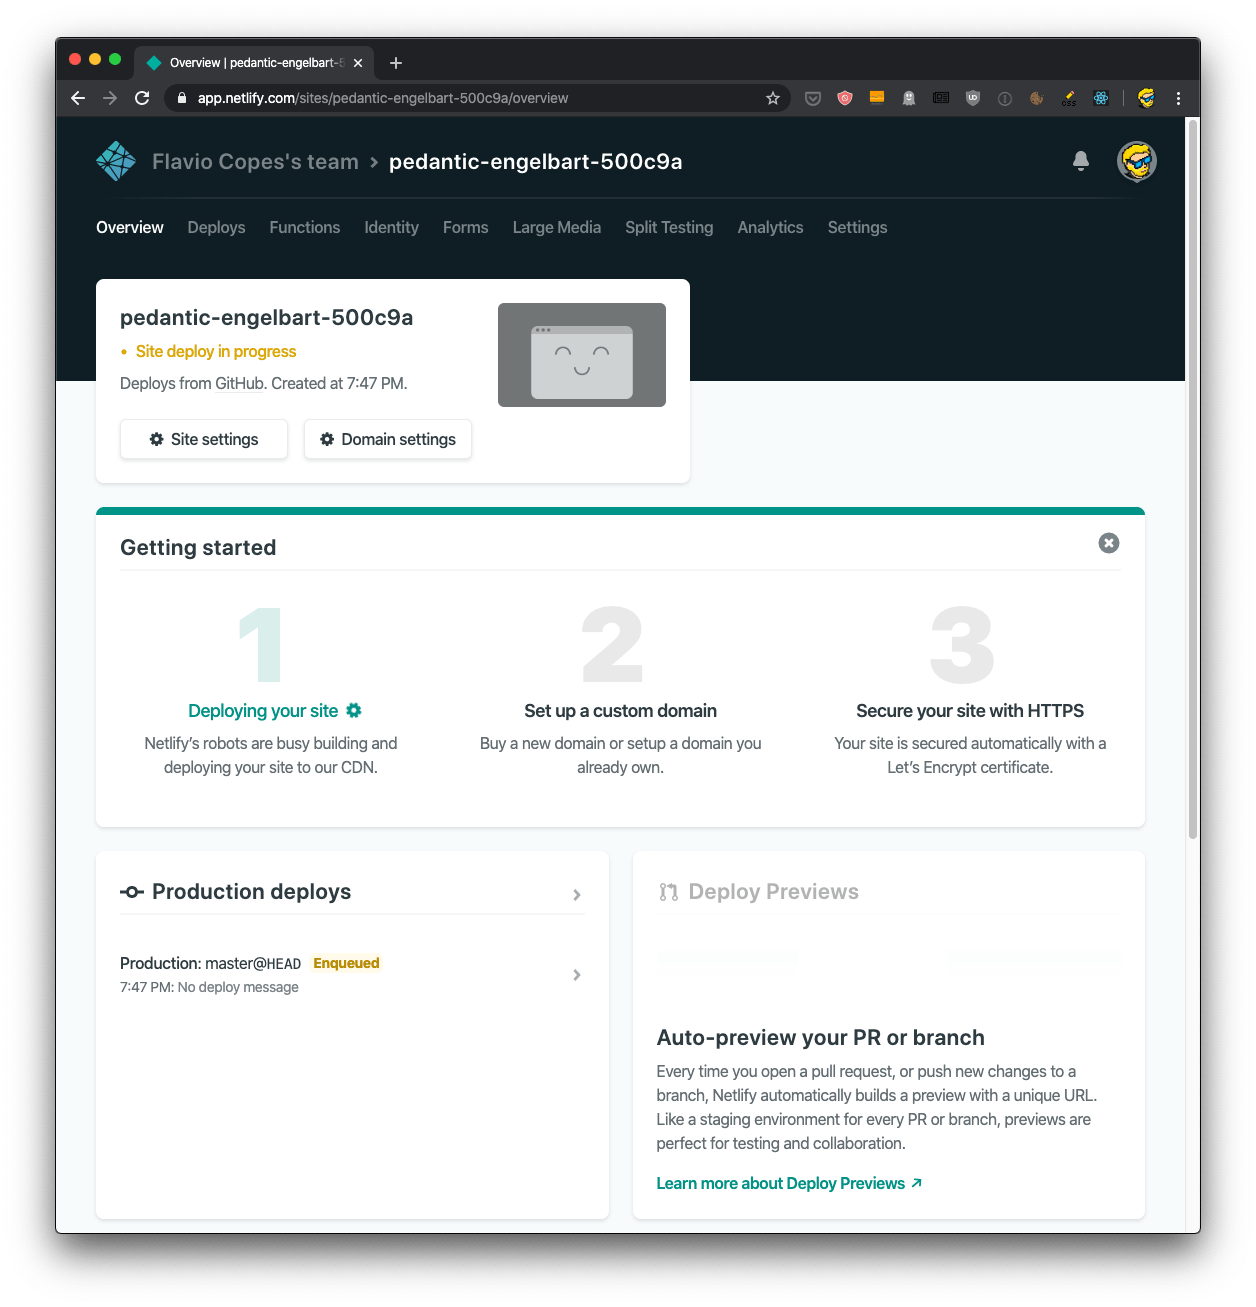
On a real site, I would set up a custom domain. Netlify has the option to purchase a domain through them, and it’s a very (VERY) straightforward process. I highly recommend it. The site can be live in just a few minutes from purchasing the domain.
A random .netlify.com subdomain is attached to the site, in this case pedantic-engelbart-500c9a.netlify.com, and HTTPS is automatically enabled.
We can therefore immediately see the site live:

Now if you try to edit something in your local version, you just push the changes to GitHub, and Netlify will automatically update the site. You can see it building the site in the “Overview” panel of the site:
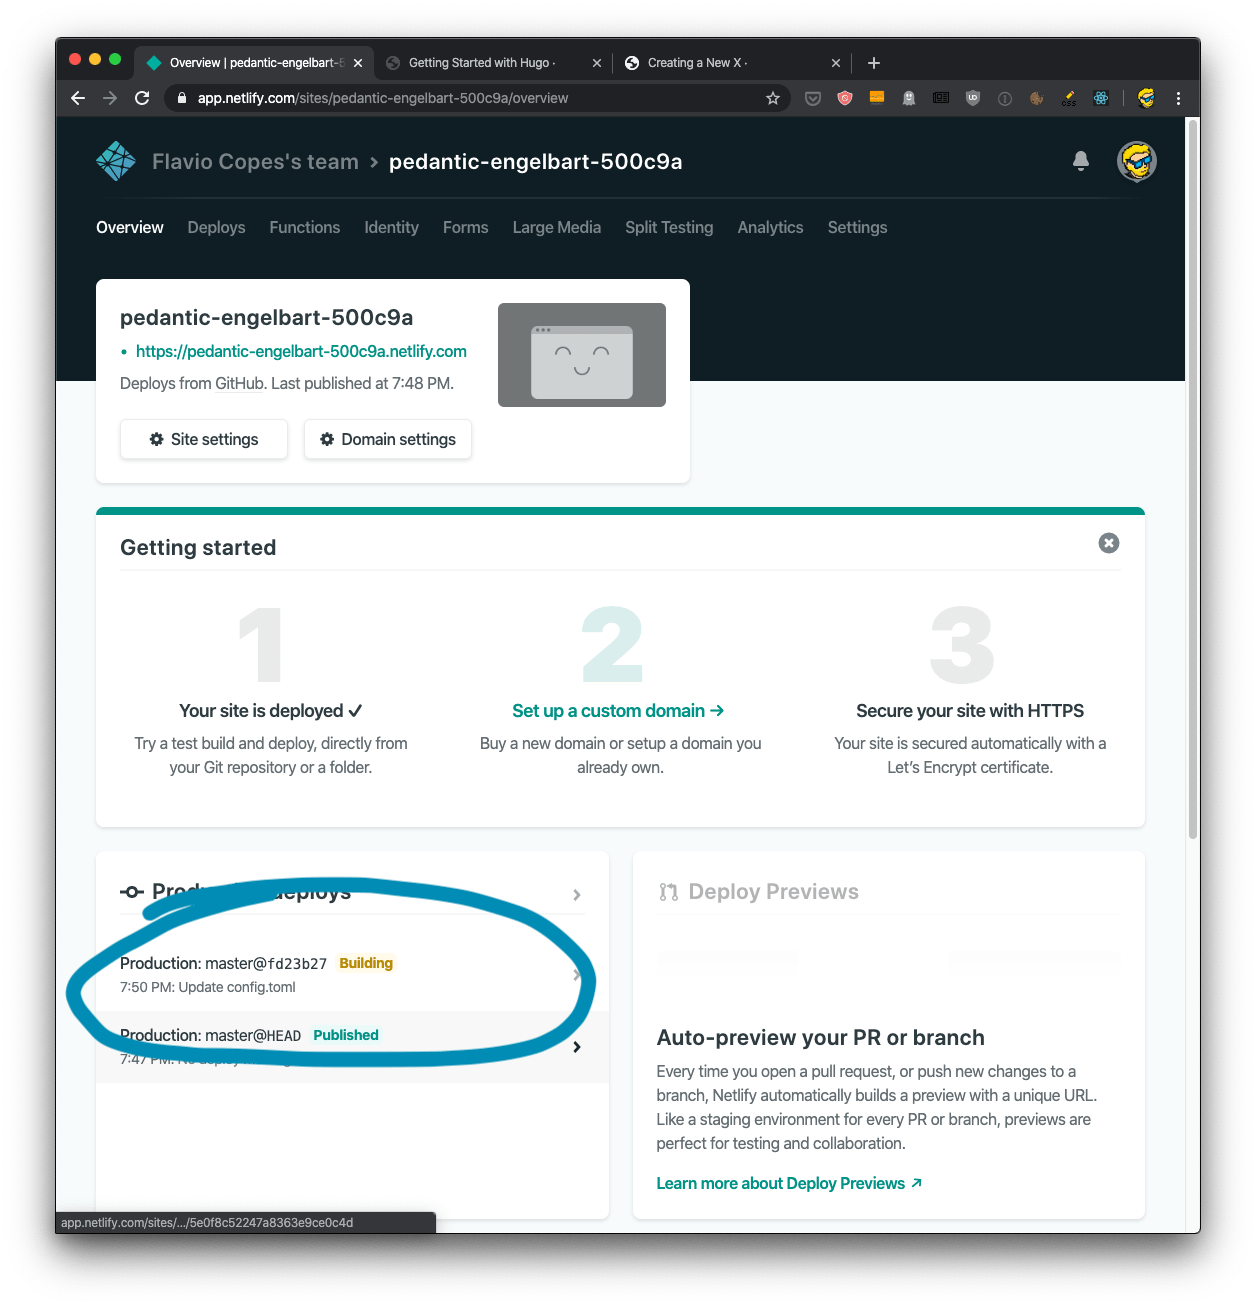
To know more about Netlify I recommend you check out my Netlify tutorial.
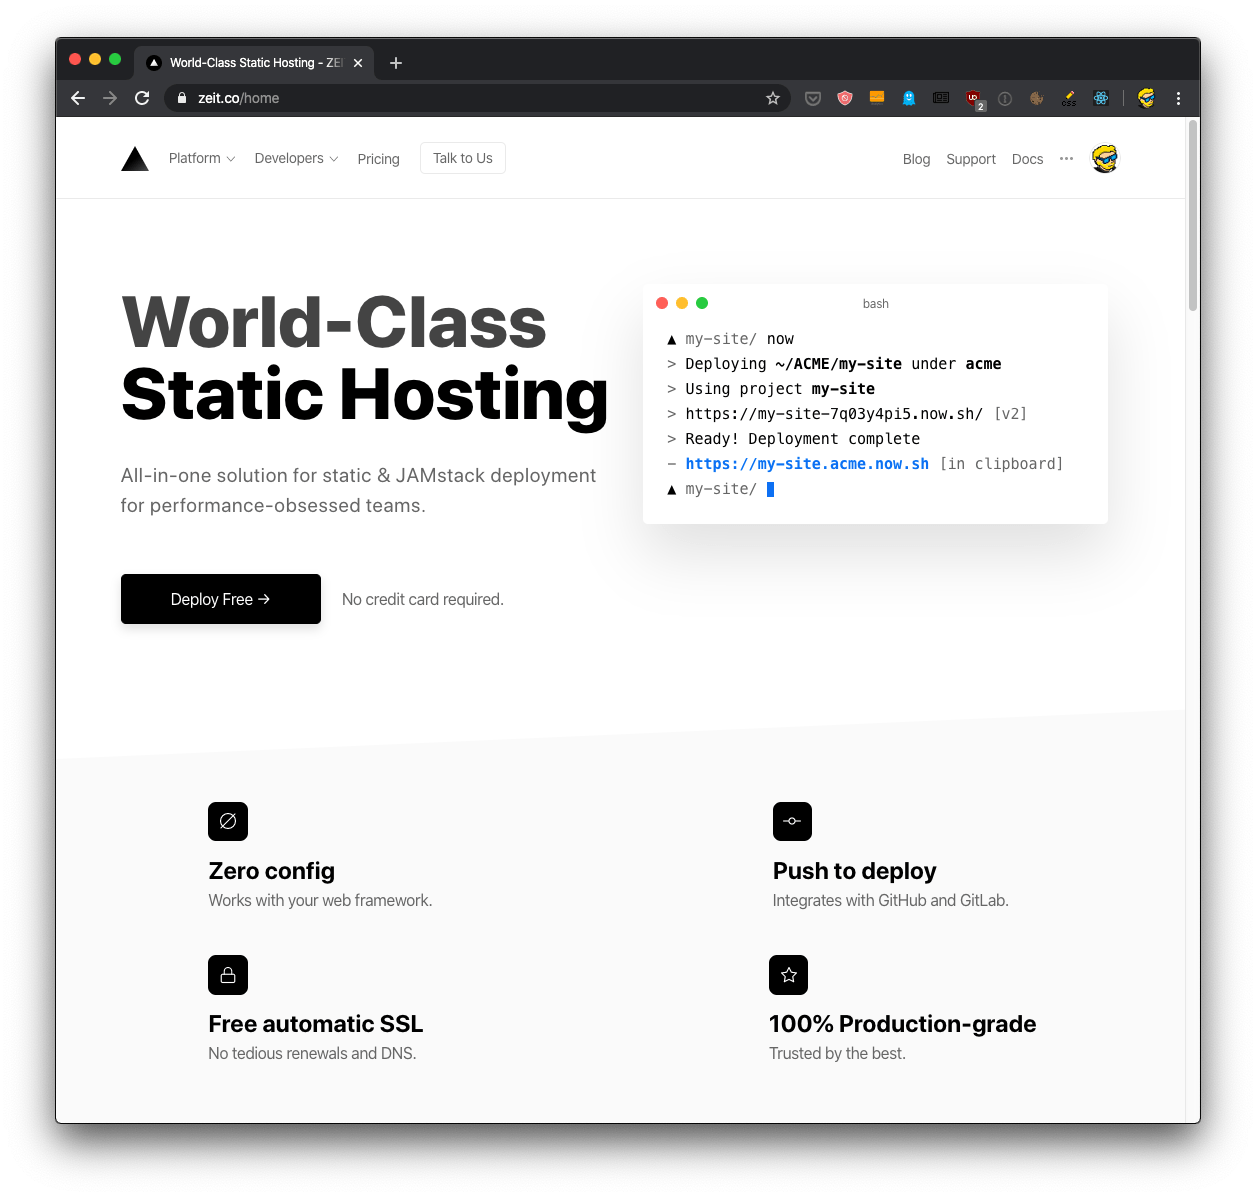
Deploy the Hugo site to Zeit Now
Zeit is now called Vercel, and this tutorial might be outdated
Another awesome platform you can use for your Hugo blog is Zeit Now.
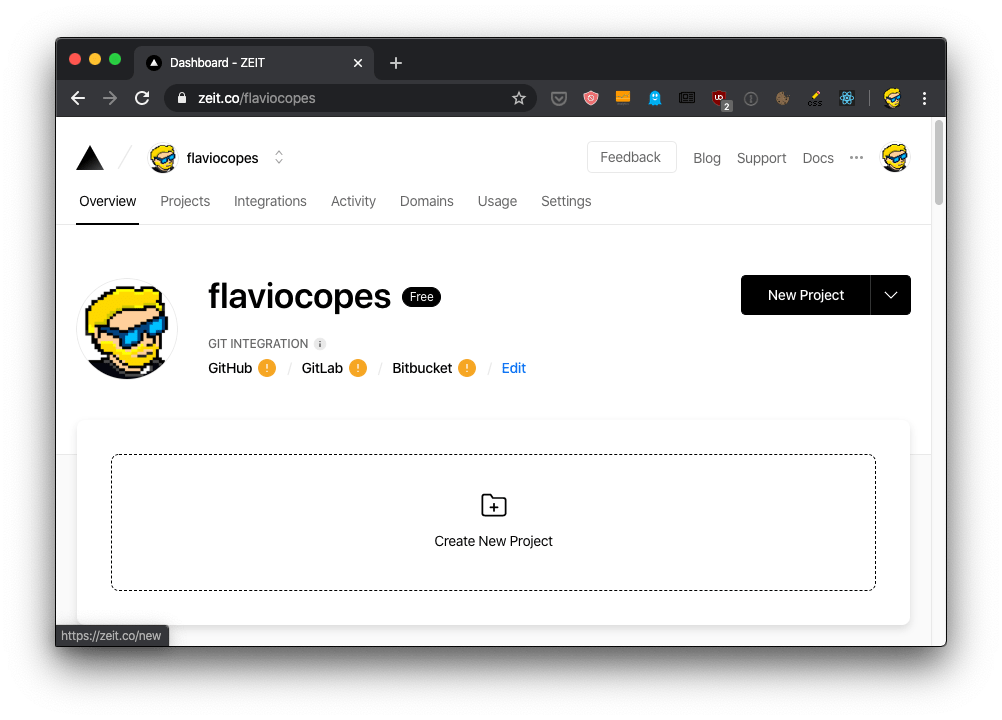
Once you sign up, from the dashboard you press the New Project button.
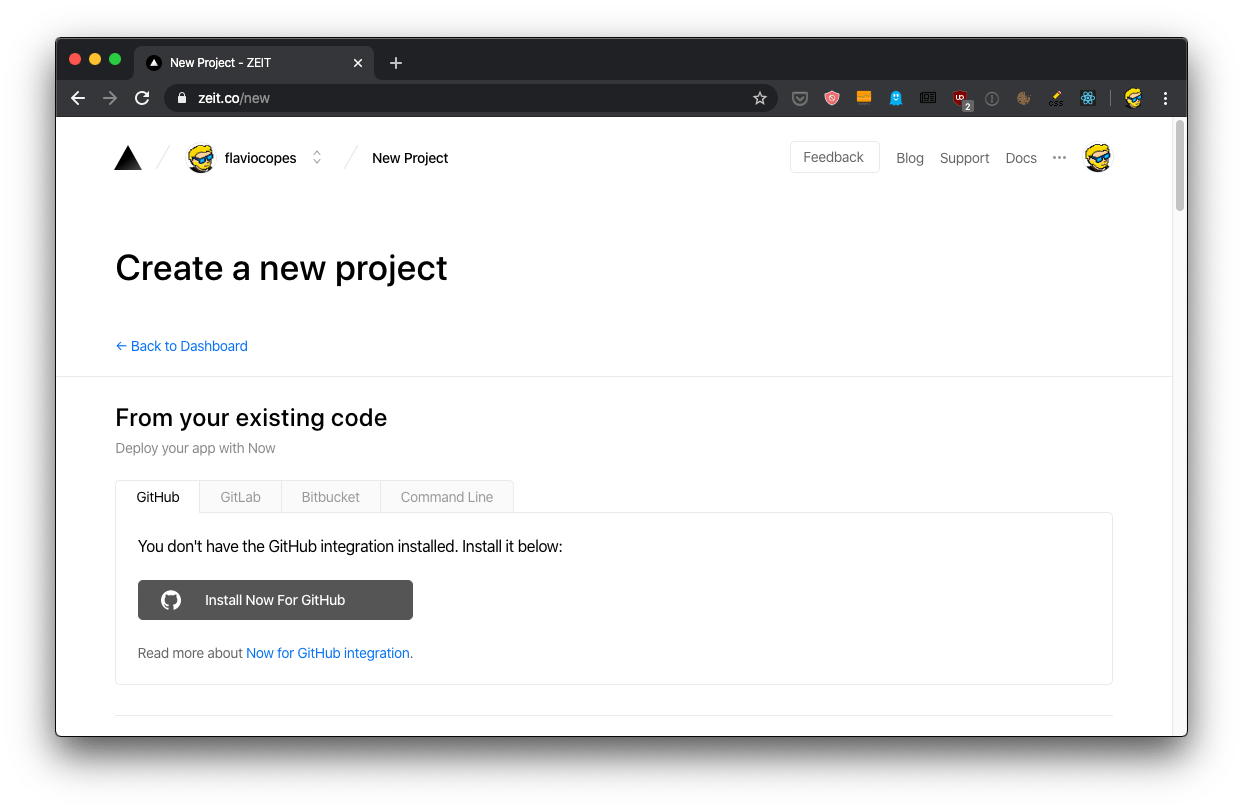
The first time you deploy from GitHub you have to first install the GitHub app clicking “Install Now For GitHub”:
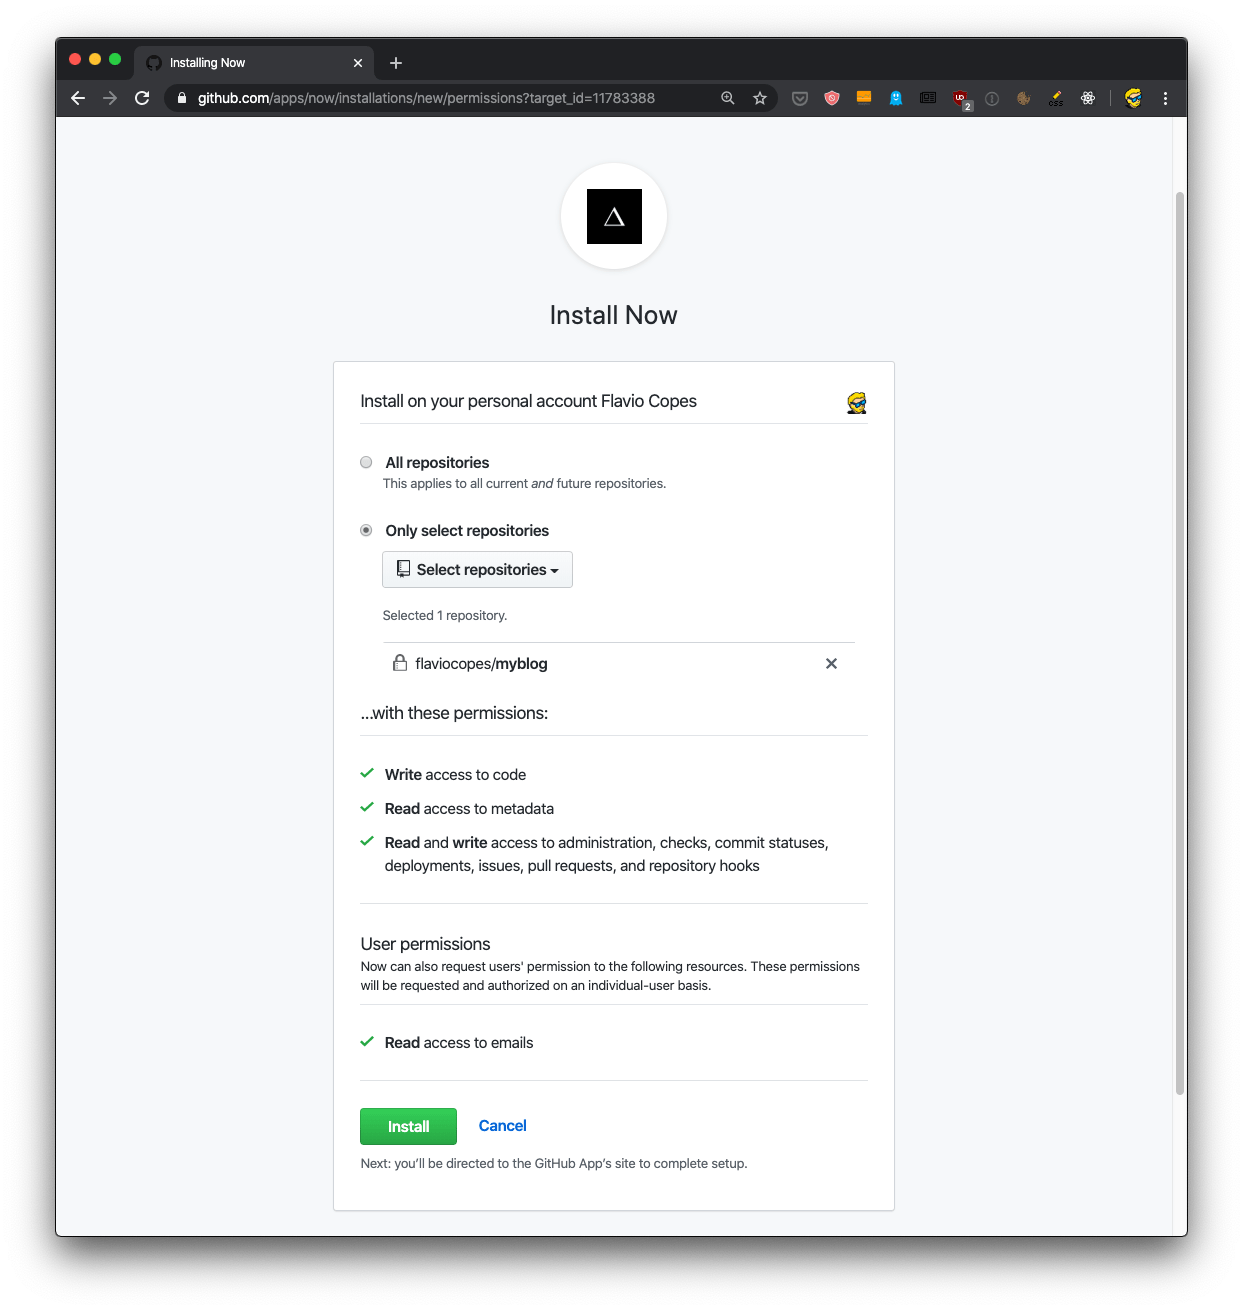
This brings you to the GitHub page for the app, where you can authorize it for all your repos, or just for some:
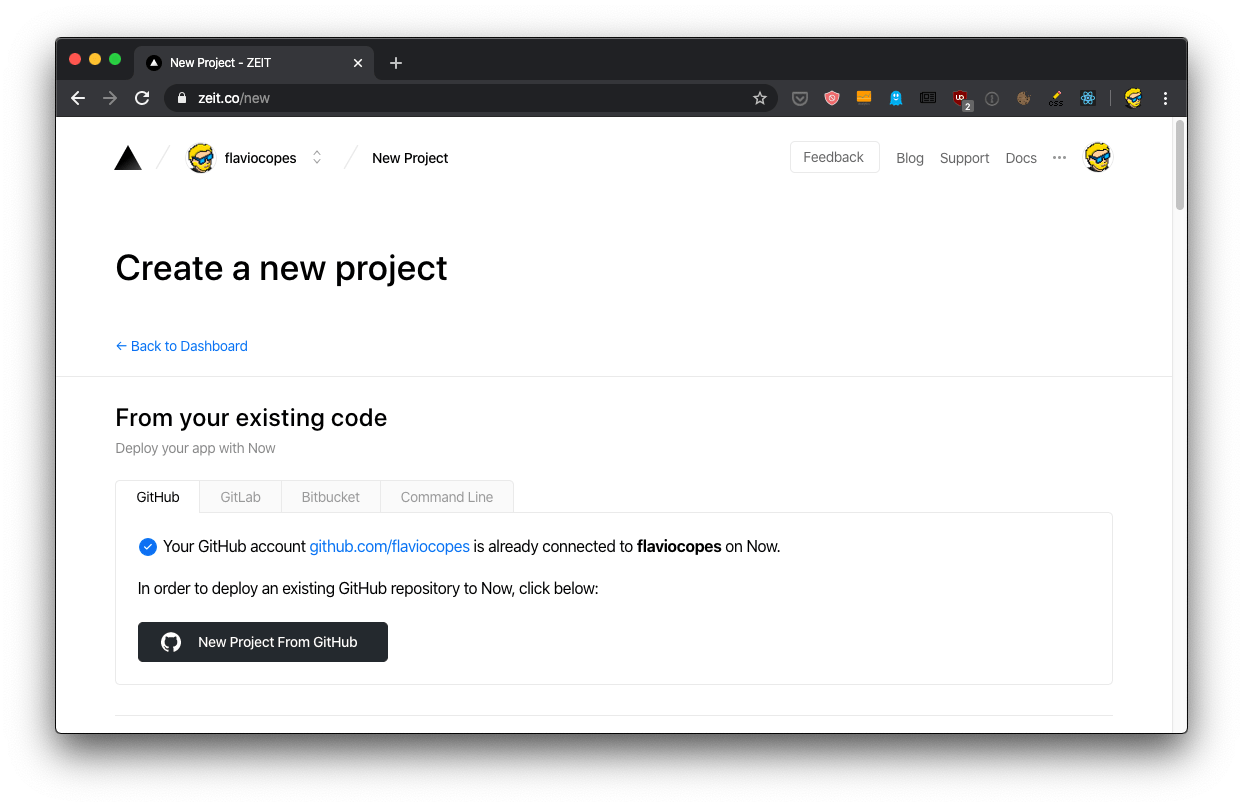
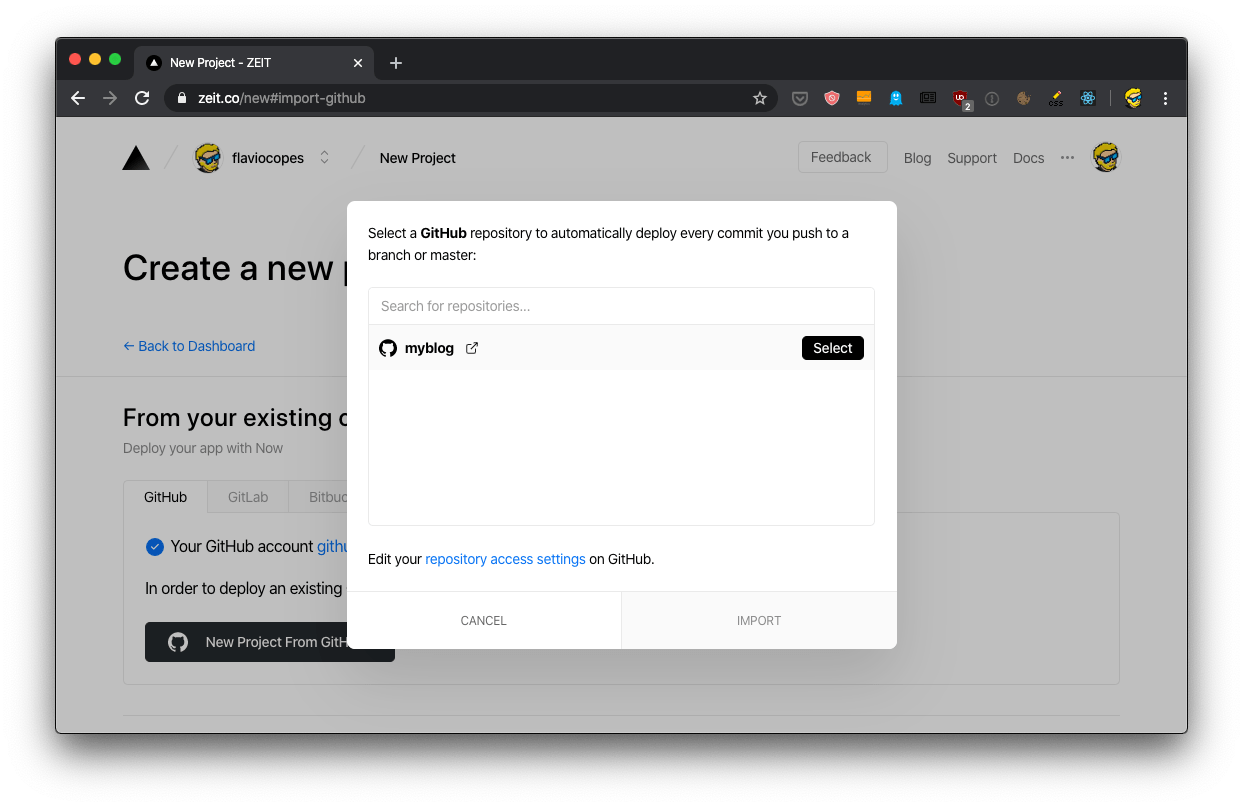
Once you get back, click the “New Project From GitHub” button:
Select the project and click “Import”:
In the meantime, go into the main folder of mysite and add a package.json file with this content:
{
  "scripts": {
    "build": "hugo"
  }
}
This tells Now how to deploy the site.
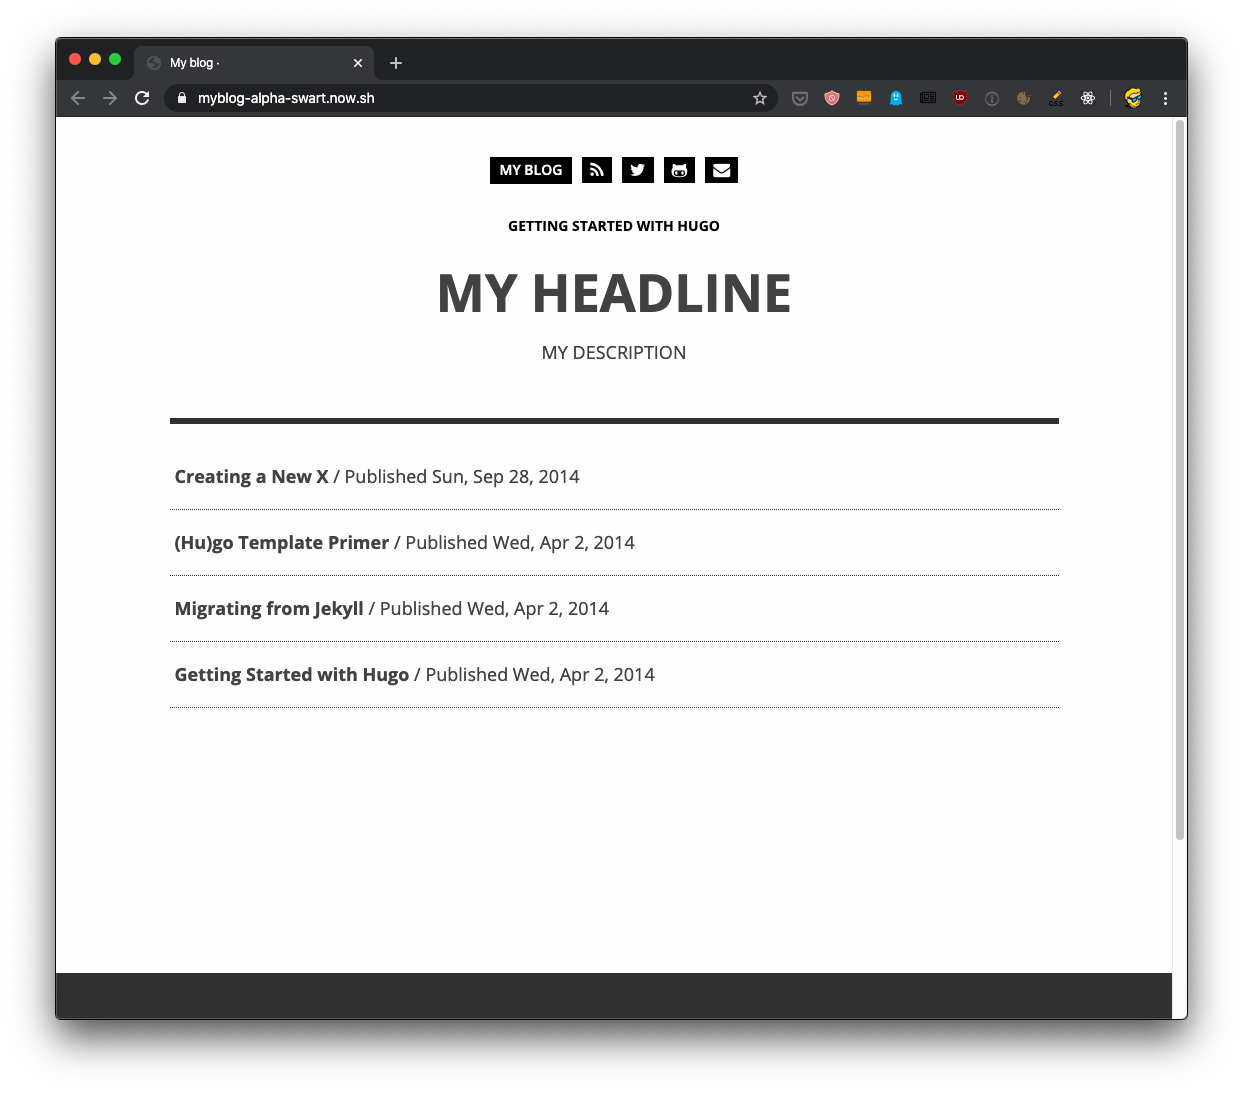
When you get back to the dashboard, the new deploy should start soon, and you will see the site working live:
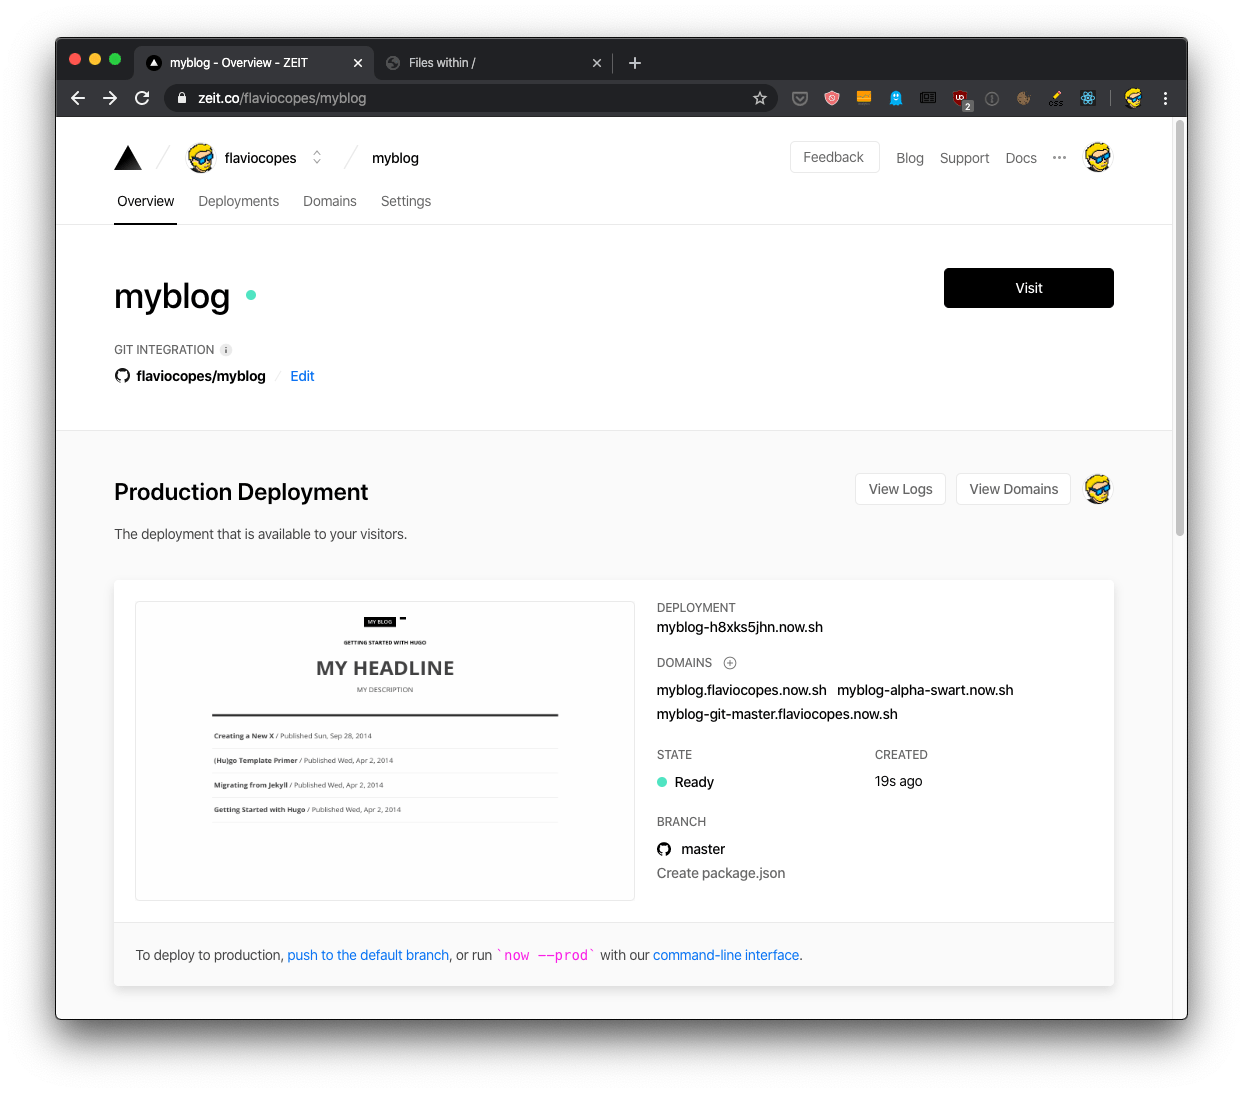
Note that in Now you have 3 URLs you can use to access the site:
myblog.flaviocopes.now.shmyblog-alpha-swart.now.shmyblog-git-master.flaviocopes.now.sh
You can choose the one you prefer.
Plus, each deployment has its own URL, too. In this case I had myblog-h8xks5jhn.now.sh but it changes with every deployment.
And of course you can add your domain, too. Zeit has a great service to purchase your domain directly from them, available at https://zeit.co/domains.
And if you prefer working with the command line, the now command lets you purchase domains from there, as well.
I highly recommend you check my Zeit Now tutorial.
I wrote 20 books to help you become a better developer:
- Astro Handbook
- HTML Handbook
- Next.js Pages Router Handbook
- Alpine.js Handbook
- HTMX Handbook
- TypeScript Handbook
- React Handbook
- SQL Handbook
- Git Cheat Sheet
- Laravel Handbook
- Express Handbook
- Swift Handbook
- Go Handbook
- PHP Handbook
- Python Handbook
- Linux Commands Handbook
- C Handbook
- JavaScript Handbook
- CSS Handbook
- Node.js Handbook