Deploying a site to Laravel Forge
By Flavio Copes
Learn how to deploy a Laravel app with Laravel Forge and DigitalOcean: create a server, connect GitHub, set env vars, and run the deploy script.
It’s all fun and all, but now we want to deploy the application on a real server, on the Internet, so people can use it.
There are many different ways to deploy a Laravel application. A Laravel 13 app deploys the same way as earlier majors: Git repo, server env, then a deploy script that installs PHP deps and builds front-end assets.
Probably the best one is using Laravel Forge, the official deployment platform, combined with DigitalOcean.
When it comes to servers, and unless you like managing servers and you’re actually an expert, I am a fan of investing some money and saving time instead.
Forge in particular is official, made by the core team of Laravel, lots and lots of people use it (they claim over 500,000 sites are powered by Forge), and we can trust that to work as expected.
Forge does not provide a server to you. But it’s a service that connects to DigitalOcean and other VPS - virtual private server - providers like Hetzner, AWS, Vultr and more and it creates a server for you on that platform.
You could directly use a VPS, of course. Follow a tutorial, set everything up, invest hours into basically doing what Forge can do with a few simple steps. It’s a matter of convenience.
And in the long run, Forge can upgrade PHP for example with a simple click. If that’s left to you to manage, it’s more complicated.
Anyway, pick your poison. Spend time and effort, or spend some money and focus on your app.
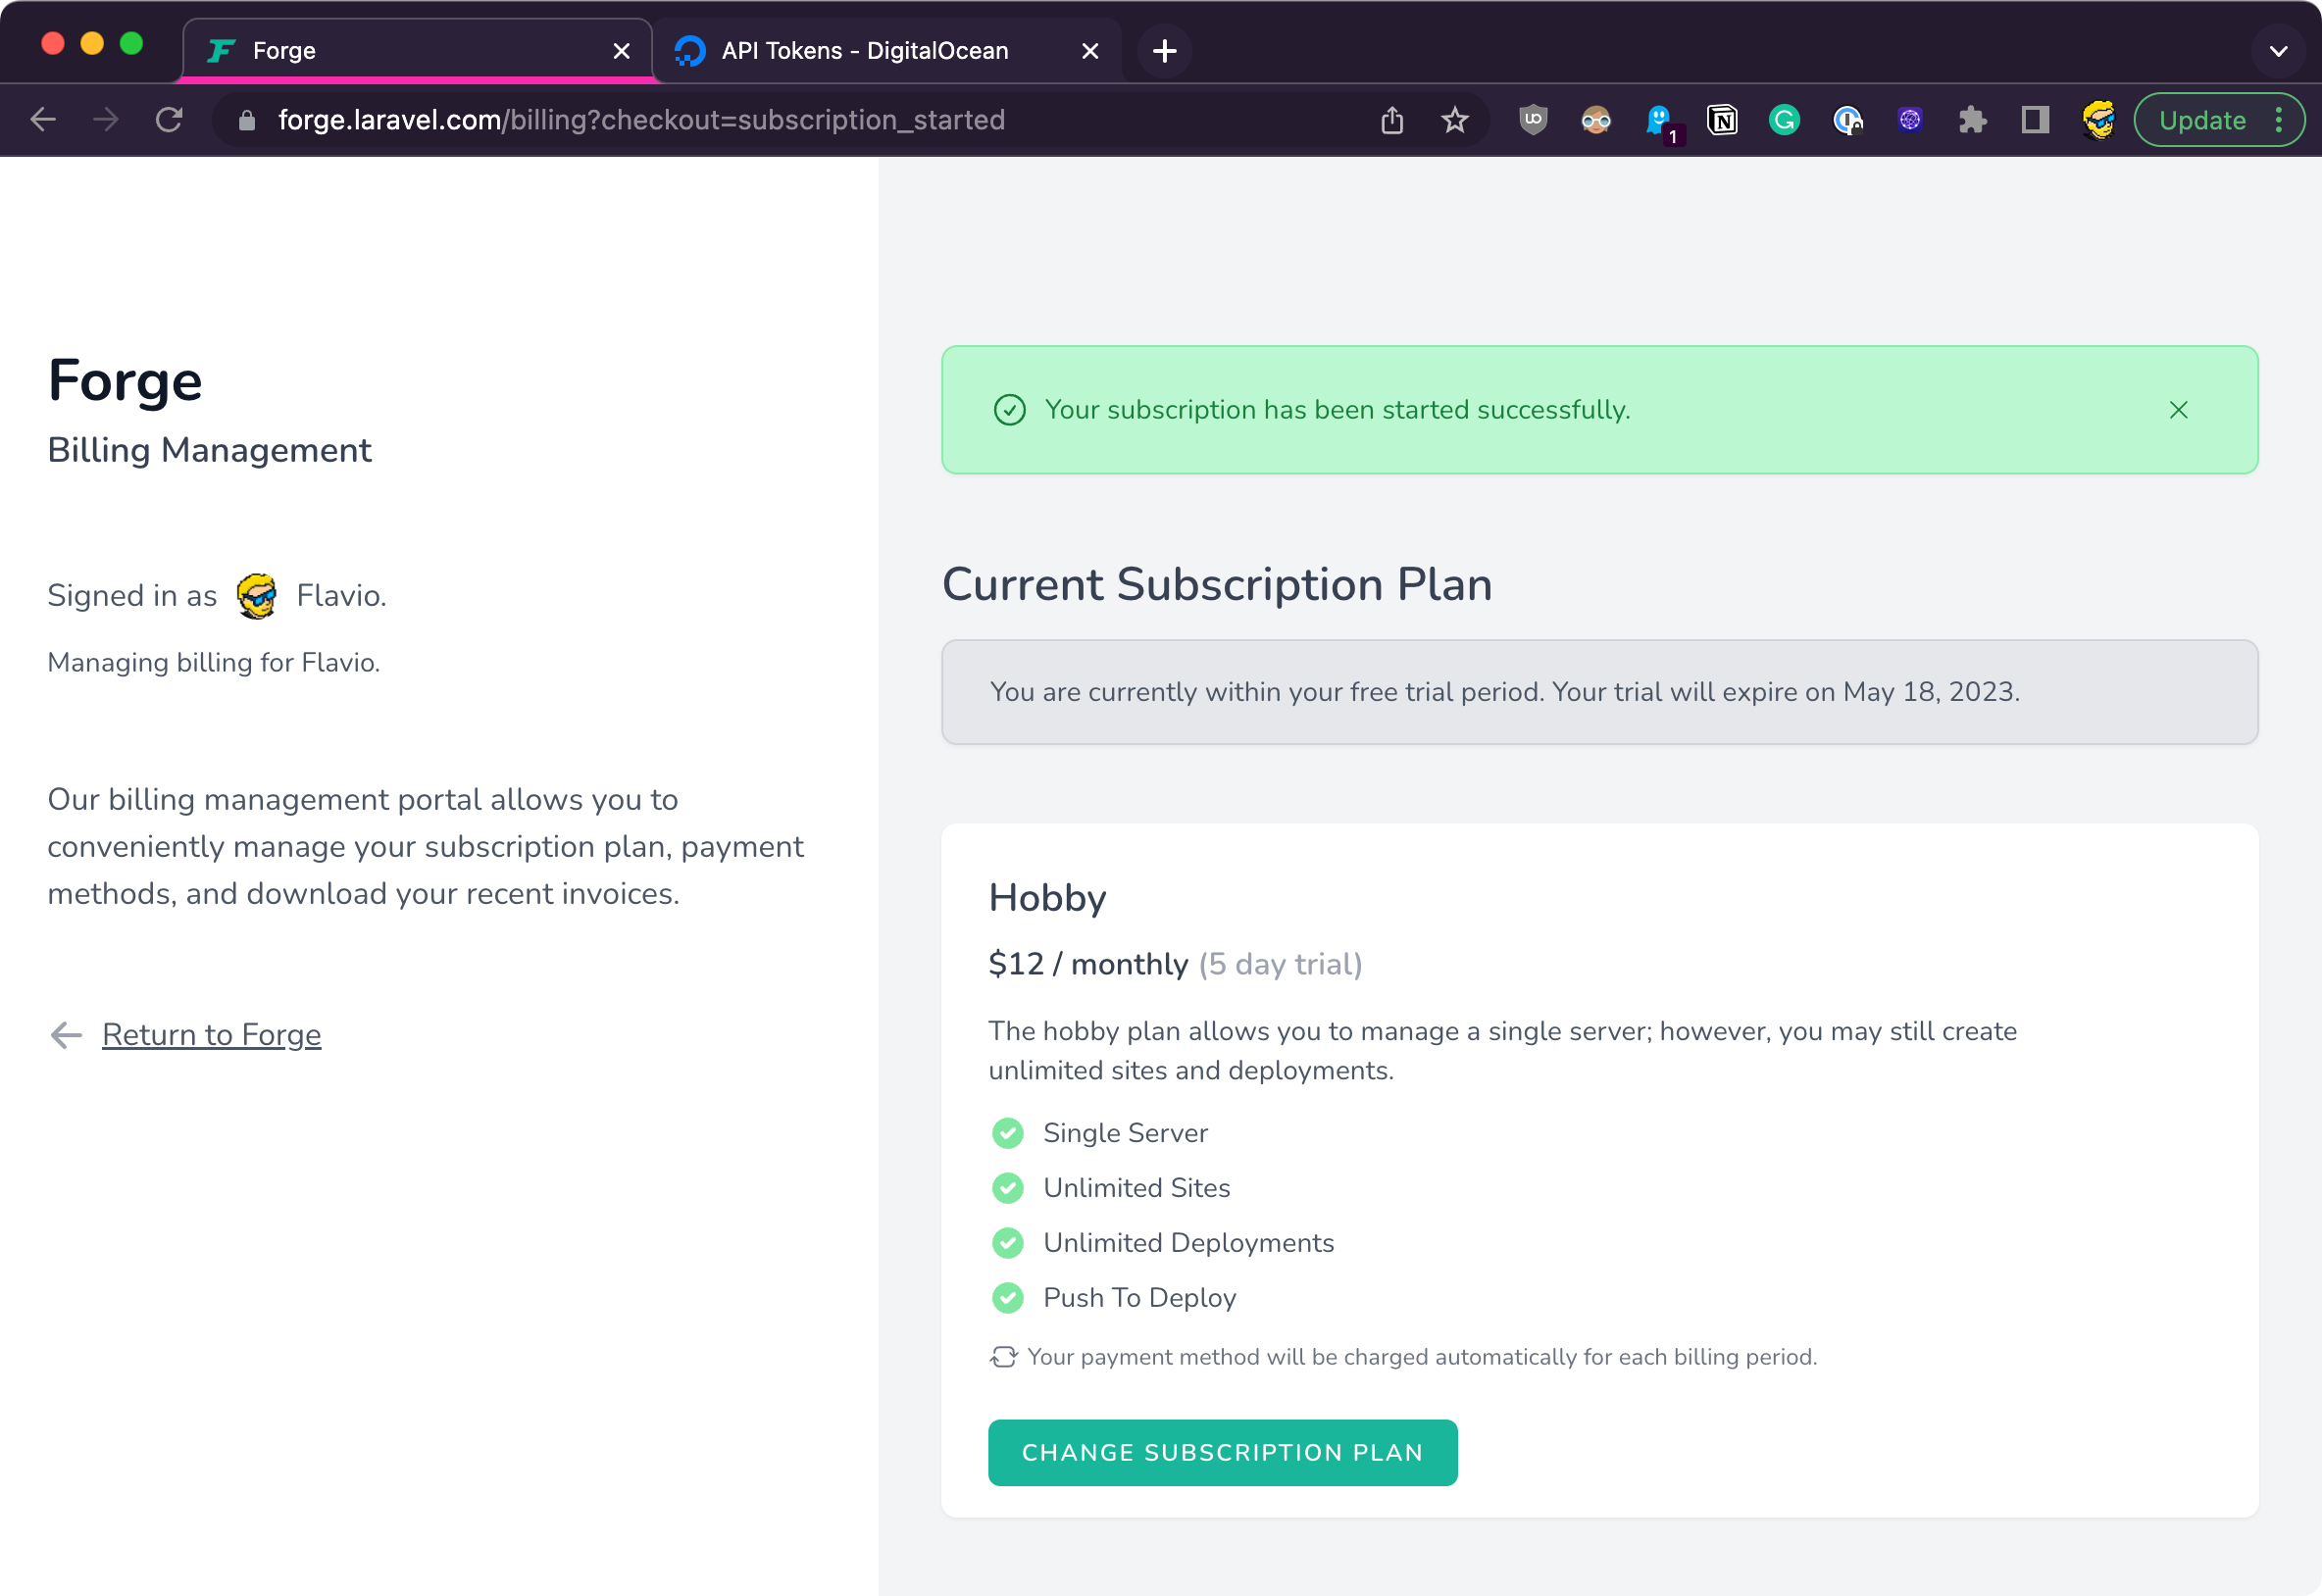
How much money? Forge still starts around $12/month on the Hobby plan (check current pricing). Plans change over time, so confirm on their site before you subscribe.
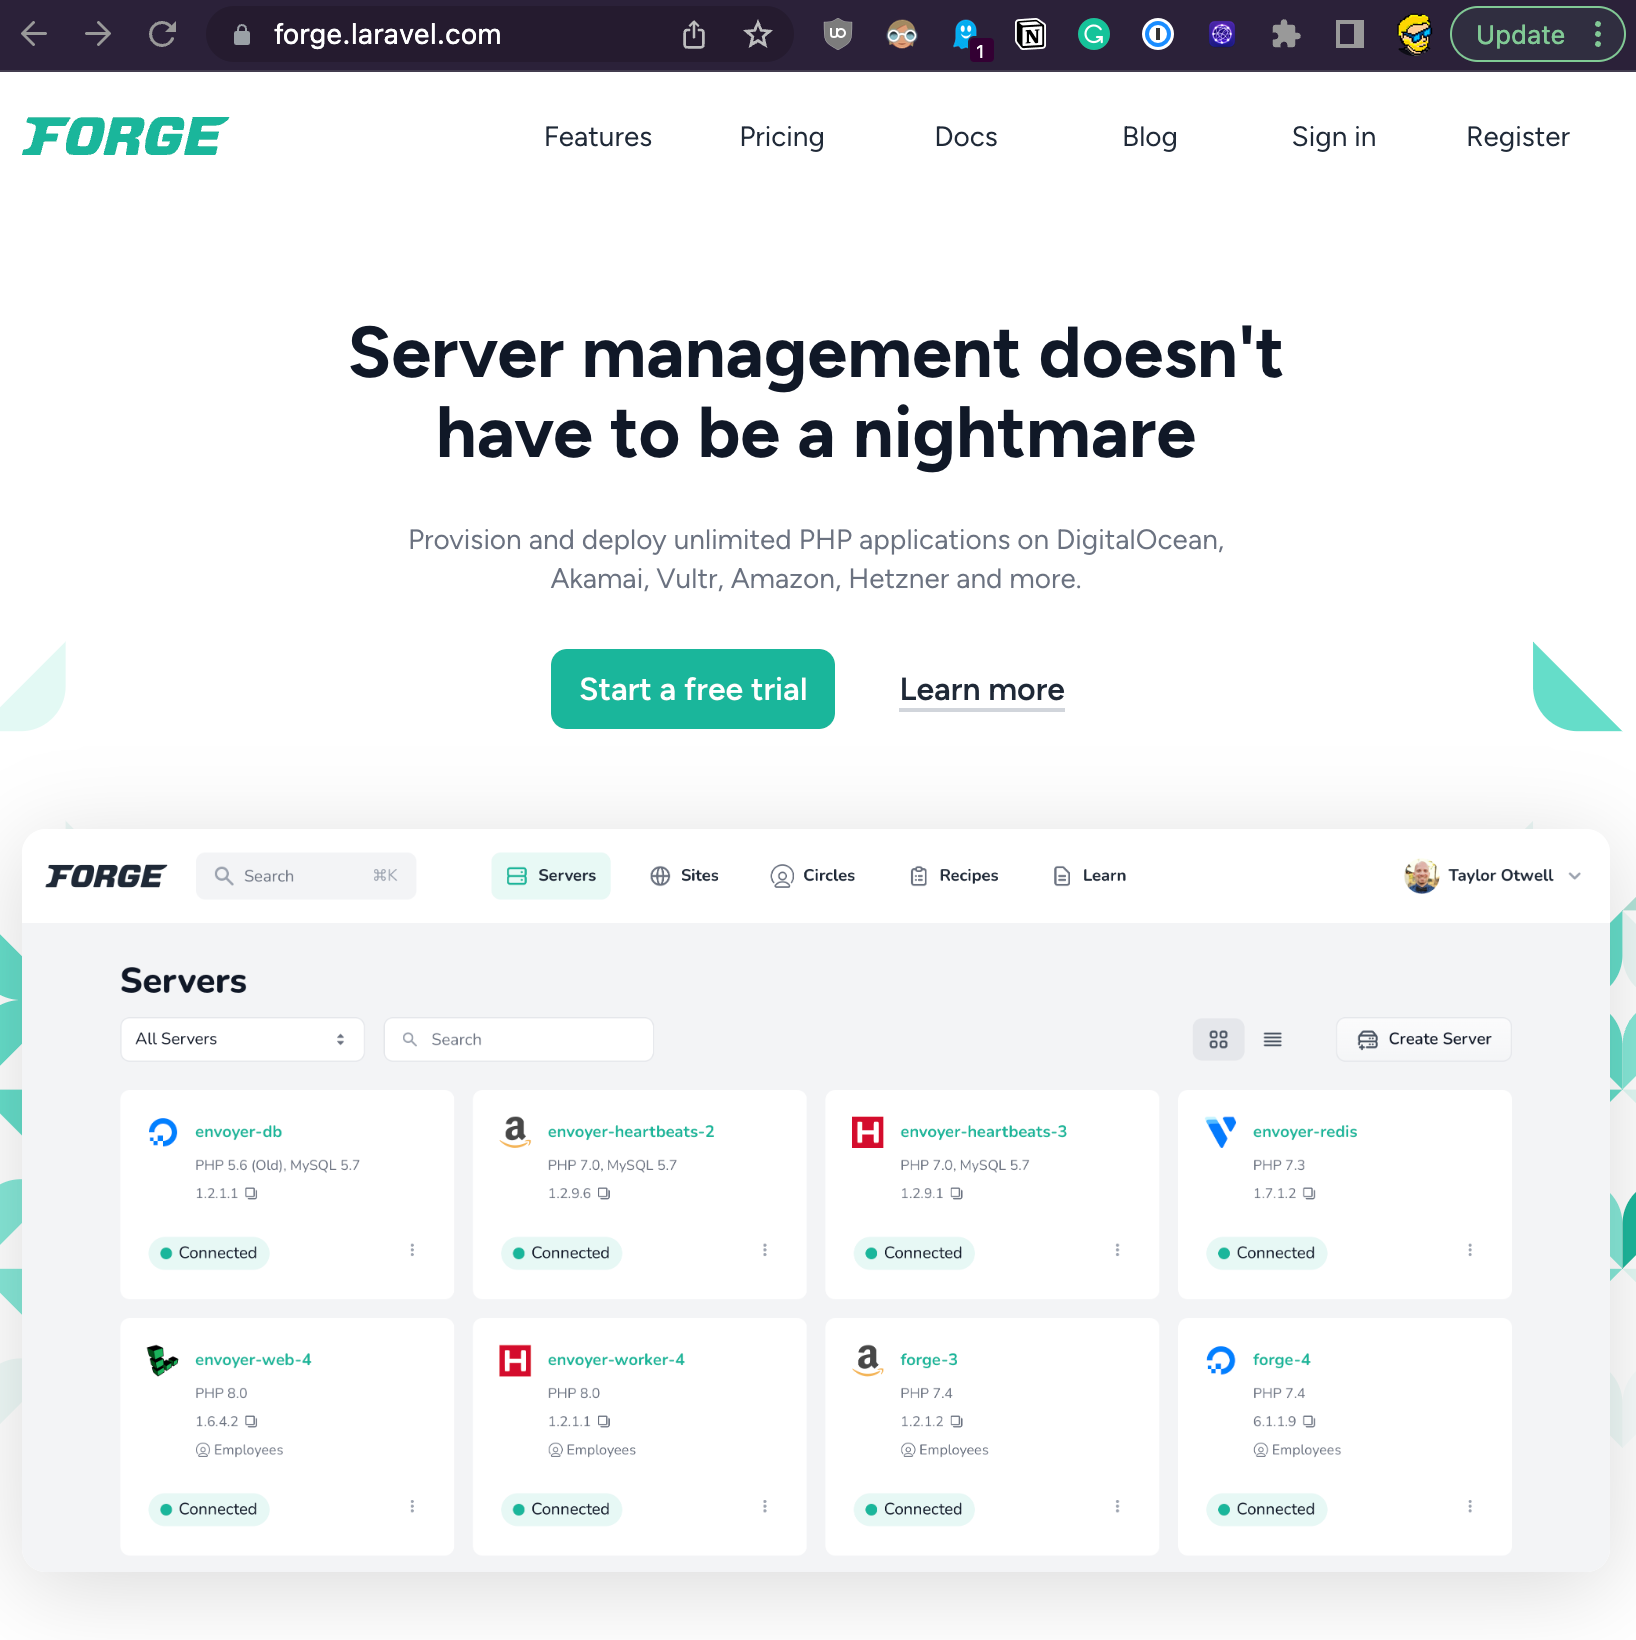
Go to https://forge.laravel.com/ and sign up (or start a trial if they offer one):
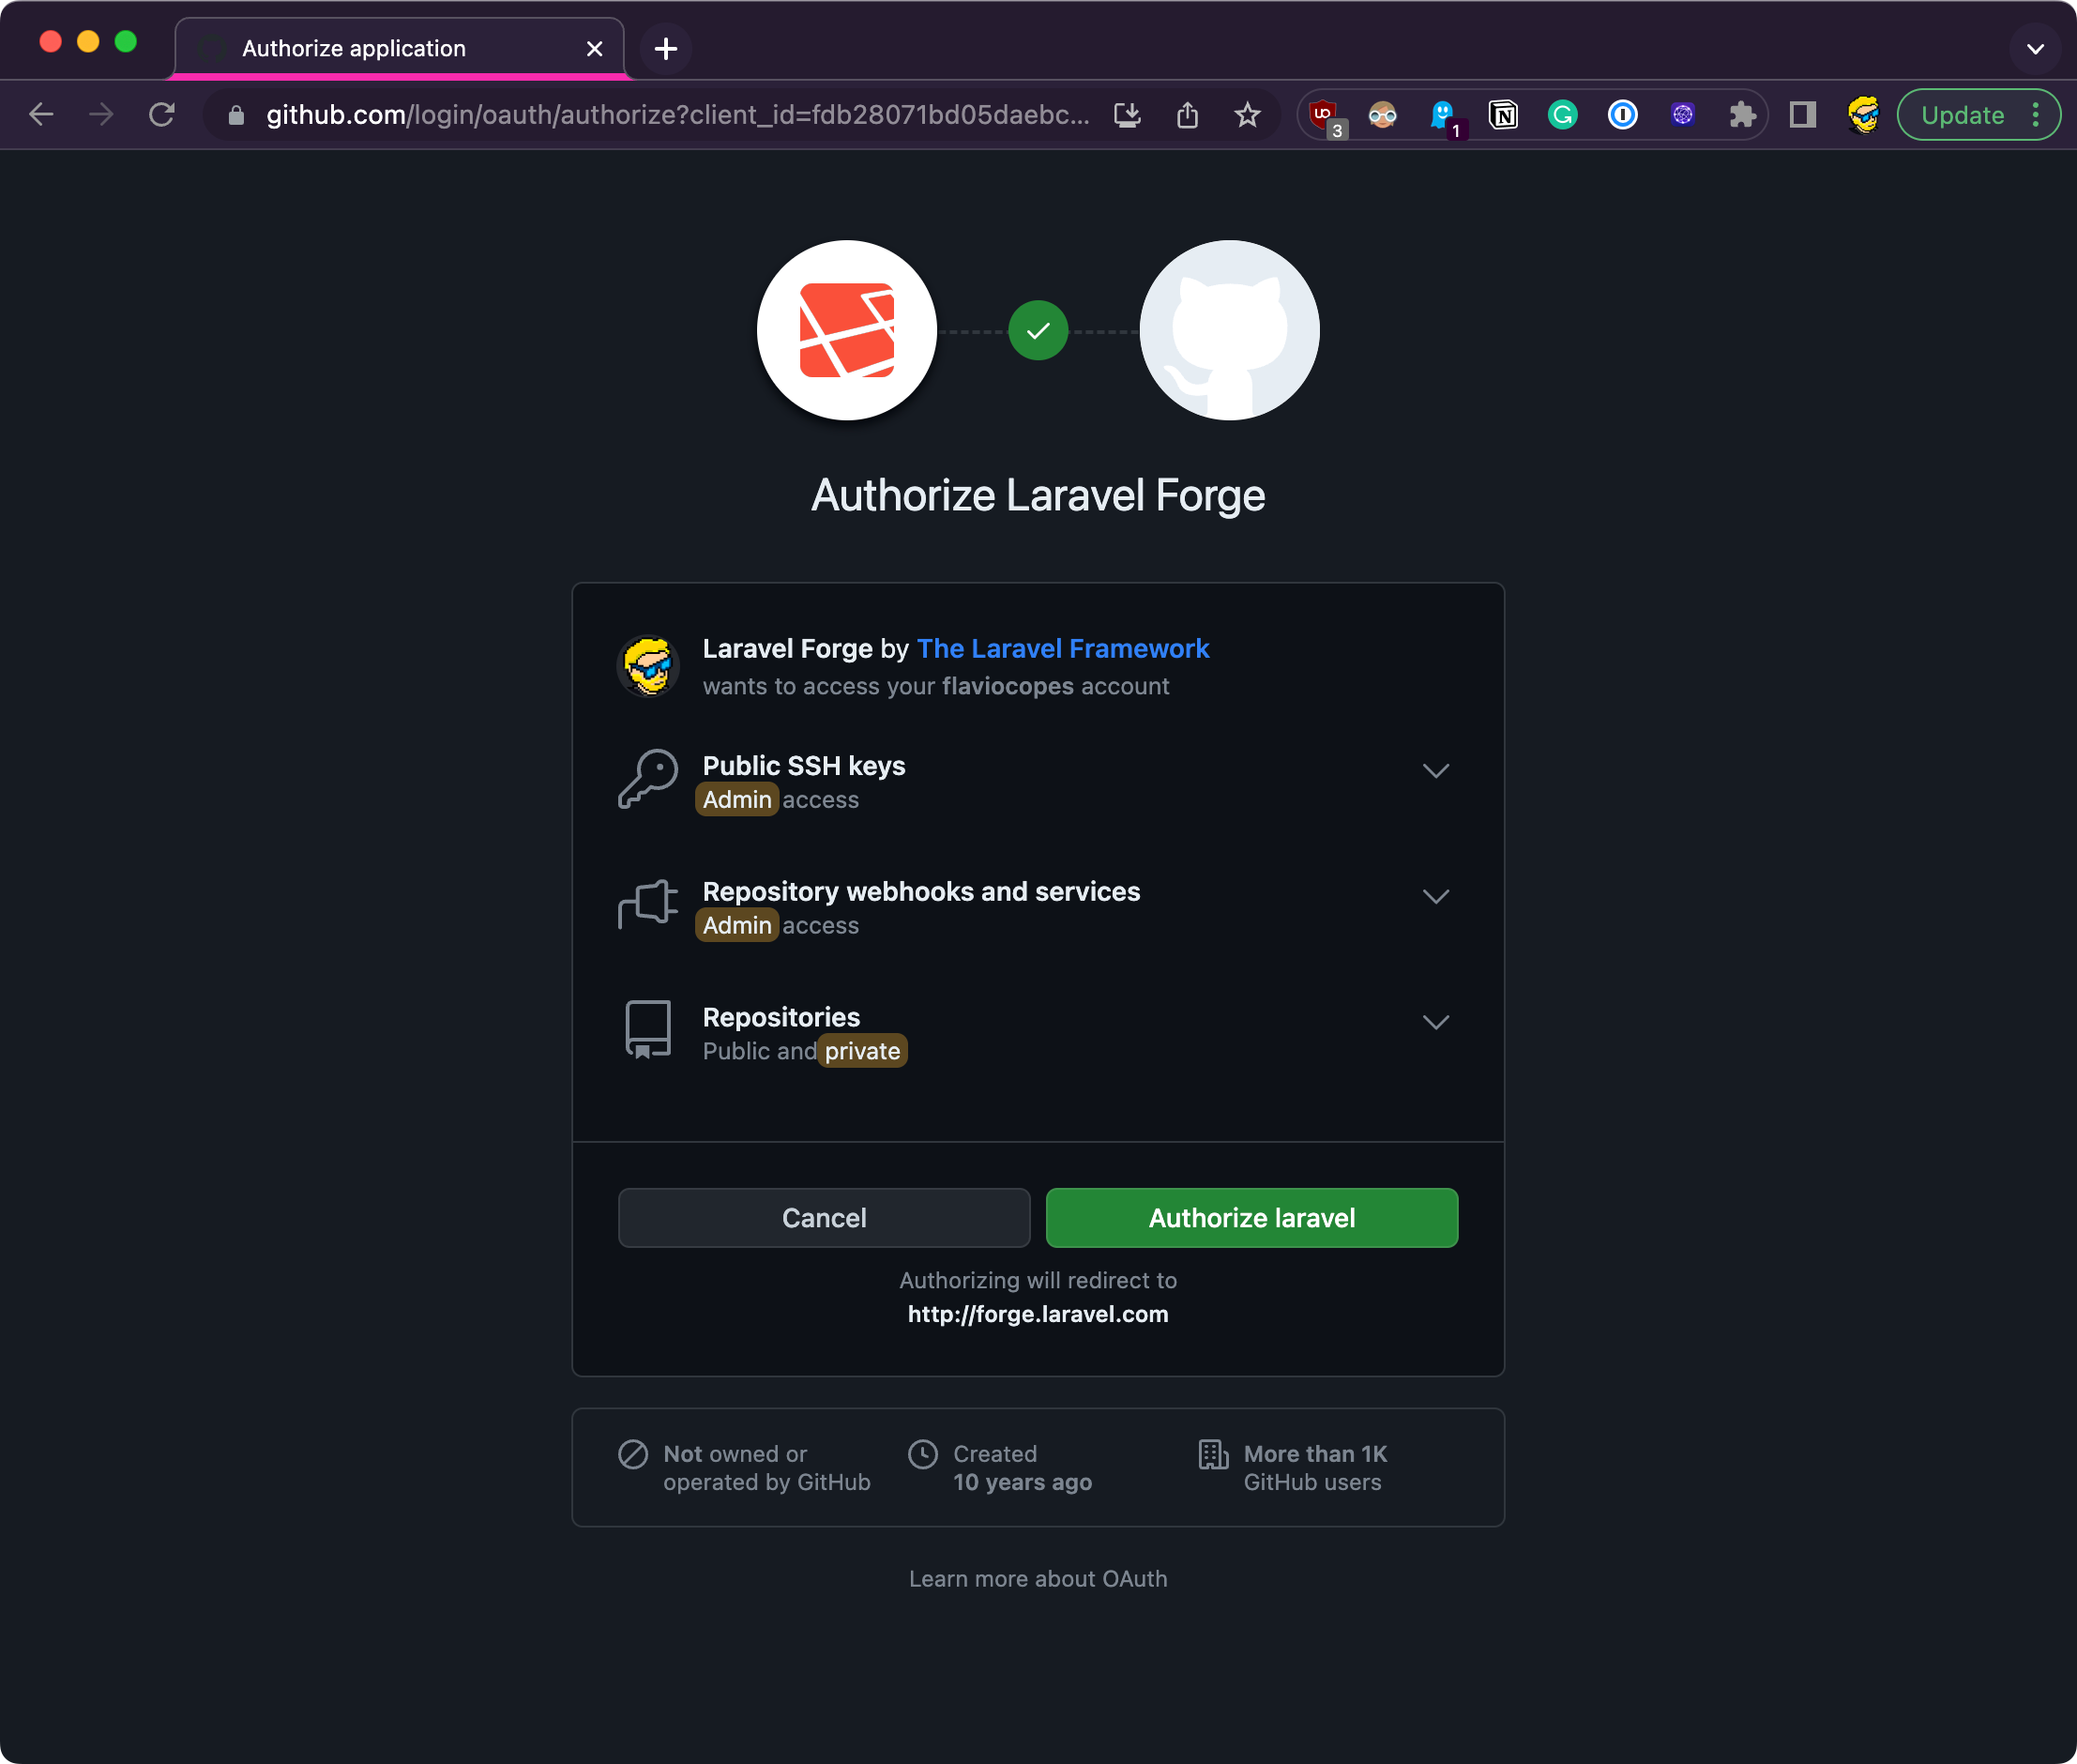
Once you’re in, connect Forge to GitHub so it can pull your code:
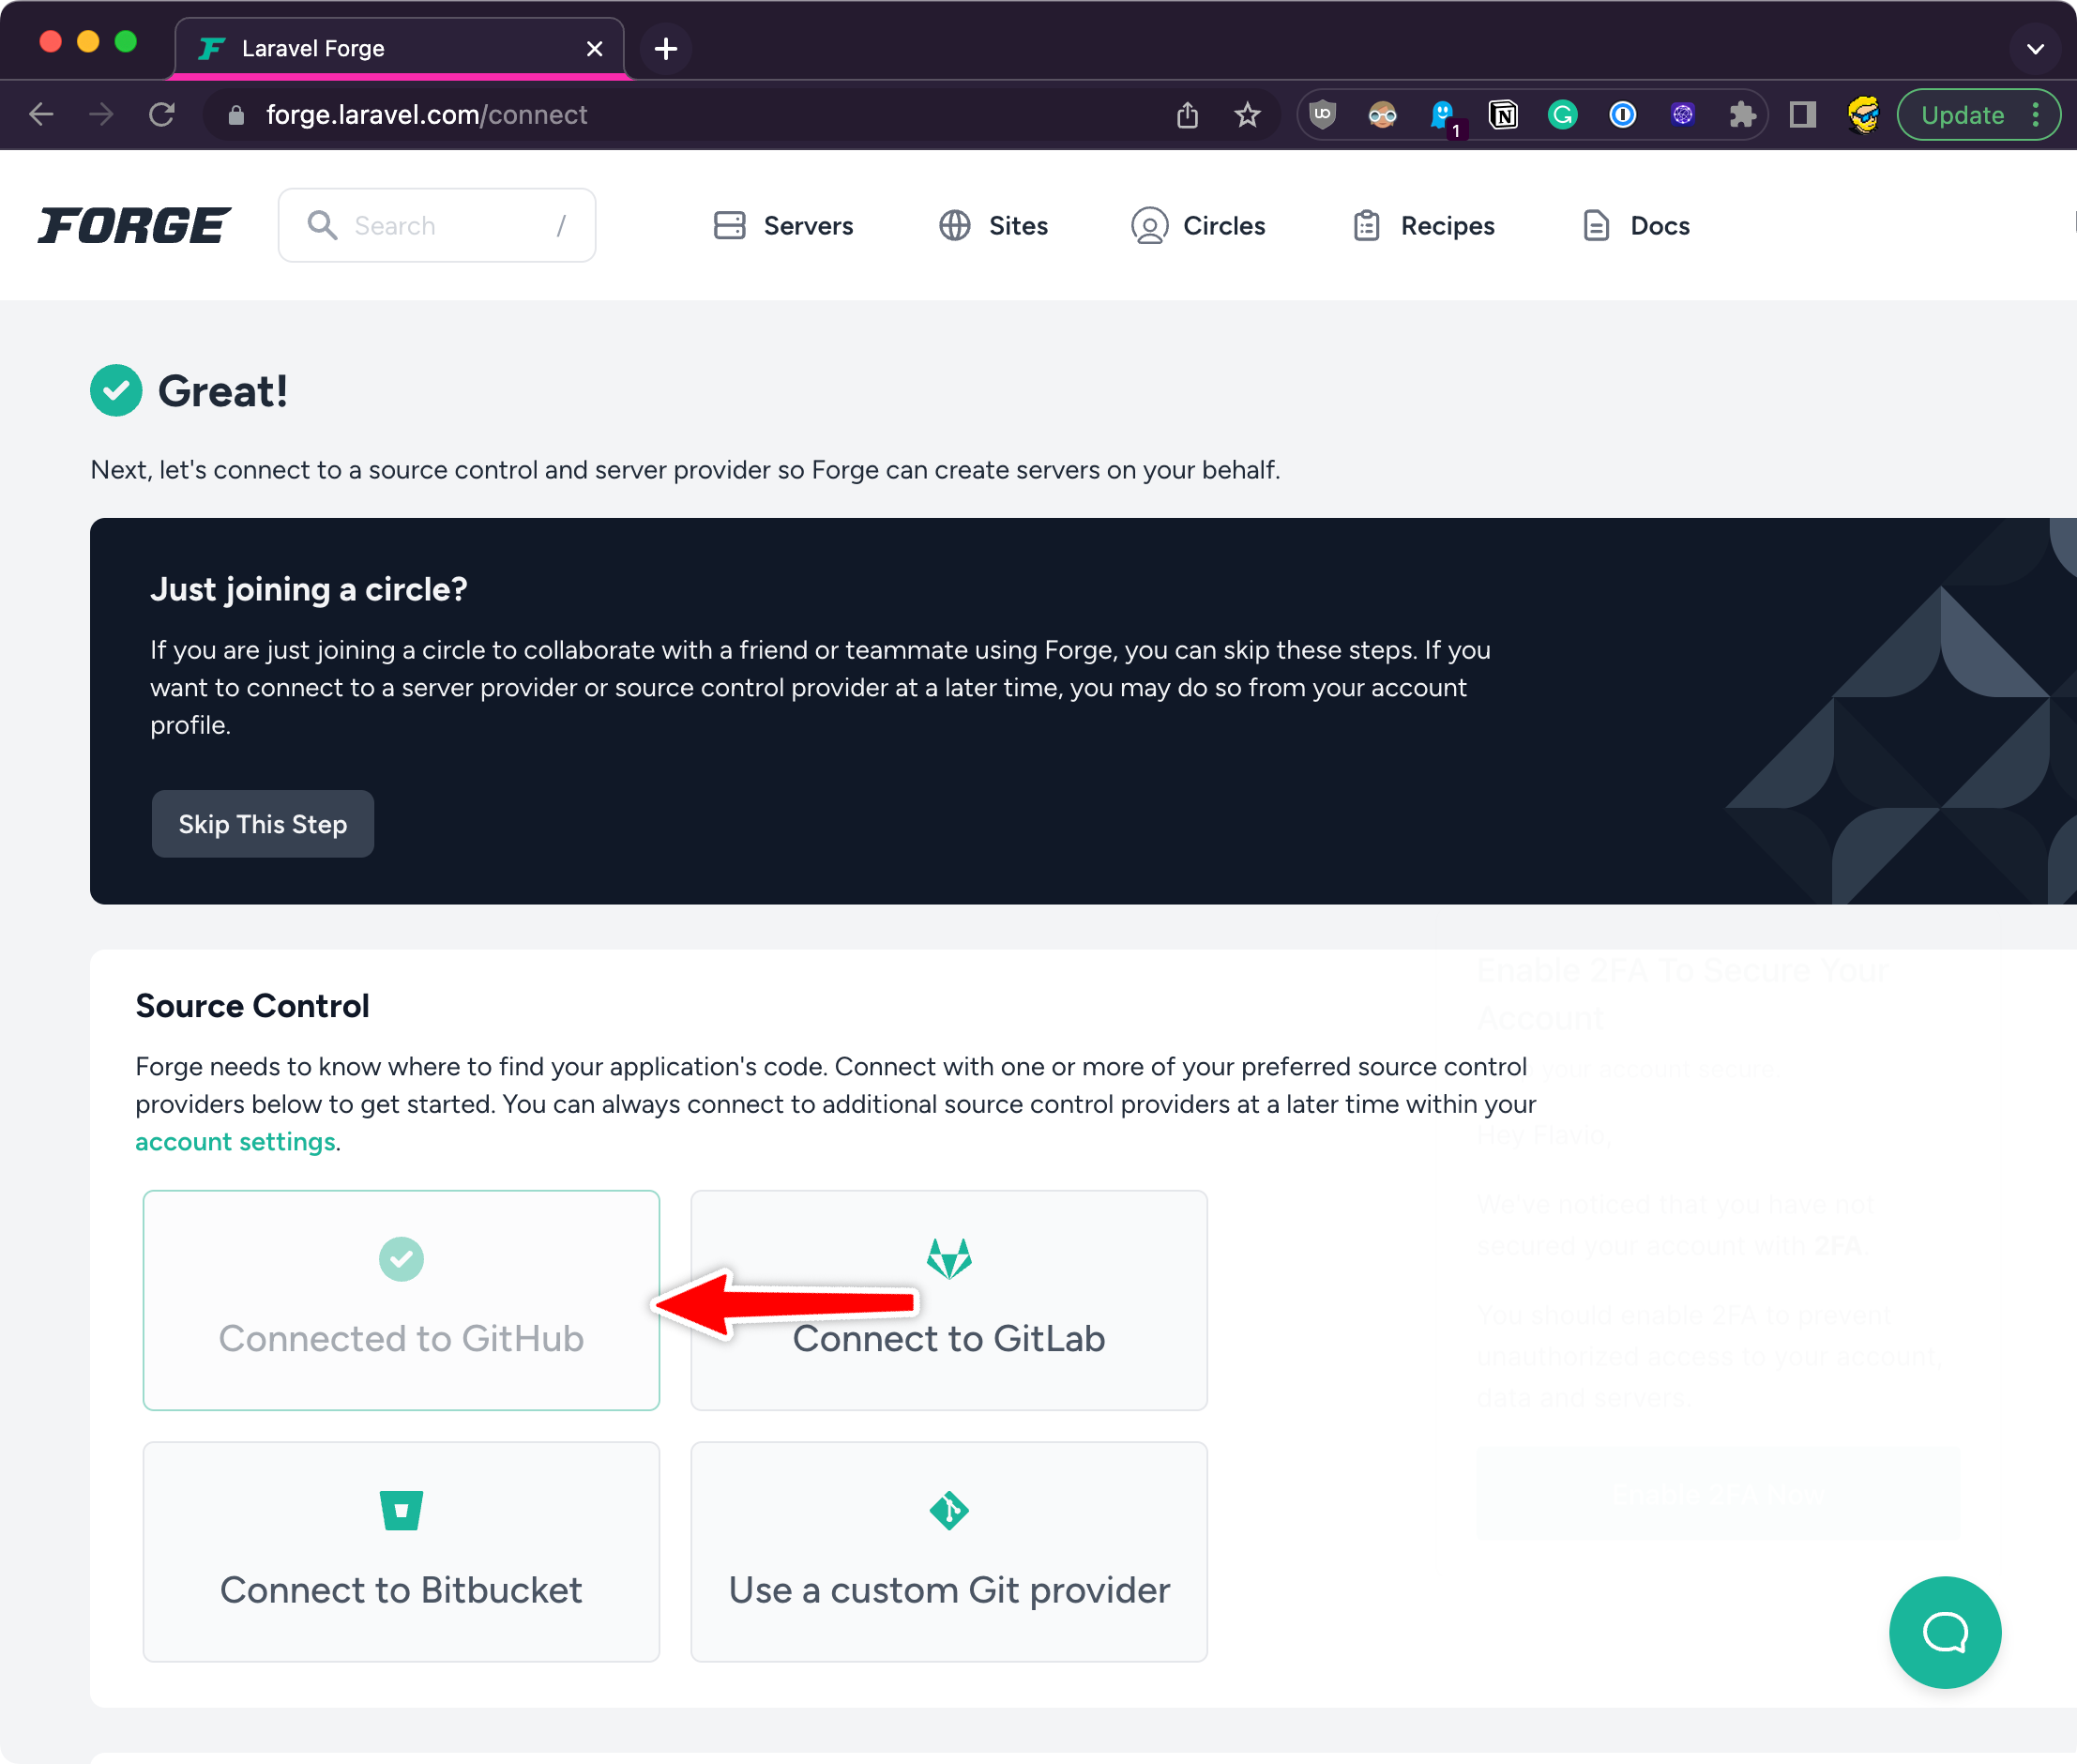
Now it’s time to connect to a server provider.
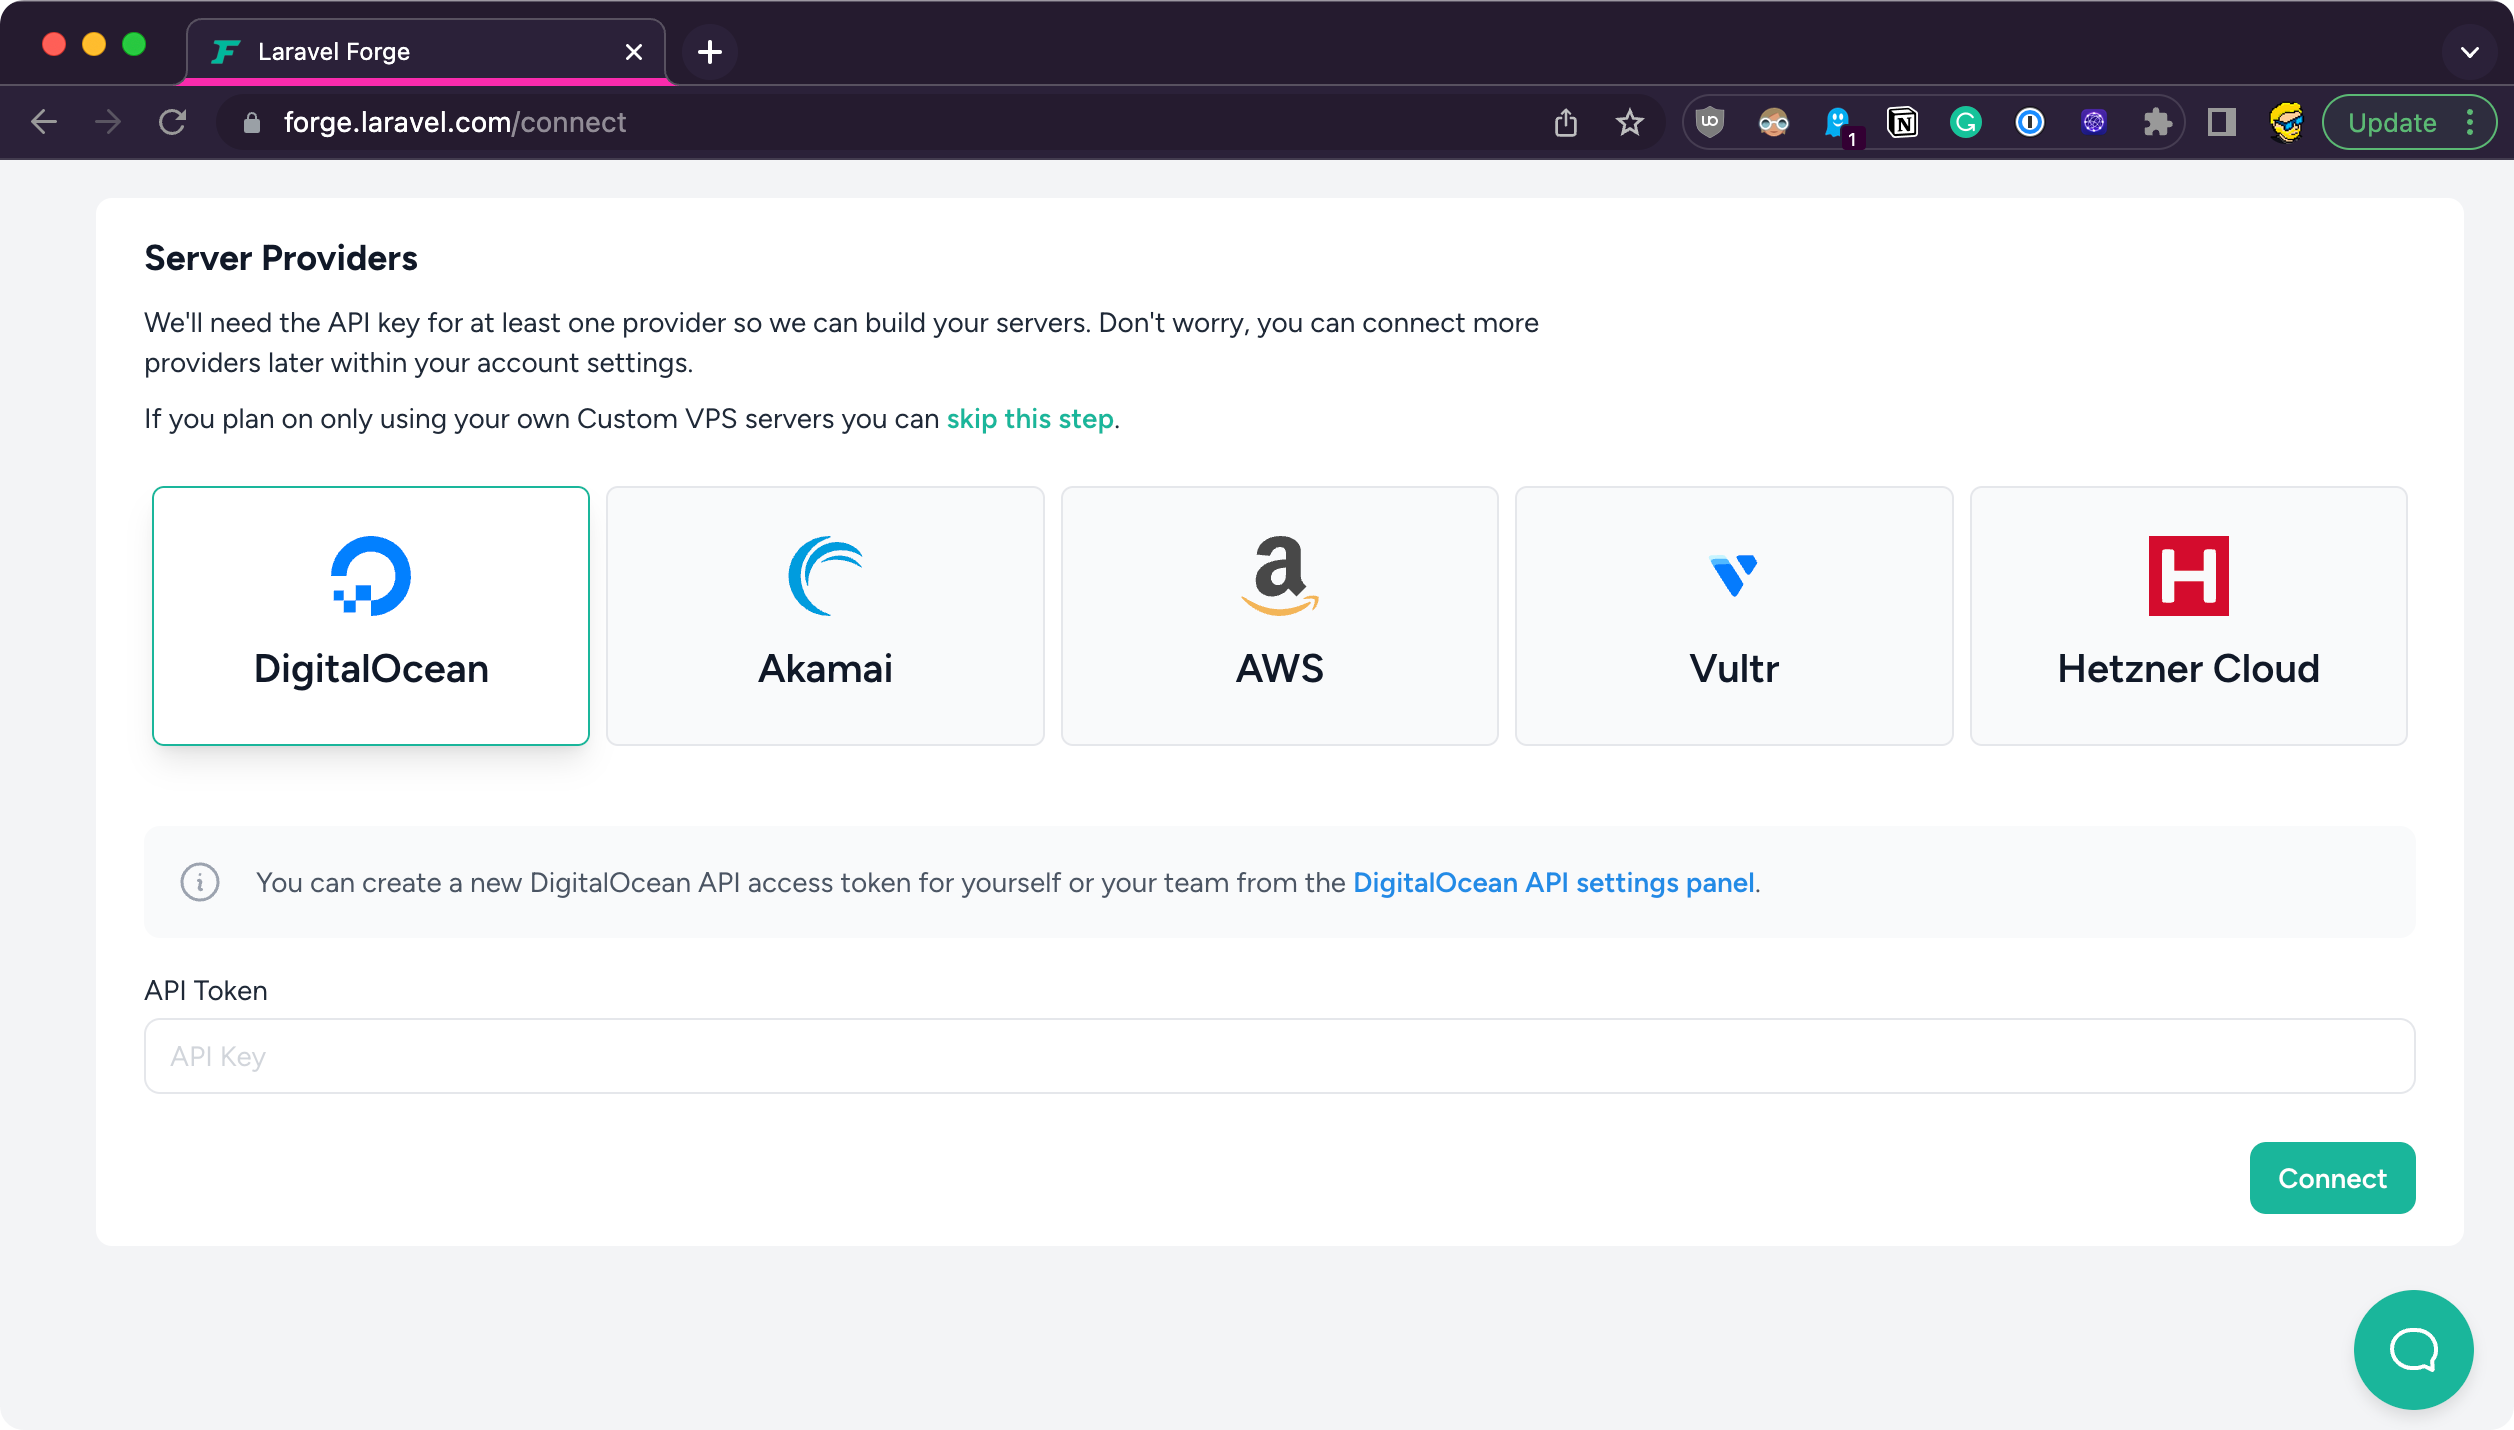
I pick DigitalOcean.
If you’re unsure, sign up for DigitalOcean with my referral link and you get $200 in credit for 60 days, so you can try it out for free. This is an affiliate link: if you sign up through it and then spend $25, I get $25 in DigitalOcean credit.
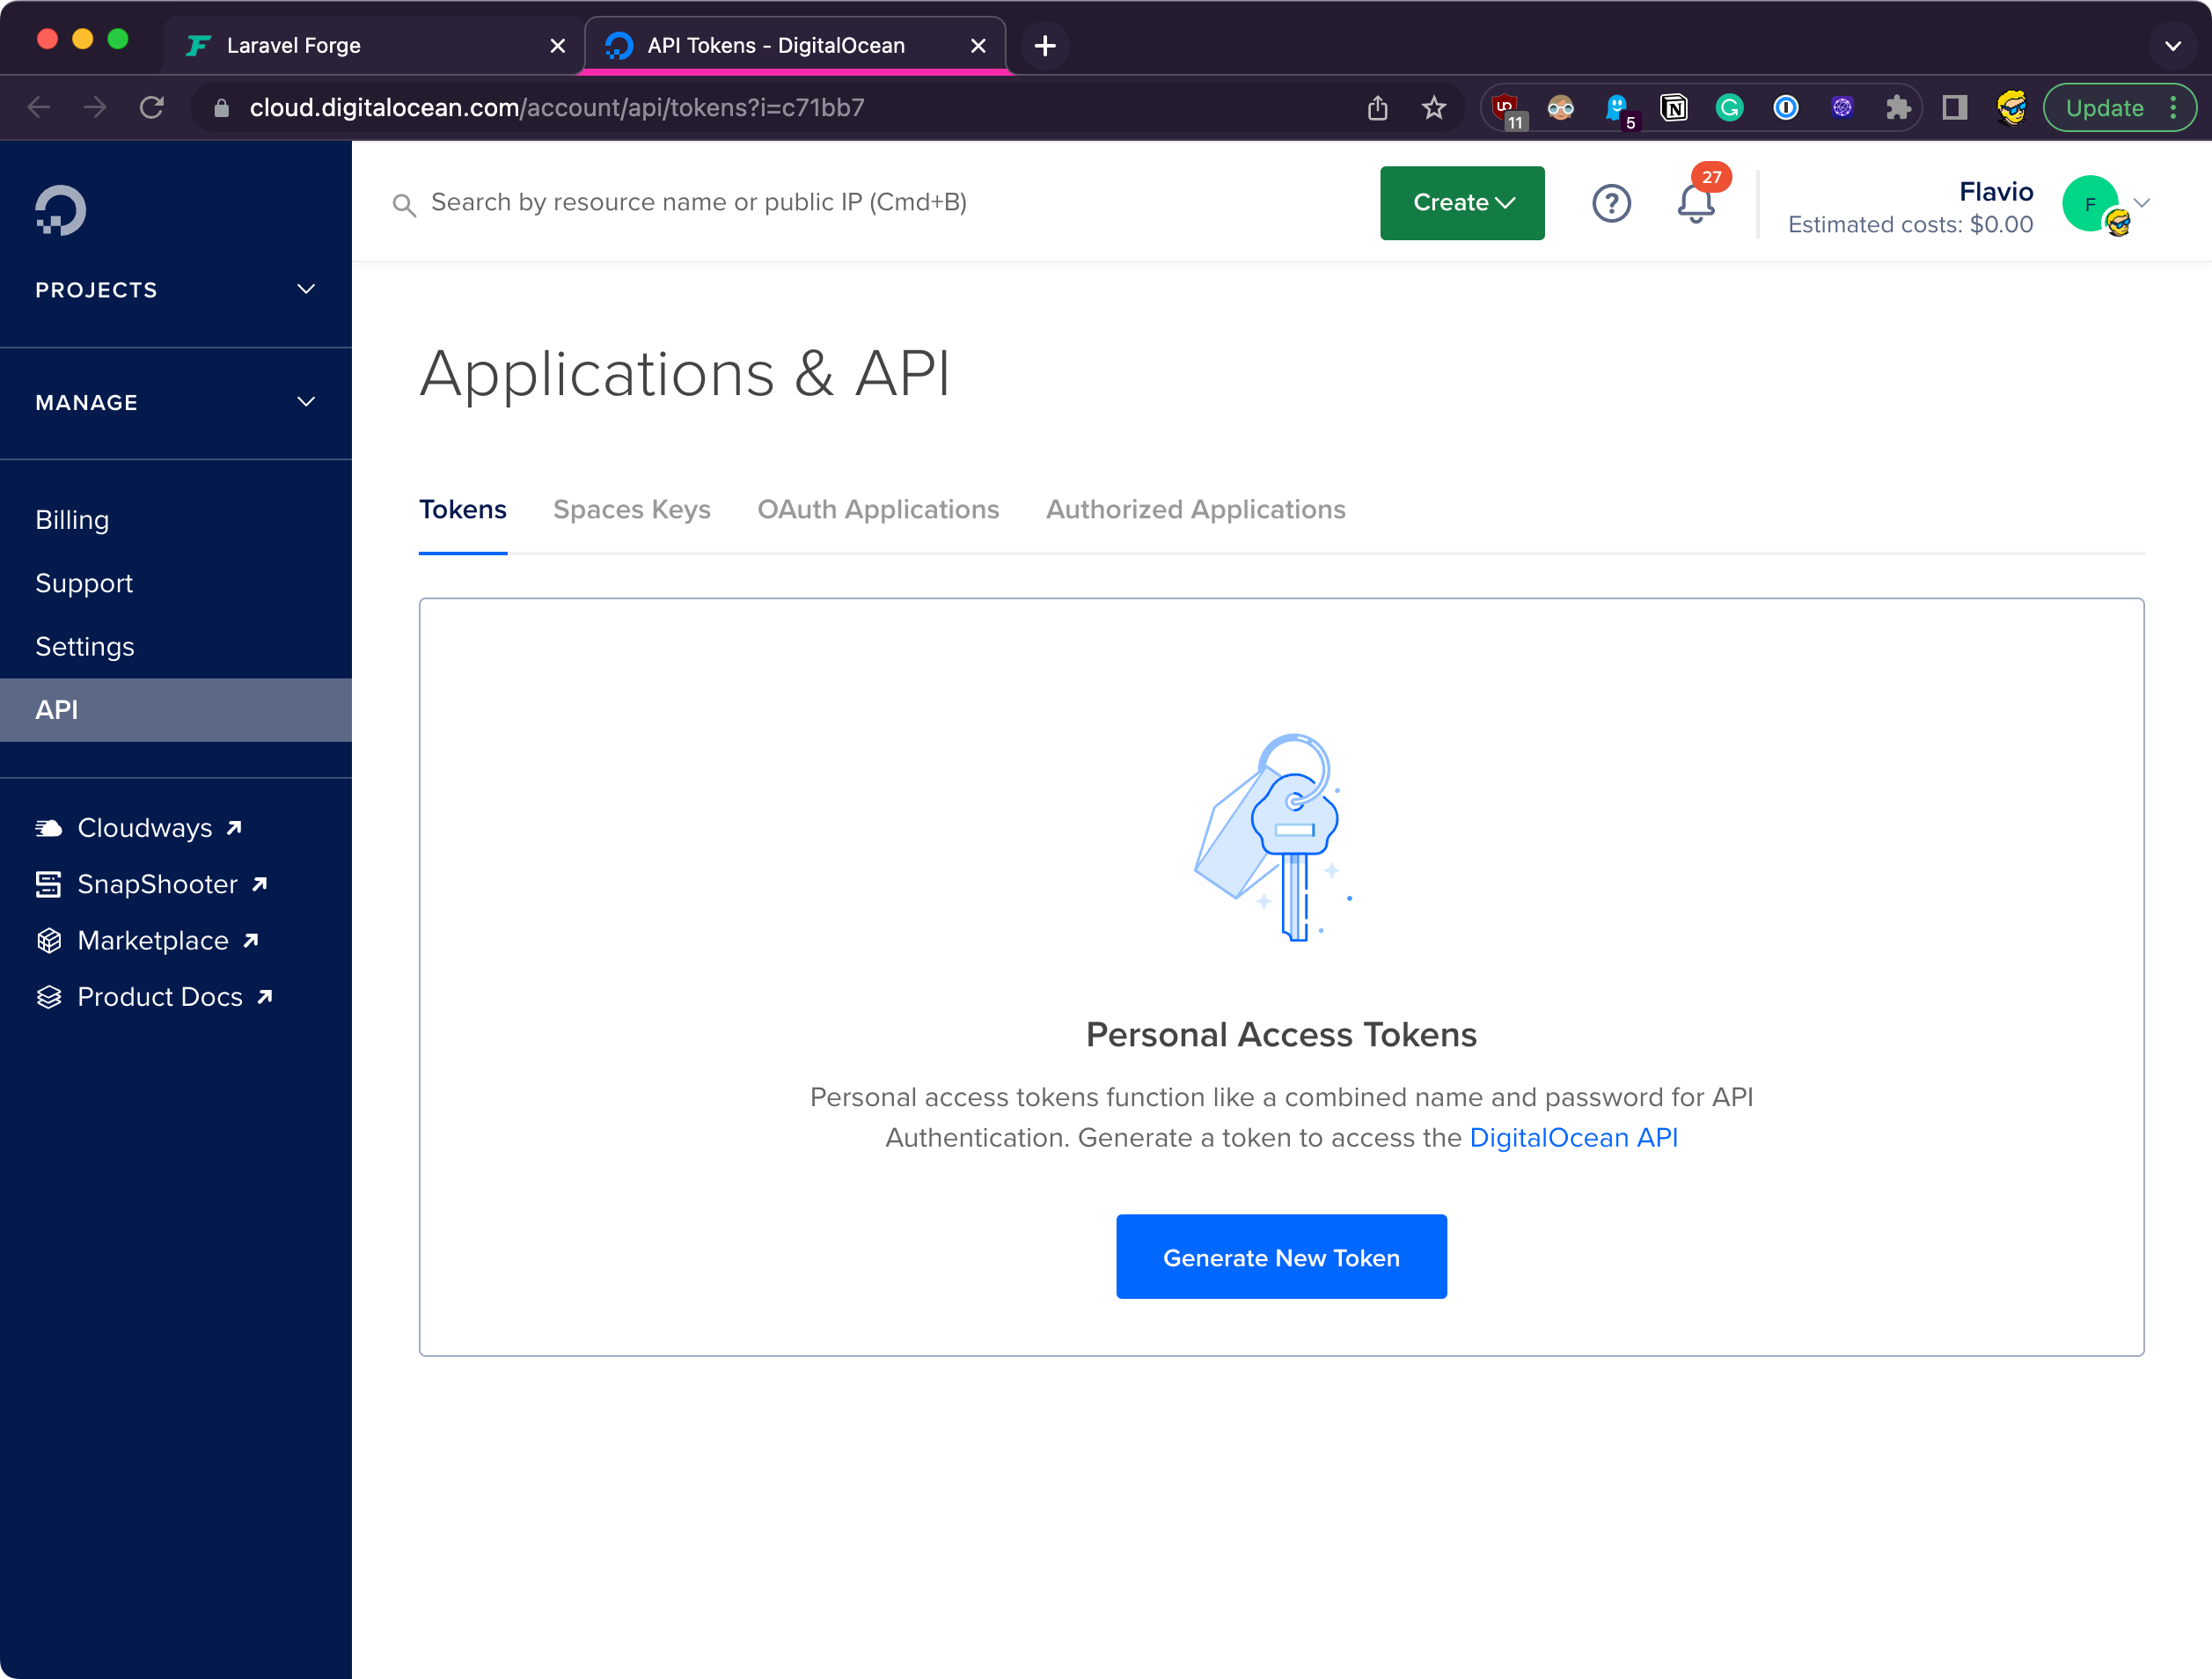
I click the link to create an API token and I generate one
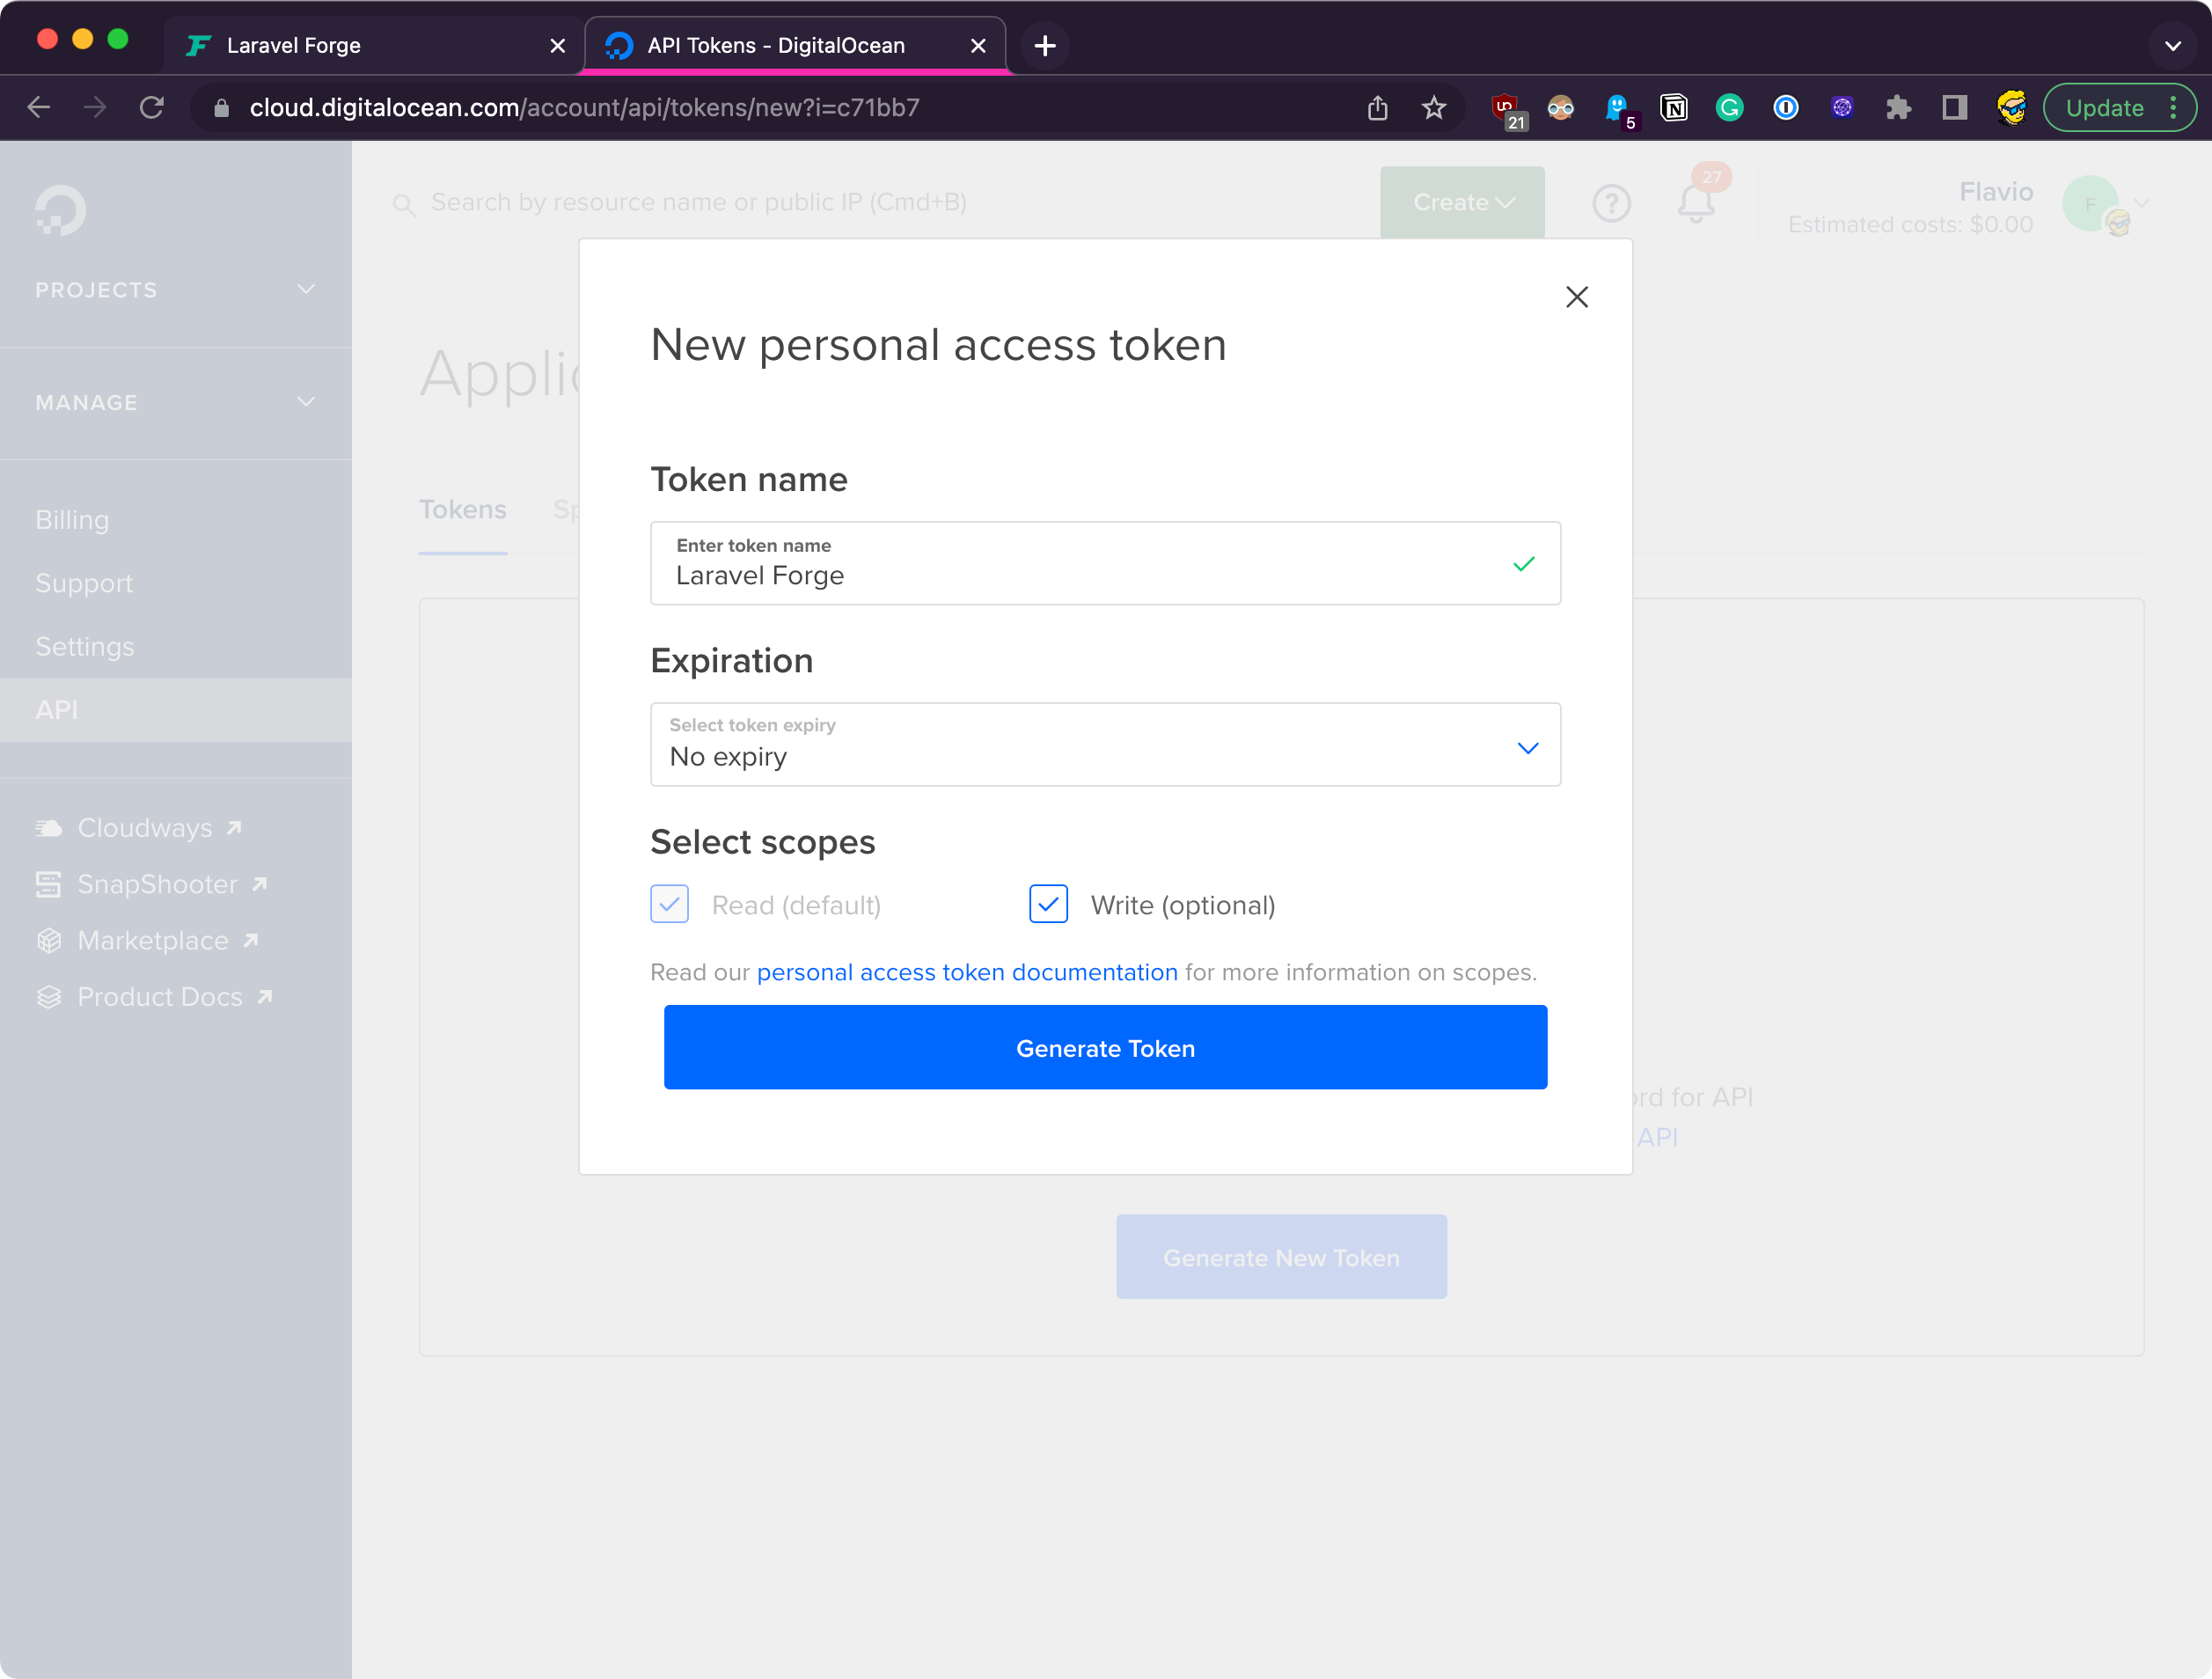
and finally I copy the code to Forge.
I now have access to the servers dashboard
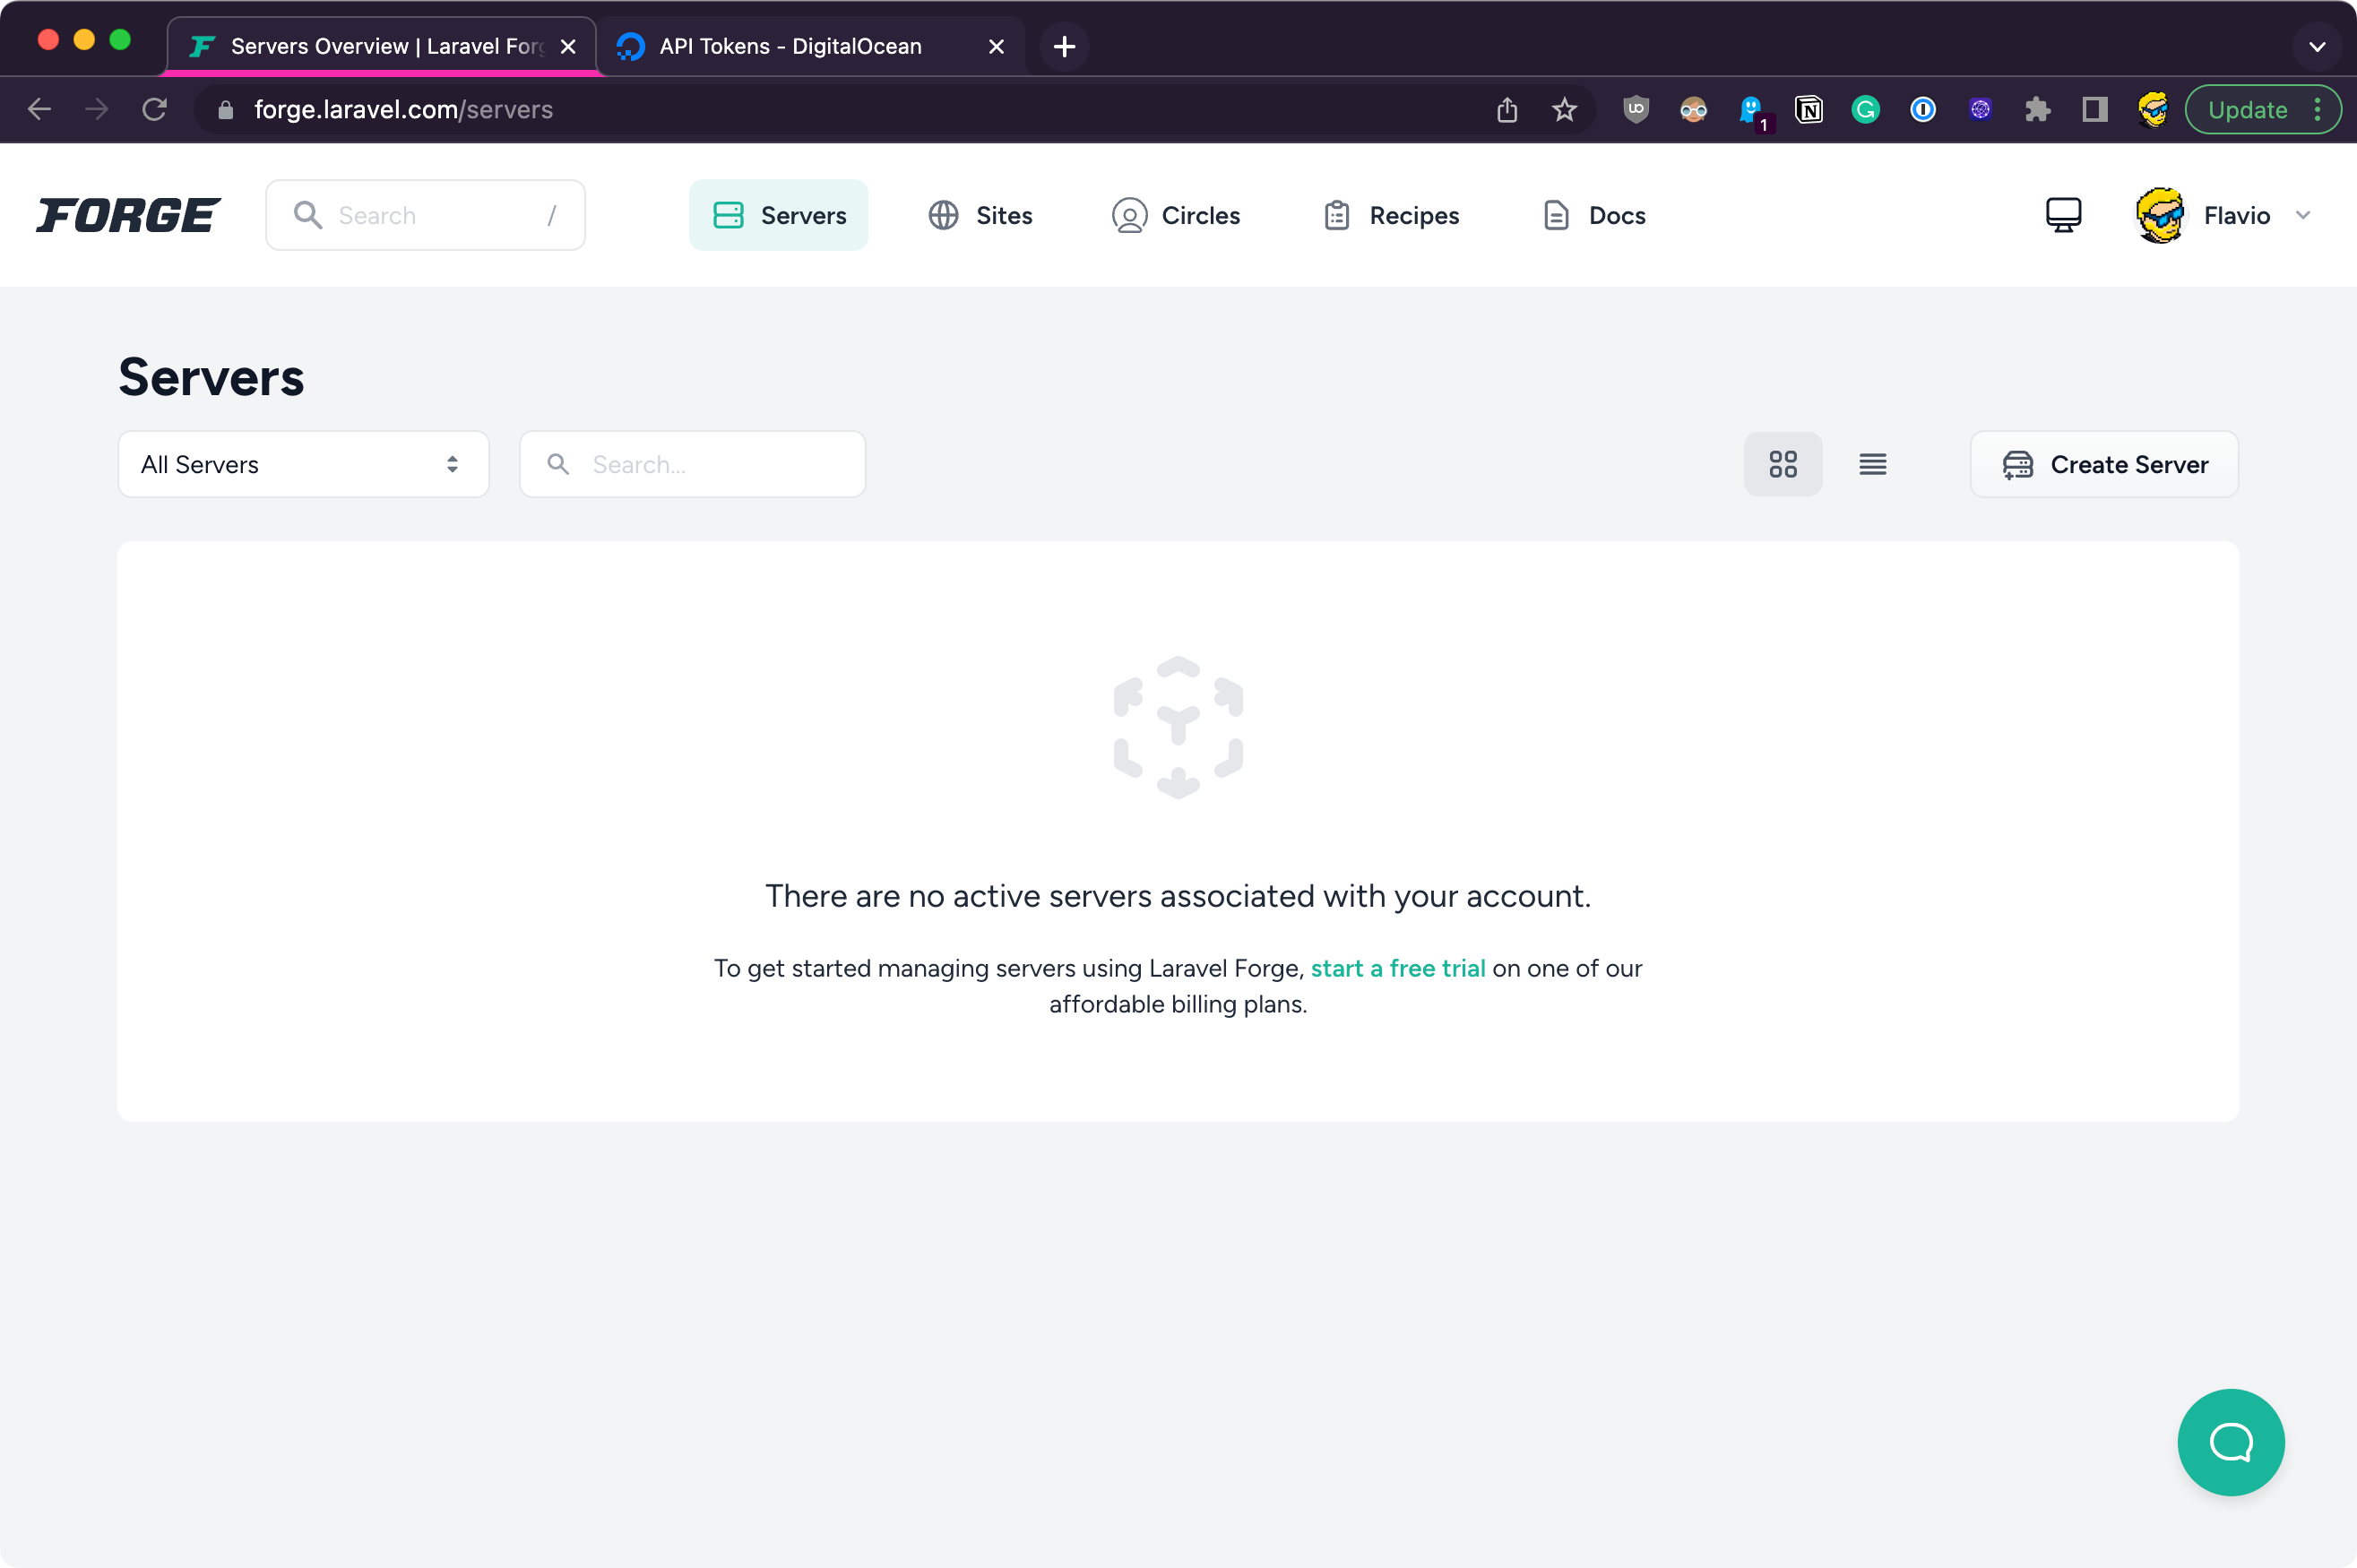
Here’s where you need to create the subscription if you haven’t already. I picked the Hobby plan when I wrote this:
Now back to the servers page, create a new server:
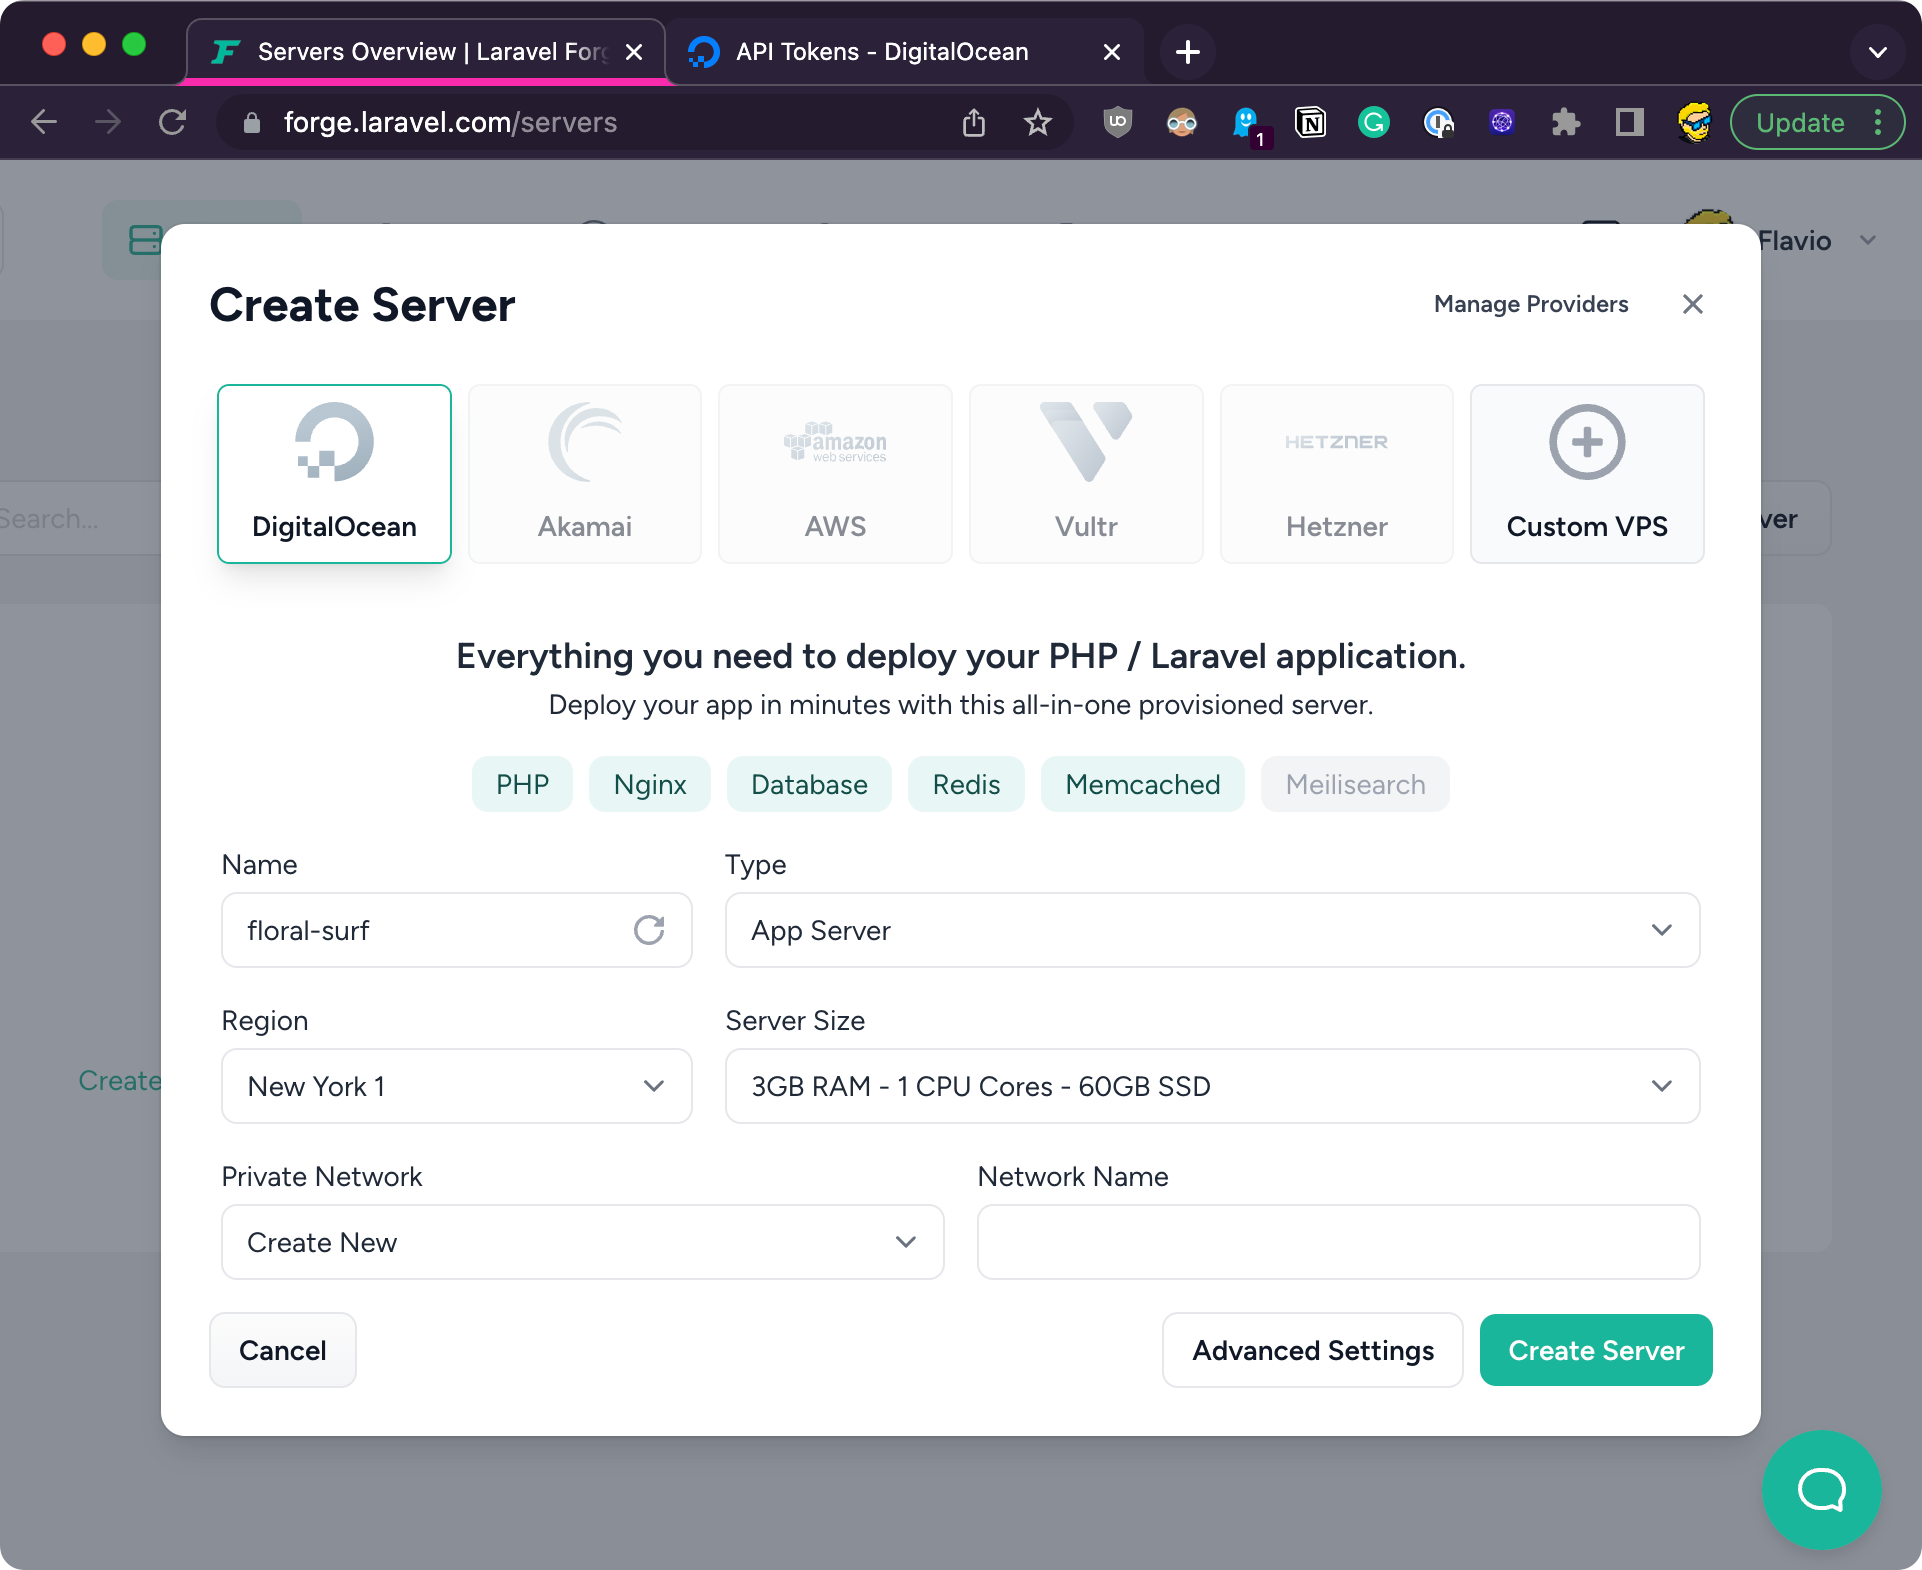
Pick an app-style server (Forge’s default for Laravel apps). It ships with Nginx, PHP, and a database ready for Laravel.
Pick a region near you, and pick a modest server size, so you can save on server costs until someone actually uses your app (you can always upgrade the server later via the DigitalOcean panel).
In the advanced options you can set the OS, database, and PHP version. For Laravel 13 you want a current PHP 8.x line:
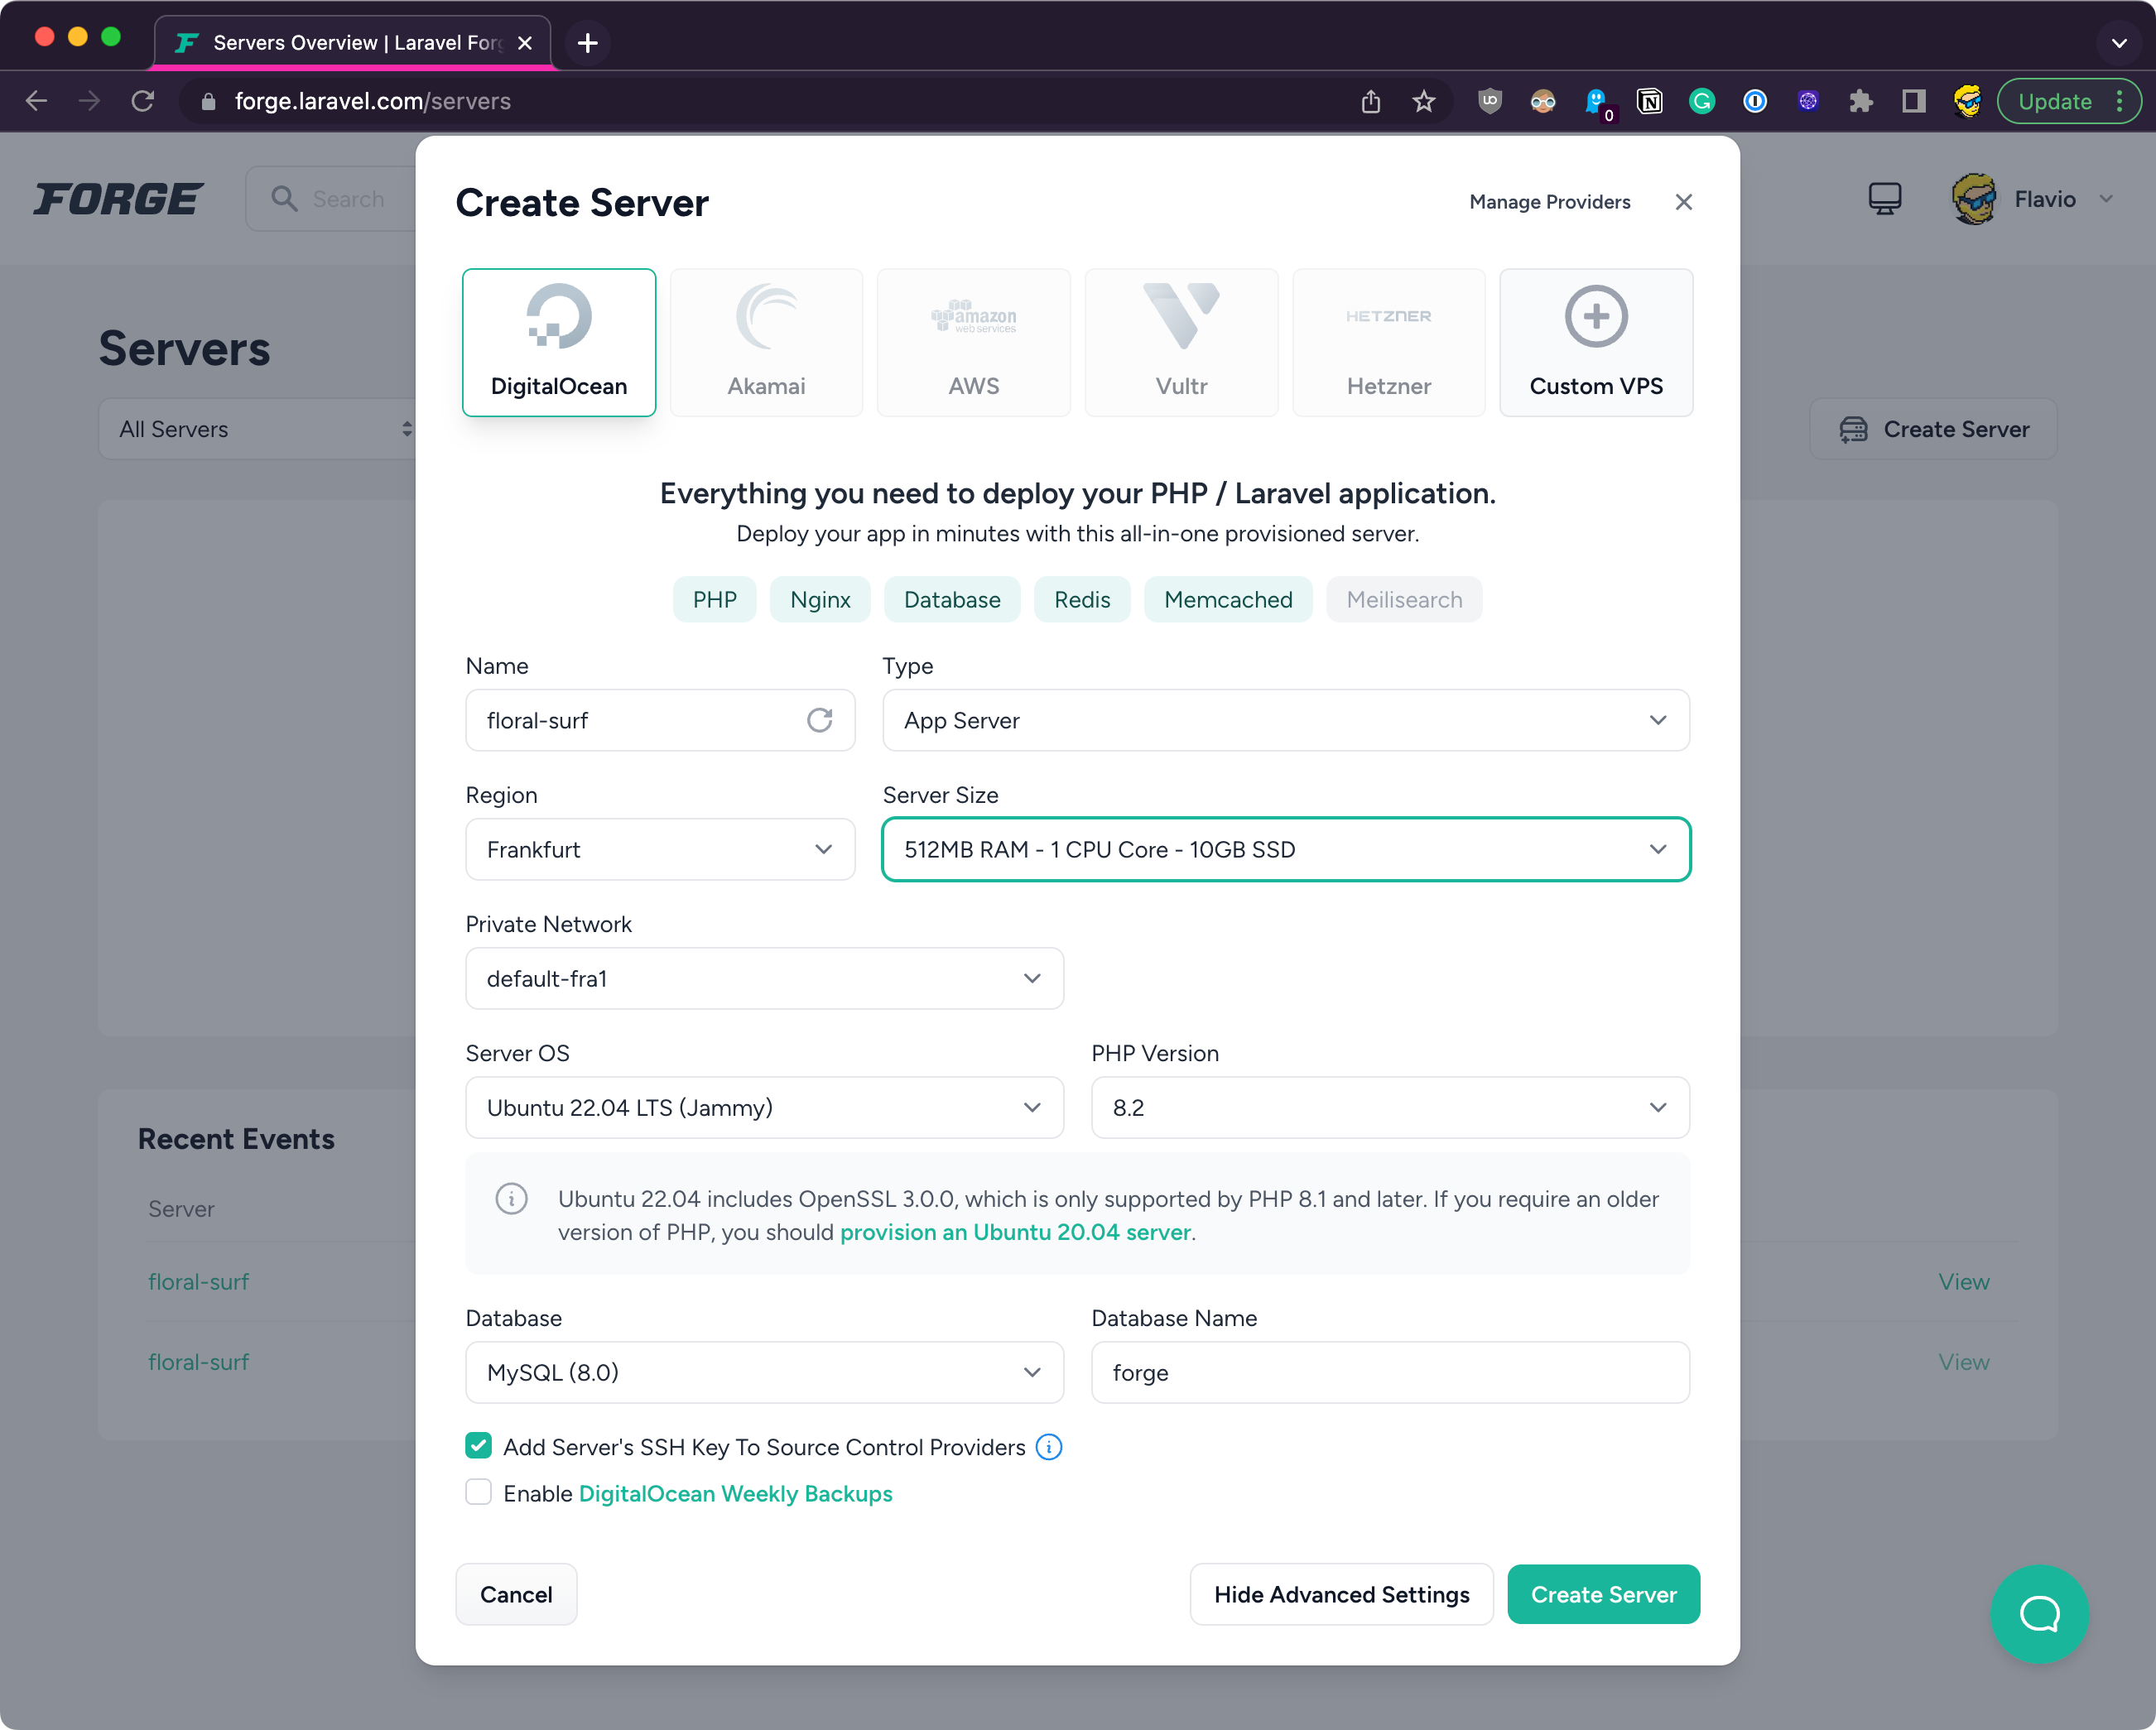
I picked Postgres because I like that more, but it’s just a preference.
Create the server and wait for provisioning to finish:
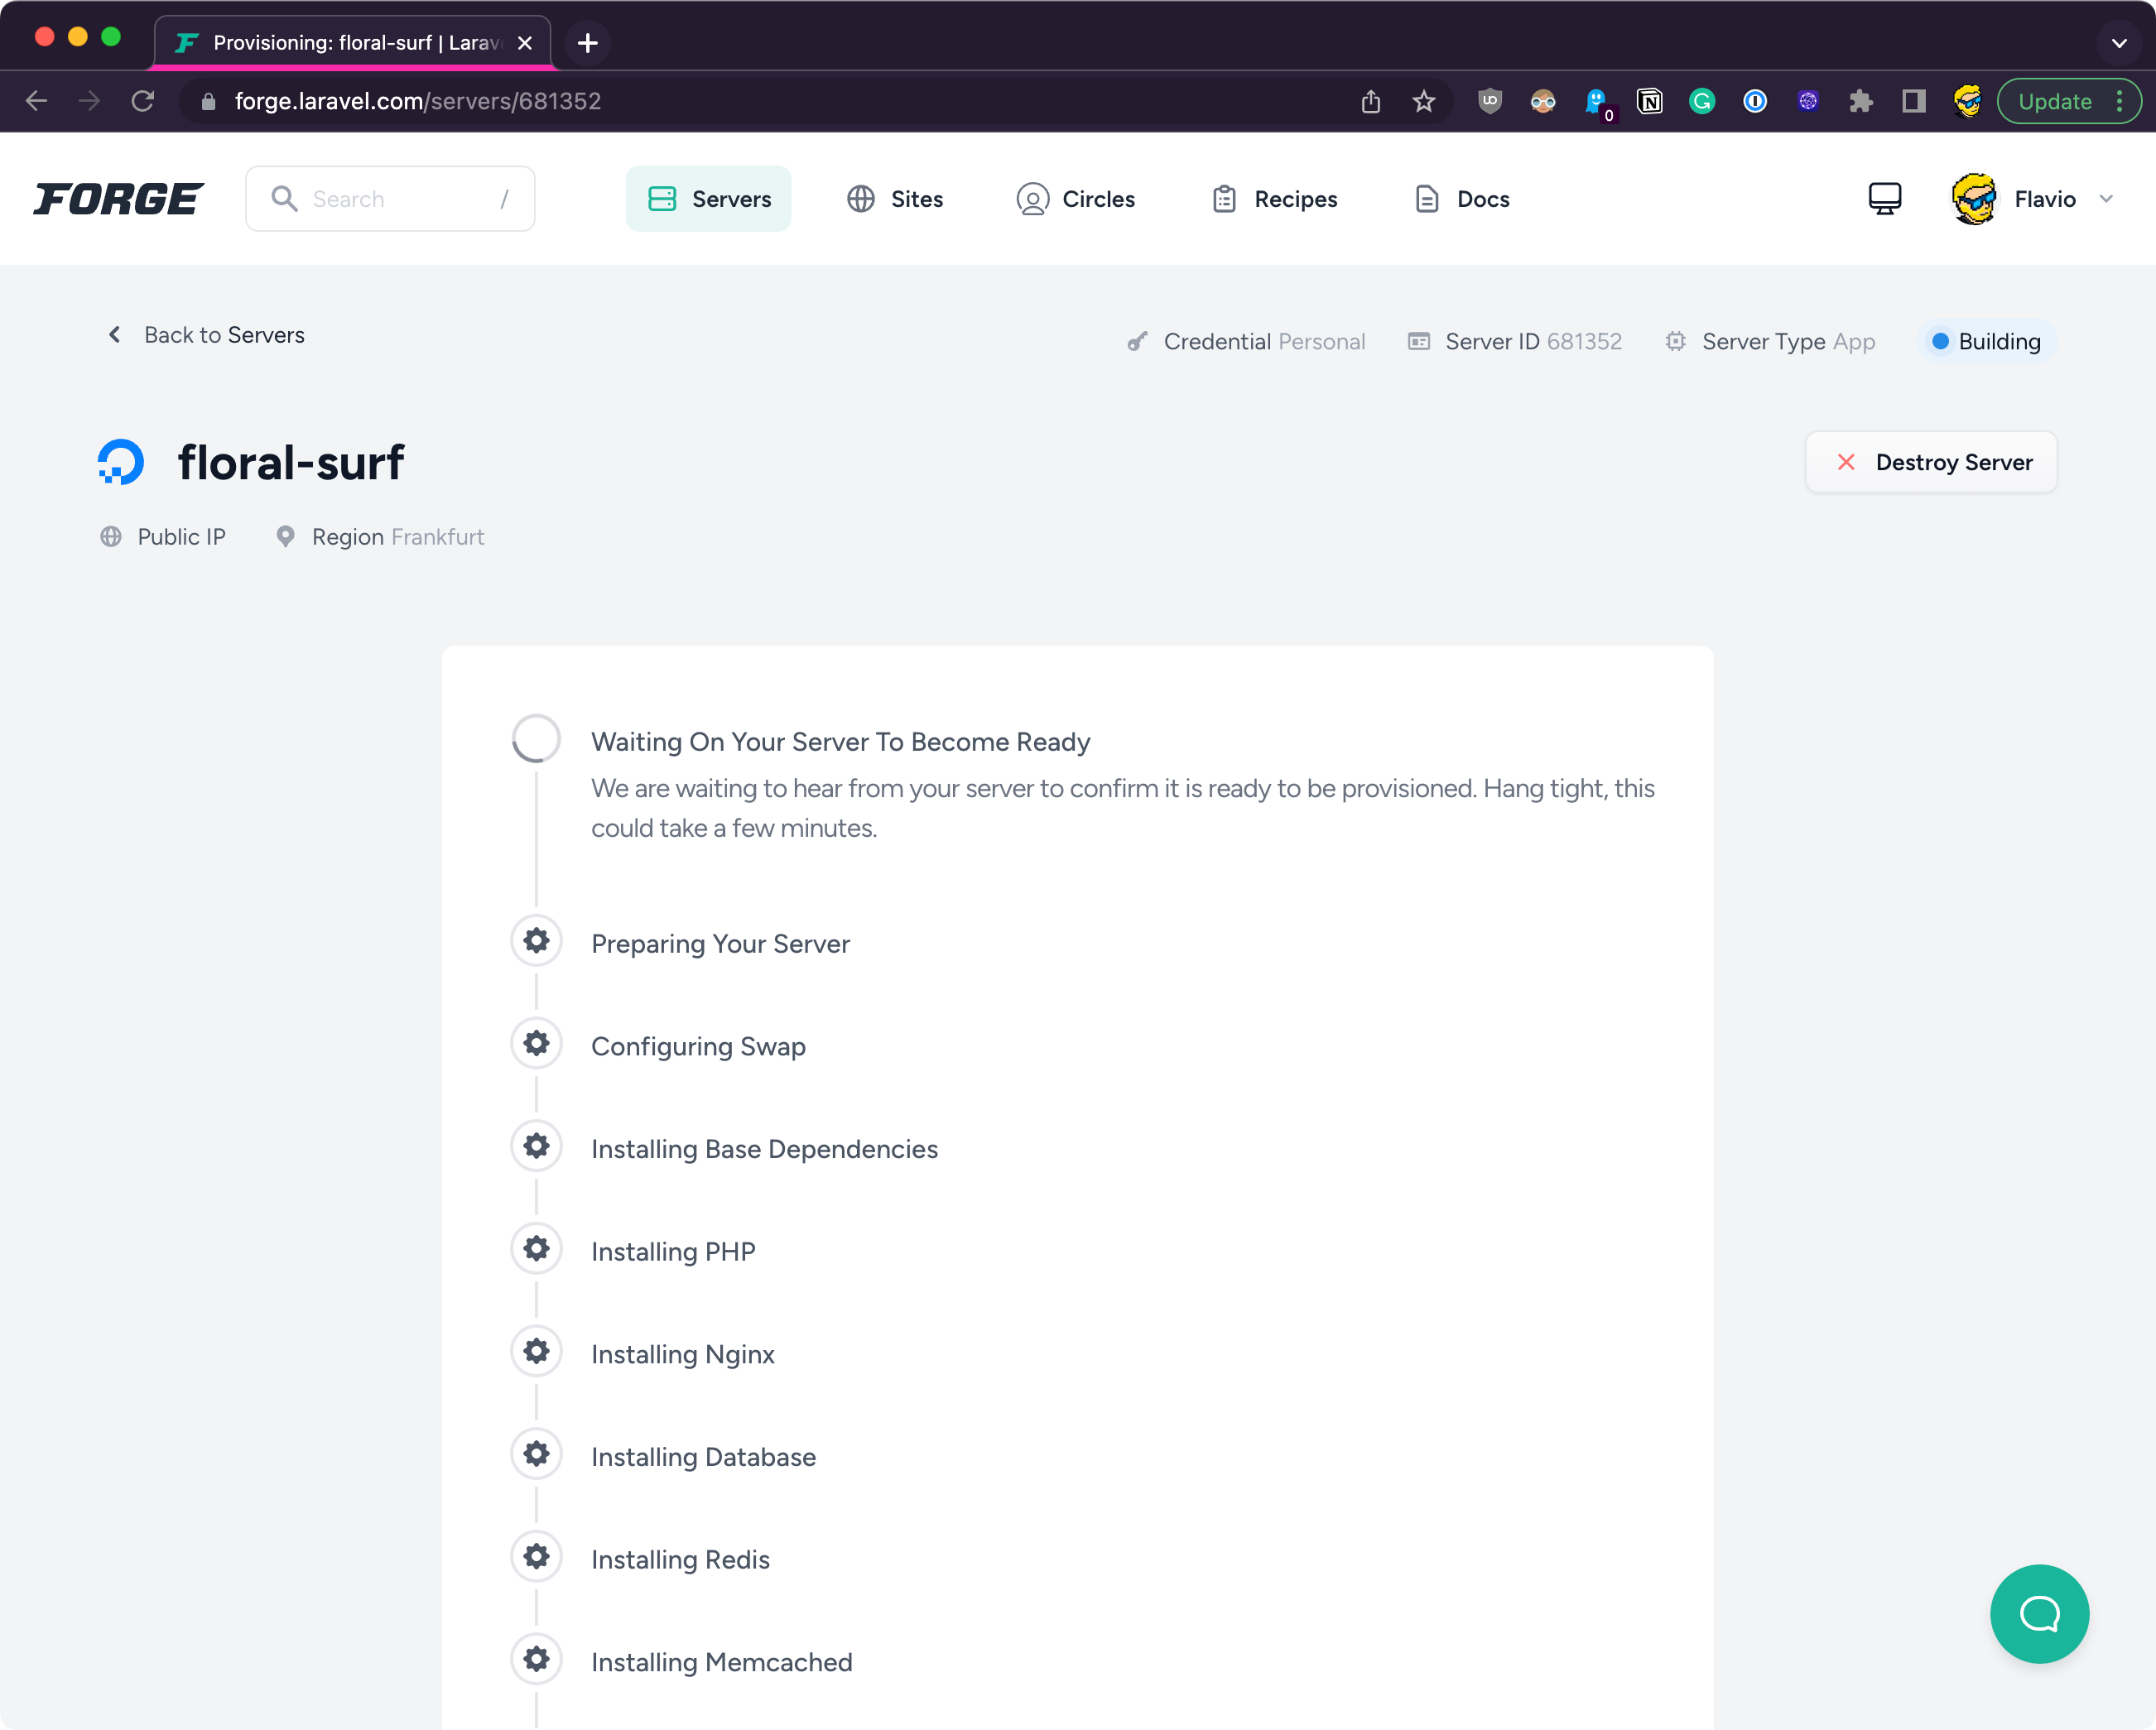
It will take some minutes, after which you’ll have your server up and running.
A server perfectly configured to run Laravel, already set up with the Nginx server, database, and much more.
Once it’s done, here is the control panel of your server. On the left, there’s a menu that gives you access to specific menus.
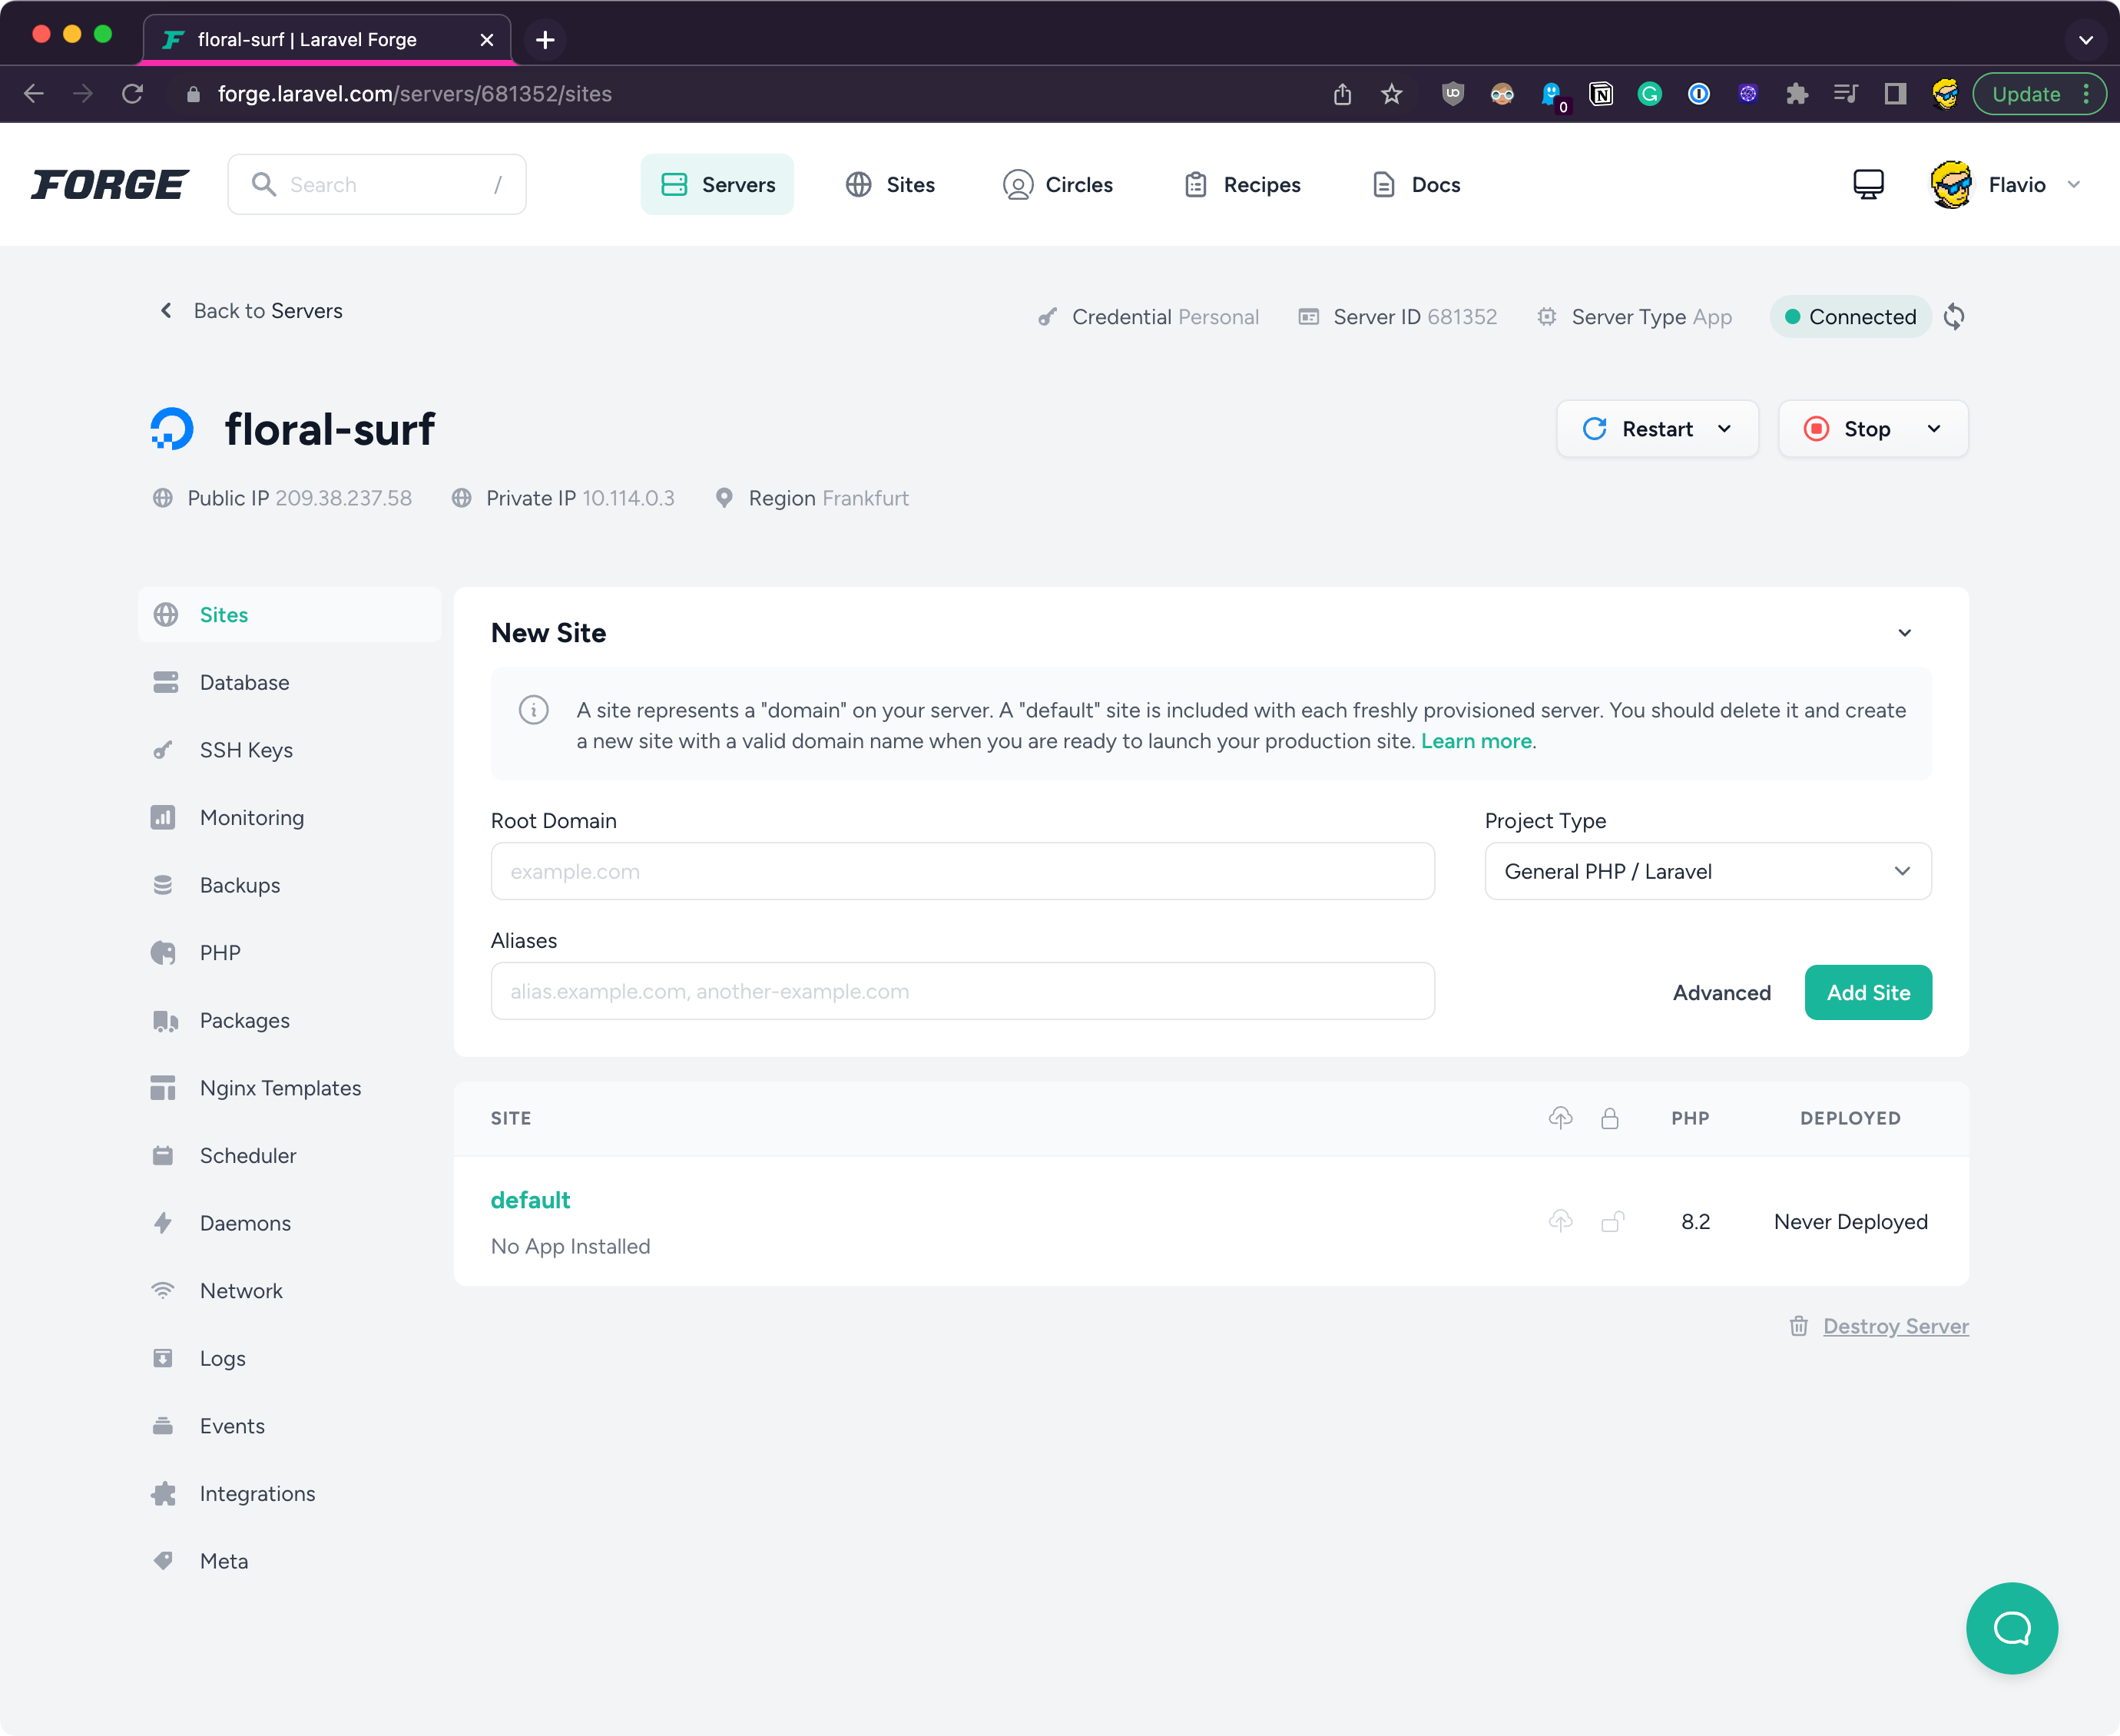
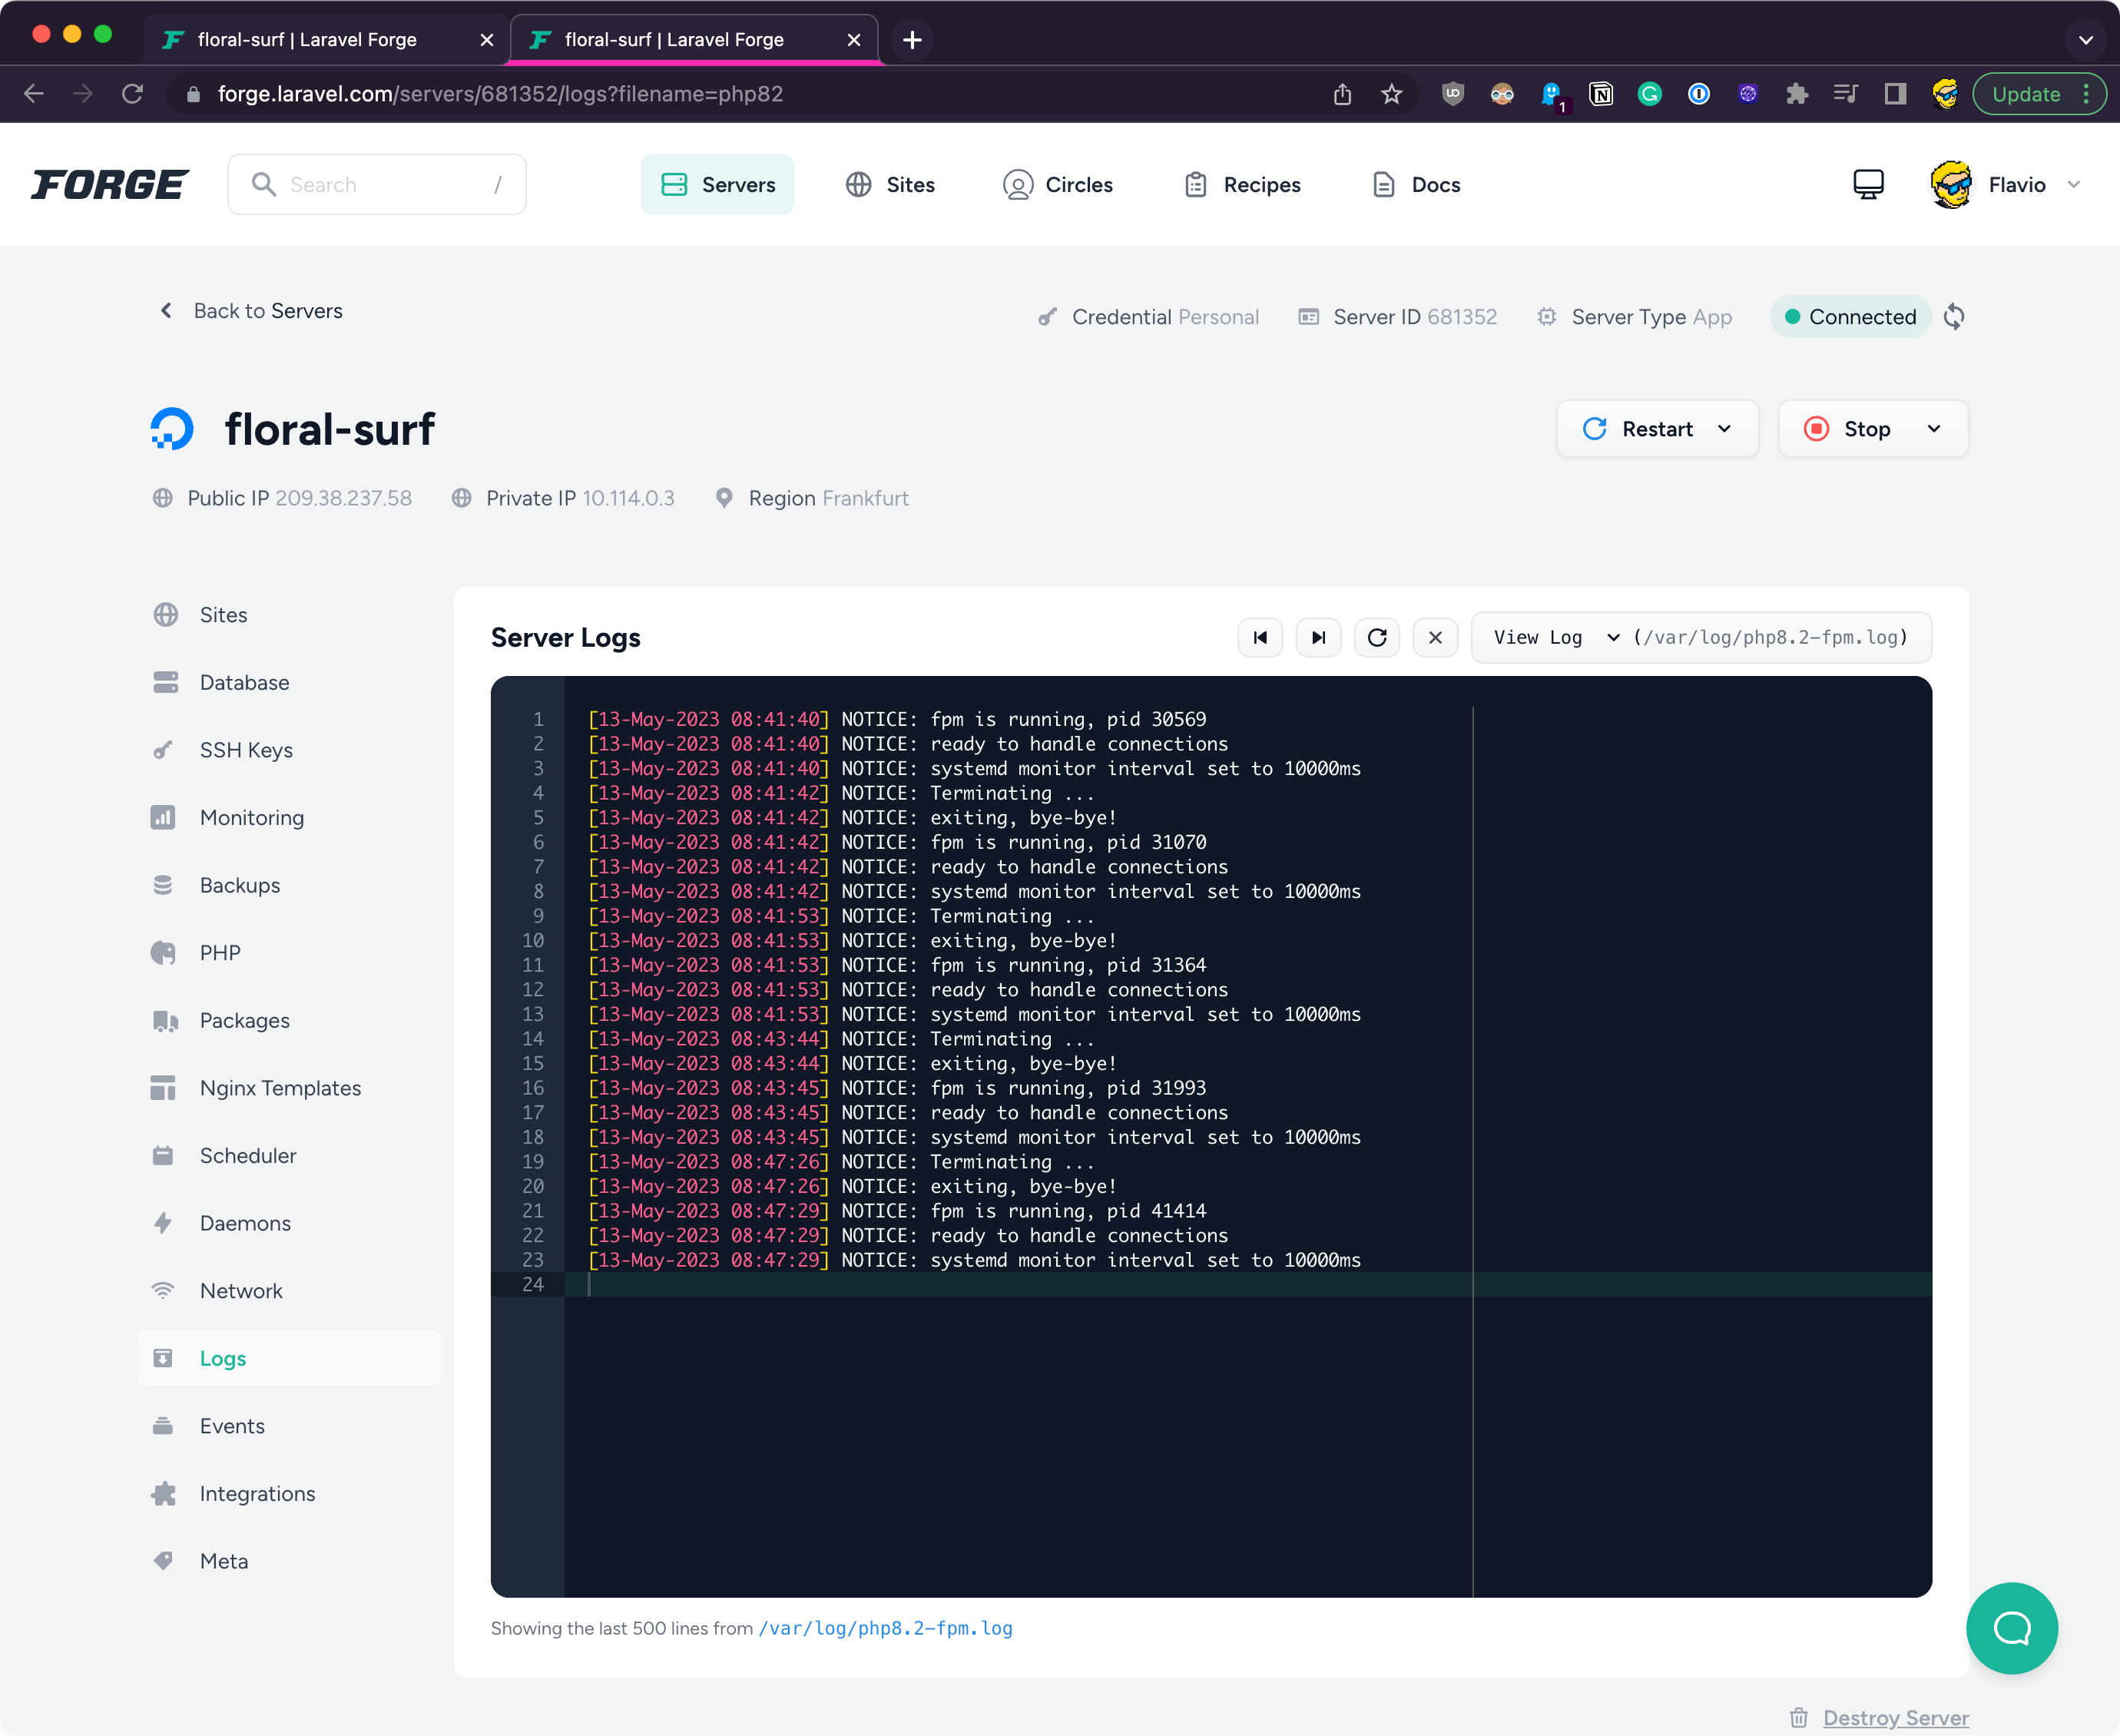
For example you have access to server logs through “Logs”:
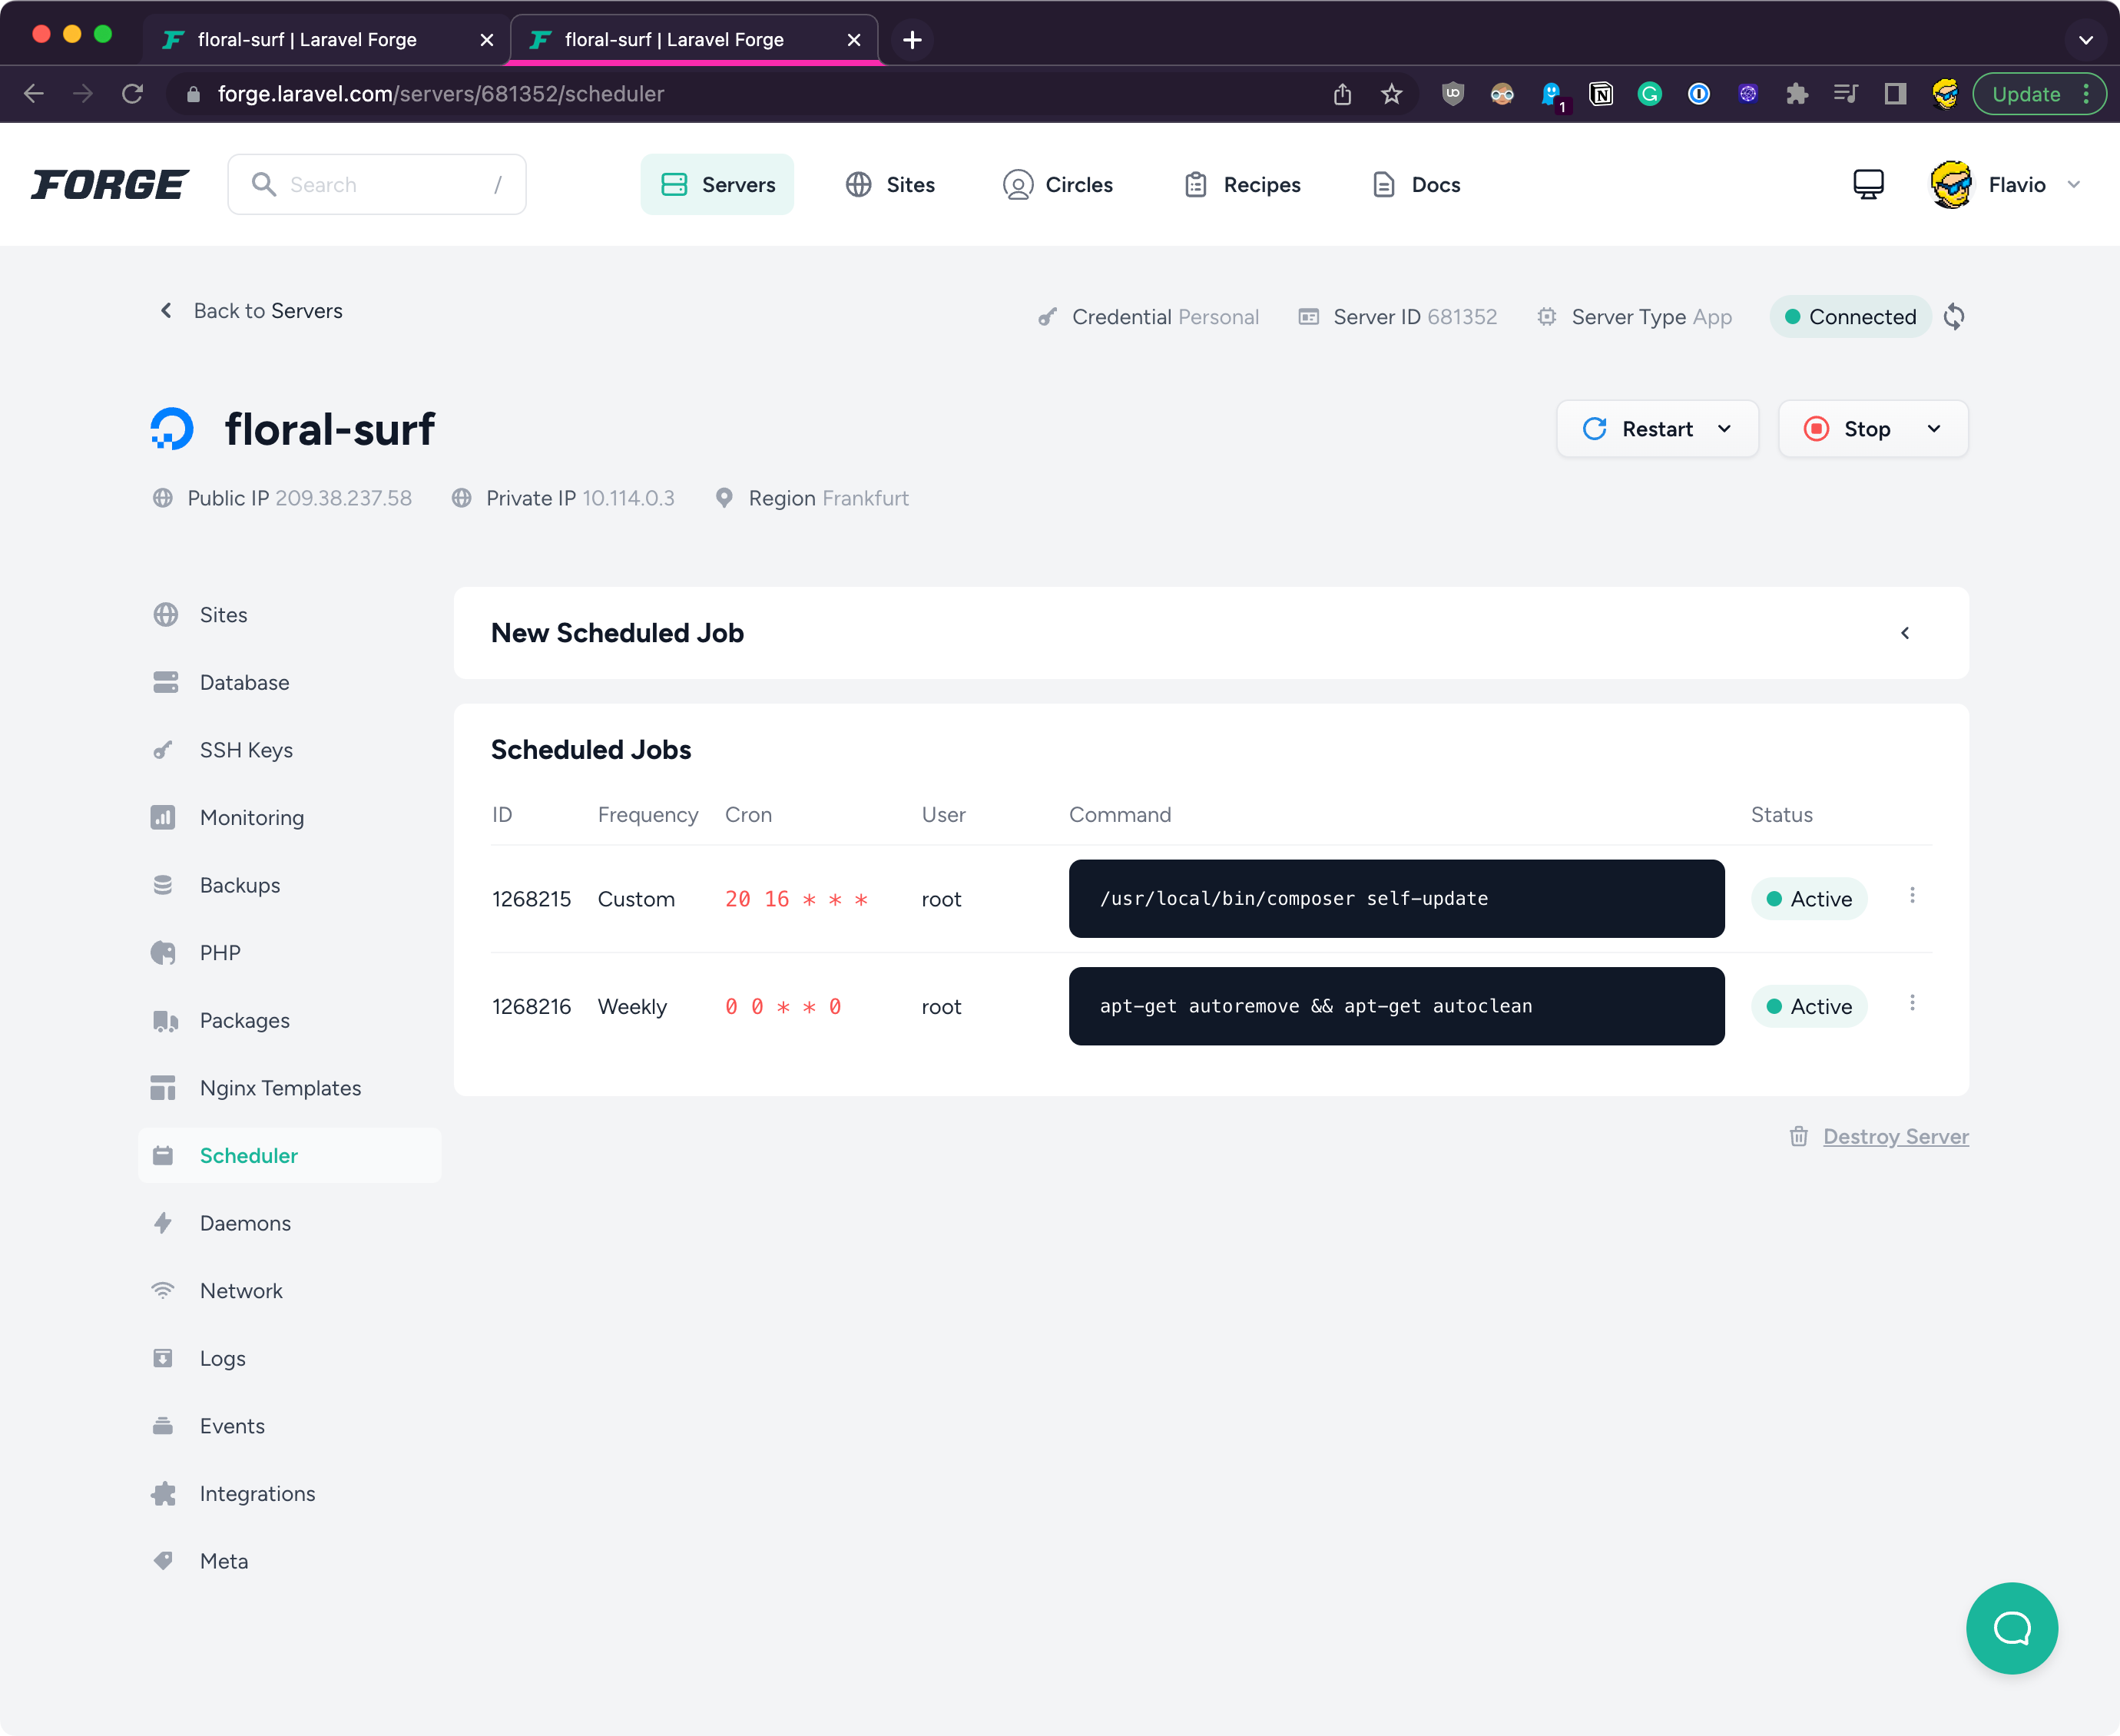
You can see the scheduled jobs in “Scheduler”:
…and lots more.
Back to the Sites menu.
You can restart the entire server, or specific services, throught the Restart drop down menu:
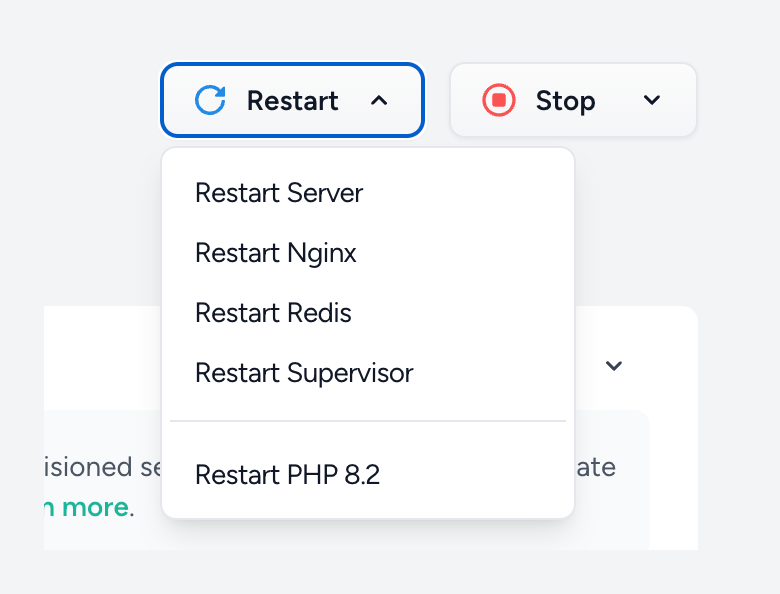
which is very handy, and you can deploy new sites on this server.
Each server can host multiple different sites.
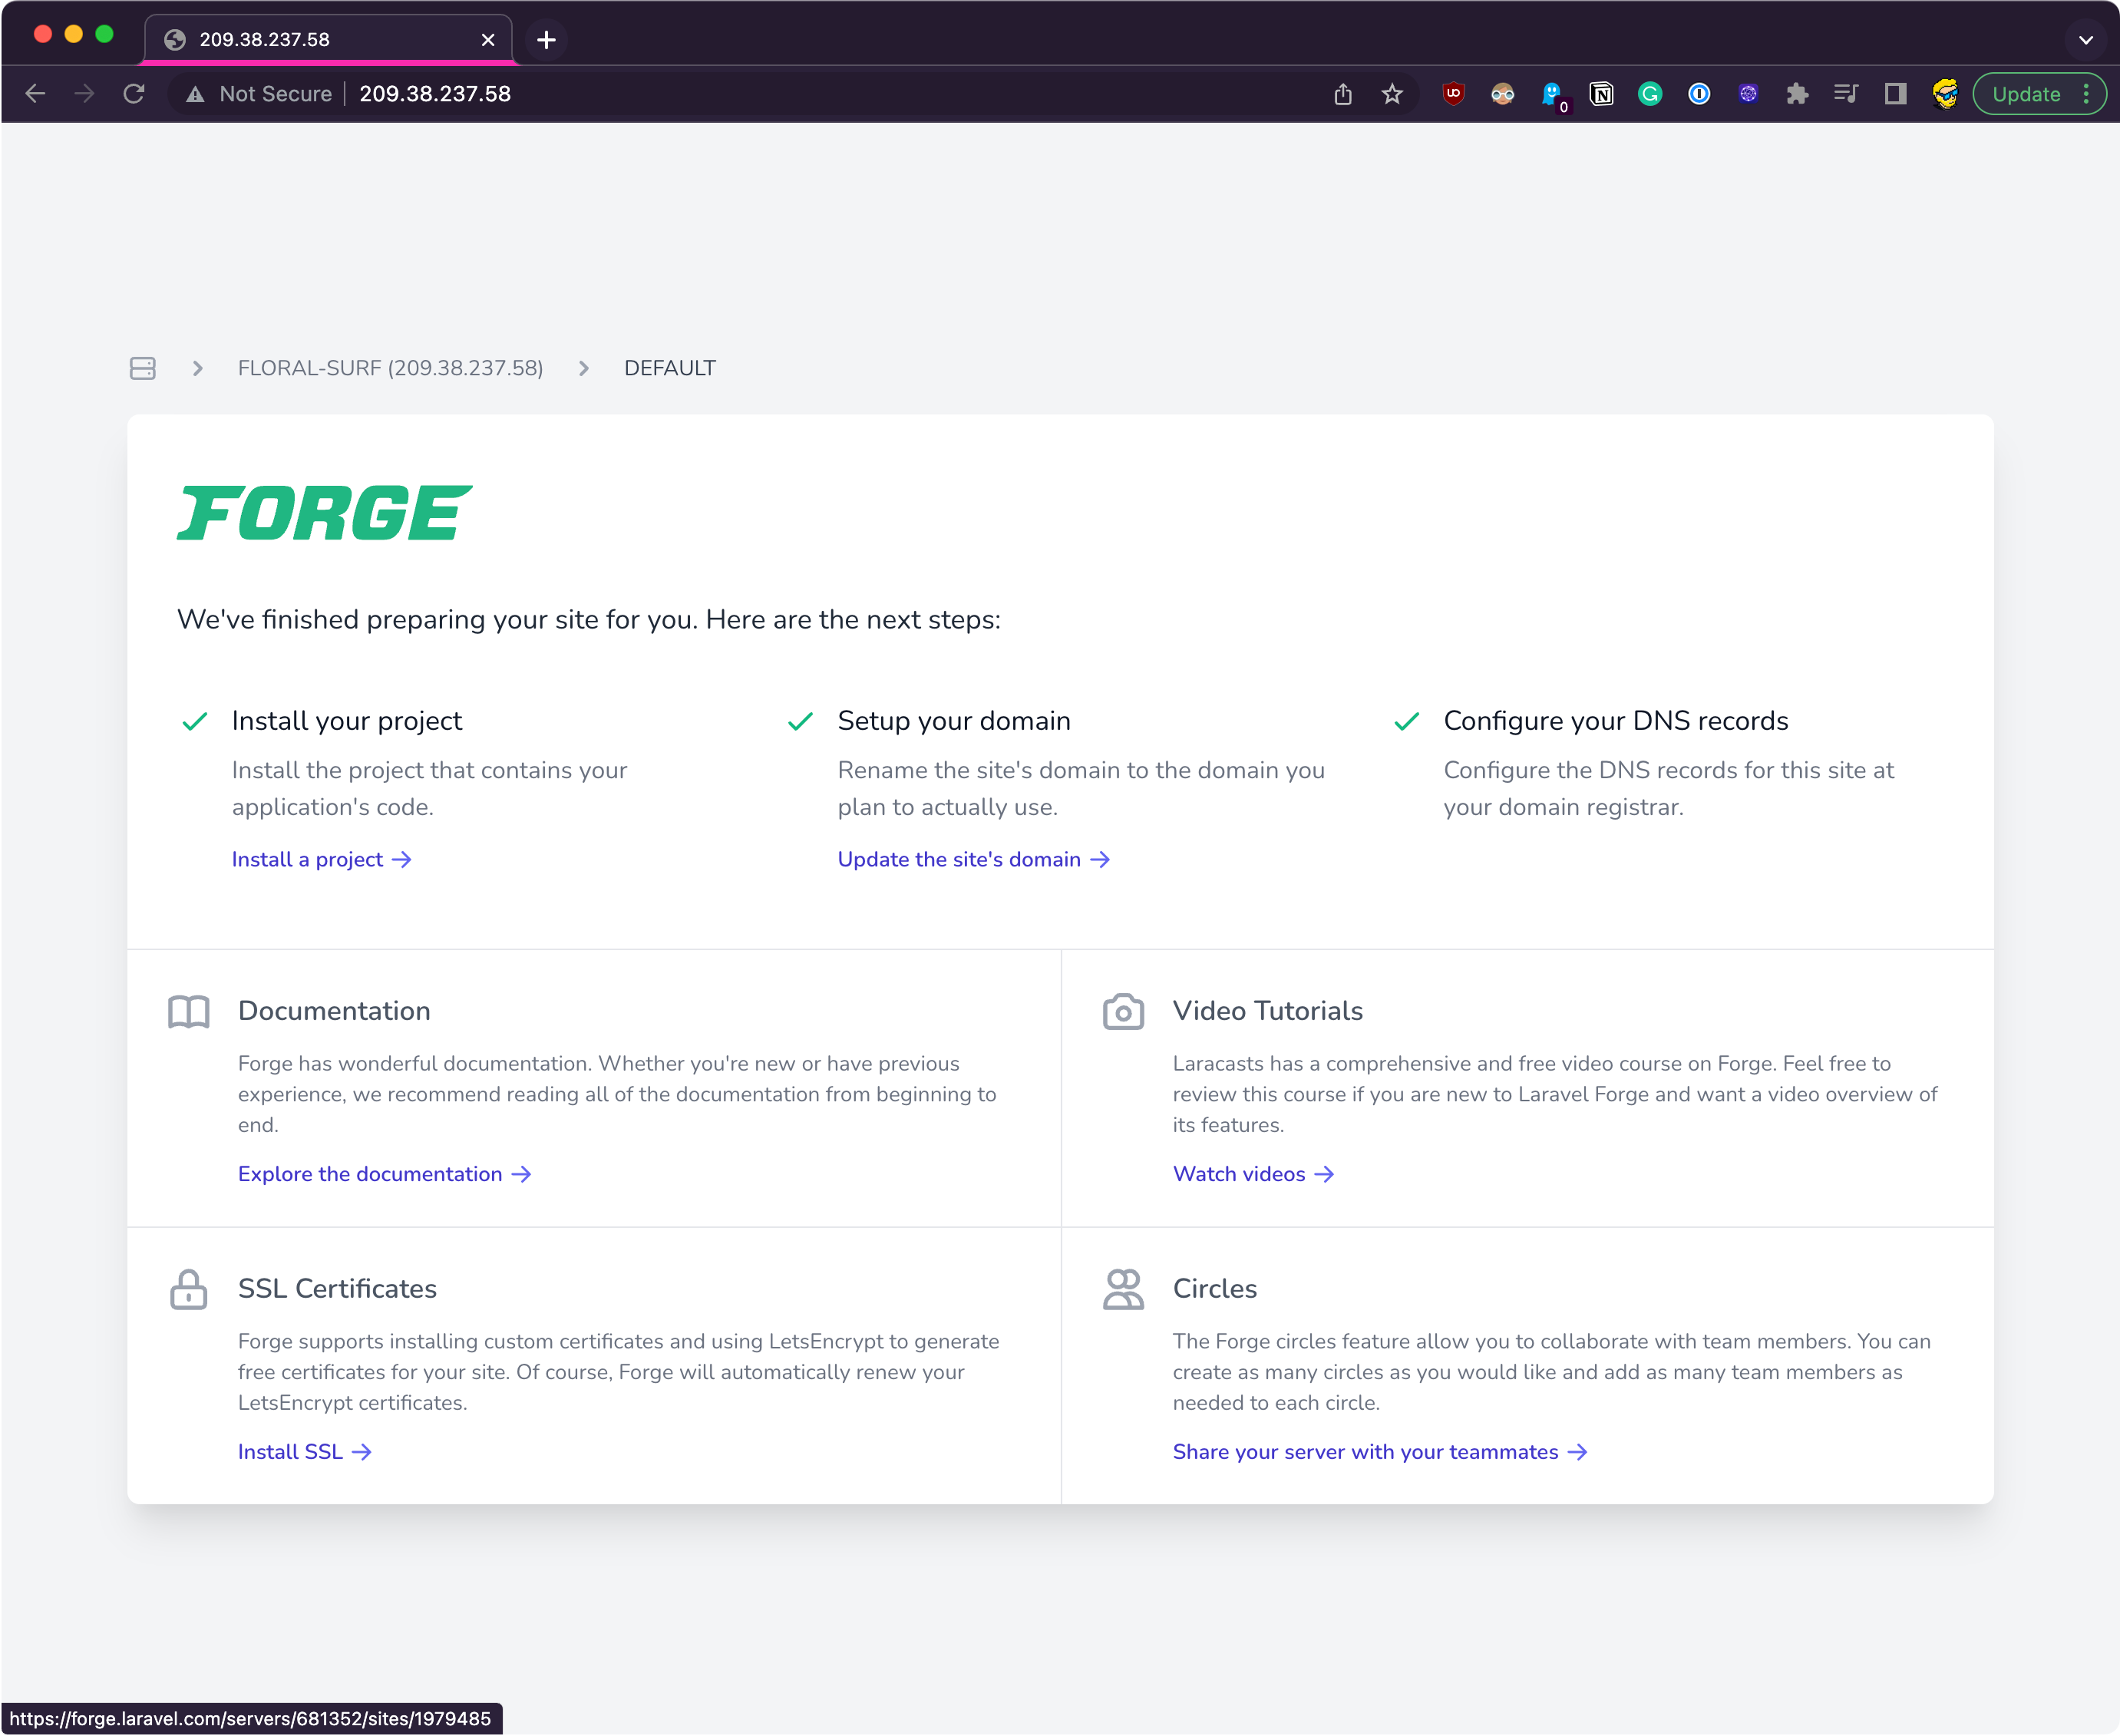
There is a default one already set up, and if you copy and paste the public IP address of the server in your browser, you’ll see it working:
Now let’s deploy the application on this site.
Ideally what you want to do is, you create a new site with a domain / subdomain assigned.
But it’s starting to become complicated for this handbook, so we’ll just use the default site which works on the IP address instead.
Click the default site in the dashboard and you’ll see the site panel:
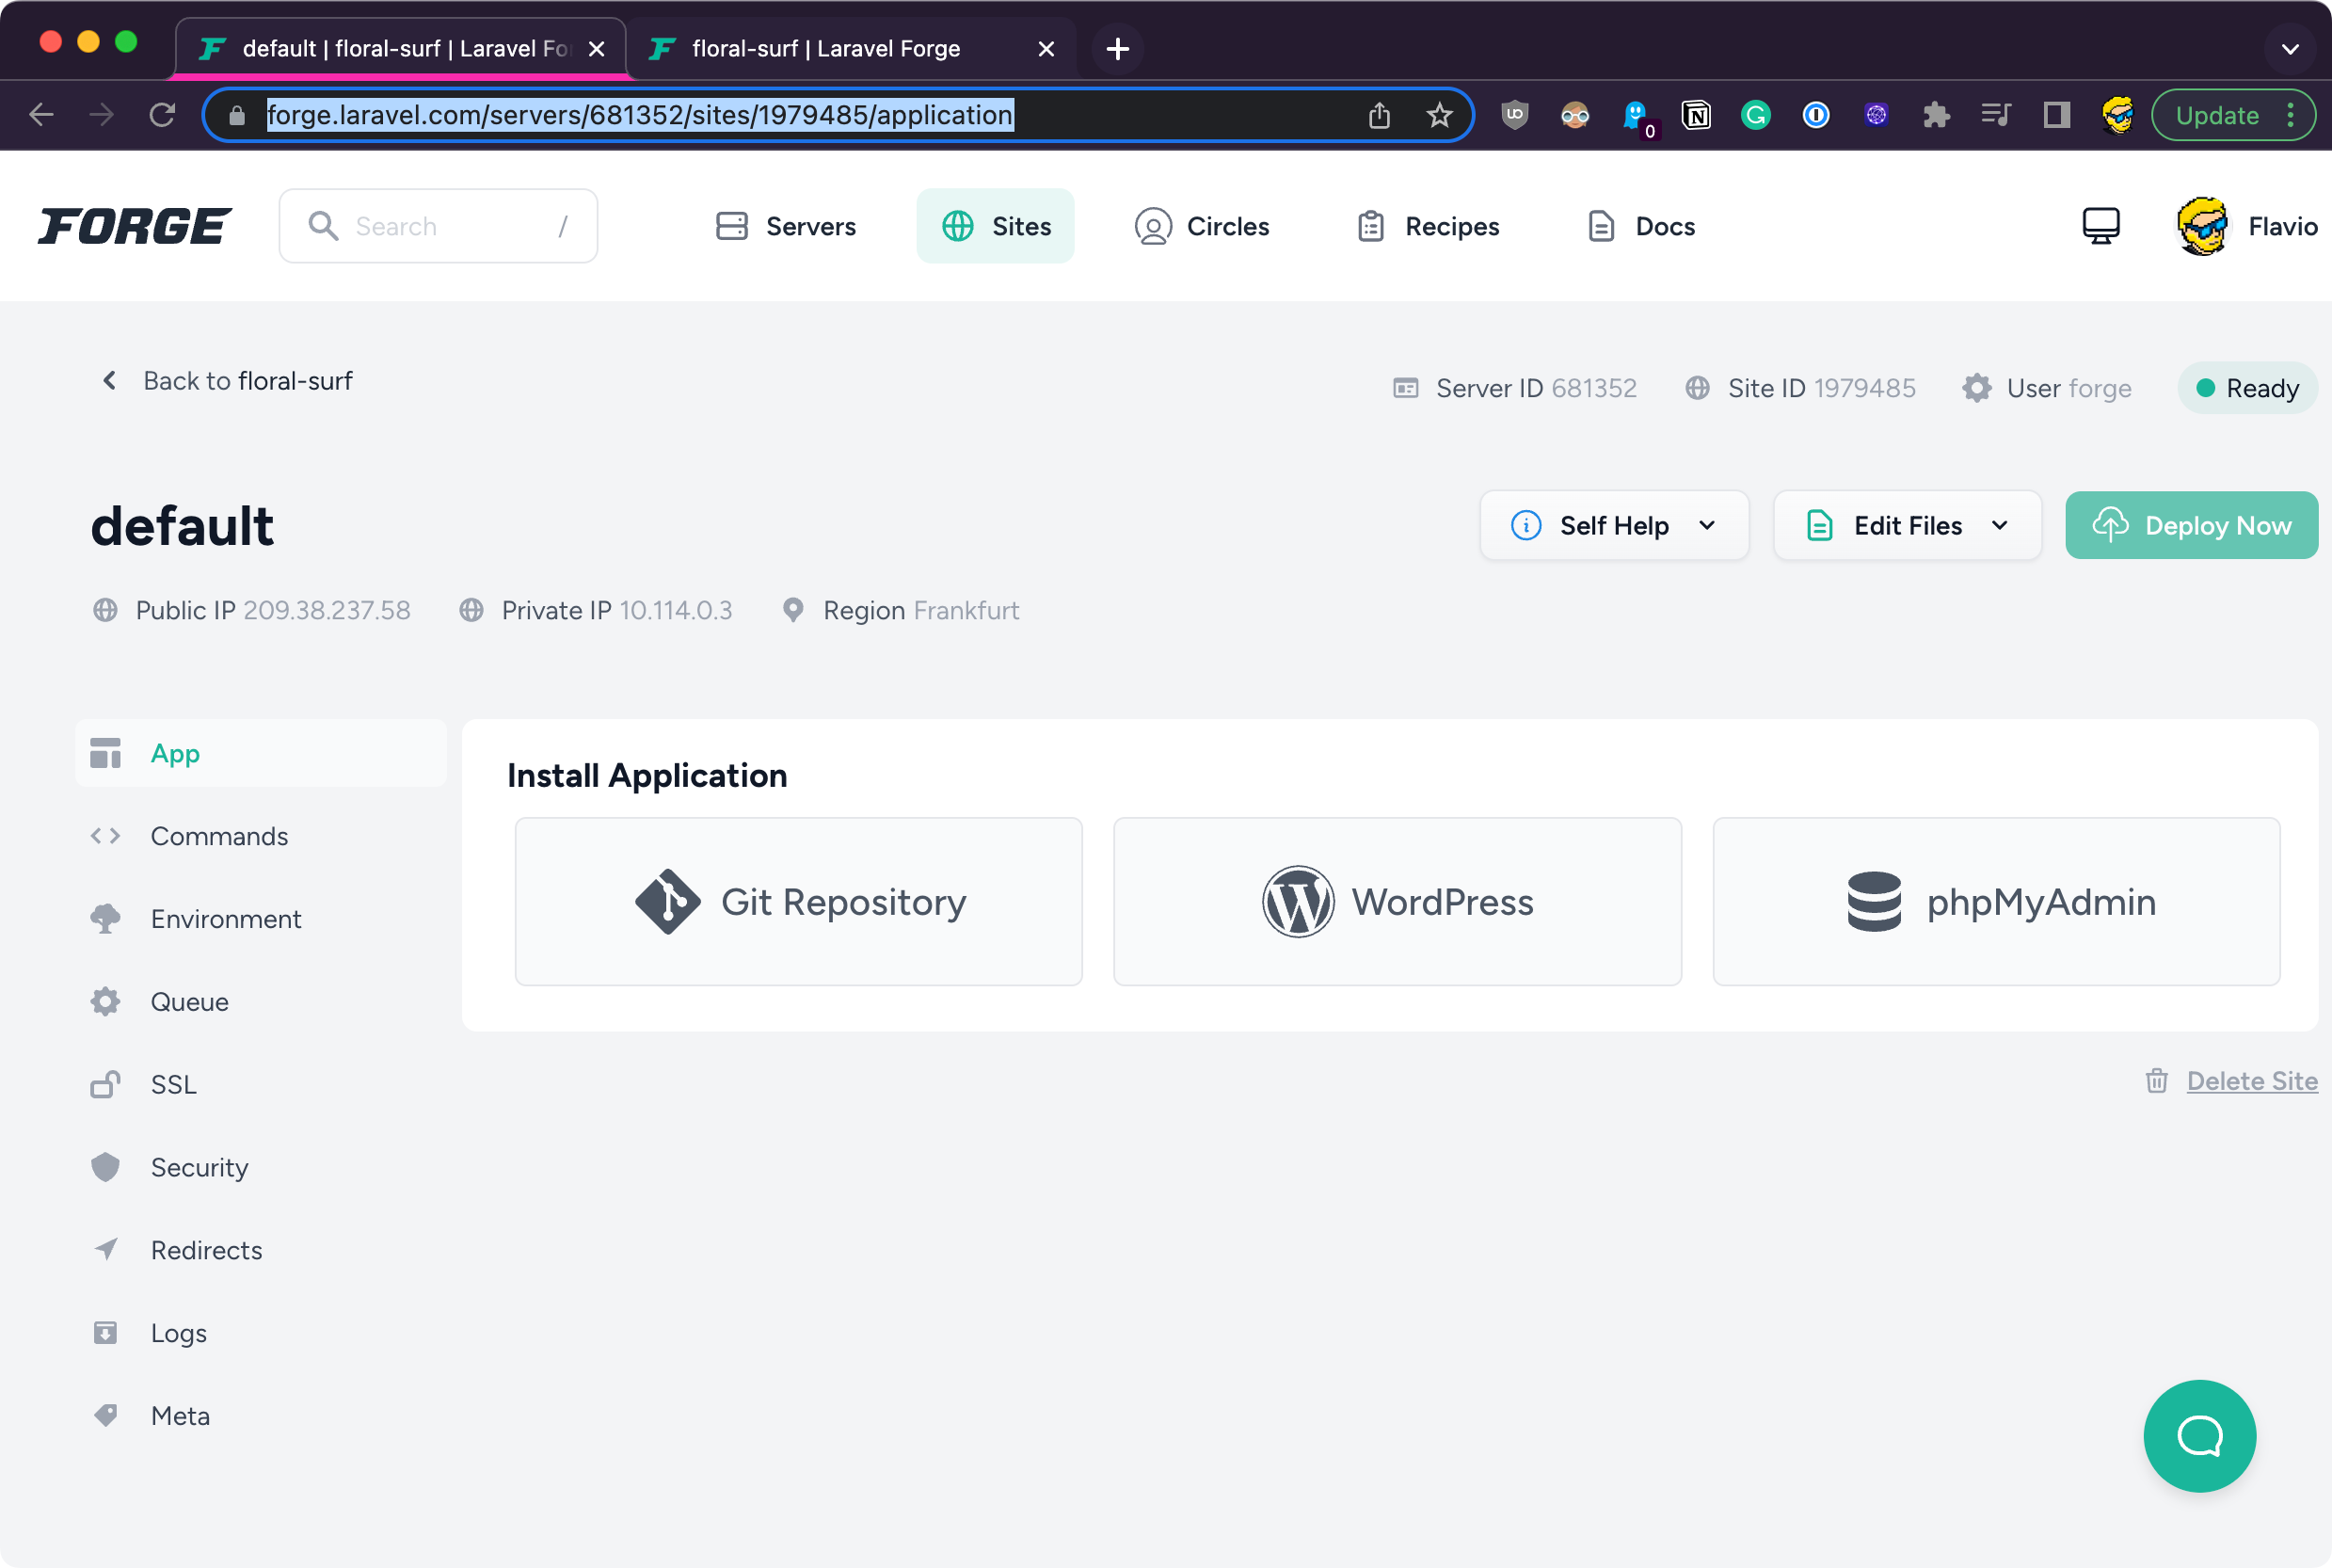
We have the site in GitHub, so open the site’s Git repository settings:
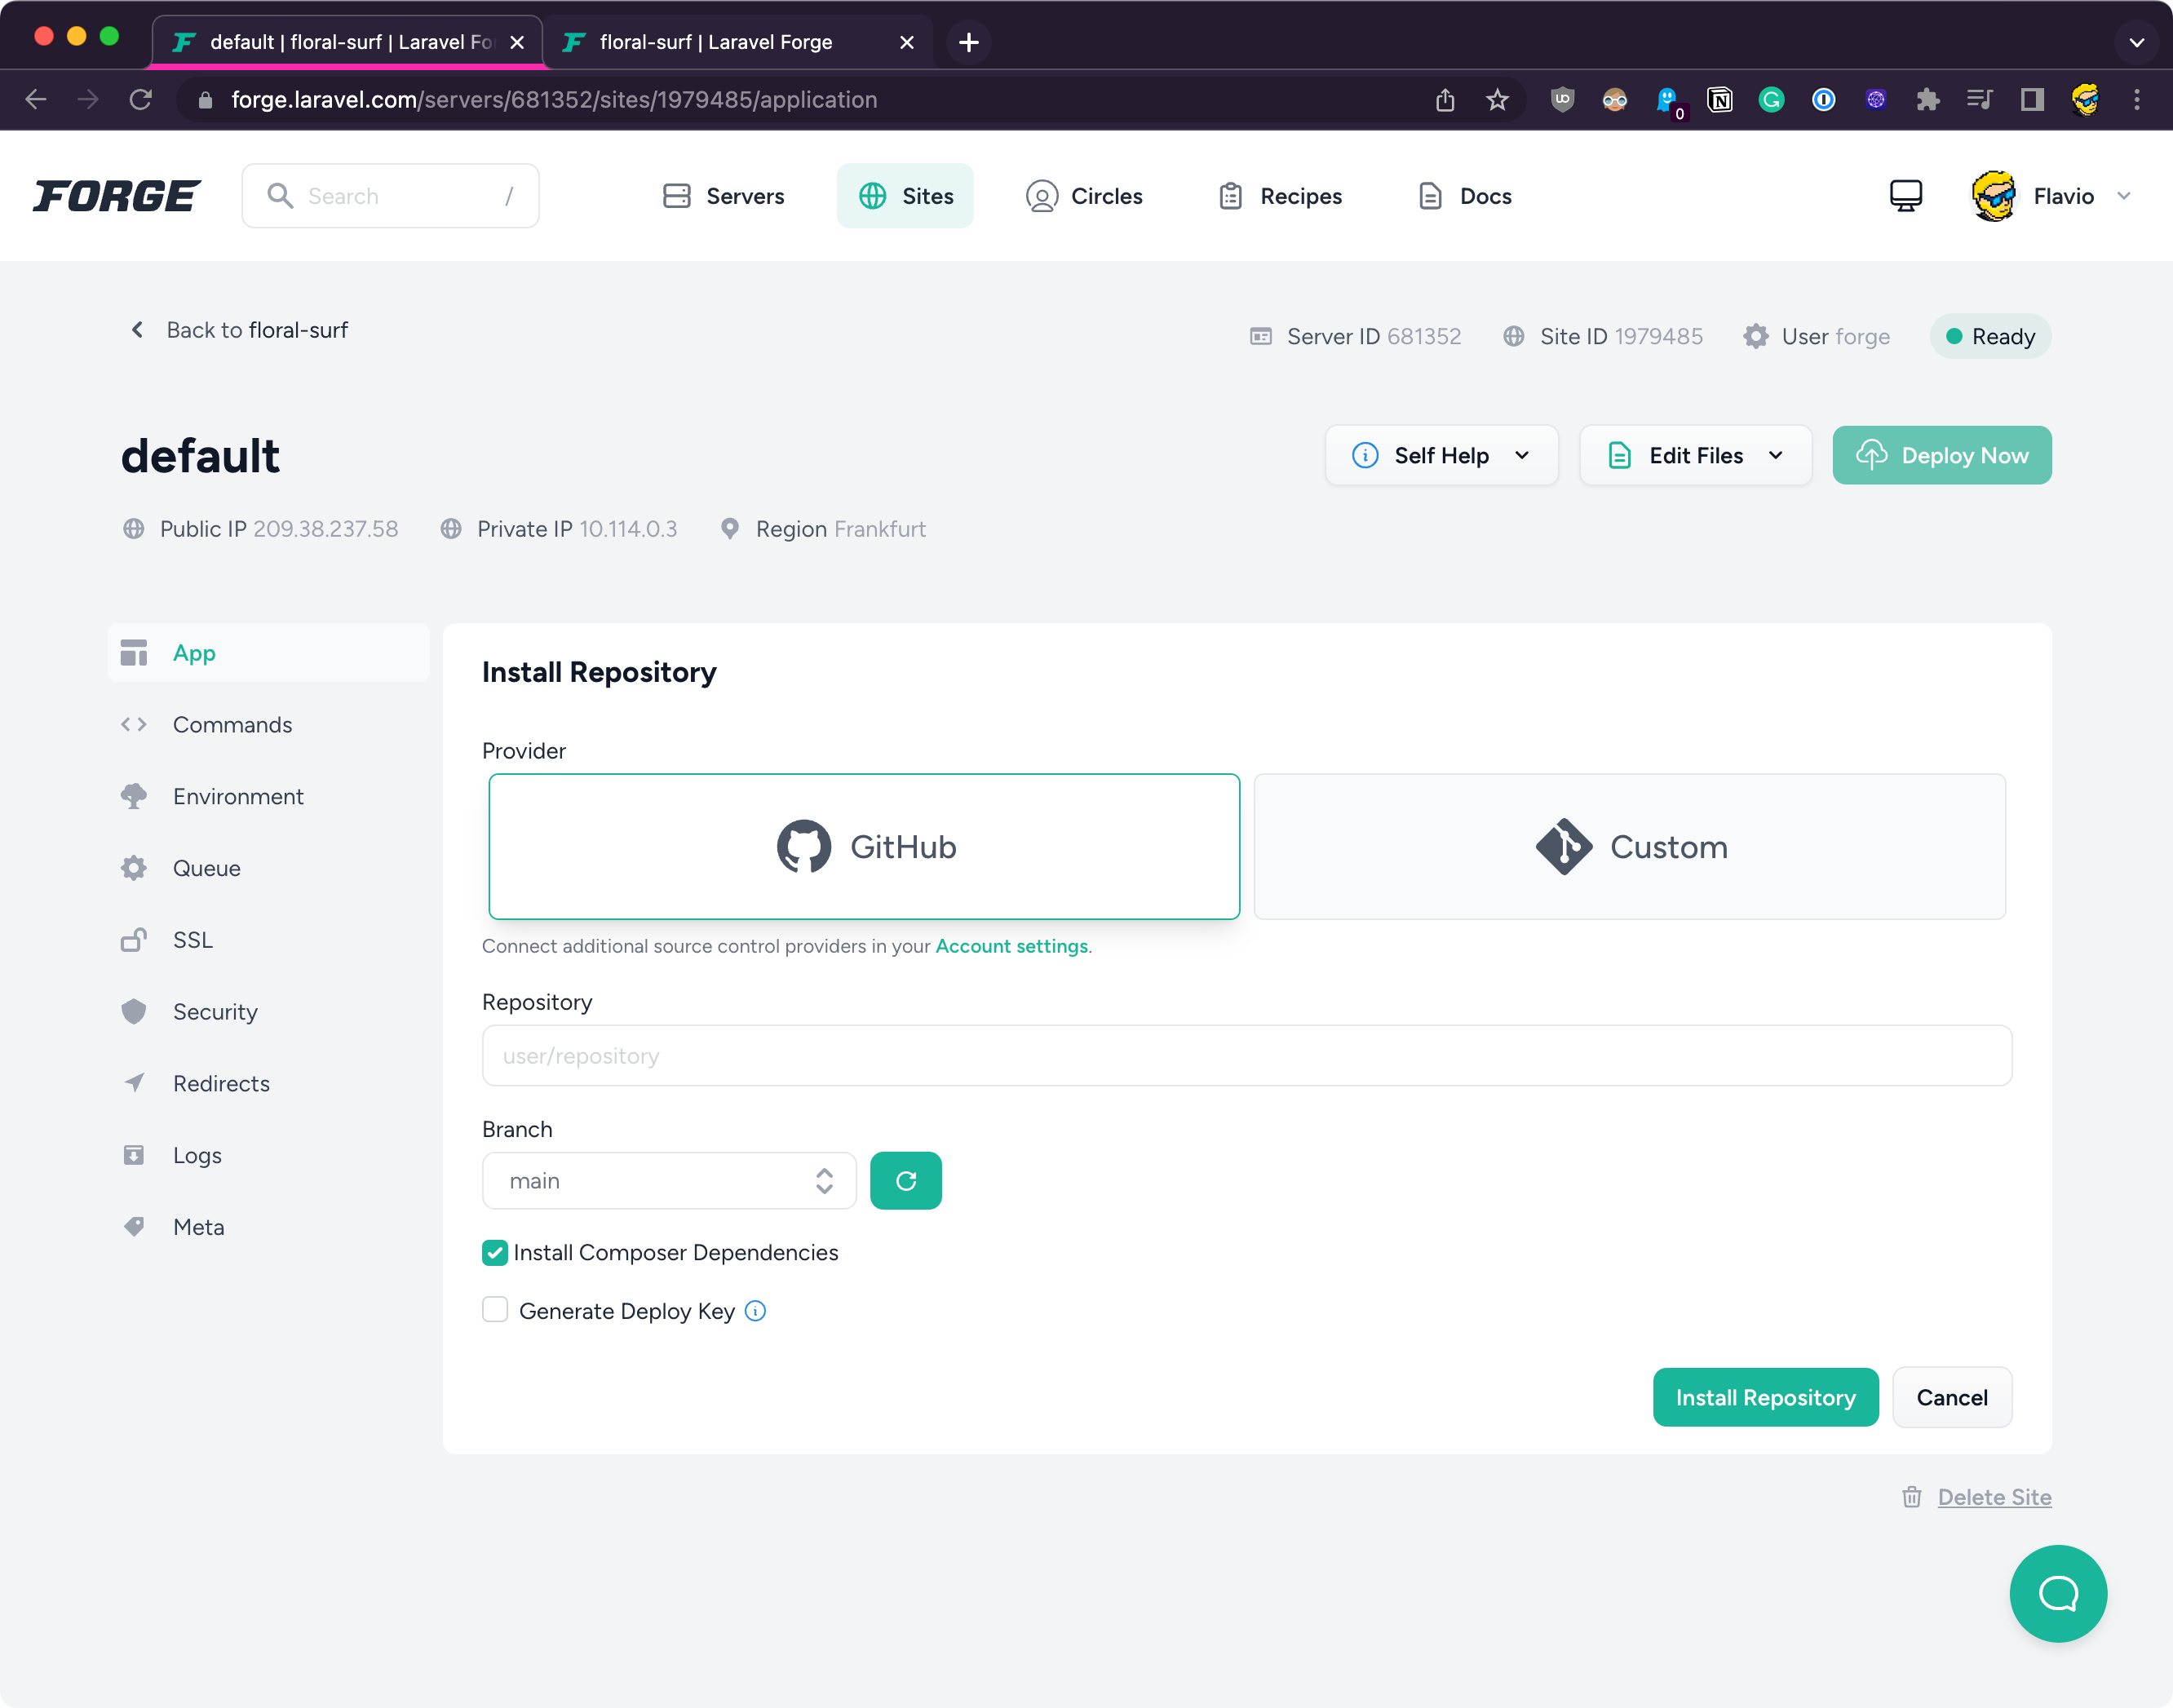
Type the repository as account/repo (in my case flaviocopes/second), pick the branch (usually main), and install it.
After a while it’s done!
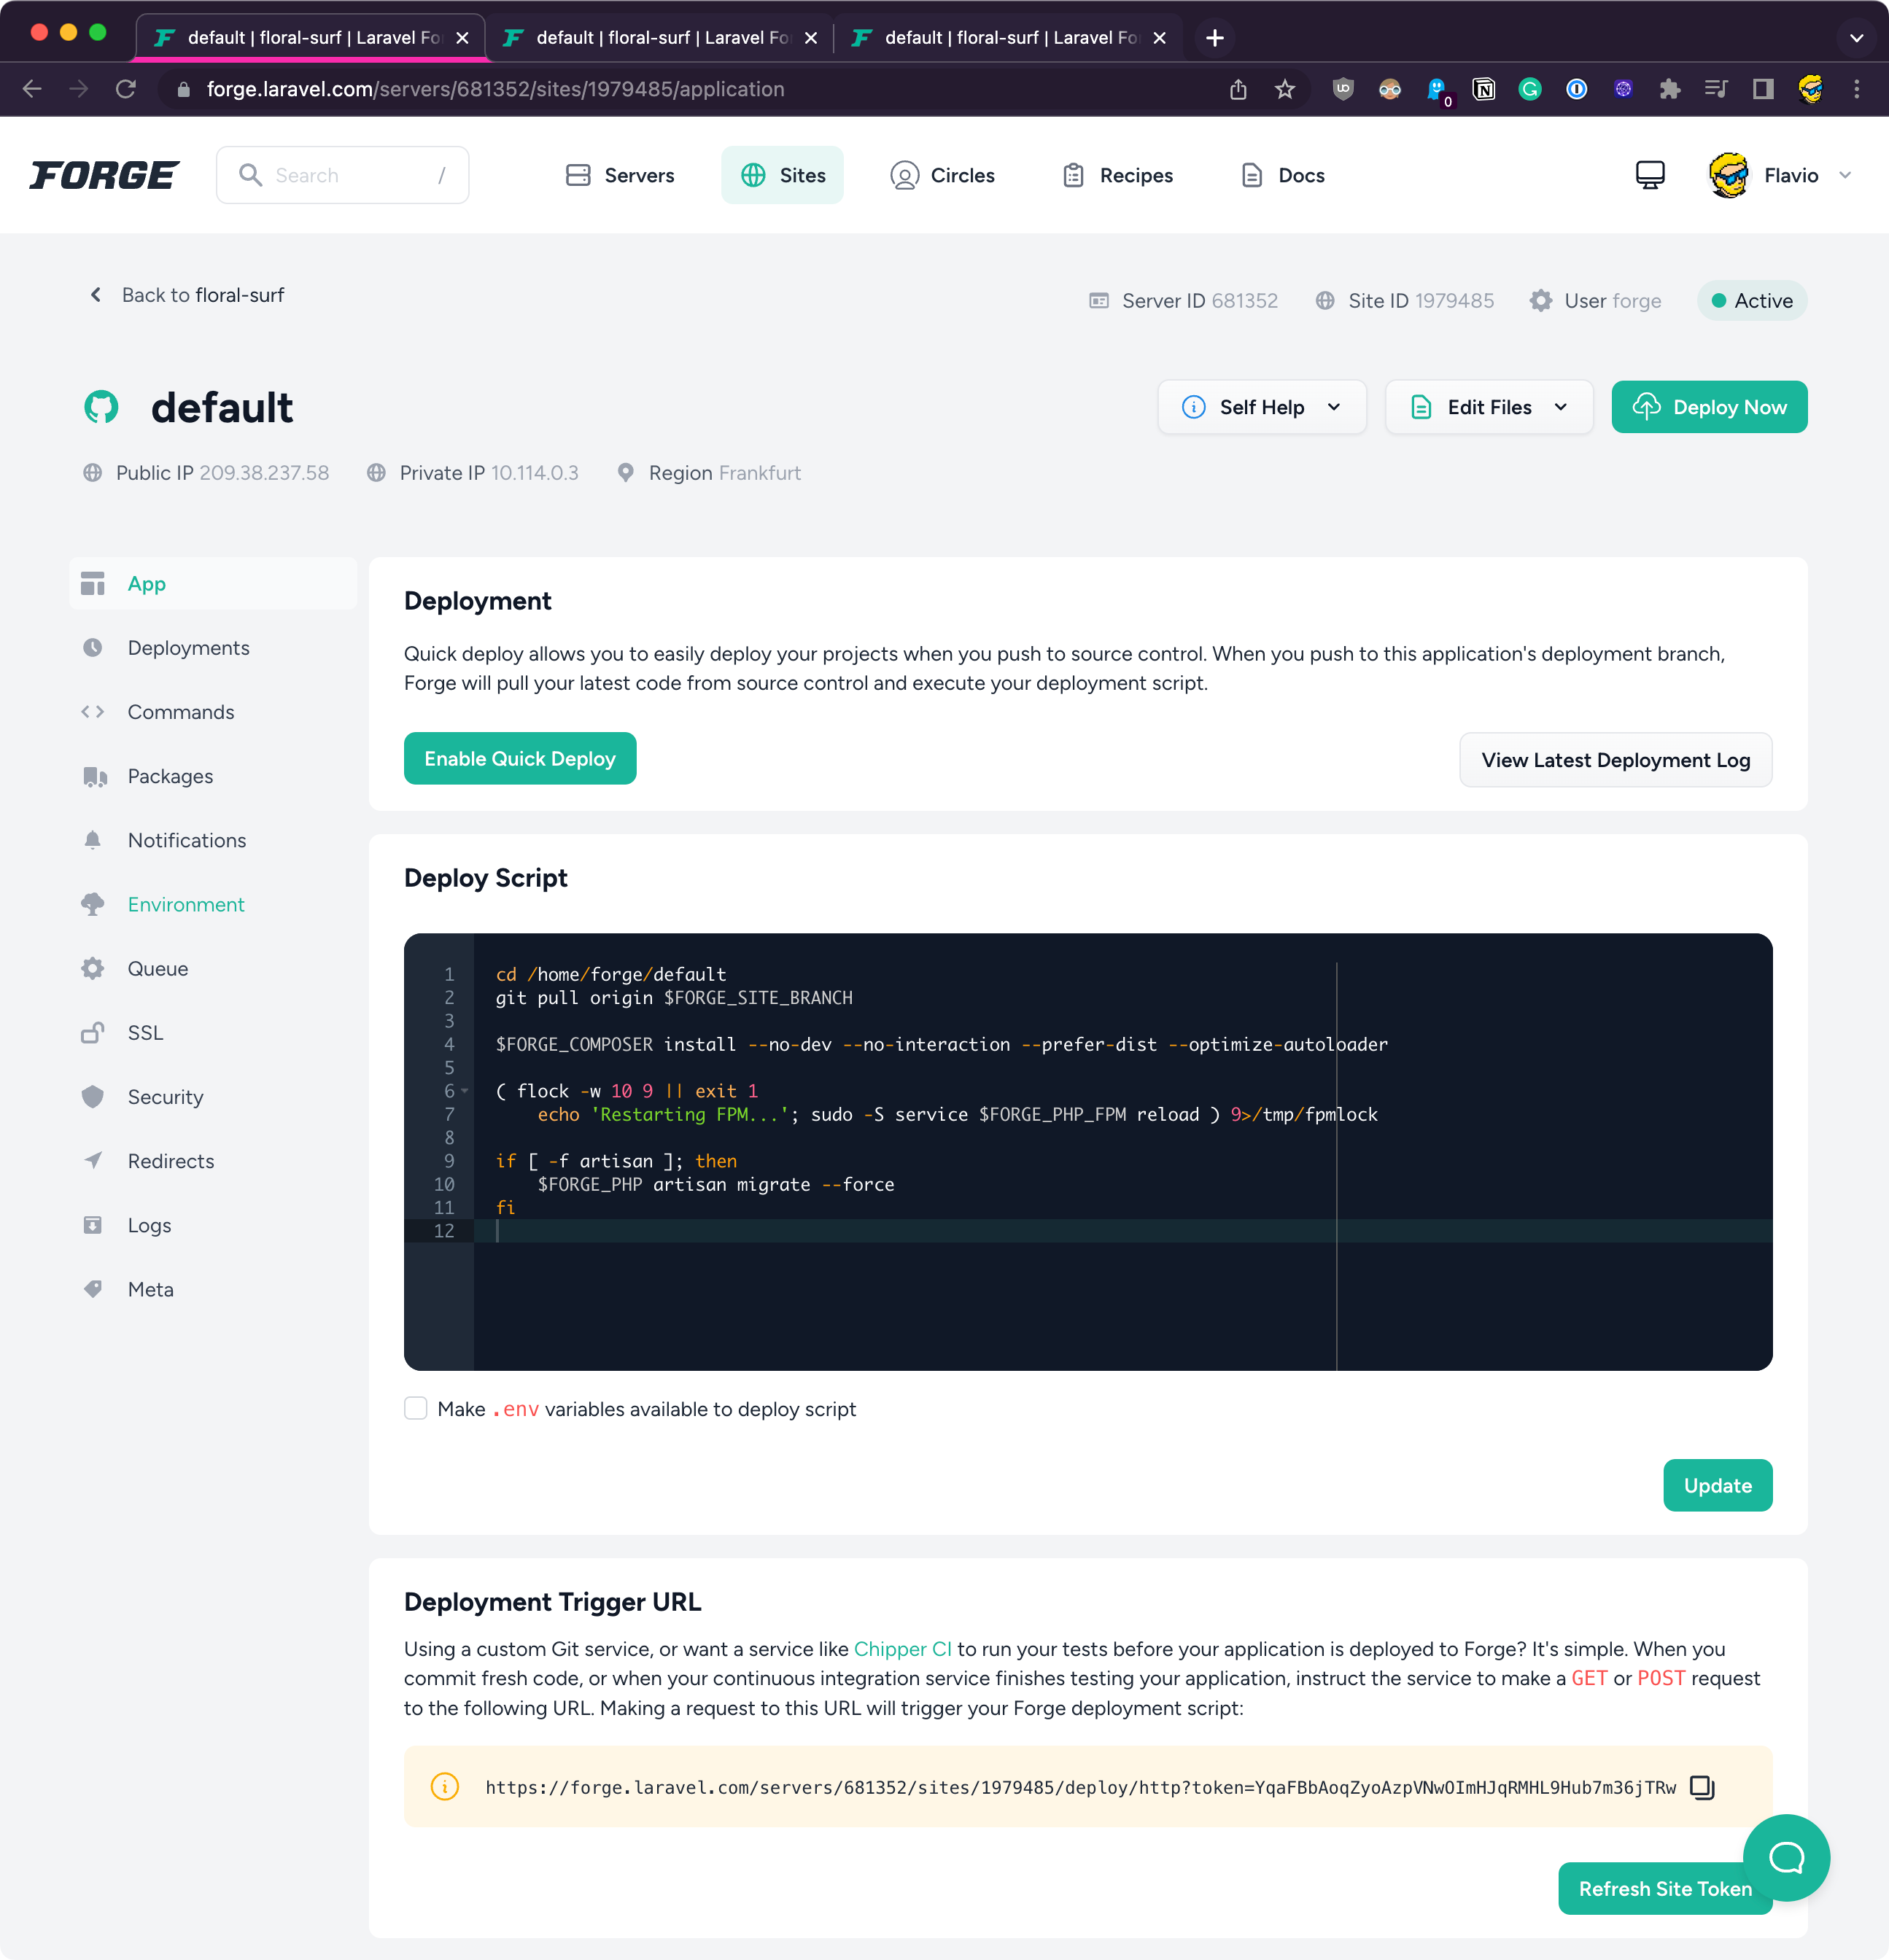
But if you go to the IP address again, there’s an error:
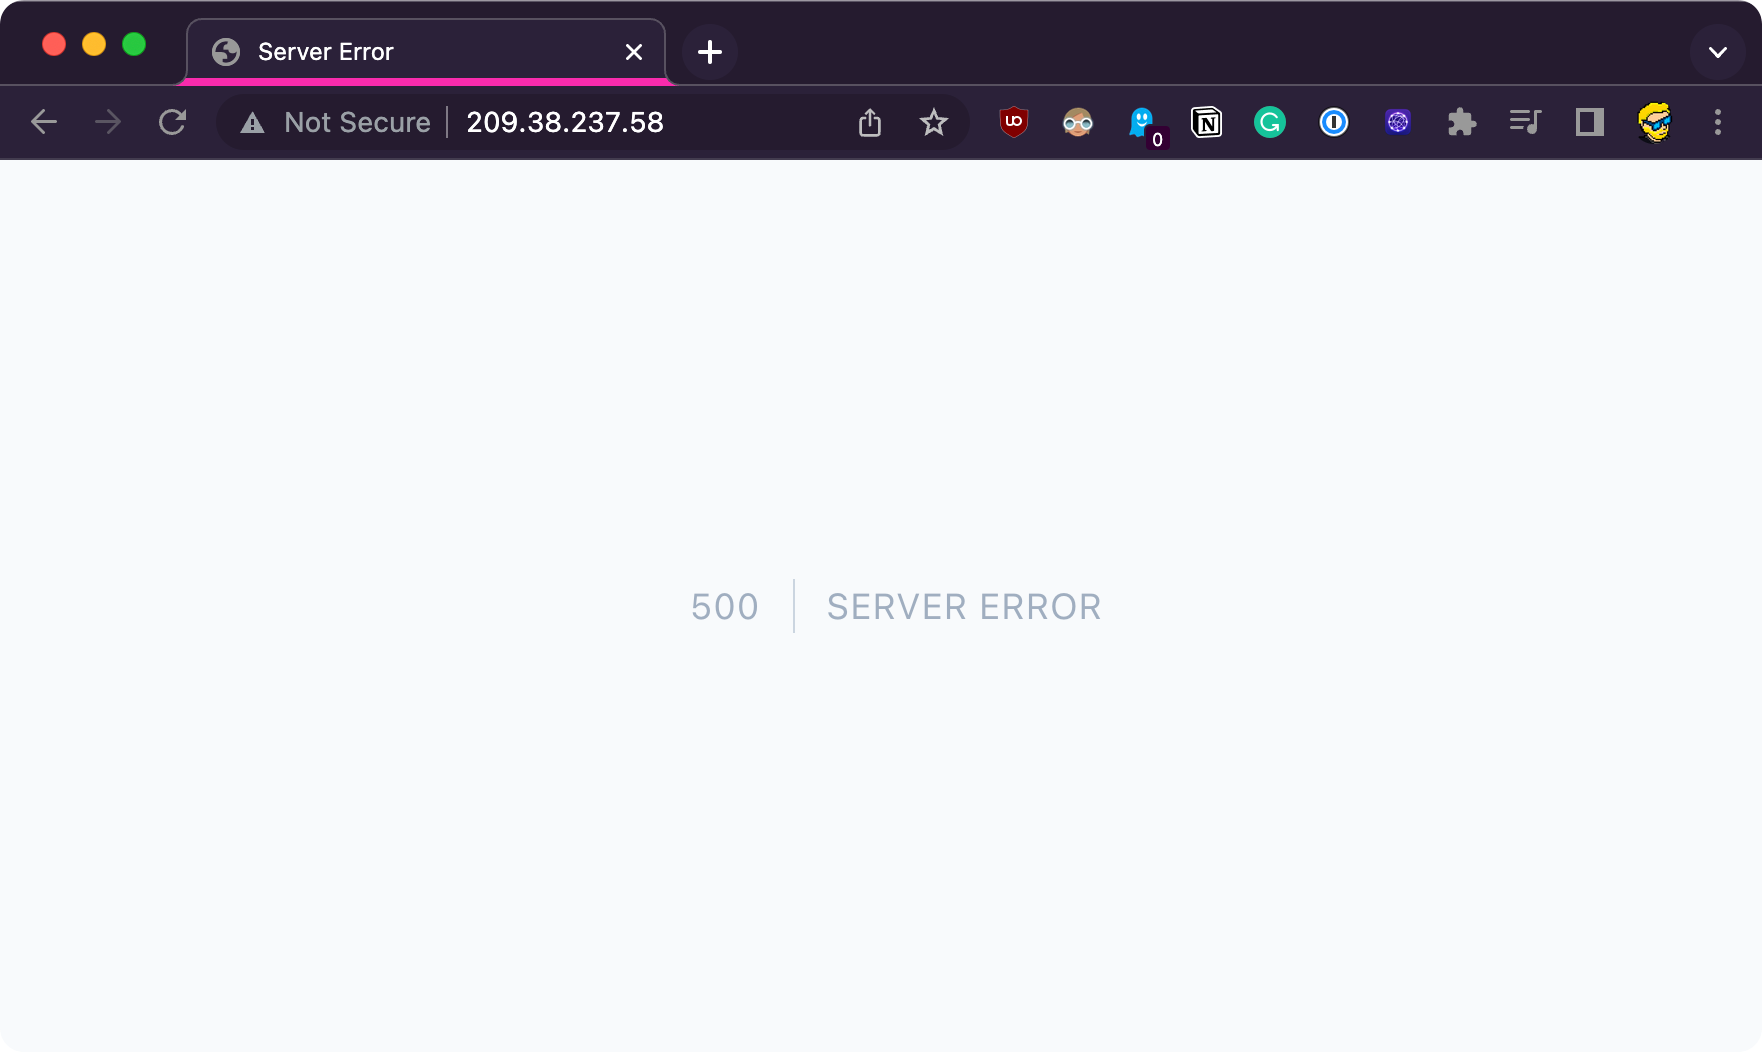
Mmmm! We don’t see more details because now the site is in a production environment, and we don’t show detailed logs to users.
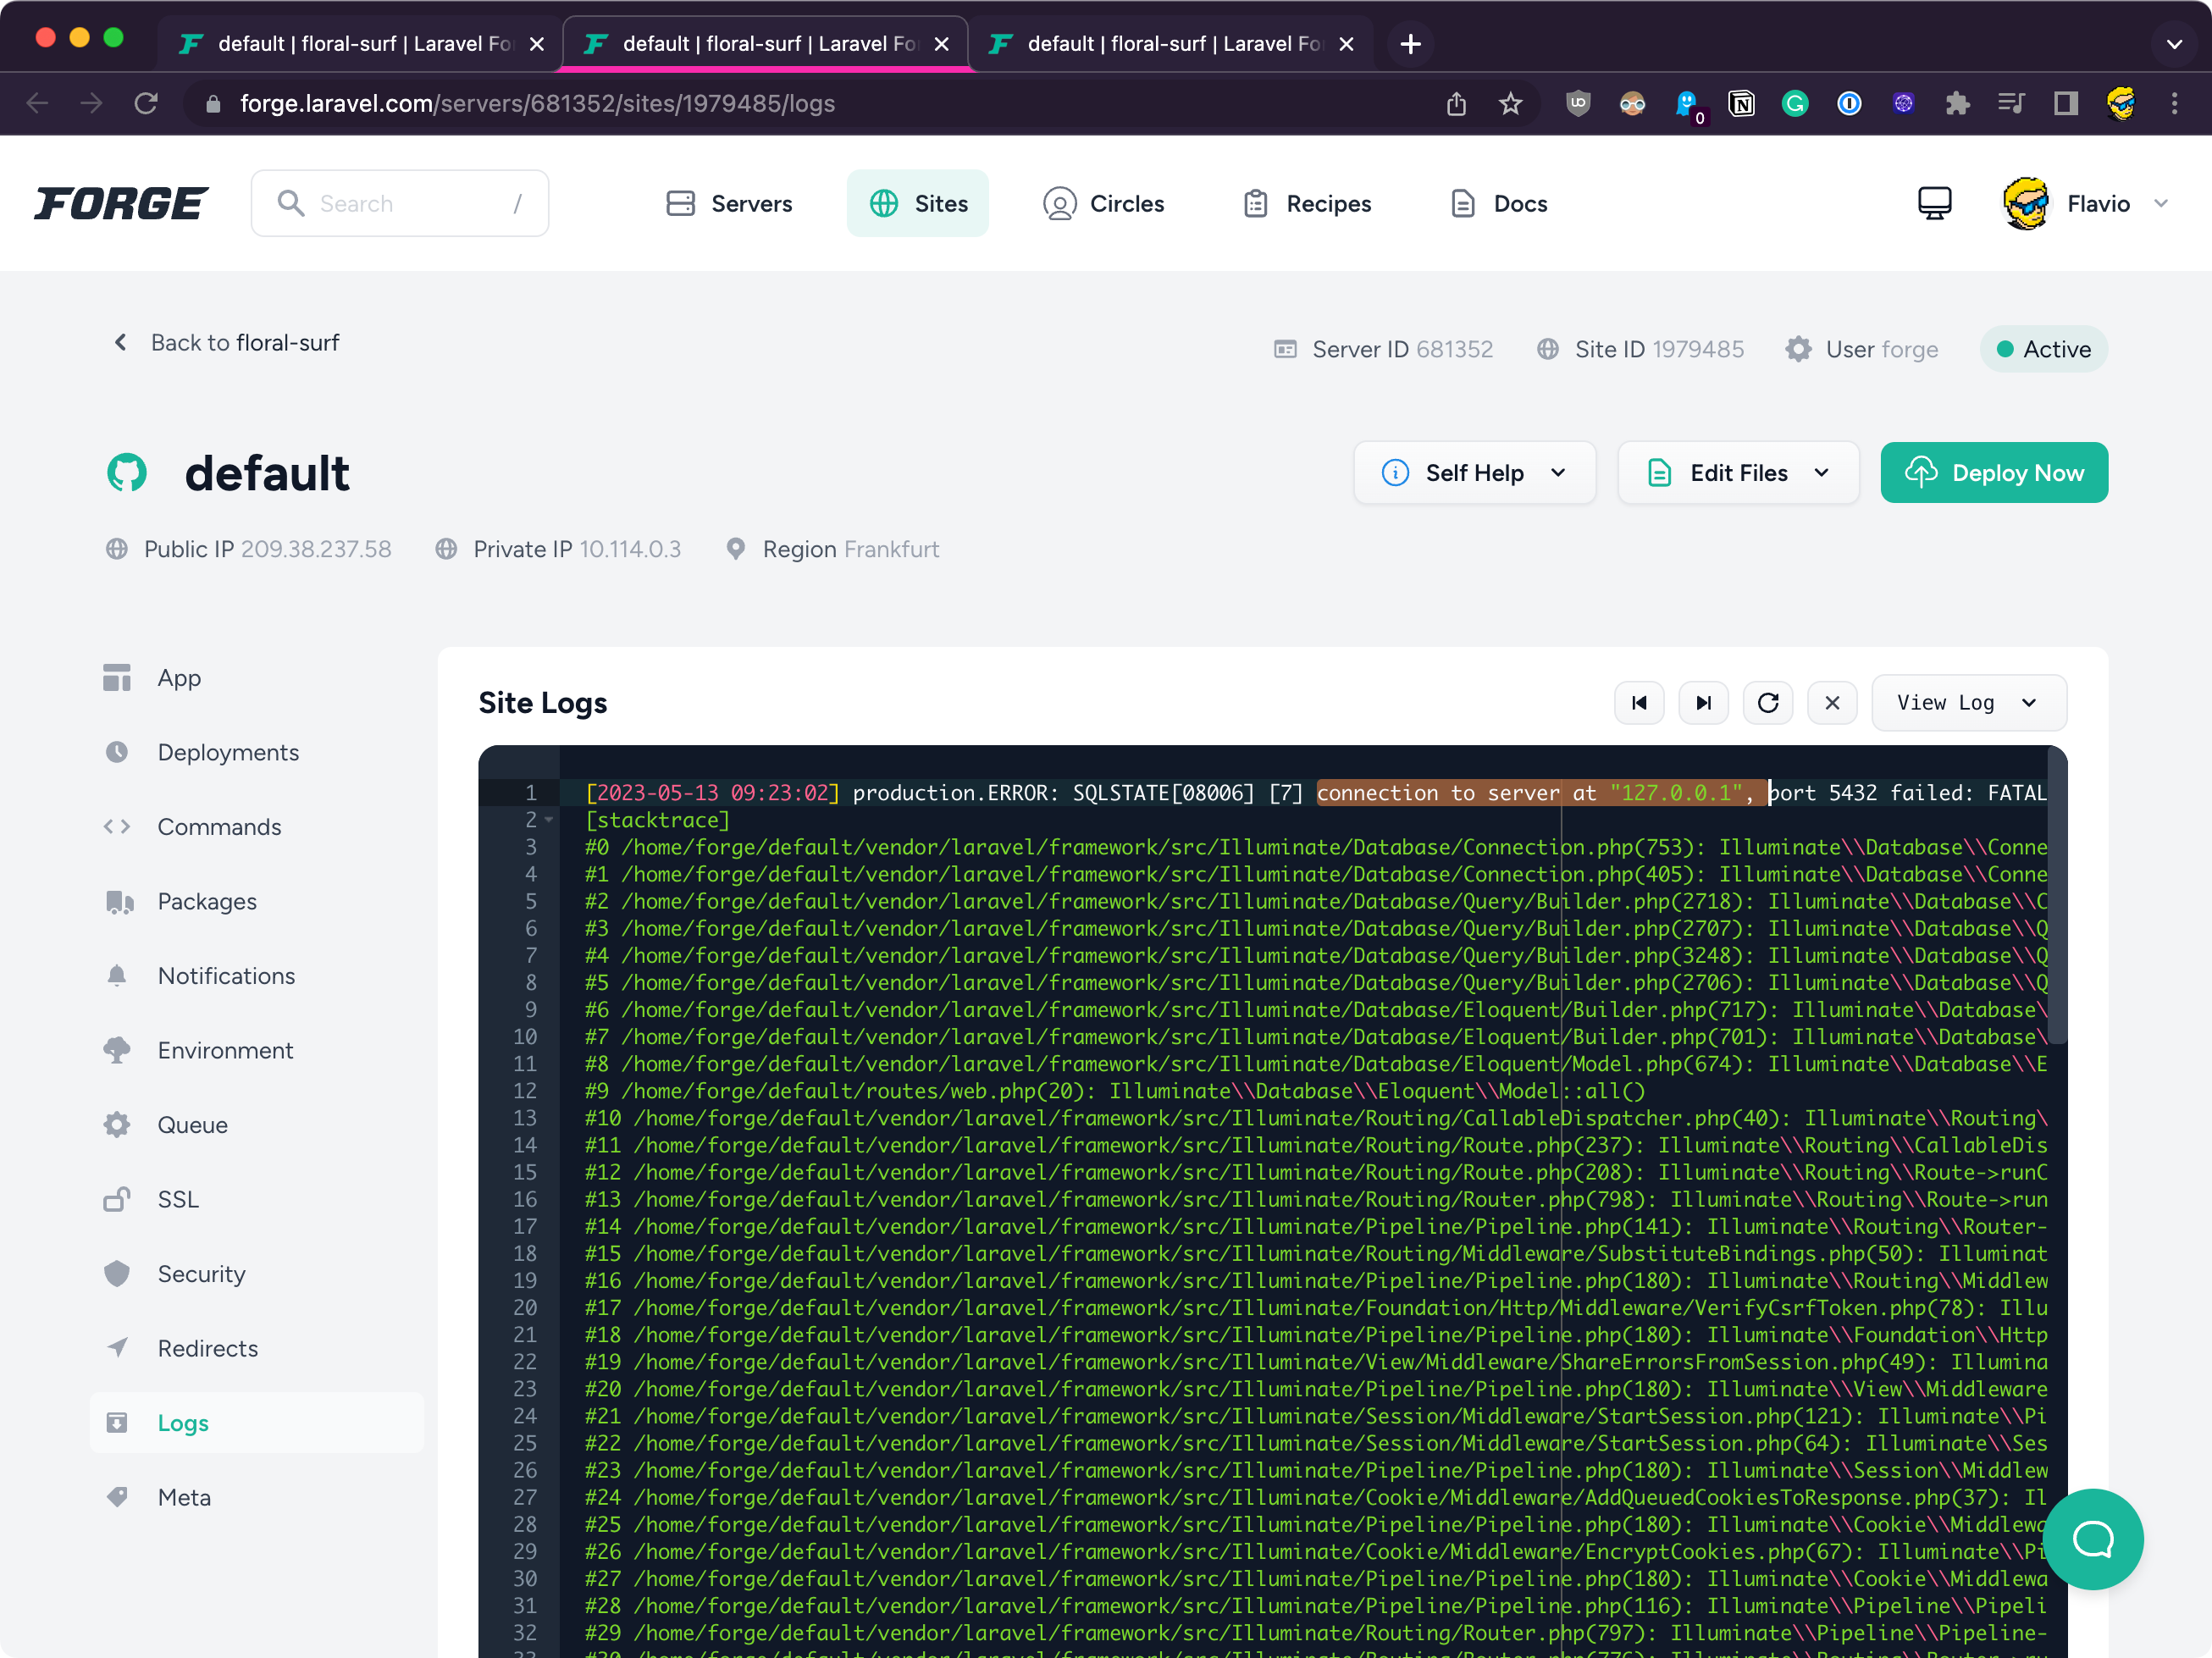
To figure out the problem let’s go back to the panel, open Logs and you’ll see the error is related to connecting to the database.
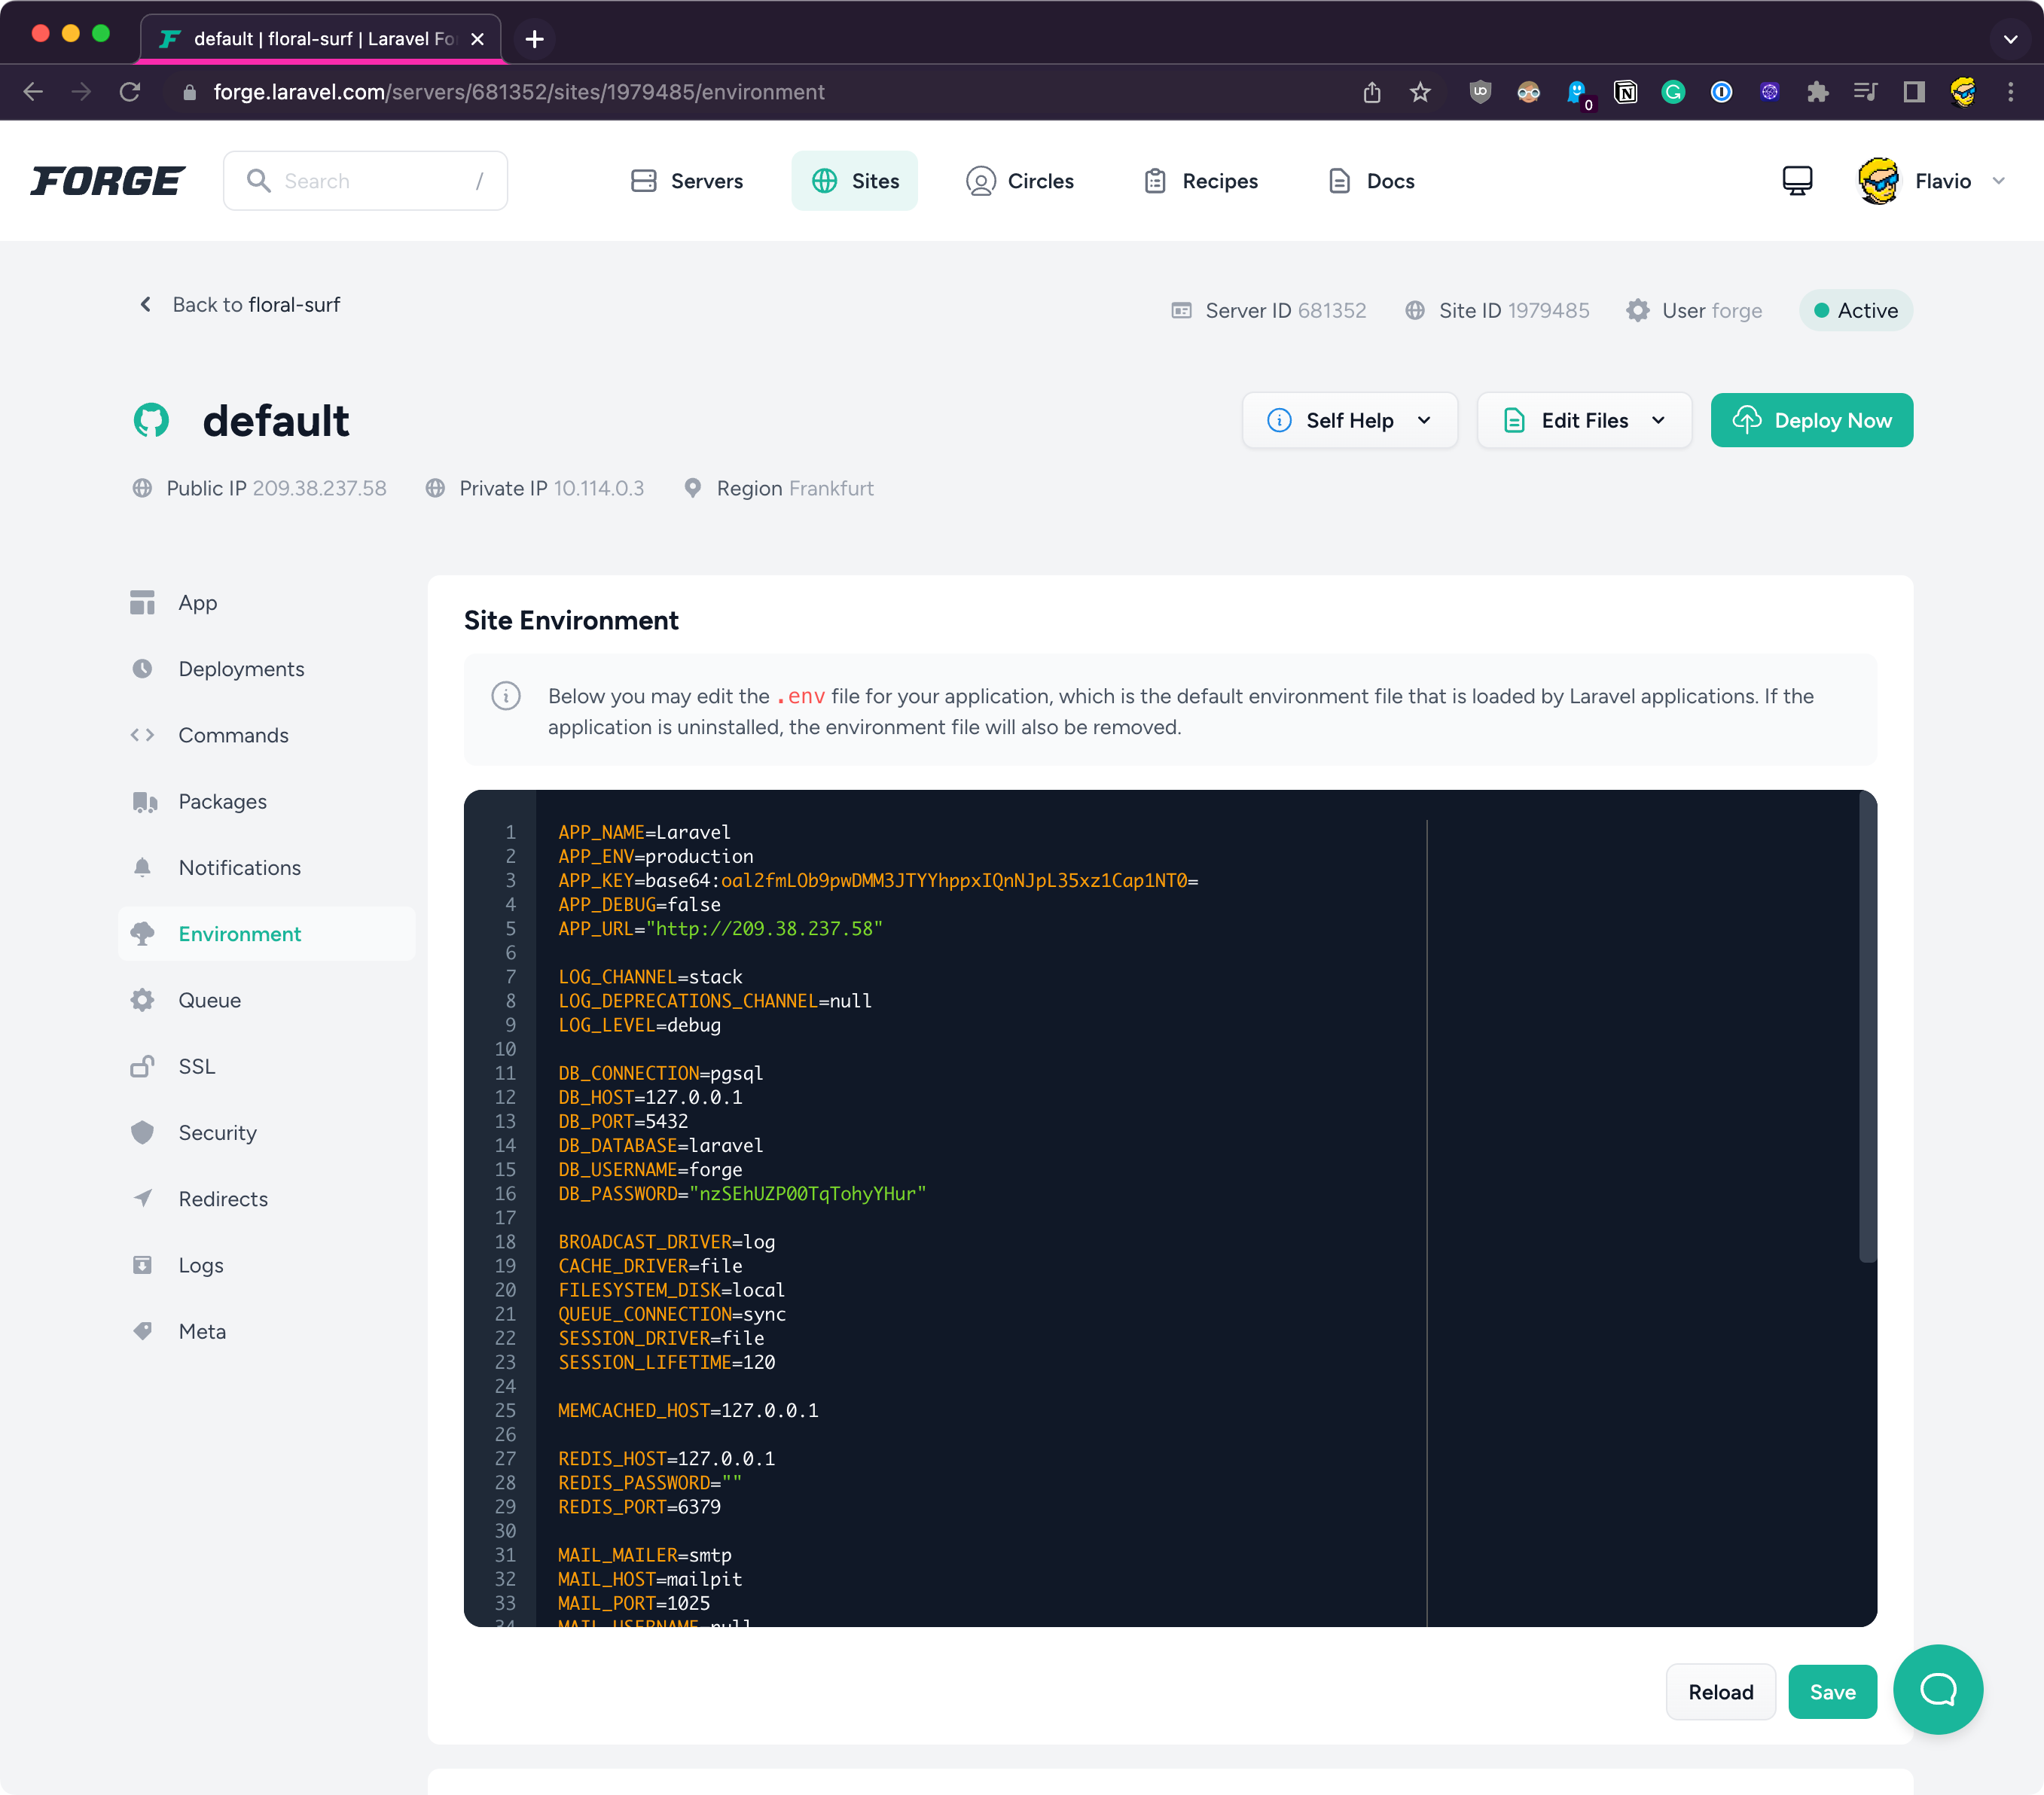
If you look closely in the GitHub repository you will see the .env file was not pushed to GitHub, and this is correct because you don’t want to store the environment variables in Git.
In the Forge site config open the environment editor. That’s where production env vars live:
For this demo I switched the app to SQLite. Comment the unused DB_* fields and set:
DB_CONNECTION=sqlite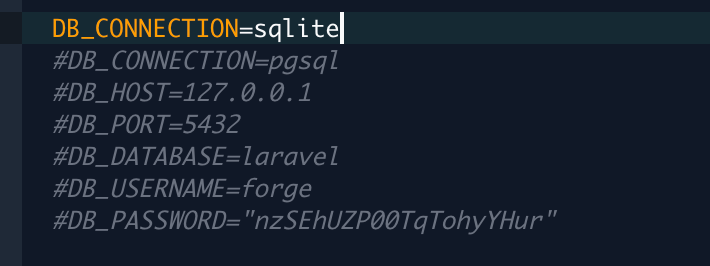
Save the environment, then trigger a deploy.
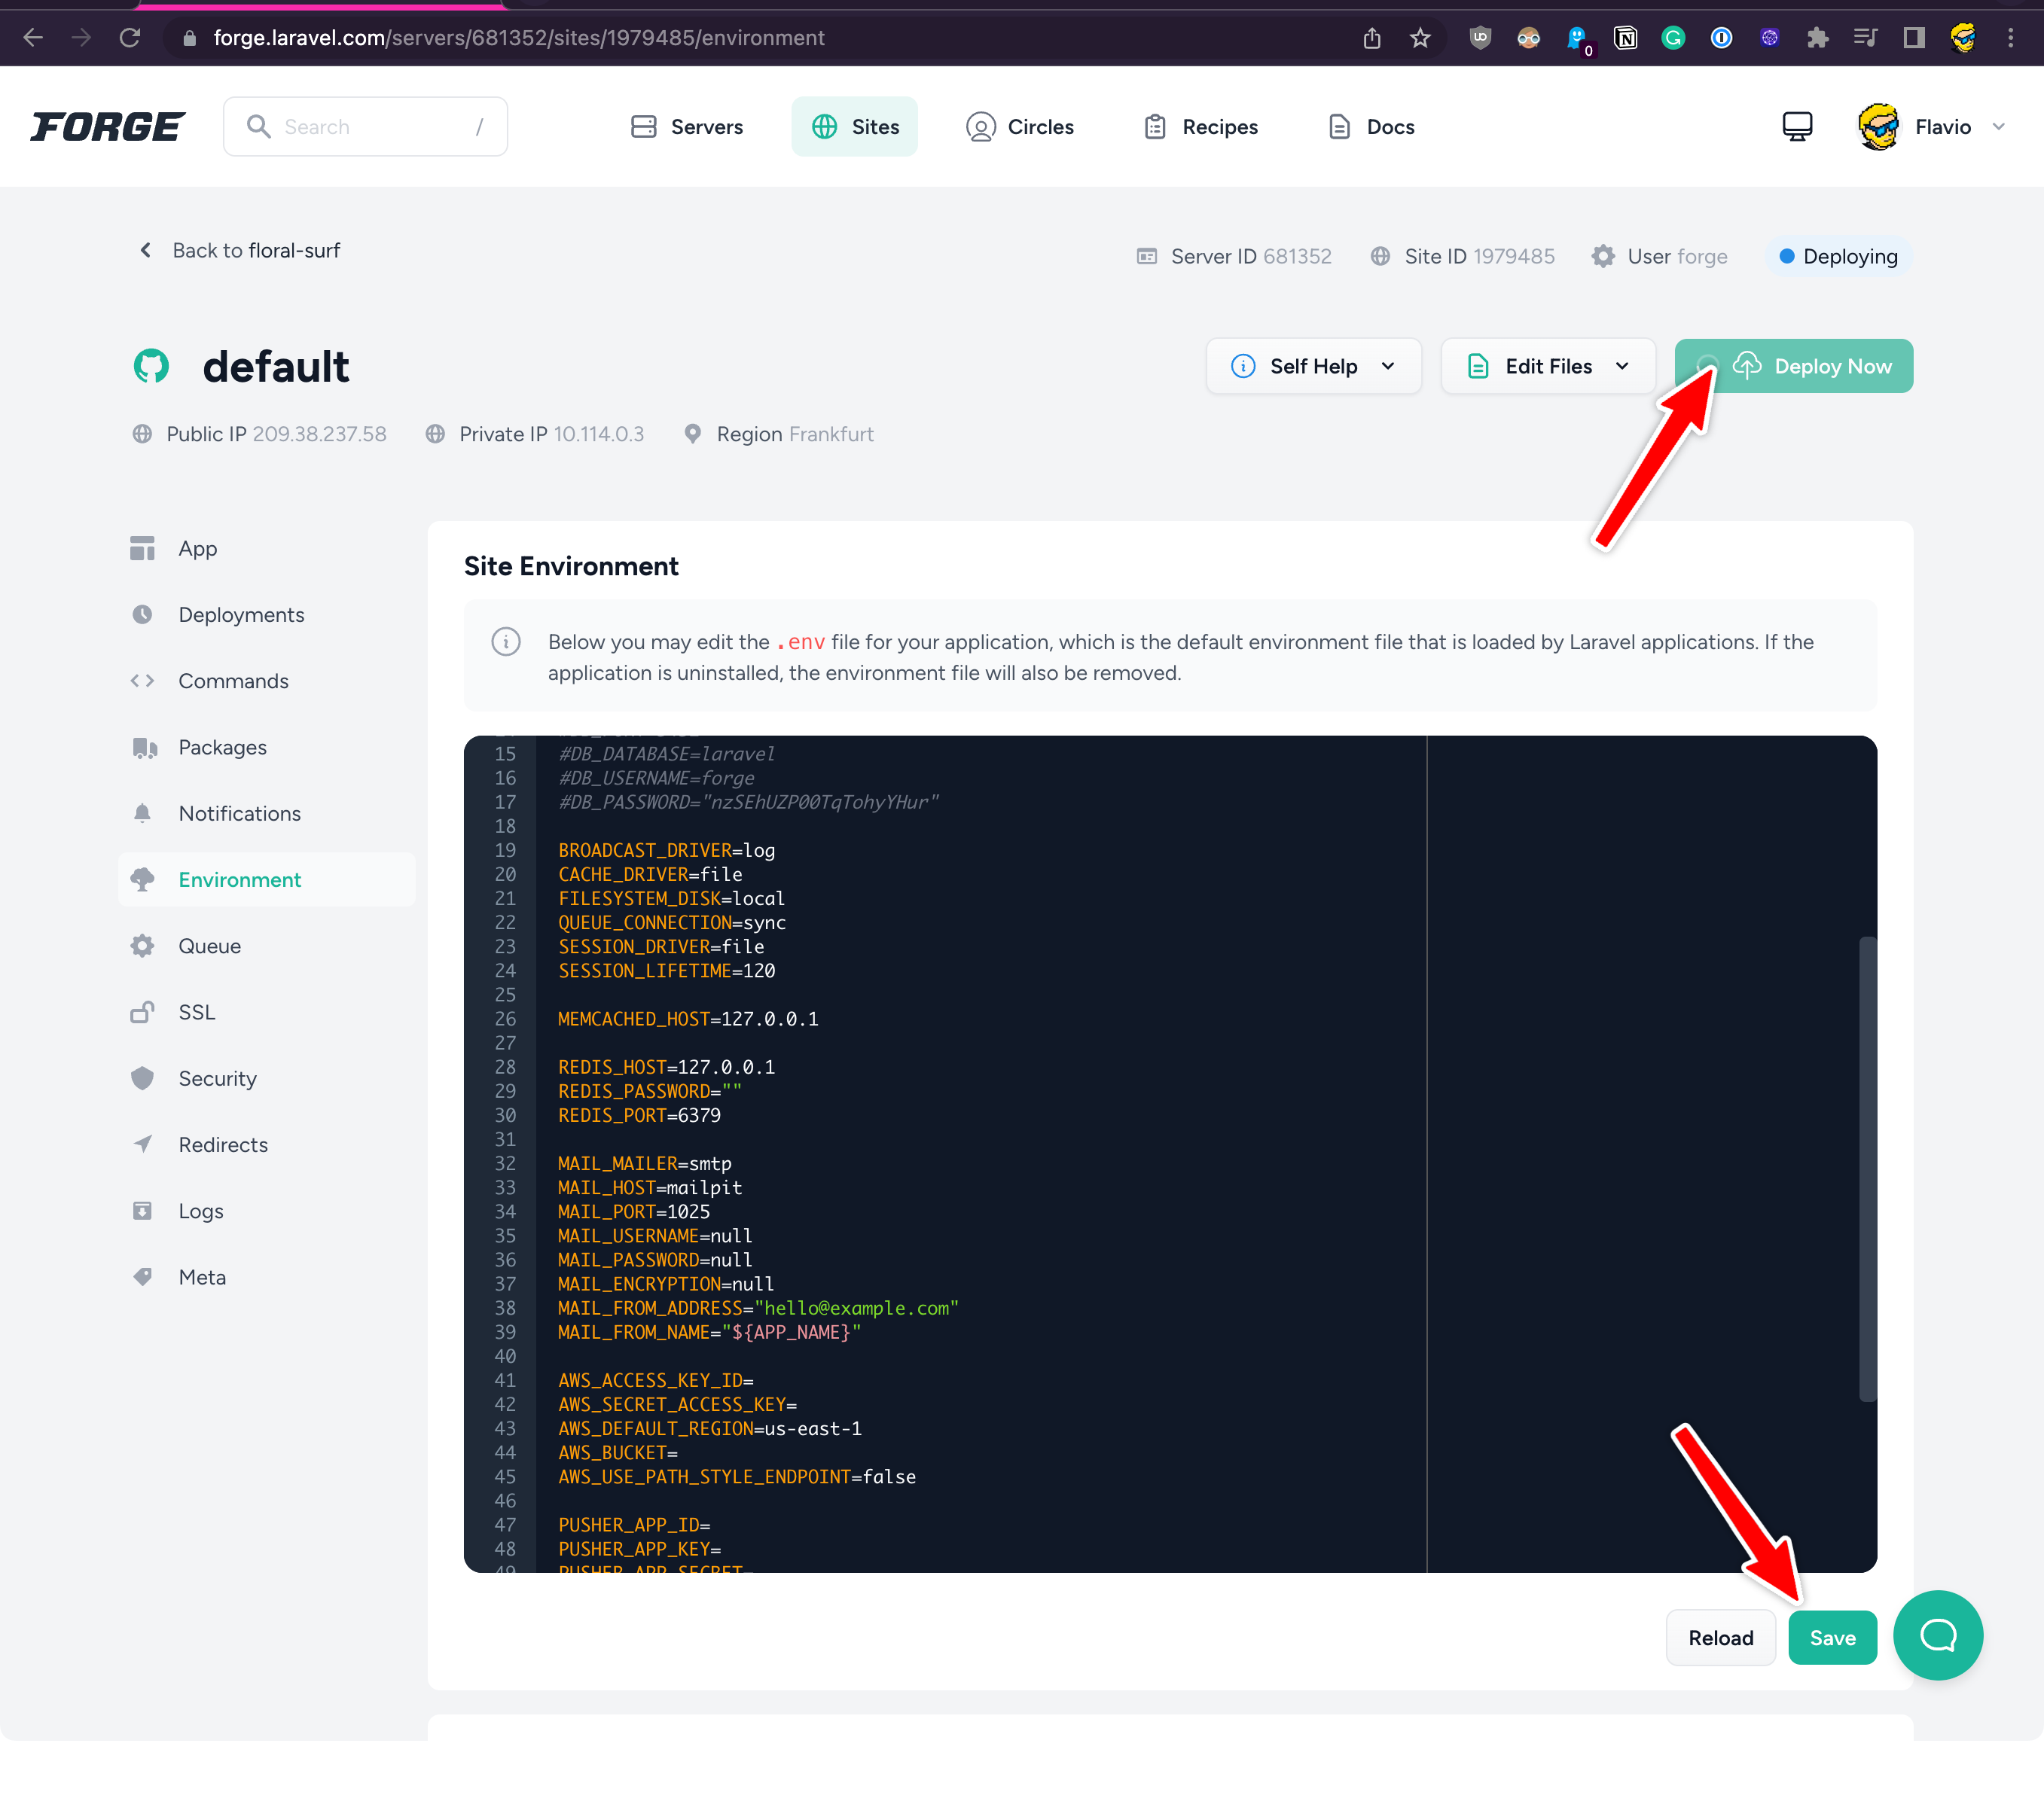
Open the deployments list to inspect the output. That’s the first place to look when something fails:
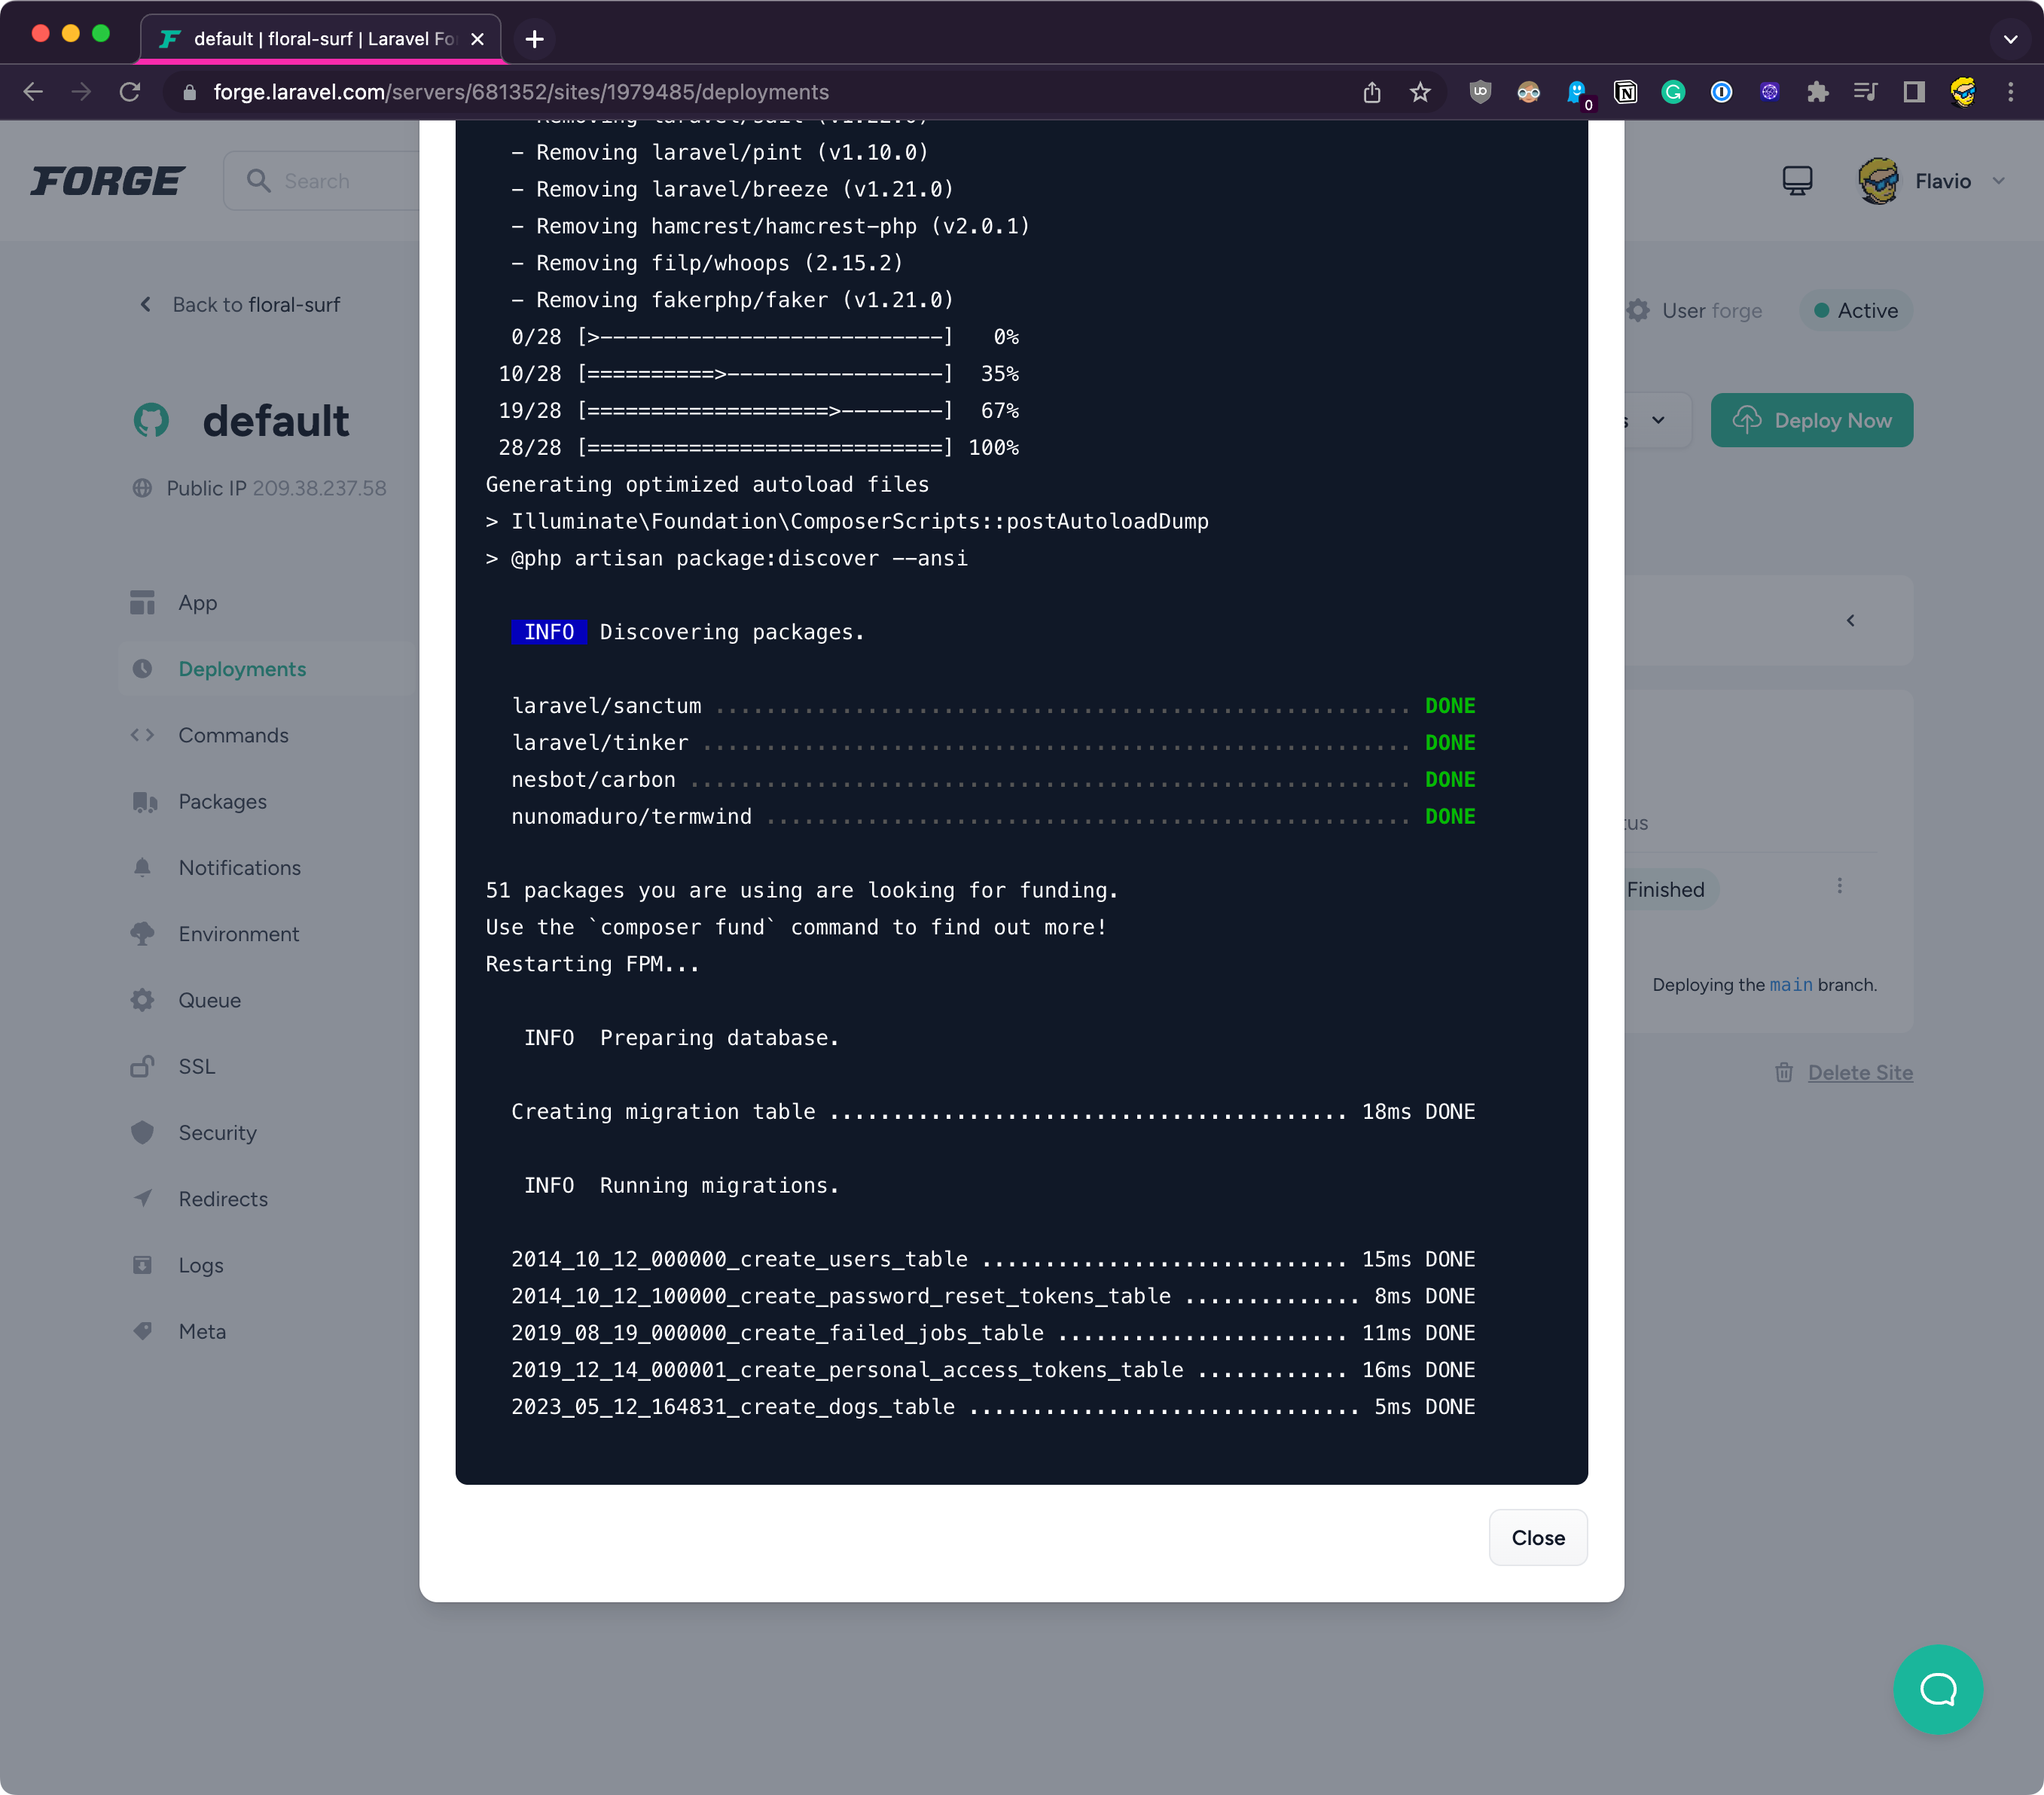
If the build fails, Forge usually emails you too.
The deploy can succeed and the site still break in the browser. Mine failed on Vite assets.
Remember we ran npm run dev in development? On the server you need a production build: npm install then npm run build.
Edit the site’s deploy script and add those at the end (Forge’s default script already runs composer install and php artisan migrate for you):
npm install
npm run build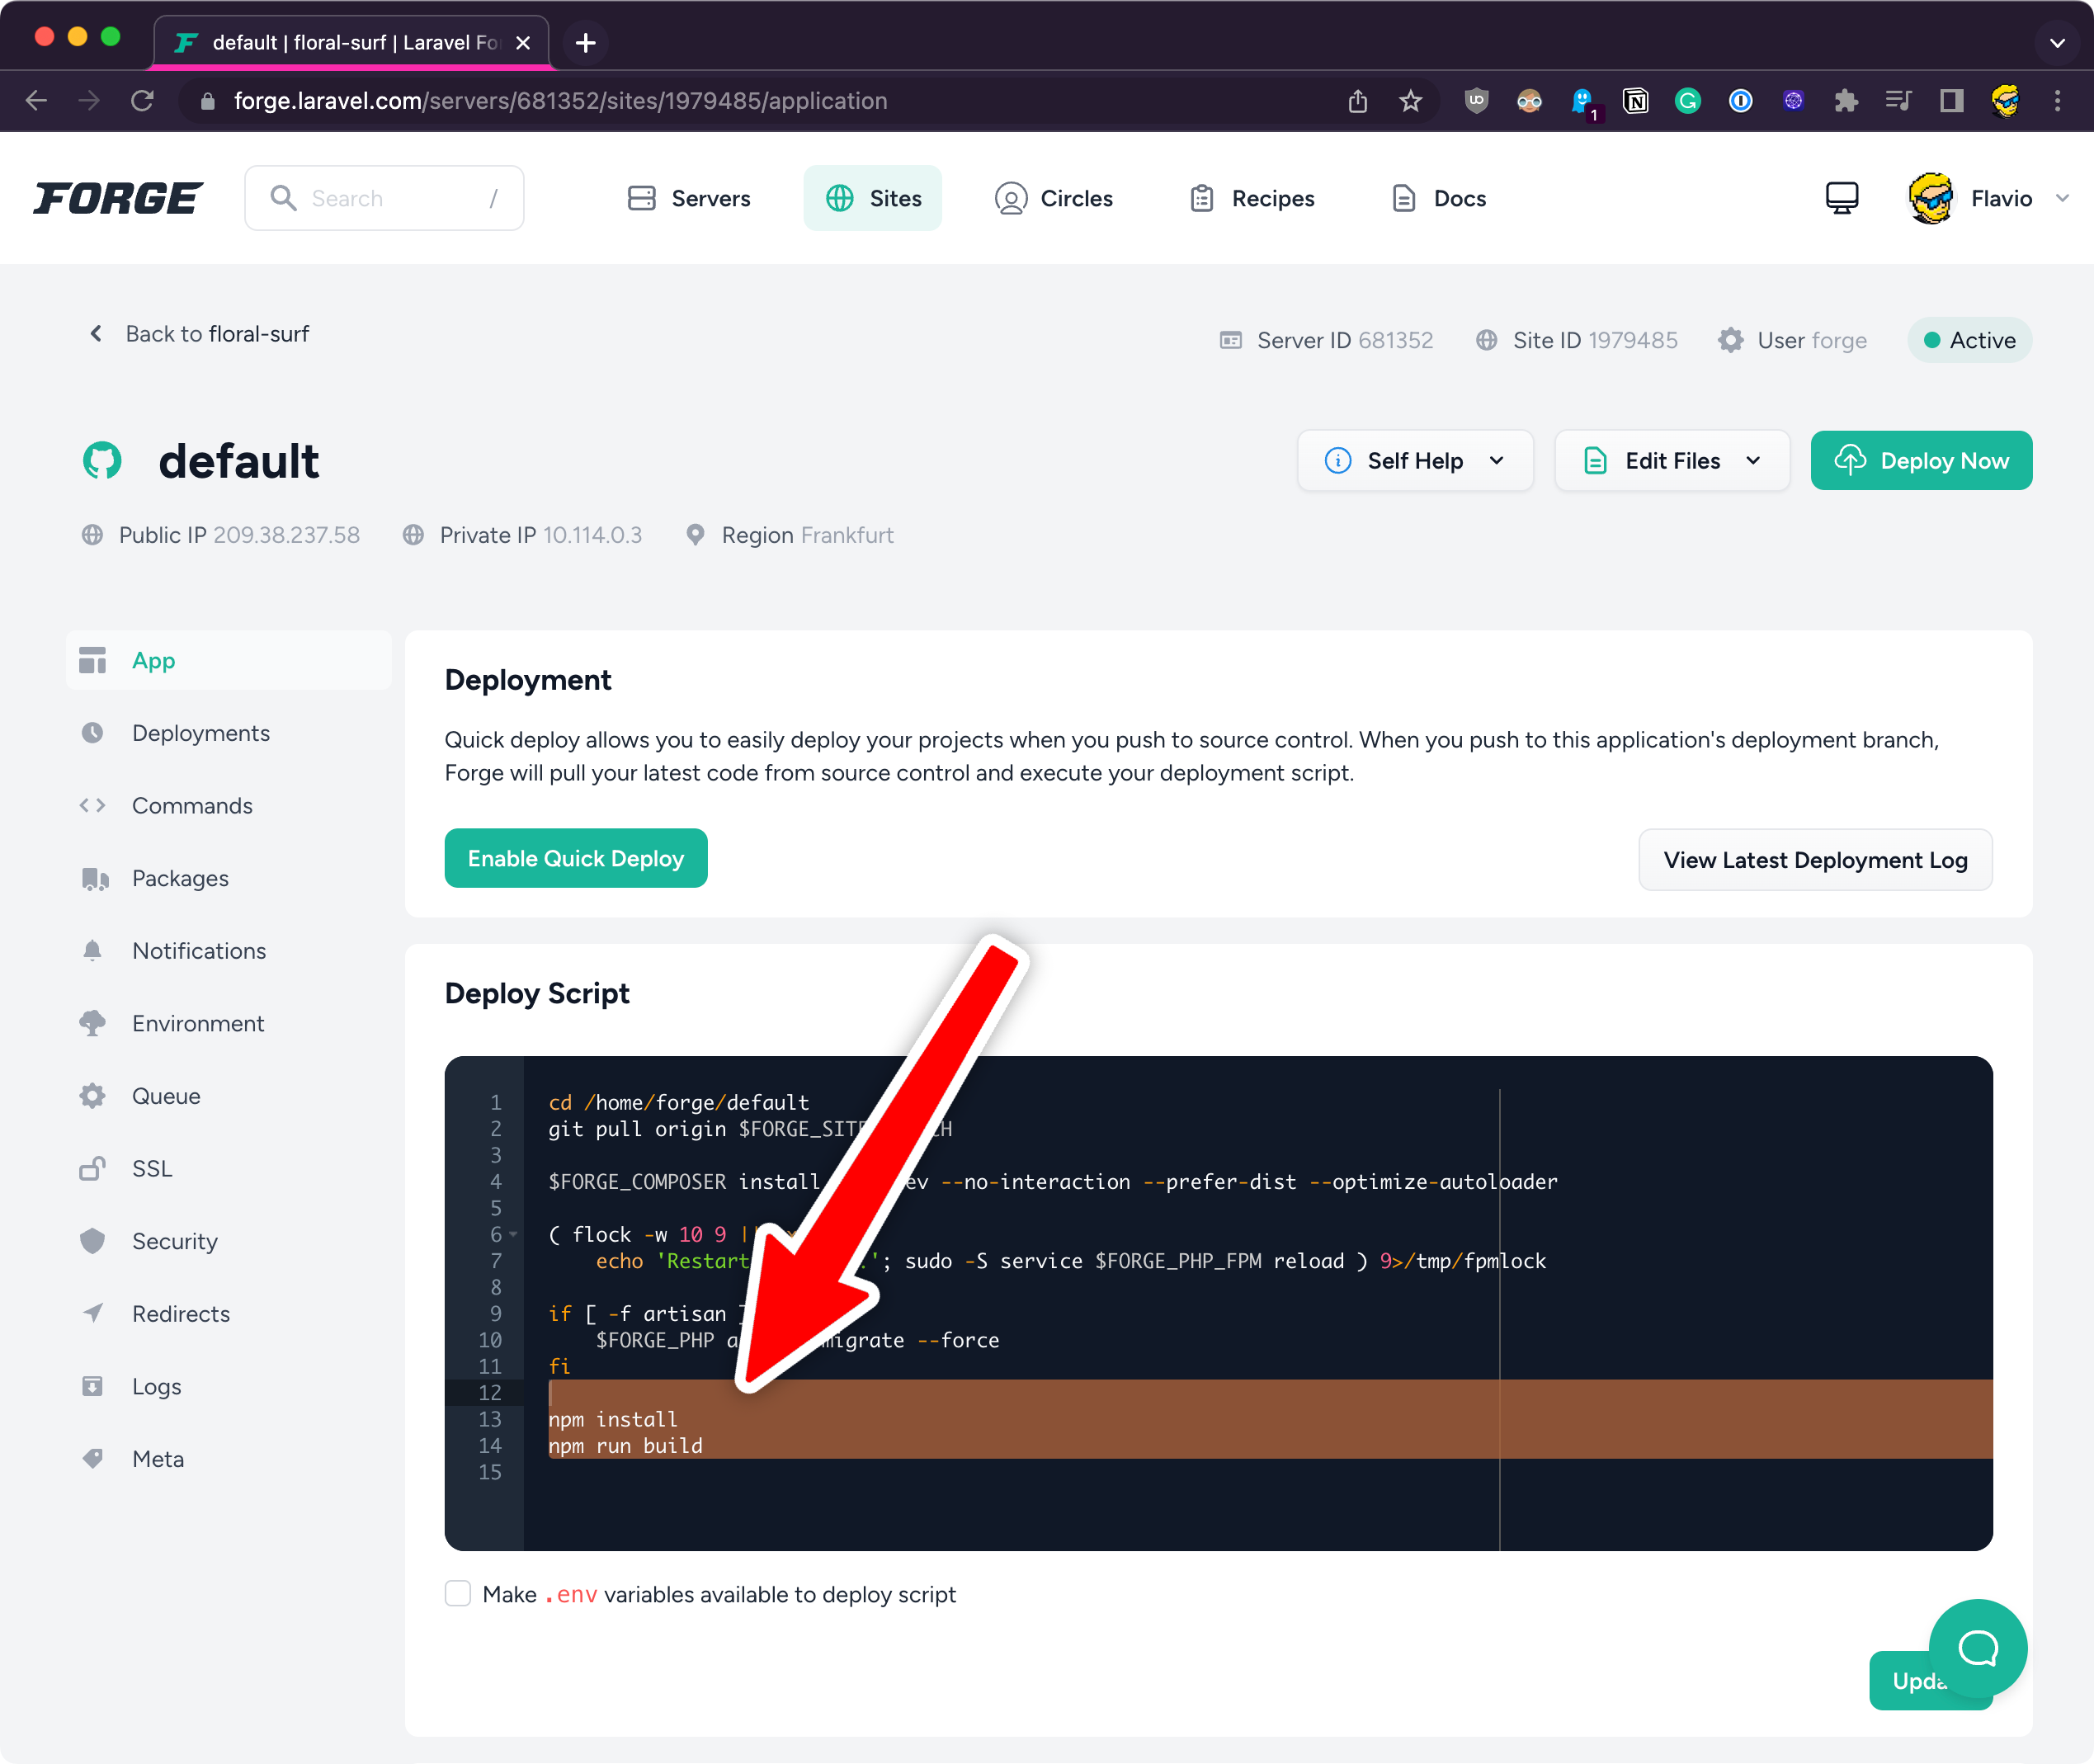
Save the script and deploy again.
Now it works!
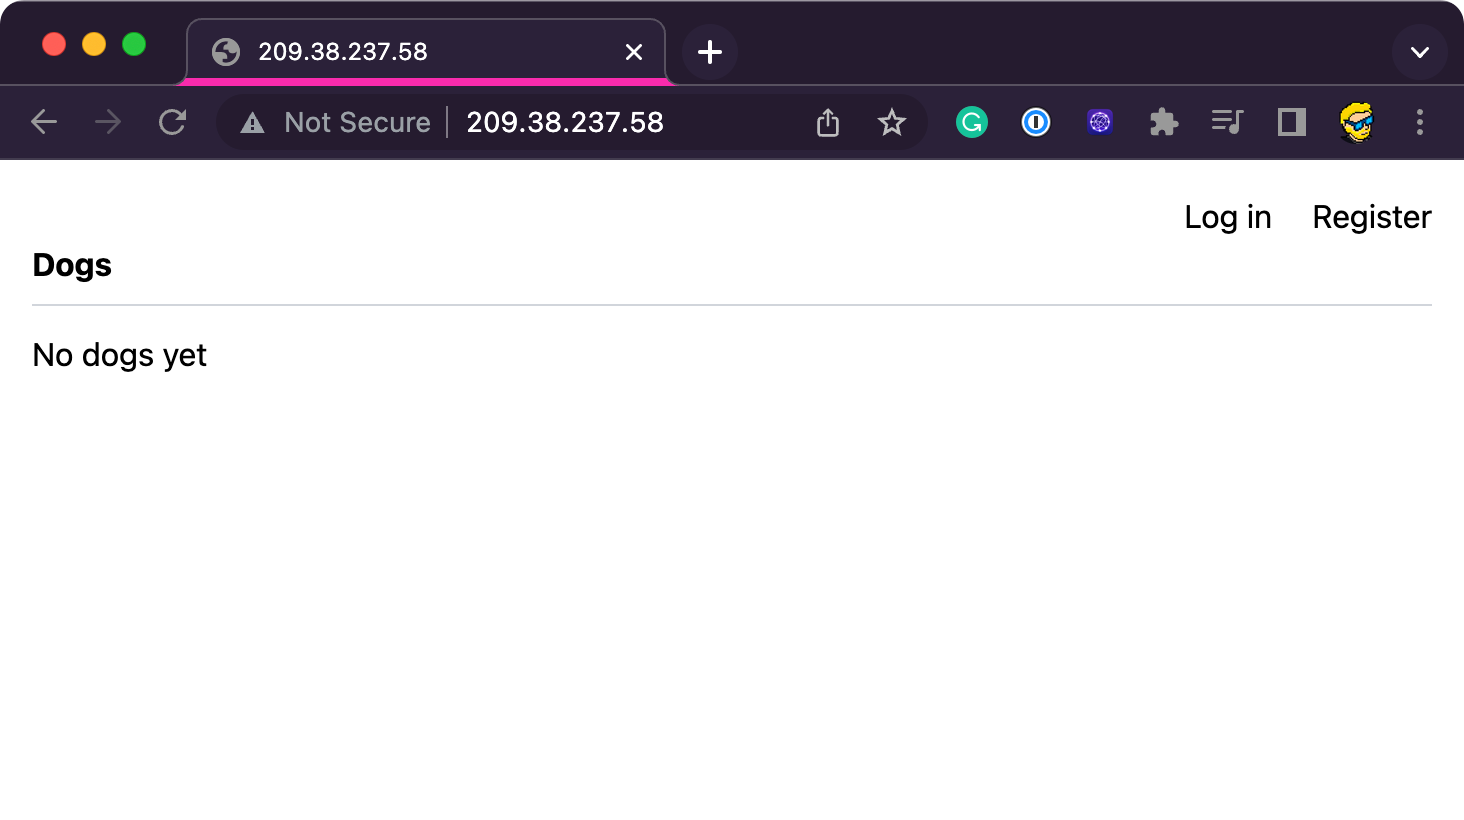
Also try registering in, it will work as expected and we’ll be able to add and edit data:
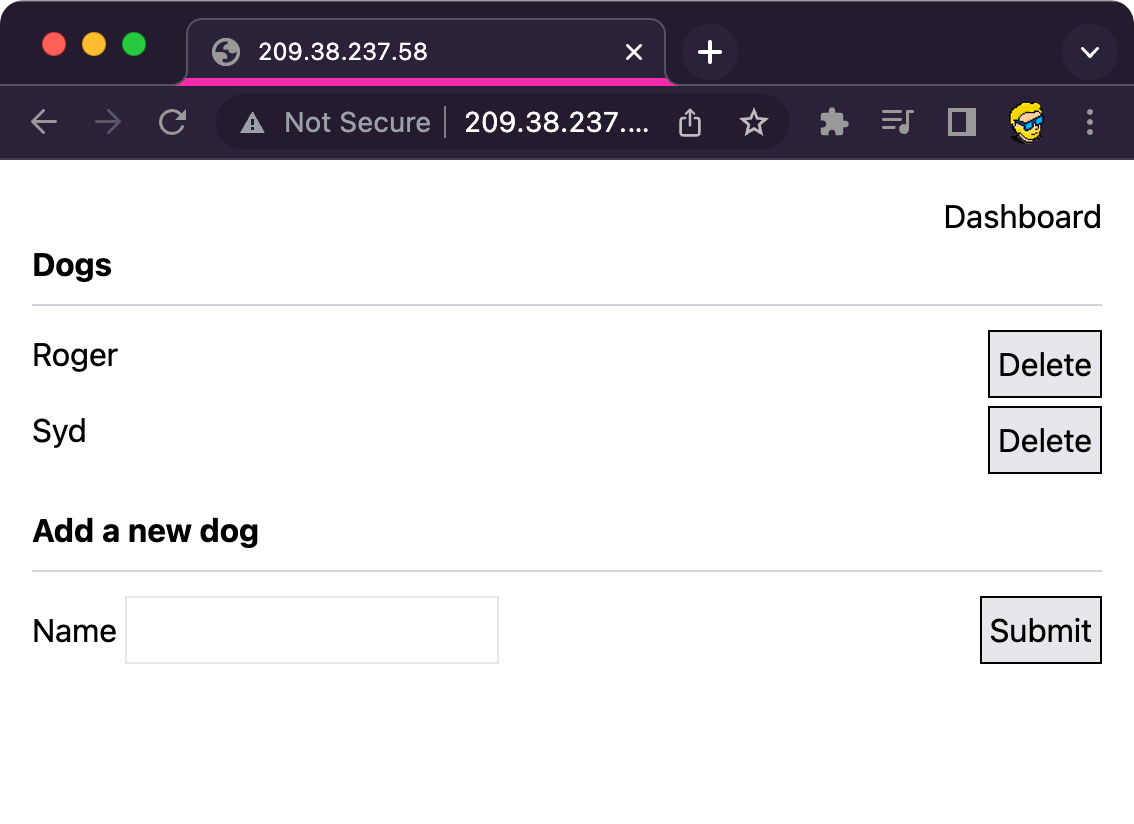
Nice! We’re done with deployments and Forge.
We could spend more time on this topic, but there’s so much more to explore.
We’ve seen how to create a Web Application, as simple as it could be, just a form that stores a field into a database, but complete with ready-made authentication provided by the Breeze starter kit.
We’ve seen basic routing, and models, views and controllers interact to store and retrieve data through the Eloquent ORM.
For the full learning path, go back to The Laravel Guide.
Want me to talk about your product? You can sponsor this site.
Related posts about laravel: