How to install your own apps on your iPhone with Xcode
By Flavio Copes
Put the apps you build on your iPhone without the App Store: turn on Developer Mode, install from Xcode, update over Wi-Fi from the terminal, and renew them.
You don’t need the App Store to put an app you made on your iPhone. Xcode installs it straight from your Mac, and after the first time it doesn’t even need a cable.
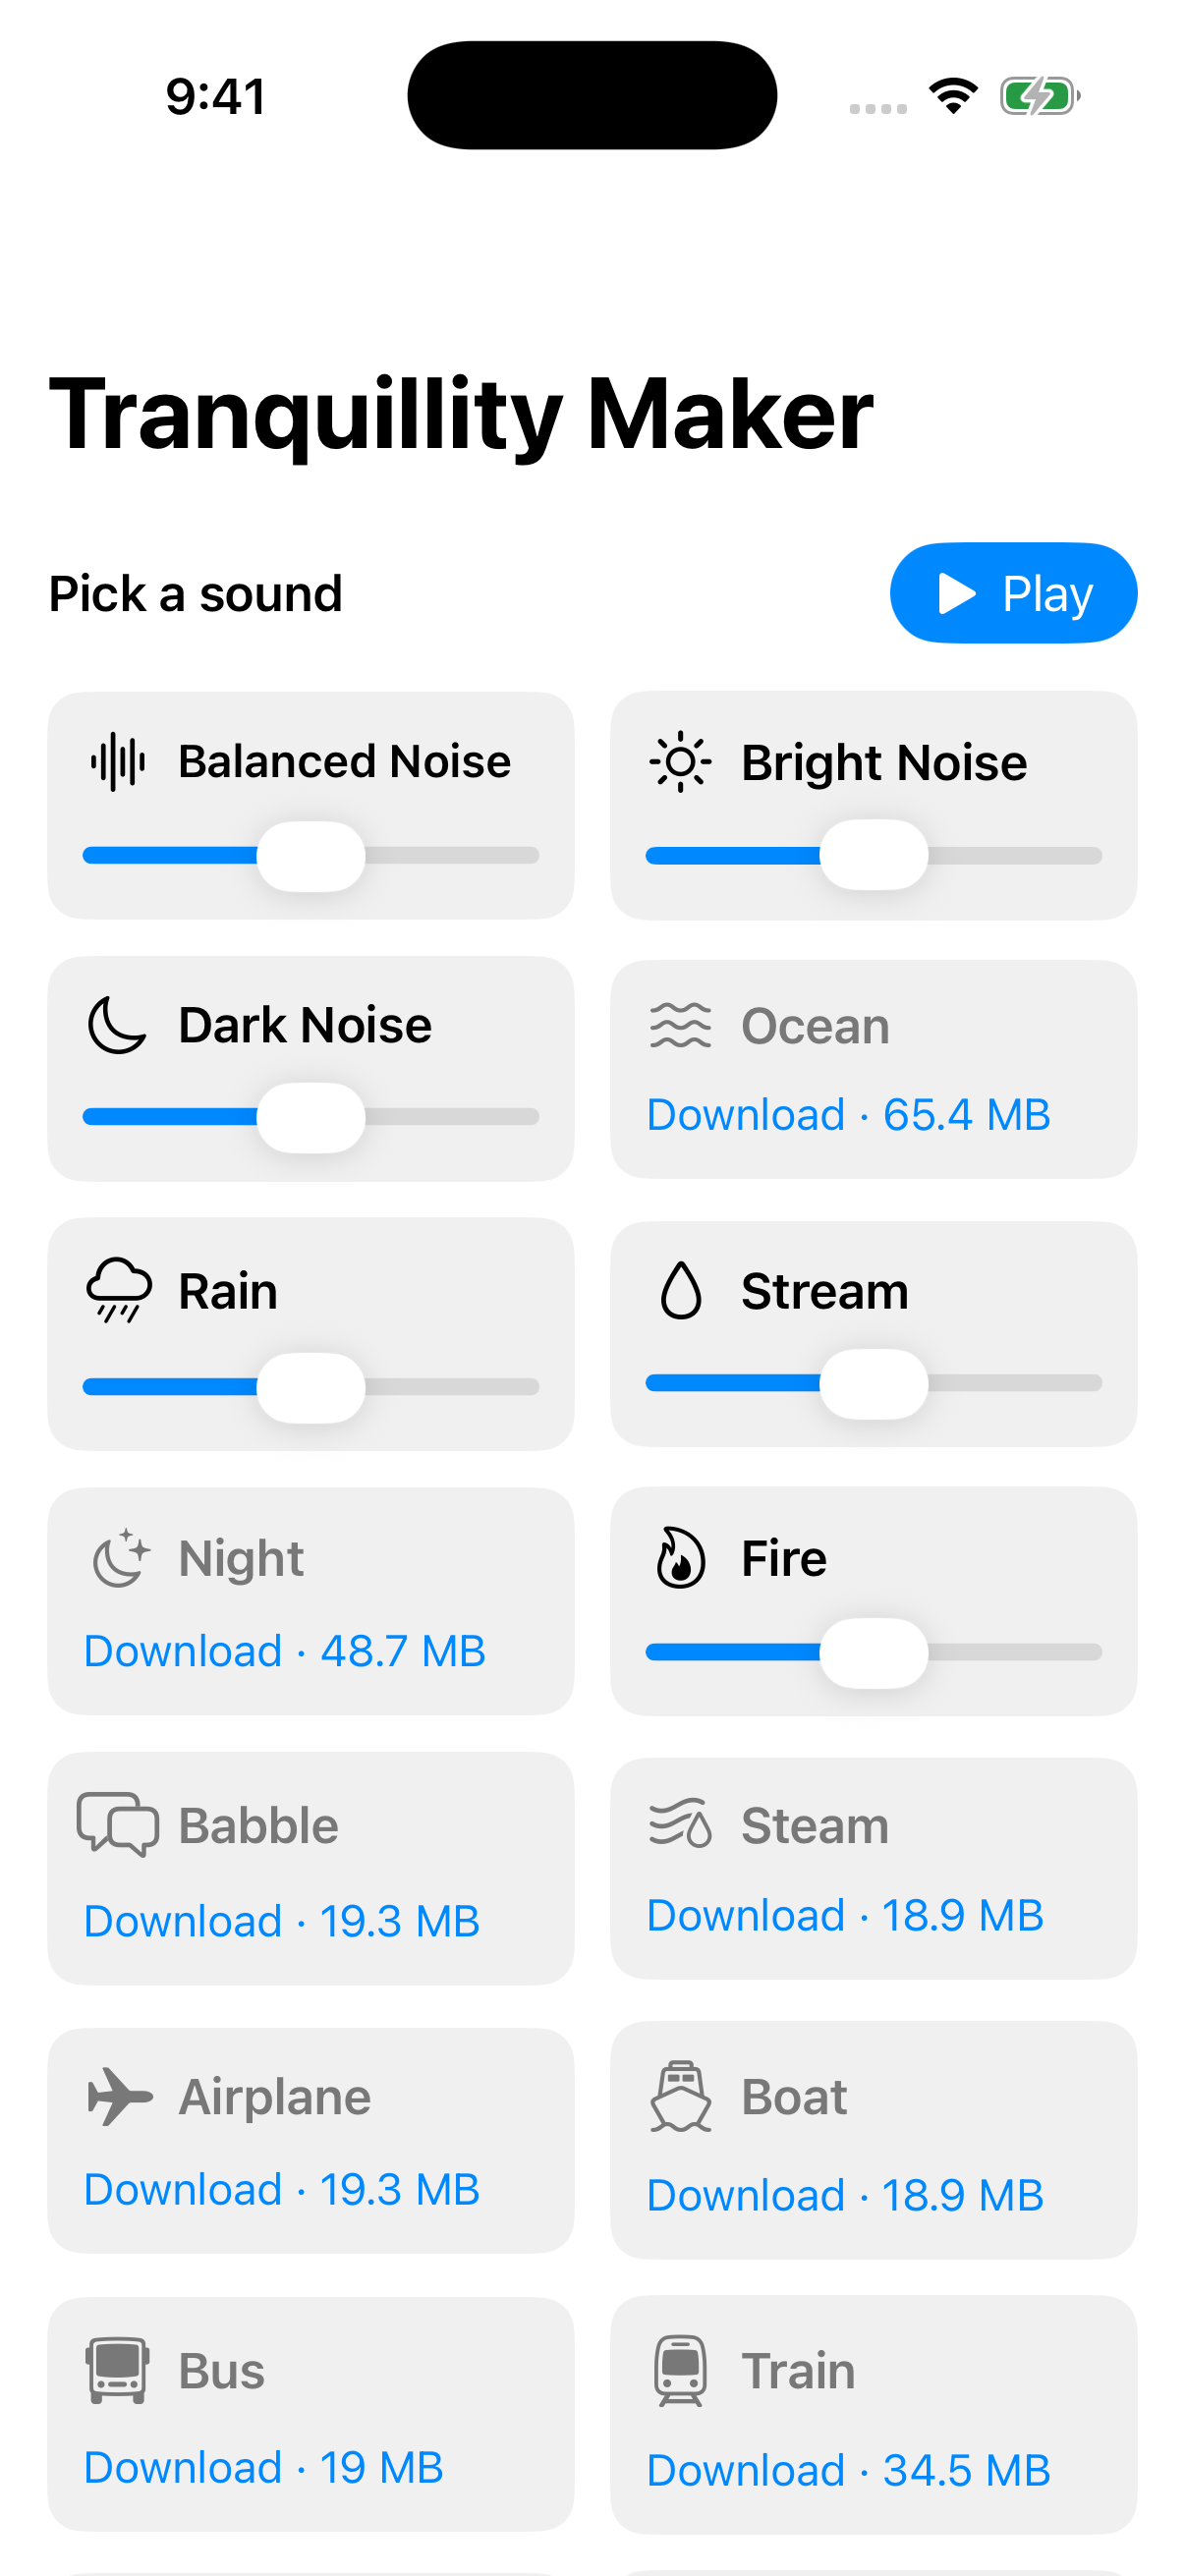
I set this up for the iPhone version of Tranquillity Maker, my app that mixes Apple’s Background Sounds. I’m not putting it on the App Store, so Xcode is how I install it, and how anyone else who wants it installs it too.
What you need
You need a Mac with Xcode, your iPhone, and a cable for the first connection.
You also need an Apple account to sign the app. A free one works, and the paid Apple Developer Program makes your apps last longer, as you’ll see at the end. I compared the two in Should you pay for the Apple Developer Program?
If you don’t have an app yet, my free SwiftUI course gets you to your first one.
Connect the iPhone
Plug the iPhone into your Mac and unlock it. The first time, the iPhone asks if you trust this computer. Tap Trust and enter your passcode.
In Xcode, open your project and pick the iPhone as the run destination in the toolbar. Then choose your team under Signing & Capabilities, so Xcode can sign the app for your device.
Turn on Developer Mode
Press ⌘R, and the first try fails. Xcode tells you Developer Mode is off:
To use iPhone 16 Pro for development, enable Developer Mode in Settings → Privacy & Security.Developer Mode is the switch that lets an iPhone run apps that come from Xcode instead of the App Store. I explained what it unlocks, and what it costs in security, in What iPhone Developer Mode does.
The confusing part is that the switch doesn’t show up in Settings until a Mac has tried to use the iPhone for development. I looked for it before pressing Run, and it wasn’t there. After that first failed try, it was:
- Close Settings and open it again.
- Go to Privacy & Security and scroll to the bottom. Developer Mode is in the Security group.
- Turn it on and tap Restart.
- When the iPhone is back on, unlock it, tap Turn On in the prompt, and enter your passcode.
Developer Mode doesn’t slow the iPhone down. You can turn it off whenever you want, but then the apps you installed from Xcode won’t open.
Press ⌘R again. Xcode builds the app, installs it, and opens it on the iPhone.
Install it without the cable
Now unplug the cable. As long as the iPhone and the Mac are on the same Wi-Fi network, Xcode still sees the iPhone and installs over the network. Pick it as the run destination and press ⌘R, like before.
You can see how the Mac sees it from the terminal:
xcrun devicectl list devicesThe State column says available (paired) when it’s ready:
Name            Hostname                         Identifier                             State                Model
iPhone 16 Pro   iPhone-16-Pro.coredevice.local   XXXXX-XXXXX-XXXX-XXXXXX-XXXXX-XXXXXX   available (paired)   iPhone 16 Pro (iPhone17,1)
For the details, run xcrun devicectl device info details --device "iPhone 16 Pro". It prints transportType: localNetwork over Wi-Fi and transportType: wired with the cable, and developerModeStatus tells you whether Developer Mode is on.
Update it from the terminal
You don’t have to open Xcode to update the app. Two tools do it from the terminal: xcodebuild builds and signs the app, and devicectl installs it and opens it. Both find the iPhone by its name.
First build it for the iPhone:
xcodebuild -scheme SoundscapeiOS -destination 'platform=iOS,name=iPhone 16 Pro' \
  -derivedDataPath build -allowProvisioningUpdates build
-allowProvisioningUpdates lets xcodebuild create the signing profile for your iPhone, which the Run button does for you in Xcode. The first time, also add -allowProvisioningDeviceRegistration, so it can register the iPhone with your developer account.
Then install the app and open it:
xcrun devicectl device install app --device "iPhone 16 Pro" 'build/Build/Products/Debug-iphoneos/Tranquillity Maker.app'
xcrun devicectl device process launch --terminate-existing --device "iPhone 16 Pro" com.flaviocopes.soundscape.ios
The install replaces the old version, and --terminate-existing quits the copy that’s running, so the new build is the one that opens.
When the iPhone is locked, the install still works, but the launch fails:
Unable to launch com.flaviocopes.soundscape.ios because the device was not, or could not be, unlocked.The new version is on the phone anyway. Unlock it and open the app yourself.
This is how coding agents update my apps now. The agent builds the new version, installs it on my iPhone and opens it, and nothing pops up on my Mac while I keep working. It’s the same idea as the test VM for my Mac apps.
Try it in the simulator first
The iOS simulator runs on your Mac, and you can use it without opening its window. Xcode ships it as a separate download of a few gigabytes:
xcodebuild -downloadPlatform iOSBuild for a simulated iPhone, boot it in the background, install the app, and take a screenshot:
xcodebuild -scheme SoundscapeiOS -destination 'platform=iOS Simulator,name=iPhone 17 Pro' -derivedDataPath build build
xcrun simctl boot "iPhone 17 Pro"
xcrun simctl install booted 'build/Build/Products/Debug-iphonesimulator/Tranquillity Maker.app'
xcrun simctl launch booted com.flaviocopes.soundscape.ios
xcrun simctl io booted screenshot iphone.png
xcrun simctl shutdown booted
The screenshot at the top of this post comes from these commands.
A brand new simulator can fail the first install with an IXErrorDomain error about a promise. Wait a few seconds and run it again.
How long it lasts
An app you install from Xcode doesn’t stay forever. Its signing profile expires, and then the app stops opening. With a free Apple account that happens after 7 days. With the paid Apple Developer Program, after a year.
To renew it, install it again from Xcode or with the commands above.
Anyone can do the same with an app’s source code. That’s how people get Tranquillity Maker on their iPhone, and the README on GitHub has the steps.
Want me to talk about your product? You can sponsor this site.
Related posts about swift: