How to use the Codex CLI
By Flavio Copes
How to use the Codex CLI, OpenAI's coding agent for the terminal: install it, run tasks, set permissions, pick a model, review changes and use codex exec.
The Codex CLI is OpenAI’s coding agent for the terminal. You run codex inside a project folder, describe what you want, and it reads the code, edits files and runs commands on your machine.
It’s the same agent that runs inside the ChatGPT desktop app, which I covered in The complete guide to Codex. Both read the same ~/.codex/config.toml. The CLI gives you a text interface instead of panels, runs on a server you reach over SSH, and can run from a script with codex exec, which the app can’t do.
In this tutorial we install it, build a tiny project together, and use that project to go through everything you need to work with the CLI day to day. Commands and menus were checked in September 2026.
Install or update the Codex CLI
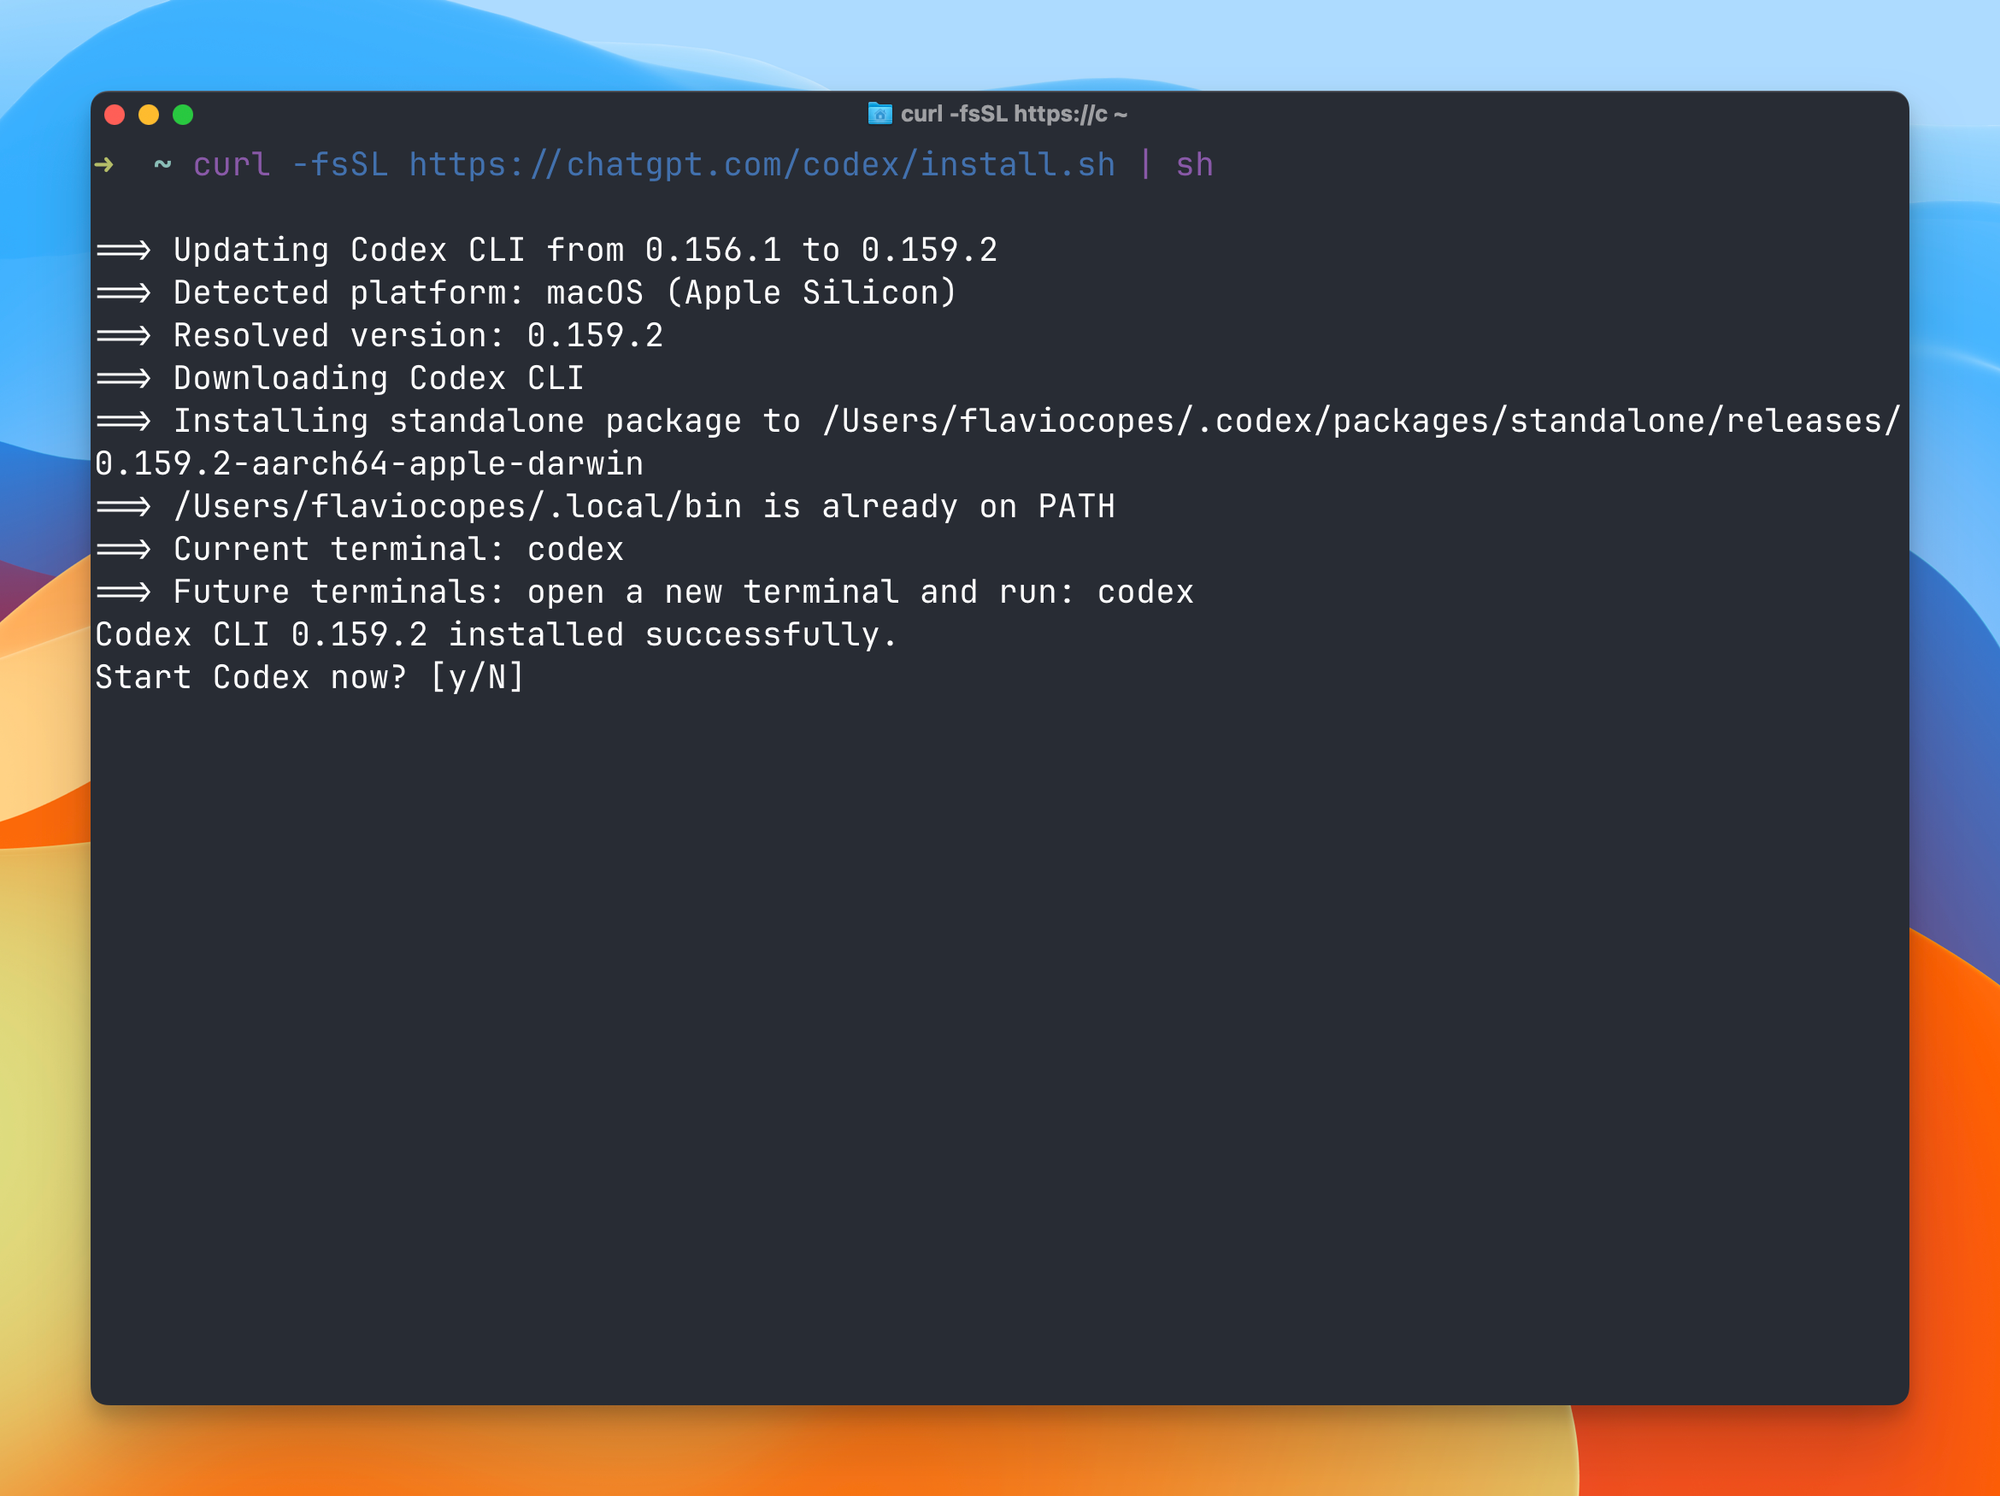
On macOS and Linux, the standalone installer is the quickest way:
curl -fsSL https://chatgpt.com/codex/install.sh | shThe same command works to update it, if you have it already installed.
You can also use Homebrew:
brew install --cask codexOr npm, if you already have Node installed:
npm install -g @openai/codexOn Omarchy, install the Arch package:
omarchy pkg add openai-codexThat package also pulls in bubblewrap, which Codex needs on Linux to sandbox the commands it runs. On macOS, the sandbox uses Seatbelt, which is built into the system, so there’s nothing extra to install.
On Windows, run this in PowerShell:
powershell -ExecutionPolicy ByPass -c "irm https://chatgpt.com/codex/install.ps1 | iex"Check that it worked:
codex --versionTo update later, run:
codex updateIt detects how you installed Codex and runs the matching command for you: brew upgrade --cask codex for Homebrew, npm install -g @openai/codex for npm, or the install script for the standalone version. On Omarchy, your regular system updates take care of it.
If something doesn’t work, codex doctor checks your installation, config, sign-in and runtime, and tells you what’s wrong.
Sign in
Run codex for the first time and it asks how you want to sign in:
- Sign in with ChatGPT uses the Codex usage included in your ChatGPT plan. This is the default and what most people want.
- Sign in with Device Code is for machines without a browser, like a server you reached over SSH. You get a code to type on another device.
- Provide your own API key bills you per use on the OpenAI API instead of your plan.
You can also sign in without starting a session:
codex loginOn a server, use the device code flow directly:
codex login --device-authAnd to use an API key, pipe it in from an environment variable, so it never ends up in your shell history:
printenv OPENAI_API_KEY | codex login --with-api-keycodex login status tells you which method you’re using right now.
Create a small project to practice on
We need a project to work on. Let’s build a tiny one: a function that estimates how many minutes it takes to read a blog post.
Create the folders:
mkdir -p reading-time/src reading-time/test
cd reading-time
Create package.json:
{
  "name": "reading-time",
  "version": "1.0.0",
  "type": "module",
  "scripts": {
    "test": "node --test"
  }
}
Create src/reading-time.js:
export function readingTime(markdown, wordsPerMinute = 200) {
  const words = markdown.split(/\s+/).filter(Boolean).length
  return Math.max(1, Math.ceil(words / wordsPerMinute))
}
And a test in test/reading-time.test.js:
import { test } from 'node:test'
import assert from 'node:assert/strict'
import { readingTime } from '../src/reading-time.js'

test('a short post takes 1 minute', () => {
  assert.equal(readingTime('Hello world'), 1)
})

test('400 words take 2 minutes', () => {
  assert.equal(readingTime('word '.repeat(400)), 2)
})
Run the tests with a recent version of Node:
npm testBoth pass. Now turn the folder into a Git repository and commit:
git init
git add .
git commit -m "First version"
Don’t skip this step. Git is your undo button when an agent edits your files, and several Codex commands we’ll use later (the diff view, code review, codex exec) work on top of Git.
Start your first session
From inside the reading-time folder, run:
codexThe first time you open Codex in a folder, it asks: “Trust this folder?” Trusting it lets Codex load that project’s own .codex/ settings, hooks and rules, which can run code automatically. For a project you created yourself, say yes. For a repository you just cloned from a stranger, think twice.
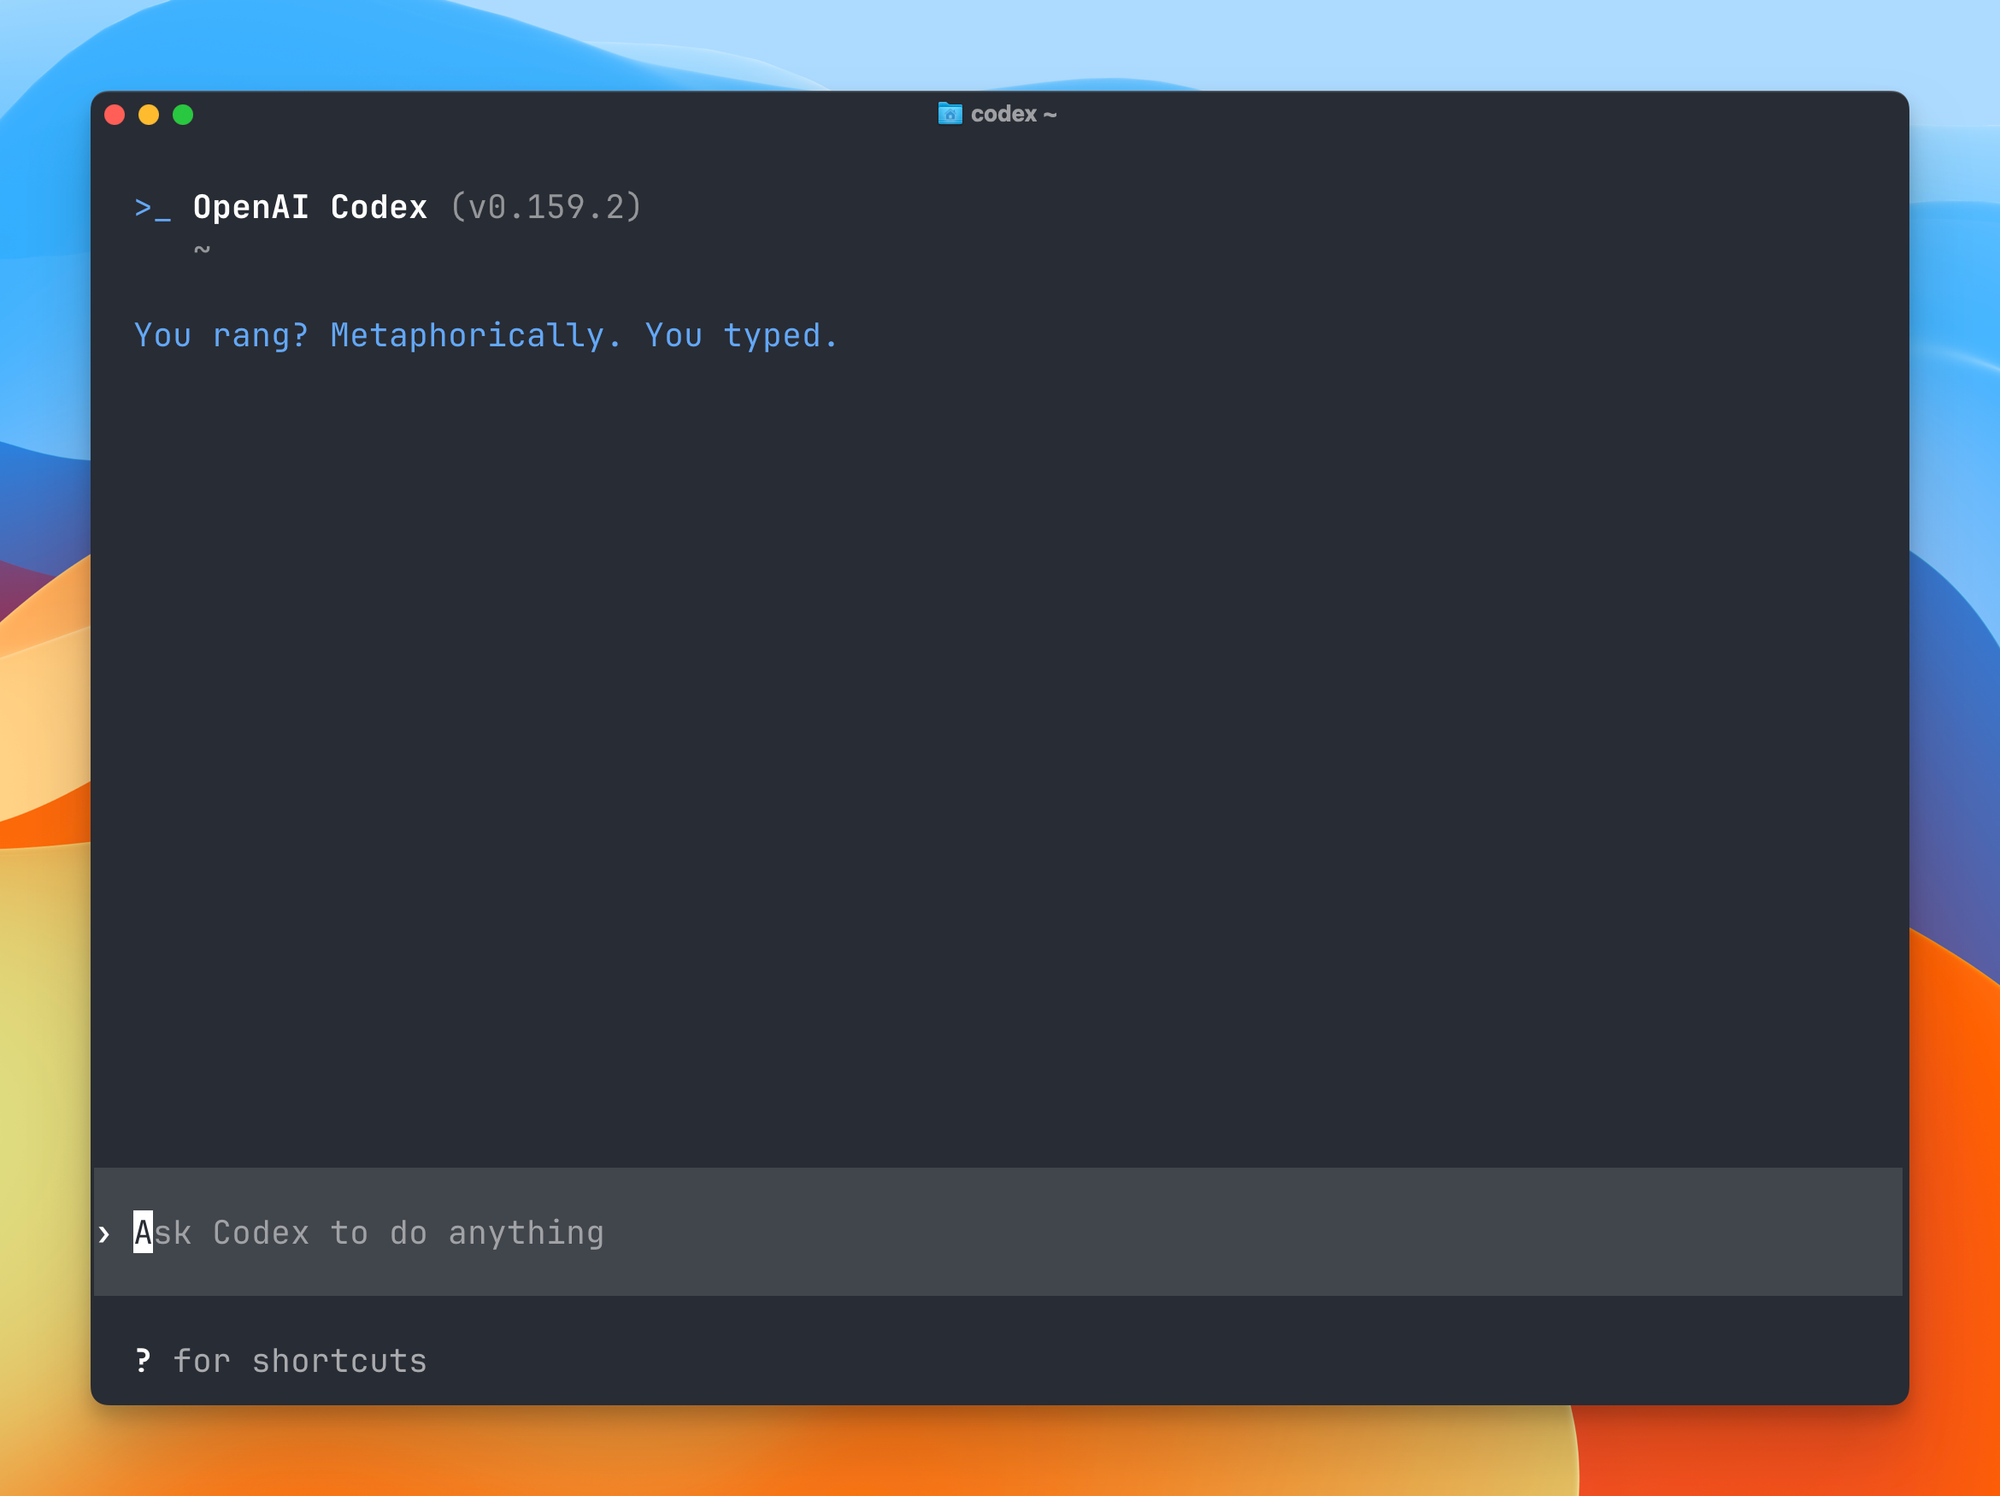
Then you land on the welcome screen. The header shows the version and the folder you’re in, and at the bottom there’s the composer, the box where you type.
Let’s start with a question that changes nothing:
Explain what this project does. Don't edit any files.Codex reads the files and replies. It may run npm test along the way. You see every command it runs and every file it reads in the transcript above the composer.
To point Codex at a specific file, type @ and start typing its name. Pick src/reading-time.js from the list and its path goes into your prompt:
What happens in @src/reading-time.js if I pass an empty string?Images work too. Paste a screenshot into the composer, like an error in the browser or a design you want to match, and tell Codex what to look at. You can also attach one when you start Codex:
codex -i error.png "Explain this error and suggest the smallest fix"Ask Codex to change the code
Right now the function counts every word, including the ones inside code blocks. On a programming blog that inflates the reading time a lot, because nobody reads a 40-line code sample like prose.
Let’s ask Codex to fix it:
Code blocks shouldn't count toward the reading time. Skip fenced code blocks when counting words, add a test for it, and run npm test.Codex opens both files, edits src/reading-time.js, adds a test to test/reading-time.test.js, and runs npm test to check its work. Each edit shows up as a diff in the transcript.
The code it writes can change from run to run, since the model picks its own approach. What matters is that the new test covers the case you care about and npm test passes at the end.
With the default permissions, Codex doesn’t stop to ask before editing files in this folder or running npm test. It would stop if it wanted to install a package, because that needs the network, which is blocked by default. We’ll see how to change that in a moment.
You can also run a shell command yourself without leaving Codex. Start the line with !:
!npm testIt runs under the same sandbox and approval settings Codex uses.
Steer Codex while it works
You don’t have to wait in silence while Codex works. The composer stays active.
Press Enter to send new instructions into the current turn. Say Codex is writing the fix and you remember something:
Also treat inline code in backticks as normal words.By default, that message waits until Codex finishes its next step, like a command or an edit. Press Esc if you want to stop the current step and send it right away.
Press Tab instead of Enter to queue the message for after the current turn ends. This works for slash commands and ! shell commands too, so you can line up !npm test to run when Codex is done.
Press Esc twice with an empty composer to edit your previous message. Codex forks the chat from that point, so you can rephrase a prompt that sent it the wrong way.
For a longer prompt, press Ctrl+G. Codex opens the editor set in your VISUAL or EDITOR environment variable, and puts the text back in the composer when you save and close it.
Let a message interrupt the answer
An experimental option changes how Enter works while Codex is busy. With instant_interrupt on, a new message doesn’t wait for the model to finish its current answer. Codex stops the answer, then continues the same turn with your message included.
It’s off by default and marked as “under development”, so try it for one session first:
codex --enable instant_interruptIf you like it, turn it on permanently:
codex features enable instant_interruptThis writes instant_interrupt = true in the [features] table of your ~/.codex/config.toml, and prints a warning that under-development features can behave unpredictably. To go back:
codex features disable instant_interruptcodex features list shows every feature flag with its stage and whether it’s on.
Decide what Codex is allowed to do
The sandbox decides what the commands Codex runs can technically touch: which folders they can write to, and whether they can reach the network. The approval policy decides when Codex stops and asks you before doing something the sandbox doesn’t allow.
The quickest way to set both is /permissions, which offers four presets:
- Read Only: Codex can read the files in the workspace. It asks before editing files or accessing the internet.
- Default: Codex can read and edit files in the workspace and run commands. It asks before accessing the internet or editing files outside the workspace.
- Approve for me: the same boundary as Default, but a separate reviewer agent answers the approval requests instead of you. It can’t widen the sandbox. It only decides the requests that would have stopped for you.
- Full Access: Codex can edit any file on your computer and use the internet without asking. Codex shows a warning before you enable it.
Default fits most work. Read Only is handy when you only want answers about a codebase and nothing should change.
Even inside the folders Codex can write to, a few paths stay read-only: the .git, .codex and .agents folders, and any .aws folder, where cloud credentials usually live. So Codex can’t change your Git history or its own settings without asking you first.
You can pick the same modes when you start Codex:
codex --sandbox read-onlycodex --approve-for-meIf Codex needs to write to a second folder, like a shared package next to your project, add it to the writable folders instead of reaching for Full Access:
codex --add-dir ../design-tokensThere’s also a --dangerously-bypass-approvals-and-sandbox flag. It removes every safety check. Use it only inside a throwaway container or VM that has nothing you care about.
Pick a model
Type /model to open the model picker. It lists the models your plan can use, and after you pick one, it asks for a reasoning effort. Higher effort means the model thinks longer before acting, which helps on hard problems and uses more of your plan’s limits.
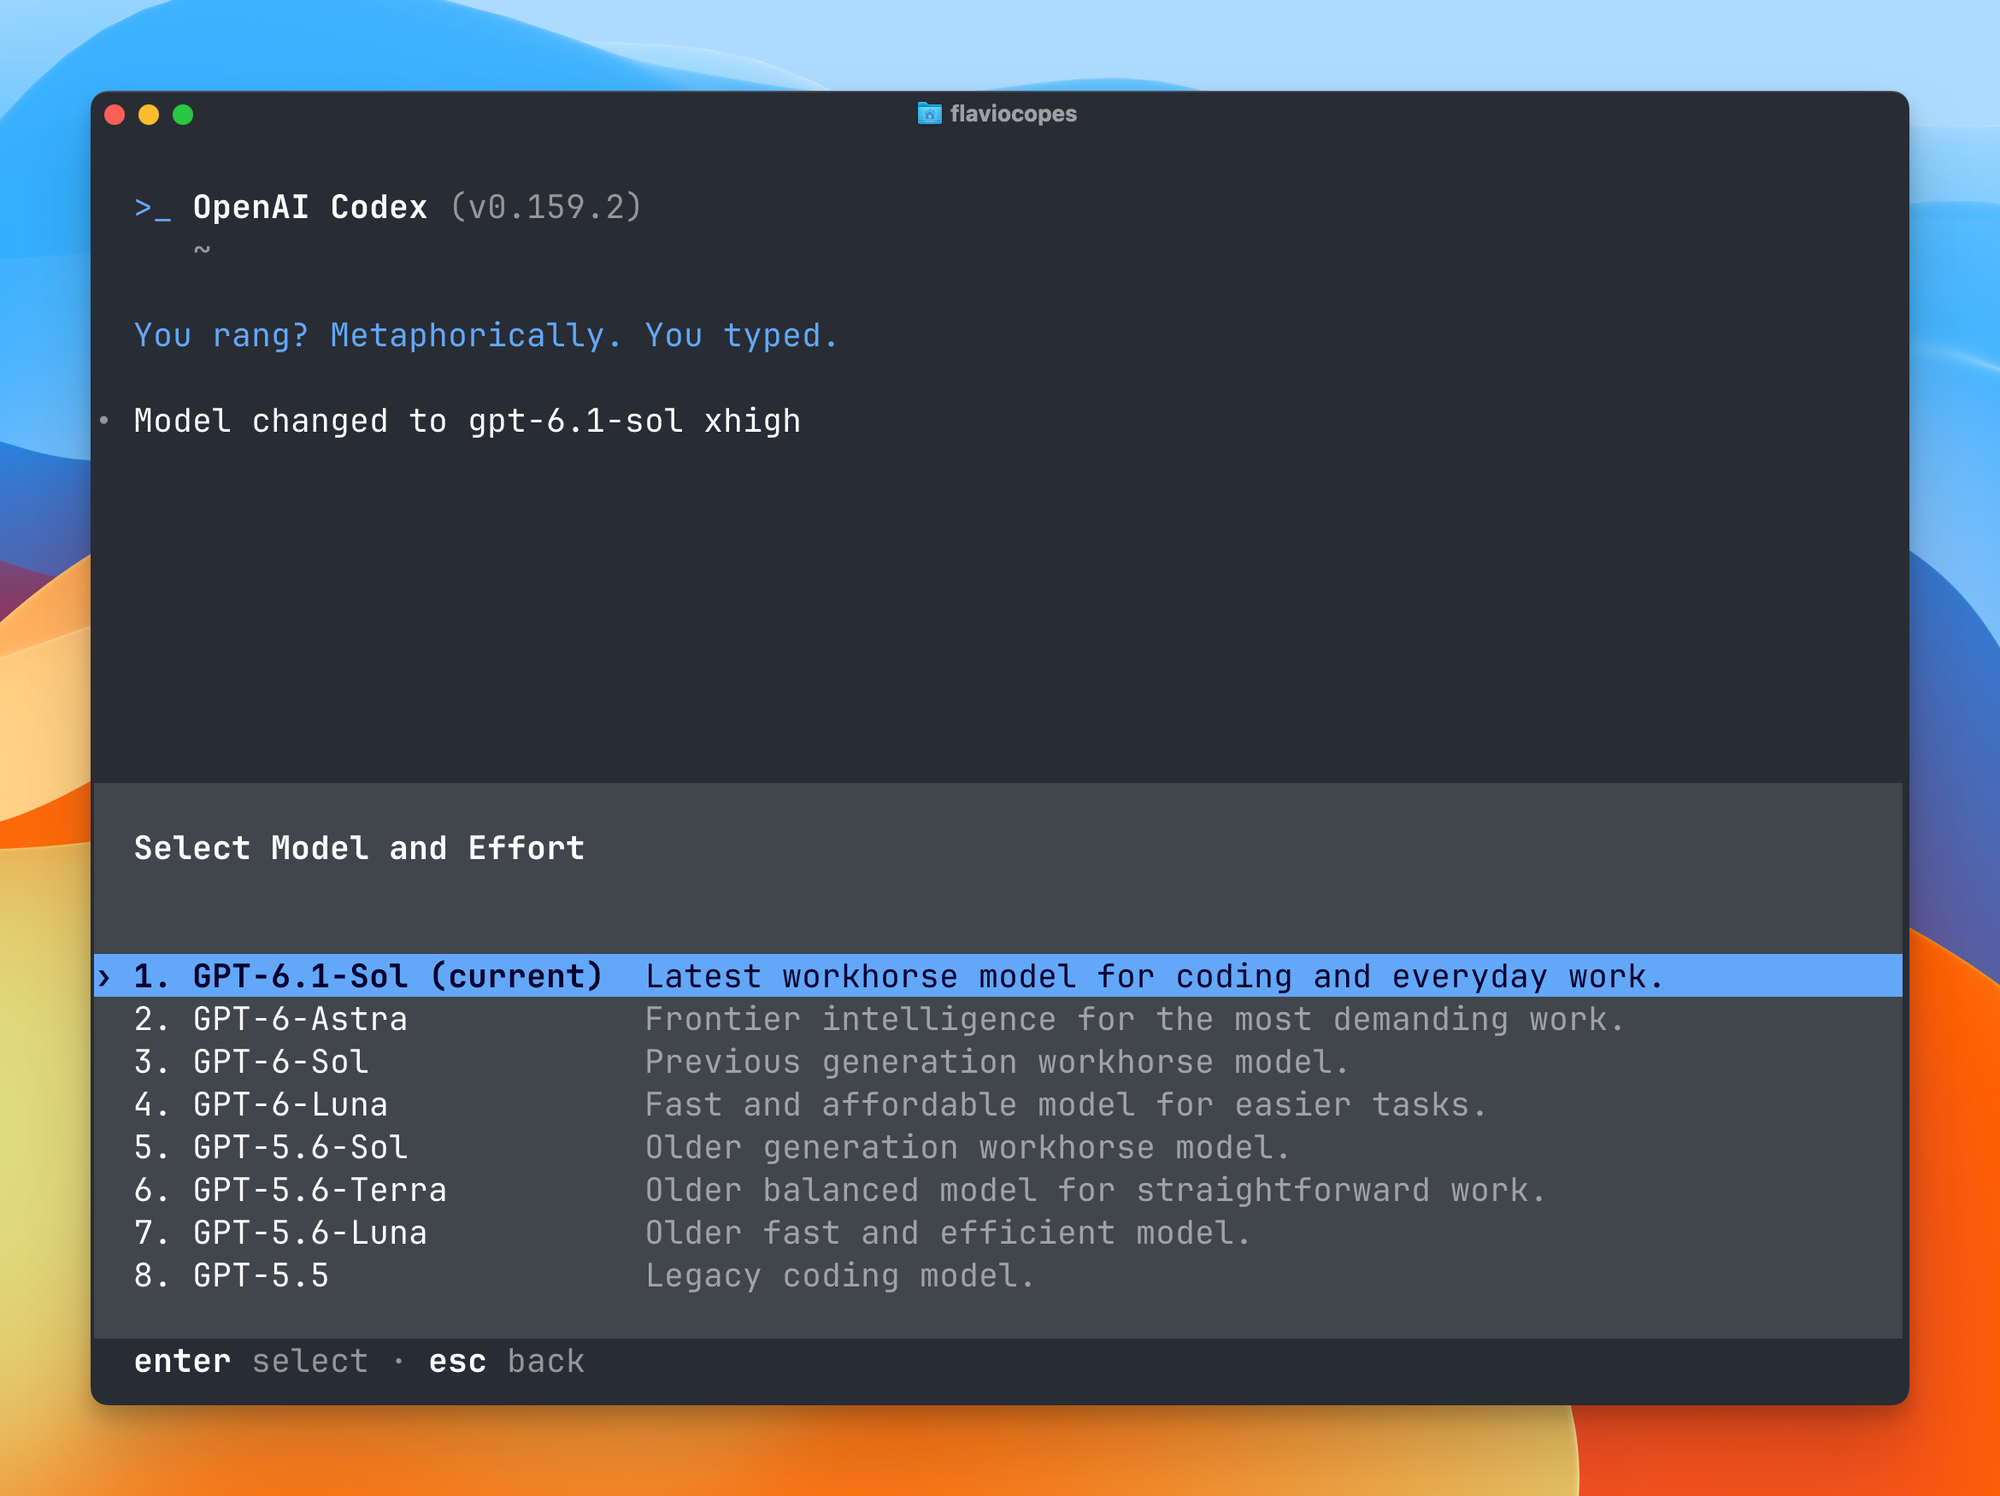
The default model is GPT-6.1 Sol. OpenAI recommends it for complex coding work, and GPT-6 Luna for focused, repeatable tasks. GPT-6 Astra is in the list too, for the most demanding work, and OpenAI says GPT-6.1 Sol gets close to it at a lower cost. GPT-6.1 Sol is available on the Plus, Pro, Business, Enterprise and Edu plans, not on Free or Go.
To start a session with a specific model, pass -m:
codex -m gpt-6-lunaThe model you pick in /model is saved in ~/.codex/config.toml, together with the effort, and new sessions start with it. A model line in that file wins over the built-in default, so when OpenAI changes the default, you stay on the model you picked. I had gpt-5.6-sol saved there, and picking GPT-6.1 Sol with xhigh effort in the picker saved those instead.
Type /fast to toggle Fast mode. Answers come quicker, and they count against your plan’s limits at 2.5 times the standard rate.
/status shows the current model, the permissions, and how much of the context window is left. /usage shows how much of your plan’s usage you’ve spent.
You can also run Codex with a local model through Ollama or LM Studio. With Ollama running and the model pulled:
codex --oss --local-provider ollama -m qwen3-coderLocal models are free to run but a lot weaker than GPT-6.1 Sol, so give them small, well-defined tasks. OpenCode can use the same LM Studio server. That’s How to use OpenCode with a local model in LM Studio.
Review the changes before you commit
When Codex is done, look at what it changed. Type /diff to see the Git diff, including new files that aren’t tracked yet.
For a second opinion, type /review. Codex asks what to review:
- Review against a base branch (PR style)
- Review uncommitted changes
- Review a commit
- Custom review instructions
Pick “Review uncommitted changes”. Codex reads the diff and reports issues by priority, and it doesn’t touch your files while it reviews.
You can run the same review from a normal terminal, without opening a session:
codex review --uncommittedCompare the current branch against main, like a pull request review:
codex review --base mainOr review one commit:
codex review --commit a1b2c3dIf you’re happy with the change, commit it in your terminal:
git add .
git commit -m "Skip code blocks when counting words"
Plan bigger changes first
For a change that touches more than a couple of files, ask for a plan before any code gets written. Type /plan followed by the task:
/plan Let readingTime take an options object with wordsPerMinute and includeCodeIn Plan mode, Codex reads the code, asks questions if something is unclear, and proposes a plan. When it’s done, it asks whether to implement it. You can scroll back through the transcript while you decide, to reread the parts of the plan that went off screen.
For long tasks, give Codex a goal it keeps attached to the chat while it works:
/goal Finish the options object and keep npm test greenType /goal alone to see the current goal, and /goal clear to remove it.
Give Codex instructions for your project
Every time you start a session, Codex reads AGENTS.md files for instructions. It looks in ~/.codex/AGENTS.md for your personal rules, then in the project root and every folder down to where you started Codex.
Type /init and Codex writes a first AGENTS.md for the current project, based on what it finds in the code. For our project, you could then add the rules that matter to you:
# AGENTS.md

- Run `npm test` after every change.
- Don't add dependencies. Use Node's built-in modules.
- Keep functions small and export them from `src/`.
Start a new session after editing the file, since Codex reads it once at startup. I wrote more about these files in What is an AGENTS.md file.
Teach Codex a repeatable task with a skill
AGENTS.md is for rules that apply to every task. When you have a specific task you repeat, with steps you want followed the same way each time, write a skill.
A skill is a folder with a SKILL.md file inside. The file starts with a name and a description, followed by the instructions. Let’s create one for our project in .agents/skills/add-test/SKILL.md:
---
name: add-test
description: Use when a function in src/ is added or changed. Writes a node:test test for the new behavior and runs npm test.
---

1. Find the function in src/ that changed.
2. Add a test for the new behavior in the matching file in test/, using node:test and node:assert/strict.
3. Run npm test and fix any failure before you finish.
Codex reads the descriptions of all your skills when a session starts. When a task matches one, it opens that skill and follows it. You can also call a skill yourself by typing $ and its name in the composer:
$add-test readingTime with an empty string/skills shows the skills Codex can see. Commit a project’s .agents/skills folder and everyone who works on the project gets its skills. Put the ones you want in every project in ~/.agents/skills.
You don’t have to write skills by hand. Type $skill-creator and Codex asks what the skill should do and when it should trigger, and then writes the folder for you.
Come back to a session later
Codex saves every interactive session. To continue one, run:
codex resumeIt shows a picker with the recent sessions from the current folder. Add --all to see sessions from every folder, or skip the picker and open the most recent one:
codex resume --lastcodex fork works the same way, but starts a new copy of the session, so you can try a different direction and keep the original.
Inside a session, a few commands keep things organized:
/renamegives the session a name you’ll recognize in the picker./side(or/btw) opens a side conversation in a temporary fork. Ask something unrelated without adding noise to the main chat./recapsummarizes the conversation so far./compactsummarizes it to free up the context window when a long session gets close to the limit./exportsaves the conversation as Markdown./archivehides the session from the picker without deleting it.
/new starts a fresh chat in the same folder. /clear does the same and also clears the screen. Ctrl+L clears the screen but keeps the chat. Ctrl+C or /exit closes Codex.
Copy text out of Codex
Select text in the transcript with the mouse, and Codex copies it when you release the button. The copy keeps the Markdown, tables included, so you can paste an answer into a document and keep its structure.
In some terminals the usual copy shortcut already works inside Codex, so Codex doesn’t copy on release there. That’s the case for Ghostty (1.2 or later), Kitty on macOS, Windows Terminal and VS Code on Windows. In those, select the text and press Cmd+C or Ctrl+C as usual.
You can change this in ~/.codex/config.toml:
[tui]
copy_on_select = "always"
The options are auto (the default), always and never.
To copy the whole last answer, press Ctrl+O. /copy opens copy mode on that answer: arrows or j/k move between blocks, Enter copies, Esc closes. Ctrl+Insert copies a selection. And if you want plain terminal scrollback to select from, /raw toggles raw mode.
Run Codex from scripts with codex exec
Everything so far happened in the interactive interface. codex exec runs Codex without it. You pass a prompt, it works, prints the final answer and exits, which makes it the command to use in scripts and CI.
codex exec "Summarize what this project does in two sentences"While it works, the progress goes to stderr. Only the final answer goes to stdout, so you can save it to a file:
codex exec "Write release notes for every commit in this repository" > release-notes.mdYou can also pipe data in. When you pass a prompt and pipe something at the same time, the prompt is the instruction and the piped text is the context:
git diff | codex exec "Write a one-line commit message for this diff"By default, codex exec runs in a read-only sandbox, so it can’t change your files. To let it edit, say so explicitly:
codex exec --sandbox workspace-write "Add a JSDoc comment to readingTime and run npm test"codex exec refuses to run outside a Git repository, as a guard against destructive changes. Pass --skip-git-repo-check when you’re sure the folder is safe to work in.
Be careful with standard input in scripts. If stdin isn’t a terminal, codex exec reads it as extra input, so in a cron job or a script where nothing is piped, it can sit there waiting. Close it:
codex exec "Summarize the last 5 commits" < /dev/nullGet output other programs can read
Add --json and stdout becomes a stream of JSON events, one per line. You get thread.started and turn.started at the beginning, item.* events for messages, commands and file changes, and turn.completed with the token usage at the end.
codex exec --json "Run the tests and tell me if they pass" | jq -r '.type'If you only need the final answer in a file, use -o:
codex exec -o summary.md "Summarize this project"For structured data, describe the shape you want with a JSON Schema. Save this as schema.json:
{
  "type": "object",
  "properties": {
    "functions": {
      "type": "array",
      "items": {
        "type": "object",
        "properties": {
          "name": { "type": "string" },
          "file": { "type": "string" },
          "tested": { "type": "boolean" }
        },
        "required": ["name", "file", "tested"],
        "additionalProperties": false
      }
    }
  },
  "required": ["functions"],
  "additionalProperties": false
}
Then pass it with --output-schema:
codex exec "List every exported function and whether a test covers it" --output-schema schema.json -o functions.jsonThe final answer in functions.json follows the schema, so a script can read it without parsing prose.
Continue a run
codex exec saves its sessions too, so a script can continue where the last run stopped:
codex exec resume --last "Now add a test for an empty string"Add --ephemeral to a run when you don’t want Codex to save the session at all.
Use it in CI
On a CI server, there’s no browser to sign in. Set CODEX_API_KEY for just the Codex command:
CODEX_API_KEY="$OPENAI_API_KEY" codex exec --json "Review the changes in this branch"For GitHub Actions, OpenAI publishes openai/codex-action. It installs Codex and runs it behind a proxy that holds the API key, which makes the key harder to leak than an environment variable in a shell step.
Let Codex search the web
Codex has a web search tool, and it’s on by default. It searches an index that OpenAI maintains, instead of fetching pages live. That lowers the risk of Codex reading a page that hides instructions aimed at the agent, though it doesn’t remove it. The downside is that the index can lag behind the latest releases.
When a task depends on something that changed recently, turn on live search for the session:
codex --searchThen ask as usual:
Check the Node.js docs and tell me if node:test supports snapshot testingEvery search shows up in the transcript, so you can see what Codex looked up. To make live search your default, add web_search = "live" to ~/.codex/config.toml. web_search = "disabled" turns the tool off.
Web search is separate from the sandbox. It runs on OpenAI’s side, so it works even when the commands Codex runs on your machine have no network access.
Connect tools with MCP
MCP servers give Codex new tools, like documentation search or access to a service you use. Add a remote one with its URL. For example, the Astro documentation server:
codex mcp add astro-docs --url https://mcp.docs.astro.build/mcpFor a server that runs locally, put the command after --:
codex mcp add context7 -- npx -y @upstash/context7-mcpcodex mcp add saves the server in ~/.codex/config.toml, so every session picks it up. codex mcp list shows what’s configured, and /mcp inside a session lists the tools Codex can use right now.
Plugins bundle skills and MCP servers into one package you install in one go, for services like GitHub or Slack. Type /plugins to browse the directory.
Save your settings in config.toml
Instead of passing flags every time, put your defaults in ~/.codex/config.toml:
model = "gpt-6.1-sol"
model_reasoning_effort = "medium"
approval_policy = "on-request"
sandbox_mode = "workspace-write"
personality = "pragmatic"

[tui]
copy_on_select = "always"
show_tooltips = false
animations = false
approval_policy = "on-request" with sandbox_mode = "workspace-write" is the Default preset from /permissions. personality sets the tone of Codex’s replies, and takes friendly, pragmatic or none. The last two lines turn off the tips Codex shows while it works and the animations, if you find them distracting.
A project can have its own .codex/config.toml too. Codex loads it only for folders you trusted, and its values win over your personal ones.
When you switch between setups often, use a profile. Create ~/.codex/luna.config.toml with only the values that differ:
model = "gpt-6-luna"
model_reasoning_effort = "low"
Then start Codex with it:
codex -p lunaFor a one-off change, use -c with a TOML value. Single quotes keep the double quotes intact in bash, zsh and fish:
codex -c 'model_reasoning_effort="high"'When the same setting appears in several places, command line flags and -c win, then the project config, then the profile, then your own config.toml, and the built-in defaults come last.
Make the terminal yours
You can customize the interface from inside a session:
/themepicks the syntax highlighting theme for code and diffs./statuslinechooses what the footer shows, like the model, the context left, your plan limits or Git details./keymapremaps shortcuts, and/vimturns on Vim mode in the composer.
Shell completion saves a lot of typing on flags. In zsh, add this to your ~/.zshrc:
eval "$(codex completion zsh)"In fish, save the completions to fish’s completions folder once:
codex completion fish > ~/.config/fish/completions/codex.fishBash and PowerShell work the same way with codex completion bash and codex completion powershell.
How I use the Codex CLI
Most of my Codex time is in the desktop app. I open the CLI mostly for work that happens on a server, and for jobs I want to script.
For a server, I start codex on my Mac, give it the SSH command to reach one of my DigitalOcean droplets, and describe the problem. That’s how I found out why processes kept getting killed on my server, how I updated my self-hosted Plausible instance after years of not touching it, and why Sendy was sending my newsletter so slowly. Each one started as a single prompt in the terminal.
I’ve used it for smaller jobs on my Mac too. Before publishing the Bootcamp projects for my students, I asked it to remove the node_modules and dist folders from every project, and then asked again to make sure no .env file was left. In May I built a tiny ports CLI with it, which lists the development servers listening on ports and kills the one I pick.
codex exec is where the CLI does things the app can’t. In January I tried a Ralph Wiggum loop: a shell script that runs codex exec over and over with the same instructions file, until the agent prints a completion marker. The instructions described a small React and Vite app to build. I ran the loop with OpenAI’s models first, then switched it to Qwen3 Coder running locally in Ollama with --oss --local-provider=ollama. That script ran with the sandbox and approvals turned off, so the agent could have touched anything on my Mac. --sandbox workspace-write is enough for a loop like that, and it limits the agent’s edits to the project folder and the temporary directories.
If you want the desktop app, with its browser, diff panels and multiple chats side by side, start from The complete guide to Codex. The two share the same config, so what you set up here carries over, and on macOS and Windows /app moves the current CLI session into the app.
And when you’d rather have a task run on OpenAI’s machines while your laptop is closed, the CLI can send it there with codex cloud. I cover that in How to use Codex Cloud.
Want me to talk about your product? You can sponsor this site.
Related posts about ai: