A deep dive into tmux
By Flavio Copes
Learn tmux from scratch: create persistent sessions, use windows and panes, copy text, customize key bindings, and work safely over SSH.
tmux lets you run several terminal programs inside one terminal window. You can split the screen, open more shells, and jump between them with the keyboard.
But the feature that matters most is persistence. A tmux session keeps running when you close the terminal or lose an SSH connection. You reconnect later and everything is still there, where you left it.
On a laptop this is nice to have. On a remote server, where a dropped connection can stop the command you were running, it’s the main reason to use tmux.
In this tutorial we start from zero. We install tmux, learn how it thinks about sessions and windows, build a small workspace, tweak the configuration, and use it over SSH.
What is tmux?
tmux is a terminal multiplexer. The name sounds more complicated than the idea.
A normal terminal window shows one shell. With tmux, that same window can show many shells and programs.
tmux also separates the programs from the terminal application that displays them. This is the part that makes it special.
When you start tmux, it creates a background server. That server owns your sessions and the programs running in them. The terminal you look at is just a client connected to that server.
Terminal app → tmux client → tmux server → shells and programsYou can disconnect the client, and the server keeps going. tmux calls this detaching. When you connect again, you attach to the same session.
tmux runs inside the terminal you already have. Terminal.app, iTerm2, Ghostty, Kitty, Alacritty, they all work. It does not replace your shell either. Zsh, Bash, Fish, whatever you use today keeps working.
Why use tmux?
The first reason is the one I already mentioned. Your work keeps running when the connection drops.
Say you SSH into a server and start a long database import. Halfway through, your Wi-Fi drops. Without tmux, the remote shell can close and take the import down with it.
Inside tmux, the session keeps running on the server. You reconnect, attach, and keep watching the import.
Then there is organization. One project might need an editor, a dev server, a test watcher, and a plain shell. tmux gives each one its own window or pane, all inside one session.
And tmux is scriptable. It has a command language, so you can create sessions, windows, and panes from a shell script. One command rebuilds the same workspace every morning.
tmux is not always the answer, though.
If you run short commands in one terminal, your terminal’s tabs are probably enough. And if a server program must start after a reboot and run without you, use a service manager like systemd. tmux keeps an interactive session alive, but it is not a process supervisor for production.
Install tmux
On macOS, install tmux with Homebrew:
brew install tmuxOn Omarchy, use the Omarchy package command:
omarchy pkg add tmuxOn Ubuntu or Debian:
sudo apt update
sudo apt install tmux
On Fedora:
sudo dnf install tmuxOn Arch Linux:
sudo pacman -S tmuxCheck the installed version:
tmux -VYou should see something like:
tmux 3.7cYour version may differ. The tmux project supports its latest release, and operating system repositories often ship an older one.
Start your first tmux session
Run:
tmuxNot much changes. A status line appears at the bottom of the terminal. That’s it.
Behind that small change, tmux created a server, a session named 0, a window named after your shell, one pane filling that window, and a client attached to the session.
Run a normal command:
pwdNothing special. Programs inside tmux behave like programs in any terminal.
Now start something we can recognize later:
topThis shows a live view of the running processes. Press q when you want to close it. Leave it running for now.
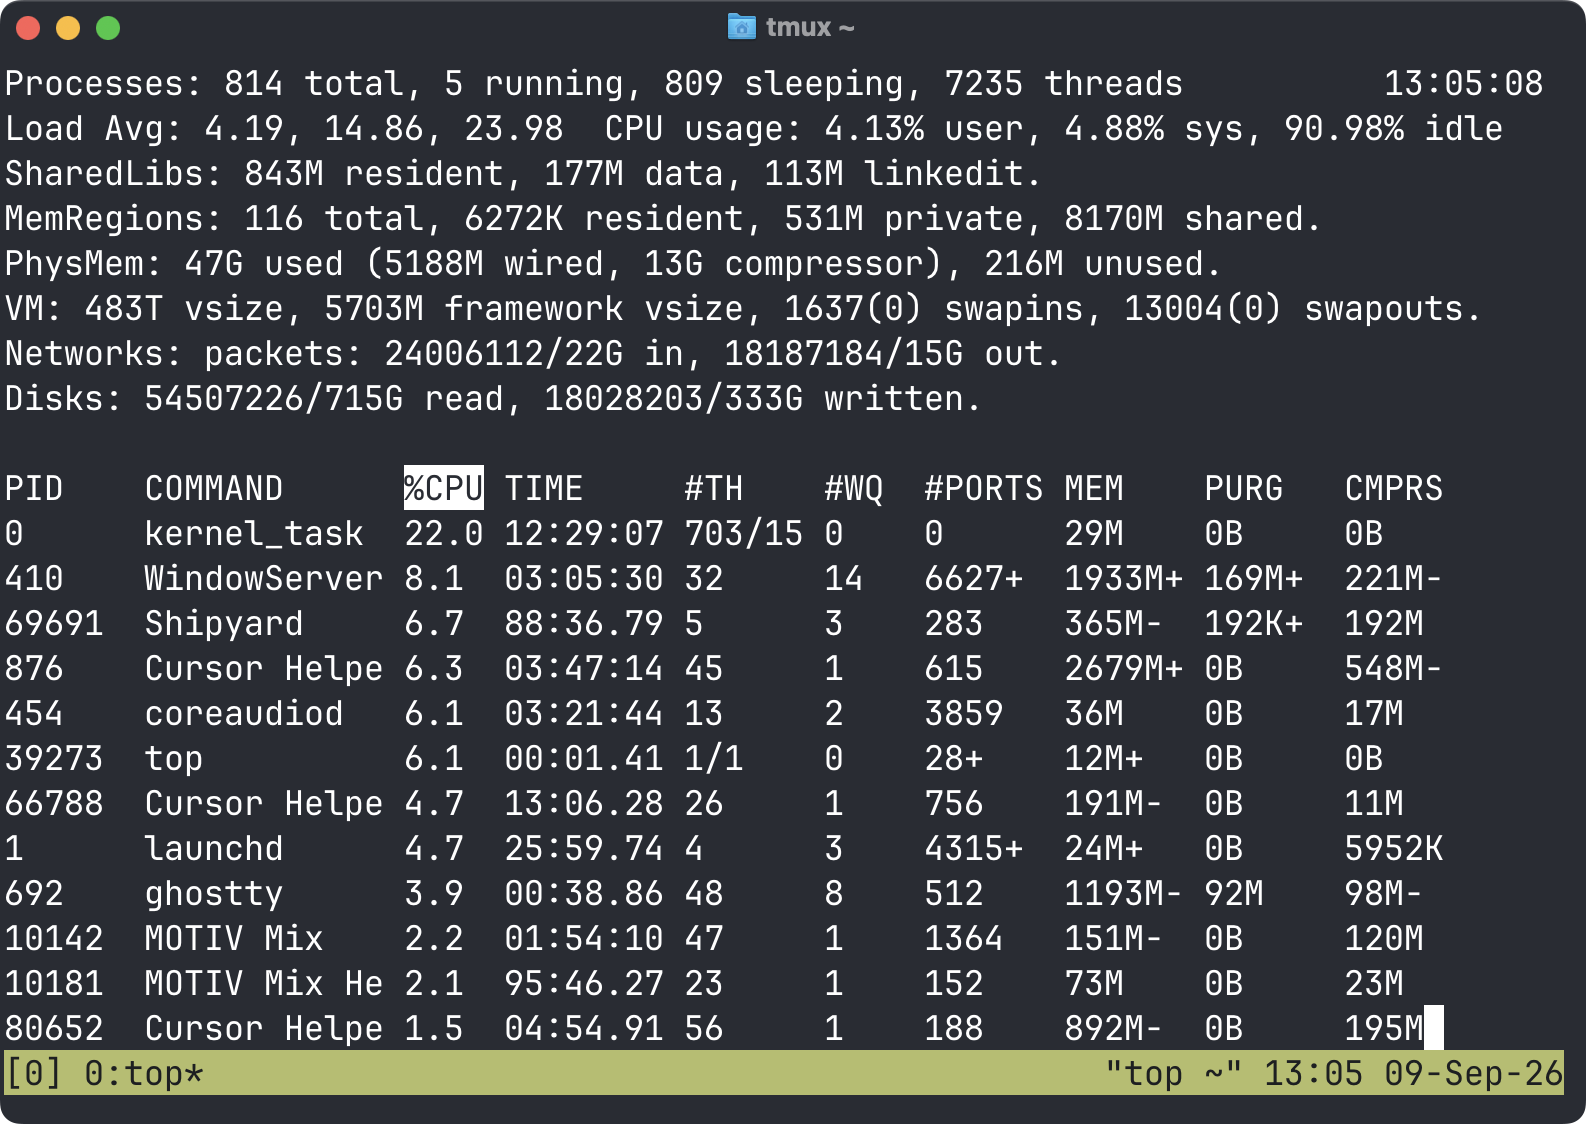
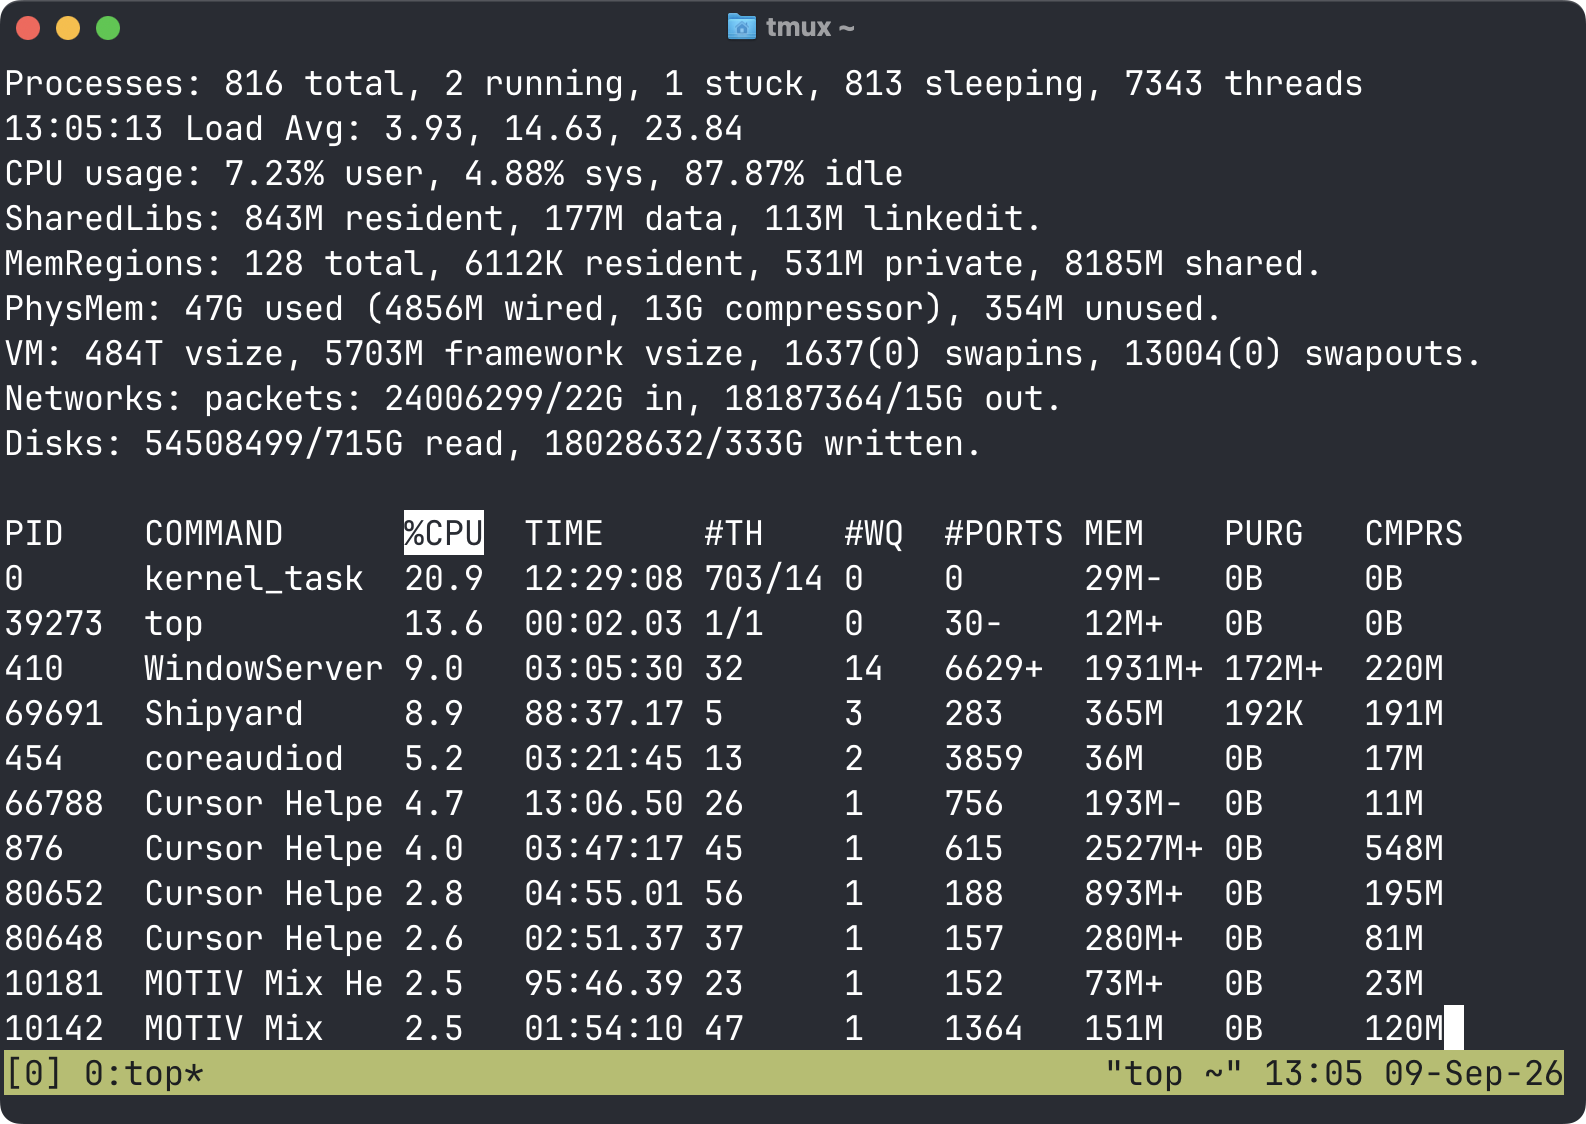
The values keep updating while top runs:
Understand the prefix key
Almost every tmux shortcut starts with a prefix key. The default is Ctrl-b.
You hold Ctrl, press b, release both. Then you press the command key.
To detach, press:
Ctrl-b, then dDon’t press all three keys together. Prefix first, release, then d.
You’re back in your normal shell, and tmux prints:
[detached (from session 0)]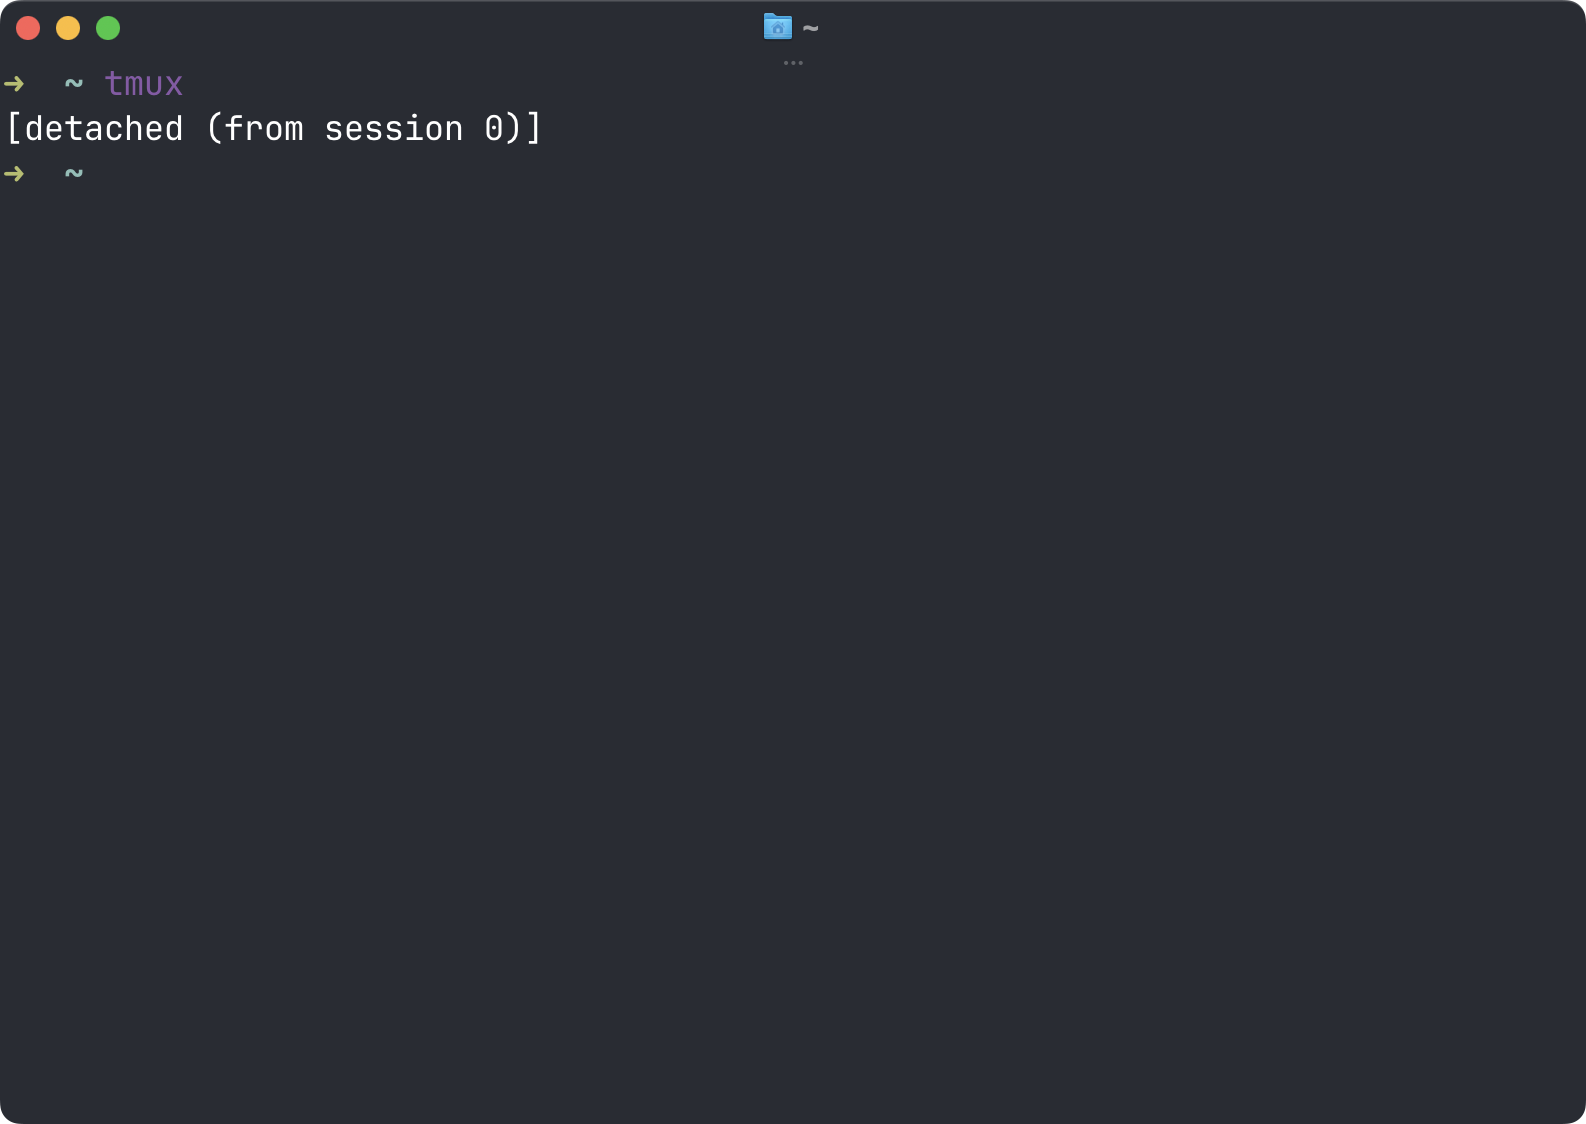
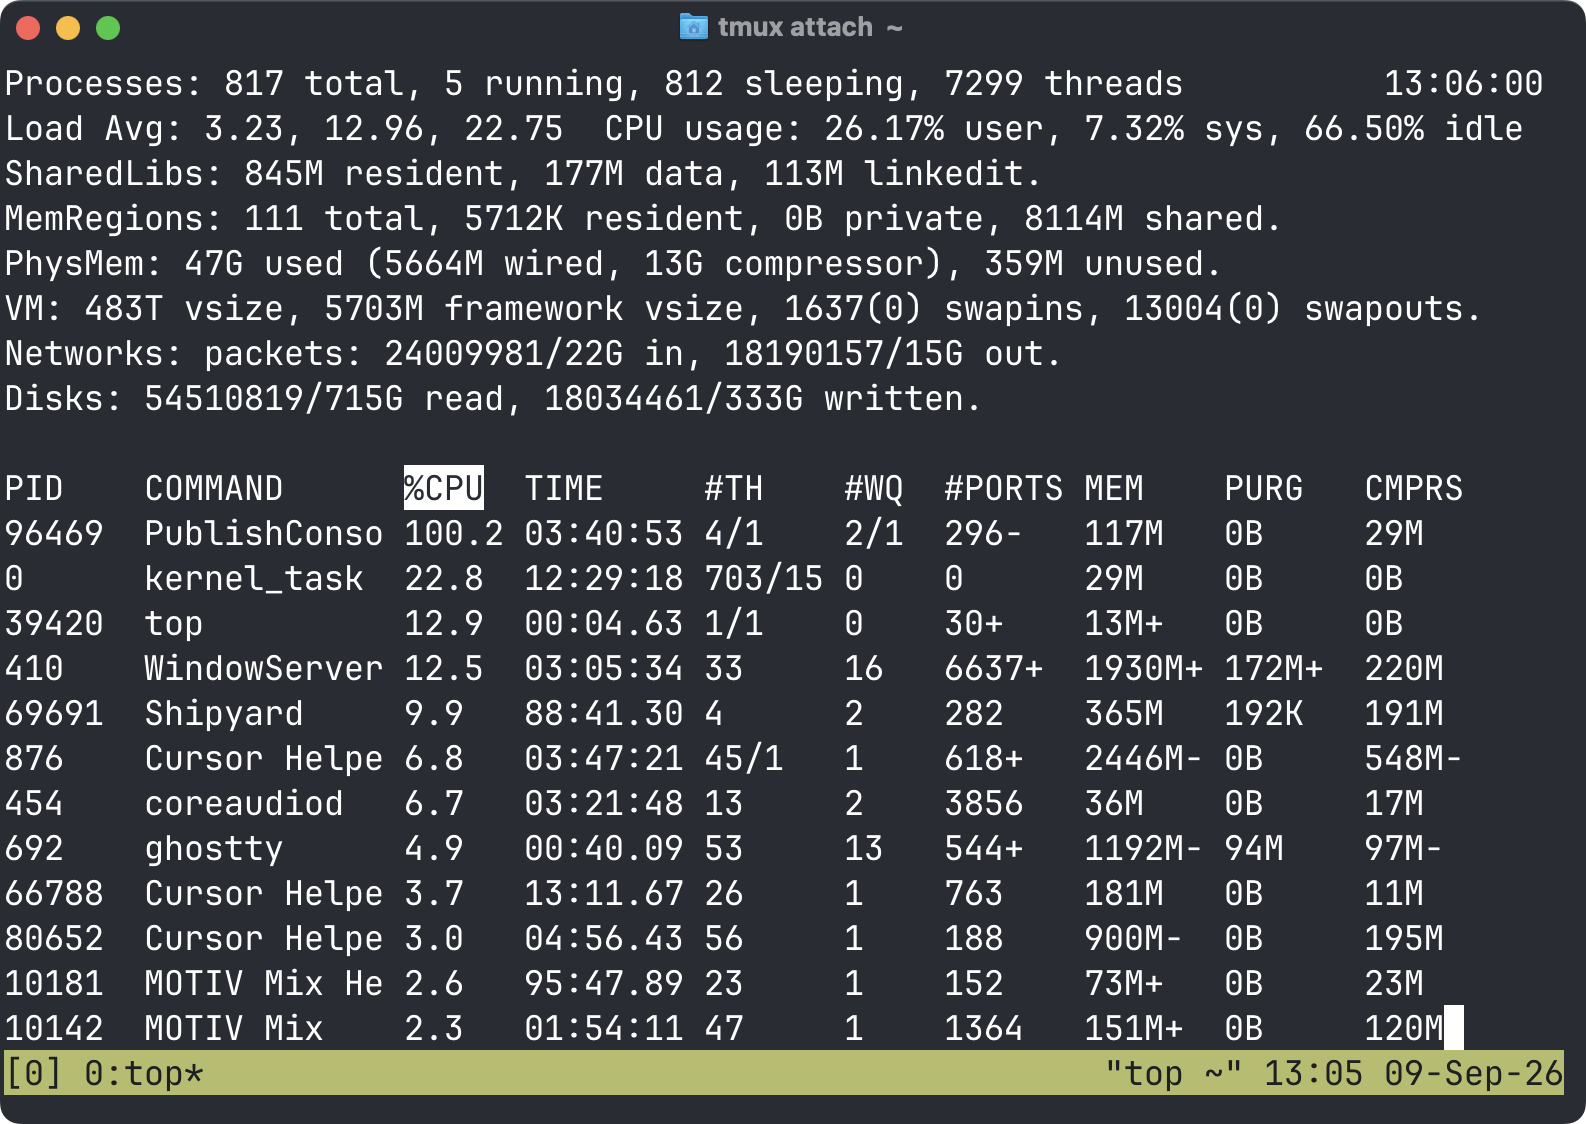
top is still running inside tmux. Attach again:
tmux attachThe process list is still updating:
This is the first tmux habit to build. From now on, when I write Ctrl-b c, I mean Ctrl-b, release, then c.
Sessions, windows, and panes
tmux organizes everything in three levels:
Server
└── Session
    ├── Window
    │   ├── Pane
    │   └── Pane
    └── Window
        └── Pane
A session is a whole workspace. I might have one session for flaviocopes.com and another for server maintenance.
A window fills the tmux client. Think of a terminal tab. One window has my editor, another has logs.
A pane is a split inside a window. One pane runs the dev server, another runs the tests.
An easy way to remember it is to think of the session as the project, the window as the task, and the pane as one terminal area.
Create a named session
Session 0 works, but a name is easier to remember.
Detach from the current session:
Ctrl-b dCreate a session named website:
tmux new -s websitenew is short for new-session. -s sets the session name. The full command works too:
tmux new-session -s websiteFrom a normal shell, list every session:
tmux list-sessionsOr the short version:
tmux lsYou get something like:
0: 1 windows (created Mon Aug 31 17:10:00 2026)
website: 1 windows (created Mon Aug 31 17:12:00 2026) (attached)
Detach from website, then attach to it by name:
tmux attach -t website-t means target. Many tmux commands take one. It tells tmux which session, window, or pane the command is for.
Rename a session
Inside tmux, press:
Ctrl-b $Type the new name, press Enter.
From the shell:
tmux rename-session -t website blogNames matter once you have several sessions open. I use project names or server roles. Never work2.
Create and move between windows
Create a new window:
Ctrl-b cThe status line now lists two windows.
Next window:
Ctrl-b nPrevious window:
Ctrl-b pOr pick one by number:
Ctrl-b 0
Ctrl-b 1
Window numbers start at 0 by default.
For an interactive list of sessions and windows:
Ctrl-b wMove with the arrow keys and press Enter.
Rename the current window:
Ctrl-b ,I use short task names: editor, server, tests, logs.
tmux may rename a window on its own when the program in the foreground changes. We’ll turn that off later in the configuration, if you prefer stable names.
To close a window, exit every shell inside it:
exitOr tell tmux to kill it:
Ctrl-b &tmux asks for confirmation, because this stops every program in that window.
Split a window into panes
Split the current window left and right:
Ctrl-b %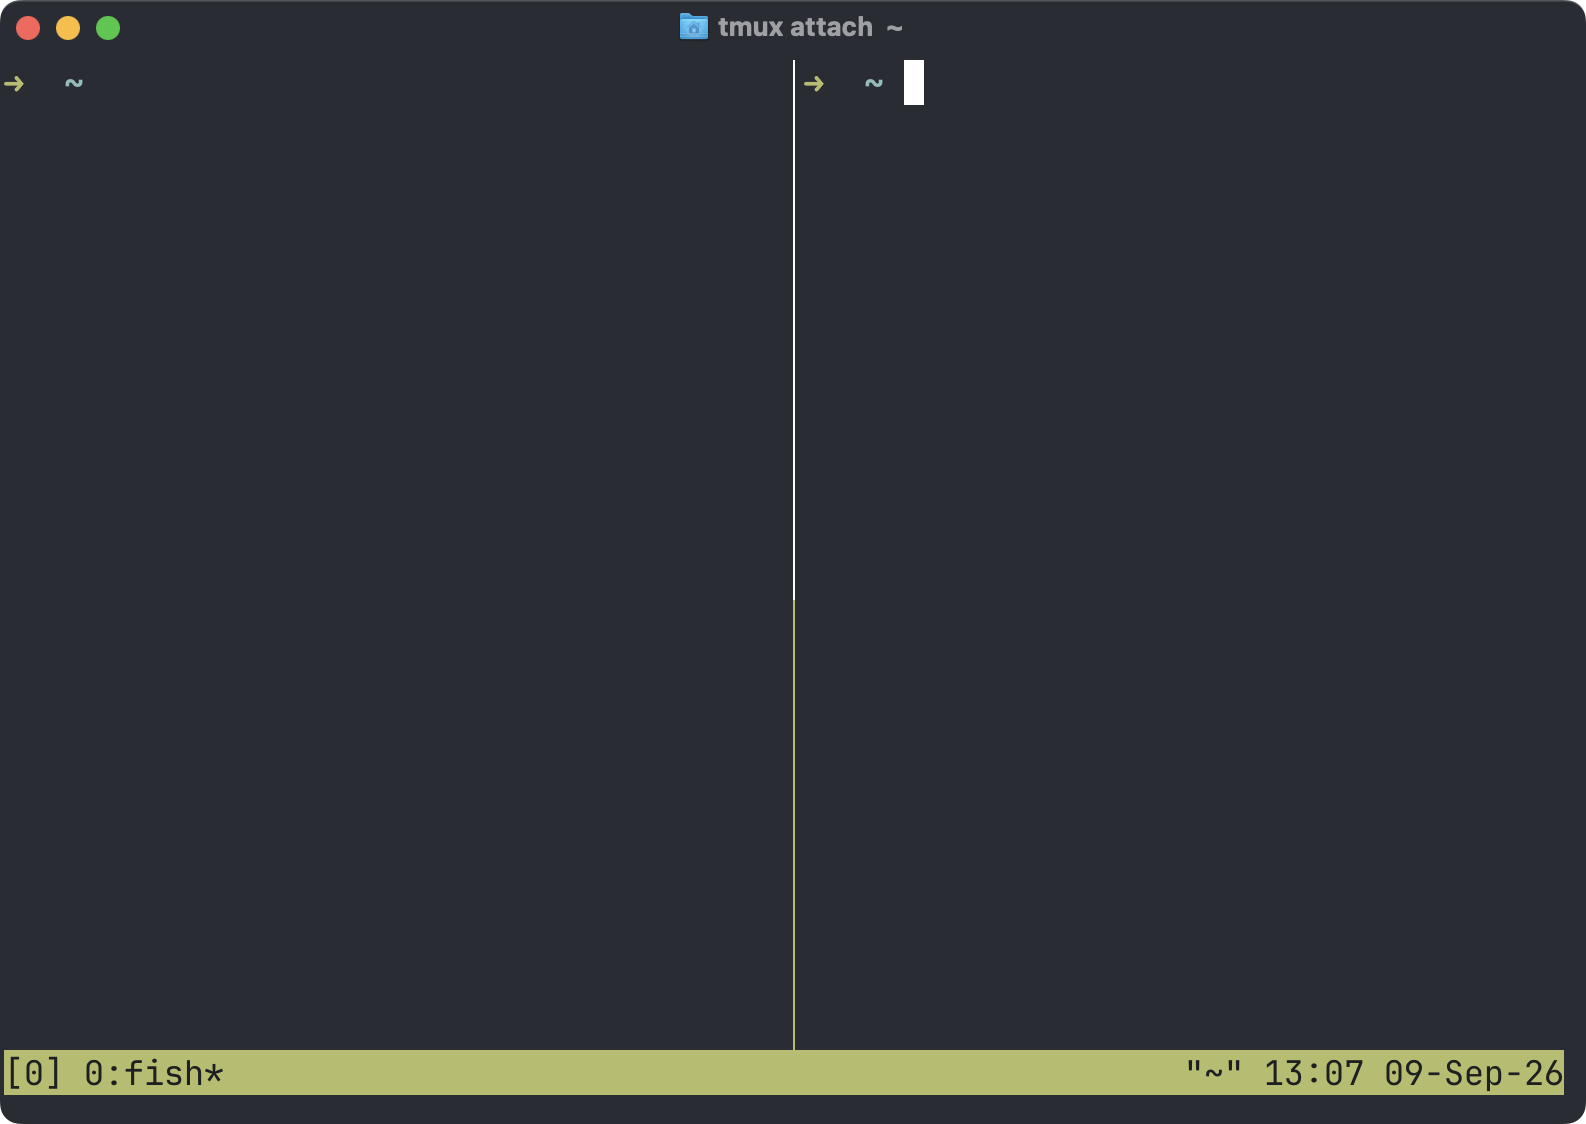
Split the current pane top and bottom:
Ctrl-b "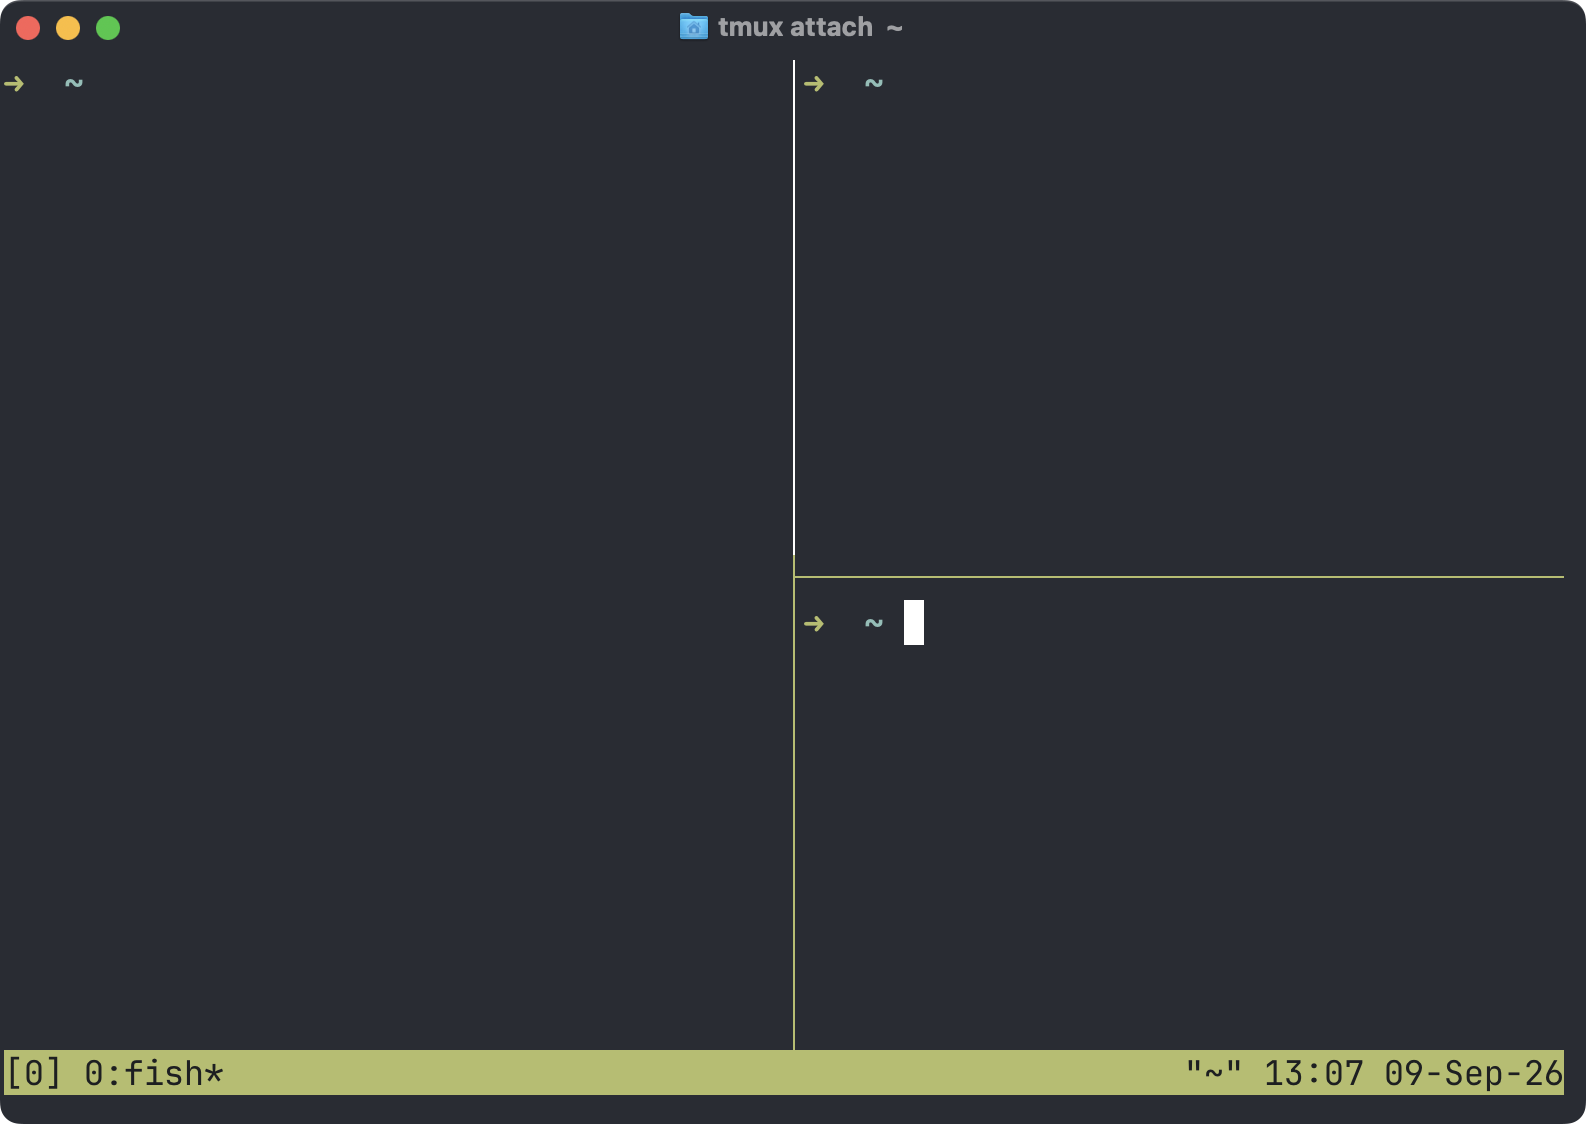
The quote key is hard to remember. We’ll add friendlier split keys in the configuration section.
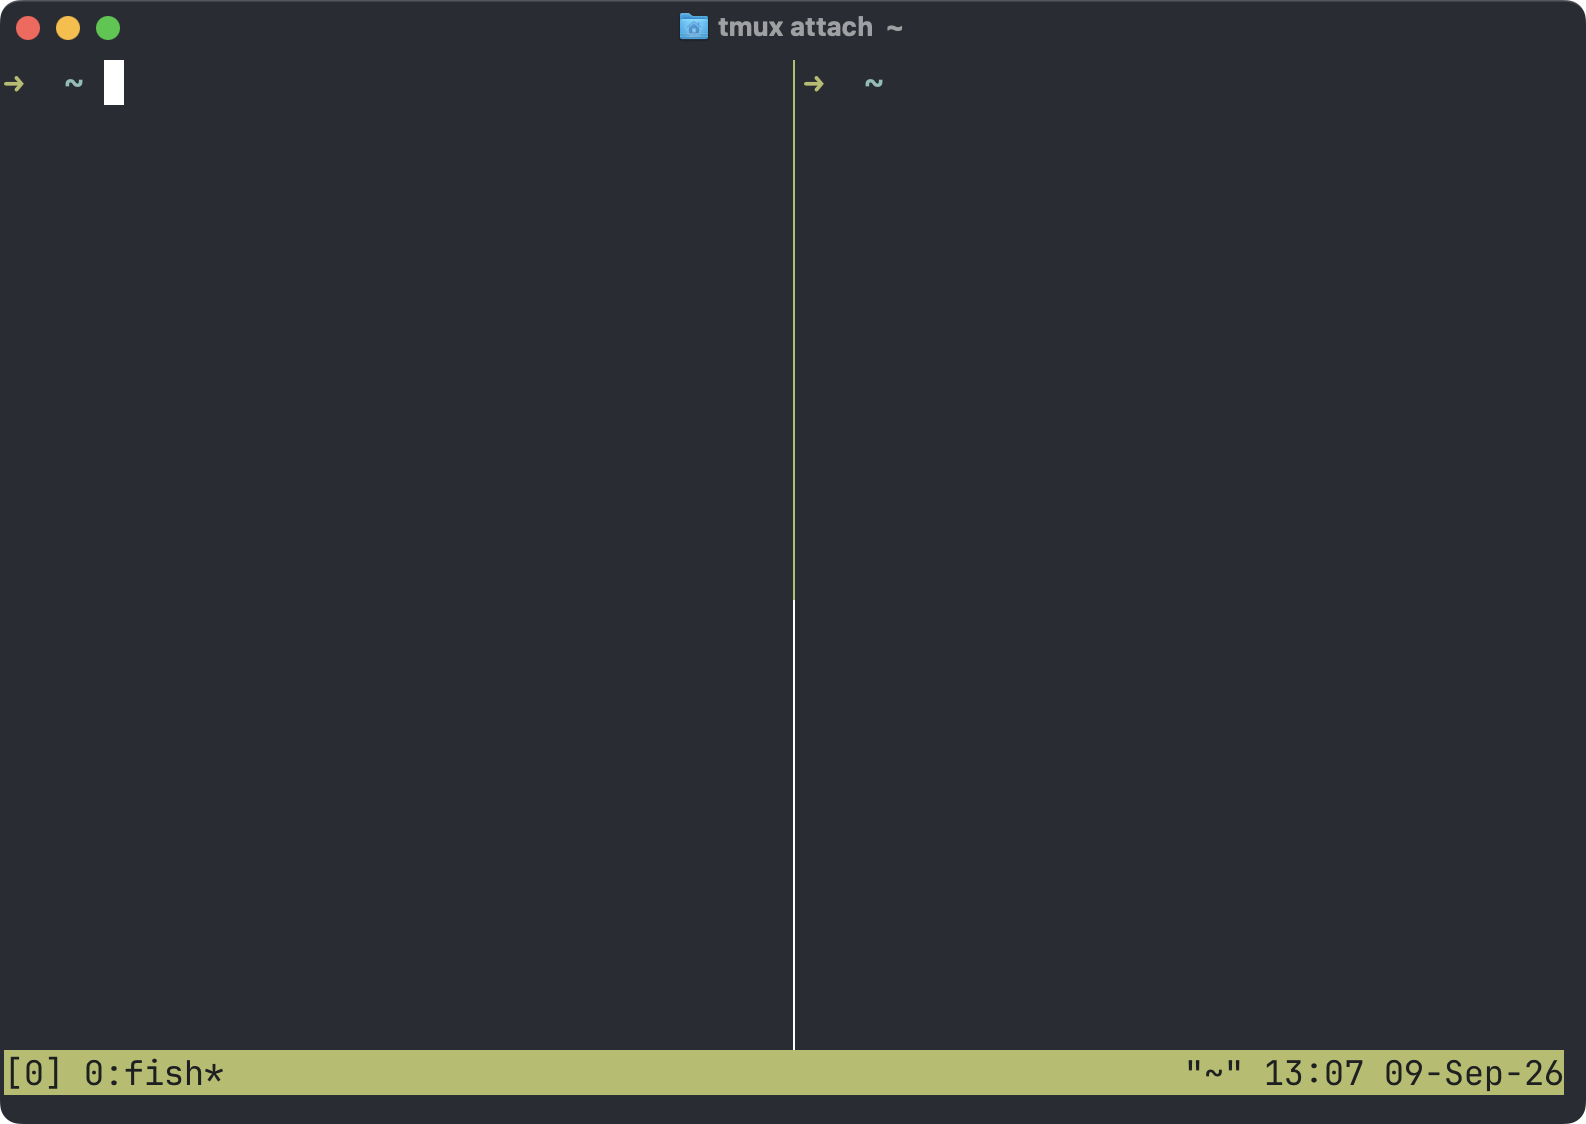
Move between panes with the prefix and an arrow key:
Ctrl-b Arrow keySo Ctrl-b, release, then the left arrow.
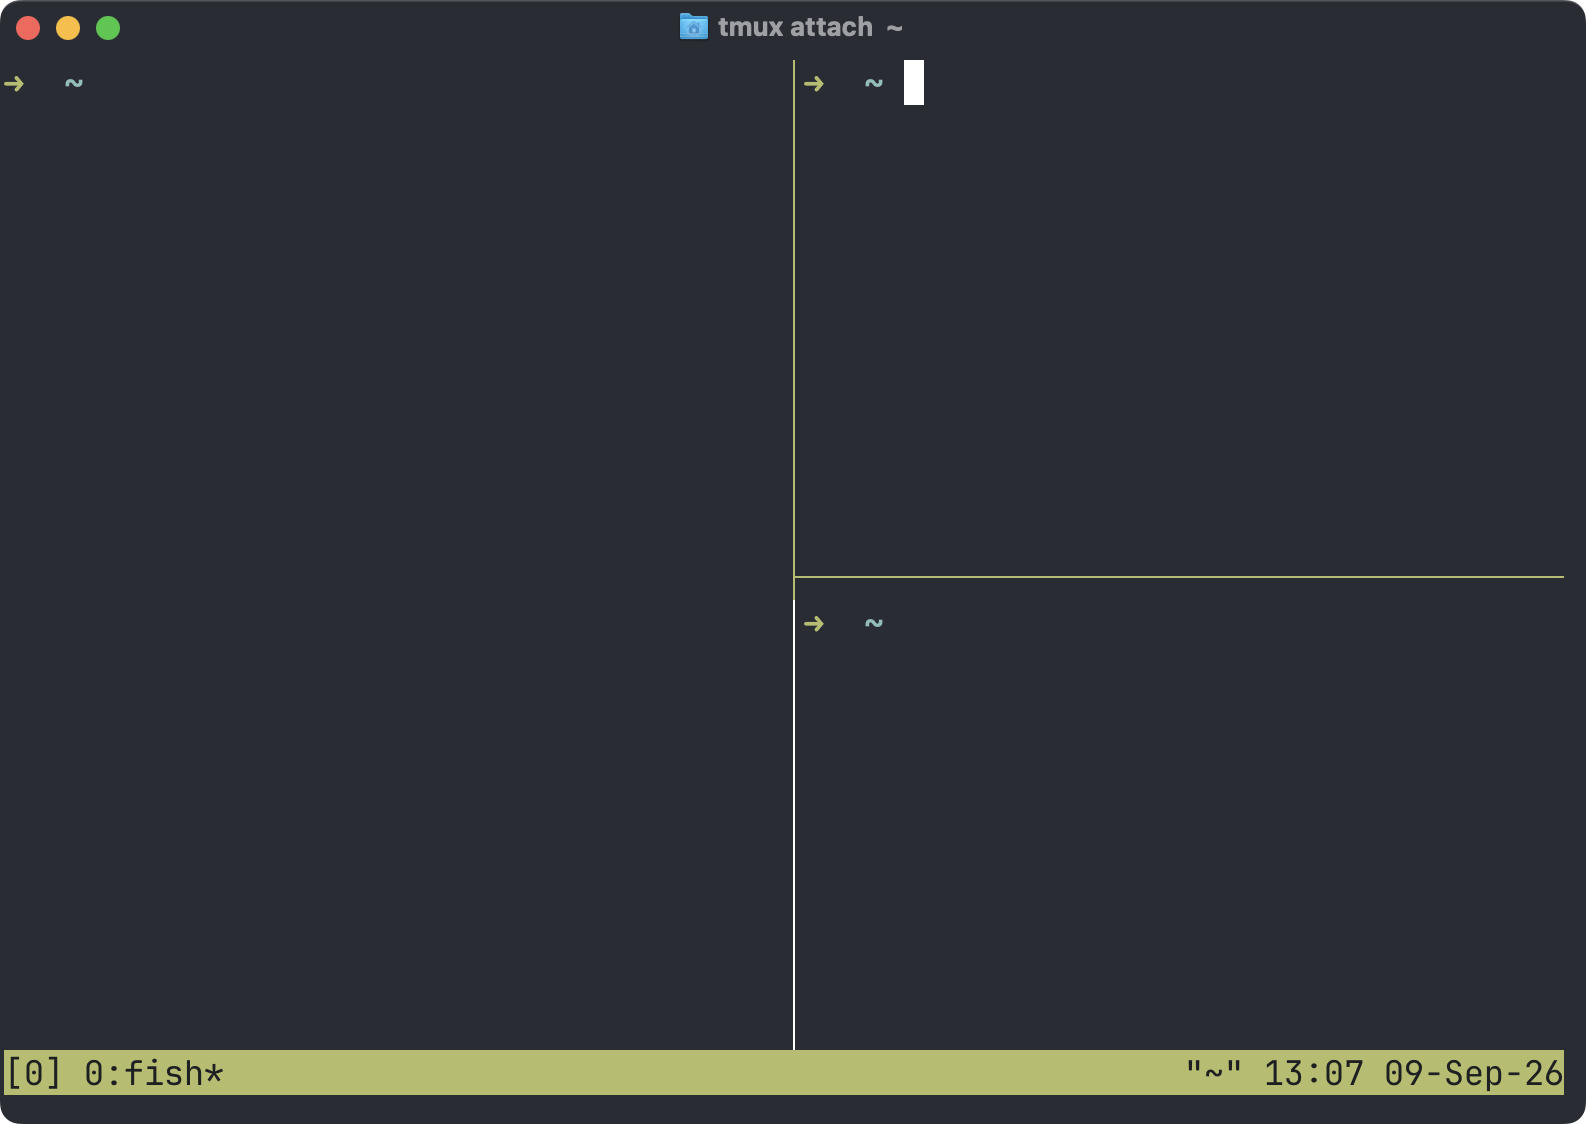
Prefix and left arrow again selects the big pane:
To see the pane numbers:
Ctrl-b qtmux draws a big number on every pane. Press that number quickly to jump to it.
Next pane:
Ctrl-b oClose a pane by exiting its shell:
exitOr kill it:
Ctrl-b xAgain, tmux asks first.
Resize and arrange panes
Resize the current pane with:
Ctrl-b Ctrl-ArrowEach press resizes by a little, and you may need the prefix again every time.
tmux also ships a few ready-made layouts. Press:
Ctrl-b SpaceEach press cycles to the next layout: even rows, even columns, a large main pane, a tiled grid.
Zoom the current pane:
Ctrl-b zThe pane fills the whole window. Press the same shortcut again and the layout comes back.
Zoom helps when a small pane has long output, or when you want the editor to take the whole screen for a while.
A small development workspace
Let’s put this together into a real layout.
From a normal shell, create a fresh named session:
tmux new -s notesRename the first window:
Ctrl-b ,Call it code.
Split it left and right:
Ctrl-b %The left pane is for the editor:
nvim .Move right with Ctrl-b Right and start the dev server:
npm run devCreate a second window with Ctrl-b c and rename it shell.
One session, two tasks:
notes
├── code
│   ├── editor pane
│   └── development server pane
└── shell
    └── normal shell pane
Detach with Ctrl-b d. Editor and server keep running.
Come back later with:
tmux attach -t notesUse tmux command mode
Every shortcut you pressed so far runs a tmux command under the hood. You can run those commands yourself. Press:
Ctrl-b :A prompt appears in the status line. Type:
rename-window serverand press Enter.
This is command mode. It helps when you remember the command but not the key. It’s also a good way to try a configuration change before saving it to a file.
For example, turn on mouse support for the current server:
set -g mouse on-g sets the global value.
Now you can click a pane to select it, click windows in the status line, drag pane borders to resize, and scroll with the wheel.
The setting is gone when the tmux server stops. To keep it, put it in the configuration file. We get there in a moment.
Scroll through old output
Your terminal’s normal scrollback does not always work as expected inside tmux. tmux keeps its own history for each pane.
To read it, enter copy mode:
Ctrl-b [Now the arrow keys, Page Up, and Page Down move through the pane history. Press q to get out.
Ctrl-b Page Up also enters copy mode.
The history-limit option controls how many lines tmux saves. More lines means more memory, but long build logs become much easier to inspect.
Copy text
Copy mode also selects and copies text, into tmux’s own paste buffer.
The selection keys depend on whether copy mode uses Emacs-style or Vim-style keys. I prefer Vim-style. Set it in command mode:
set -g mode-keys viEnter copy mode:
Ctrl-b [Move to where the text starts. Press Space to start selecting. Move to the end and press Enter.
Paste with:
Ctrl-b ]Note that this copies into the tmux buffer, not necessarily into the system clipboard.
Clipboard integration depends on your terminal, your tmux version, the operating system, and whether you are over SSH. Start by letting tmux use the terminal’s clipboard support:
set -g set-clipboard onModern terminals accept clipboard data through an escape sequence. Some need their own permission or setting before they allow it.
One word of caution on remote servers. A clipboard escape sequence sent by a remote program can change your local clipboard. Use terminals and servers you trust.
Search pane history
Copy mode can search too.
With Vim-style keys, enter copy mode and press /:
Ctrl-b [
/
Type what you’re looking for and press Enter. n jumps to the next match, N to the previous one.
It’s much faster than rerunning a command when the error you need is still in the history.
Send the prefix to a nested program
Sometimes a program inside tmux also wants Ctrl-b.
Press the prefix twice:
Ctrl-b Ctrl-bThe first one talks to tmux. The second one reaches the program in the pane.
The same applies when you run tmux inside tmux.
Nested tmux gets confusing fast. Both layers have sessions, windows, panes, a status line, and a prefix key. I avoid it unless the two layers have clear, separate jobs.
The one reasonable case is a local tmux connecting to a remote machine that already runs tmux. There, I let the remote tmux own the persistent work and keep the local layer minimal.
Manage sessions from the shell
You don’t have to attach to manage tmux.
Create a detached session:
tmux new-session -d -s reports-d starts it detached.
Add a window to it:
tmux new-window -t reports -n logsType a command into that window:
tmux send-keys -t reports:logs 'tail -f /var/log/nginx/access.log' EnterAttach when you’re ready:
tmux attach -t reportsTargets have this shape:
session:window.paneFor example:
reports:logs.0Names work in most places where numbers do, and they make scripts much easier to read.
Kill one session:
tmux kill-session -t reportsKill every session except website:
tmux kill-session -a -t websiteStop the whole tmux server:
tmux kill-serverThat ends every session and every process inside them. Think before you run it.
Configure tmux
tmux reads your configuration from:
~/.tmux.confIt also accepts the XDG path:
~/.config/tmux/tmux.confPick one and stick with it, so you always know which file you’re editing.
Here is a small configuration I would start with:
set -g mouse on
set -g history-limit 50000
set -g mode-keys vi
set -g renumber-windows on
set -g set-clipboard on

set -g base-index 1
setw -g pane-base-index 1

set -g allow-rename off

bind | split-window -h -c "#{pane_current_path}"
bind - split-window -v -c "#{pane_current_path}"

bind r source-file ~/.tmux.conf \; display-message "Config reloaded"
Let’s go through it.
mouse on lets you click and resize panes.
history-limit keeps 50,000 lines per pane.
mode-keys vi gives you Vim-style copy mode.
renumber-windows closes the gaps in the numbering when a window goes away.
base-index and pane-base-index start numbering at 1. That matches the leftmost number key on the keyboard, which feels more natural to me.
allow-rename off stops programs from renaming your windows.
The two bind lines give you splits that are easier to remember:
Ctrl-b |
Ctrl-b -
The -c "#{pane_current_path}" part opens the new pane in the same directory as the current one.
The last line reloads the configuration with:
Ctrl-b rIf you use the XDG path, point the reload command at that file instead.
Reload the configuration
A running tmux server does not reread the configuration file when you change it.
Reload it from your shell:
tmux source-file ~/.tmux.confOr press Ctrl-b r if you added the binding above.
If something is wrong, tmux tells you the line number. Fix that line and reload again.
You don’t need to restart your sessions. Most option and key changes apply right away.
See every key binding
Press:
Ctrl-b ?tmux opens a searchable list of the current bindings. q closes it.
From a shell:
tmux list-keysThis shows the configuration that is actually active, including your changes.
For options:
tmux show-options -gWindow options:
tmux show-window-options -gThese are the first things to check when a configuration you copied from somewhere behaves differently than expected.
Change the prefix key
Many people move the prefix from Ctrl-b to Ctrl-a.
Add:
unbind C-b
set -g prefix C-a
bind C-a send-prefix
Reload. The prefix is now Ctrl-a.
The last line lets you send a real Ctrl-a to a program by pressing it twice.
My advice is to keep Ctrl-b at first. Tutorials and server configurations use the default, and you’ll be able to follow them. Change it only when the default gets in your way for real.
Navigate panes without the prefix
You can bind keys in the root table. Those work without the prefix.
For example:
bind -n M-Left select-pane -L
bind -n M-Right select-pane -R
bind -n M-Up select-pane -U
bind -n M-Down select-pane -D
M is the Meta key, usually Alt or Option. Now Alt-Arrow moves between panes.
Your terminal or your operating system may already use those shortcuts. Test each one before you rely on it.
Prefix-less shortcuts are convenient, but every key you take is a key the programs inside tmux can no longer see. I keep them to a minimum.
Build a session with a shell script
tmux commands are normal shell commands. That makes repeatable workspaces easy.
Create dev-session.sh:
#!/usr/bin/env bash

session="website"
project="$HOME/www/flaviocopes.com"

if ! tmux has-session -t "$session" 2>/dev/null; then
  tmux new-session -d -s "$session" -c "$project" -n editor
  tmux send-keys -t "$session:editor" 'nvim .' Enter

  tmux new-window -t "$session" -c "$project" -n server
  tmux send-keys -t "$session:server" 'npm run dev' Enter

  tmux new-window -t "$session" -c "$project" -n shell
fi

tmux attach-session -t "$session"
Make it executable:
chmod +x dev-session.shRun it:
./dev-session.shThe first run creates the workspace. Later runs find the existing session and attach to it.
Notice the quotes around the variables. A project path can contain spaces.
Also notice how send-keys works. It sends text, then an Enter key, exactly as if you typed it. It has no idea whether the target pane is sitting at a shell prompt or in the middle of something else.
That’s safe right after creating a fresh shell. In an old pane in an unknown state, the keys can end up in the wrong program.
Capture pane output
Scripts can read text out of a pane:
tmux capture-pane -p -t website:server-p prints the captured text to standard output.
Only the last 100 lines:
tmux capture-pane -p -S -100 -t website:serverHandy for diagnostics and small automation scripts.
What you get is plain text, and your script still has to make sense of it.
If you need a reliable health check, ask the service itself. Hit an HTTP endpoint, check the process status, read an exit code. Don’t guess from what happens to be visible on screen.
Use tmux over SSH
tmux is most useful on remote servers.
Connect to the server:
ssh notes-serverStart or attach to a named session:
tmux new -A -s work-A means attach if the session already exists. So one command covers both cases. If work exists you land in it, if not tmux creates it.
Now start your editor, your logs, or that maintenance command.
When the SSH connection drops, reconnect:
ssh notes-server
tmux new -A -s work
Everything is still there.
If remote access is new to you, my SSH for developers guide covers keys, host verification, configuration aliases, tunnels, and file transfers.
What survives and what does not
tmux keeps a session alive for as long as the tmux server process is alive.
So you can close the terminal application, detach, lose the SSH connection, or put your laptop to sleep while tmux runs on a remote machine. The sessions are still there.
If you reboot the machine that runs the tmux server, kill the server, or the system crashes, the sessions are gone. And tmux can’t save a program that crashes inside a pane.
tmux is not a process checkpoint. It does not save a program’s memory and bring it back after a reboot.
Plugins can save layouts and the commands that were running, and restart them when tmux comes back. That is useful, but it’s a fresh start, not a live process resuming from the exact instruction where it stopped.
For workloads that matter on a server, use systemd, containers with a restart policy, or another supervisor. Use tmux to look at them and poke at them.
Use the same session from two terminals
Several clients can attach to one session.
Open two terminal windows and run this in both:
tmux attach -t websiteBoth show the same session. What you do in one appears in the other.
This works for pair programming, or for watching the same remote session from two devices.
There is one catch. A shared window has to fit every attached client, so tmux may size it for the smallest one. The bigger client ends up with unused space.
If you want to share the windows but pick a different current window in each client, tmux can create a linked session:
tmux new-session -t website -s website-mobilewebsite-mobile shares its windows with website, but each session has its own current window.
They’re still the same live windows underneath. Close one in either session and it’s gone from both.
Understand sockets and separate servers
tmux clients talk to the server through a Unix socket.
Most of the time you never think about it. Running tmux finds the default socket and connects to the server behind it.
You can use a separate named socket:
tmux -L experiments new -s testList the sessions on that socket:
tmux -L experiments lsThis is a completely separate tmux server. Its sessions don’t show up in a plain tmux ls.
Named sockets are good for testing a new configuration, or for isolating automation from your real sessions.
Be careful with where sockets live. Don’t put them in shared, writable directories unless you understand the permissions. Whoever controls your tmux server can read your pane output and type into your terminals.
Environment variables inside long-lived sessions
A tmux server can live for days. Your environment changes in the meantime.
When a new client attaches, tmux updates a small, configured set of environment variables. It does not touch the environment of shells that are already running.
This bites you after changing PATH, credentials, the SSH agent socket, or display settings. The old shell still has the old values.
Open a new shell, or restart the program that needs the fresh values.
To see what tmux itself knows:
tmux show-environmentAnd don’t put long-lived secrets in the tmux configuration or in session scripts. Depending on permissions, other local processes can read command lines, files, and pane history.
Use plugins carefully
tmux is complete without plugins. If you want them, the usual plugin manager is TPM, the tmux plugin manager. Popular plugins add session saving and restore, better copy behavior, themes, and more navigation keys.
Remember that a plugin is code running with your user permissions. Before installing one, read the source and the install instructions, check who maintains it, and understand which commands it runs. On a sensitive machine, pin the version or review each update.
And keep the configuration small enough that you can still debug it.
I’d learn plain tmux before adopting a big configuration framework. Otherwise you never know if a key comes from tmux, from a plugin, or from someone else’s dotfiles.
Common problems
no server running
You ran something like:
tmux lsand there is no tmux server yet. Start one:
tmux new -s worksessions should be nested with care
You’re already inside tmux. Check with:
printf '%s\n' "$TMUX"Empty means you’re outside tmux. A path followed by numbers means you’re inside.
Detach, or switch session from inside tmux:
Ctrl-b sOnly unset TMUX if you really want a nested server and you understand the two layers.
Colors look wrong
Check TERM outside tmux first:
printf '%s\n' "$TERM"Inside tmux it’s normally a tmux-specific value like:
tmux-256colorDon’t paste random TERM exports into your shell startup file. TERM describes the current terminal, and the terminal application and tmux are the ones that should set it.
Also make sure the remote machine has the matching terminfo entry. Older servers may not know tmux-256color.
A shortcut does nothing
Show the active bindings:
tmux list-keysThen check whether the terminal or the operating system grabs the key before tmux sees it.
For custom bindings, reload the right configuration file and read the error message, if there is one.
Scrolling moves through shell history
Enter copy mode first:
Ctrl-b [Or turn on mouse mode in the configuration.
A session disappeared
Check:
tmux lsNo server running means the machine rebooted or the server exited.
A session also ends when its last window closes. If a shell exits on its own, look at your shell startup files and at the command that launched it.
How I would use tmux
Mostly on remote servers.
I would create one named session per job:
tmux new -A -s operationsOne window for service status and logs. Another for a normal shell. Maybe a temporary pane for an editor or a one-off command.
The configuration would stay small. Mouse support, a bigger history, stable window names, easy splits, one reload key. That covers most of what I need.
Locally, I would use tmux when I want the same keyboard workflow on macOS and Linux. A session with editor, server, and shell windows is enough for most projects.
I would not use tmux to keep a production web server alive. systemd or the hosting platform should own that process. tmux is just where I’d go to look at it.
I would also stay away from automation that sends keystrokes into old panes and hopes they are ready. Shell scripts, service APIs, and health endpoints give you real guarantees.
If the problem were coordinating many coding agents, I would compare tmux with newer tools built around agent state. I wrote about that choice in Herdr vs tmux vs Zellij, and listed more options in Herdr alternatives. On a Mac, cmux is the native app I’d look at first.
A tmux shortcut cheat sheet
Every shortcut here starts with the default Ctrl-b prefix:
| Key | Action |
|---|---|
d | Detach from the session |
c | Create a window |
n | Go to the next window |
p | Go to the previous window |
0–9 | Select a window by number |
, | Rename the current window |
w | Choose a session or window |
% | Split left and right |
" | Split top and bottom |
| Arrow | Move to another pane |
q | Show pane numbers |
o | Move to the next pane |
z | Zoom the current pane |
x | Kill the current pane |
[ | Enter copy mode |
] | Paste from the tmux buffer |
: | Open command mode |
? | Show key bindings |
s | Choose a session |
Don’t memorize all of it. Start with four things:
Ctrl-b c    create a window
Ctrl-b %    split into panes
Ctrl-b d    detach
tmux attach attach again
Add the rest when you need it.
If you want the full picture, the official tmux getting started guide and the tmux manual document every command and option. And if the command line itself still feels new, my free Shell Commands course covers the basics that make tmux easier.
Want me to talk about your product? You can sponsor this site.