Deploying an Astro + PostgreSQL app on Railway
By Flavio Copes
Learn how to deploy an Astro and PostgreSQL app on Railway, connecting the DATABASE_URL variable, setting a custom start command, and running migrations.
I’m writing this to show how to deploy an app built on Astro and SSR, which uses a PostgreSQL database for managing data, on Railway. (That’s my referral link: sign up through it and you get $20 in Railway credit, and I get a 15% commission on what you pay in your first year.)
First, I assume you have a Railway account, and the app is already deployed on GitHub, in a private or public repository.
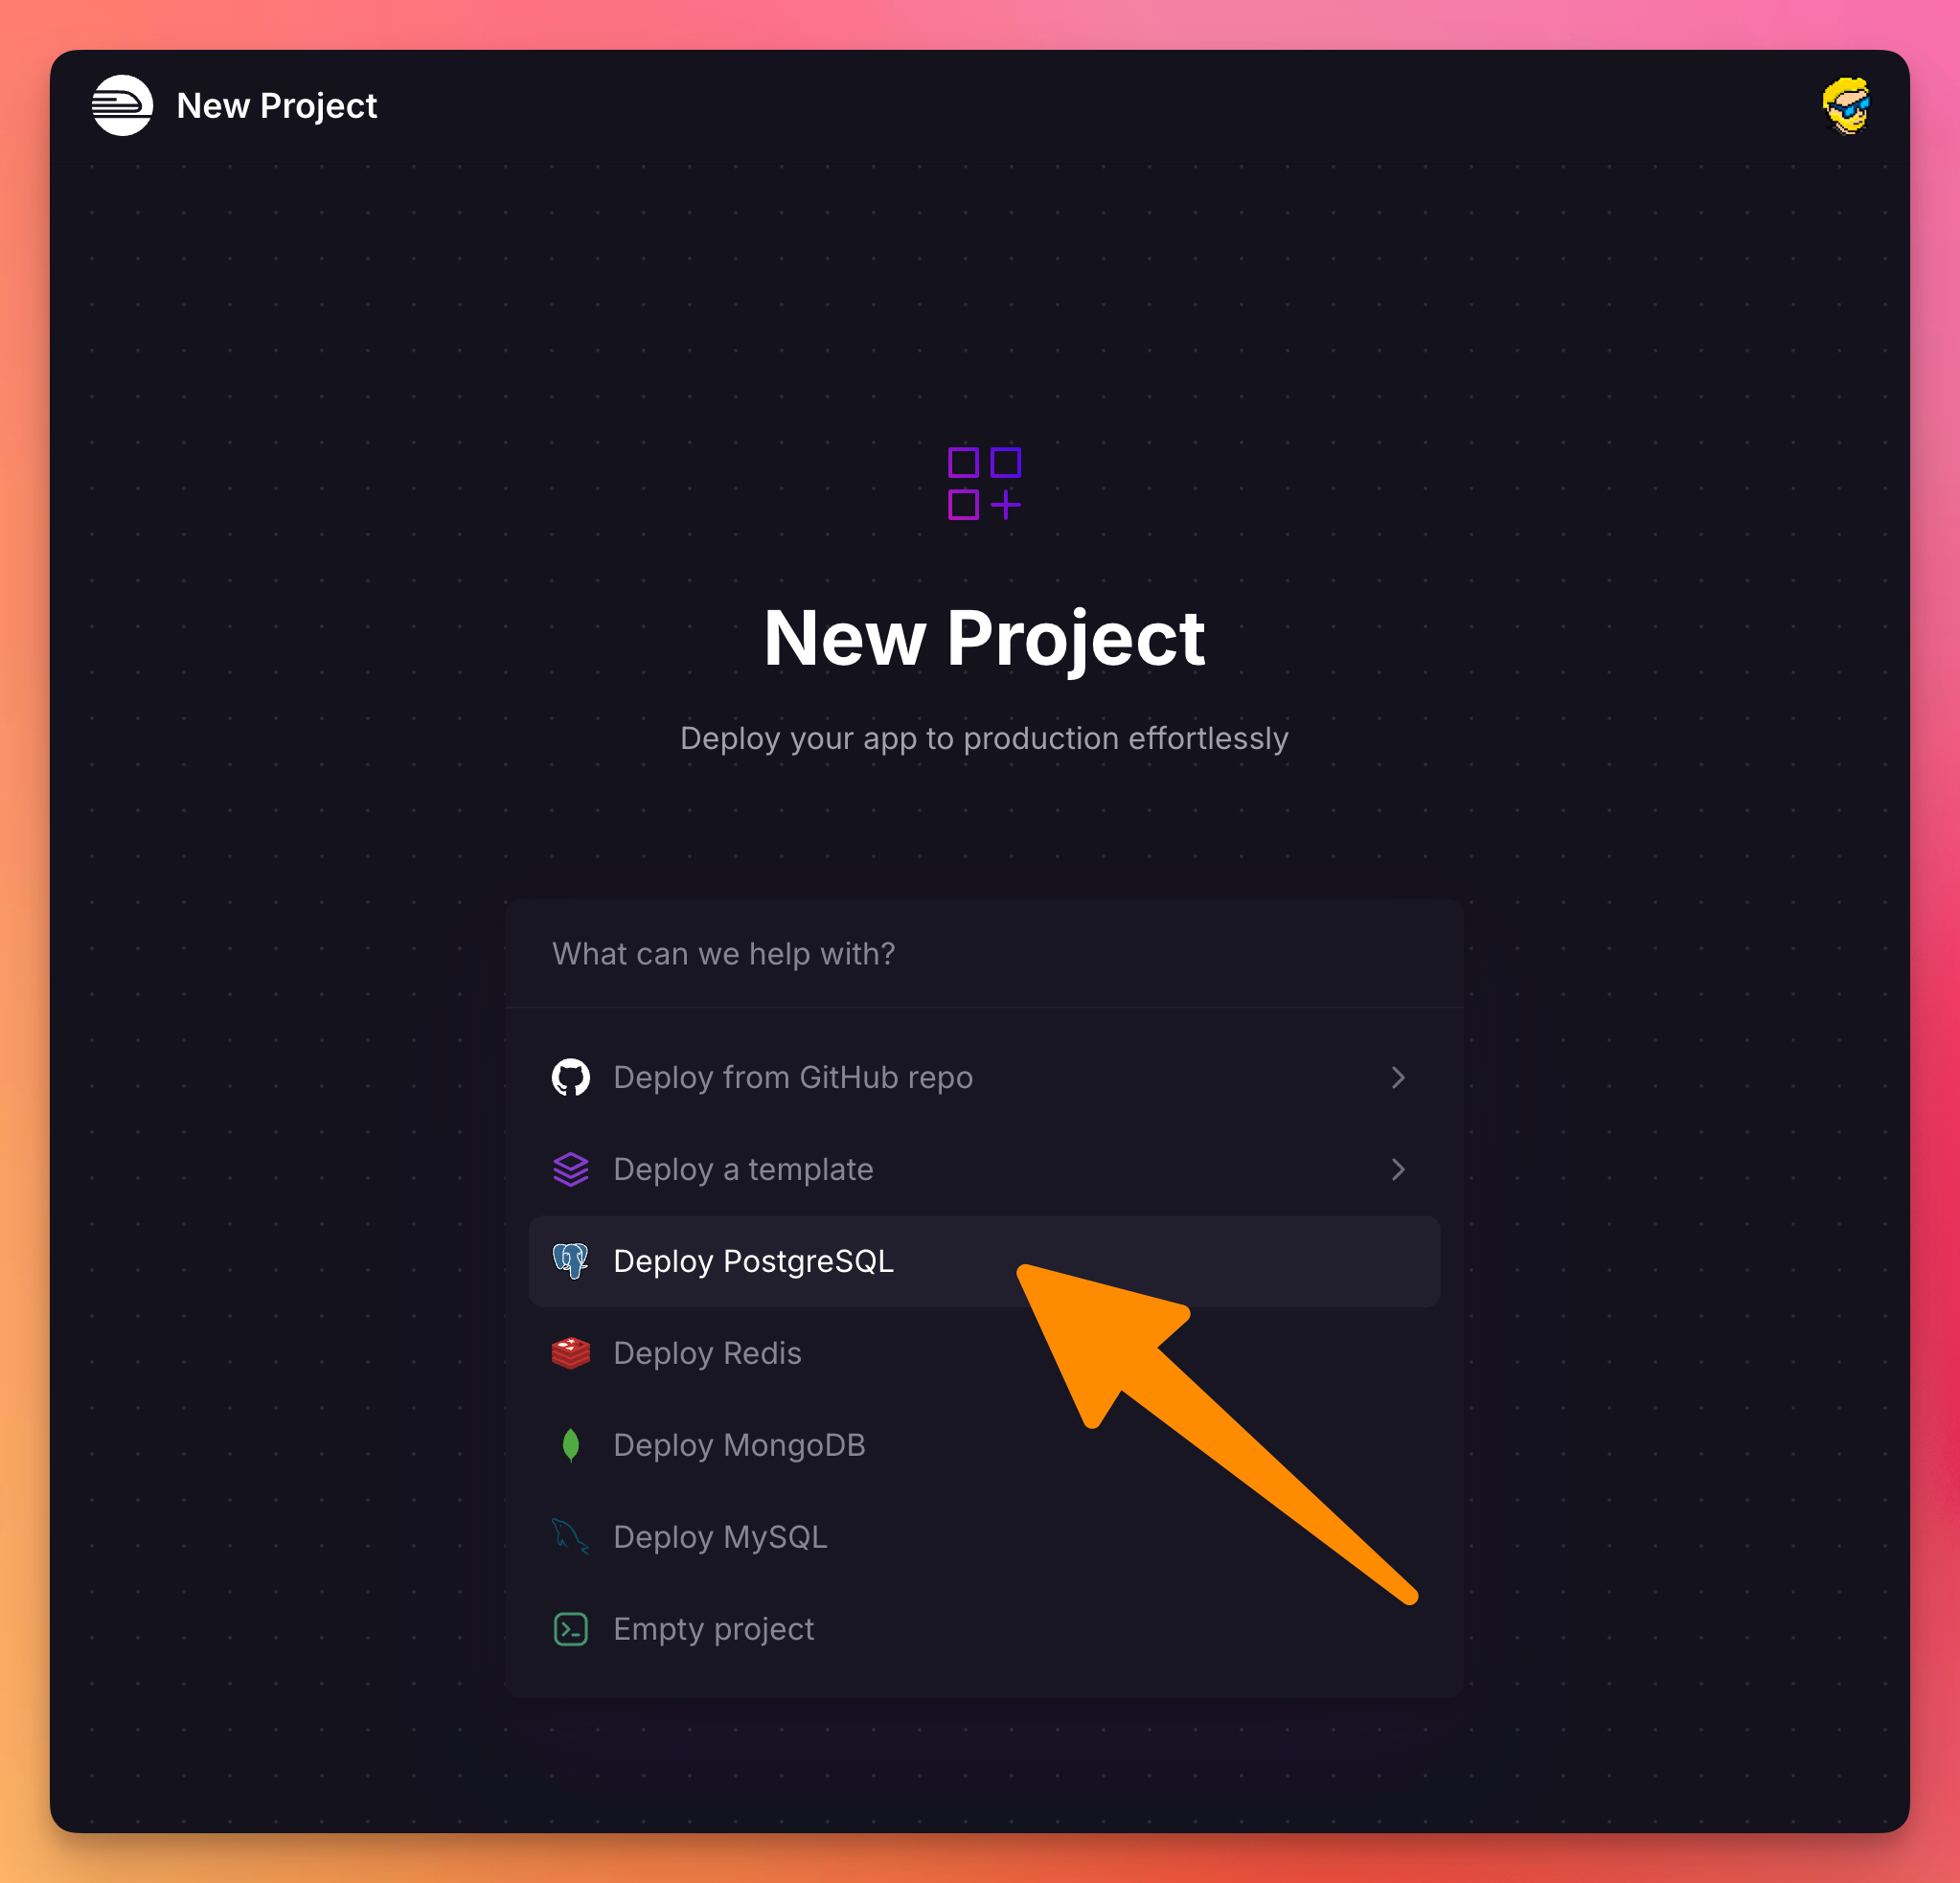
Create a new project on Railway, and deploy PostgreSQL first:
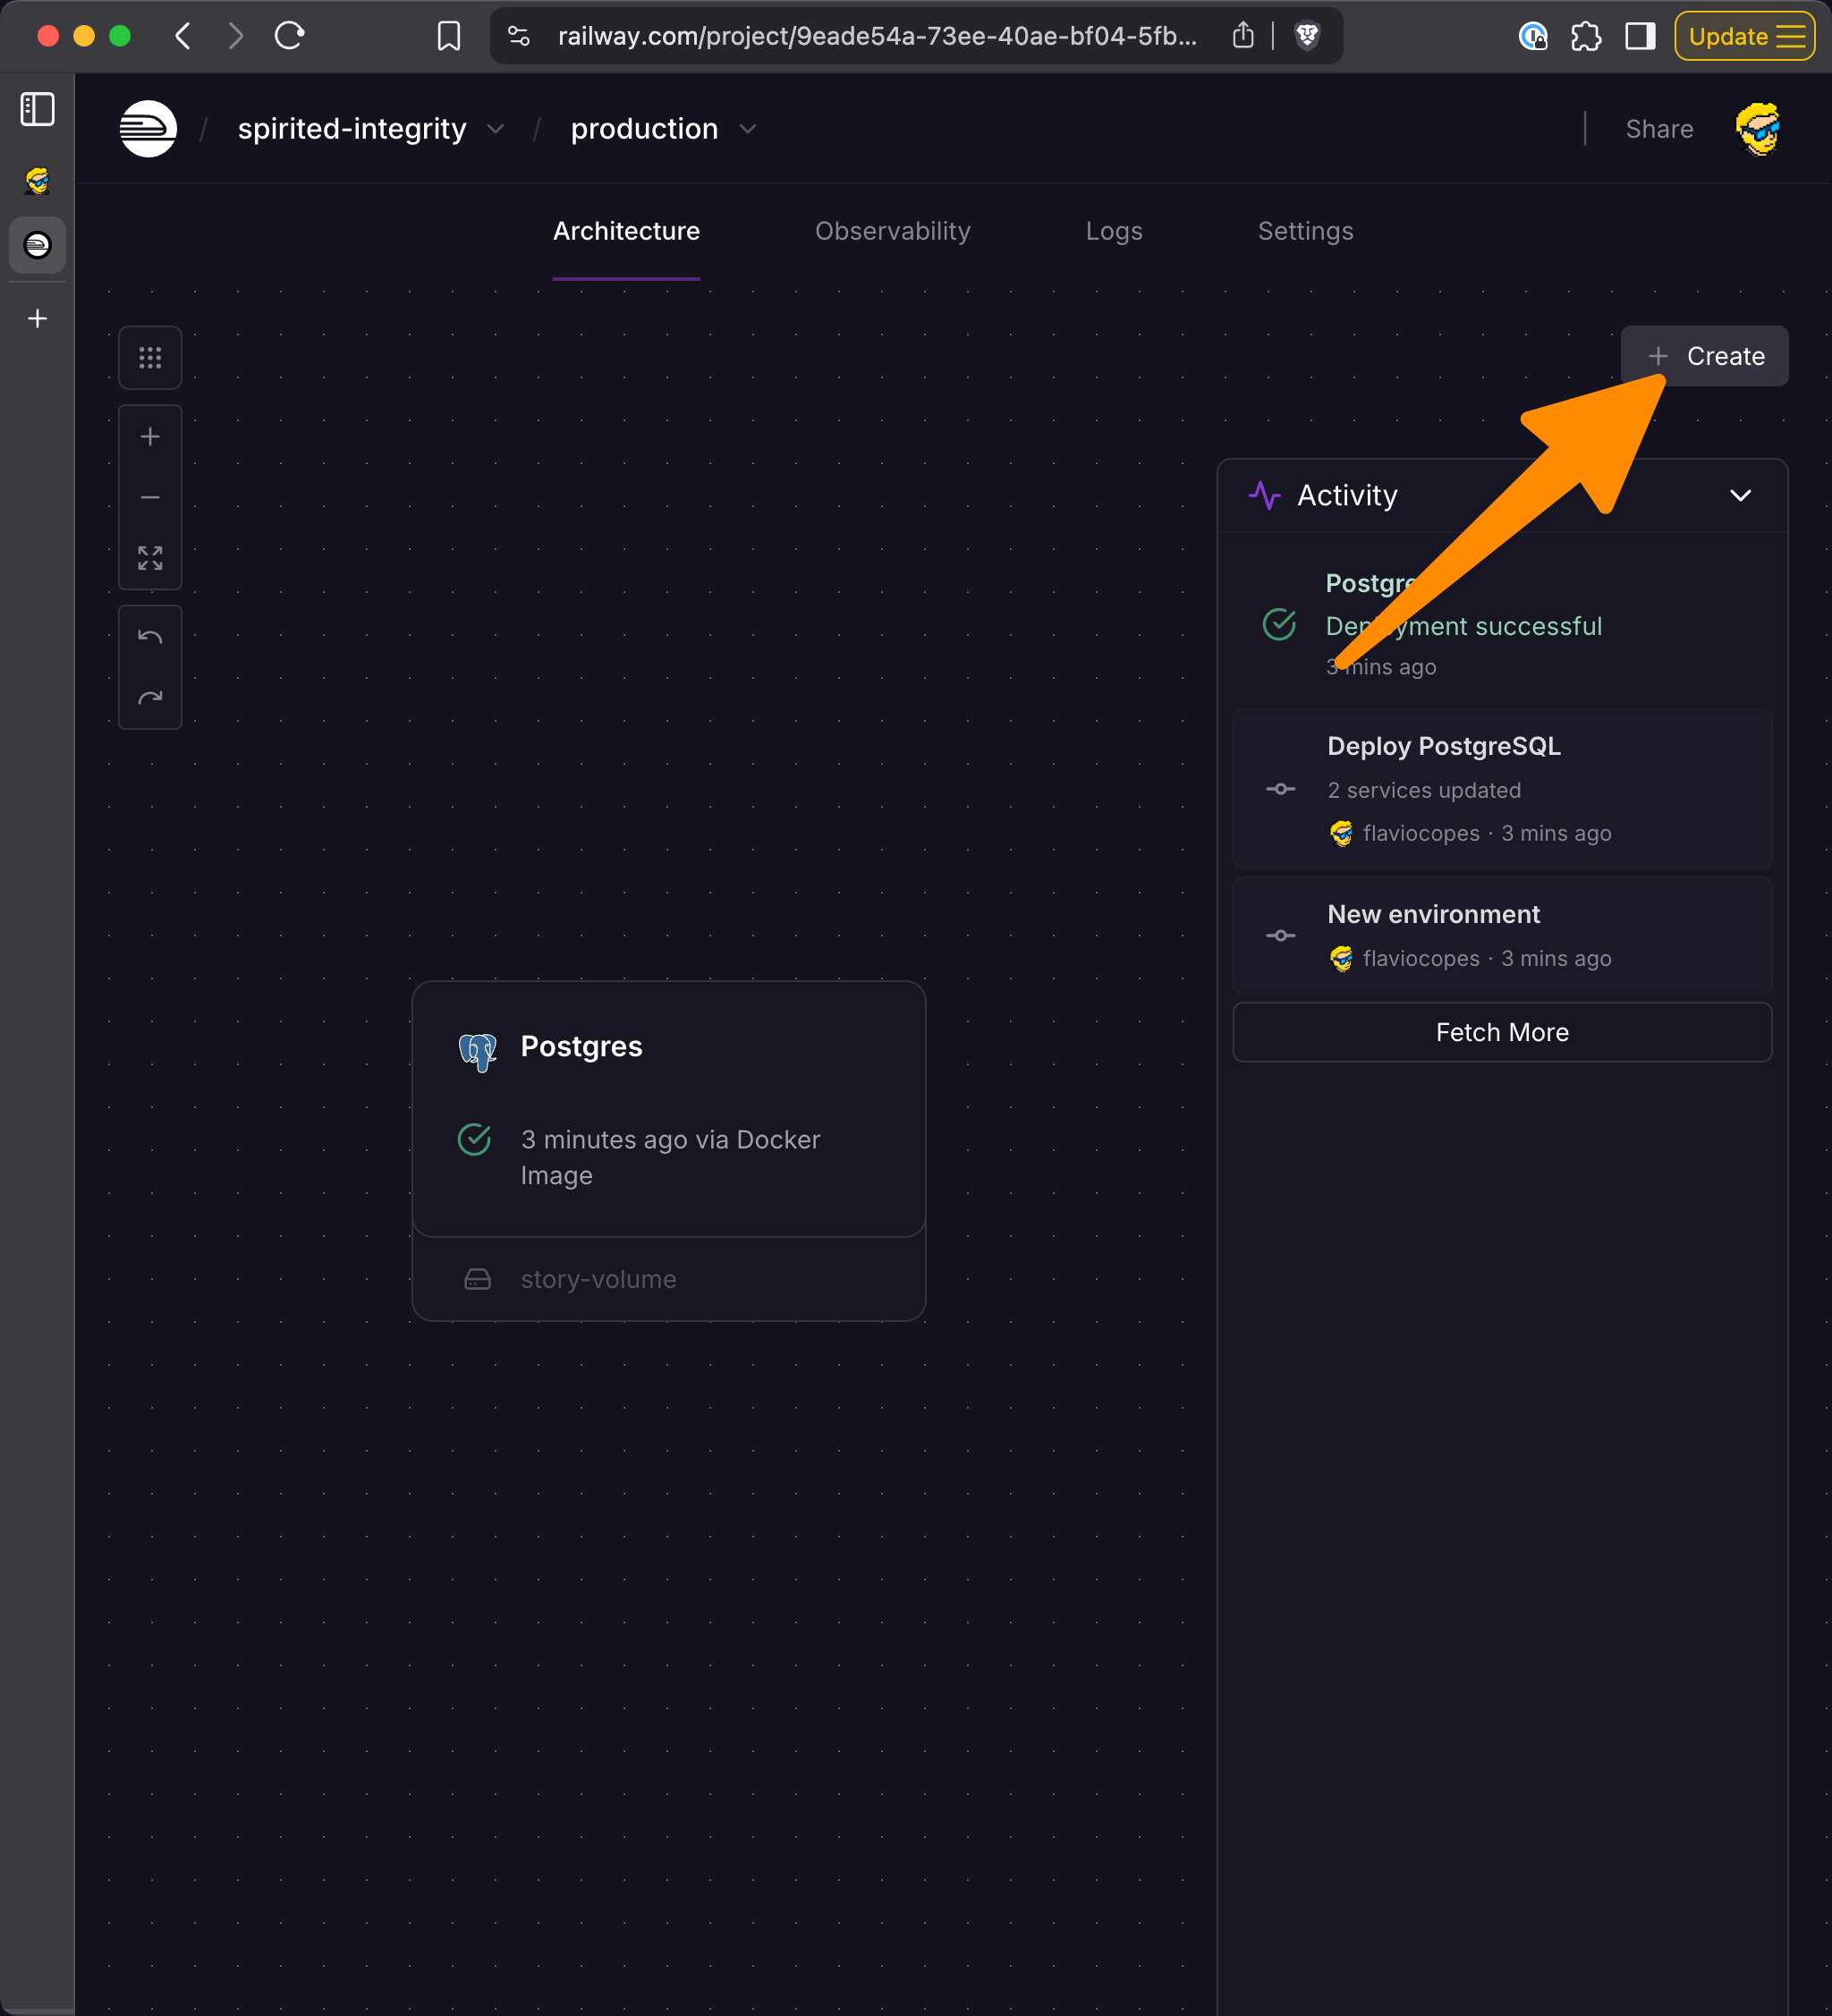
Now click the Create button to add a new service.
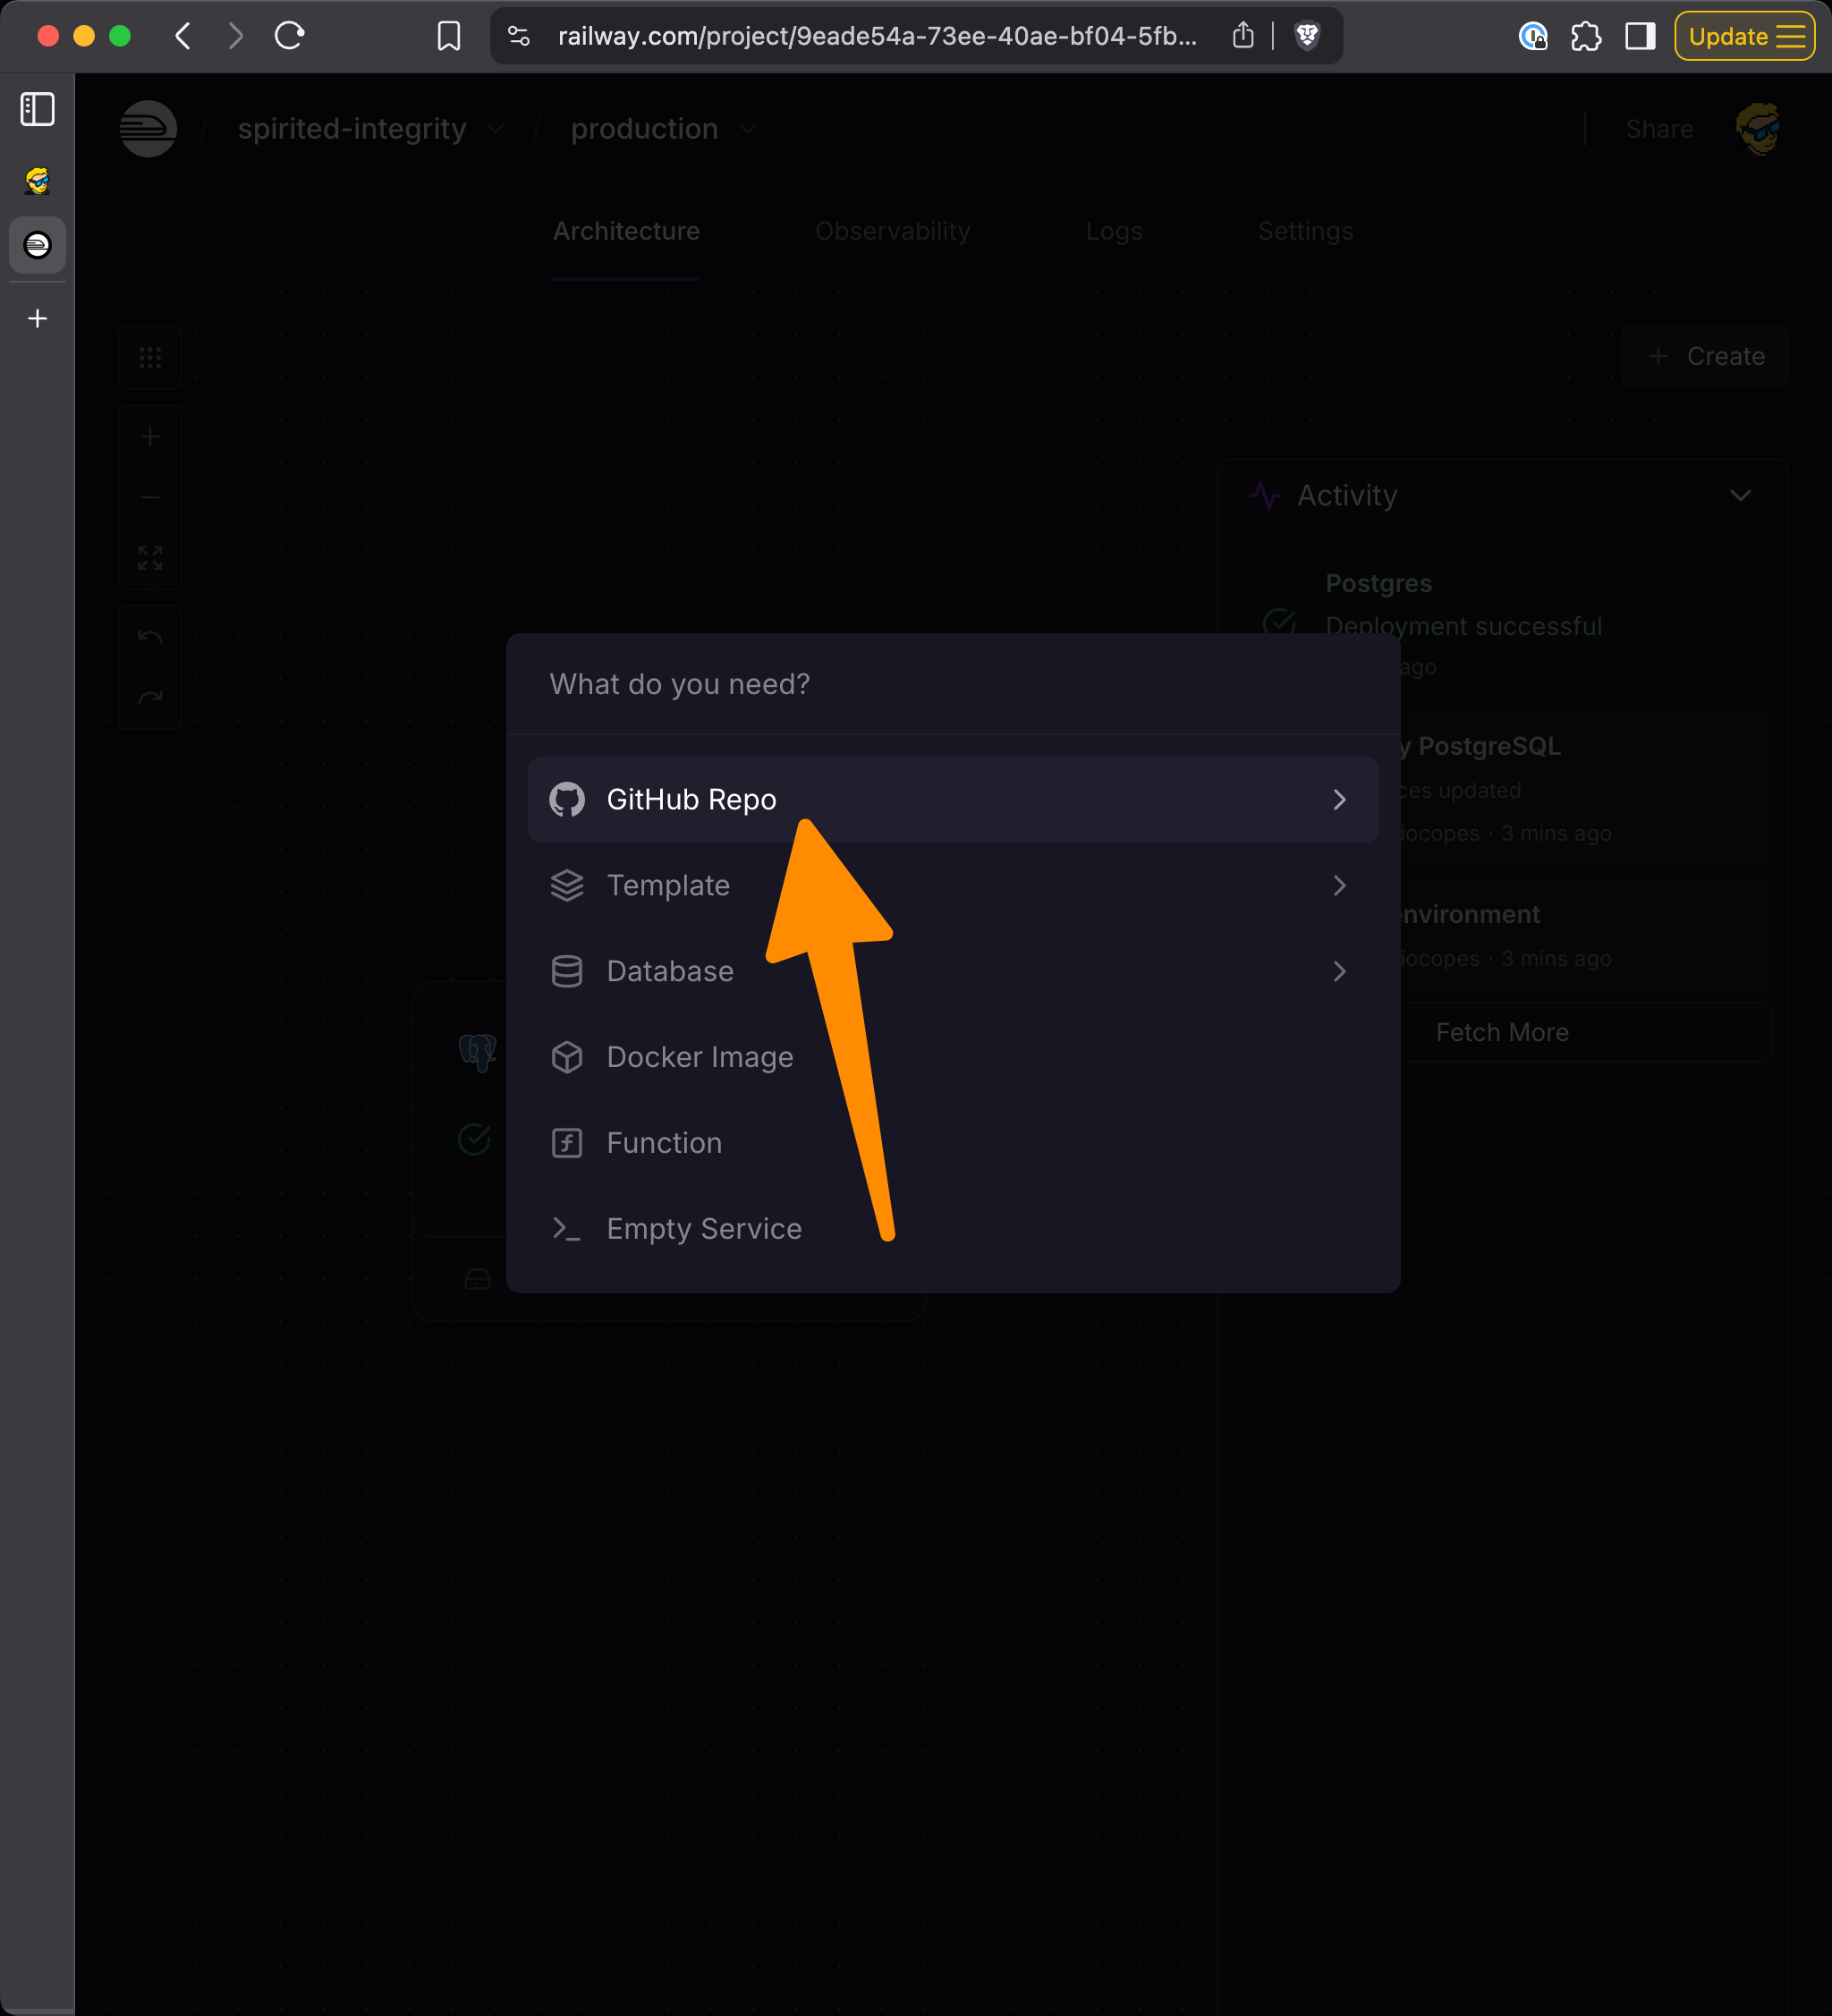
Choose GitHub repo:
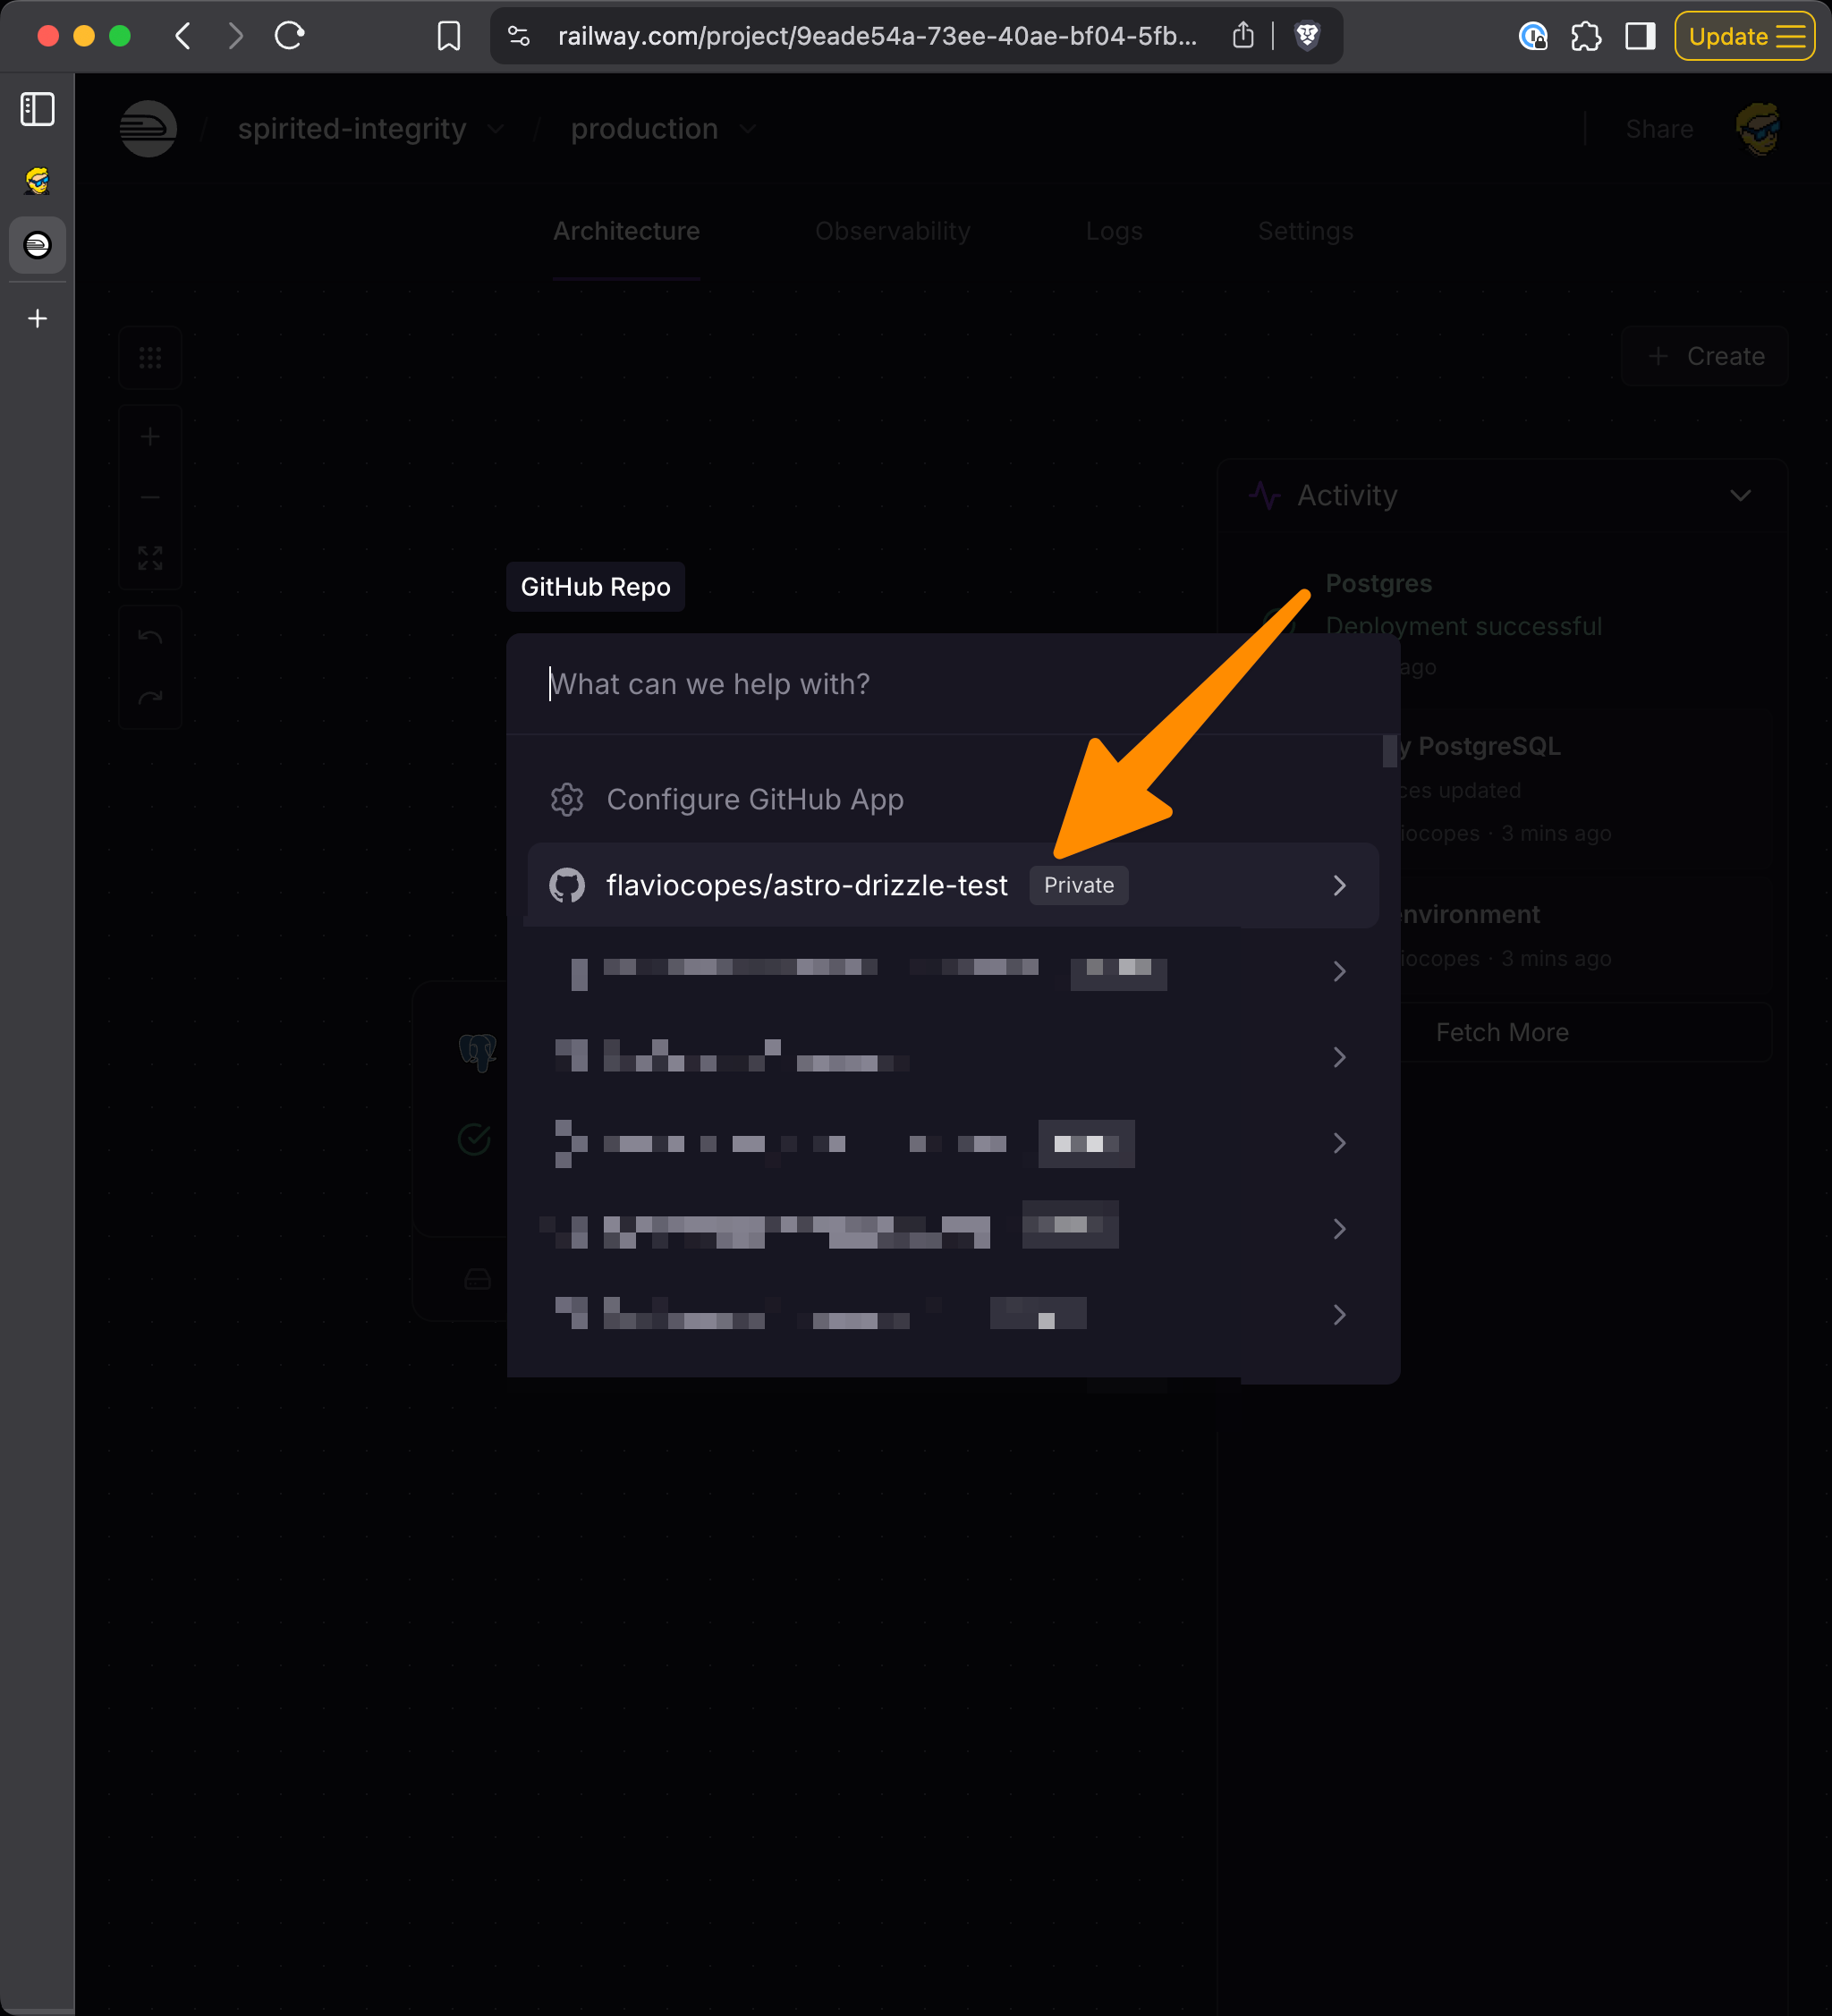
Select your repo (if it’s the first time using this, you’ll first have to connect GitHub):
Now in the Variables tab of this service we connect the app to the database:
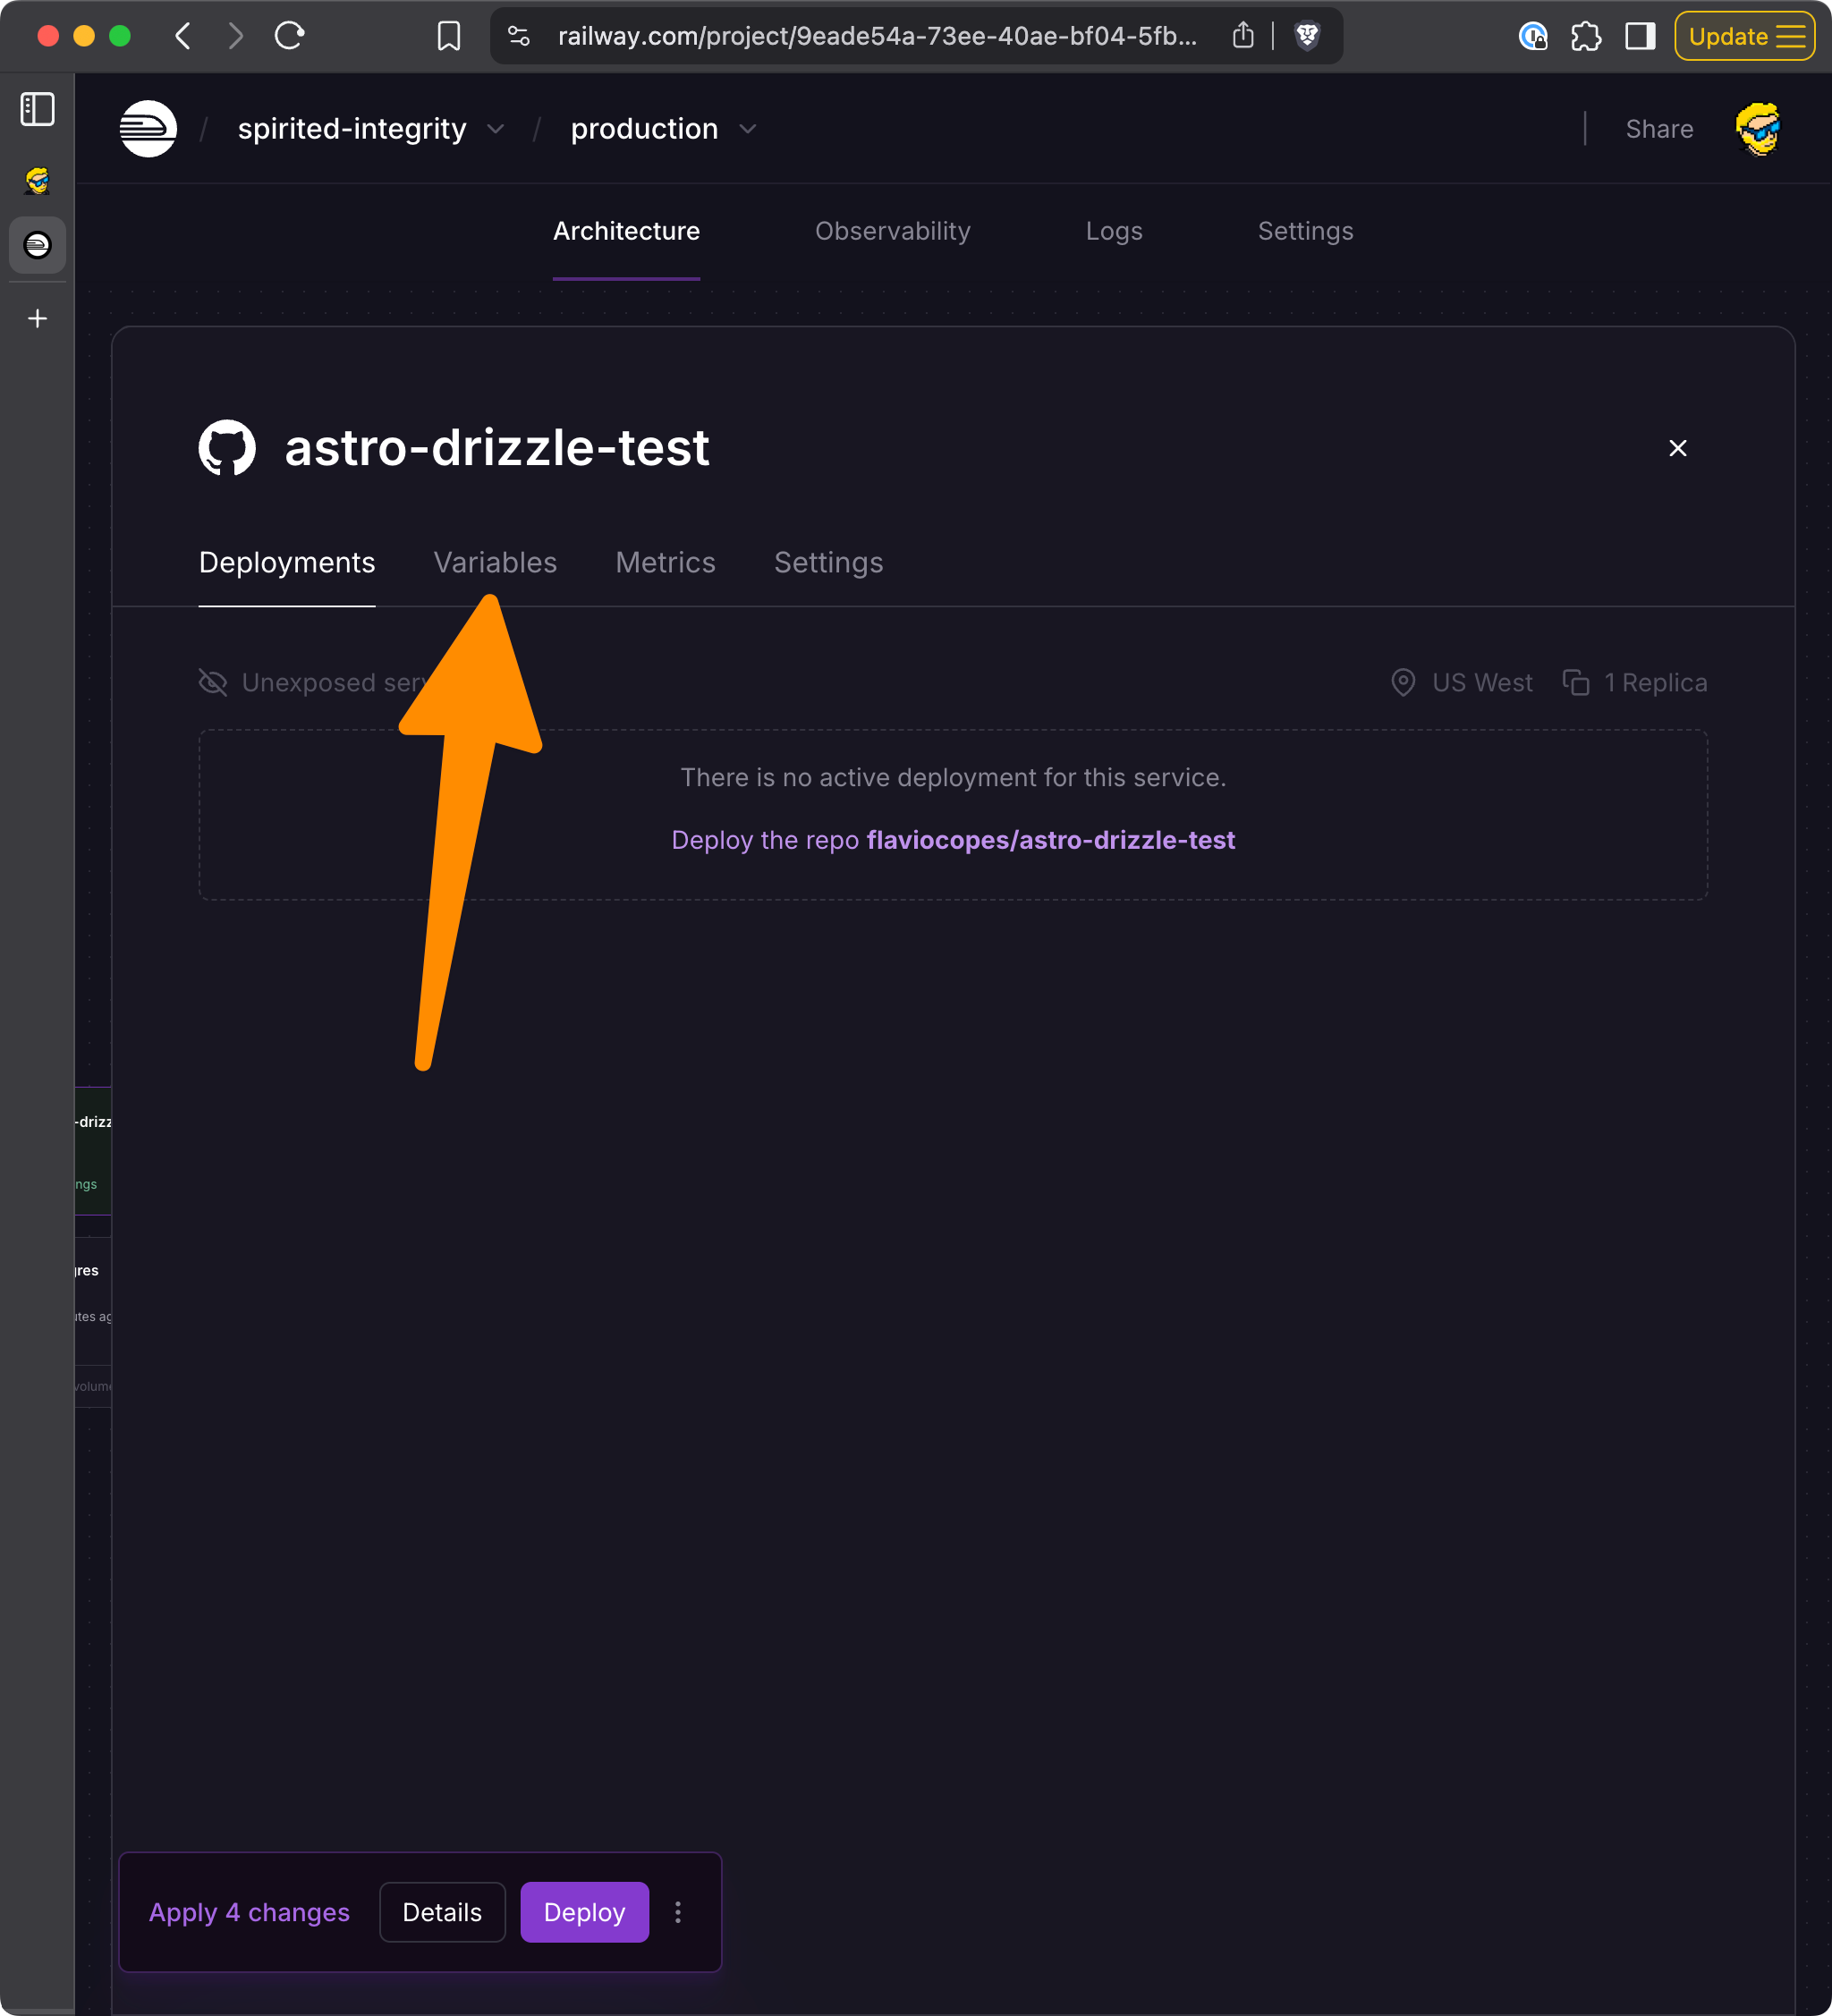
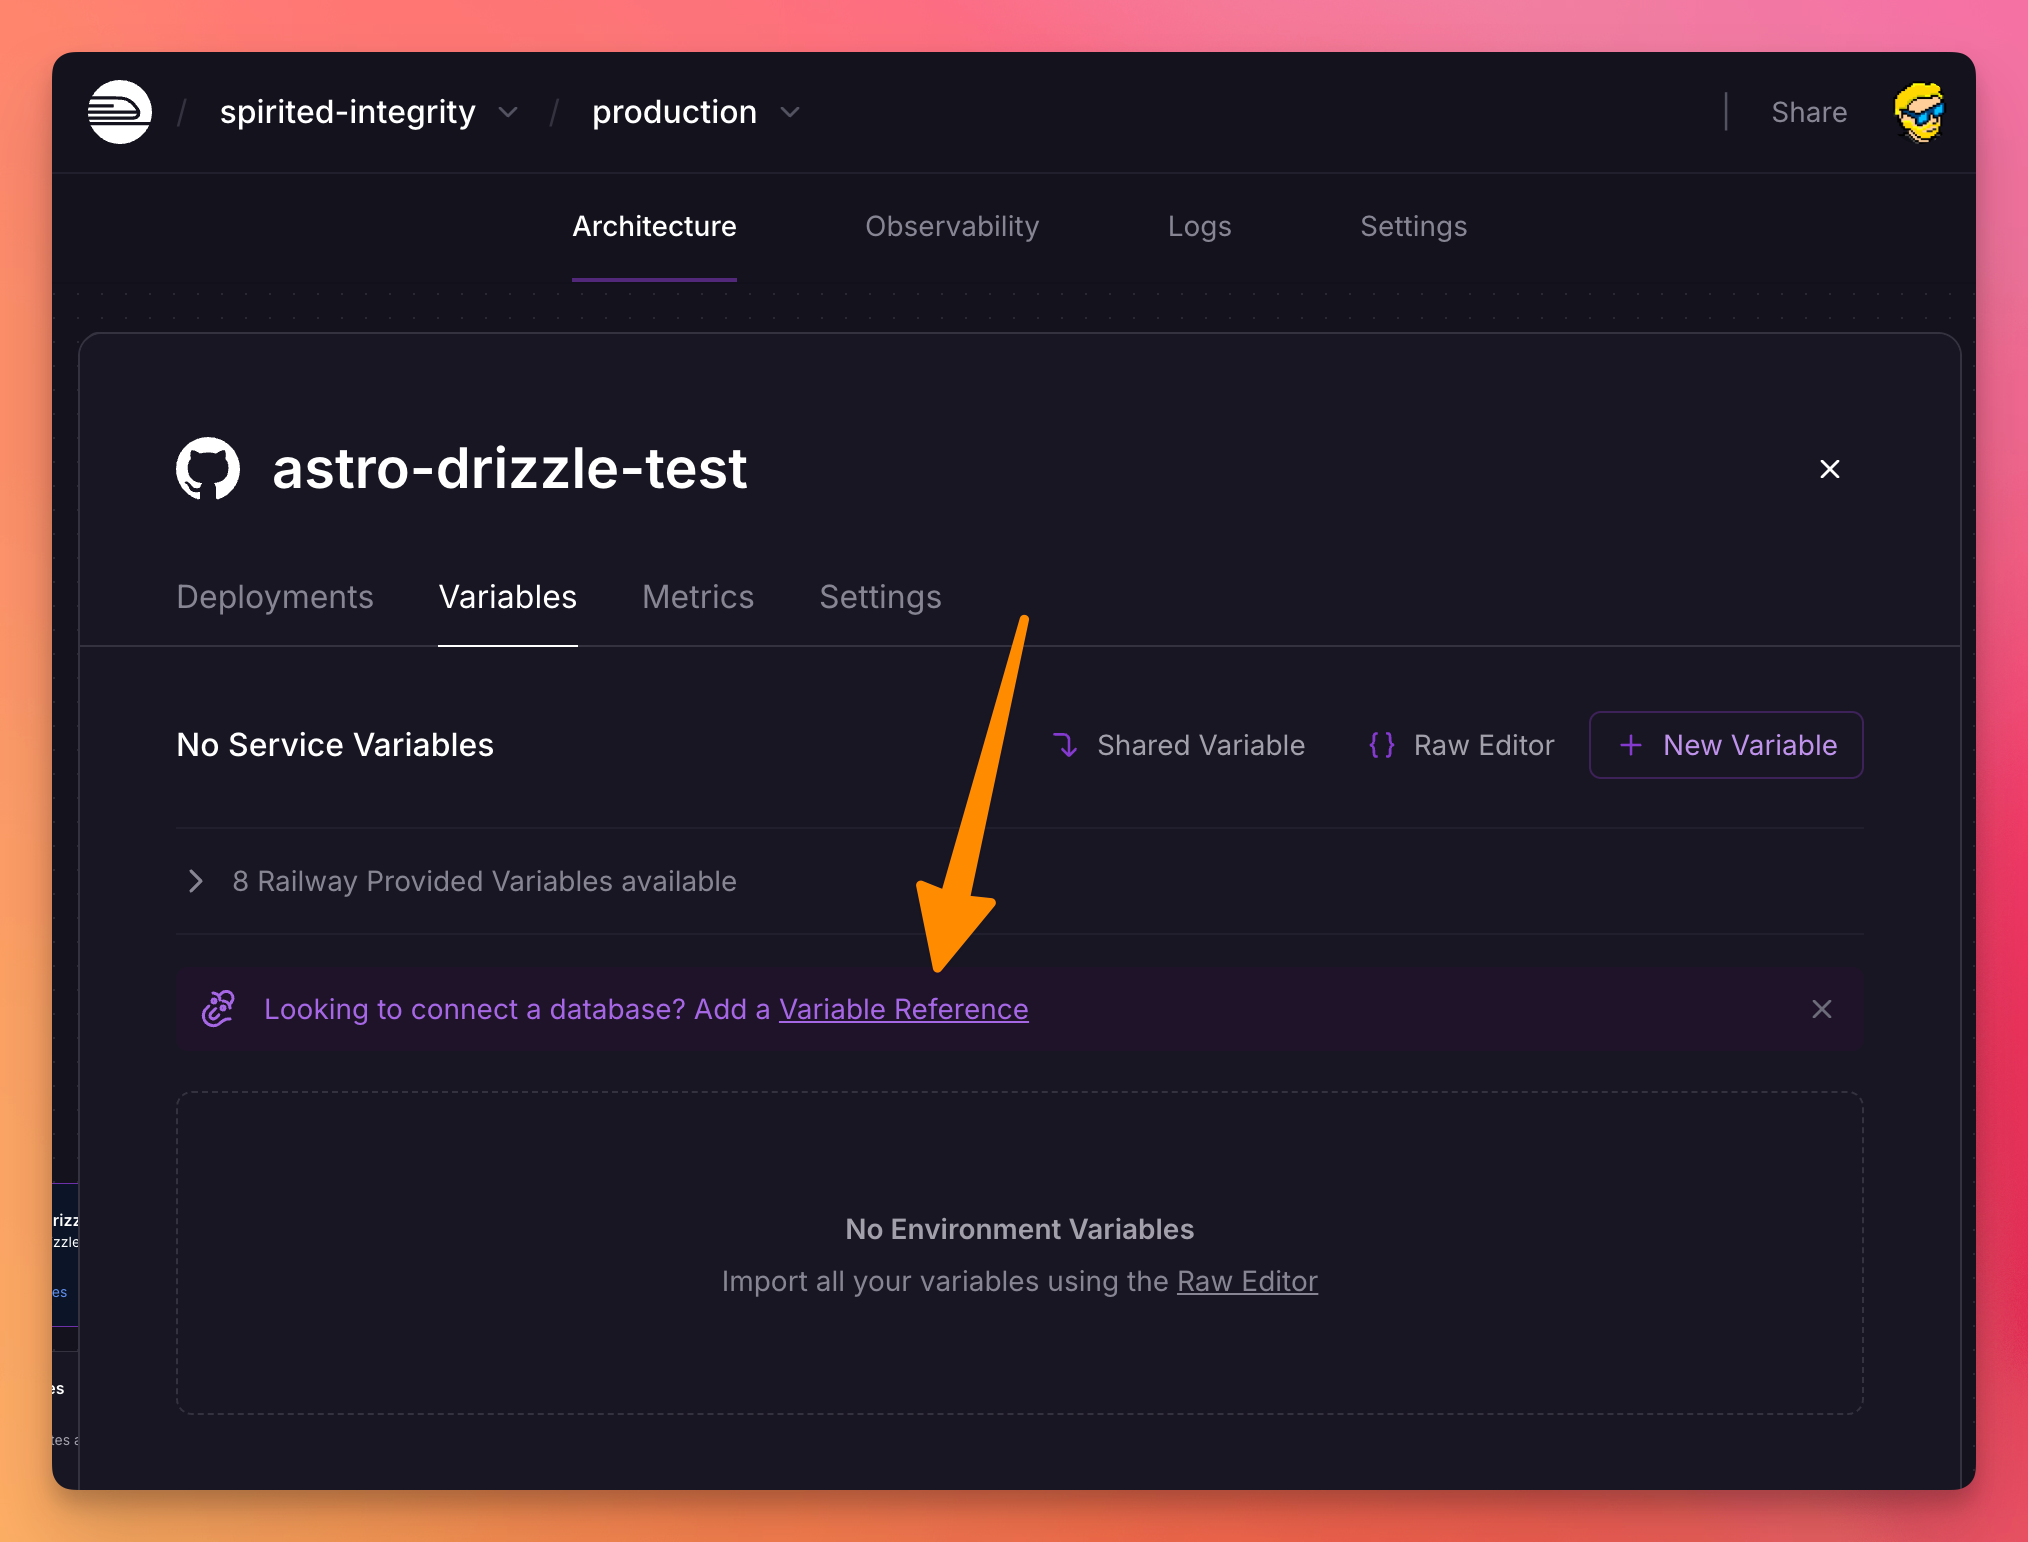
Click “Add a variable reference”:
And you’ll find the DATABASE_URL variable, click it:
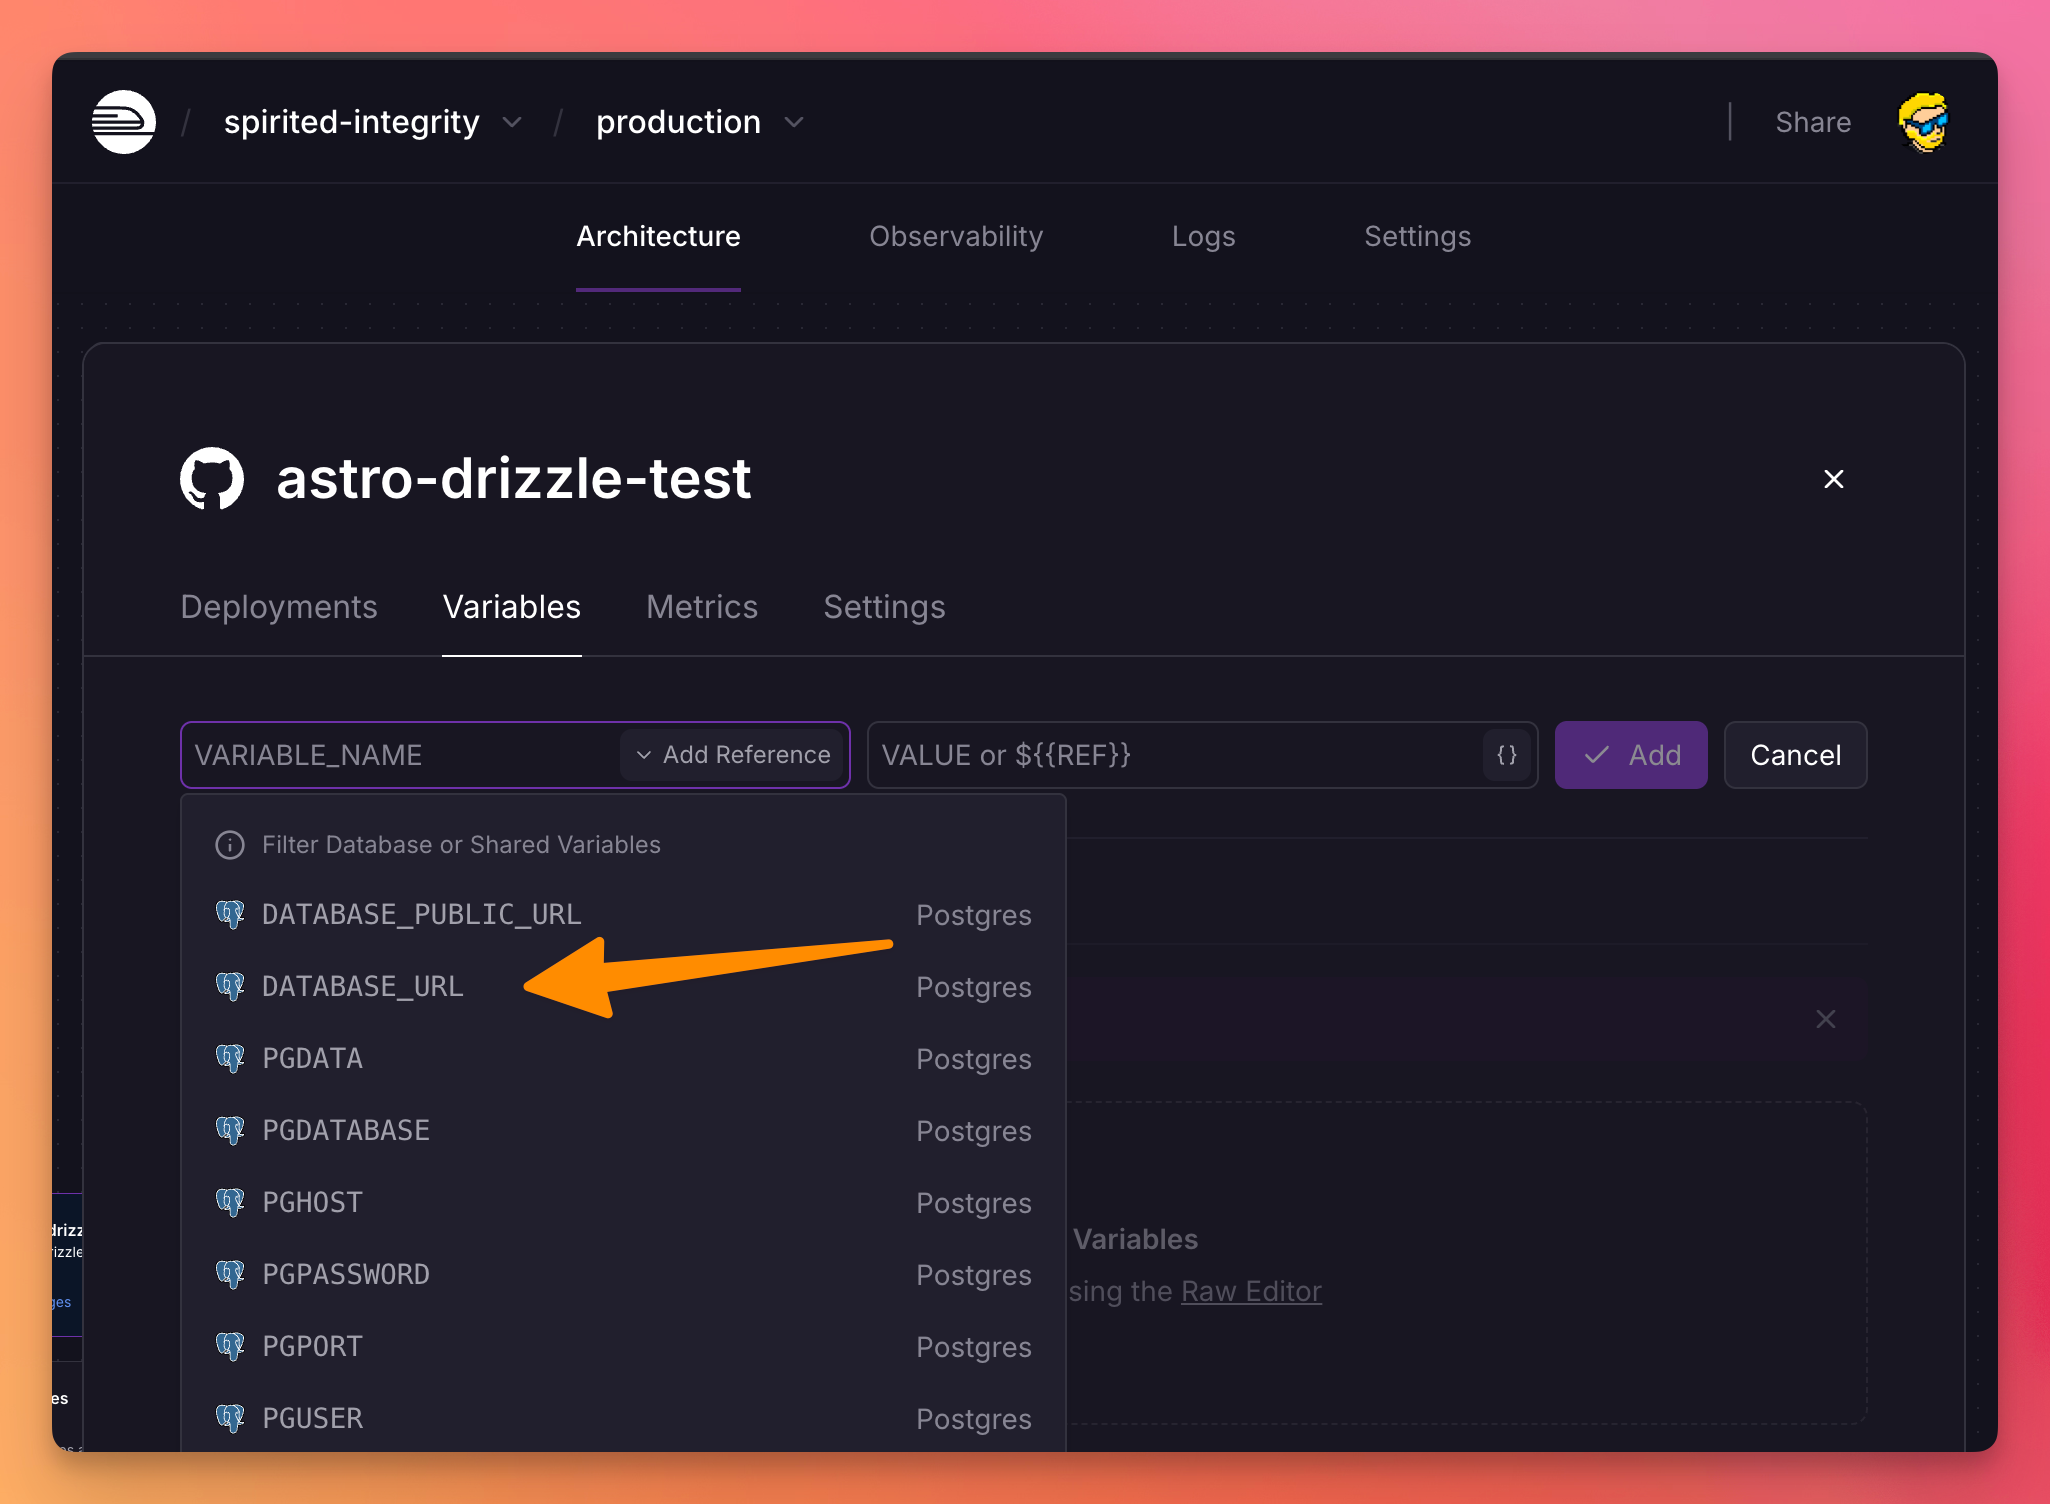
Important: use the Railway internal network URL, not the public URL (
DATABASE_PUBLIC_URL), which would charge you egress fees):
Now click “Add”, done!
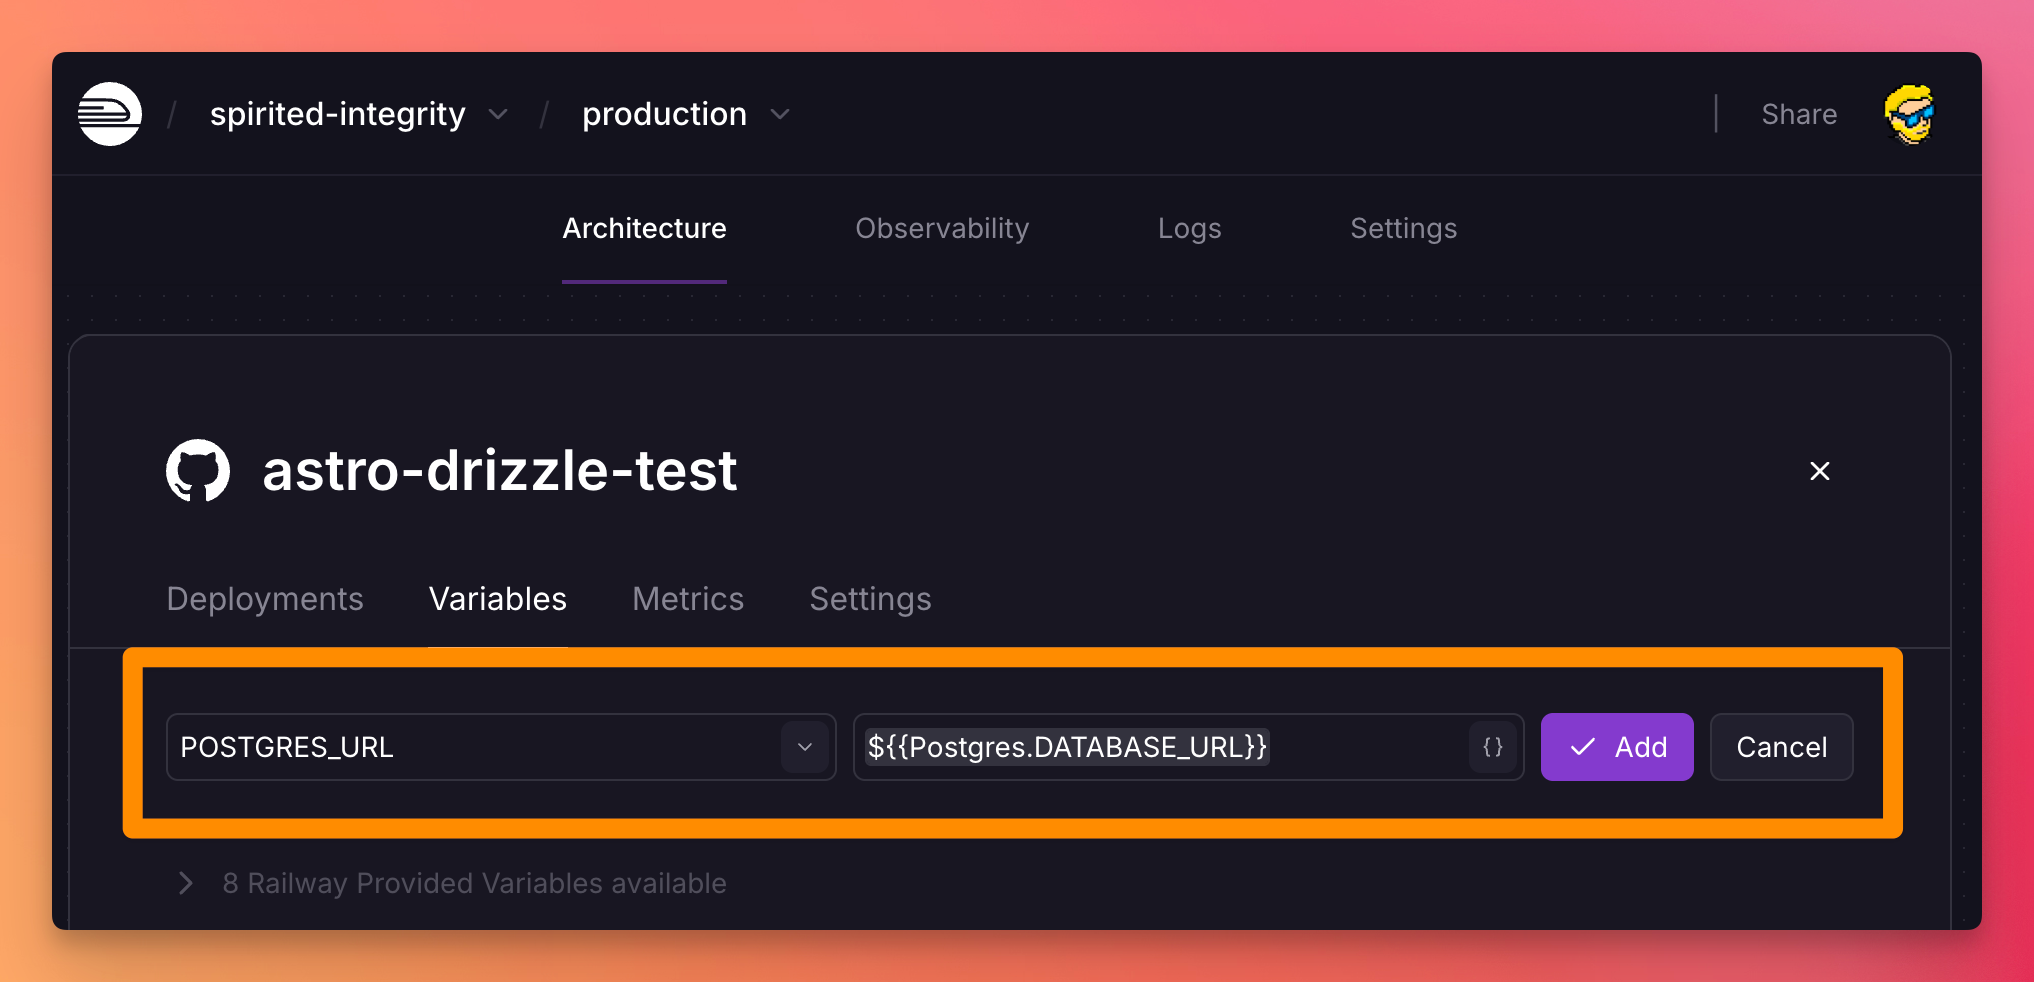
Notice how I changed the variable to be
POSTGRES_URLas the app I’m building uses that env variable.
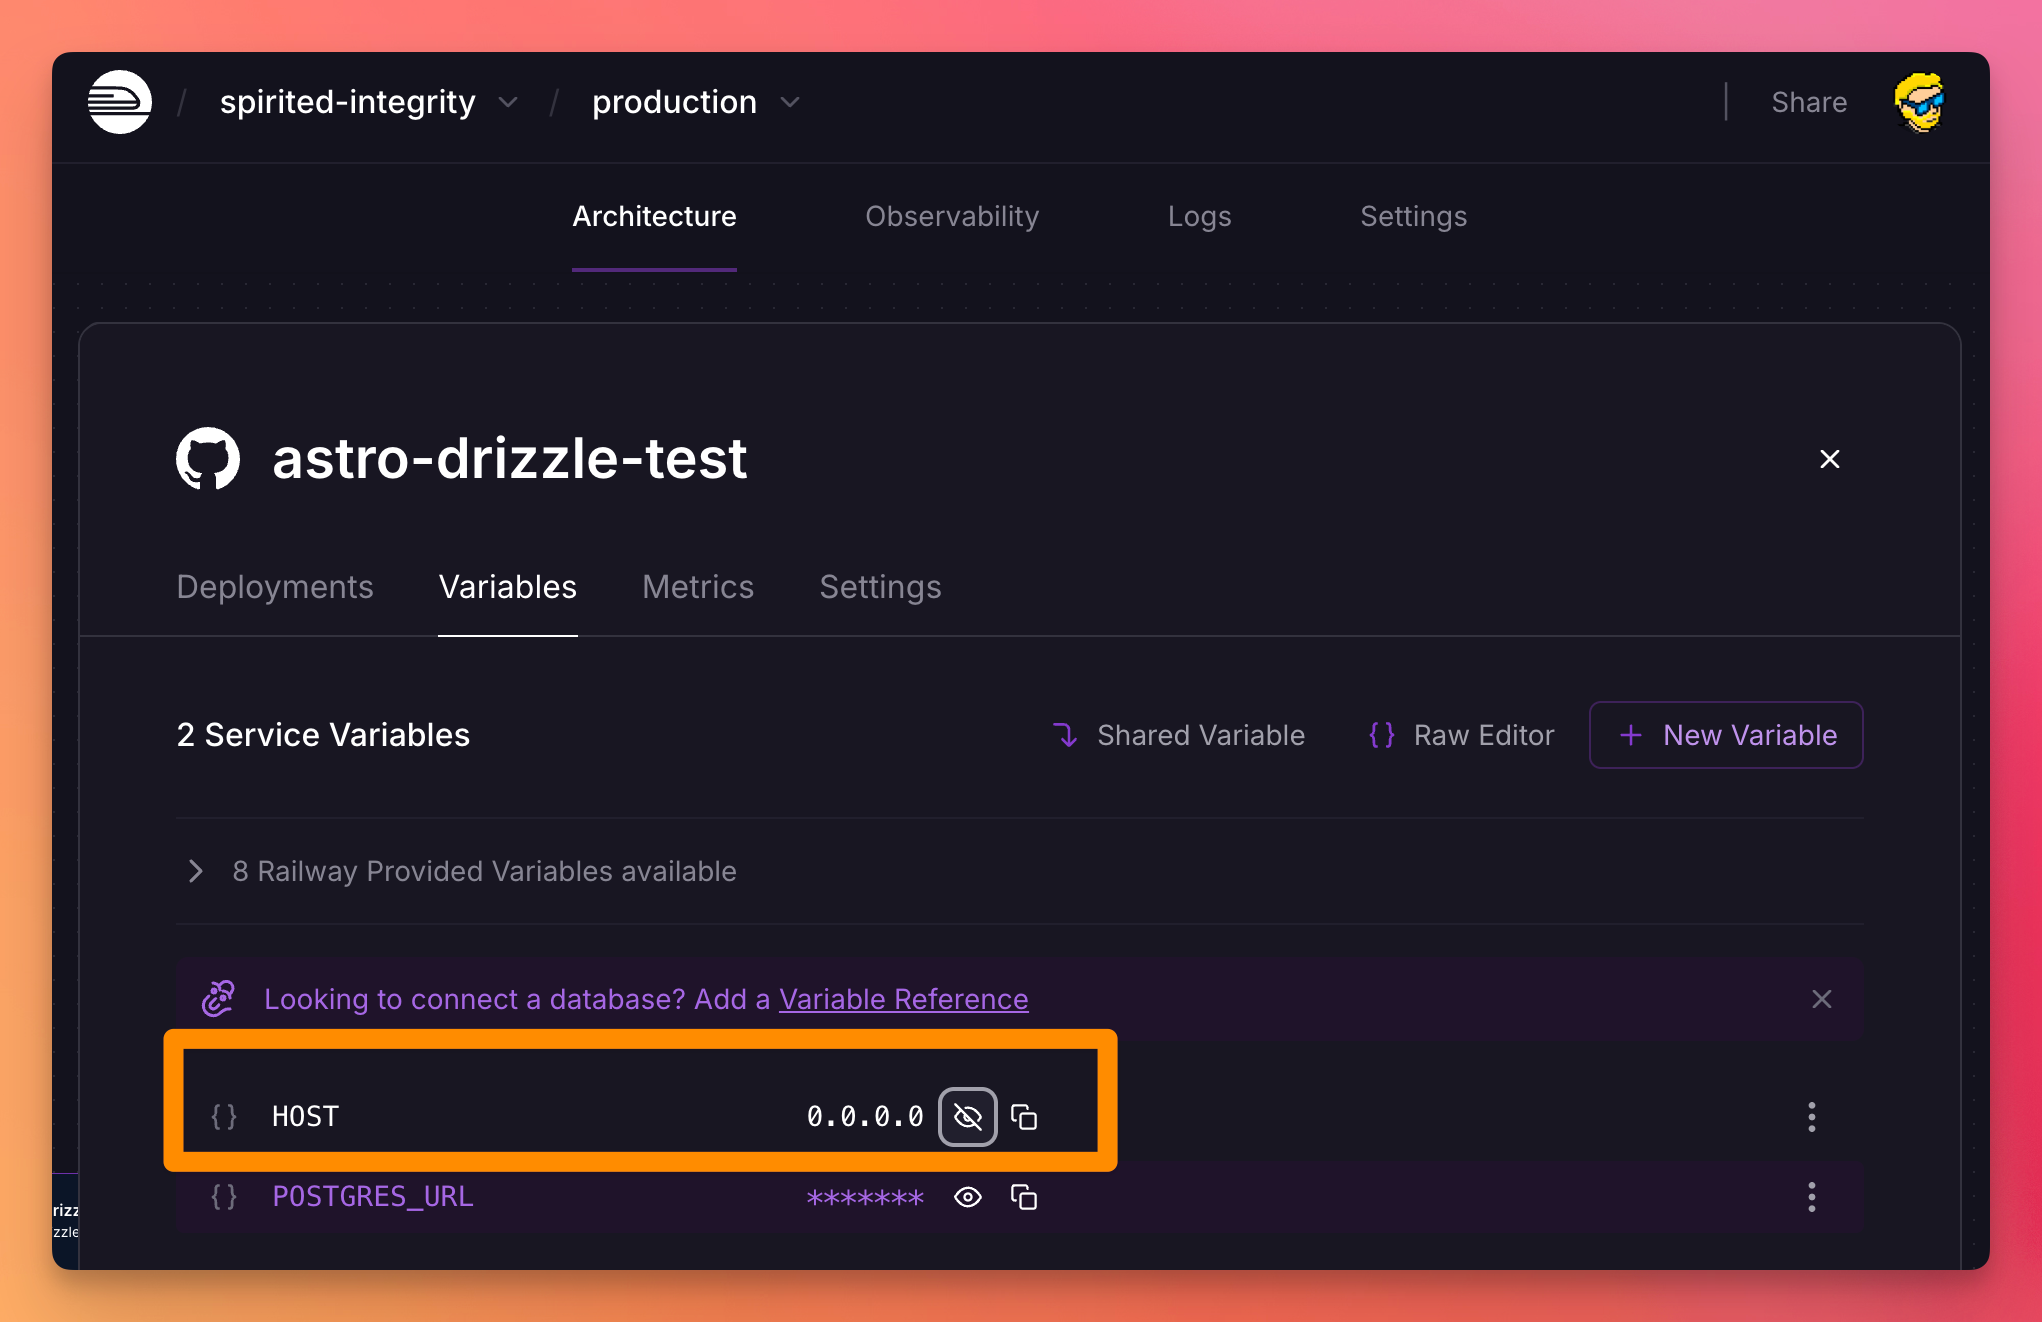
Ok now we need Astro to run on the host 0.0.0.0 . Add a HOST variable for this:
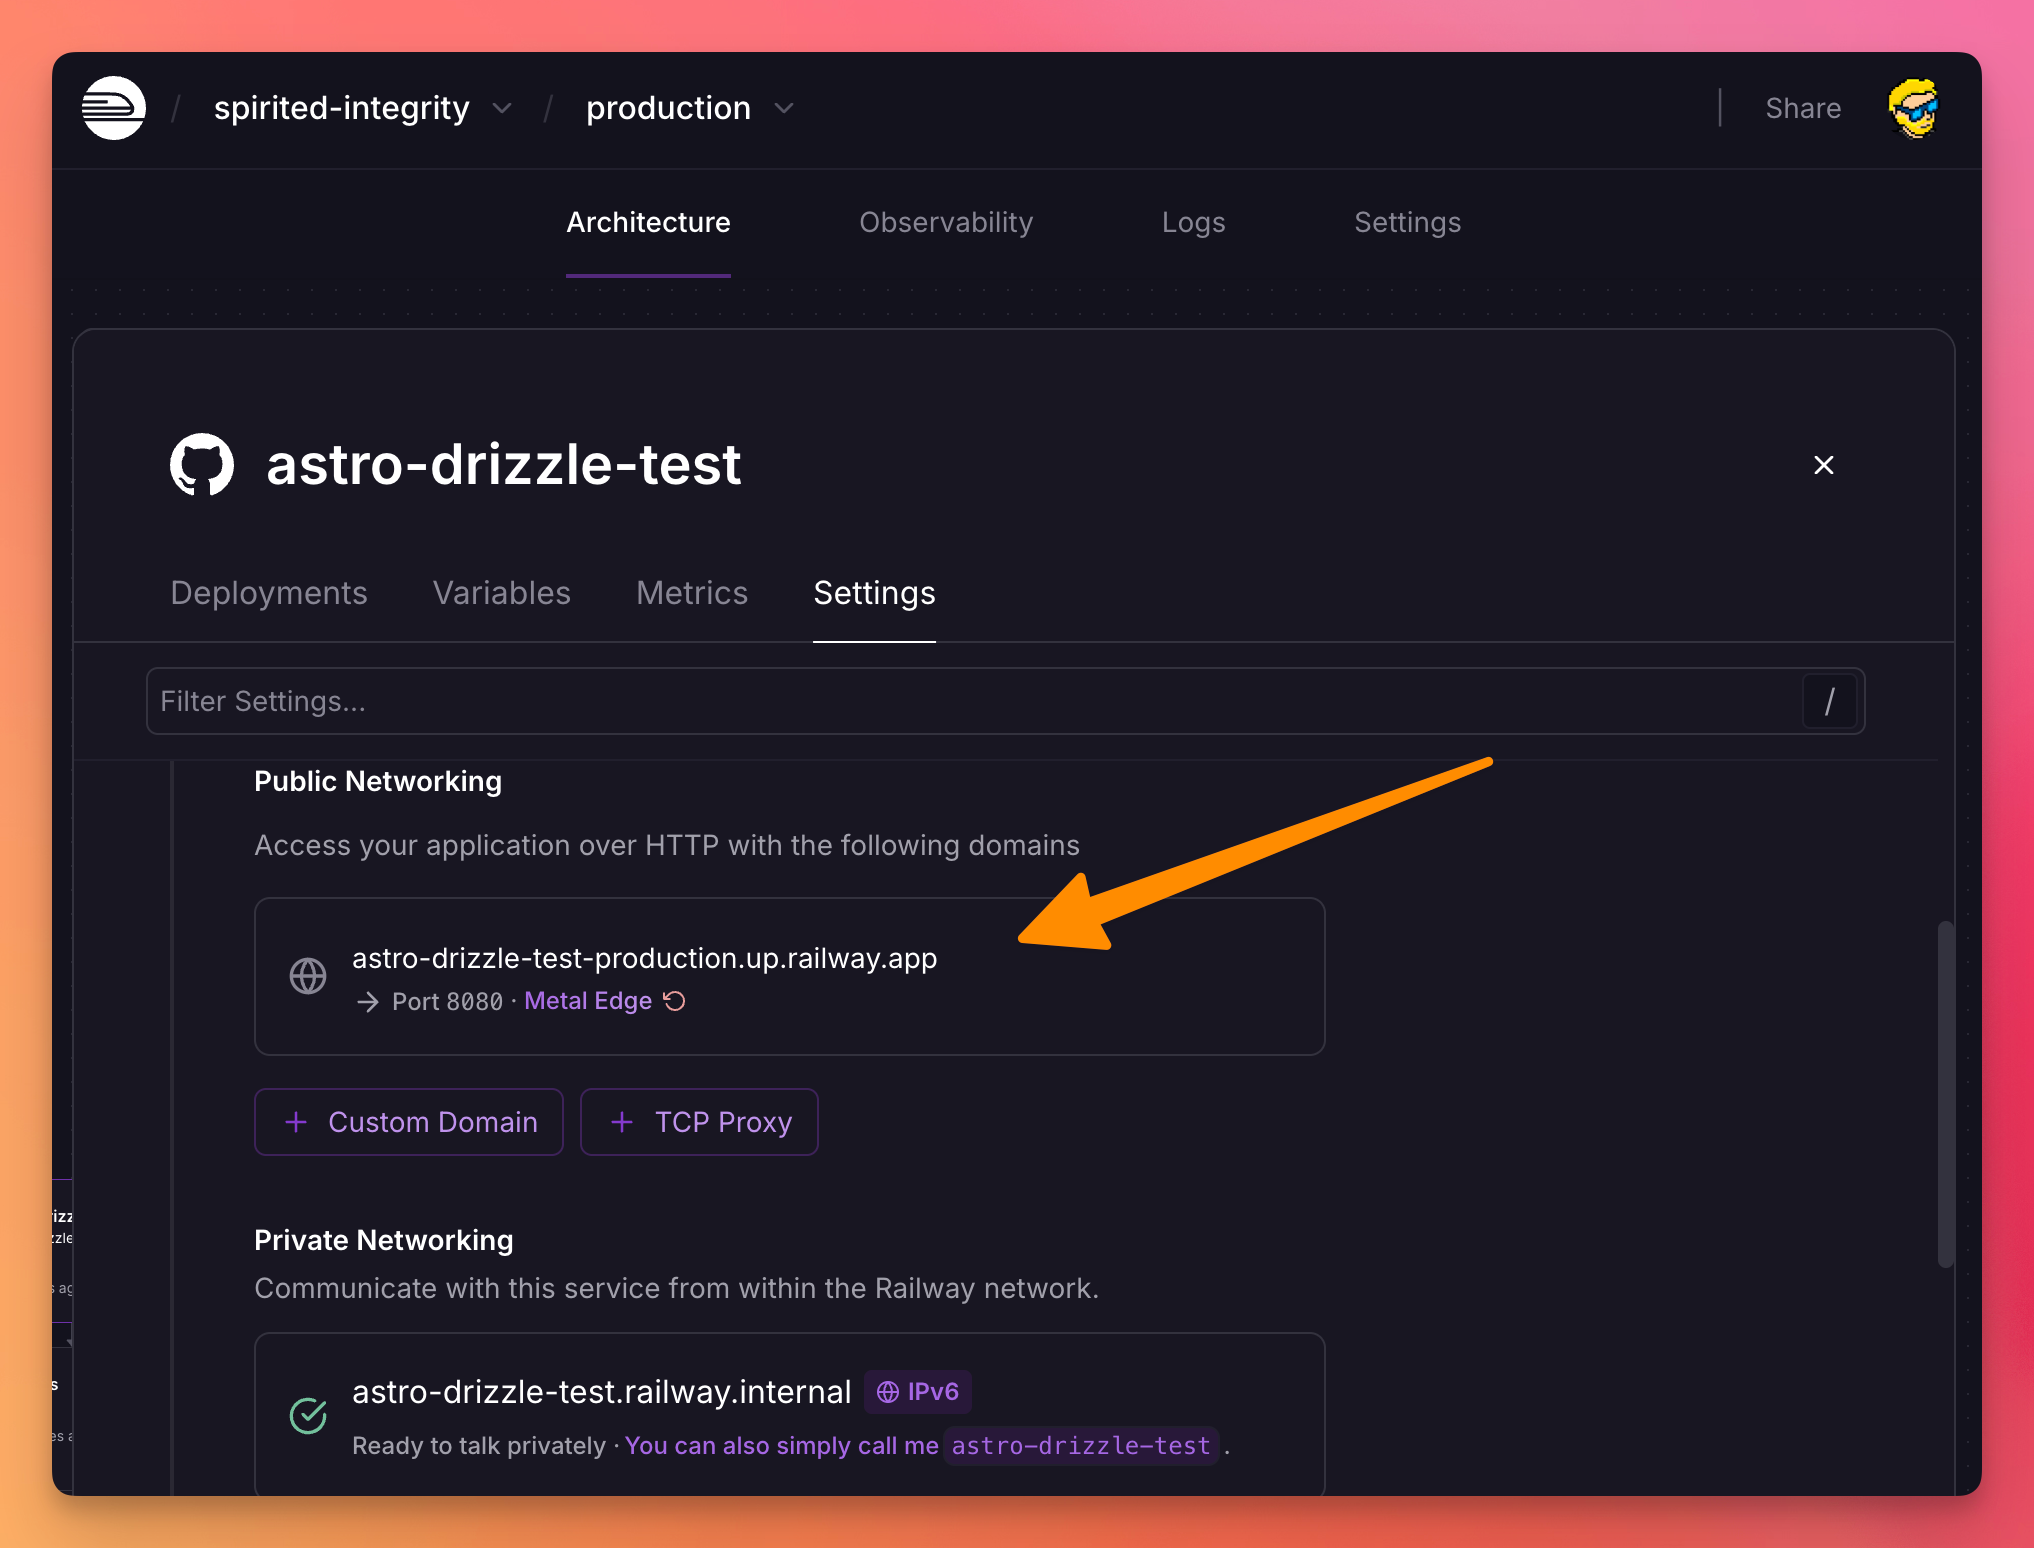
In the “Settings” tab now go down to the Networking options and add a Railway URL to the app:
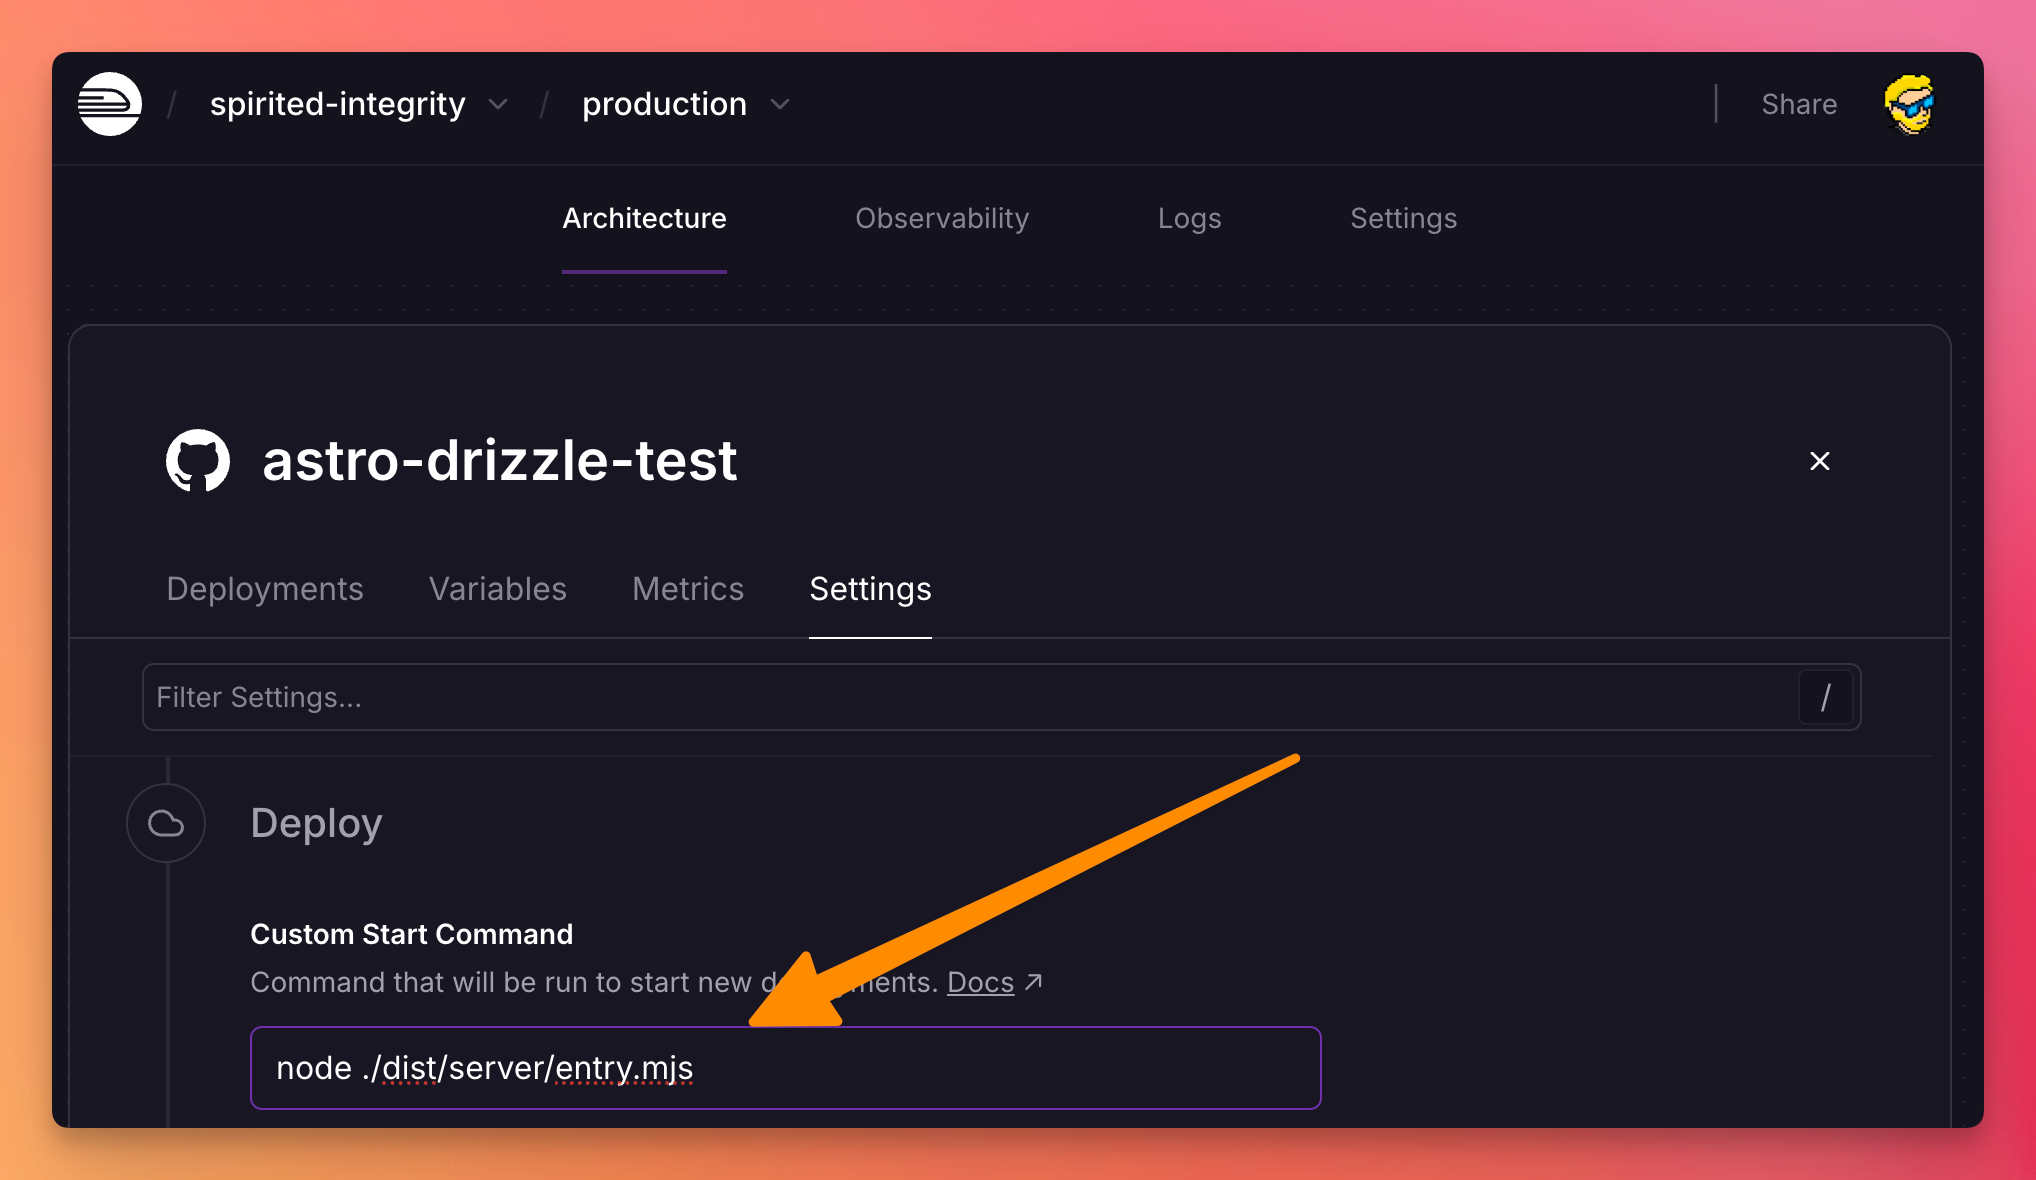
Go down a little again and type node ./dist/server/entry.mjs in the “Custom Start Command” option in the Deploy section:
Now click “Deploy” at the bottom of the page.
The app should be building, it’ll take a while:
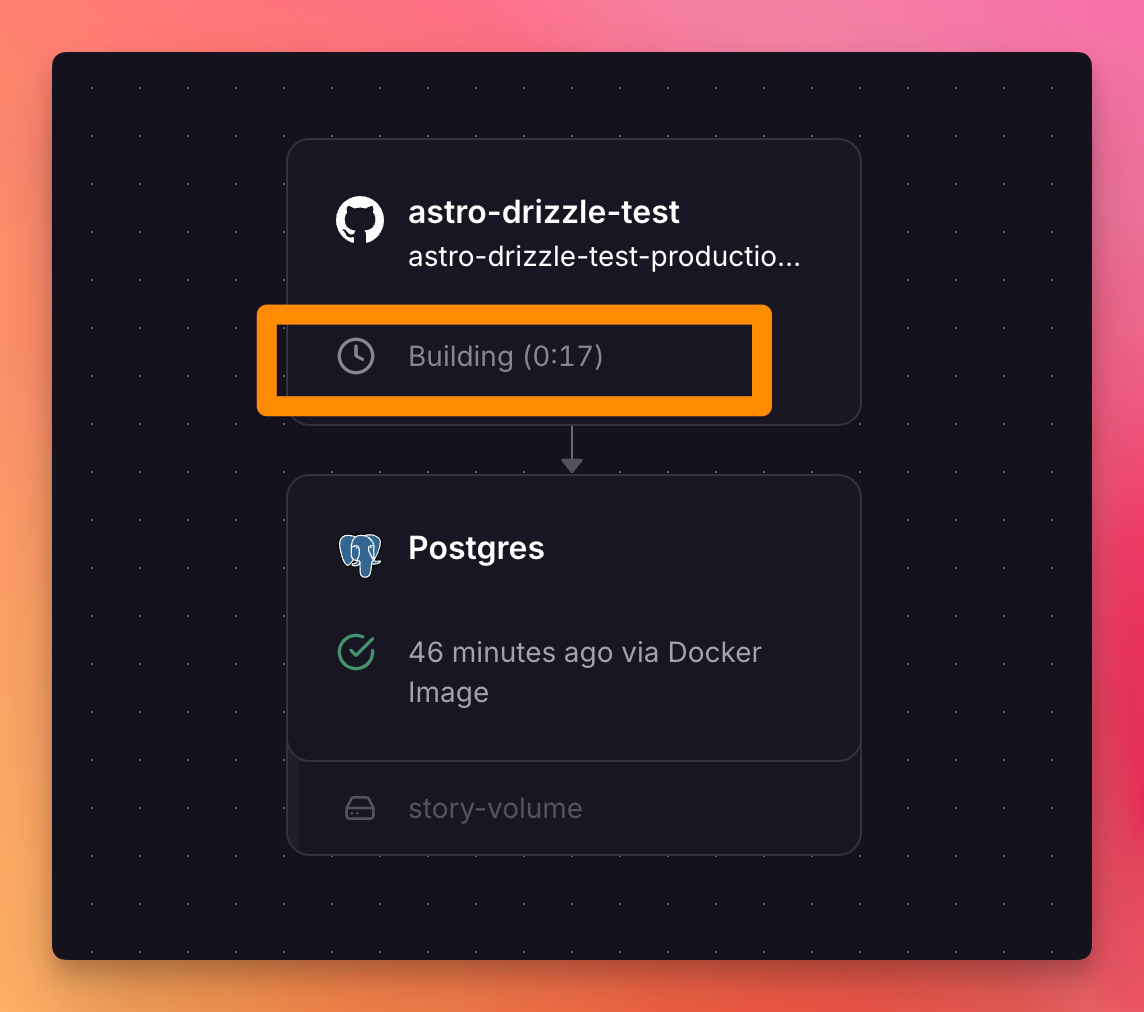
Once that’s completed, you’ll be able to access the app!
Now the only thing we must do is run the database migrations.
Running them automatically on deploy would take some more configuration, so we’ll take the easy route and run the migrations from our local terminal.
Go into the project on your computer, copy the DATABASE_PUBLIC_URL env variable from the Railway PostgreSQL service to your local .env file under POSTGRES_URL (I use that in the Astro app) and then run:
npx drizzle-kit migrateNow you should see the database tables in the PostgreSQL service on Railway.
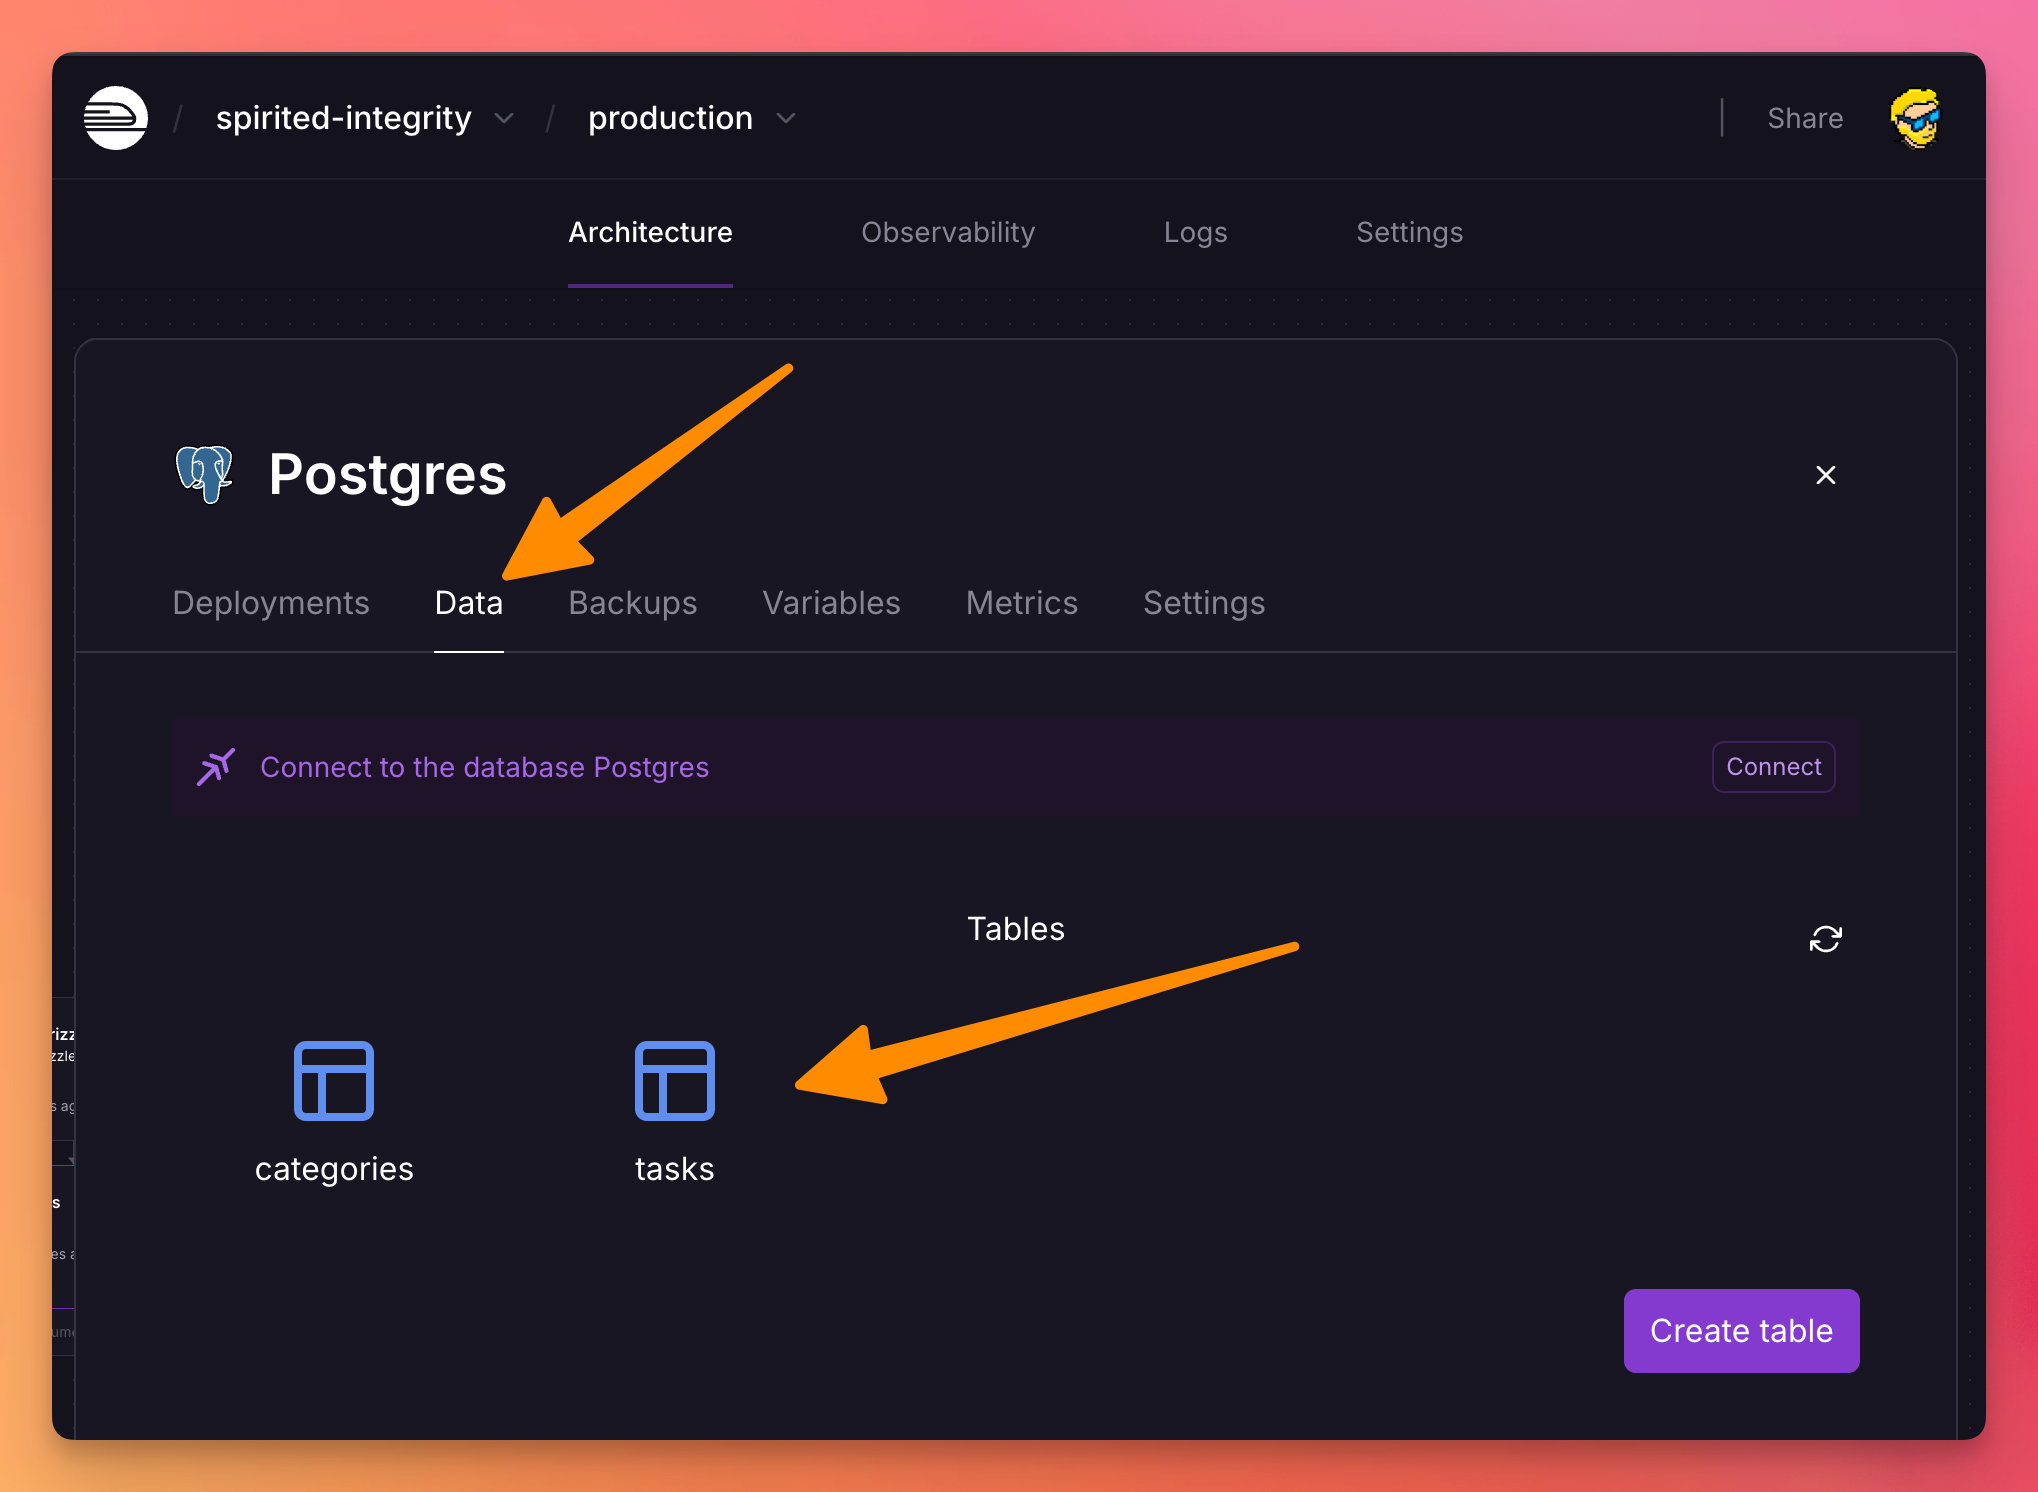
That’s it, the app should now be working!
Before you send real users to it, I built a free deploy checklist that generates a pre-launch list tailored to your stack and platform.
Want me to talk about your product? You can sponsor this site.
Related posts about services: