Tailscale tutorial: your Mac and a server on one private network
By Flavio
Tagged: Security
Install Tailscale on a Mac and a VPS, SSH by name, serve a page only you can open, close every public port, and use the server as an exit node.
Tailscale puts your devices on one private network, wherever they are. Your Mac at home, a VPS in Frankfurt and your phone on 5G all get an address that only the other devices can reach.
You don’t run a VPN server, and you don’t open a port. Each device dials out, and they find each other.
I set it up from scratch for this post: my MacBook Pro and a new $6 DigitalOcean Droplet in Frankfurt, called tailscale-demo. Everything below is what happened, with the real output. The only thing I changed is my home IP, which shows up as 203.0.113.7.
What Tailscale is
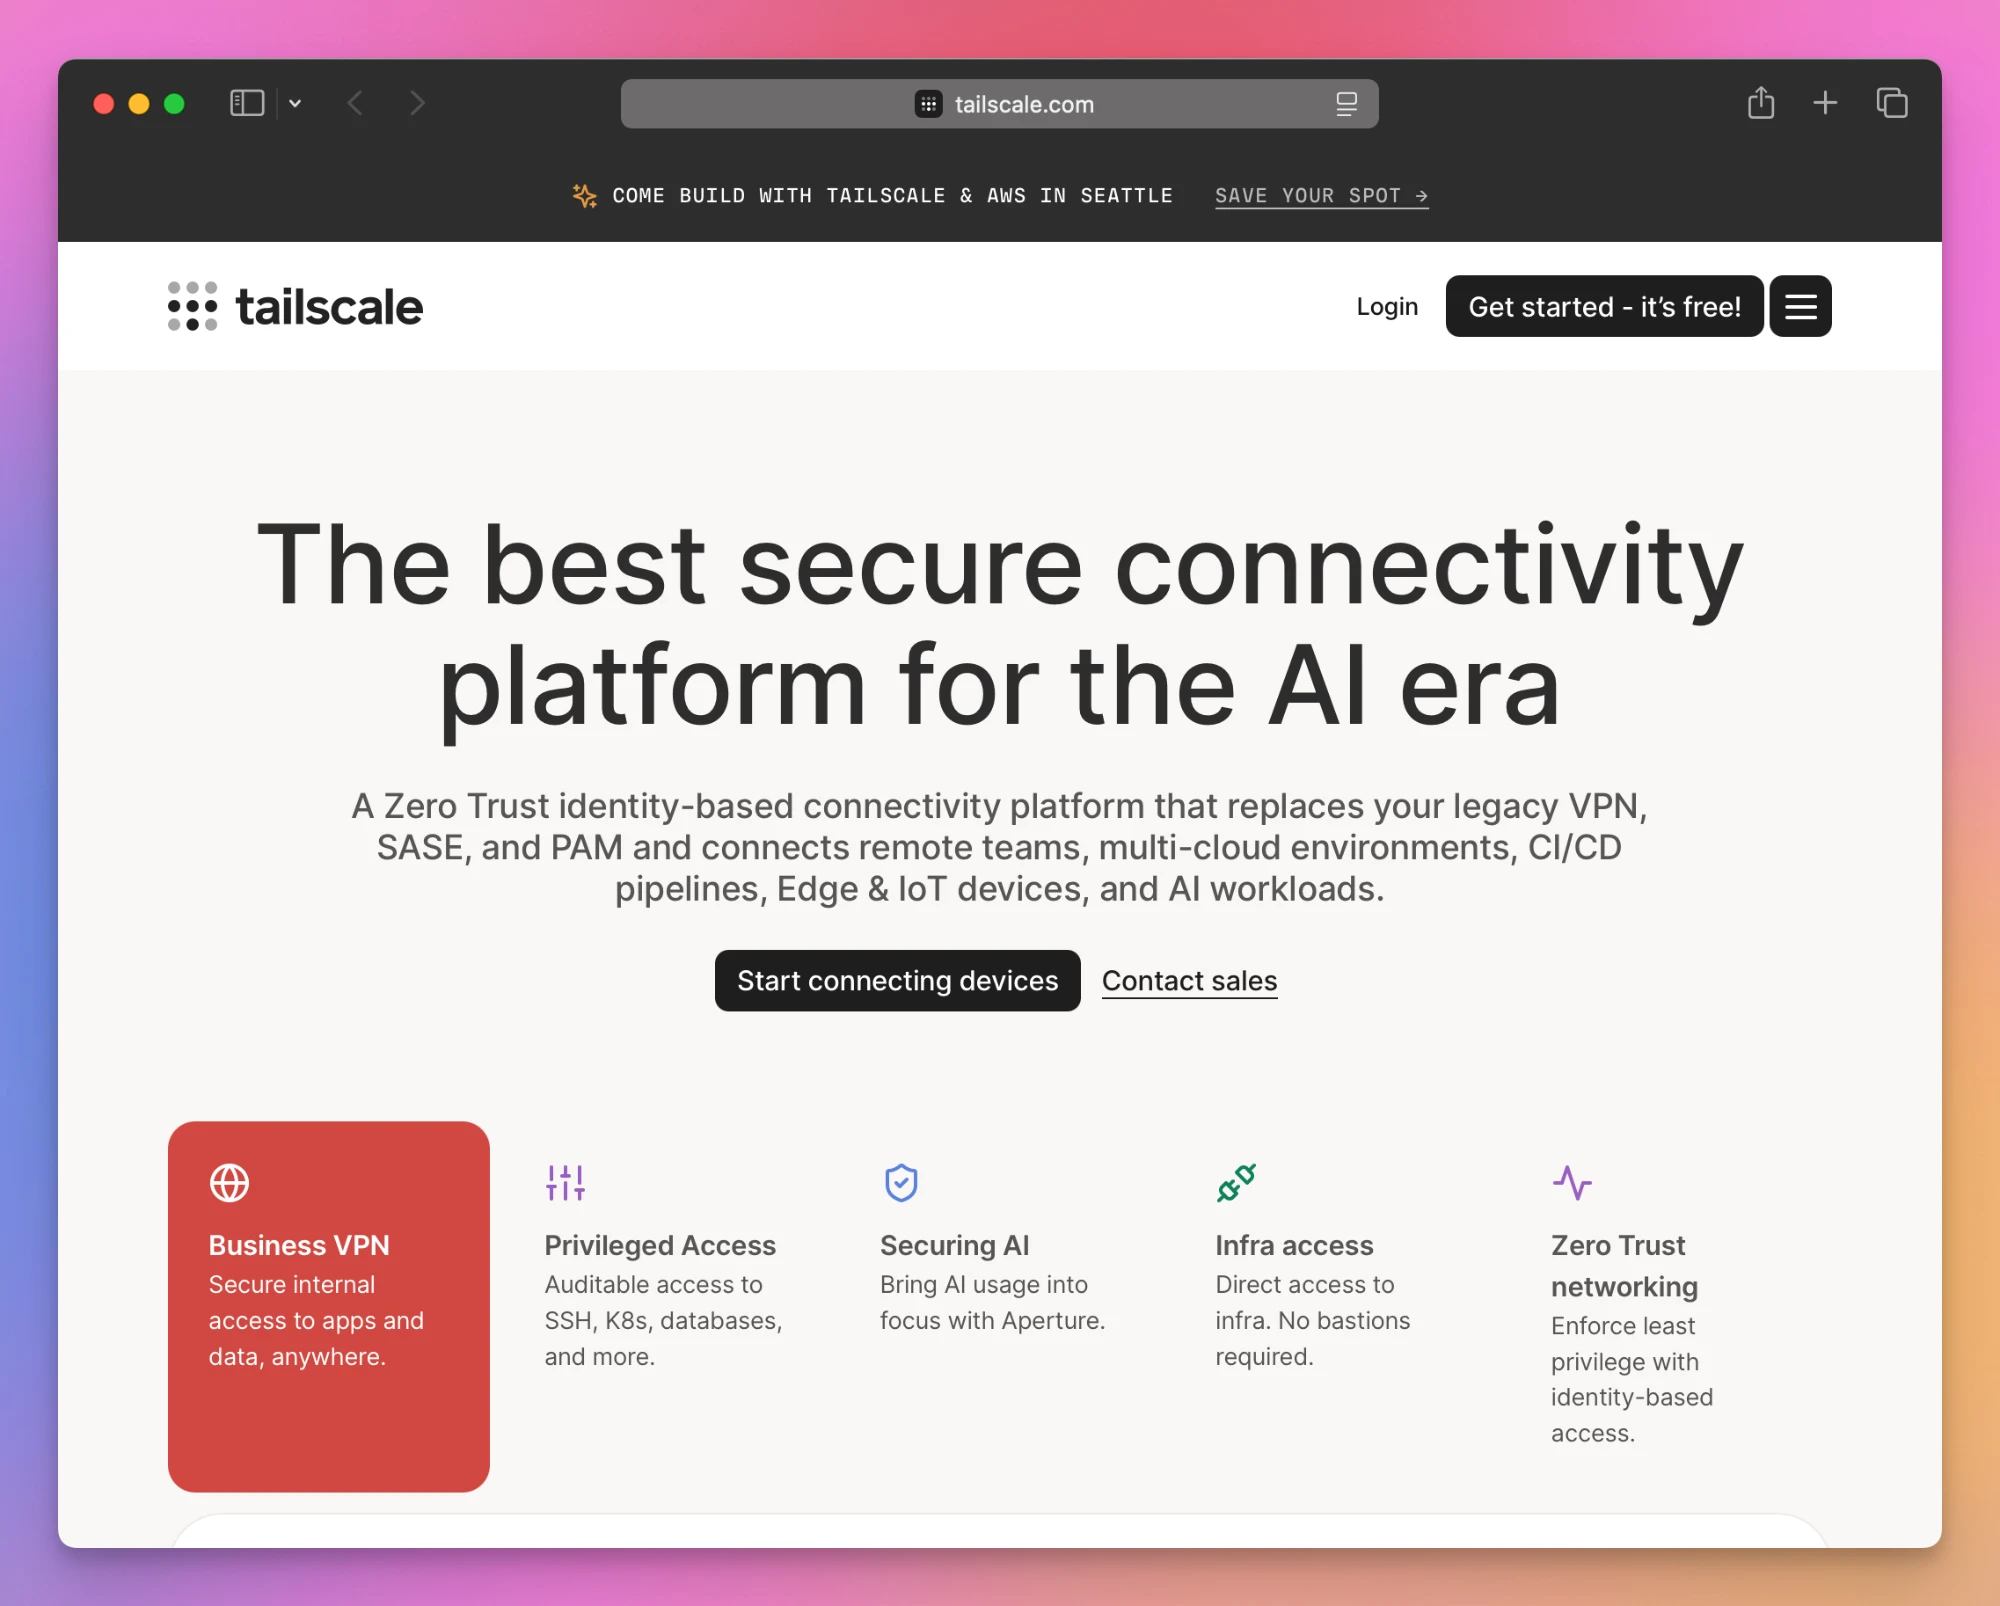
Your private network is called a tailnet. Every device you add to it gets an address in the 100.x.y.z range and a name.
Traffic between two devices goes over WireGuard, encrypted, and directly from one device to the other when the networks allow it. When they don’t, it goes through one of Tailscale’s relays, called DERP servers, still encrypted end to end.
Tailscale runs the part that WireGuard doesn’t have: who you are, which devices are yours, which keys they use, and who may talk to whom. That’s the coordination server. It hands out keys and rules, and your traffic doesn’t go through it.
There’s no Tailscale password. You sign in with Google, Microsoft, GitHub, Apple or a passkey, and that login decides which tailnet a device joins. I used GitHub, so my tailnet is called flaviocopes.github.
Install it on the Mac
Get the app from tailscale.com/download or the Mac App Store. On first launch it asks for two permissions: a system extension to control networking, and a VPN configuration to route traffic to your other devices.
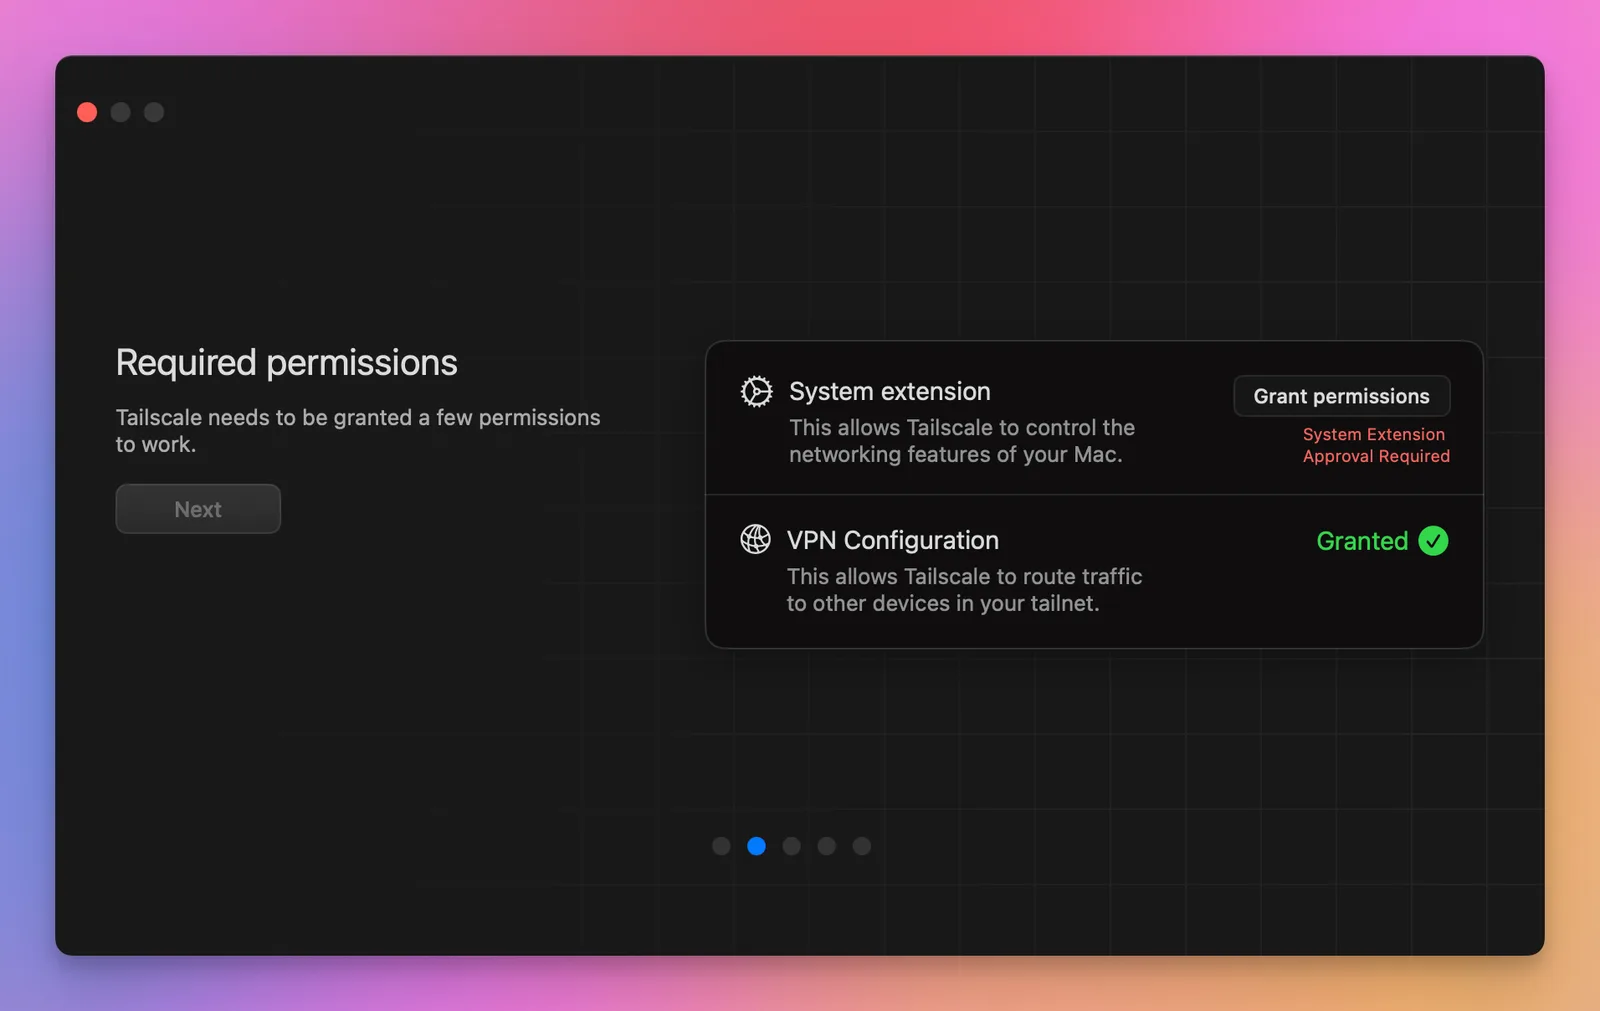
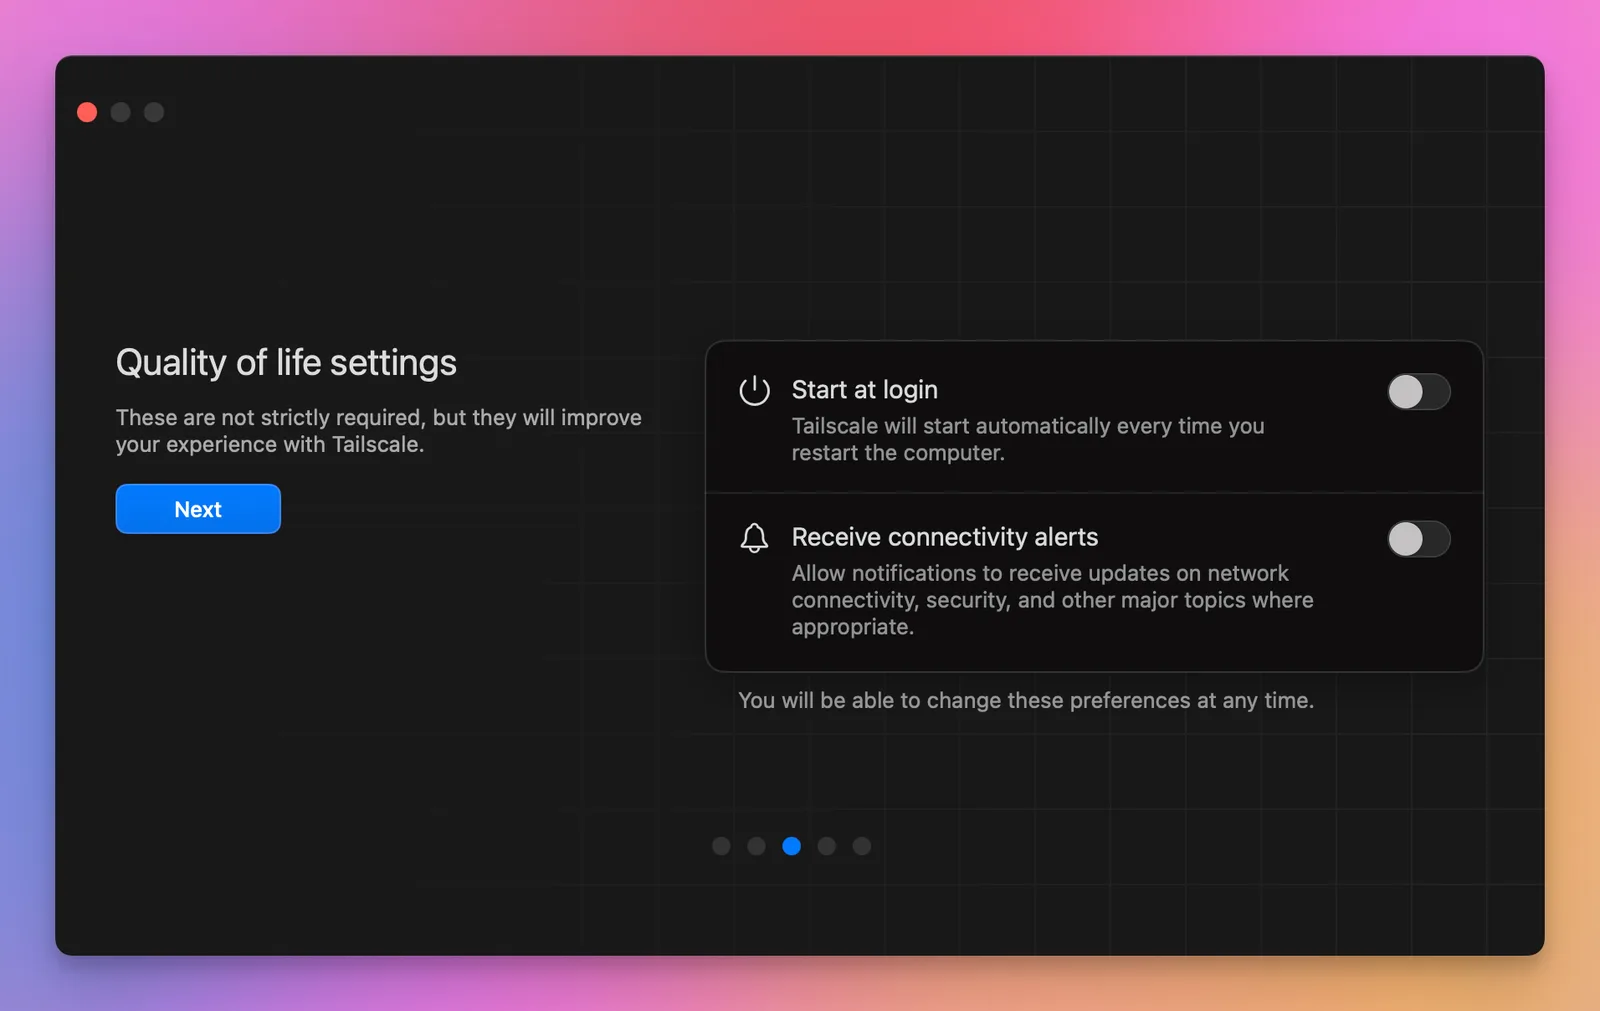
The system extension needs a click in System Settings before it turns green. Then the app offers to start at login, which you want on a machine you plan to reach from elsewhere.
Then you join a tailnet. The Mac shows up as macbook-pro, not connected yet.
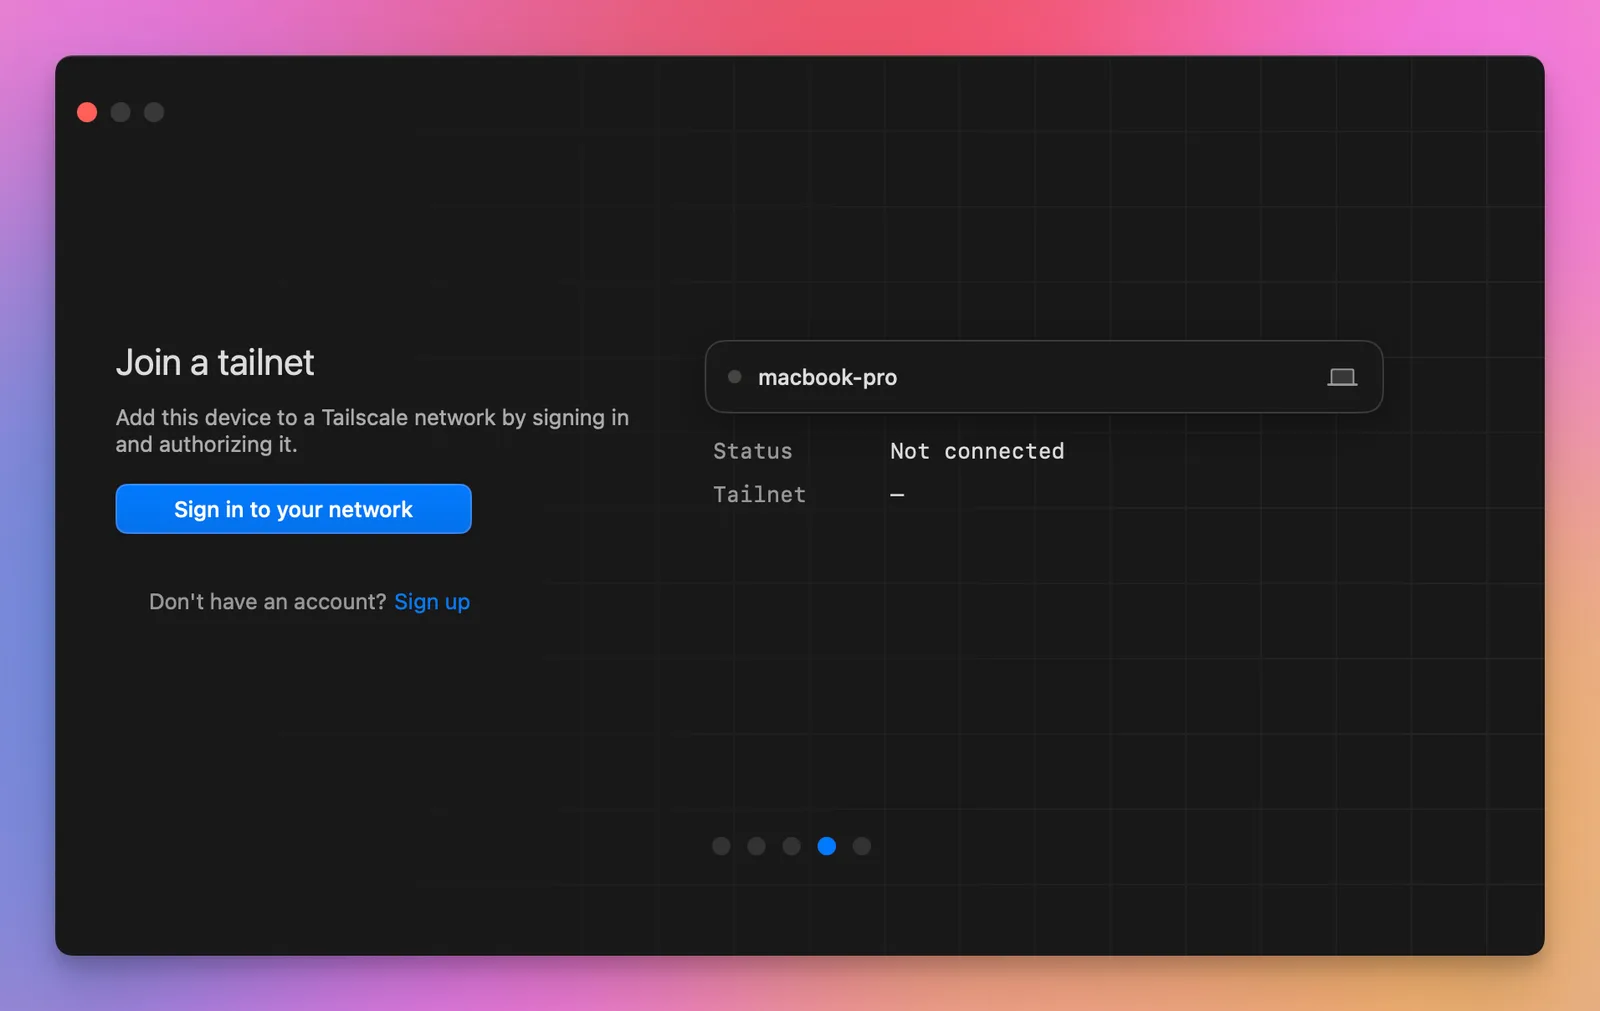
Sign in to your network opens the browser. The first time, signing in creates the tailnet. Then Tailscale asks you to confirm that this device should join it.
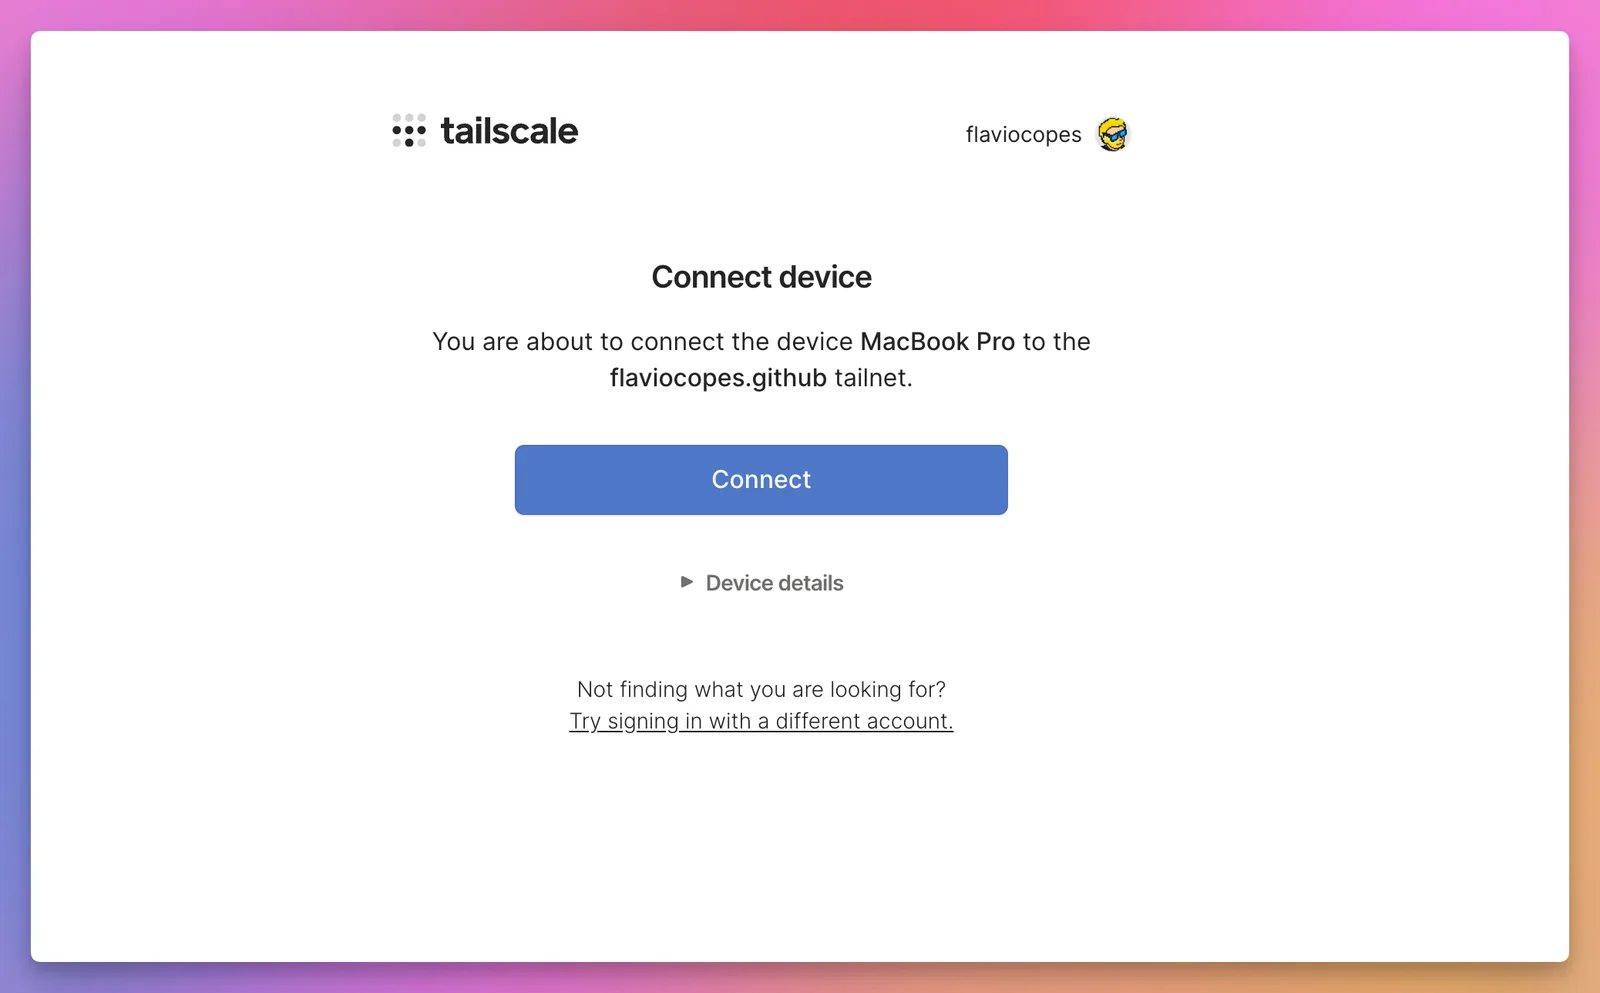
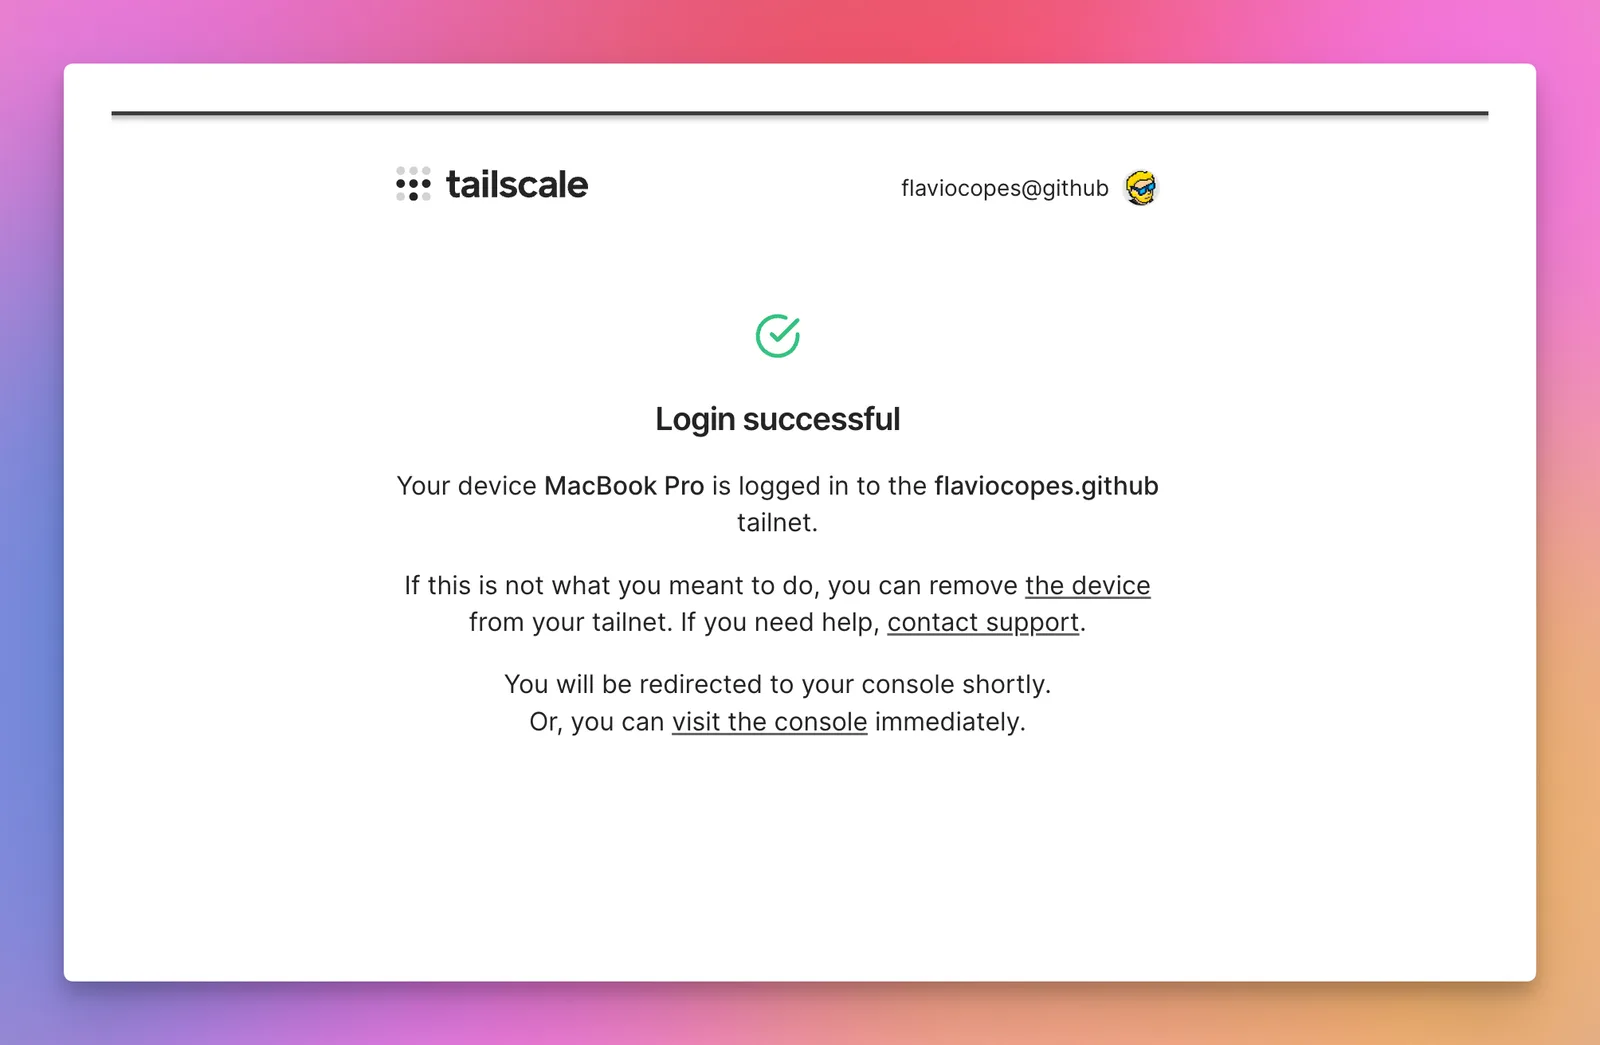
The app installs a tailscale command too, which I’ll use from now on.
Add a Linux server
On the server, Tailscale has an install script that adds its package repository and installs the client. On the Ubuntu 24.04 Droplet:
curl -fsSL https://tailscale.com/install.sh | shIt ends with:
Installation complete! Log in to start using Tailscale by running:

tailscale up
Running tailscale up with --hostname sets the name the server gets in the tailnet:
tailscale up --hostname=tailscale-demoA server has no browser, so it prints a link instead:
To authenticate, visit:

	https://login.tailscale.com/a/1f12656a01b843
I opened that link on the Mac, already signed in, and clicked Connect. Back on the server, tailscale up printed Success. and returned.
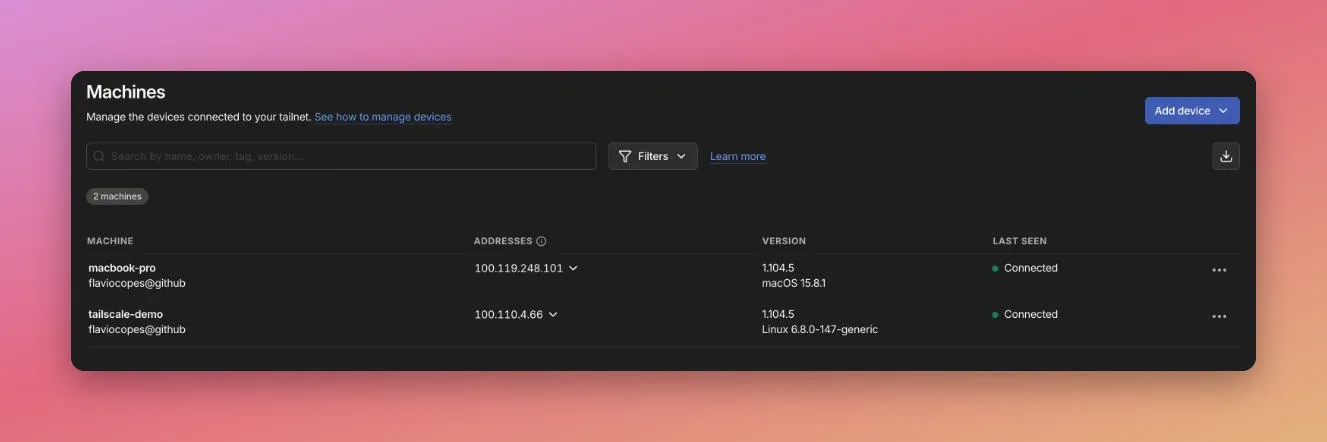
The admin console now lists both machines, with their addresses and the Tailscale version they run:
For a server you set up from a script or a CI job, you’d use an auth key instead of the link, with tailscale up --auth-key=.... Generate a one-off key in the admin console, and don’t leave a reusable key where an agent or a repo can read it. Tailscale alternatives has the story of what happens when you do.
See the network
tailscale status lists the devices in the tailnet:
$ tailscale status
100.119.248.101  macbook-pro     flaviocopes@  macOS  -
100.110.4.66     tailscale-demo  flaviocopes@  linux  -
tailscale ping checks the path to another device. It goes through Tailscale, not ICMP, so it also tells you whether the connection is direct or relayed:
$ tailscale ping tailscale-demo
pong from tailscale-demo (100.110.4.66) via 164.92.130.118:41641 in 44ms
via 164.92.130.118:41641 is the Droplet’s public IP and Tailscale’s UDP port, so this is a direct WireGuard connection. A relayed one says via DERP(ams) or similar instead. My Mac sits behind a home router with no port forwarding, and it got a direct path on the first try.
tailscale netcheck shows what Tailscale found out about your network, and which relay is closest. Here’s the part that matters:
$ tailscale netcheck

Report:
	* UDP: true
	* IPv4: yes, 203.0.113.7:7691
	* IPv6: no, but OS has support
	* MappingVariesByDestIP: true
	* CaptivePortal: false
	* Nearest DERP: Amsterdam
	* DERP latency:
		- ams: 83ms    (Amsterdam)
		- lhr: 83.5ms  (London)
		- waw: 84.1ms  (Warsaw)
		- nue: 84.1ms  (Nuremberg)
		- hel: 84.1ms  (Helsinki)
		- fra: 84.4ms  (Frankfurt)
The full list had 28 relays, from Amsterdam at 83 ms to Sydney at 300 ms. That’s the fallback. The direct path to Frankfurt was 44 ms, about half of going through the closest relay.
SSH to the server by name
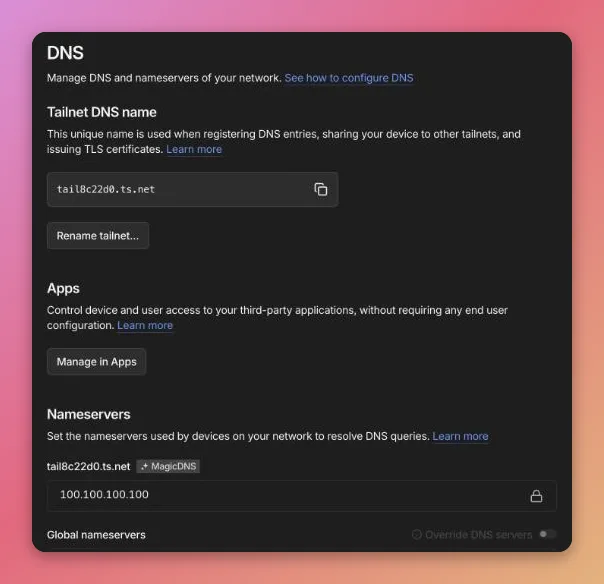
Every device gets a DNS name, thanks to a feature called MagicDNS. It’s on by default. The DNS page of the admin console shows your tailnet’s domain and the resolver, 100.100.100.100, that answers for it:
So I can SSH to the server with its short name, using my normal SSH key:
$ ssh root@tailscale-demo
tailscale-demo
100.119.248.101 65460 100.110.4.66 22
The second line is the server printing $SSH_CONNECTION: the connection came from the Mac’s tailnet address, 100.119.248.101, to the server’s, 100.110.4.66. It never touched the public IP.
This is plain OpenSSH over the tailnet. Tailscale also has its own SSH server, Tailscale SSH, which you’d turn on with tailscale set --ssh. I left it off. The keys in authorized_keys stay in charge, and the October 2026 Tailscale SSH bulletins are a good reason to keep it that way.
Serve a page only you can open
This is where Tailscale gets useful for side projects. A service that listens on the tailnet address is reachable from your devices, and from nothing else.
On the server, a tiny web server bound to 100.110.4.66:
python3 -m http.server 8080 --bind 100.110.4.66From the Mac, by name, it works. From the public IP, there’s nothing to connect to:
$ curl http://tailscale-demo:8080
hello from tailscale-demo
$ curl http://164.92.130.118:8080
curl: (7) Failed to connect to 164.92.130.118 port 8080 after 95 ms: Couldn't connect to server
That’s how I’d run an admin panel, a database UI or a staging copy of an app: bound to the tailnet, with no login page facing the internet.
Notice that ufw on that server only allowed ports 22 and 80, and port 8080 still worked over the tailnet. Tailscale adds its own firewall rules that accept tailnet traffic before ufw sees it. The tailnet’s access policy is what decides who gets in, not ufw.
Close every public port
SSH now works over the tailnet, so the server doesn’t need port 22 open to the world.
I attached a DigitalOcean Cloud Firewall to the Droplet with no inbound rules at all, and outbound left open, because Tailscale needs to dial out. Then I scanned the public IP from the Mac with nmap, before and after:
nmap -Pn -sT -p 22,80,443,3306,5432,6379,8080 164.92.130.118| Port | Before, ufw only | After, cloud firewall with no inbound | Over the tailnet |
|---|---|---|---|
| 22, SSH | open | filtered | works |
| 80, web | open | filtered | works |
| 5432, Postgres in Docker | open | filtered | works |
| 8080, tailnet-only page | filtered | filtered | works |
filtered means nmap got no answer at all, not even a refusal. curl to the public IP waited for 10 seconds and gave up:
$ curl -m 10 http://164.92.130.118
curl: (28) Connection timed out after 10008 milliseconds
The Postgres row in the “Before” column is the Docker trap: ufw was set to deny incoming, and a port Docker published still answered on the public IP. The firewall comparison goes through that one in detail.
The interesting part is that the tailnet kept a direct connection with no inbound rule. I restarted tailscaled on the server to force it to find a path again:
$ tailscale ping tailscale-demo
pong from tailscale-demo (100.110.4.66) via 164.92.130.118:41641 in 32ms
Still direct. The cloud firewall is stateful, and both sides send UDP out to each other, so the replies are allowed in. If that failed, traffic would go through a relay and only get slower.
Before you close port 22 on a real server, make sure SSH over the tailnet works, and that you can log in through your provider’s web console. The VPS guide has the safe order.
Who can reach what
A new tailnet has a policy that lets every device reach every other device on every port. You can see it under Access controls in the admin console:
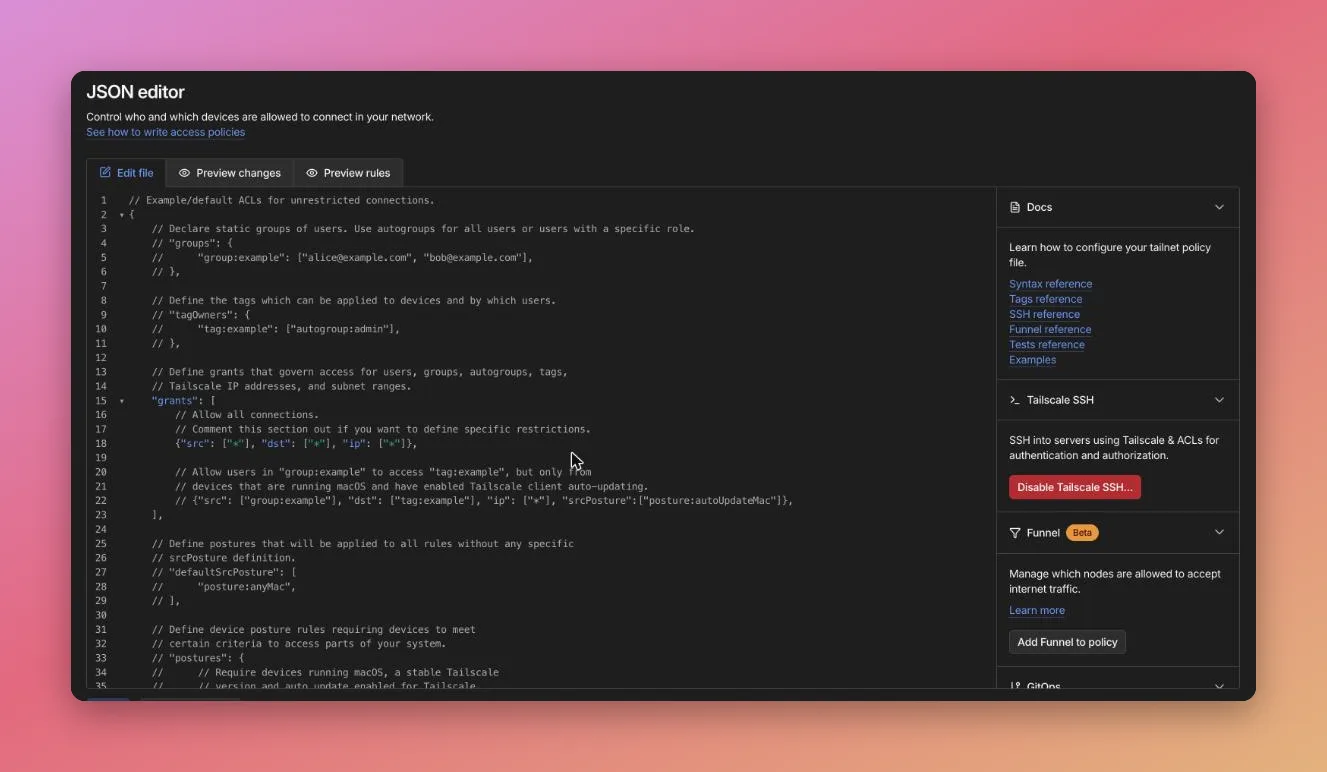
This is the line that does it:
{"src": ["*"], "dst": ["*"], "ip": ["*"]},With a Mac and one server that’s fine. Once you add a second person, or a machine you trust less, you want rules like “my user can reach port 22 on servers tagged tag:server, and nothing else”. The VPS guide writes that grant, and the Tailscale course spends a whole module on policies and tests.
Use the server as an exit node
An exit node is a device in your tailnet that forwards all your internet traffic. Sites see its IP instead of yours. It’s handy on hotel or café Wi-Fi.
On the server, turn on IP forwarding and advertise it as an exit node:
echo 'net.ipv4.ip_forward = 1' > /etc/sysctl.d/99-tailscale.conf
echo 'net.ipv6.conf.all.forwarding = 1' >> /etc/sysctl.d/99-tailscale.conf
sysctl -p /etc/sysctl.d/99-tailscale.conf
tailscale set --advertise-exit-node
Advertising isn’t enough. You approve it in the admin console, from the machine’s menu, with Edit route settings:
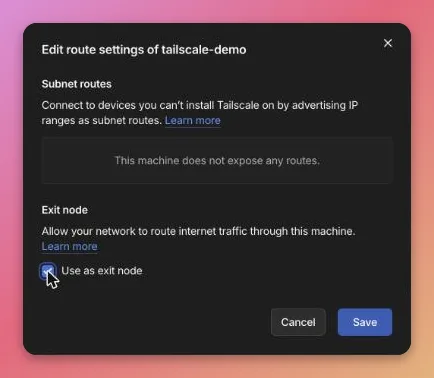
Then pick it on the Mac, from the menu bar app or the CLI. I checked my public IP before, during and after:
$ curl https://ifconfig.me
203.0.113.7
$ tailscale set --exit-node=tailscale-demo
$ curl https://ifconfig.me
164.92.130.118
$ tailscale set --exit-node=
$ curl https://ifconfig.me
203.0.113.7
While it was on, tailscale status marked the server as active; exit node; direct.
A VPS as an exit node hides your traffic from the local network, but websites see your VPS IP, which is tied to your hosting account. If you want a shared VPN IP instead, Tailscale sells Mullvad as an add-on, at $5 a month for every five devices. Mullvad’s servers then show up in the same exit node list.
What it costs
From Tailscale’s pricing page in November 2026:
| Plan | Price | Users | User devices |
|---|---|---|---|
| Personal | $0, non-commercial | Up to 6 | Unlimited |
| Standard | $8 per user per month | Unlimited | Unlimited |
| Premium | $18 per user per month | Unlimited | Unlimited |
A tailnet you create with a GitHub, Google or Apple account starts on Personal, like mine did. One with a company domain starts a 14-day Enterprise trial instead. Every plan includes 50 tagged resources, which is what servers usually become once you tag them.
The Droplet was $6 a month, and I deleted it after a couple of hours of testing, so it cost a few cents.
Where to go from here
- How to secure a VPS with Tailscale and Cloudflare Tunnel is the full setup for a server that also serves a public website.
- Tailscale vs Cloudflare Tunnel vs a cloud firewall compares the three on the same Droplet, with scans and timings.
- Tailscale alternatives covers who you trust when you use Tailscale, its security record, and what to use instead.
- The Tailscale course goes deep on policies, subnet routers, automation and troubleshooting.
Want me to talk about your product? You can sponsor this site.
Related posts about security: