Using Docker Desktop to manage a Container
By Flavio Copes
Learn how to manage a Docker container with Docker Desktop, using its dashboard to start, stop, and restart it, open a CLI, and view logs and stats.
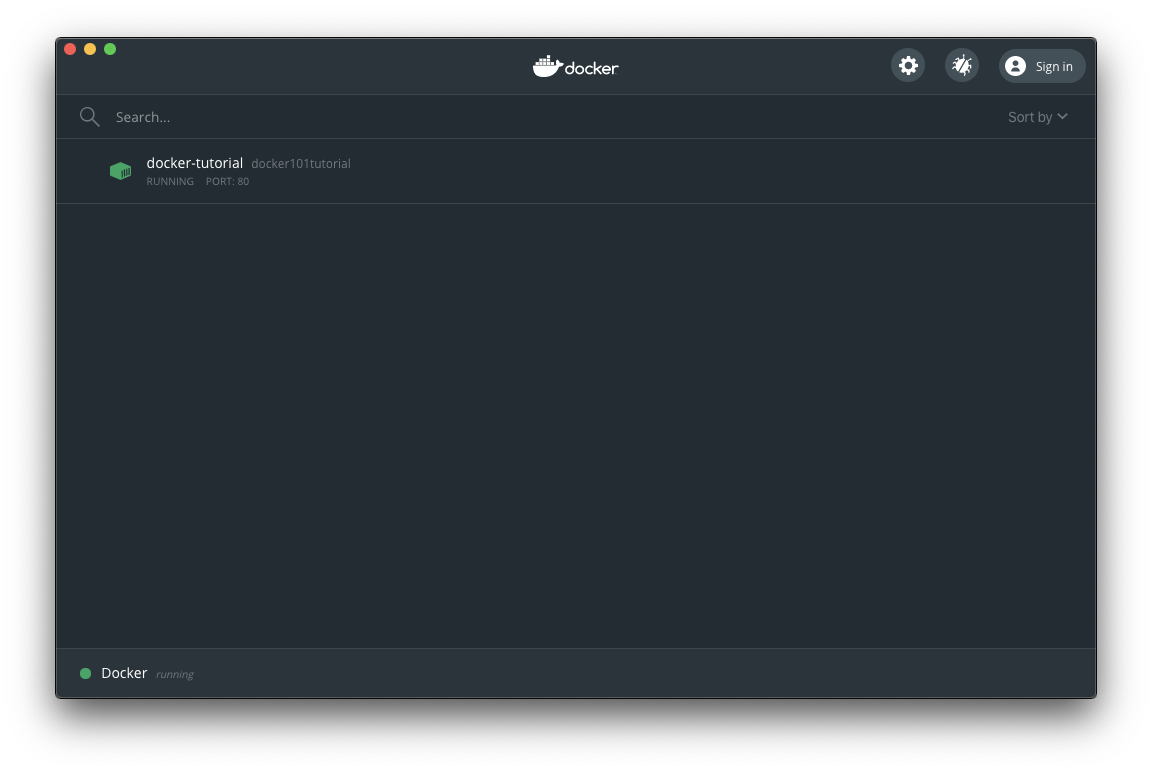
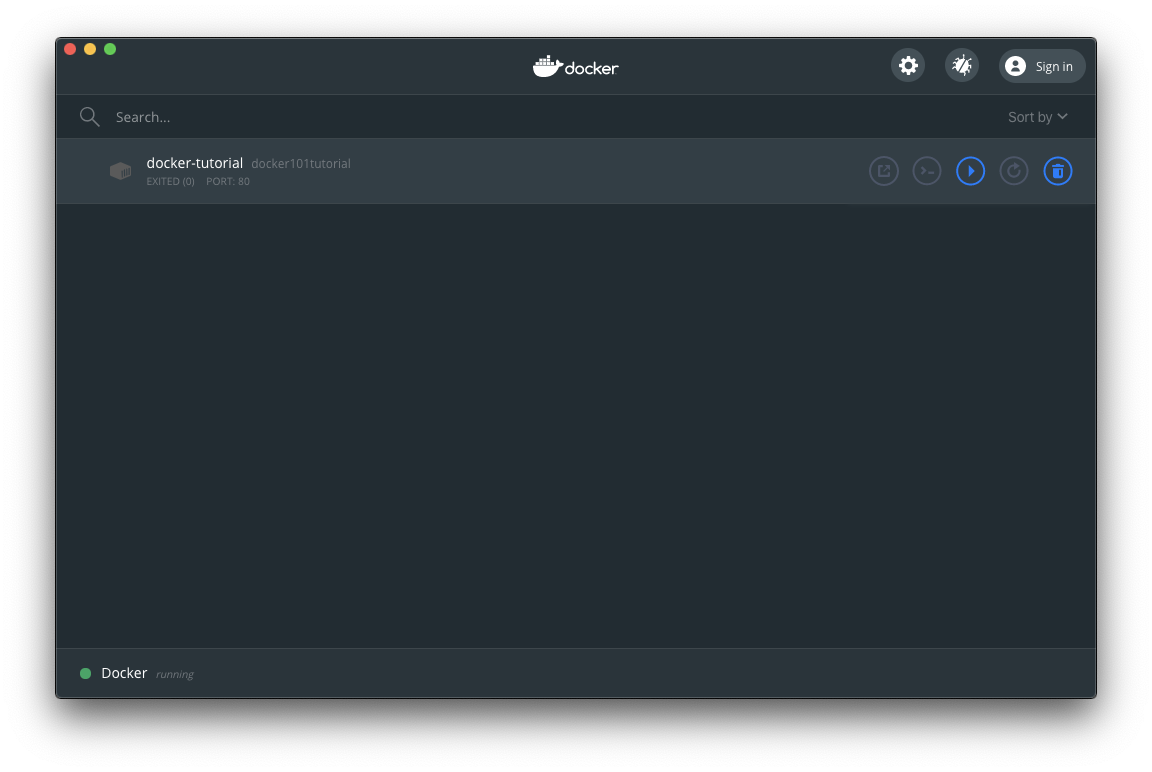
Once you start a Docker container, if you go and click the Docker icon in the toolbar and choose Dashboard, you will see it in Docker Desktop:
Now if you hover the container with the mouse, you will see 5 buttons:
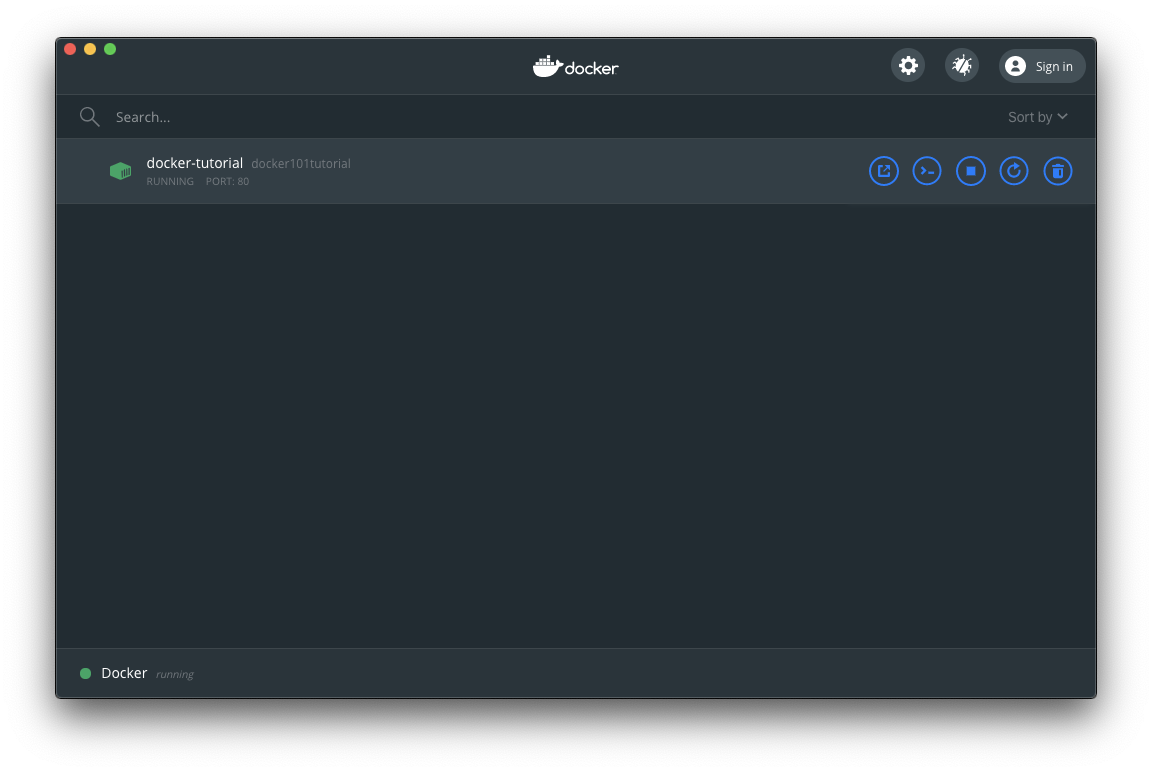
They are:
- Open in browser
- CLI
- Stop
- Restart
- Delete
You can manage your container lifecycle through them.
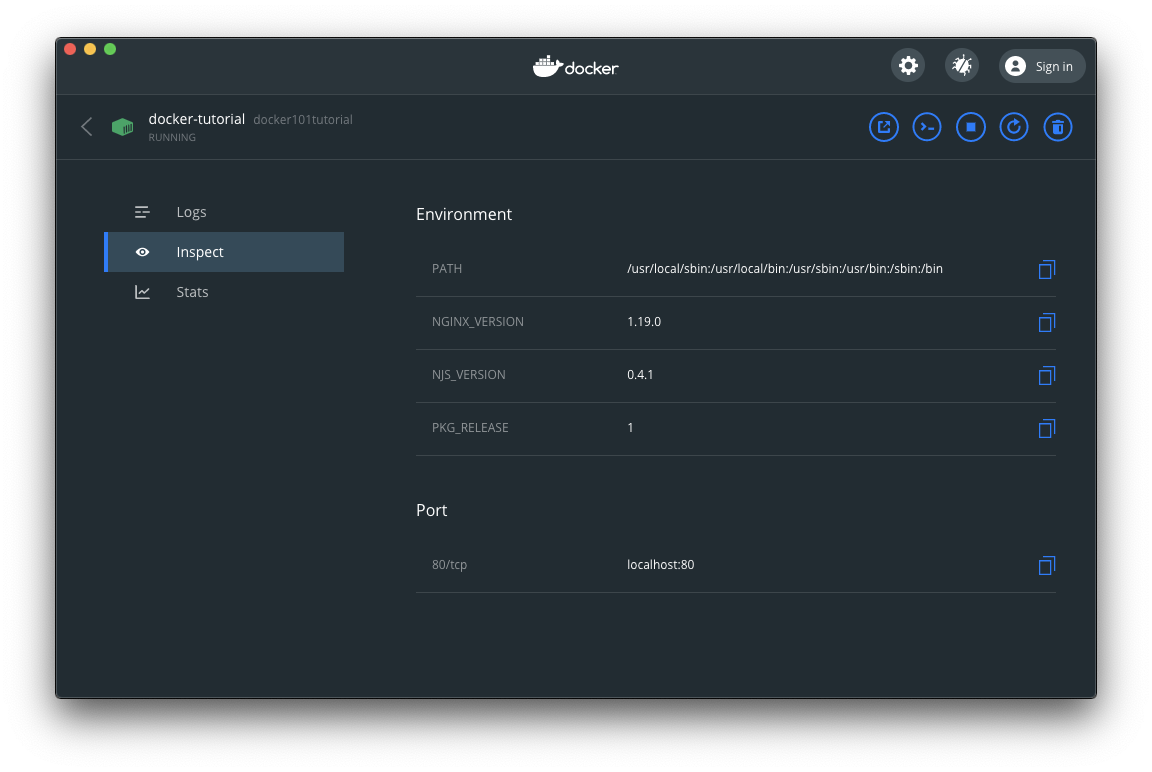
Clicking a container name in the list will reveal more data, including a Logs manager:

An inspector that tells you useful information about the container:
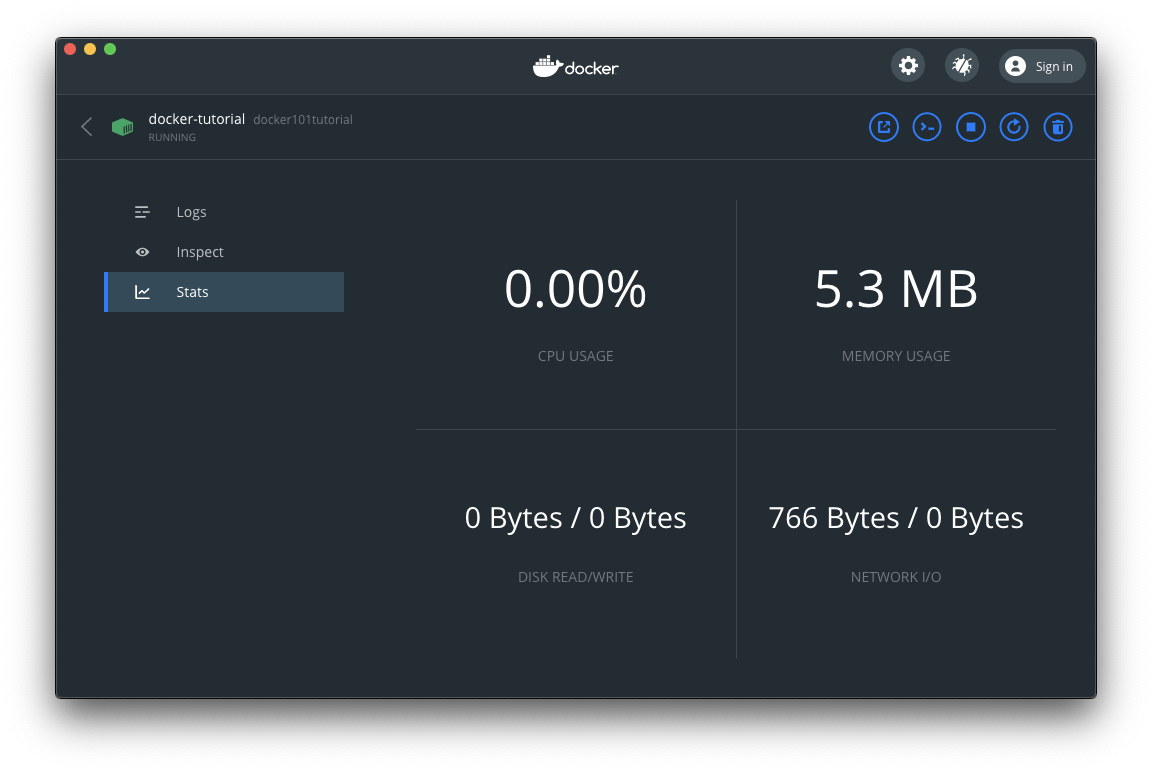
And stats about the container CPU, Memory, Network and Disk usage:
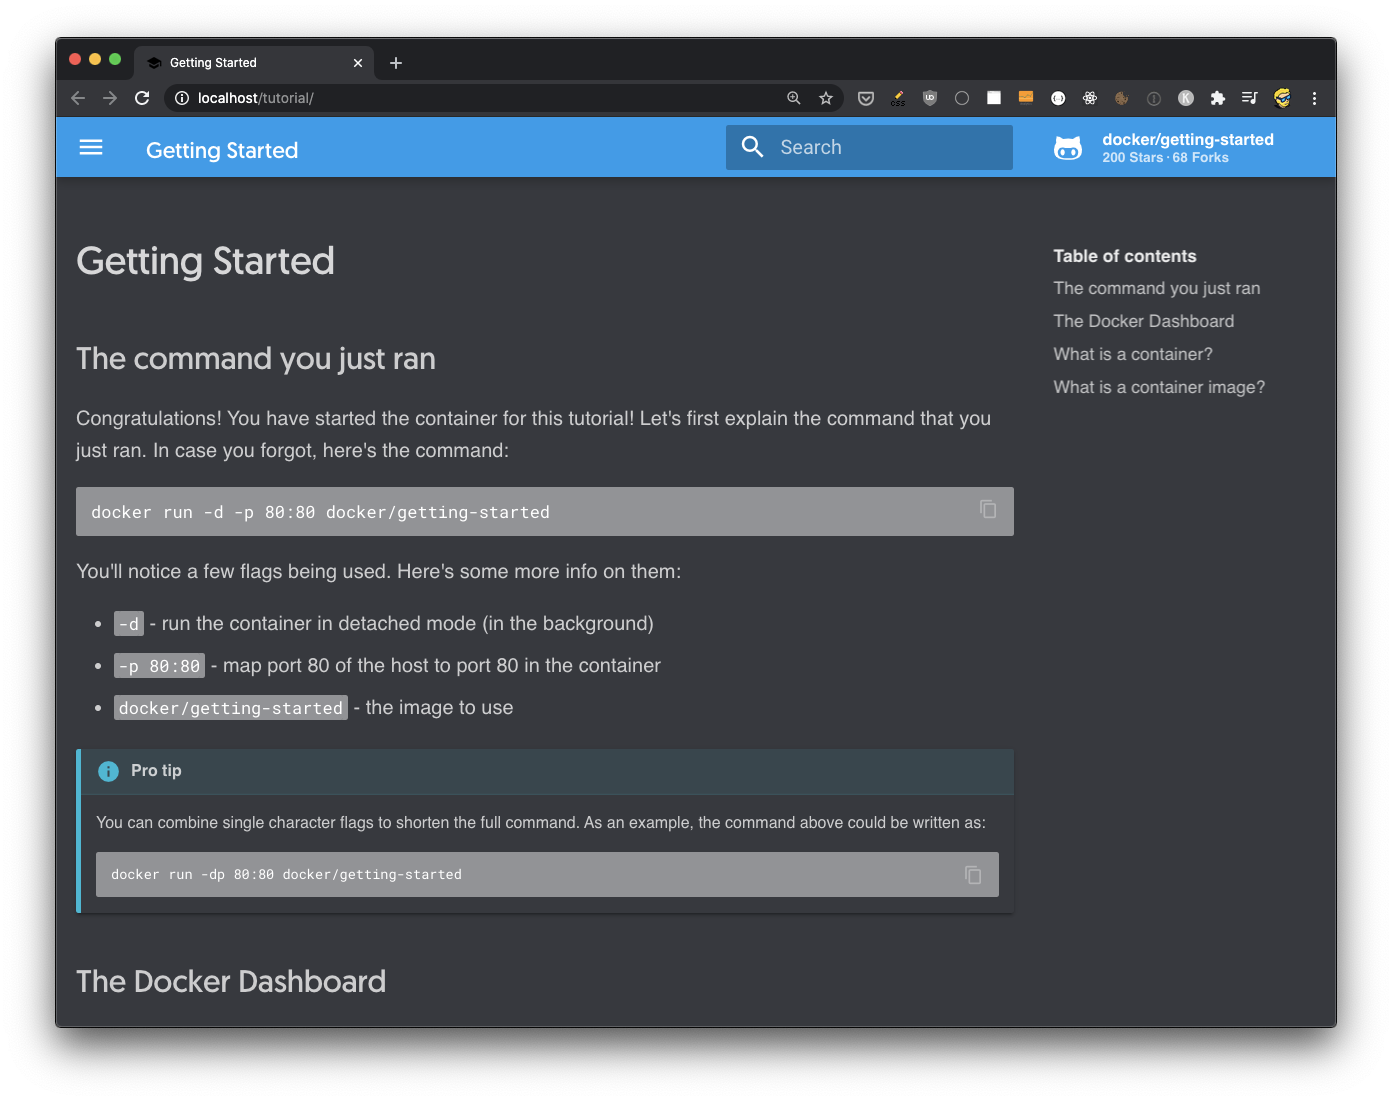
Go back and click the Open in browser button and the http://localhost/tutorial URL will open (http://localhost redirects to http://localhost/tutorial in this app):
This is the content of a website that’s provided by our sample image. Now go back to Docker Desktop and press the Stop button
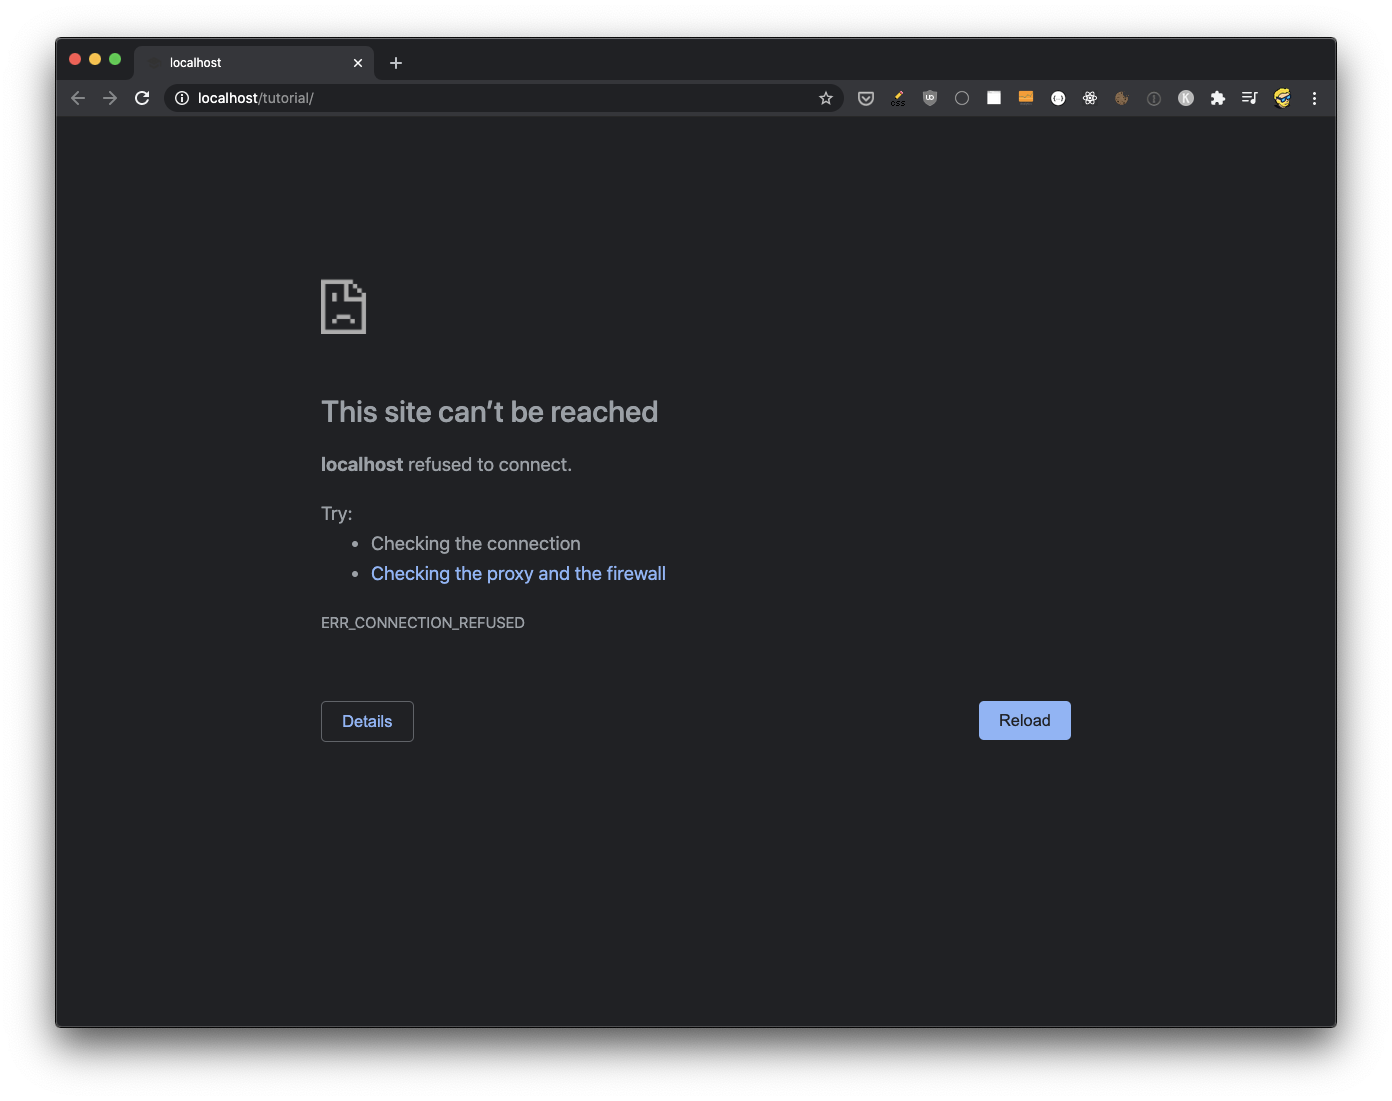
and refresh the page, it does not work any more:
Go back to Docker Desktop and press the Start button, it will work again.
Try pressing the CLI button. A new terminal window will open and you will automatically be connected to the Docker Container, as the root user:
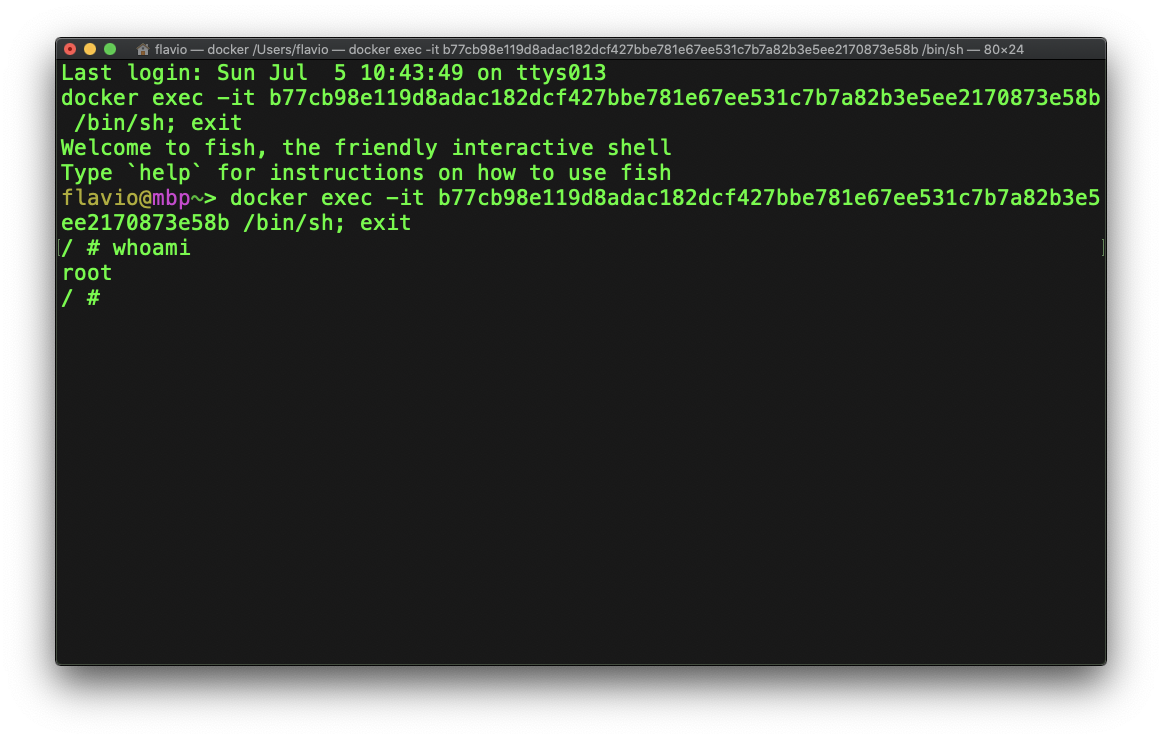
In the above picture the whoami command returns the current user name.
Related posts about docker: