Installing Docker on macOS
By Flavio Copes
Learn how to install Docker on macOS step by step with Docker Desktop for Mac, moving the app to Applications and checking it works with docker version.
Before we can do anything interesting with our Dockerfile, we need to install Docker.
The exact installation instructions depend on your operating system.
The Docker Website contains detailed instructions for
I am a Mac user and I will show you the exact steps to install Docker on a Mac. If you use Windows or Linux, please refer to the instructions (I don’t have a Windows or Linux Desktop computer to try).
Docker Desktop for Mac is the name of the software you need to install, and you can find it here: https://hub.docker.com/editions/community/docker-ce-desktop-mac/
Once you download the installation file, which is a bit more than 400MB in size, run it and you’ll be asked to move the Docker app to the Applications folder.
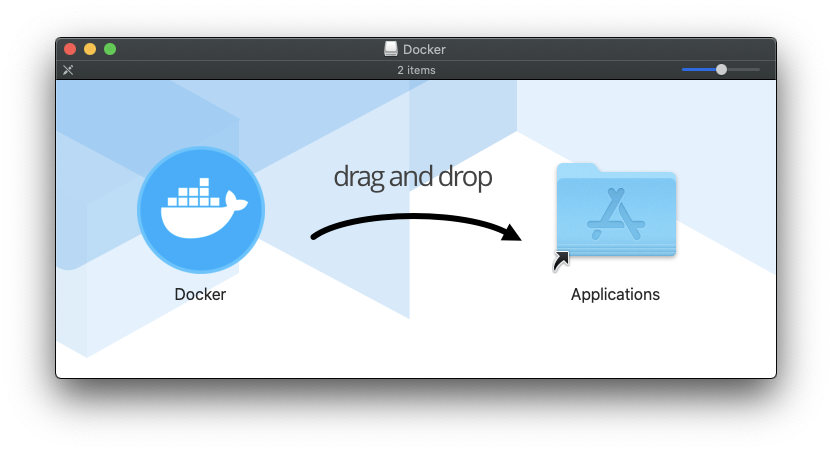
Do that, then run the app:
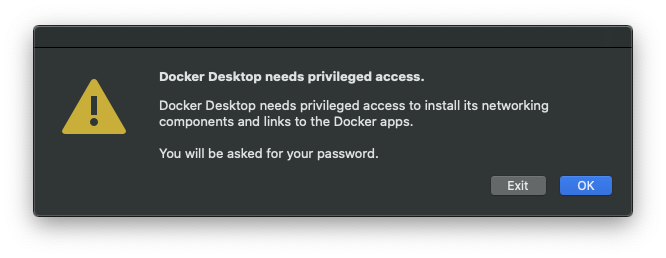
The first thing that happens is that it asks you to install the command line tools, and it needs your permission (and password):
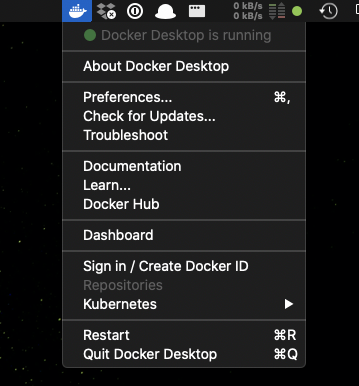
You will see the whale icon appearing the the Mac toolbar, initially informing you Docker Desktop is starting:
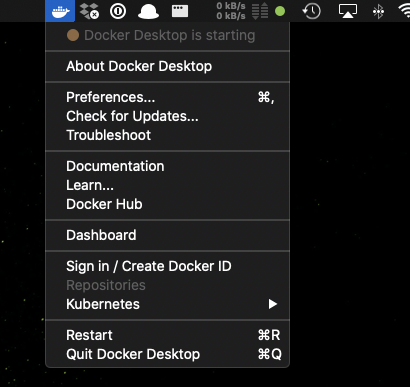
And when it’s done, you will get a green light:
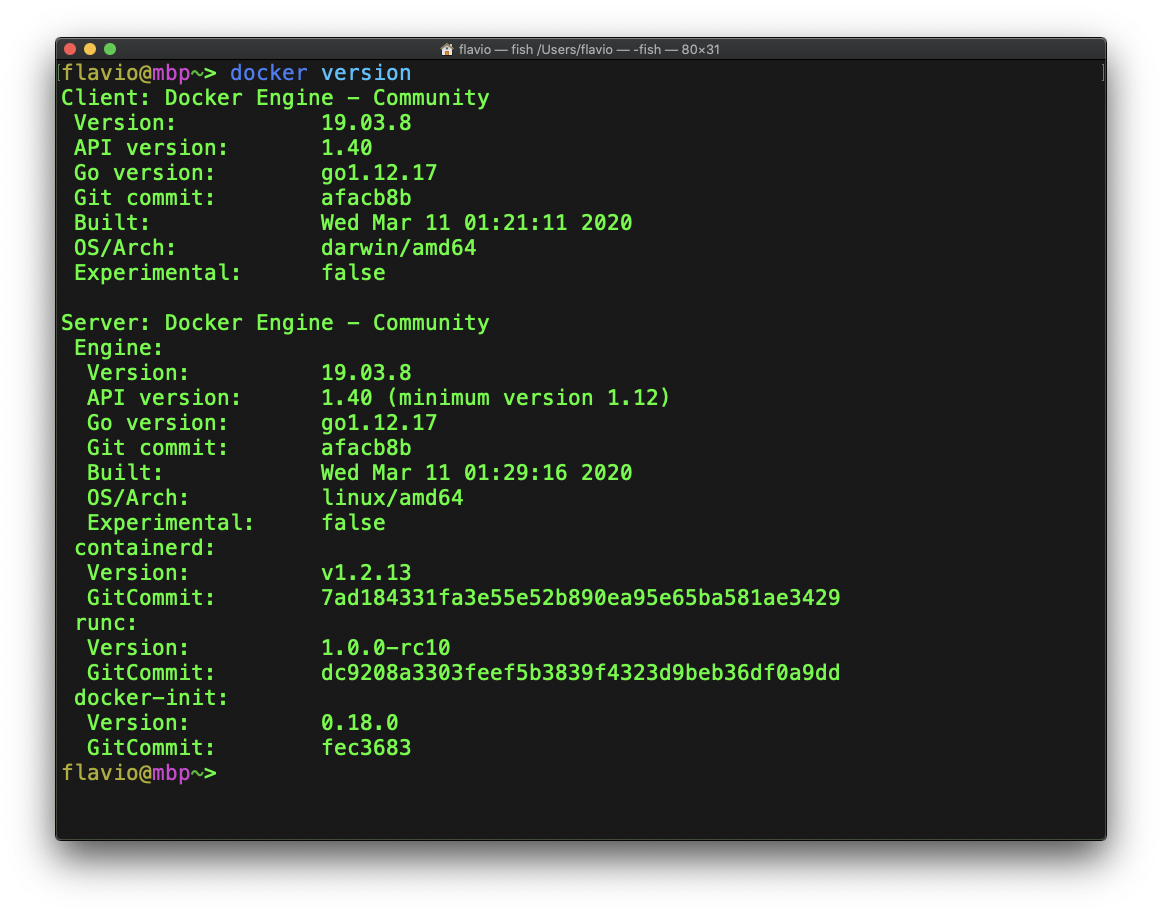
Now you will have the Docker command line tools installed.
Open your terminal and run
docker versionto make sure everything worked fine.
Related posts about docker: