Sharing Docker Images on Docker Hub
By Flavio Copes
Learn how to share your Docker images on Docker Hub: register an account, sign in with docker login, then publish an image with docker tag and docker push.
An image like the one we created in the Node.js Hello World Docker Container from scratch post is simple, yet it’s a perfect example to try one of the cool features of Docker, provided through Docker Hub, the official hosting service of public and private Docker Images.
Before we can do that, however, we need to register on Docker Hub.
Docker Hub is free in its basic plan which includes unlimited public repos and one private repo, plus 200 image pulls every 6 hours when you’re logged in. For more than that, there are paid plans.
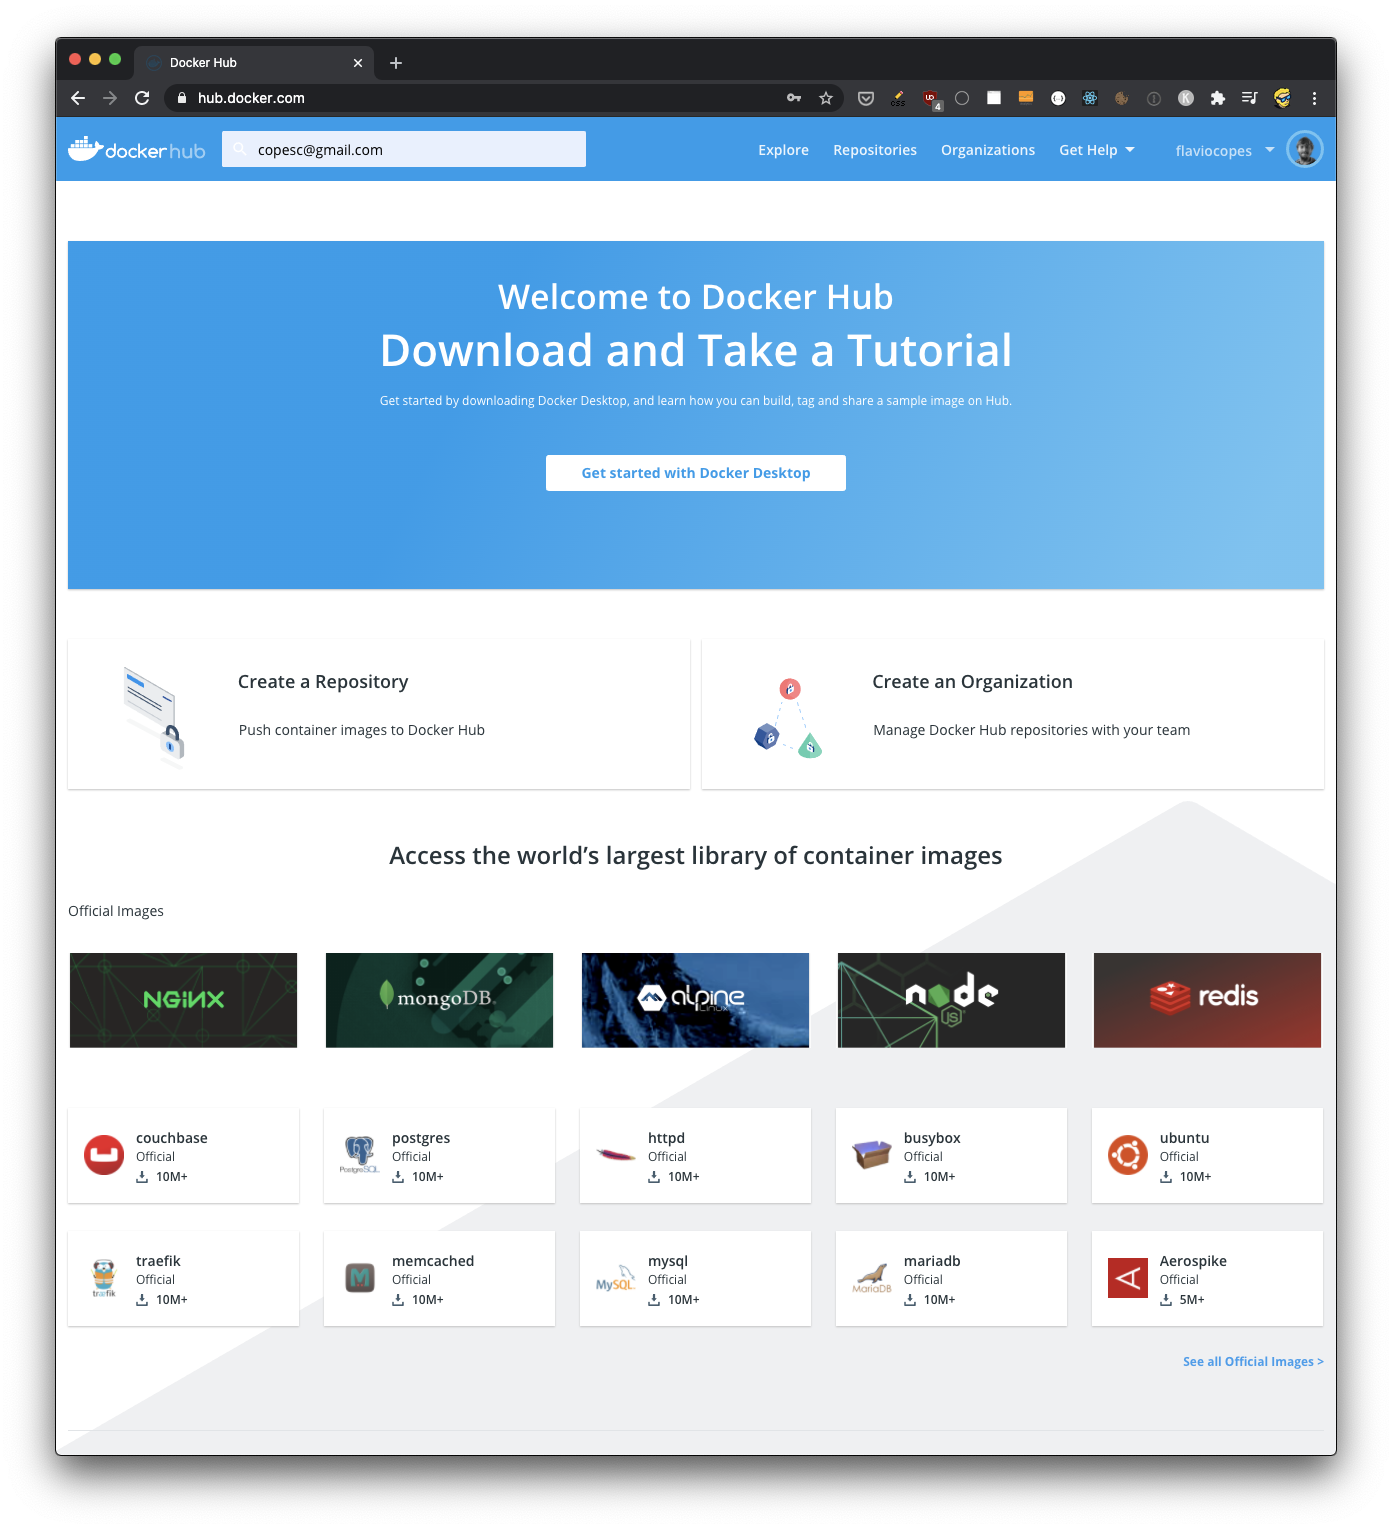
Once you register and login, you will see your dashboard:
Now using your username, you need to login from the command line using docker login:
docker login --username <username>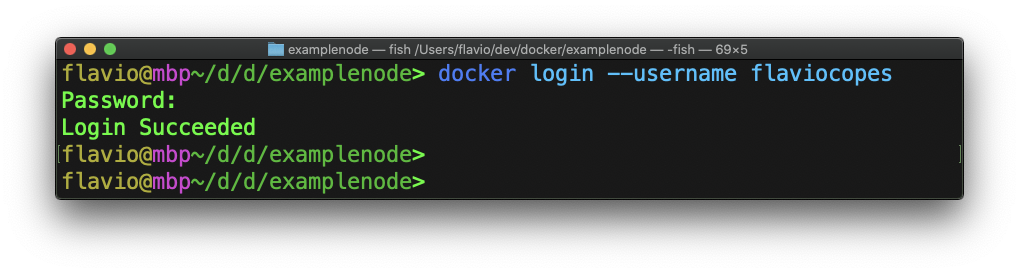
When it asks for a password, paste a personal access token instead of your account password. You can create one in your Docker account settings.
If you run docker login without --username, Docker uses a web-based sign-in instead. It shows a one-time code and opens your browser, where you confirm it.
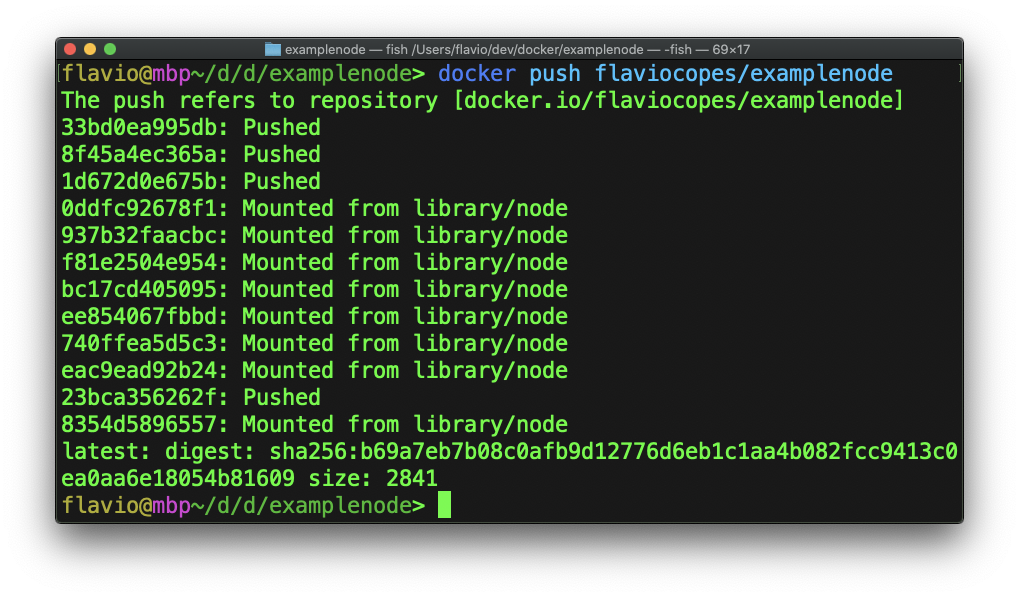
Now we can publish the image. That takes two commands: docker tag gives the image a name that points to your Docker Hub account, and docker push uploads it.
The name has this shape:
<username>/<repository>:<tag>The repository is the name of the image on Docker Hub, like examplenode. The tag is the version, like 1.0. So the general form of the two commands is:
docker tag <image> <username>/<repository>:<tag>
docker push <username>/<repository>:<tag>
Let’s do it for real with the examplenode image we built locally. My username is flaviocopes, so I run:
docker tag examplenode flaviocopes/examplenode:1.0
docker push flaviocopes/examplenode:1.0
docker tag doesn’t copy anything. It adds a second name to the same local image, which you can see with docker images.
If you leave off the tag, Docker uses latest. So docker push flaviocopes/examplenode is the same as docker push flaviocopes/examplenode:latest, and people who run docker pull flaviocopes/examplenode get whatever you last pushed as latest.
latest is just a name, Docker doesn’t update it for you. My advice is to push a version number and also move latest to it, so people can pick either one:
docker tag examplenode flaviocopes/examplenode:latest
docker push flaviocopes/examplenode:latest
Both tags point to the same image, so the second push only uploads the tag, not the layers again.
If you forget to login, you will get a
denied: requested access to the resource is deniederror message when you rundocker push.
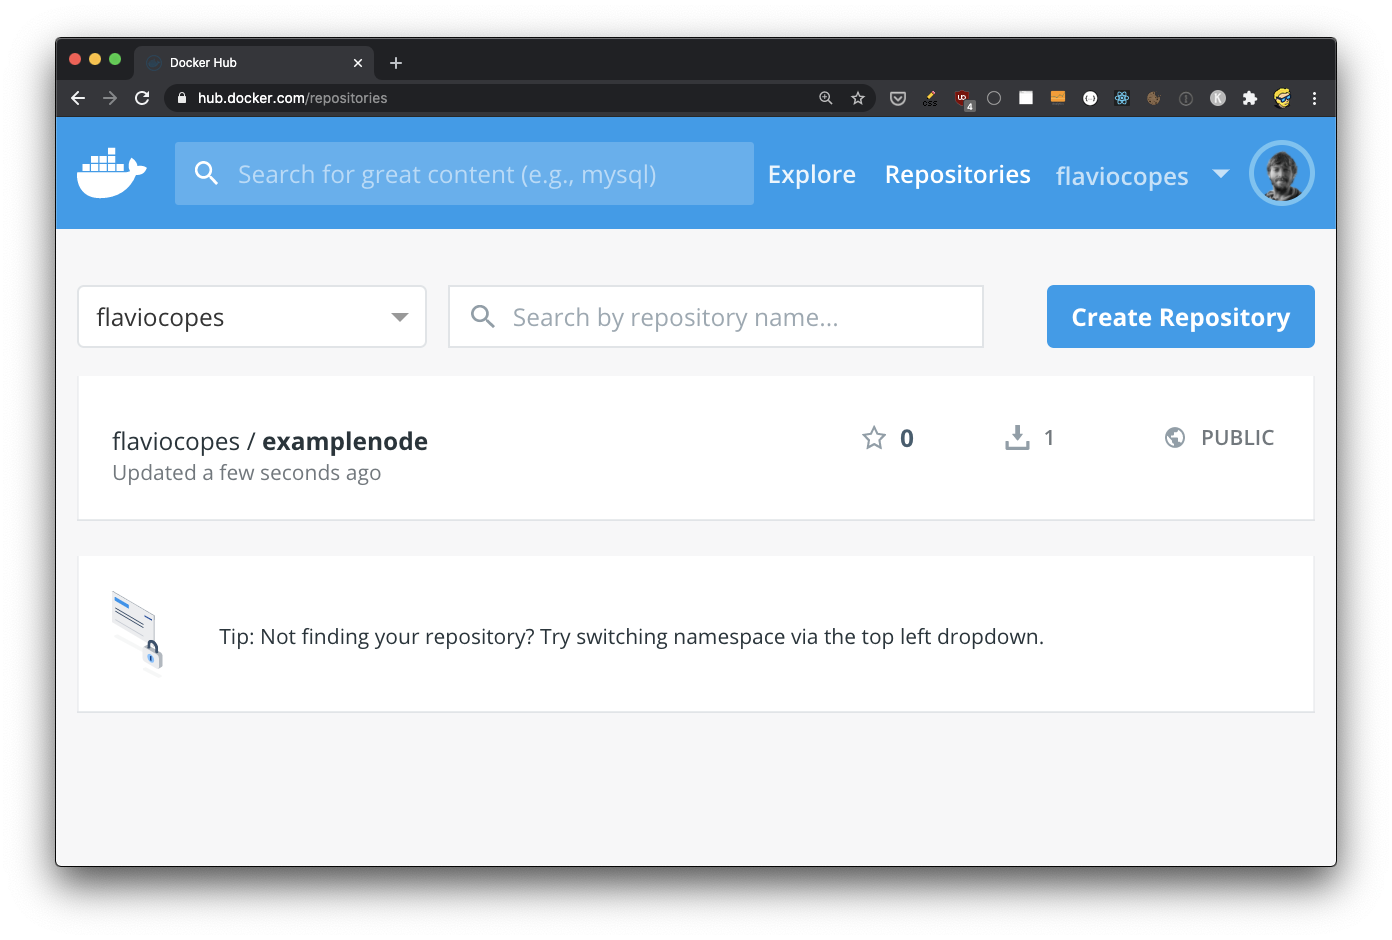
Now you should see your image on the repositories list in Docker Hub:
Click on it to reveal more details:
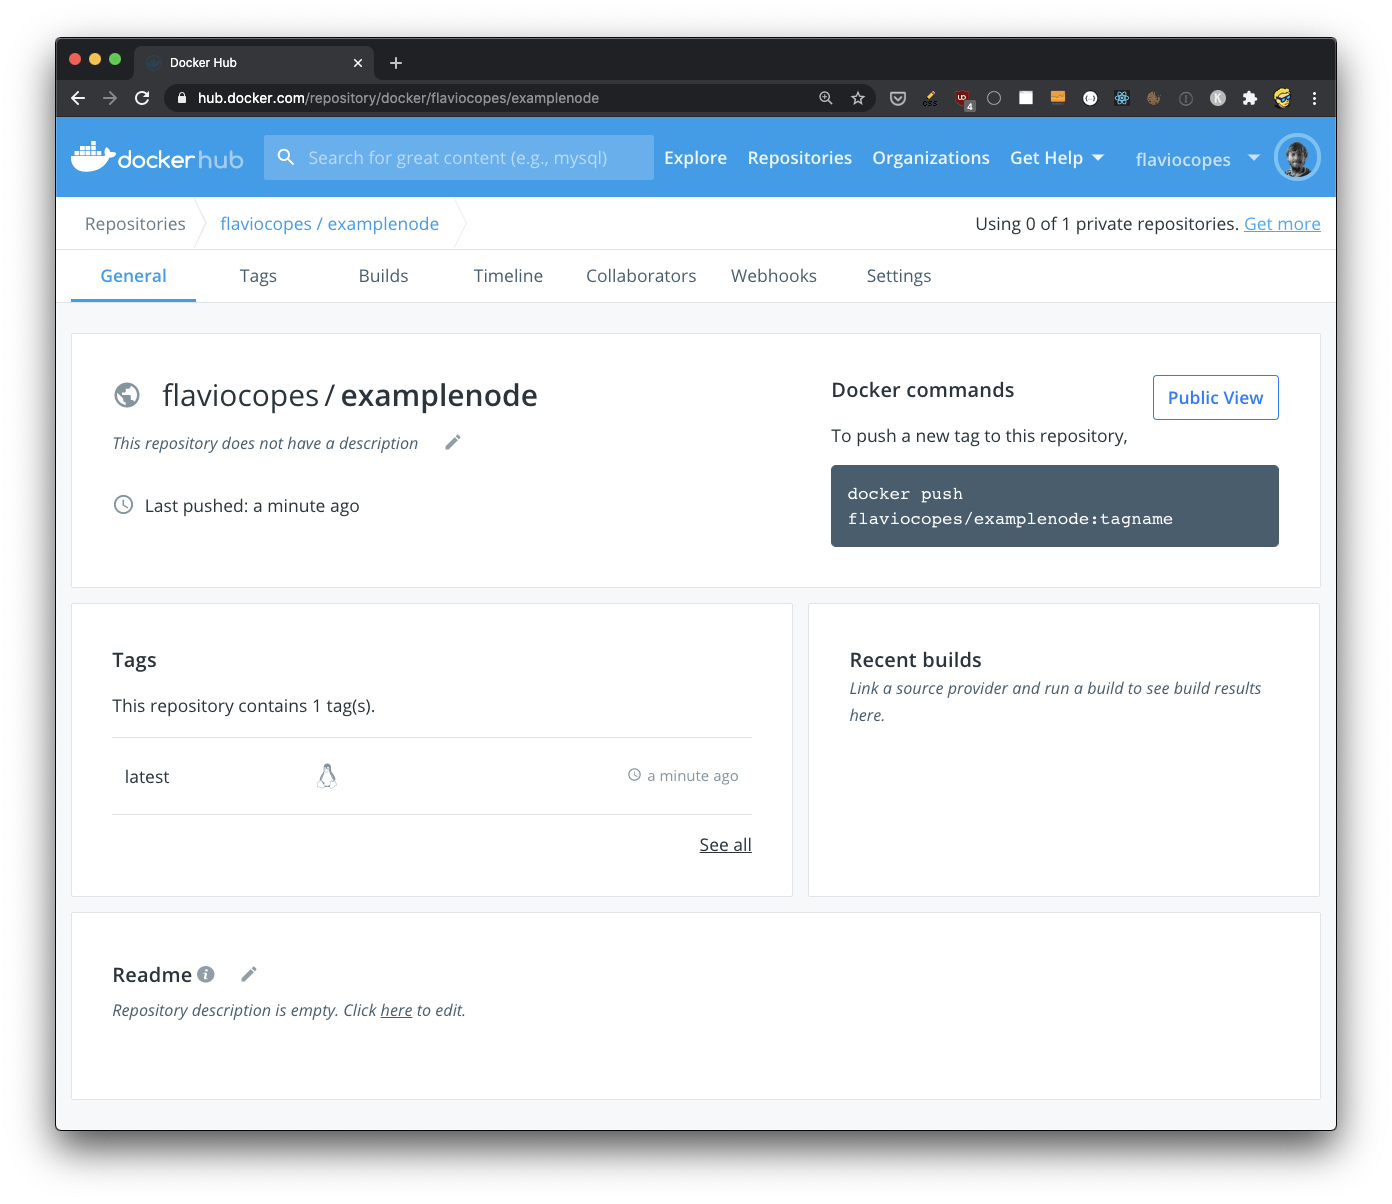
Now since the image is public, everyone can use it to create their own containers, or use it as a base image.
Pull and run the image on another machine
Let’s prove the image works outside the computer that built it. On another machine with Docker installed, pull it:
docker pull flaviocopes/examplenode:1.0Then start a container from it. Our Node.js app listens on port 3000, so we map that port:
docker run -d -p 3000:3000 --name node-app flaviocopes/examplenode:1.0Open http://localhost:3000 and you should see the same app you built locally. You can skip the docker pull step too, because docker run downloads the image if it’s not on the machine yet.
This works without docker login because the repository is public. If you make a repository private (remember, the free plan gives you one private repo), only you and the people you give access to can pull it, and they need to run docker login first.
Push a new version
When you change the app, build the image again and tag it with a new version, say 1.1:
docker build -t examplenode .
docker tag examplenode flaviocopes/examplenode:1.1
docker push flaviocopes/examplenode:1.1
Then move latest to the new version:
docker tag examplenode flaviocopes/examplenode:latest
docker push flaviocopes/examplenode:latest
Now the repository has three tags: 1.0, 1.1 and latest, with latest pointing to 1.1. Anyone who pinned 1.0 keeps getting the old version until they choose to upgrade.
There’s a lot more you can do that I won’t go into now, like:
- building, testing and pushing images automatically every time you push code to GitHub, using a CI service like GitHub Actions. Docker Hub had its own Automated Builds feature for this, but it’s deprecated and will be fully retired on April 1, 2027
- setting up webhooks to perform any action when a repository image is updated
- creating organizations and teams within them
Want me to talk about your product? You can sponsor this site.
Related posts about docker: