First steps with Docker after the installation
By Flavio Copes
Learn your first steps with Docker after installing it: clone the getting-started project, build an image with docker build, and run it with docker run.
After you complete the Docker installation you should have a new window that will guide you through the first steps of creating images and containers with Docker:
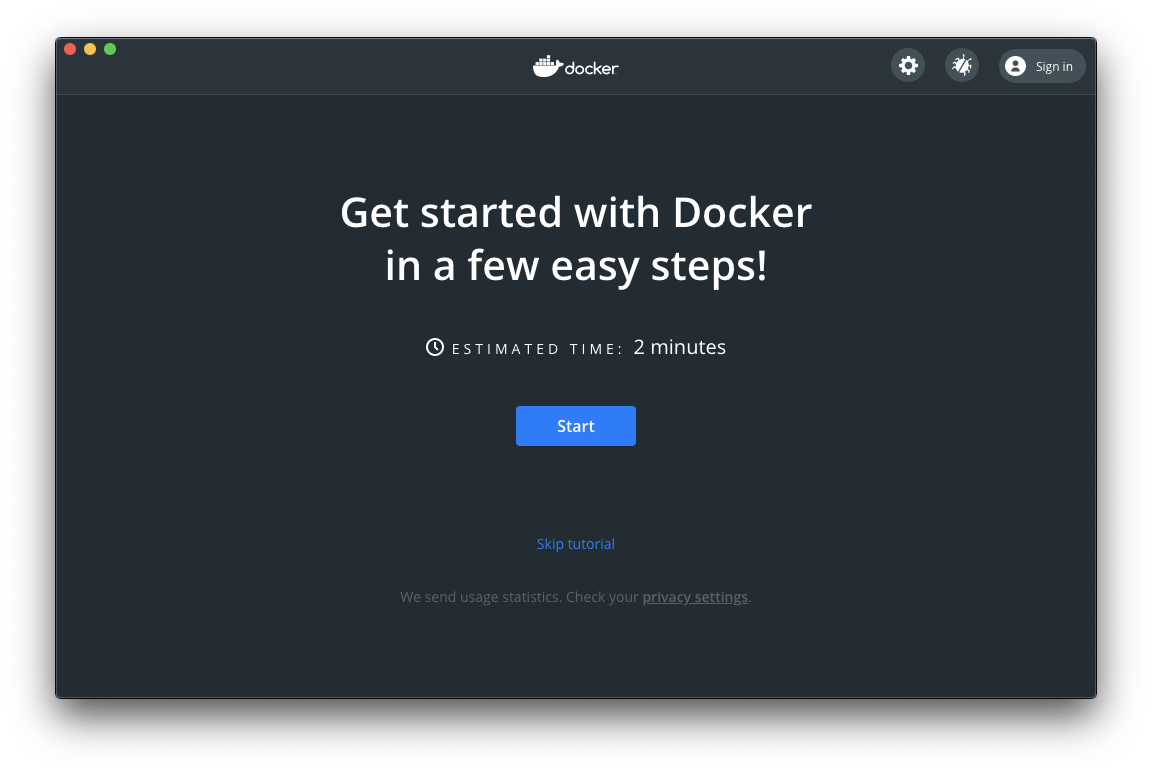
This is an interesting way to get you up to speed with downloading your first image and running it as a container.
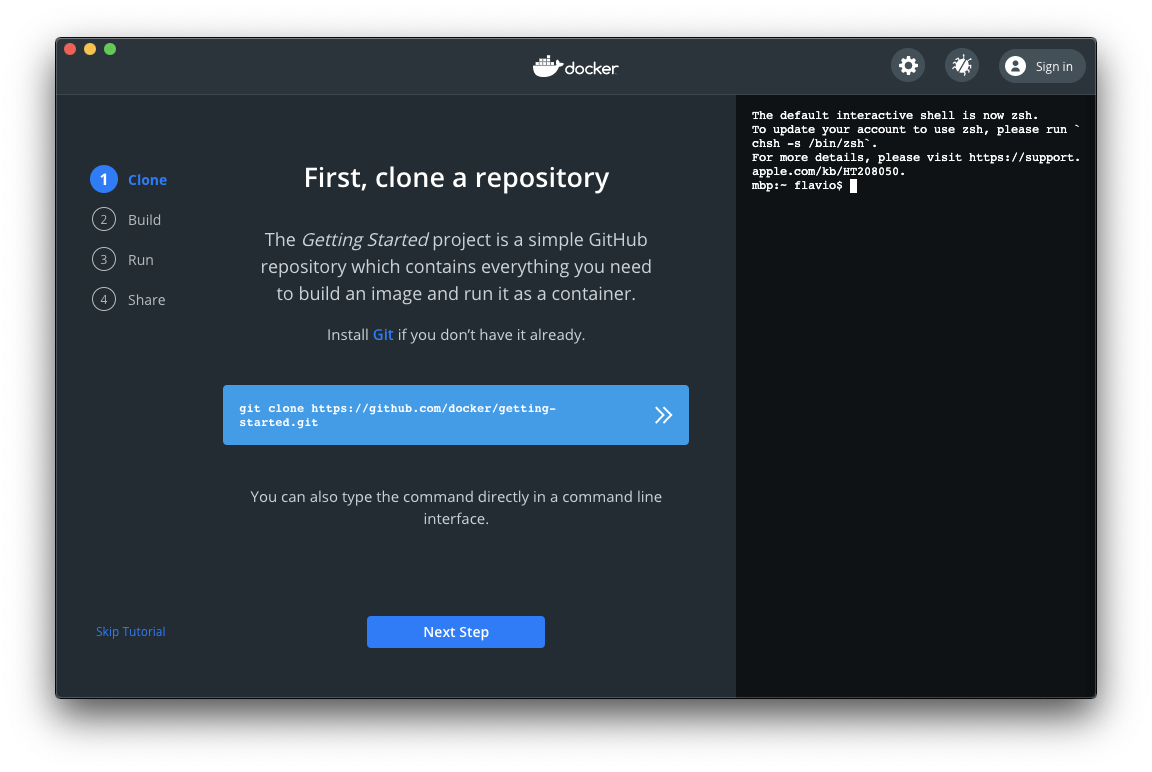
You can run the commands in the terminal on the right built-in into this app, but I prefer to run it in my own shell.
I open the macOS Terminal, run cd dev to go into my home dev folder, and I create a docker subdirectory, where I’ll host all the Docker experiments. I run cd docker to go into it, then I run
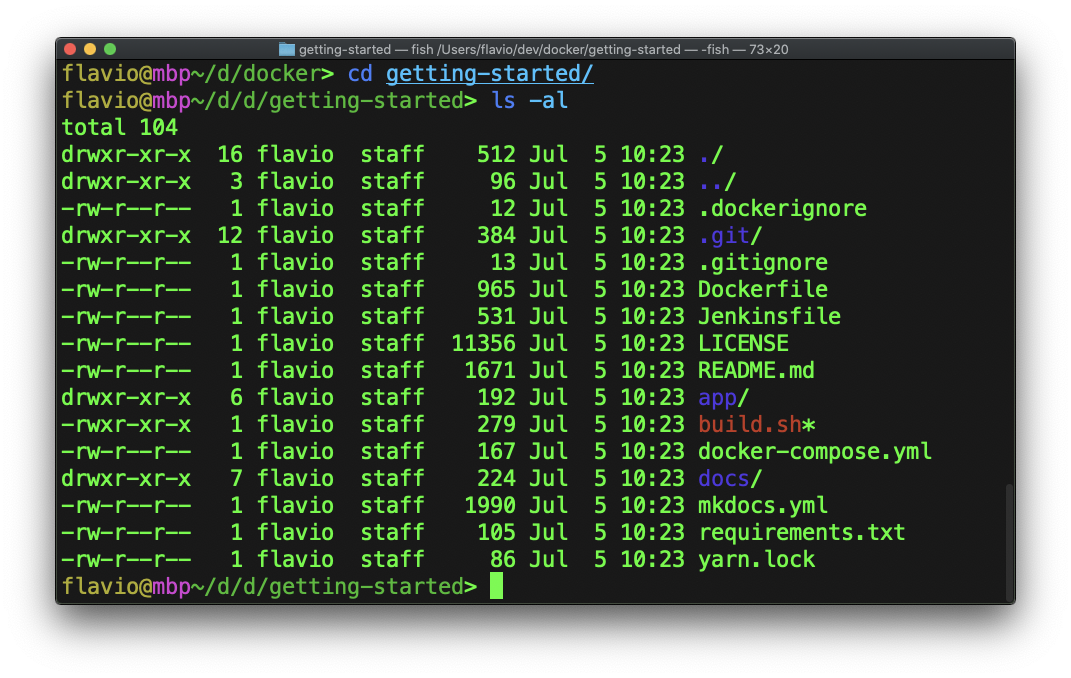
git clone https://github.com/docker/getting-startedThis command created a new getting-started folder with the contents of the repository https://github.com/docker/getting-started :
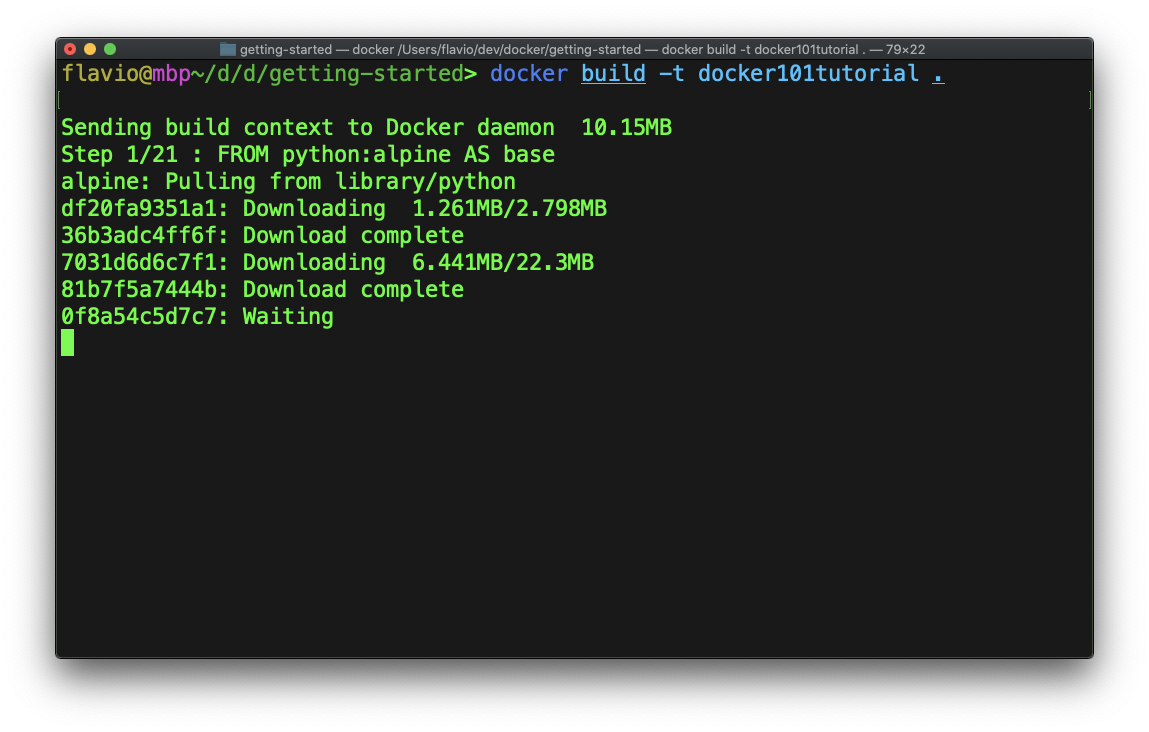
Now from this folder, run the command docker build in this way:
docker build -t docker101tutorial .This is going to build the image from the content of the current folder you’re in, with the tag name docker101tutorial.
This is the Dockerfile
*# Install the base requirements for the app.*
*# This stage is to support development.*
FROM python:alpine AS base
WORKDIR /app
COPY requirements.txt .
RUN pip install -r requirements.txt

*# Run tests to validate app*
FROM node:12-alpine AS app-base
WORKDIR /app
COPY app/package.json app/yarn.lock ./
RUN yarn install
COPY app/spec ./spec
COPY app/src ./src
RUN yarn test

*# Clear out the node_modules and create the zip*
FROM app-base AS app-zip-creator
RUN rm -rf node_modules && \
    apk add zip && \
    zip -r /app.zip /app

*# Dev-ready container - actual files will be mounted in*
FROM base AS dev
CMD ["mkdocs", "serve", "-a", "0.0.0.0:8000"]

*# Do the actual build of the mkdocs site*
FROM base AS build
COPY . .
RUN mkdocs build

*# Extract the static content from the build*
*# and use a nginx image to serve the content*
FROM nginx:alpine
COPY --from=app-zip-creator /app.zip /usr/share/nginx/html/assets/app.zip
COPY --from=build /app/site /usr/share/nginx/html
As you can see, it creates our image from not just one, but 3 base images: python:alpine, node:12-alpine and nginx:alpine.
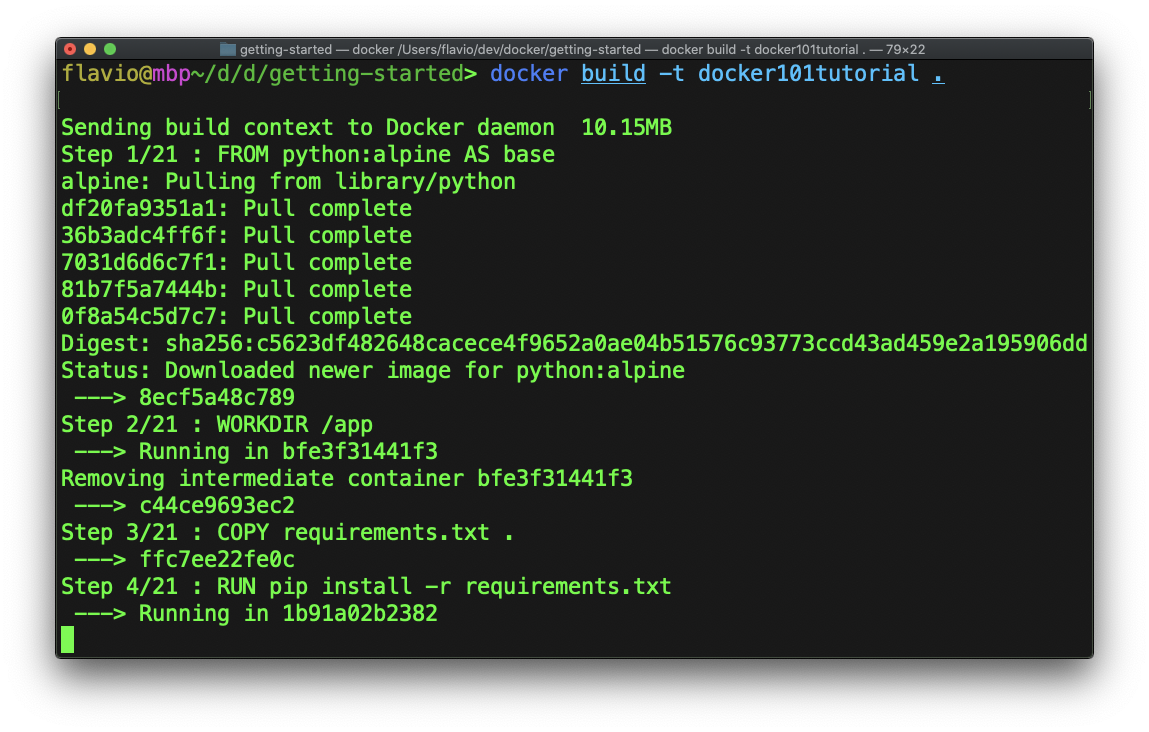
When you run docker build -t docker101tutorial ., it will start by downloading the first base image:
Then it will run all the commands we defined in the Dockerfile.
It keeps going until we reach the end:
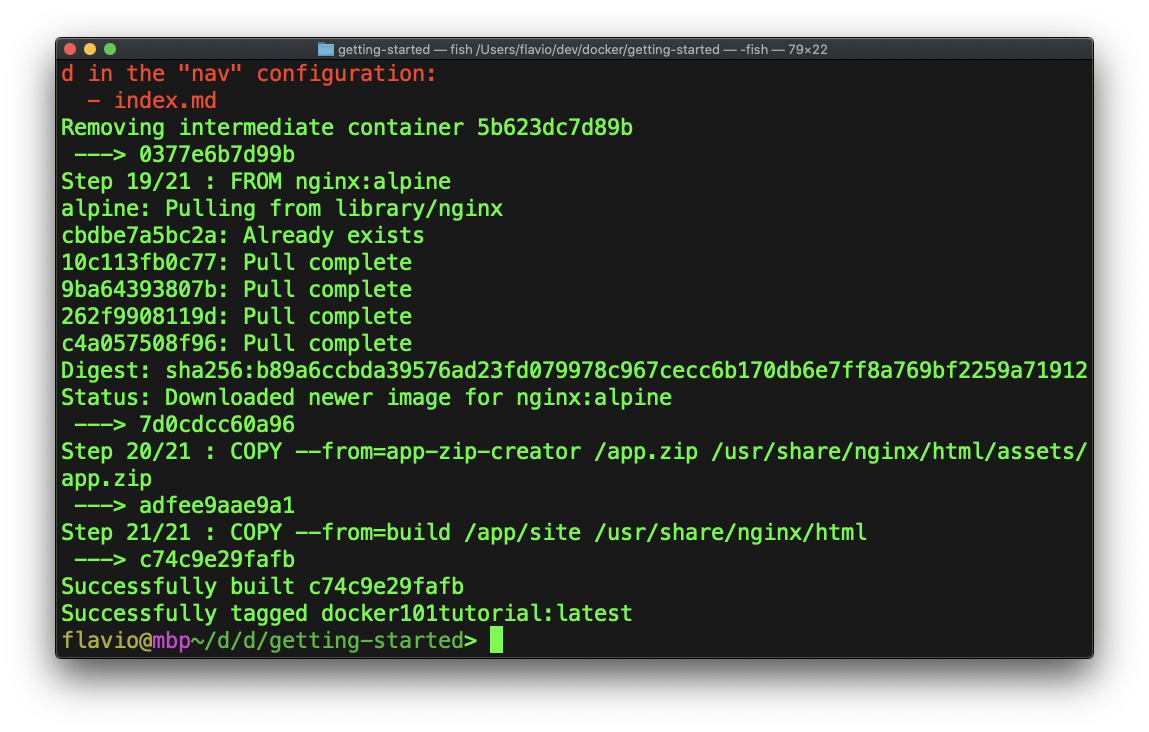
Now we have the image docker101tutorial and we can run a container based on this image.
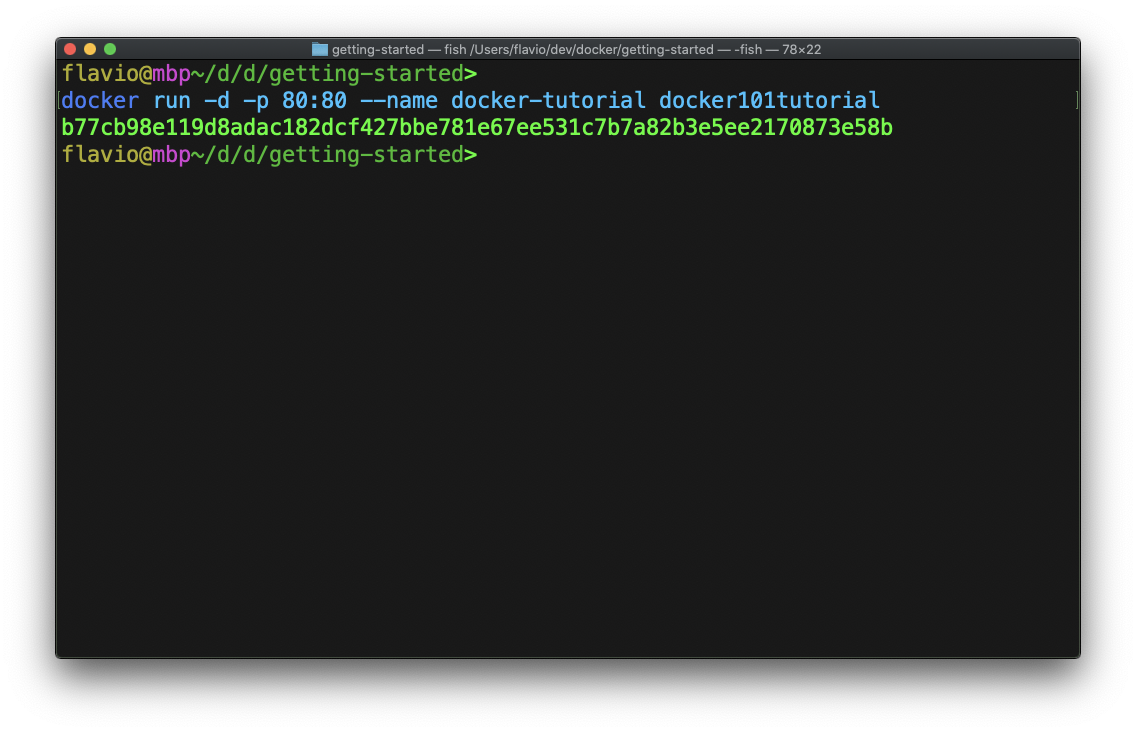
Run the command docker run with those attributes:
docker run -d -p 80:80 --name docker-tutorial docker101tutorialWe’re using the option -d to run the container in background and print the container ID. If you miss this flag, you will not immediately get back to the shell until the container exits (but if it’s long-lived, for example it runs a service like a Node app or something, it will not exit automatically).
The -p option is used to map port 80 of the container to the host machine port 80. The container exposes a Web server on port 80, and we can map ports on our computer to ports exposed by the container.
--name assigns a name to the container, and finally we have the image name (docker101tutorial) we should use to create the container.
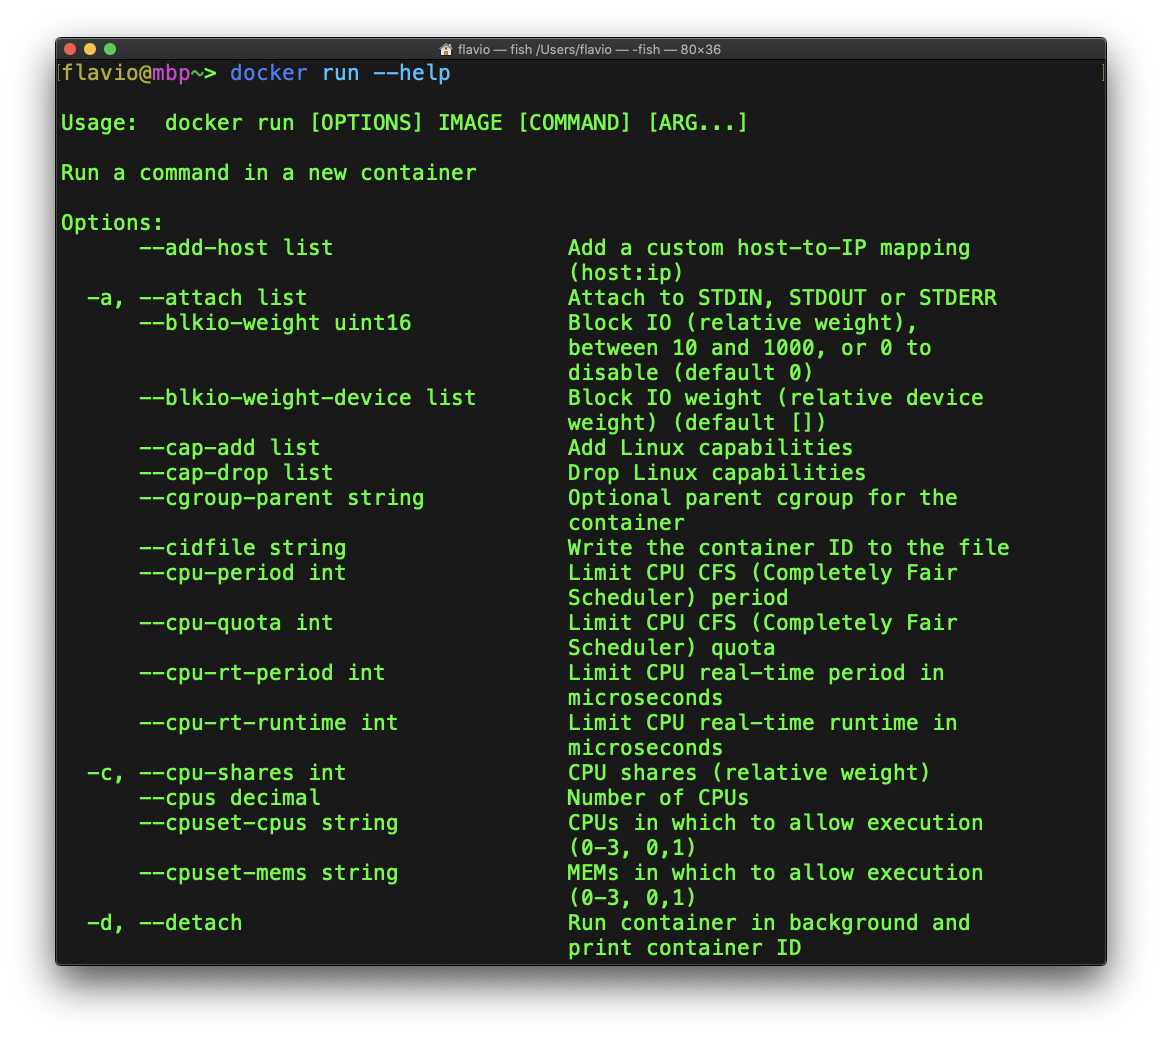
If you have any doubt about a command option, run docker <command> --help, in this case docker run --help and you’ll get a very detailed explanation:
This command is very fast and you’ll get the container ID back:
Related posts about docker: