How to connect AI agents to MCP servers and APIs with Executor
By Flavio Copes
Learn how Executor lets AI agents safely use multiple accounts for the same MCP, OpenAPI, or GraphQL integration through one catalog.
I first saw Executor as a way to connect AI agents to lots of tools. What I need more often is a way to handle several accounts for the same service.
I might have a personal Notion workspace and another one for a course. The tools are identical, but the data and credentials are different.
Executor lets me add the service once, then create a named connection for each account.
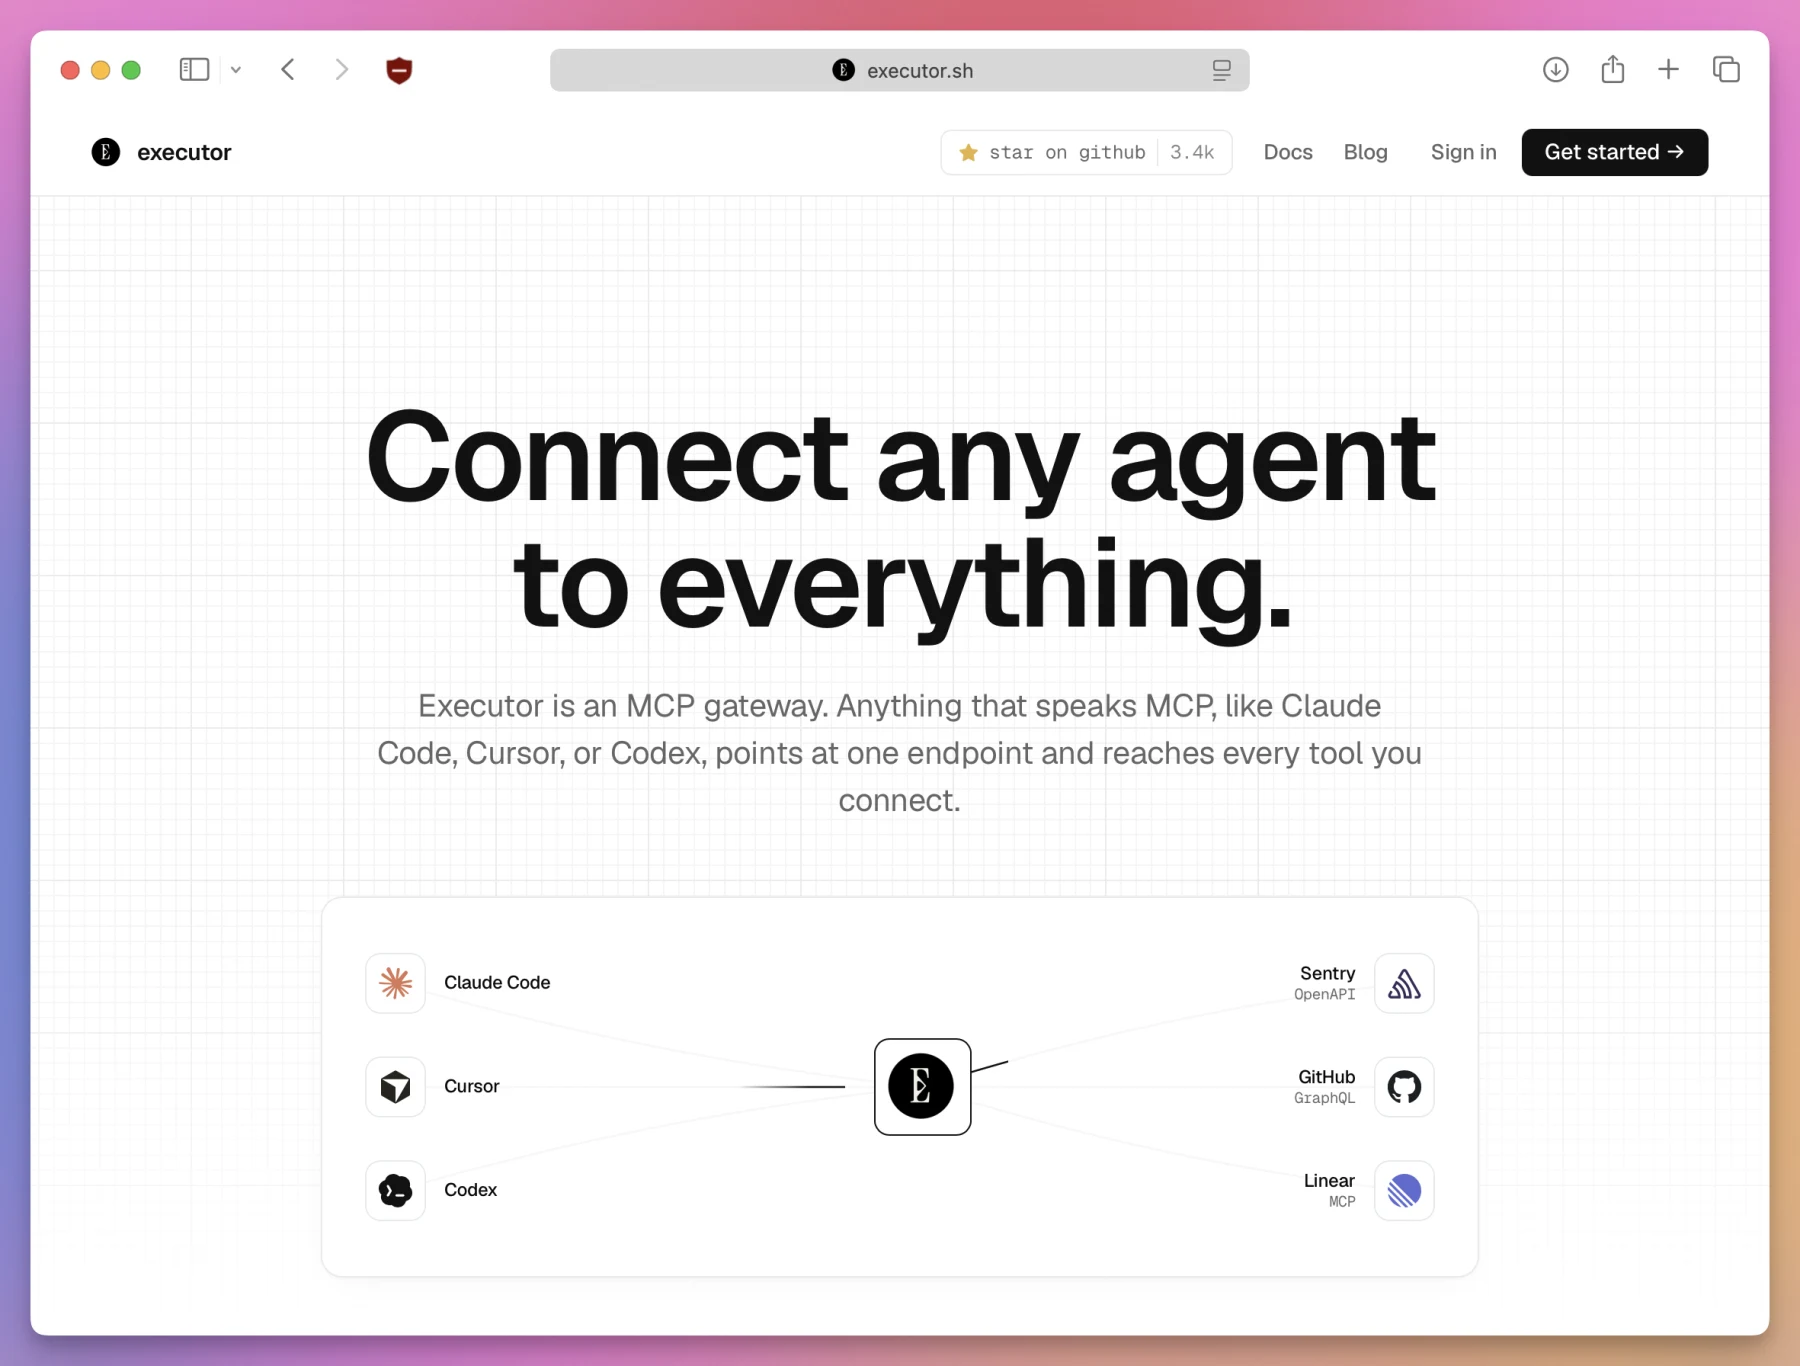
In this tutorial we’ll install Executor, connect an agent, and try the complete flow with a public API. Then we’ll see how I would use it with several real accounts.
What Executor does
MCP lets an AI application use external tools.
Without Executor, you add each MCP server to every agent. Three accounts across Codex, Cursor, and Claude Code can mean repeating the same setup many times.
Executor sits in the middle:
Codex ───────┐
Cursor ──────┼──> Executor ──> your tools and accounts
Claude Code ─┘
Each agent connects to Executor. Executor takes care of the services behind it.
It works with MCP servers, OpenAPI APIs, and GraphQL APIs. All their tools go into one catalog.
An agent can search the catalog, read the schema it needs, and call the tool:
search → describe → callThis means the agent does not need every tool schema loaded from the start.
The difference between an integration and a connection
Executor uses two words that sound similar at first.
An integration describes a service and its tools. A connection gives that integration access to one account.
One Notion integration can have several connections:
Notion
├── personal
├── flaviocopes
└── ai-workshop
Every connection has its own credentials and data. Its name becomes part of the tool path too. The agent can choose personal or ai-workshop without guessing.
With Notion, each connection authorizes a workspace. It is not tied to an email address. The Notion authorization guide explains how that works.
You can do the same with separate Stripe accounts:
Stripe
├── courses
├── software-products
└── consulting
This is the main reason I would use Executor.
Run it locally first
Executor has a desktop app, a CLI, a cloud service, and a self-hosted option.
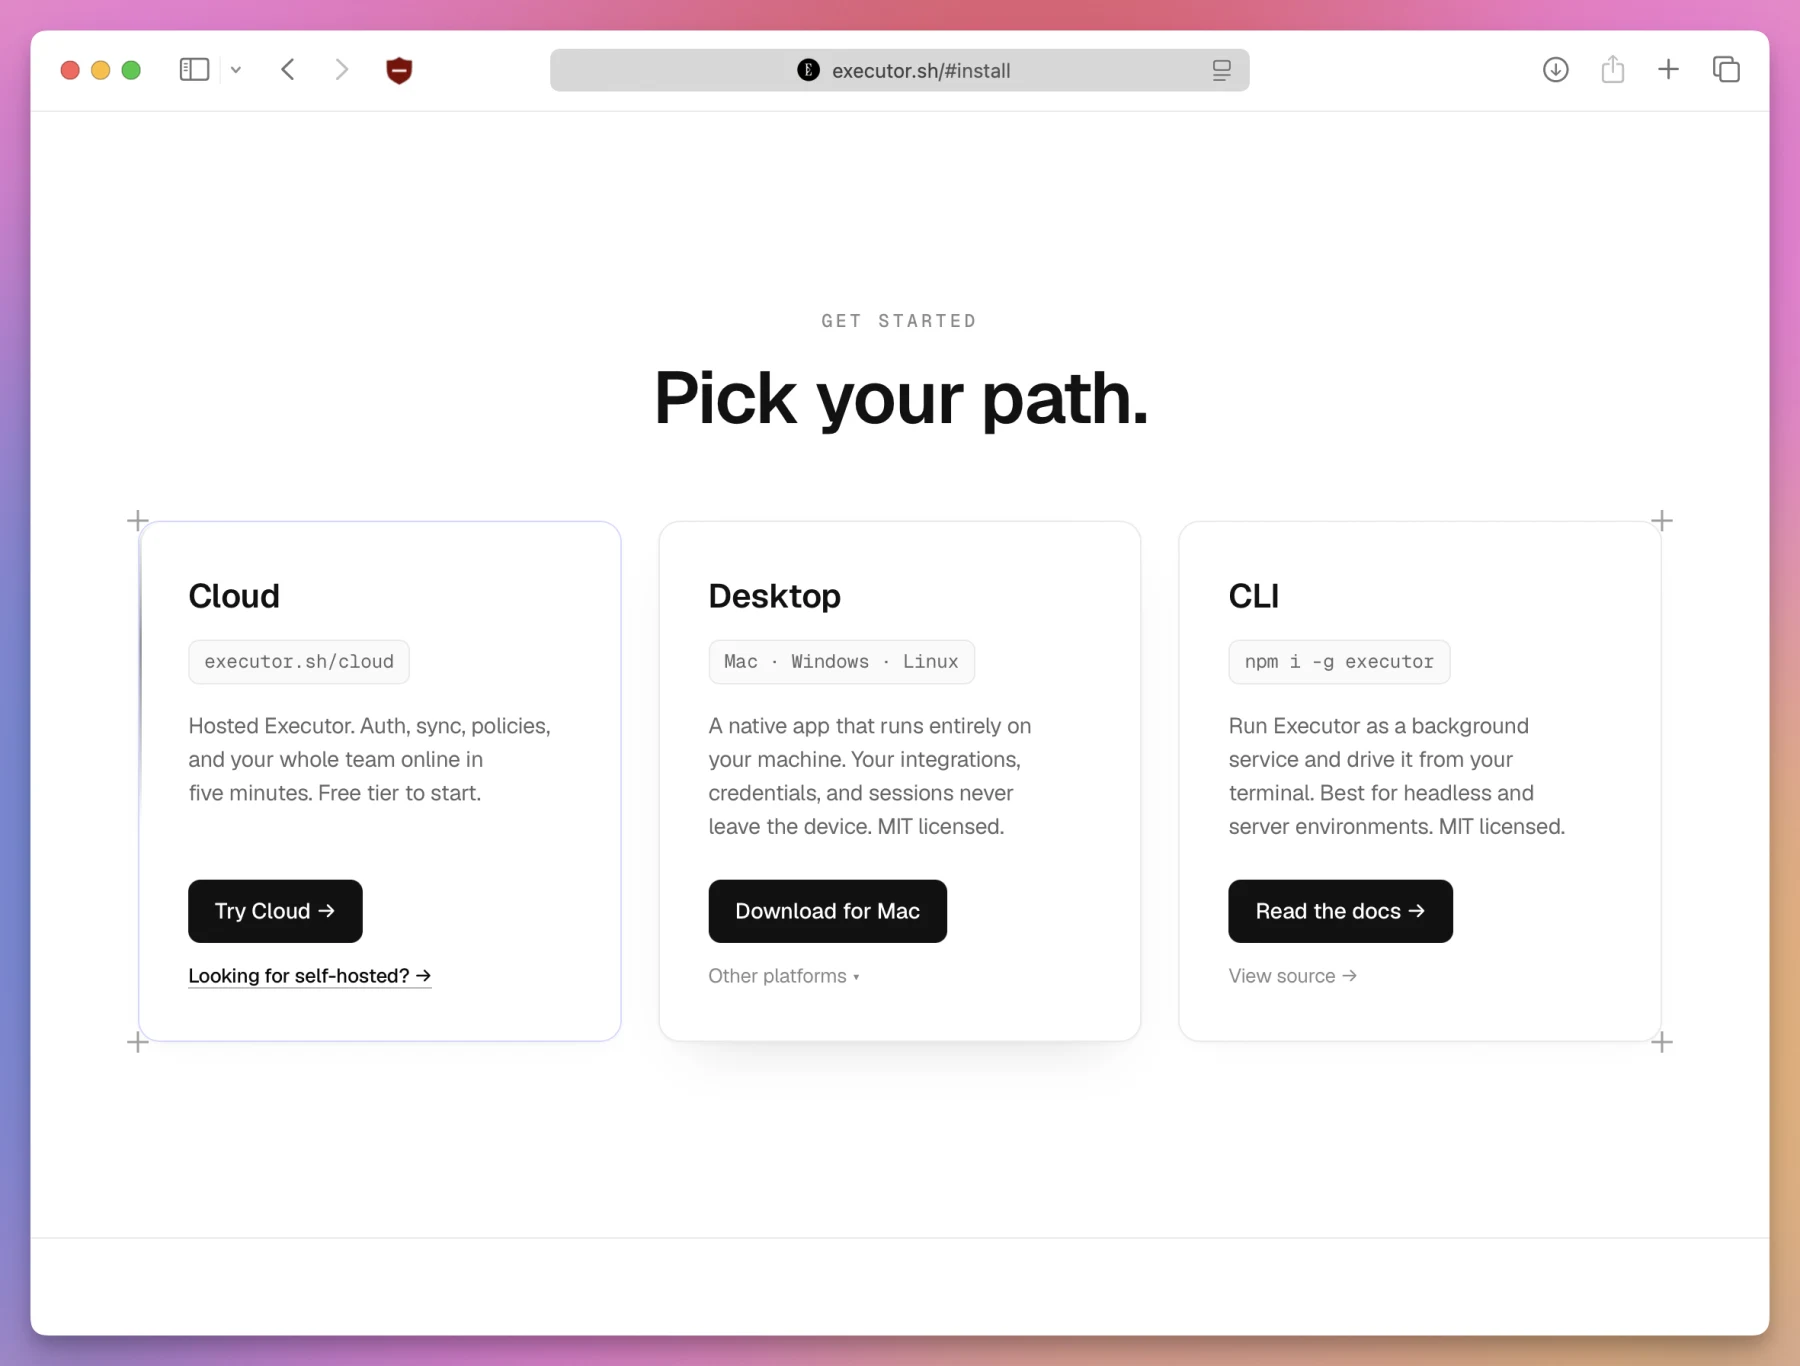
I would start locally. You can move to a remote setup later if remote agents need the same catalog.
Mark Phelps shared one remote setup. He runs the Executor MCP server and his Hermes bot on an exe.dev VM. The VM stays online, so his agents can reach Executor without depending on his laptop. The built-in agent can also inspect the machine, answer questions like “how secure is this VM from the public?”, and fix what it finds.
We’ll use the CLI here.
Install Executor
The Executor CLI needs Node.js 20 or newer.
Check your installed version:
node --versionThen install Executor:
npm install -g executorInstall its background service:
executor installExecutor prints the local address and its data directory.
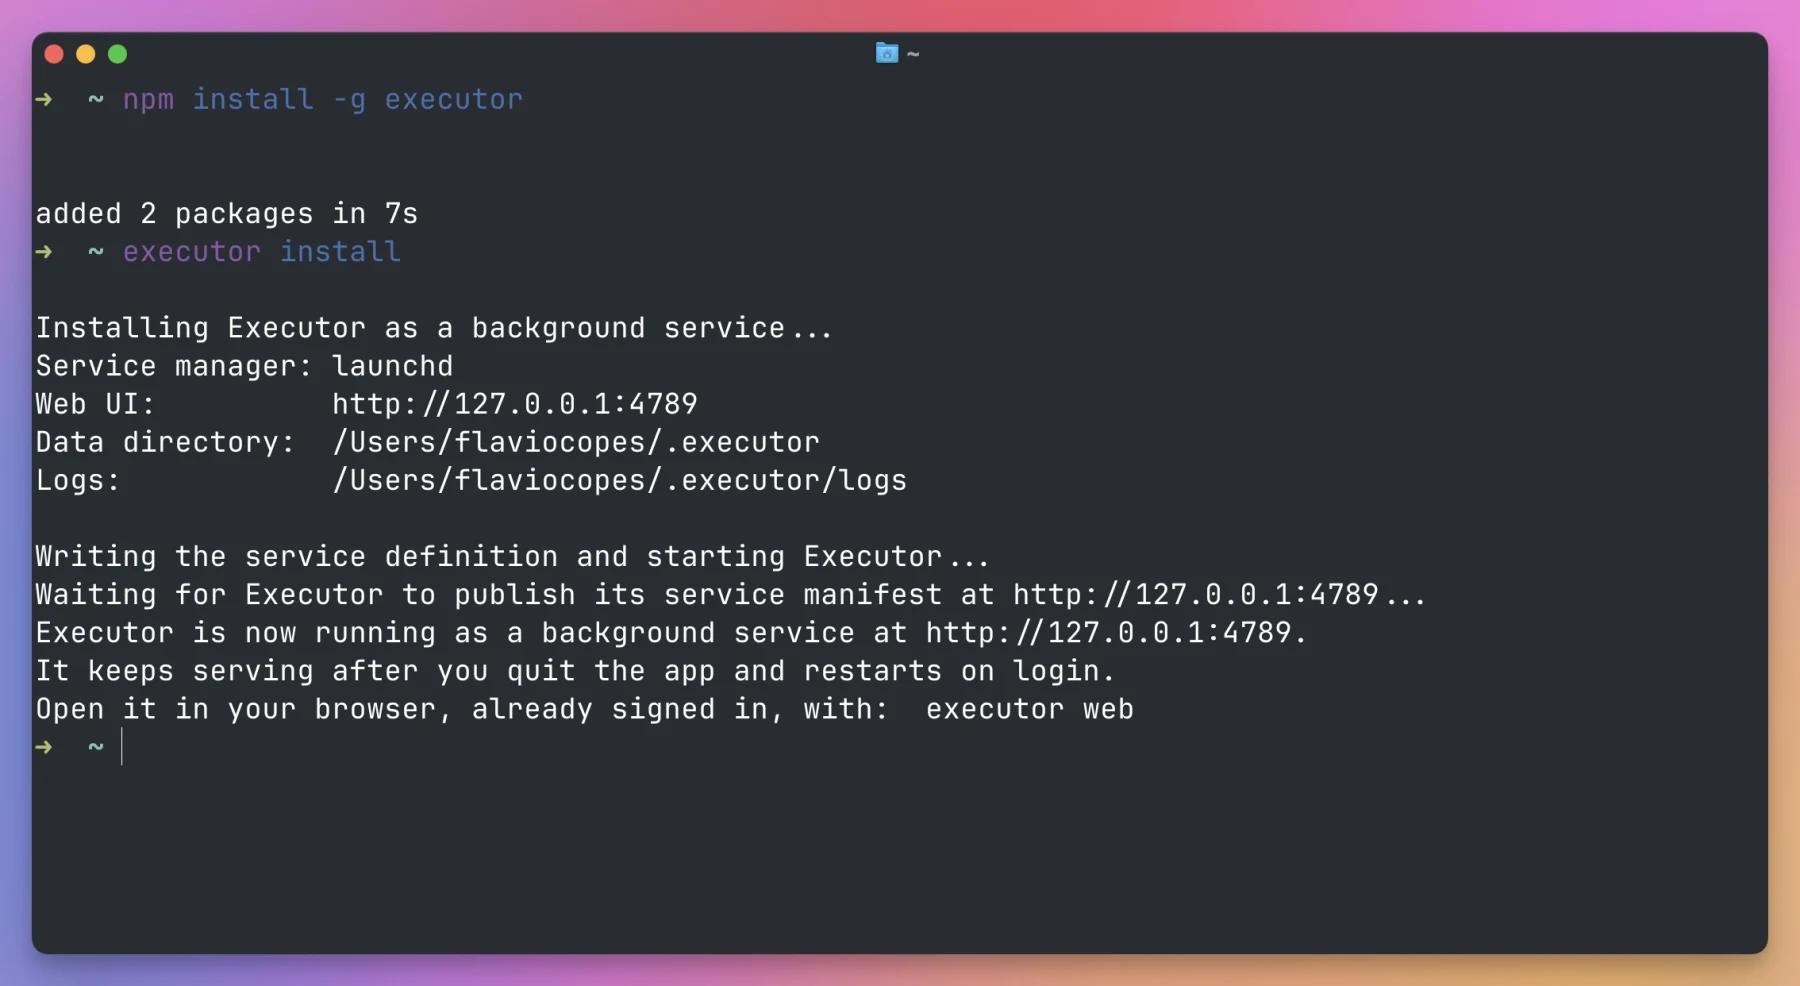
You can open the web interface with:
executor webThe usual port is 4788. Executor picks another one if that port is busy.
Mine picked port 4789:
http://localhost:4789The commands below use that address. Replace it with the one printed on your machine.
I tested these commands with Executor 1.6.2 on macOS.
Connect an agent
Open the Integrations page in Executor.
At the top, you will find a command for connecting an MCP client:
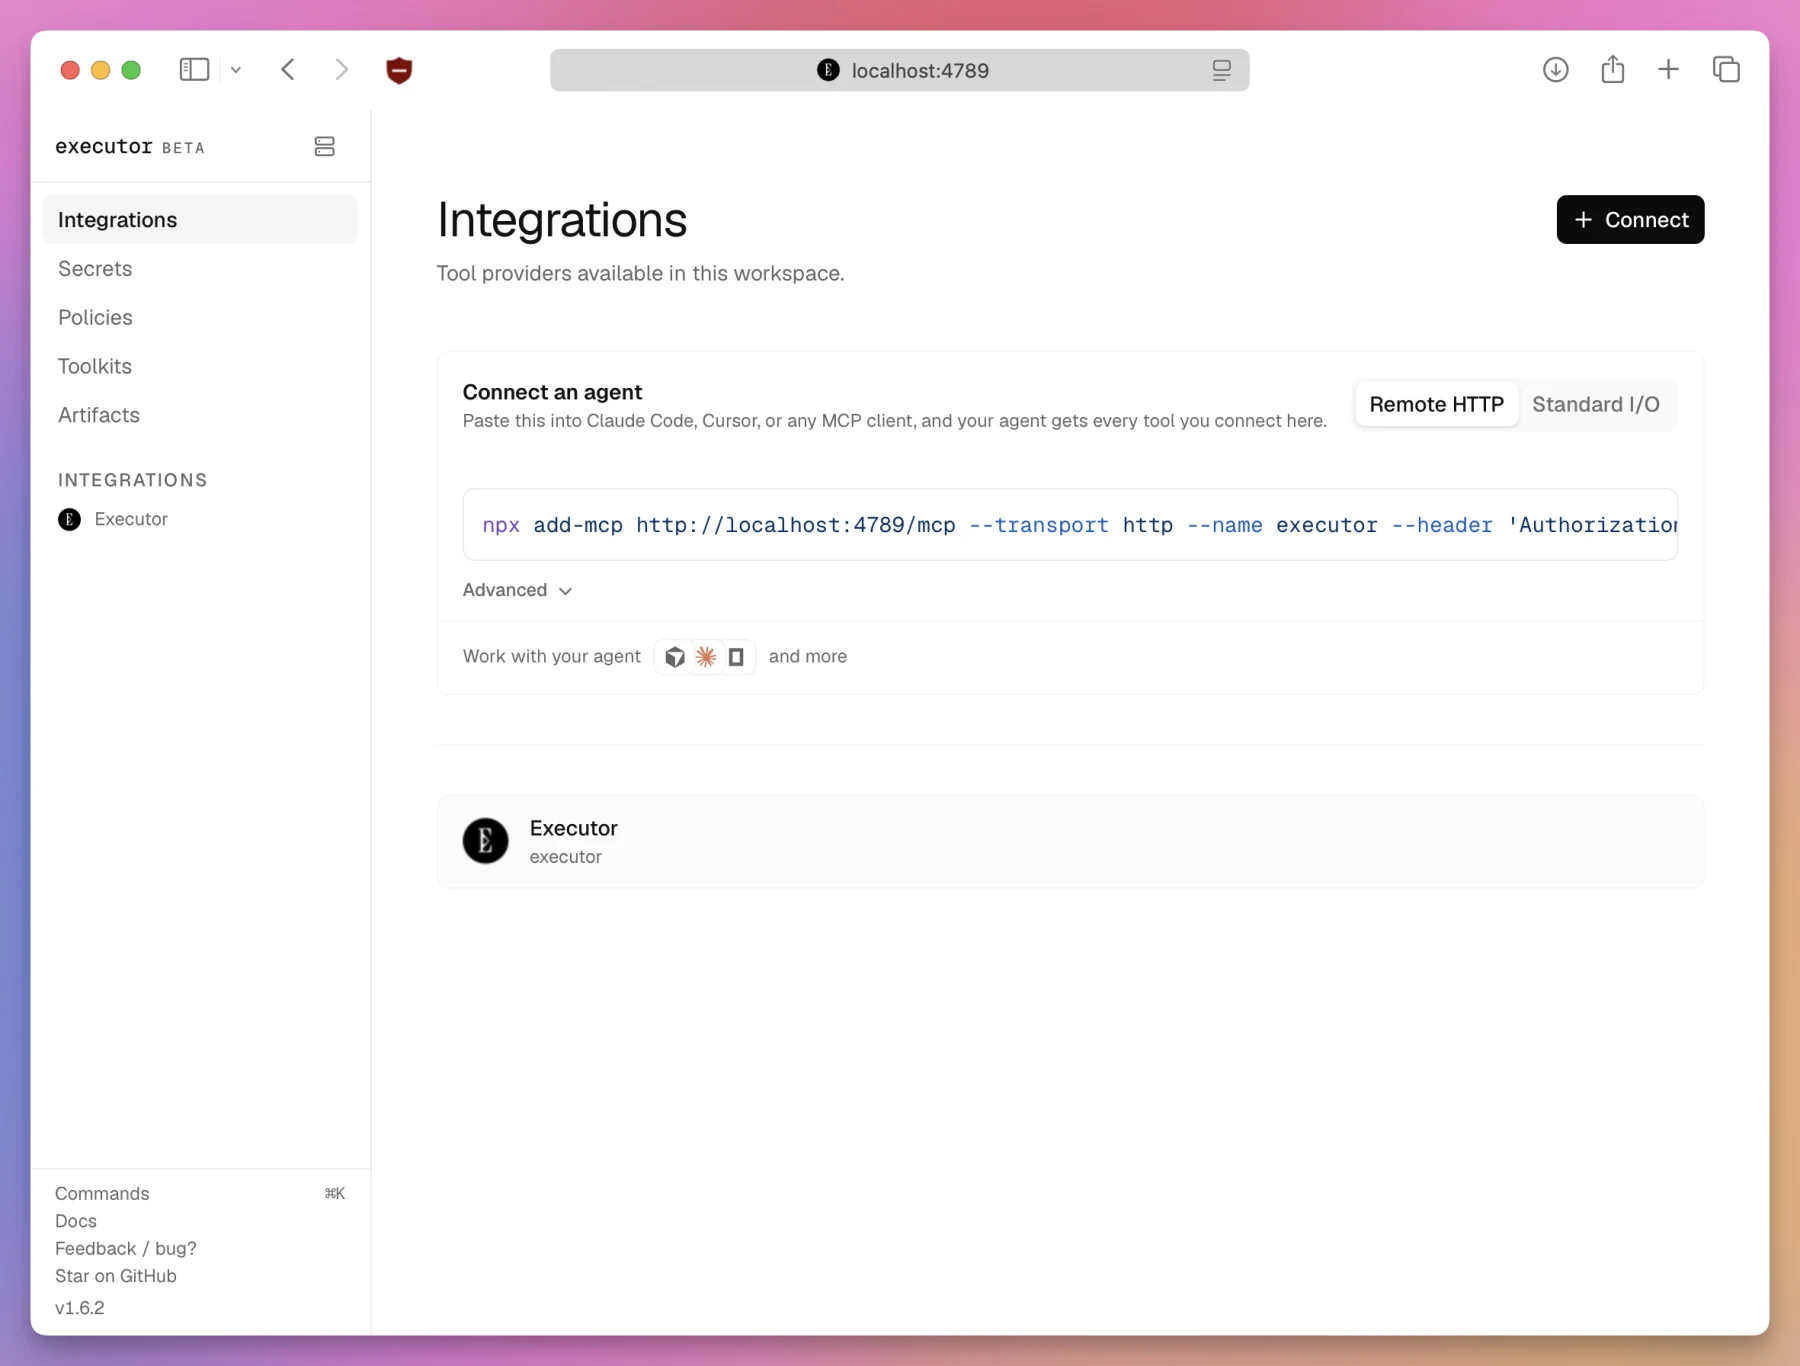
Choose Remote HTTP and copy the whole command.
It includes the local MCP URL, the Executor server name, --transport http, and an authorization header. Keep the authorization header in place.
You can use Standard I/O instead. In that mode, the client starts executor mcp itself.
I prefer Remote HTTP. Cursor and Codex can share one running Executor service.
Restart the MCP client after adding it. A chat that was already open may not see the new server.
Try it with HTTPBin
I would not connect an important account first.
Let’s use HTTPBin instead. Its /get endpoint returns details about the request, and it needs no credentials.
Executor needs an OpenAPI 3 document. We’ll use this one from APIs.guru:
https://api.apis.guru/v2/specs/httpbin.org/0.9.2/openapi.jsonAdd HTTPBin
Run this command:
executor call executor openapi addSpec '{
  "spec": {
    "kind": "url",
    "url": "https://api.apis.guru/v2/specs/httpbin.org/0.9.2/openapi.json"
  },
  "slug": "httpbin",
  "name": "HTTPBin",
  "authenticationTemplate": []
}' --base-url http://localhost:4789
Adding an integration changes the catalog, so Executor asks for approval.
You can approve it in the browser. Executor also prints a command like this:
executor resume \
  --execution-id EXECUTION_ID \
  --base-url http://localhost:4789 \
  --action accept \
  --content '{}'
Replace EXECUTION_ID with the value Executor printed.
Create the public connection
We added the HTTPBin tools, but we still need a connection before calling them.
Create one named public:
executor call executor coreTools connections create '{
  "owner": "user",
  "name": "public",
  "integration": "httpbin",
  "template": "none"
}' --base-url http://localhost:4789
HTTPBin has no credentials, so its template is none.
Approve this change too. Then check the integration:
executor tools integrations \
  --query httpbin \
  --base-url http://localhost:4789
You should see a toolCount of 78.
The current CLI calls these items integrations. You might still find older examples that call them sources.
Find the GET tool
Search the catalog using a description of what you need:
executor tools search "show request query parameters" \
  --namespace httpbin \
  --limit 10 \
  --base-url http://localhost:4789
The result should include:
httpbin.user.public.httpMethods.getGetThe path follows this shape:
integration.owner.connection.toolOur connection name, public, appears right in the middle.
If you get no results, check executor tools integrations again. HTTPBin needs a connection, and its toolCount must be greater than zero.
Read the schema and call the tool
First ask Executor to describe the tool:
executor tools describe \
  httpbin.user.public.httpMethods.getGet \
  --base-url http://localhost:4789
This tool has no required input.
The call command takes each part of the path as a separate argument:
executor call tools httpbin user public httpMethods getGet \
  --base-url http://localhost:4789
A successful call returns ok: true and an HTTP status of 200.
We have now gone through the whole process:
integration → connection → search → describe → callAsk the agent to do the same
Open a new chat in the agent you connected.
Give it a narrow job:
Use Executor to find the HTTPBin tool that performs a GET request.
Describe its schema first, then call it.
Do not call POST, PUT, PATCH, or DELETE operations.
The agent should search the catalog, load the schema, and call the GET tool.
If it succeeds, the MCP connection works.
Add your real accounts
Now you can replace HTTPBin with a service you use.
I would add Notion once, then create a connection for each workspace:
Notion
├── personal
├── flaviocopes
└── ai-workshop
Name connections after the data they contain. An email address tells the agent much less than personal or ai-workshop.
You can list your connections from the terminal:
executor call executor coreTools connections list '{"owner":"user"}' \
  --base-url http://localhost:4789
This read-only command returns their names, integrations, identity labels, and health information. It does not return the credential values.
Now the request to the agent can be very clear:
Use only the ai-workshop Notion connection.
Find the participant onboarding page and summarize it.
The name helps the agent choose the right account. It does not provide security on its own. Credentials and Executor policies still control what the agent can do.
Start with strict policies
Executor can allow a tool, ask for approval, or block it.
I would allow reads first. Creating or changing data would require approval. I would block deletion, billing changes, and permission changes.
Sending email or publishing content would also require my approval.
These rules are only a starting point. Look at the real tools before connecting an account you care about.
Executor keeps credentials away from the code written by the agent. The model does not need to read the raw token.
But the token can still do whatever permissions allow. Use narrow credentials. Do not give an agent more access than it needs.
How I would use Executor
I would begin with Notion and two or three connections.
Cursor and Codex would share my local Executor service. I would start with a read-only search in each workspace:
Use only the flaviocopes Notion connection.
Find notes about upcoming blog posts.
Do not create or edit anything.
Once those searches worked well, I would allow page creation with approval.
I would not add GitHub, Cloudflare, and ten other services on day one. Two accounts for one service are enough to see if Executor improves my workflow.
When I would skip Executor
Executor adds another moving part.
If I have one agent, one account, and a small MCP server, I would connect the MCP server directly. That’s what I do in Cursor with the MCP servers I actually use.
Executor starts making sense when several agents need the same tools. It also helps when I have several accounts or enough schemas to fill the agent’s context.
The local service matters too. If it stops, the tools behind it stop working.
Executor changes quickly. Check the current documentation if a command or label looks different.
The idea can be summarized like this:
one integration → several named accounts → one endpoint for every agentStart with HTTPBin. Then add one real service with two connections. You will know quickly if it solves a problem you have.
Want me to talk about your product? You can sponsor this site.
Related posts about ai: