How to use Next.js API Routes
By Flavio Copes
Learn how to use Next.js API routes to build backend endpoints inside your app, writing Node.js handlers in /pages/api that return JSON, with dynamic routing.
In addition to creating page routes, which means pages are served to the browser as Web pages, Next.js can create API routes.
This is a very interesting feature because it means that Next.js can be used to create a frontend for data that is stored and retrieved by Next.js itself, transferring JSON via fetch requests.
API routes live under the /pages/api/ folder and are mapped to the /api endpoint.
This feature is very useful when creating applications.
In those routes, we write Node.js code (rather than React code). It’s a paradigm shift, you move from the frontend to the backend, but very seamlessly.
Say you have a /pages/api/comments.js file, whose goal is to return the comments of a blog post as JSON.
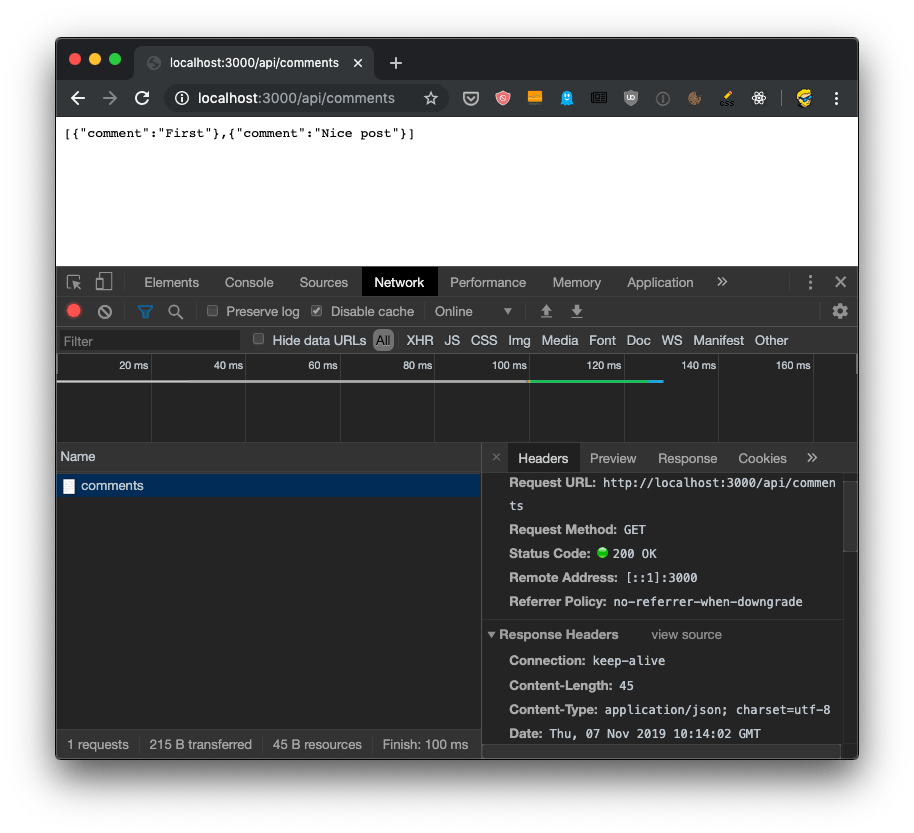
Say you have a list of comments stored in a comments.json file:
[
  {
    "comment": "First"
  },
  {
    "comment": "Nice post"
  }
]
Here’s a sample code, which returns to the client the list of comments:
import comments from './comments.json'

export default (req, res) => {
  res.status(200).json(feeds)
}
It will listen on the /api/commments URL for GET requests, and you can try calling it using your browser:
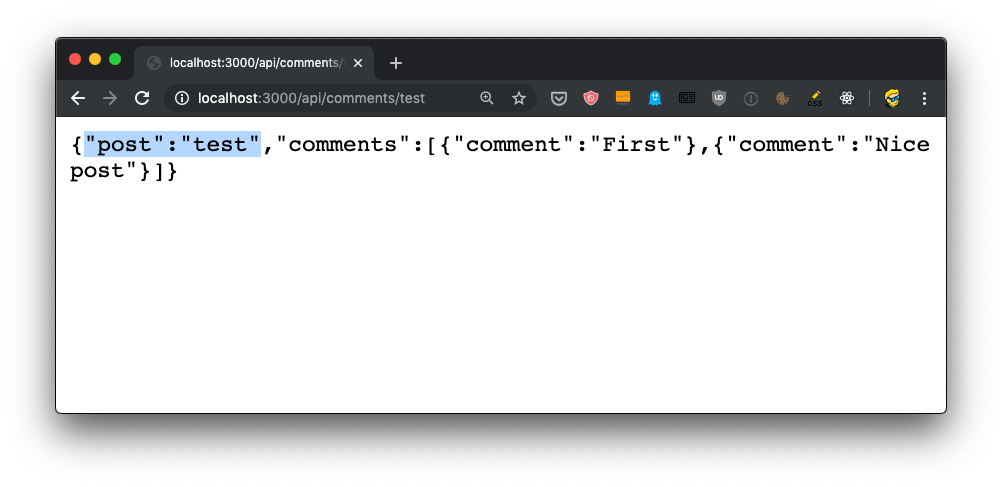
API routes can also use dynamic routing like pages, use the [] syntax to create a dynamic API route, like /pages/api/comments/[id].js which will retrieve the comments specific to a post id.
Inside the [id].js you can retrieve the id value by looking it up inside the req.query object:
import comments from '../comments.json'

export default (req, res) => {
  res.status(200).json({ post: req.query.id, comments })
}
Heres you can see the above code in action:
In dynamic pages, you’d need to import useRouter from next/router, then get the router object using const router = useRouter(), and then we’d be able to get the id value using router.query.id.
In the server-side it’s all easier, as the query is attached to the request object.
If you do a POST request, all works in the same way - it all goes through that default export.
To separate POST from GET and other HTTP methods (PUT, DELETE), lookup the req.method value:
export default (req, res) => {
  switch (req.method) {
    case 'GET':
      //...
      break
    case 'POST':
      //...
      break
    default:
      res.status(405).end() //Method Not Allowed
      break
  }
}
In addition to req.query and req.method we already saw, we have access to cookies by referencing req.cookies, the request body in req.body.
Under the hoods, this is all powered by Micro, a library that powers asynchronous HTTP microservices, made by the same team that built Next.js.
You can make use of any Micro middleware in our API routes to add more functionality.
Related posts about next: