How to host a Web Application using DigitalOcean Apps
By Flavio Copes
Learn how to deploy and host a web app on the DigitalOcean App Platform by pushing to a GitHub repo, letting the platform handle the server for you.
I was searching for the perfect place where to host a new app I’m building when I decided to try DigitalOcean Apps.
DigitalOcean is one of the giants in the VPS space, and you can read my tutorial on it in how to create your first VPS on DigitalOcean.
I thought about Heroku, which is a solid choice. But I also remembered about DigitalOcean Apps (officially called App Platform), which lets you run an app just by pushing it to a GitHub repo.
Sign up for DigitalOcean with my referral link and you get $200 in credit for 60 days. This is an affiliate link: if you sign up through it and then spend $25, I get $25 in DigitalOcean credit.
DigitalOcean Apps are attractive because instead of managing a server, worrying about its security, updates and maintenance, you just worry about your app and you let the DigitalOcean team worry about everything else.
You have to pay more dollars, in comparison to running your own server, but you don’t have to pay more time. It’s up to you to decide which is the resource that’s more scarce in your situation. If you want to compare it with the other options, I wrote a guide on where to host your web app.
But before deciding you can always try it first. Let’s try the DigitalOcean Apps workflow.
The screenshots in this walkthrough are from January 2021, when I first tried it. The dashboard looks different today and a few labels changed, so I’ll point out what’s different along the way. The overall flow is still the same: pick a source, configure the app, pick a size, create it.
Head to https://cloud.digitalocean.com/apps/
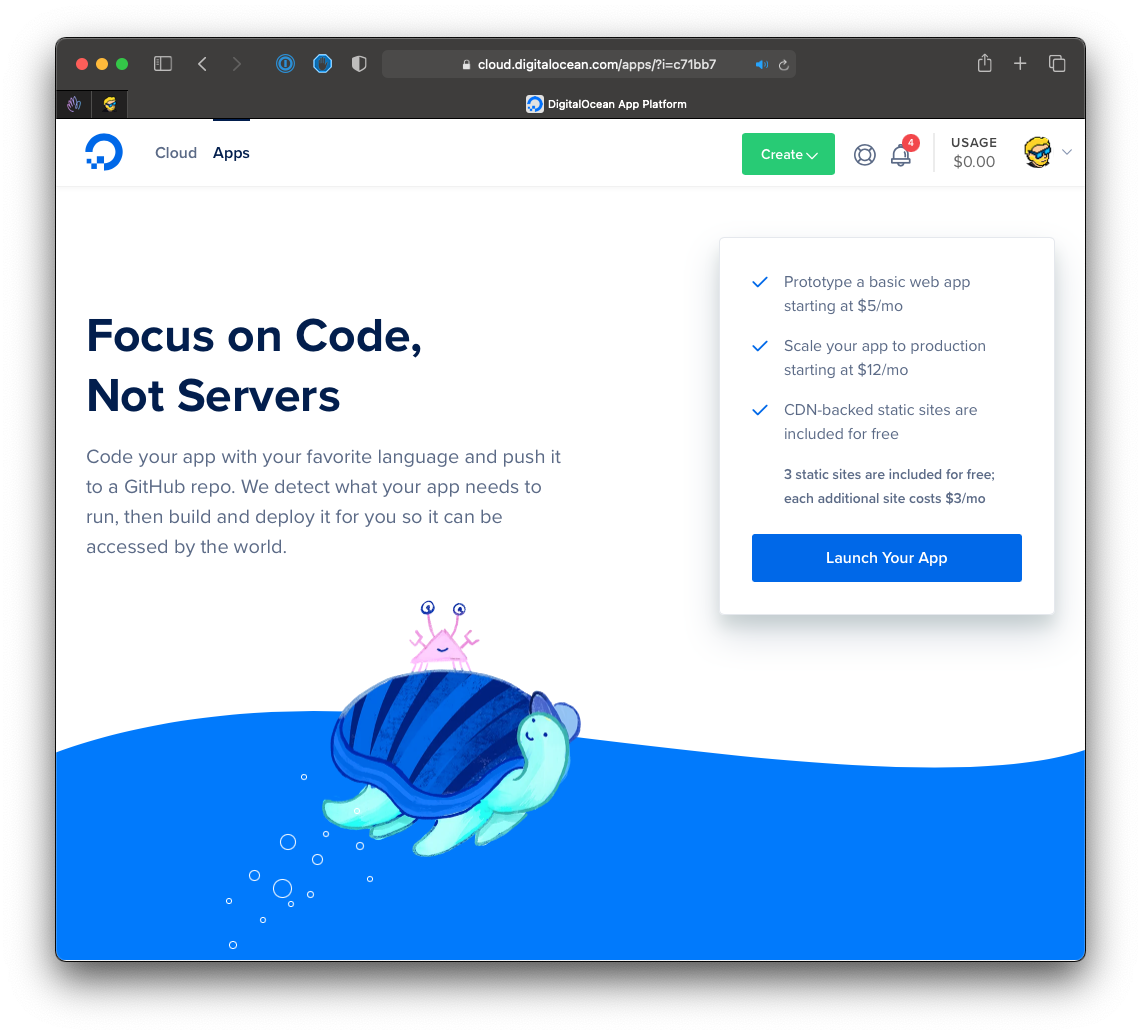
On this page, click the “Launch Your App” button. Today you get there by clicking Create in the top right of the control panel and picking App Platform.
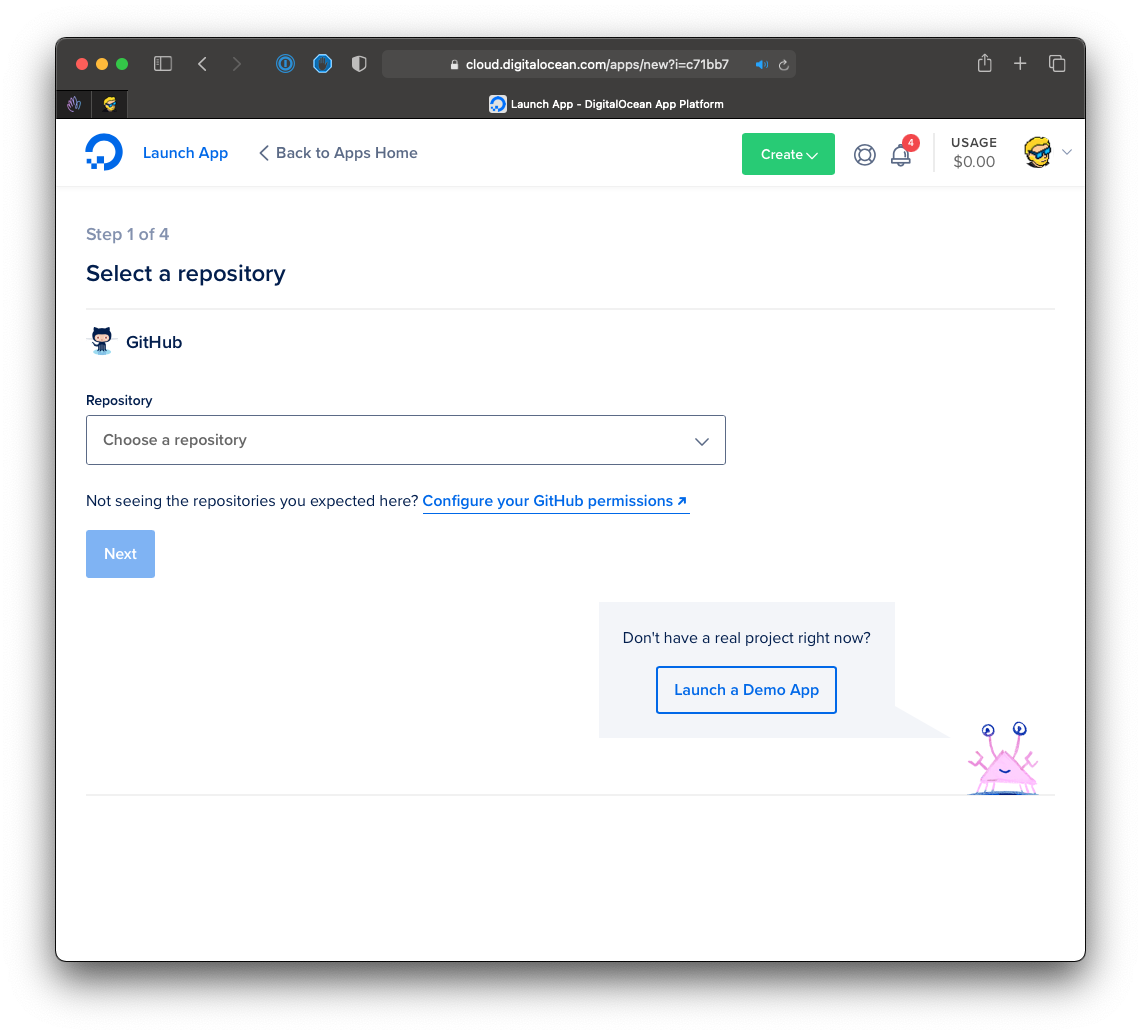
Back then you could deploy an app from a GitHub repository, or launch a demo app. I did the latter by clicking the Launch a Demo App button, which showed a big list of options:
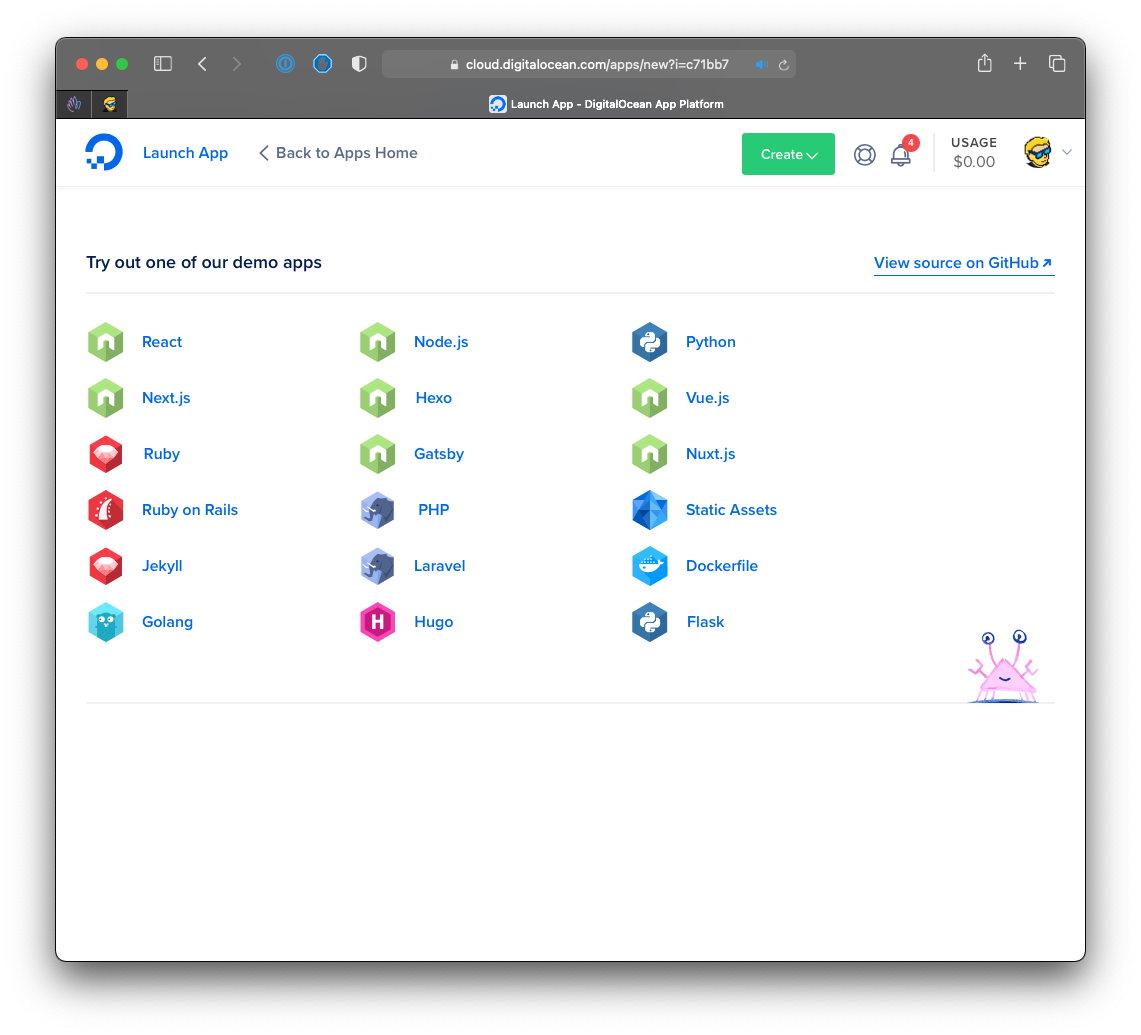
I clicked “Ruby on Rails” (but the process was the same for any other tool, language or framework listed).
That demo picker is gone now. The first screen asks you for a source: a GitHub, GitLab or Bitbucket repository, or a container image from DigitalOcean Container Registry, Docker Hub or GitHub Container Registry. If you just want to try it, DigitalOcean publishes sample apps for Node.js, Python, Ruby and many other stacks as GitHub repositories you can fork and deploy.
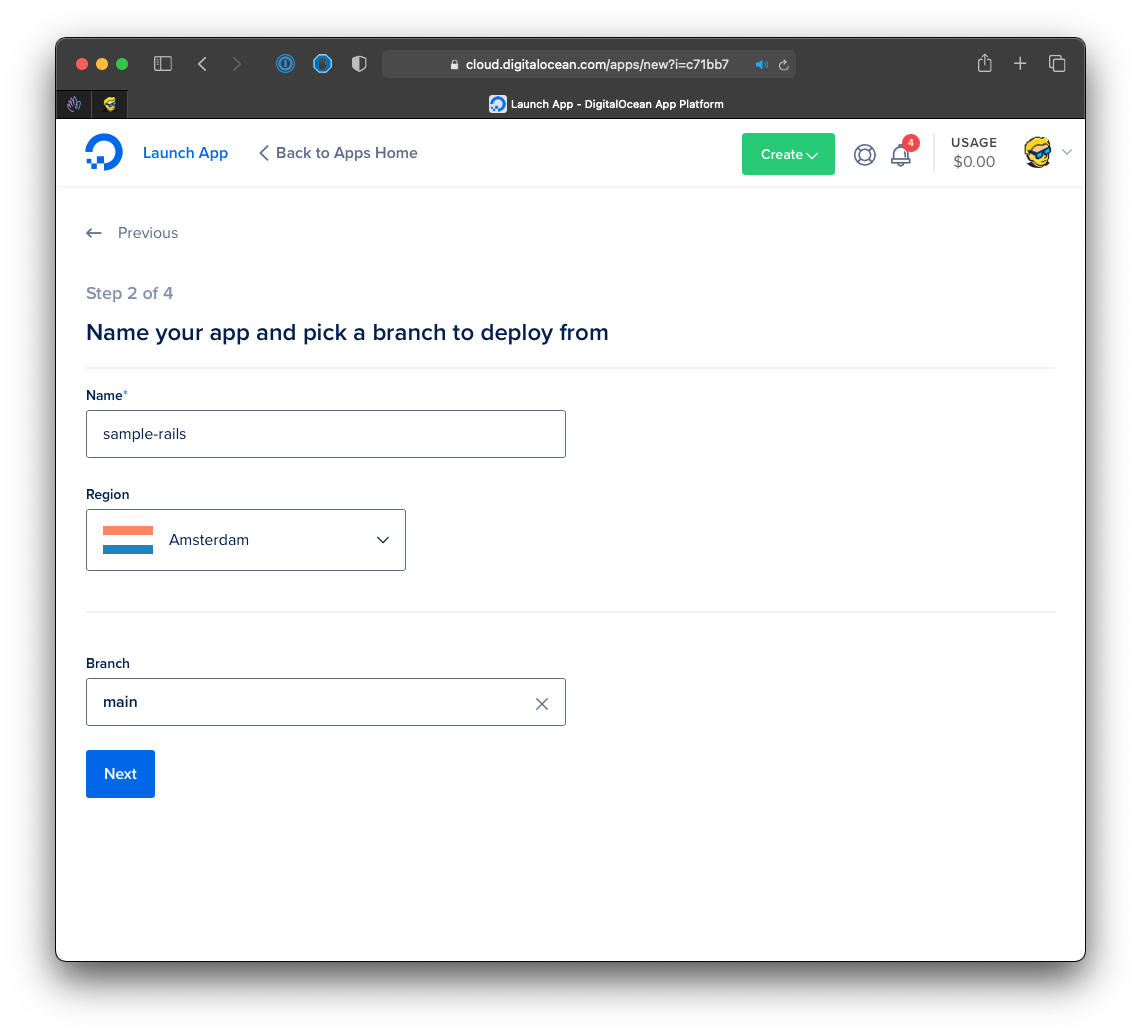
Then I could choose a name for the app, a region to deploy, and the branch to use (main is the default). In the current flow you pick the branch together with the repository, and the region and the app name come later, before you create the app:
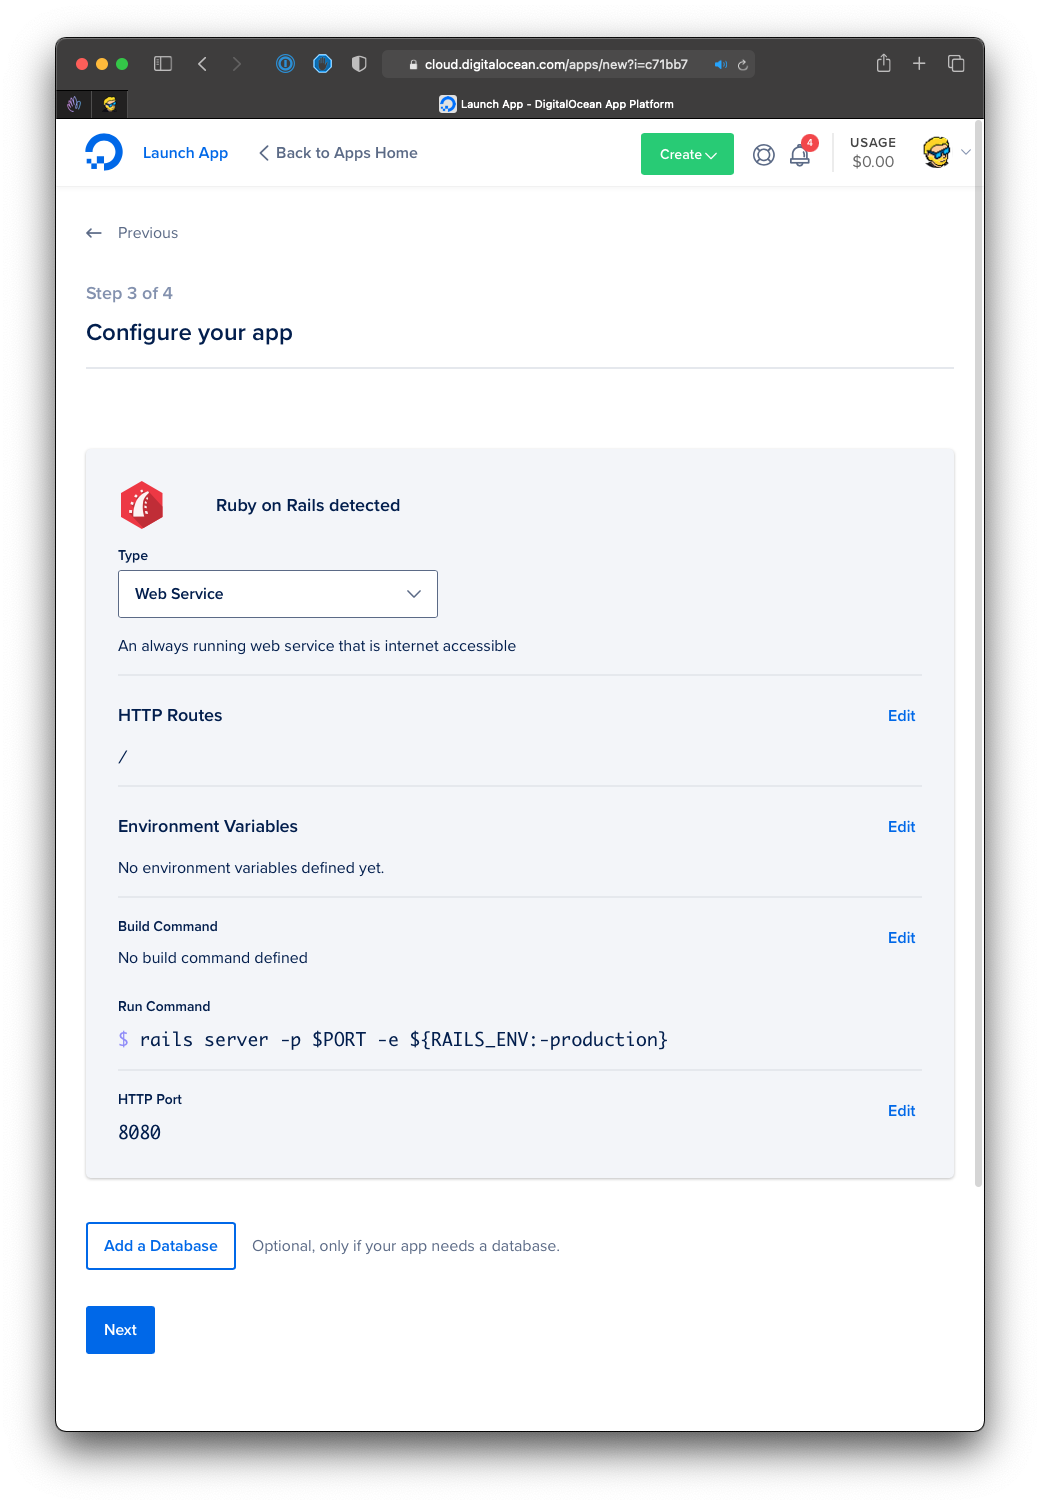
Here came the app configuration page, which depended on the option chosen before. I could choose the type of app (“Web Service” was the only option here), a path where this component listens for HTTP requests, the environment variables, a build command and the HTTP port to run on.
Today the same settings live in the Resource settings step, and a component can be a web service, a static site, a worker or a job.
We can also add a database if our app needs one. A development database costs $7/month.
When I was ready I clicked Next and chose the plan to host this app on. Back then there were three tiers: a free Starter plan for static sites, a Basic plan from $5/month and a Pro plan from $12/month. I had picked a server-rendered app, so Basic was the cheapest option:
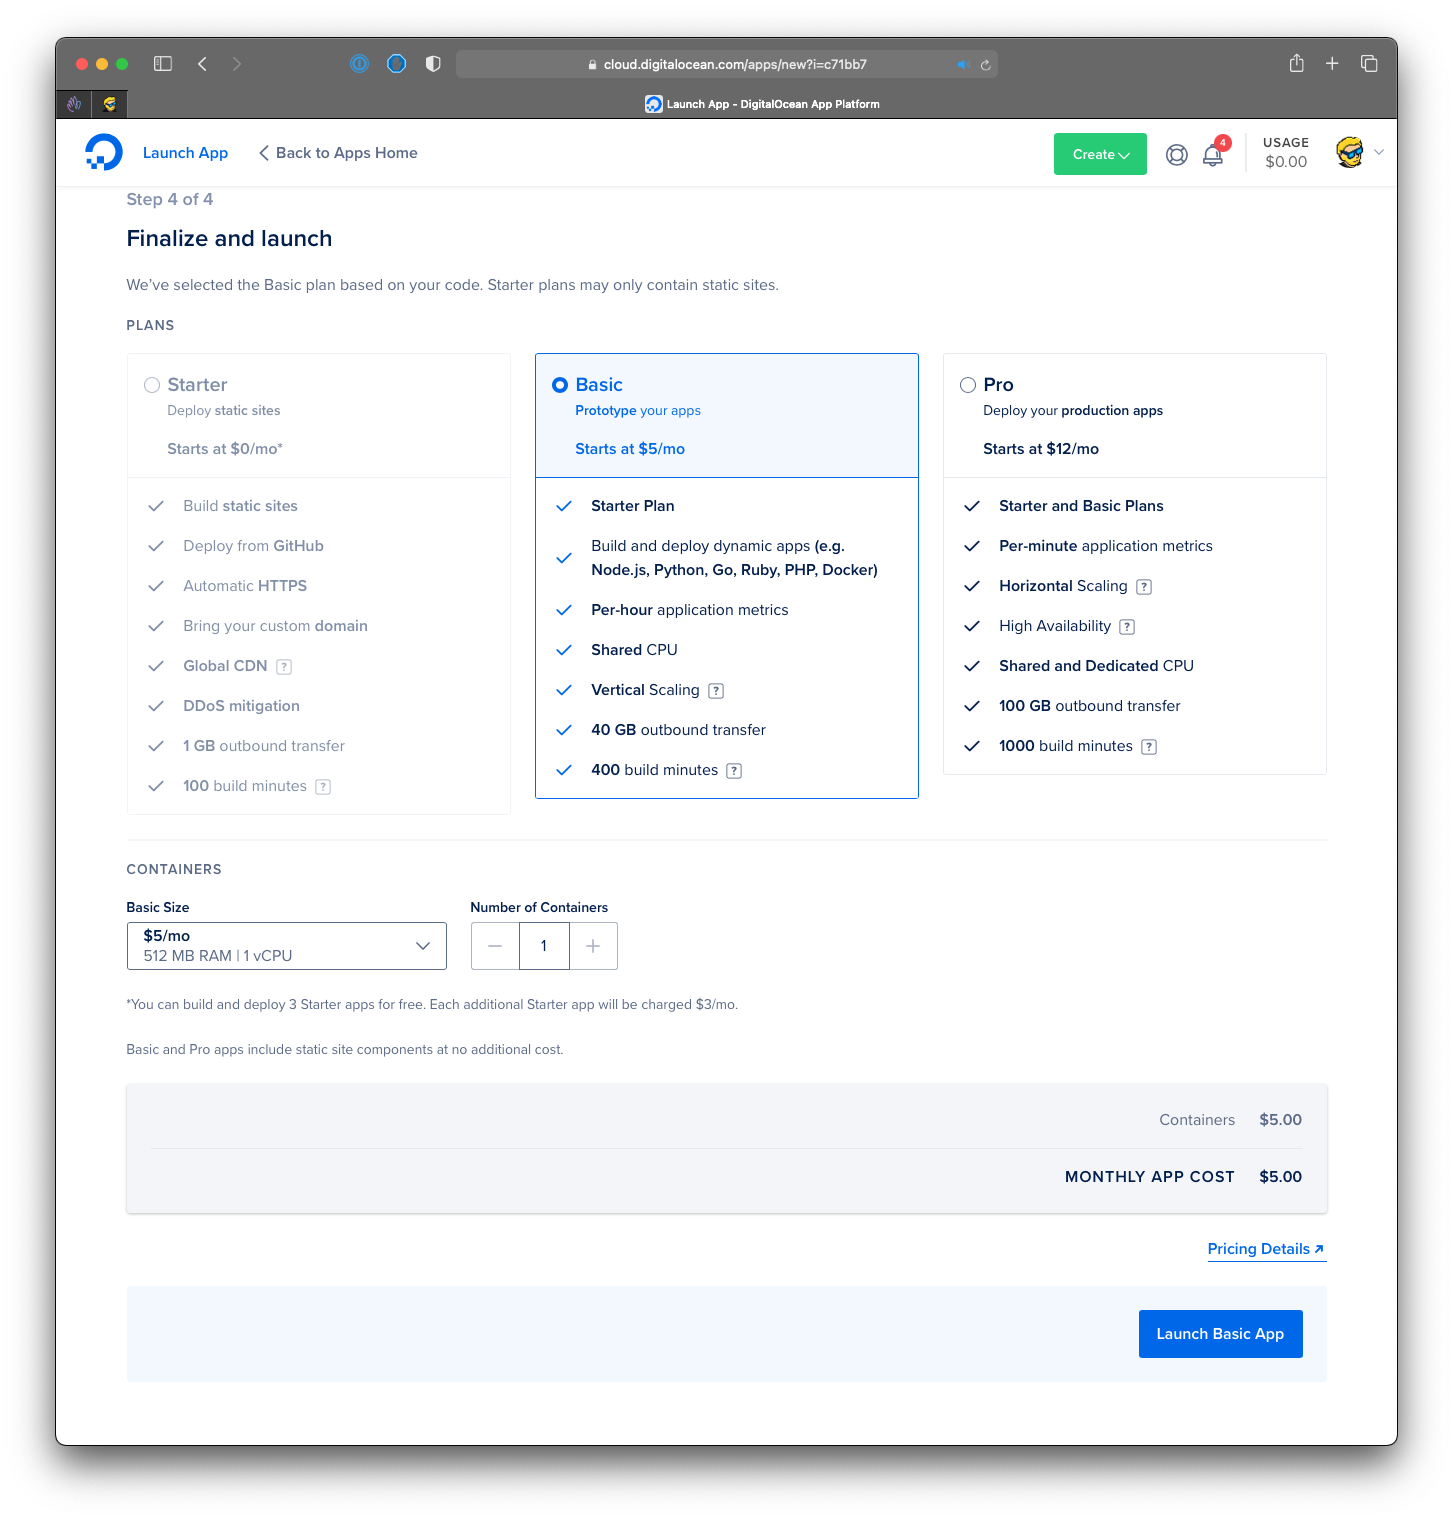
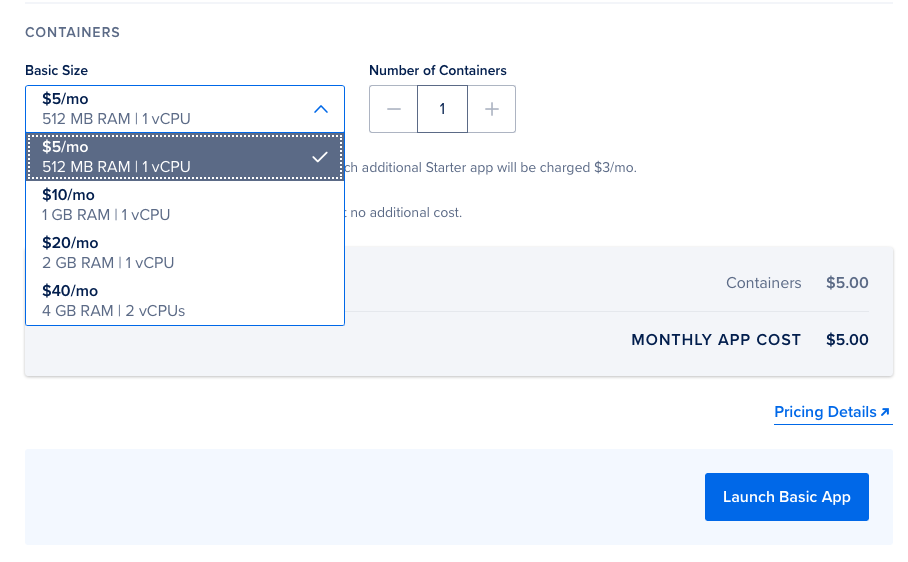
Those Starter, Basic and Pro tiers only apply to apps created before 7 May 2024. New apps don’t pick a plan. You pick an instance size for each component, and this is what it costs (checked in October 2026):
- $5/month for a shared container with 512 MiB of RAM, with no scaling
- $12/month for 1 GiB of RAM, the cheapest size you can scale by adding more containers
- from $29/month for a container with a dedicated CPU
- static sites are free for your first 3 apps, then $3/month for each additional app with static components
App Platform bills by the second, with a one-minute minimum. You can quickly spin up an app to try it, and pay next to nothing.
In 2021 the final price showed $10, because the form auto-selected the $10 container. It was a common default choice for DigitalOcean (that I didn’t understand) to show a more pricey option, also for normal DigitalOcean droplets.
I recommend starting with the most basic options and then scale up as needed. When that moment comes, I built a free scaling helper that suggests a strategy based on where your bottleneck is.
I chose the $5/month option to get the 512MB RAM container, and clicked the Launch Basic App button. Today the last step is a Summary page with a Create App button:
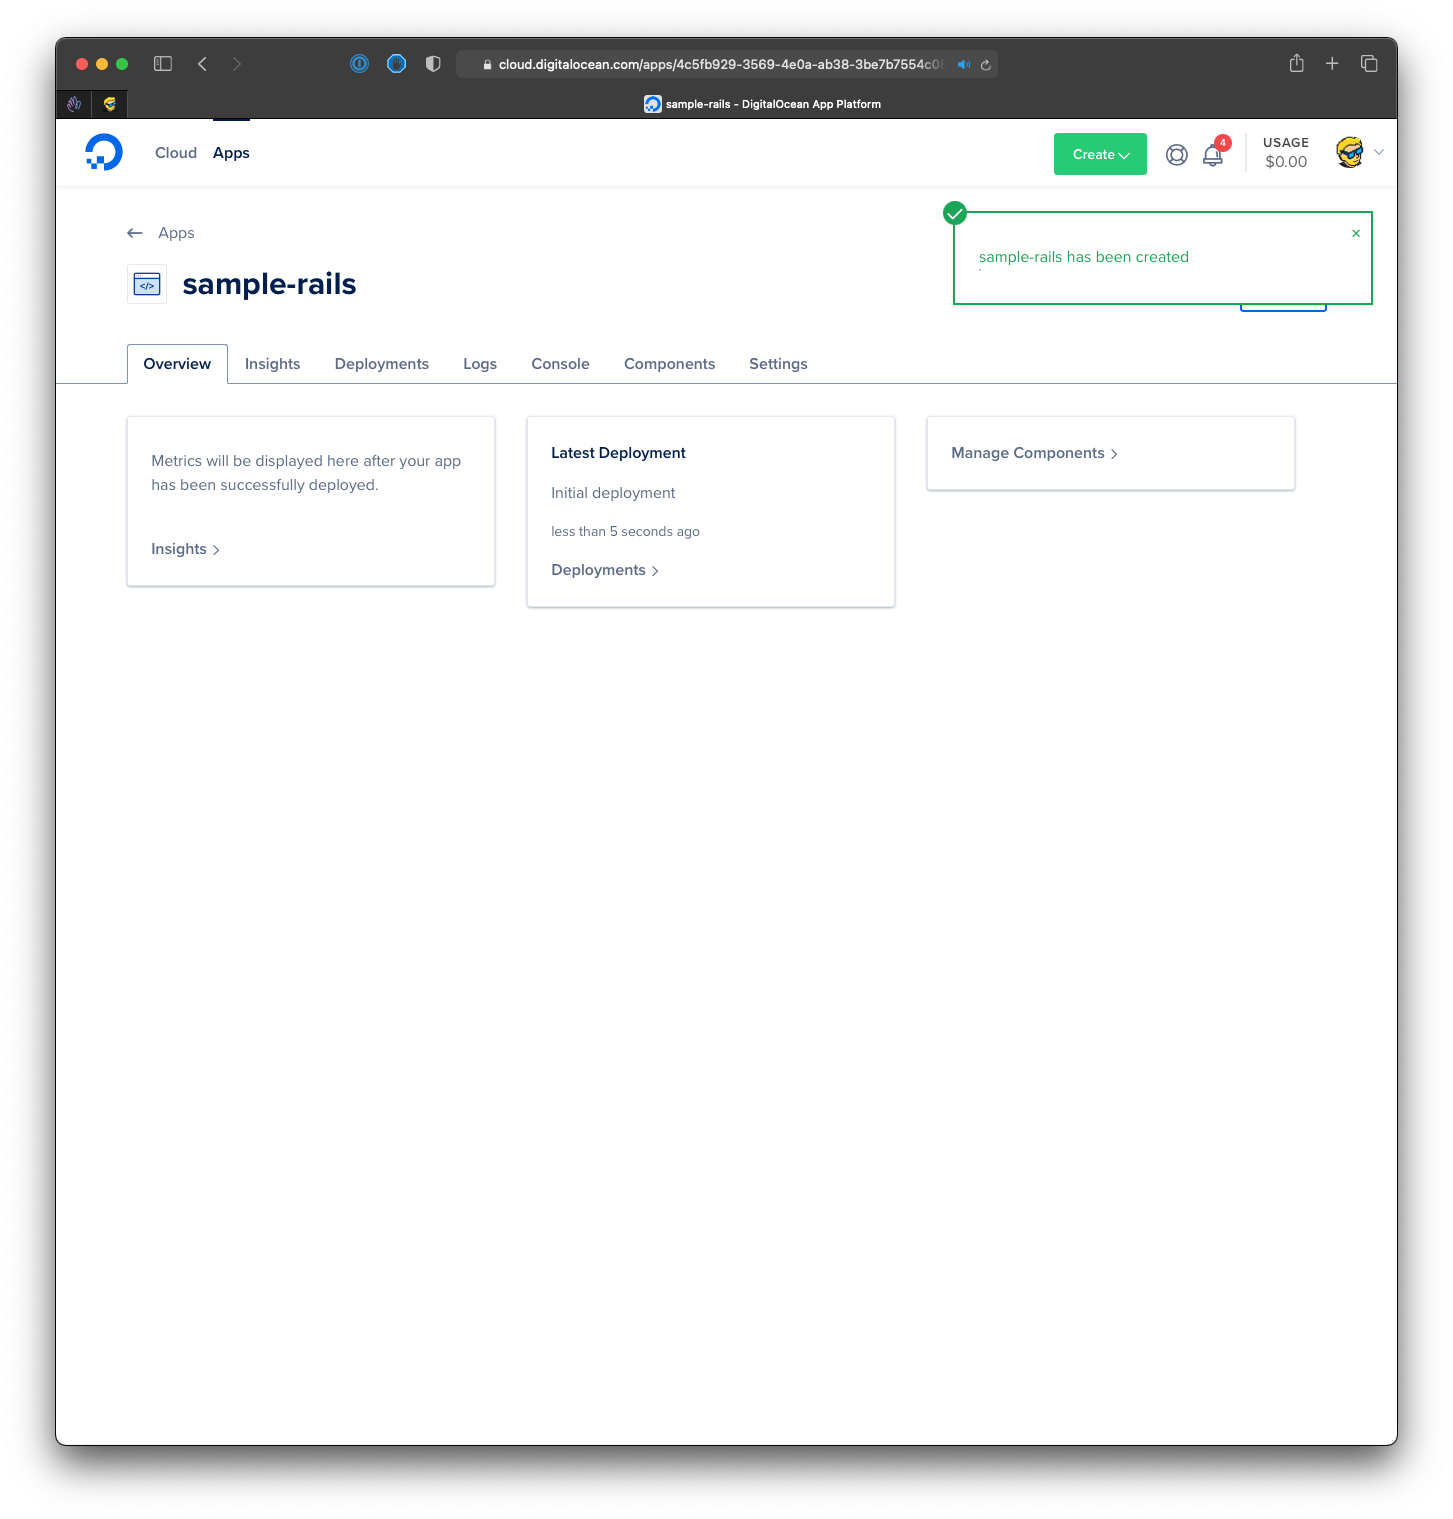
The interface switches to the app dashboard:
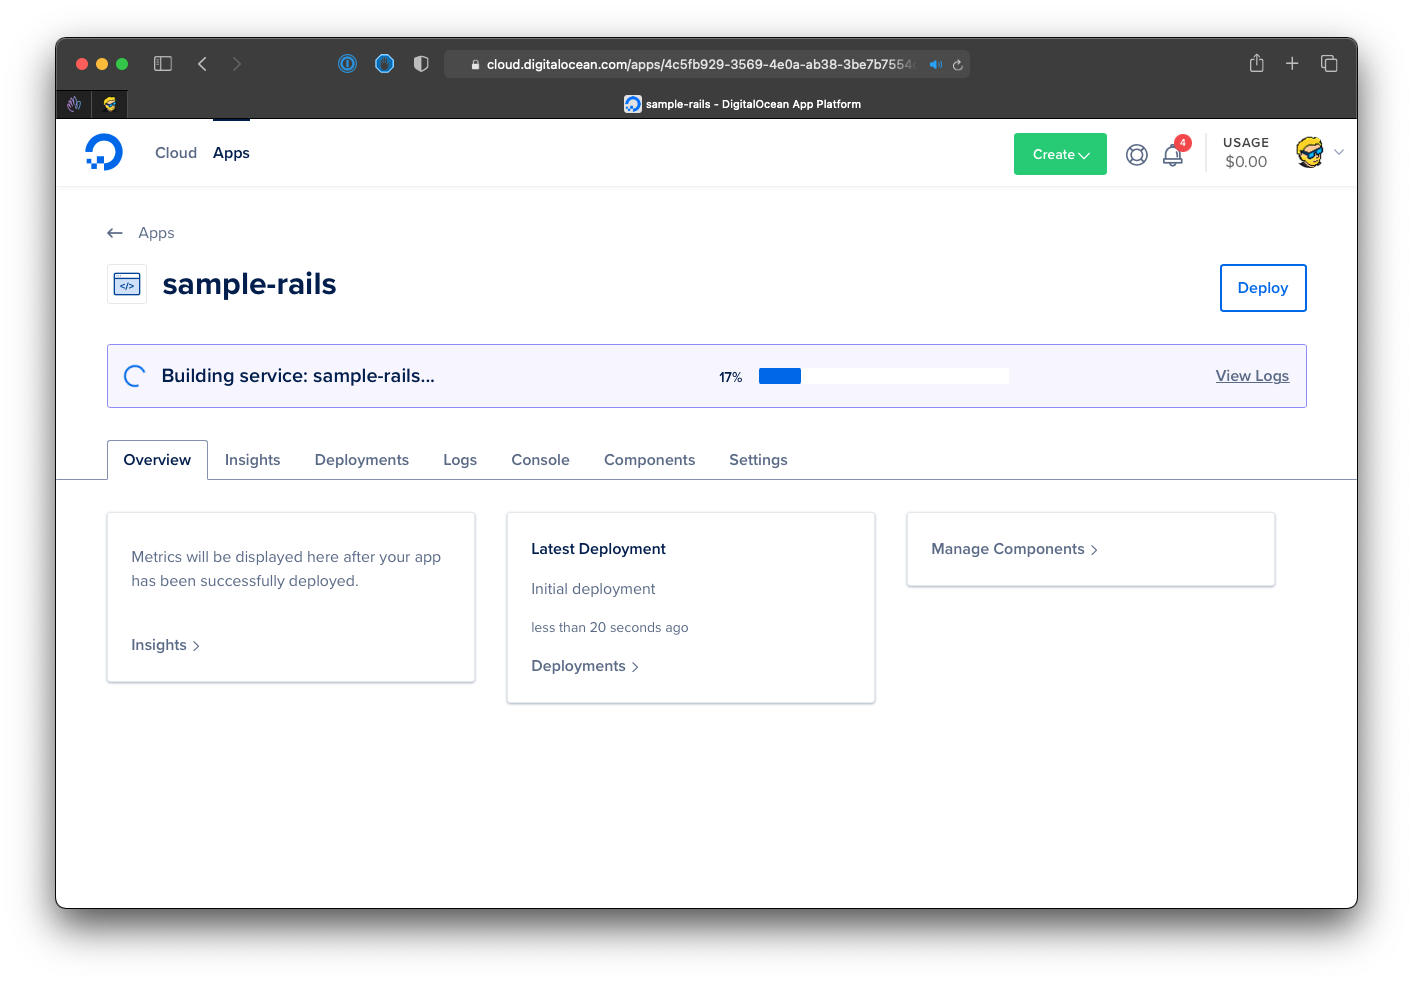
and the build process starts:
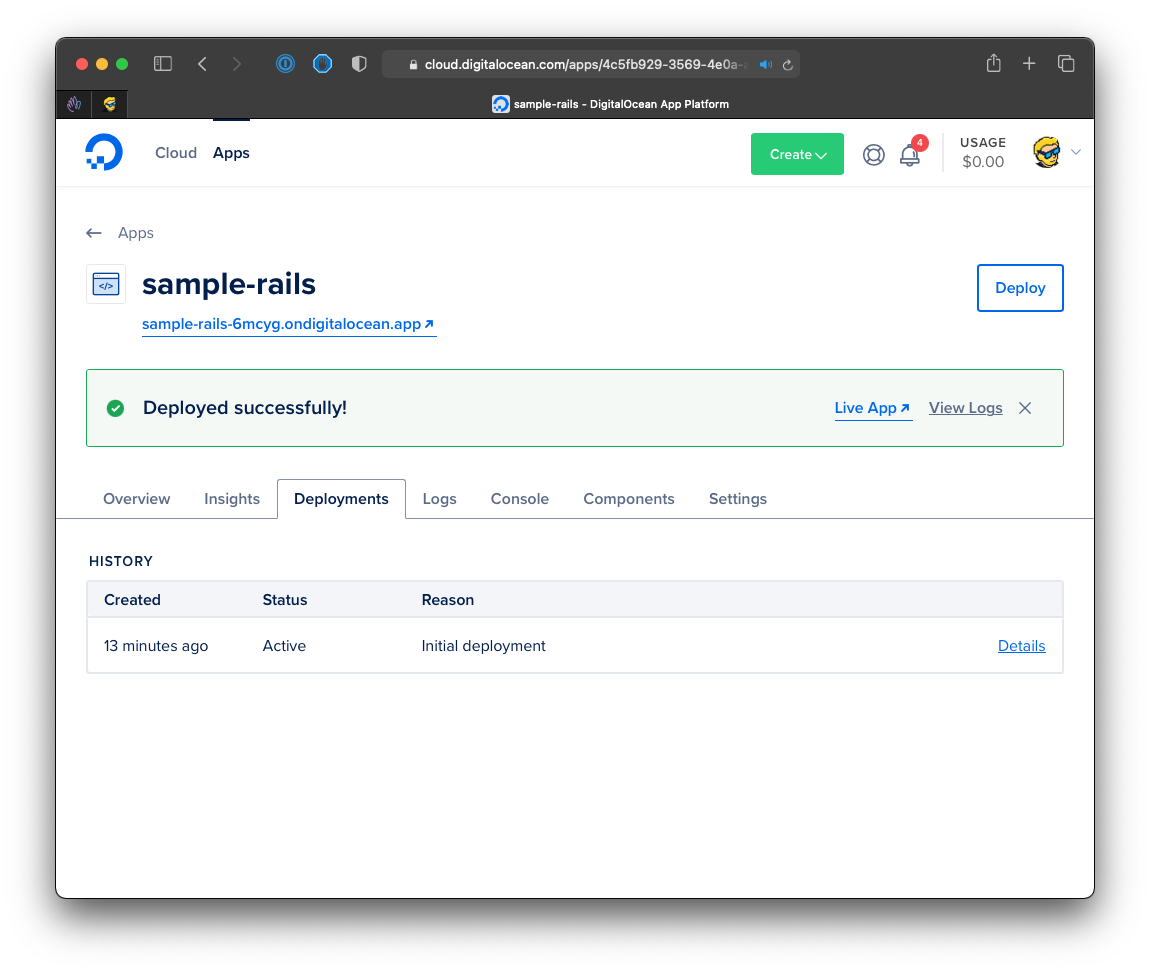
After a while you will get the “Deployed successfully!” message:
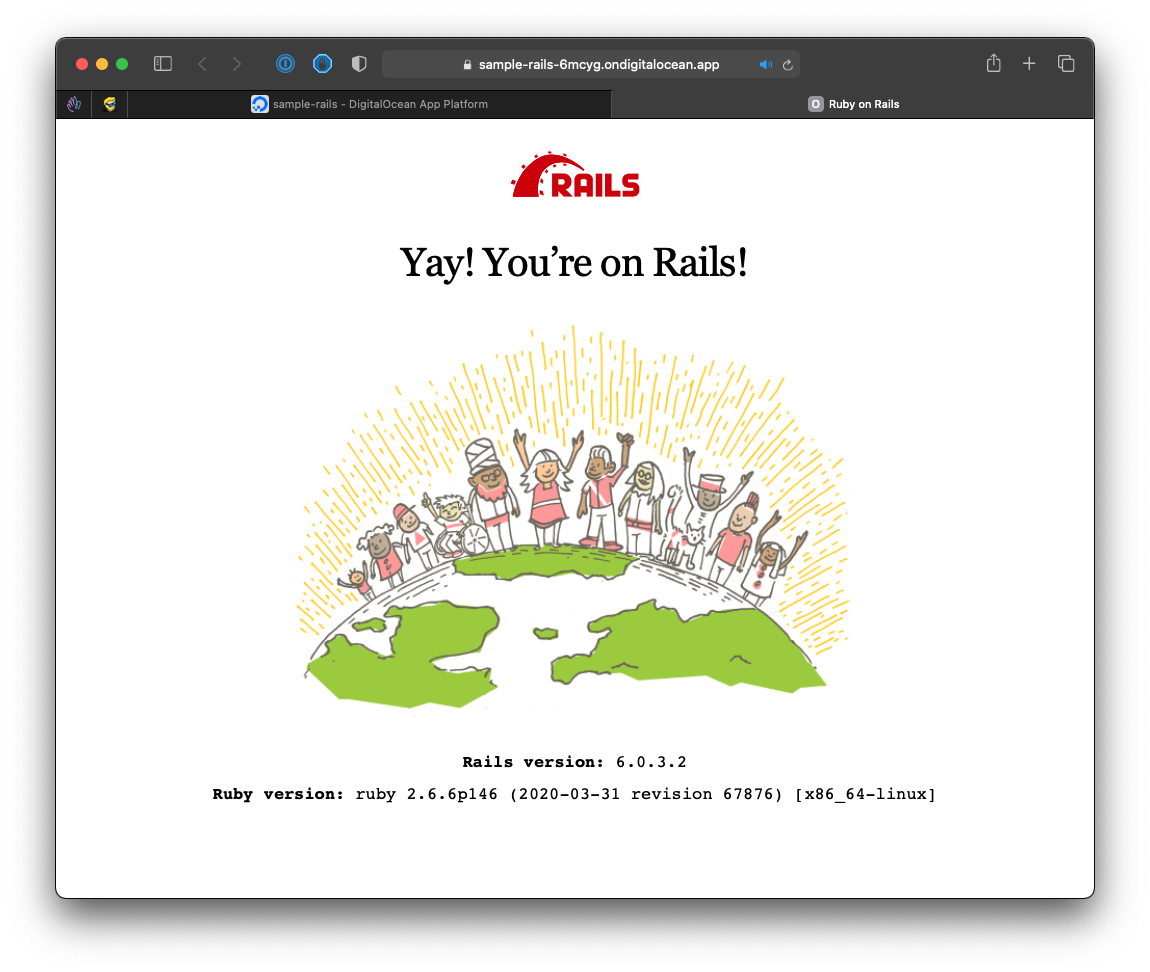
Click the Live App link to see the app running:
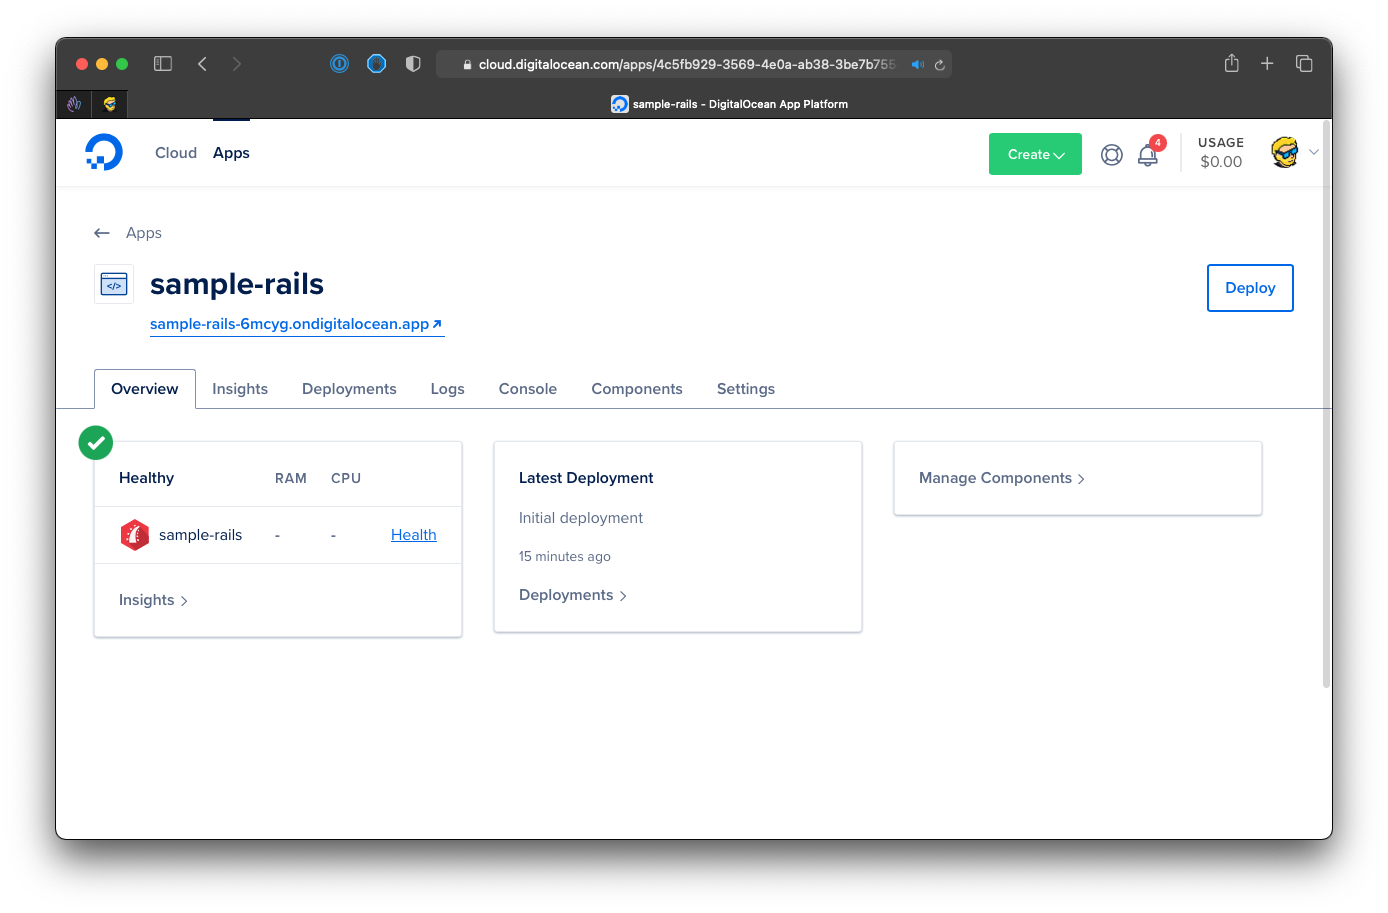
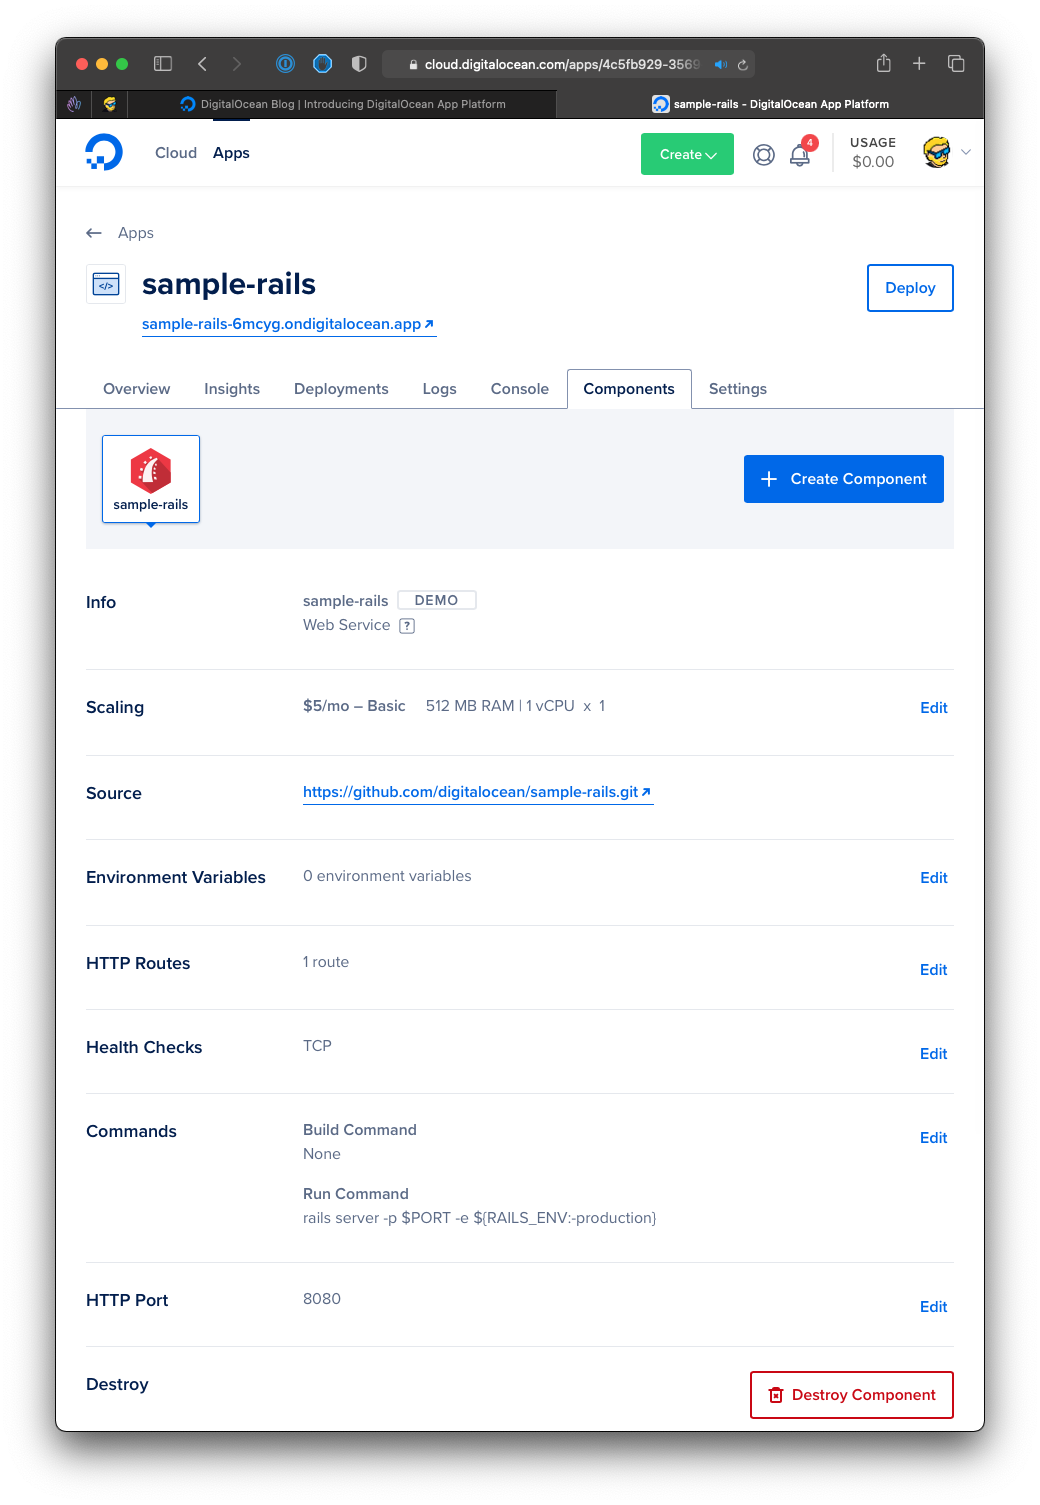
The dashboard has several useful screens to monitor the CPU and memory consumption, the deployments logs, access to the app server through a console:
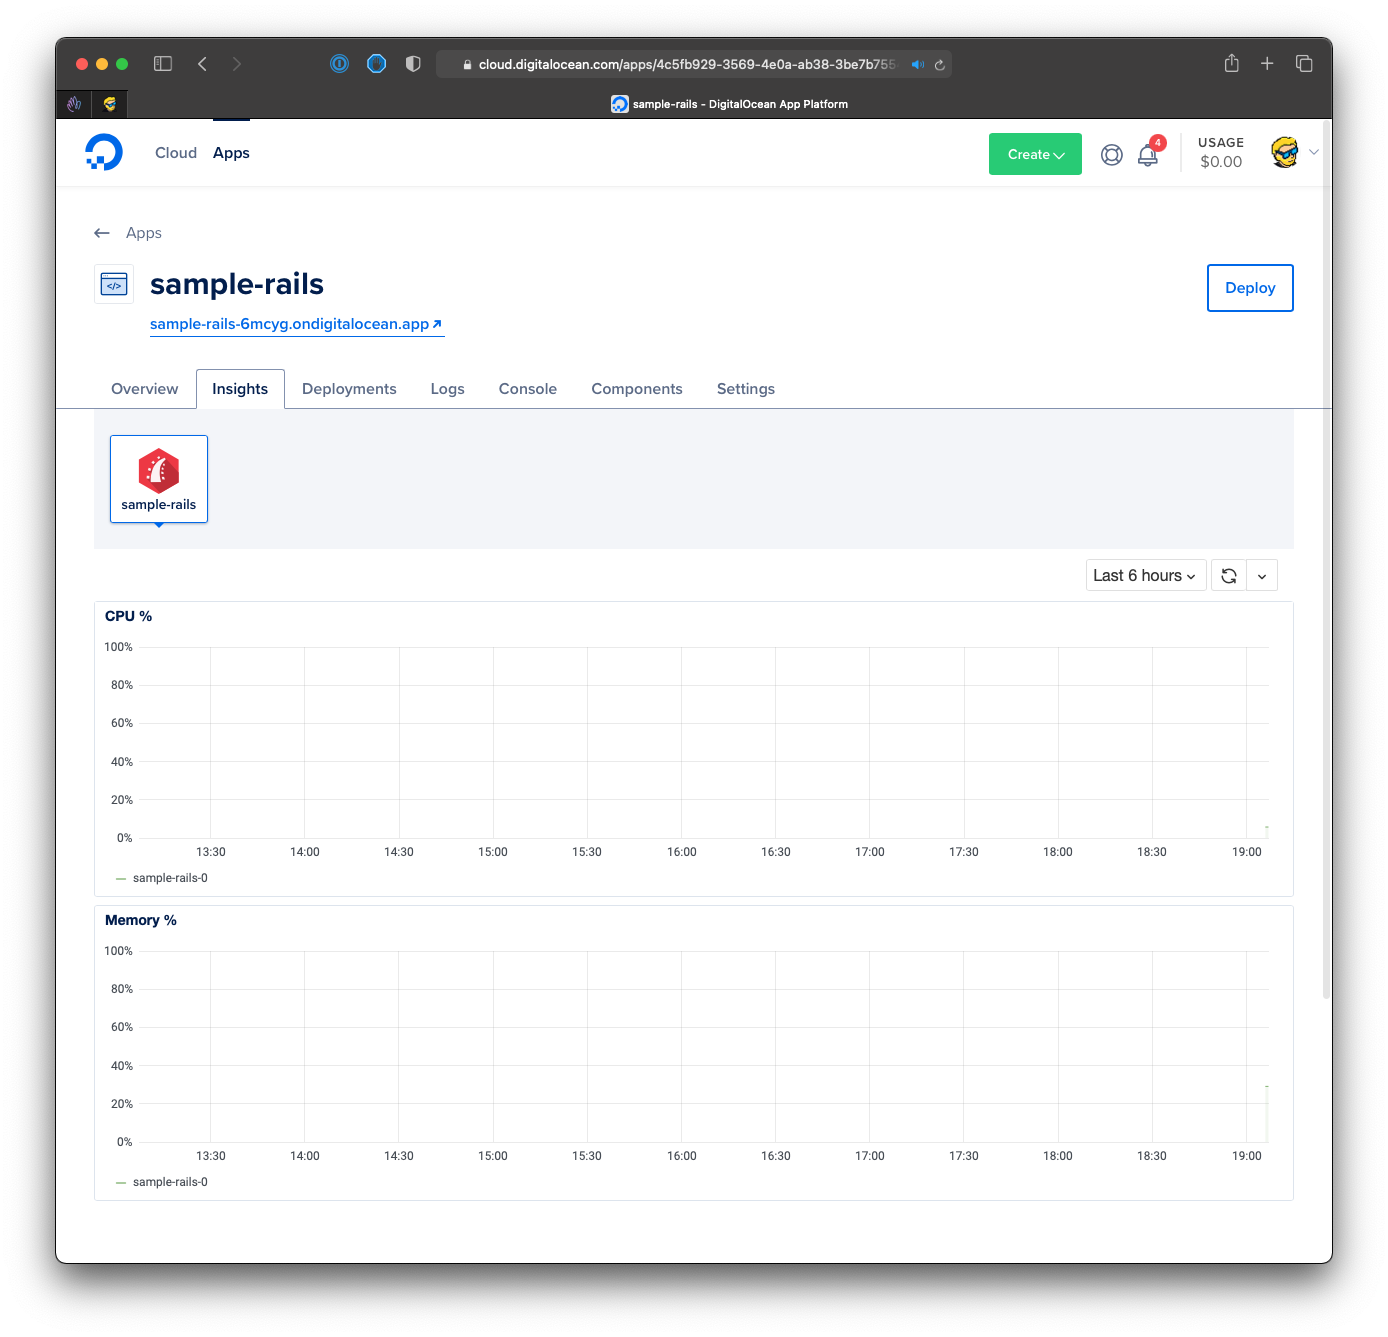
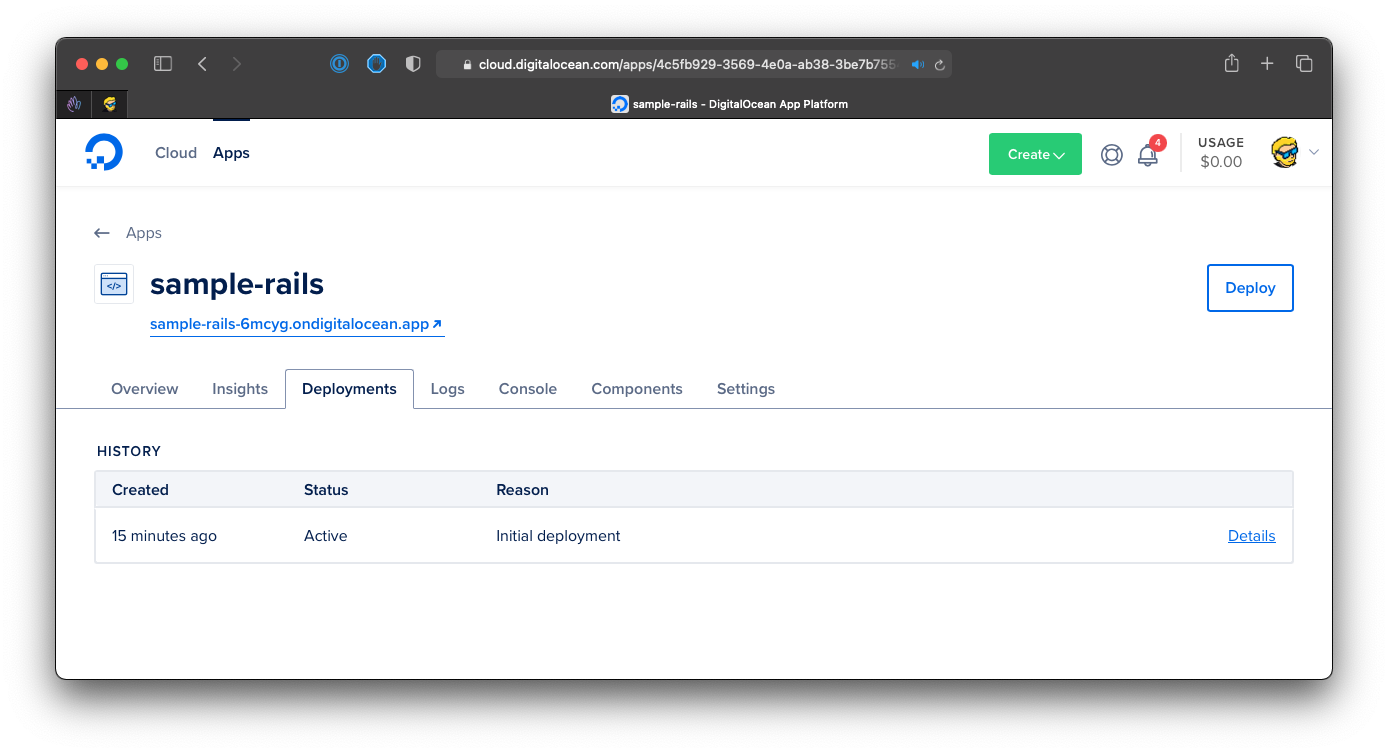
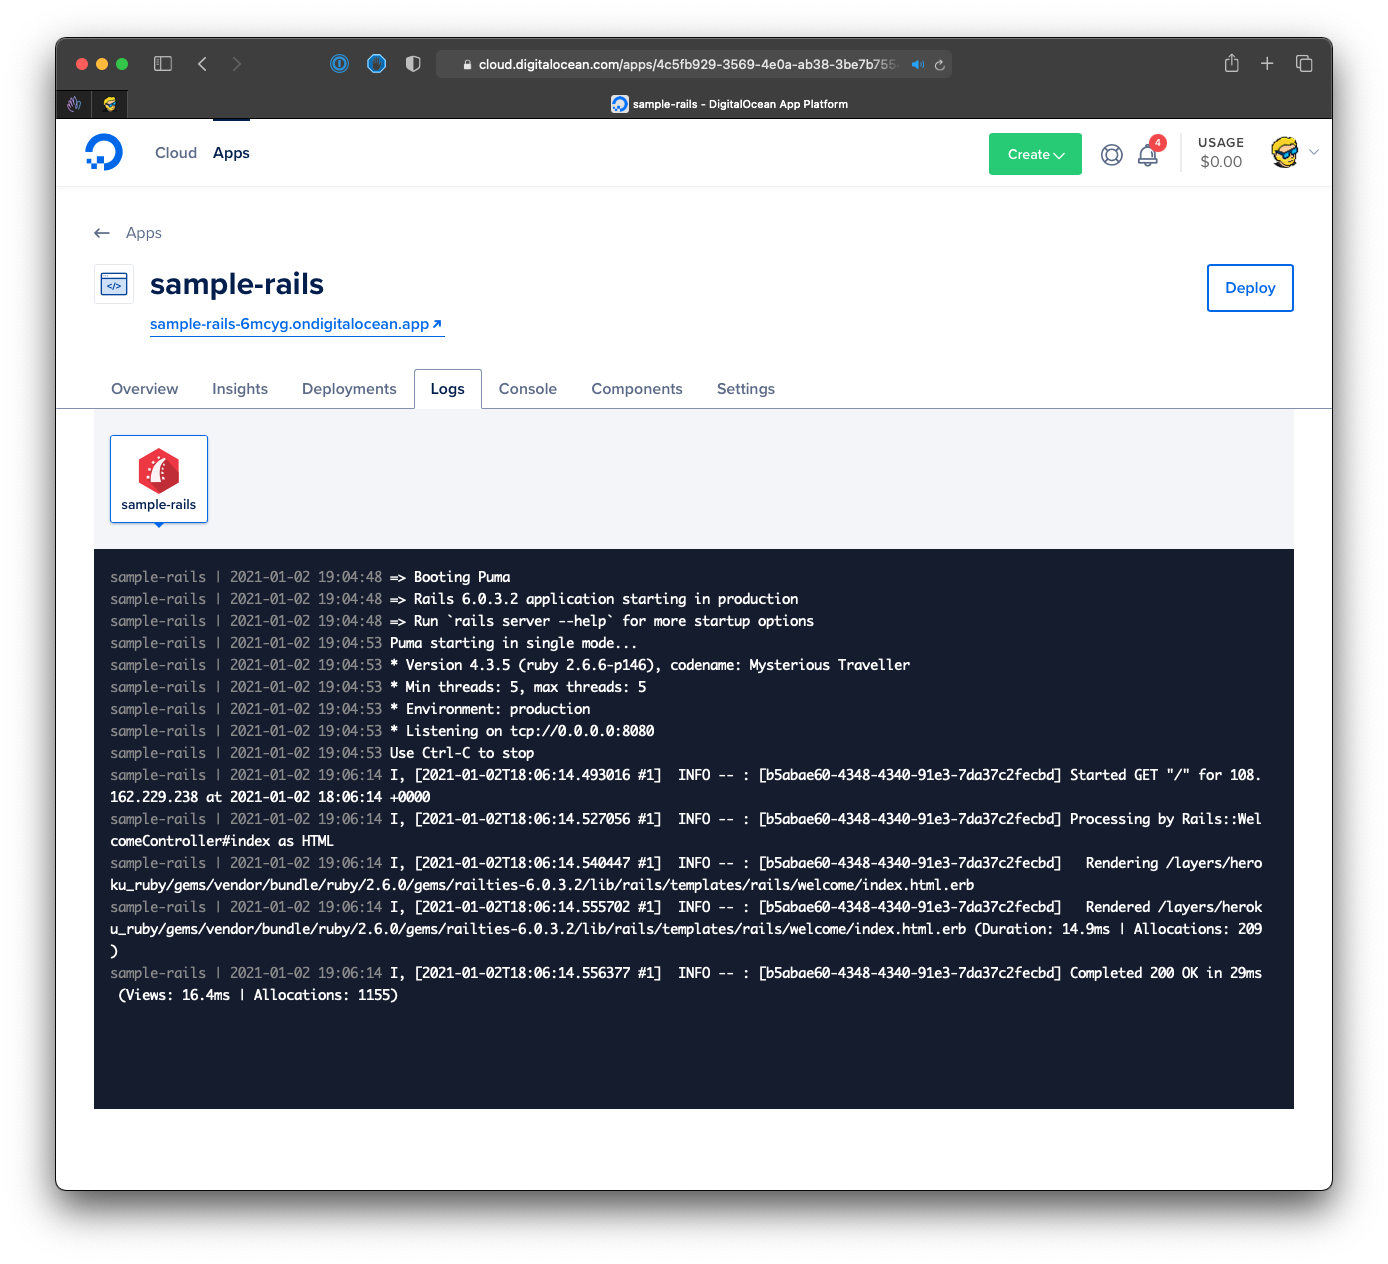
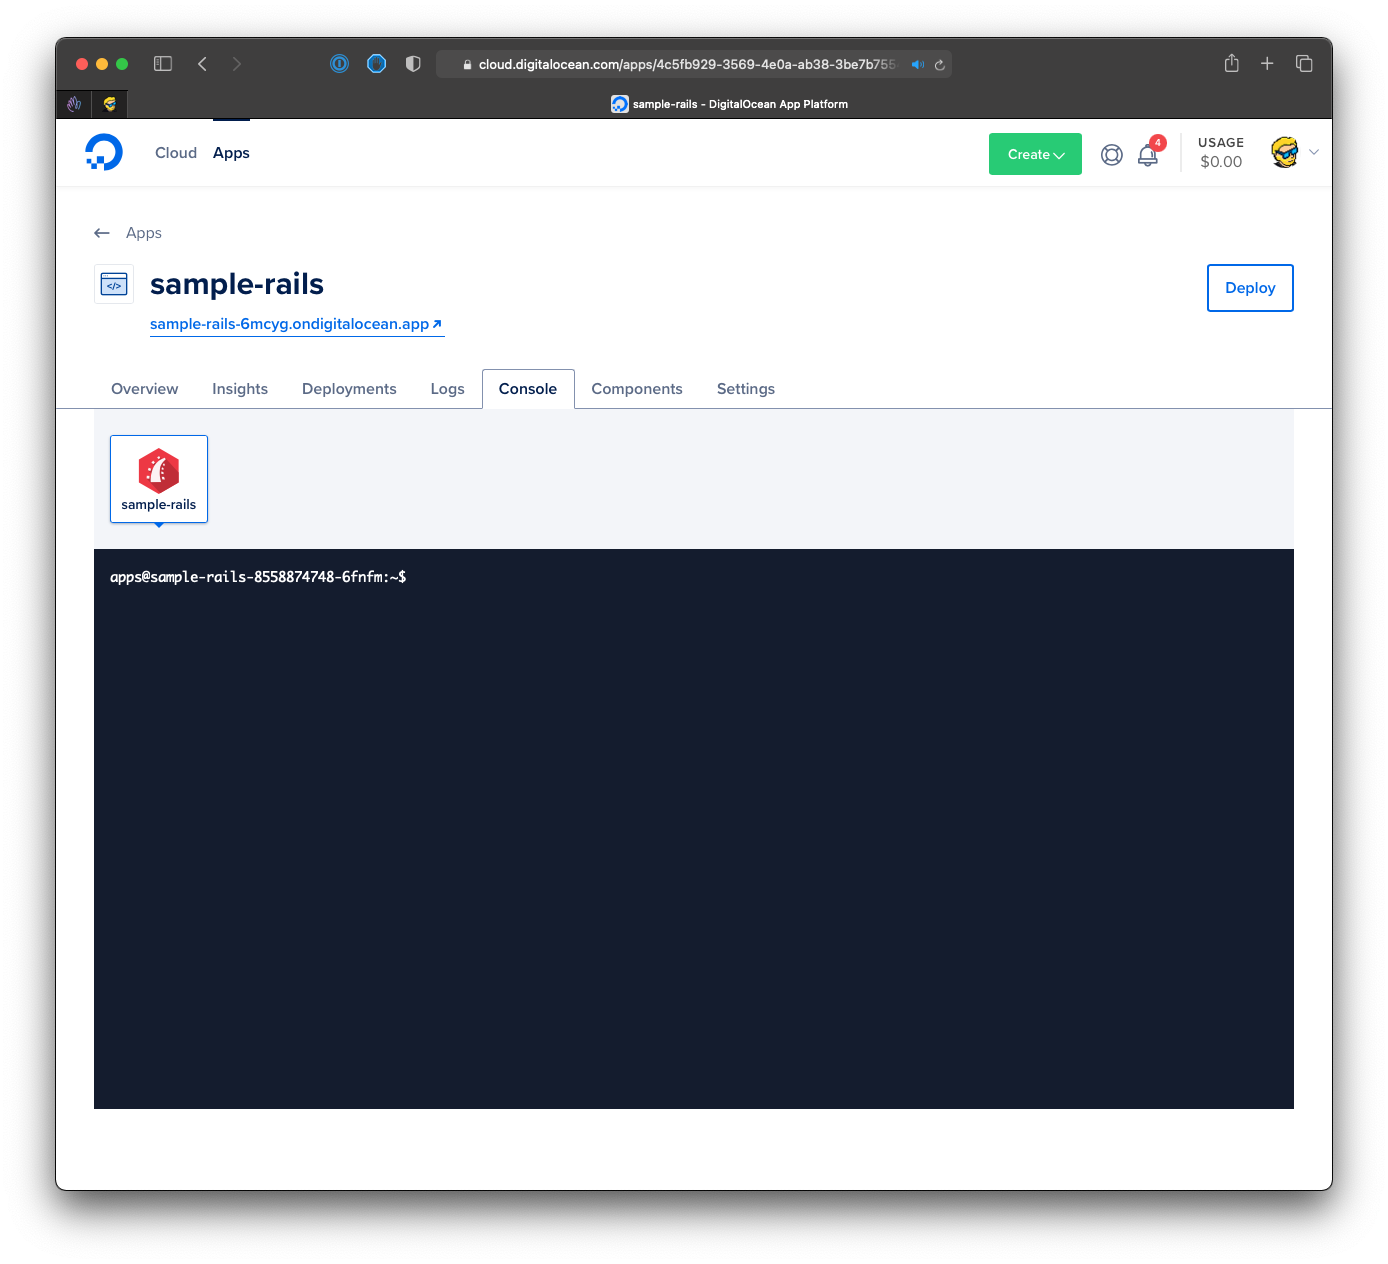
And you can tweak the configuration, scale the app, and more:
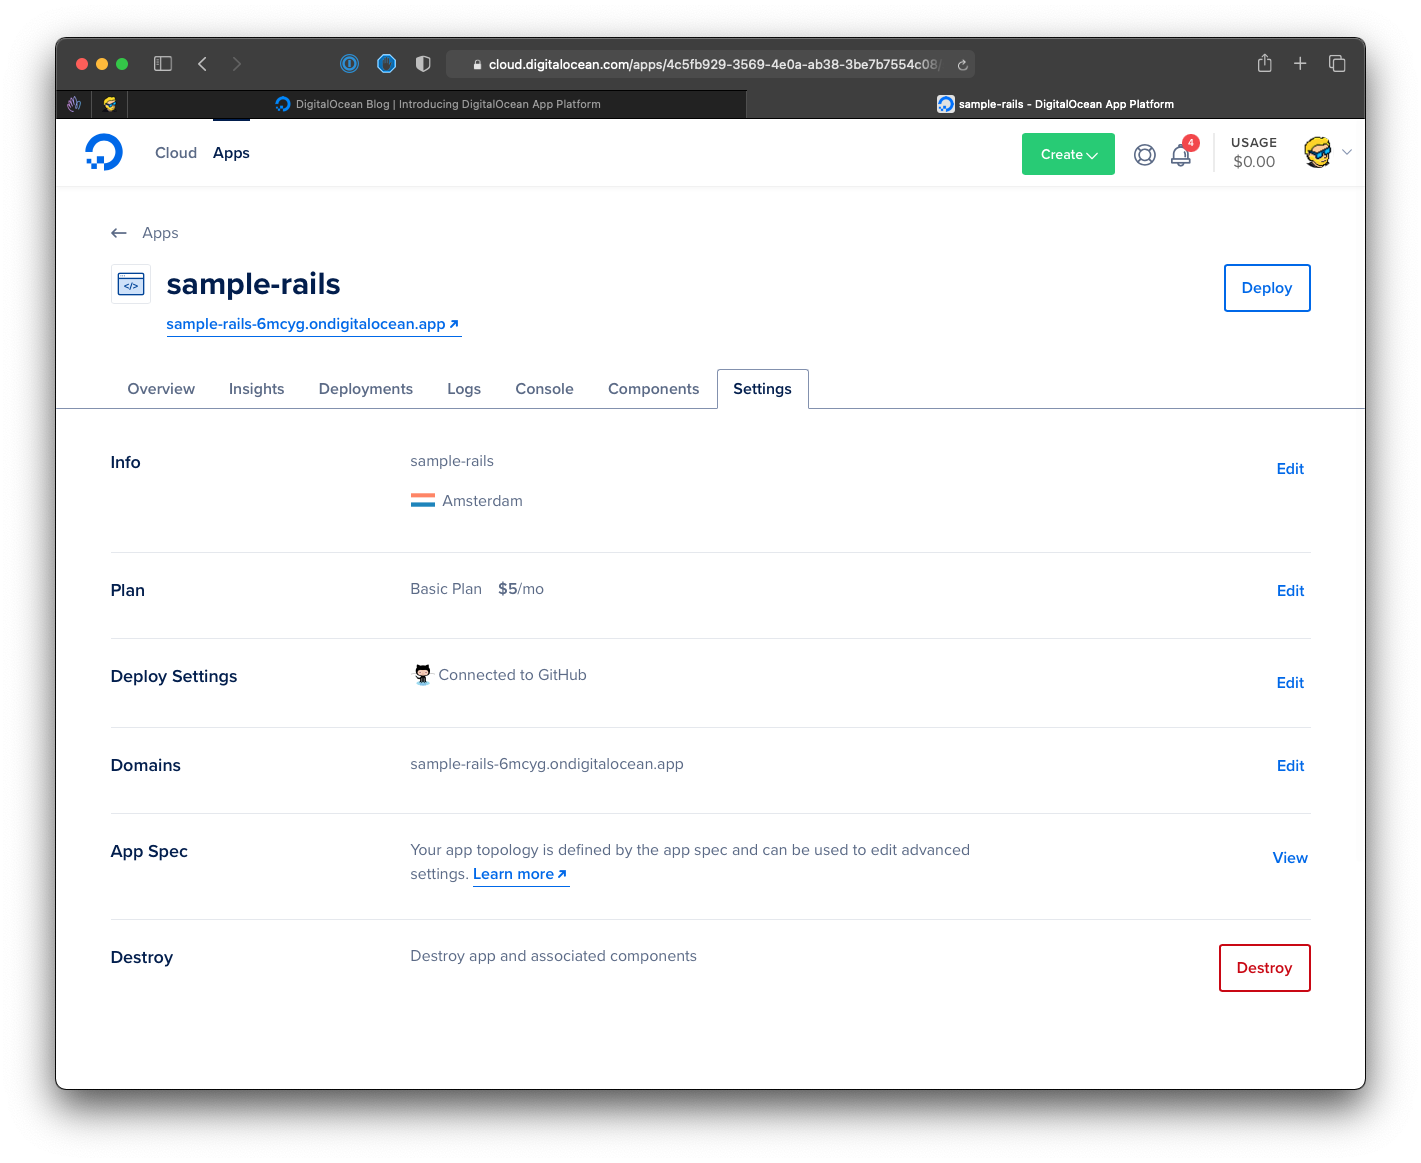
The Settings tab also has an App Spec section. That’s a YAML file describing the whole app: its components, sizes, routes and environment variables. Click Edit and then Download to save a copy. You can recreate the same app later with doctl apps create --spec your-app.yaml, or keep the file in your repo.
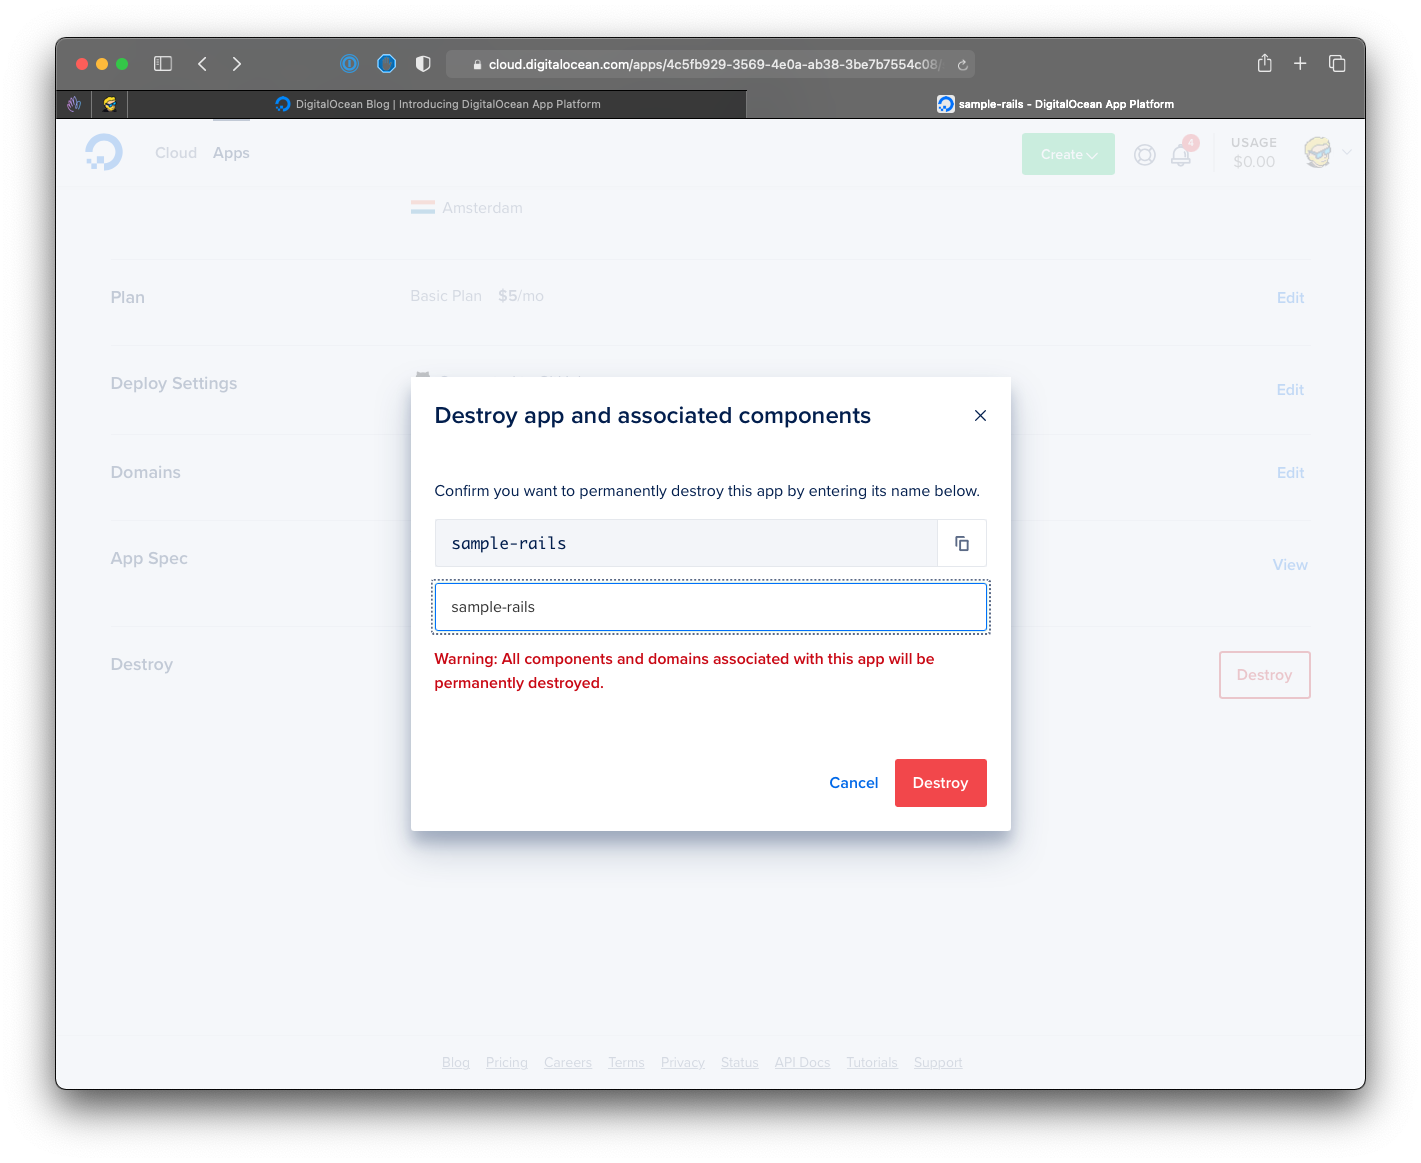
If you want to stop running the app, and stop paying DigitalOcean to run it, scroll to the bottom of the Settings tab and click Destroy. You have to type the app name to confirm:
Want me to talk about your product? You can sponsor this site.
Related posts about services: