Scraping with Puppeteer
By Flavio Copes
Learn web scraping with Puppeteer by building a JavaScript job board that scrapes remote jobs from a site and stores them in a database to display later.
In this post we’re going to create a “JavaScript Job Board” that aggregates remote jobs for JavaScript developers.
Here are the steps to complete our project:
- Create a Node.js scraper built using Puppeteer that fetches jobs from the remoteok.io website
- Store the jobs into a database
- Create a Node.js application to display those jobs on our own website
Word of caution: I am using this website just as an example. I am not recommending you to scrape it because it has an official API if you want to use its data. It’s just to explain how Puppeteer works with a website that everybody knows, and to show you how you can use it in practice.
Let’s go!
Create a scraper for JavaScript jobs
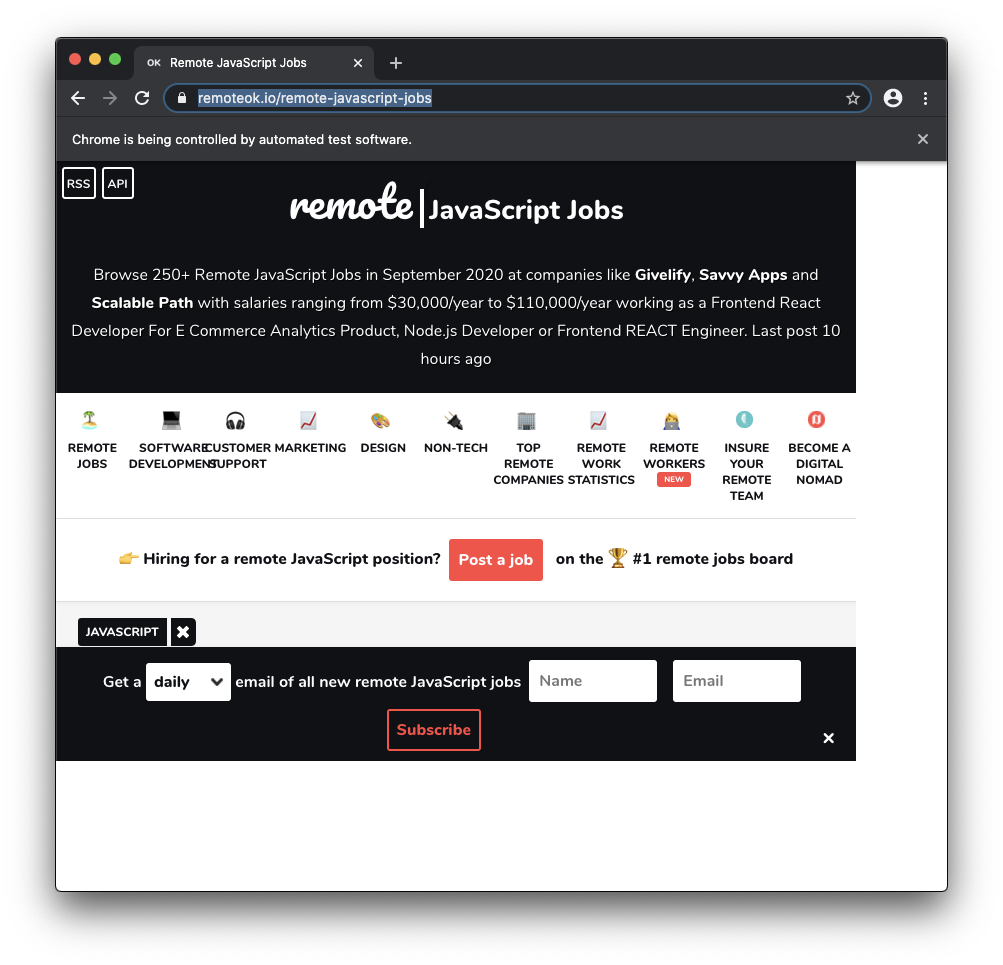
We’re going to scrape JavaScript jobs from remoteok.io, a great remote jobs website.
The website hosts many different kinds of jobs. JavaScript jobs are listed under the “JavaScript” tag, and they are all available, at the time of writing, in this page: https://remoteok.io/remote-javascript-jobs
I said “at the time of writing” because this is an important realization: the website might change at any time. We are not guaranteed anything. With scraping, any change to the website might halt our application from working. It’s not an API, which is sort of a contract between 2 parties.
So, from my experience, scraping applications require more maintenance. But sometimes we have no other choice to do a specific task, so they are still a valid tool at our disposal.
Set up Puppeteer
Let’s start by creating a new folder, and inside the folder run
npm init -yThen install Puppeteer using
npm install puppeteerNow create an app.js file. At the top, require the puppeteer library we just installed:
const puppeteer = require("puppeteer")then we can use the launch() method to create a browser instance:
;(async () => {
  const browser = await puppeteer.launch({ headless: false })
})()
We passed the { headless: false } configuration object to show Chrome while Puppeteer is performing its operations, so we can see what’s happening, which is helpful while building the application.
Next we can use the newPage() method on the browser object to get the page object, and we call the goto() method on the page object to load the JavaScript jobs page:
const puppeteer = require('puppeteer')

;(async () => {
  const browser = await puppeteer.launch()
  const page = await browser.newPage()
  await page.goto("https://remoteok.io/remote-javascript-jobs
")
})()
Now run node app.js from the terminal, and a Chromium instance will start, loading the page we told it to load:
Get the jobs from the page
Now we need to figure out a way to get the jobs details from the page.
To do so, we’re goingt o use the page.evaluate() function that Puppeteer gives us.
Inside its callback function we basically transition into the browser, so we can use the document object that now points to the page DOM, even though the code will run in a Node.js environment. That’s a bit of a magic part performed by Puppeteer.
Inside this callback function we can’t print anything to the console, because that would be printed to the browser console, not the Node.js terminal.
What we can do is we can return an object from it, so we have access to it as the value returned by page.evaluate():
const puppeteer = require('puppeteer')

;(async () => {
  const browser = await puppeteer.launch({ headless: false })
  const page = await browser.newPage()
  await page.goto('https://remoteok.io/remote-javascript-jobs')

  /* Run javascript inside the page */
  const data = await page.evaluate(() => {
    return ....something...
  })

  console.log(data)
  await browser.close()
})()
Inside that function we first create an empty array, that we’ll fill with the values we want to return.
We find each job, which is wrapped in a tr HTML element with the job class, then we get data from each job using querySelector() and getAttribute():
/* Run javascript inside the page */
const data = await page.evaluate(() => {
  const list = []
  const items = document.querySelectorAll("tr.job")

  for (const item of items) {
    list.push({
      company: item.querySelector(".company h3").innerHTML,
      position: item.querySelector(".company h2").innerHTML,
      link: "https://remoteok.io" + item.getAttribute("data-href"),
    })
  }

  return list
})
I found which were the exact selectors to be used by looking at the page source using the browser devtools:
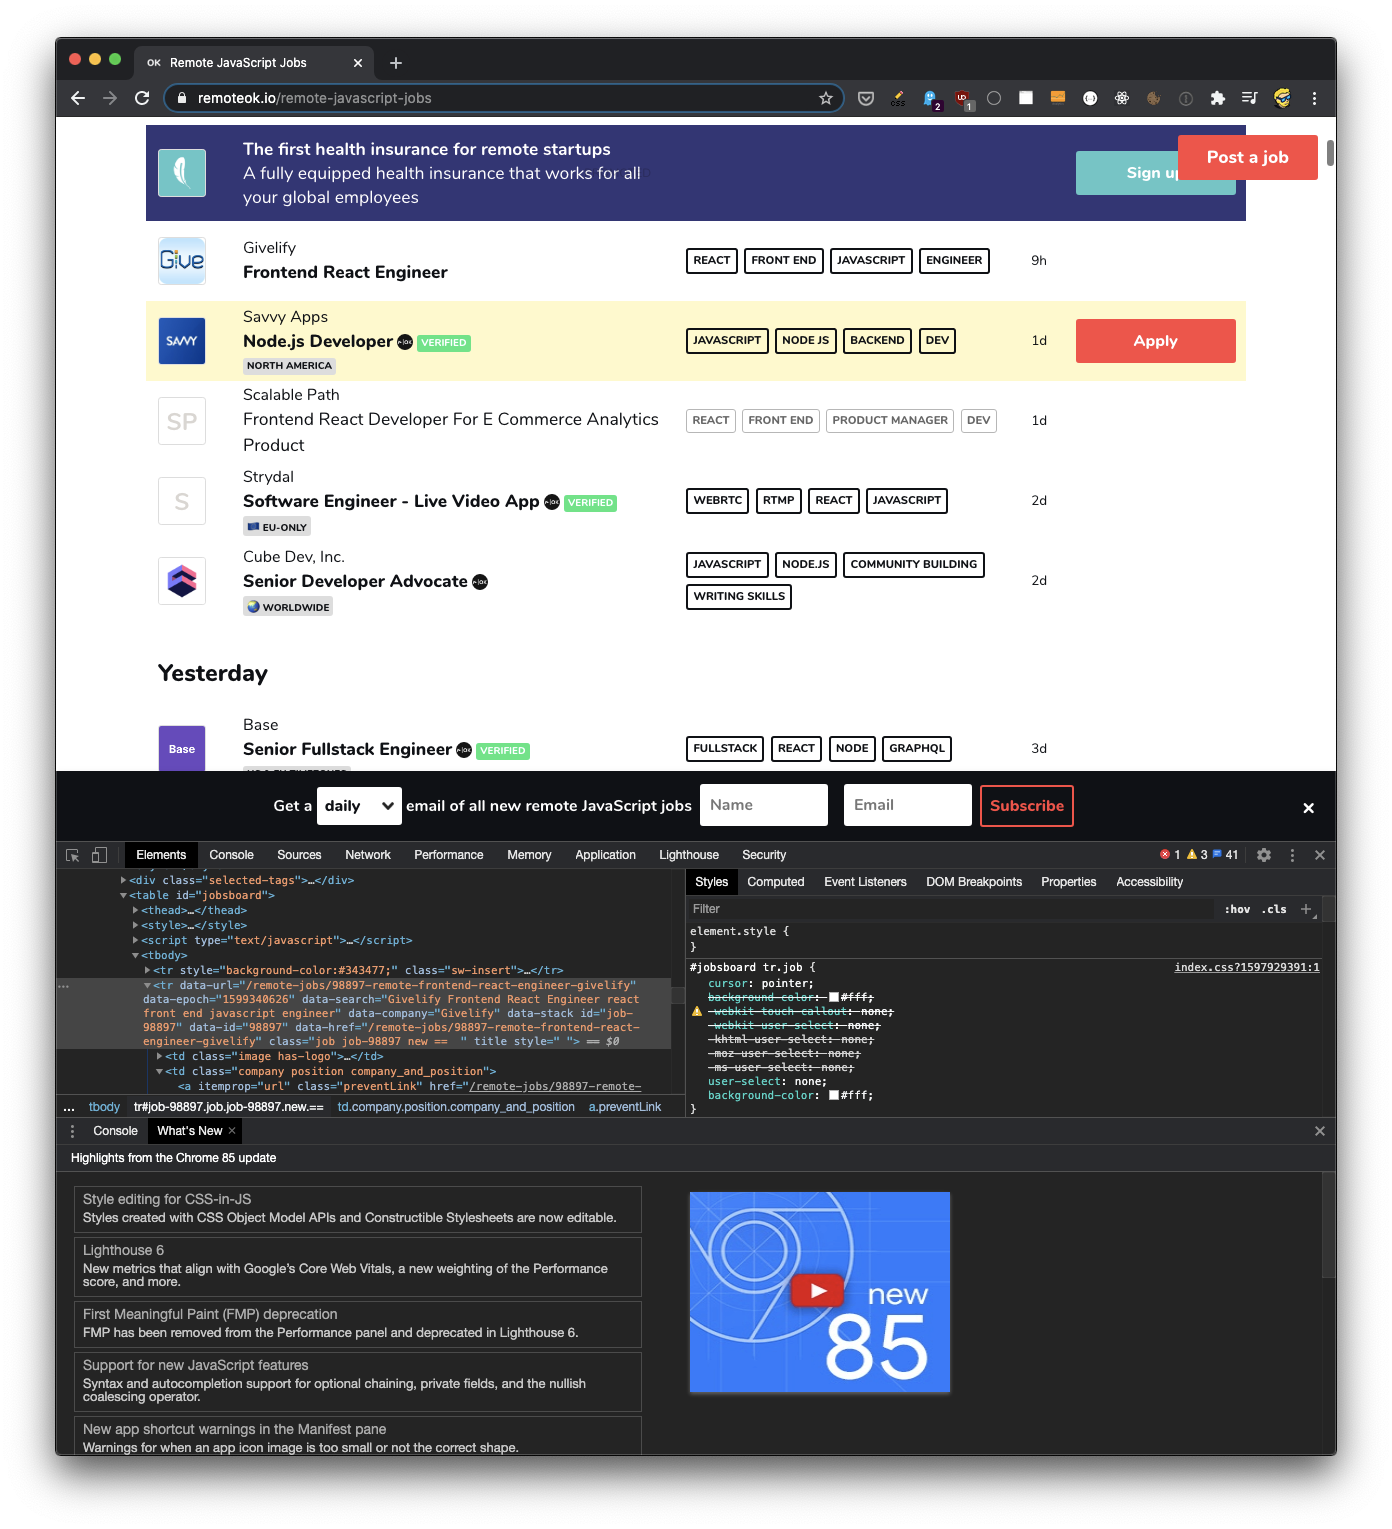
Here’s the full source code:
const puppeteer = require("puppeteer")
;(async () => {
const browser = await puppeteer.launch({ headless: false })
const page = await browser.newPage()
await page.goto("https://remoteok.io/remote-javascript-jobs")
/* Run javascript inside the page */
const data = await page.evaluate(() => {
const list = []
const items = document.querySelectorAll("tr.job")
for (const item of items) {
list.push({
company: item.querySelector(".company h3").innerHTML,
position: item.querySelector(".company h2").innerHTML,
link: "https://remoteok.io" + item.getAttribute("data-href"),
})
}
return list
})
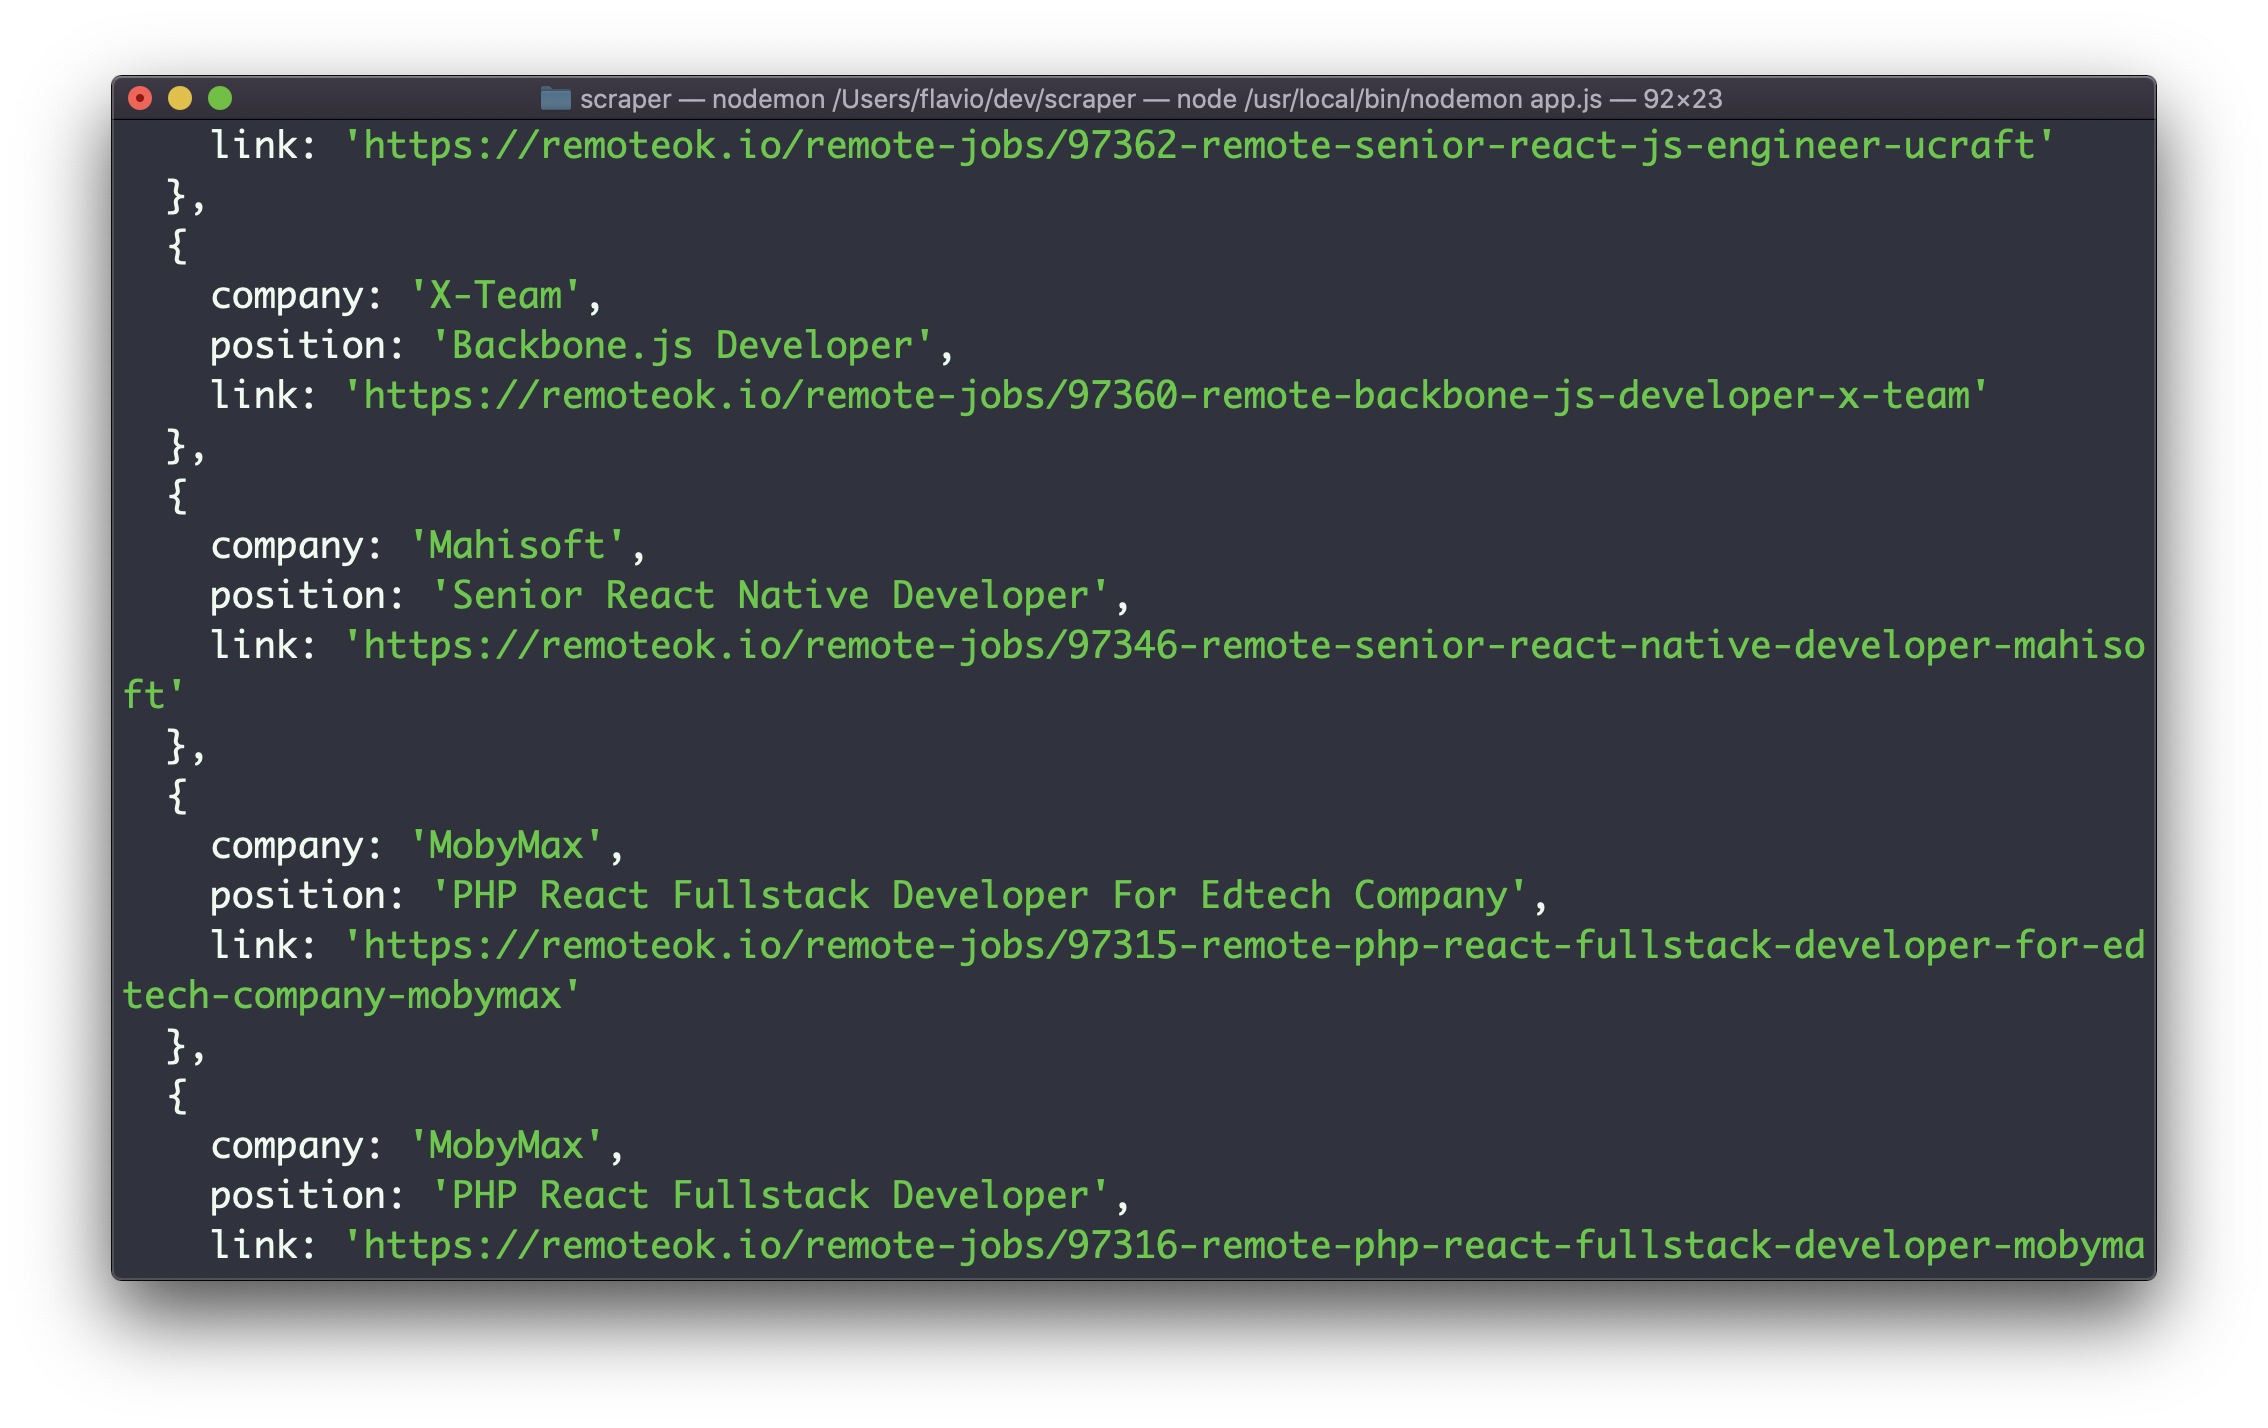
console.log(data)
await browser.close()
})()If you run this, you will get back an array of objects, each containing the job details:
Store jobs in the database
Now we’re ready to store this data into a local database.
We will run the Puppeteer script once in a while, removing all the jobs stored, first, and then re-filling the database with the new ones found.
We’ll use MongoDB. From the terminal, run:
npm install mongodbThen in app.js we add this logic to initialize the jobs database, and a jobs collection inside it:
const puppeteer = require("puppeteer")
const mongo = require("mongodb").MongoClient

const url = "mongodb://localhost:27017"
let db, jobs

mongo.connect(
  url,
  {
    useNewUrlParser: true,
    useUnifiedTopology: true,
  },
  (err, client) => {
    if (err) {
      console.error(err)
      return
    }
    db = client.db("jobs")
    jobs = db.collection("jobs")

    //....
  }
)
Now we put the code we had that did the scraping into this function, where we have that //.... comment. This will make the code run after we connected to MongoDB:
const puppeteer = require("puppeteer")
const mongo = require("mongodb").MongoClient

const url = "mongodb://localhost:27017"
let db, jobs

mongo.connect(
  url,
  {
    useNewUrlParser: true,
    useUnifiedTopology: true,
  },
  (err, client) => {
    if (err) {
      console.error(err)
      return
    }
    db = client.db("jobs")
    jobs = db.collection("jobs")
    ;(async () => {
      const browser = await puppeteer.launch({ headless: false })
      const page = await browser.newPage()
      await page.goto("https://remoteok.io/remote-javascript-jobs")

      /* Run javascript inside the page */
      const data = await page.evaluate(() => {
        const list = []
        const items = document.querySelectorAll("tr.job")

        for (const item of items) {
          list.push({
            company: item.querySelector(".company h3").innerHTML,
            position: item.querySelector(".company h2").innerHTML,
            link: "https://remoteok.io" + item.getAttribute("data-href"),
          })
        }

        return list
      })

      console.log(data)
      jobs.deleteMany({})
      jobs.insertMany(data)
      await browser.close()
    })()
  }
)
At the end of the function I added
jobs.deleteMany({})
jobs.insertMany(data)
to first clear the MongoDB table, and then insert the array we have.
Now if you try running node app.js again, and you inspect the MongoDB database content with the terminal console or an app like TablePlus, you will see the data being present:
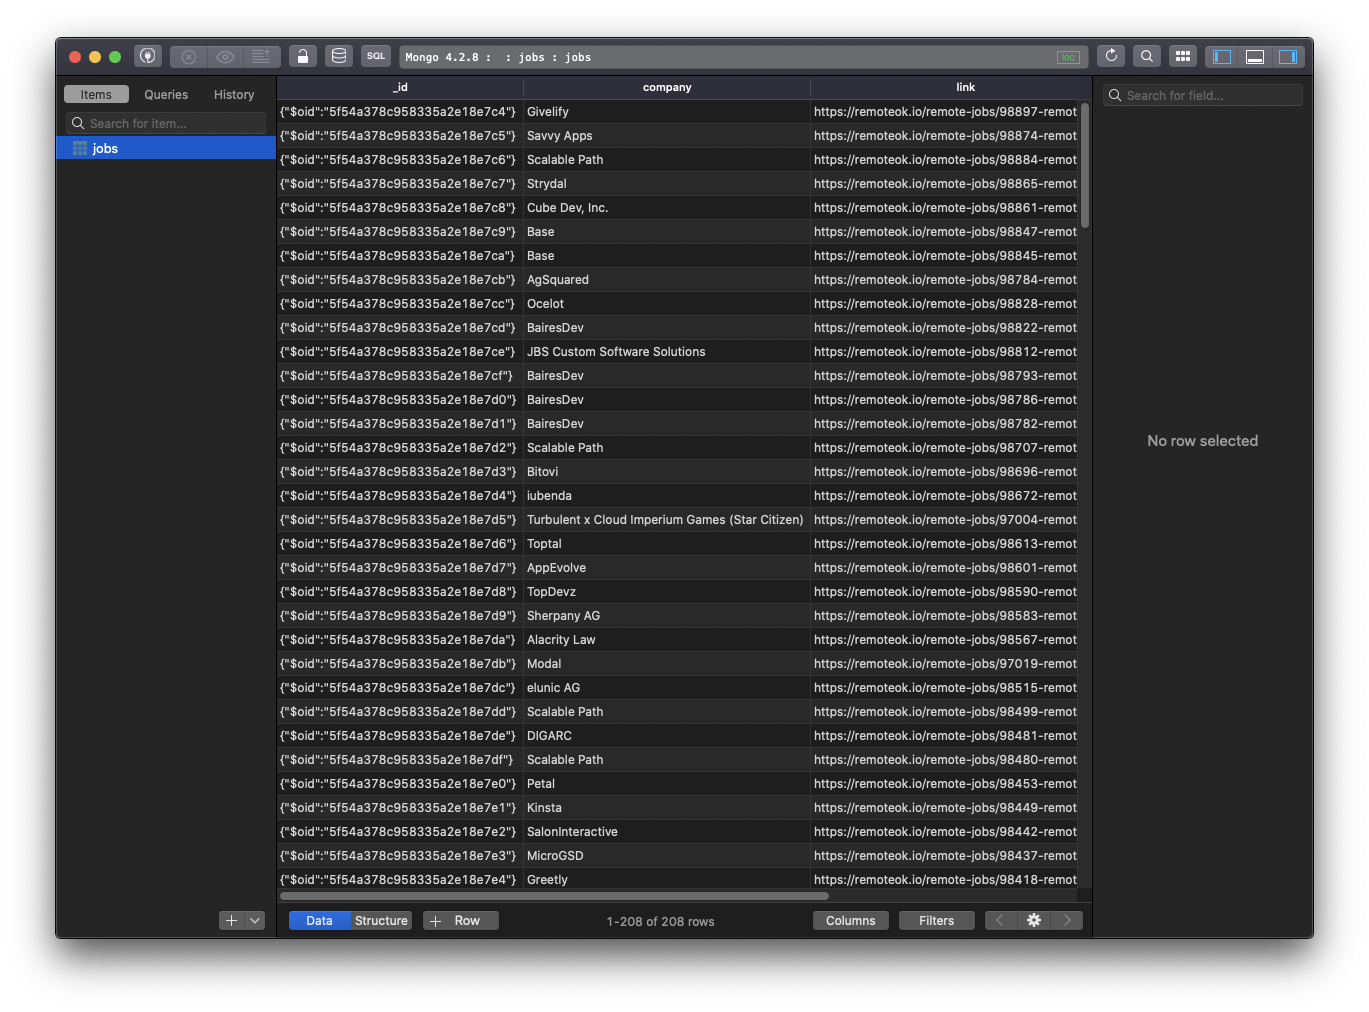
Cool! We can now set up a cron job or any other automation to run this application every day or every 6 hours to always have fresh data.
Create the Node.js app to visualize the jobs
Now what we need is a way to visualize those jobs. We need an application.
We’ll build a Node.js app based on express and server-side templates with Pug.
Create a new folder, and inside it run npm init -y.
Then install Express, MongoDB and Pug:
npm install express mongodb pugWe first initialize Express:
const express = require("express")
const path = require("path")

const app = express()
app.set("view engine", "pug")
app.set("views", path.join(__dirname, "."))

app.get("/", (req, res) => {
  //...
})

app.listen(3000, () => console.log("Server ready"))
Then we initialize MongoDB, and we get the jobs data into the jobs array:
const express = require("express")
const path = require("path")

const app = express()
app.set("view engine", "pug")
app.set("views", path.join(__dirname, "."))

const mongo = require("mongodb").MongoClient

const url = "mongodb://localhost:27017"
let db, jobsCollection, jobs

mongo.connect(
  url,
  {
    useNewUrlParser: true,
    useUnifiedTopology: true,
  },
  (err, client) => {
    if (err) {
      console.error(err)
      return
    }
    db = client.db("jobs")
    jobsCollection = db.collection("jobs")
    jobsCollection.find({}).toArray((err, data) => {
      jobs = data
    })
  }
)

app.get("/", (req, res) => {
  //...
})

app.listen(3000, () => console.log("Server ready"))
Most of this code is same as the code we used in the Puppeteer script to insert the data. The difference is that now we use find() to get the data from the database:
jobsCollection.find({}).toArray((err, data) => {
  jobs = data
})
Finally we render a Pug template when the user hits the / endpoint:
app.get("/", (req, res) => {
  res.render("index", {
    jobs,
  })
})
Here’s the full app.js file:
const express = require("express")
const path = require("path")

const app = express()
app.set("view engine", "pug")
app.set("views", path.join(__dirname, "."))

const mongo = require("mongodb").MongoClient

const url = "mongodb://localhost:27017"
let db, jobsCollection, jobs

mongo.connect(
  url,
  {
    useNewUrlParser: true,
    useUnifiedTopology: true,
  },
  (err, client) => {
    if (err) {
      console.error(err)
      return
    }
    db = client.db("jobs")
    jobsCollection = db.collection("jobs")
    jobsCollection.find({}).toArray((err, data) => {
      jobs = data
    })
  }
)

app.get("/", (req, res) => {
  res.render("index", {
    jobs,
  })
})

app.listen(3000, () => console.log("Server ready"))
The index.pug file, hosted in the same folder as app.js, will iterate on the jobs array to print the details we stored:
html
  body
    each job in jobs
      p
      | #{job.company}
      br
      a(href=`${job.link}`) #{job.position}
Here’s the result:
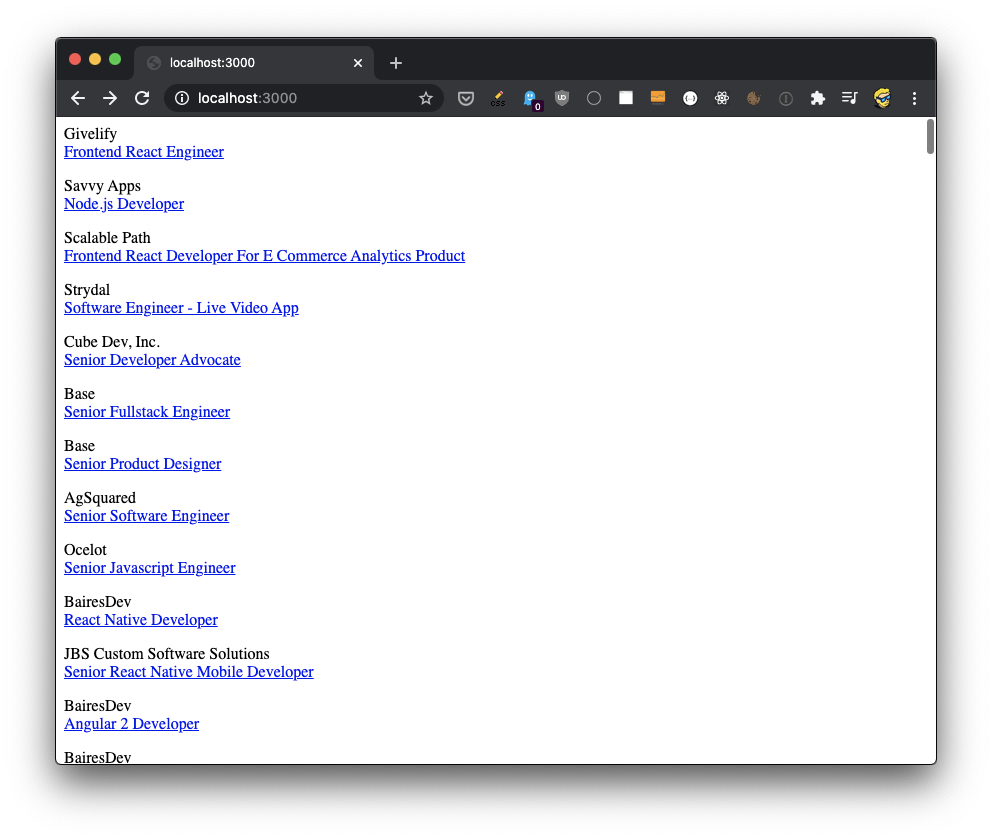
Related posts about tools: