Creating a user on MySQL
By Flavio Copes
Learn how to create a new user in MySQL with the CREATE USER command instead of relying on the powerful root account, then connect with the new credentials.
Right after you install MySQL, you will have the root user available.
This is the user you might use to try and see if MySQL is working, but it should not be the user for other kinds of usages.
Why? Because it’s too powerful.
With great power comes great responsibility (said Spider-Man’s uncle). And in particular, great danger if you make mistakes.
Instead, you should create ad-hoc users that only have permissions to perform their job, and no more. Same for using Linux or any Unix system, for example: you don’t want to be using the root user, but your own user account.
To create a new user, connect to MySQL using the root user:
mysql -u root -p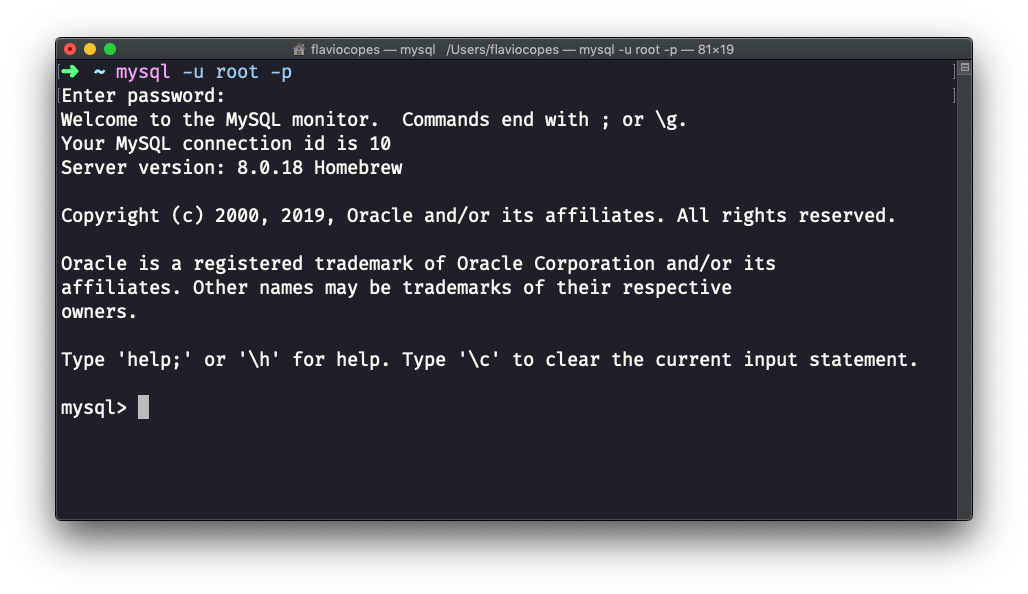
then use the command
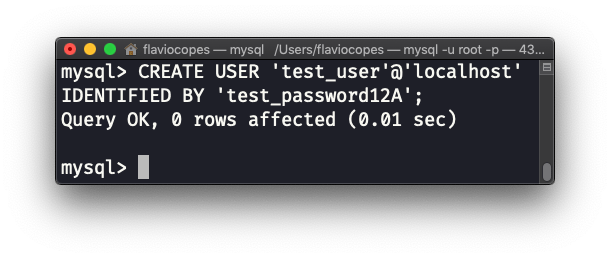
CREATE USER '<username>'@'localhost' IDENTIFIED BY '<password>';For example, to create a user named test_user with password test_password12A run the command:
CREATE USER 'test_user'@'localhost' IDENTIFIED BY 'test_password12A';The command should return a line saying Query OK, 0 rows affected (X.XX sec):
If you used an invalid password, the system would tell you something like ERROR 1819 (HY000): Your password does not satisfy the current policy requirements. In this case the error says that the password is not complex enough, because when I installed MySQL I told it to use a certain policy on passwords.
That’s great! Now the user has been created, and we can connect using that user to MySQL. From the command line you can exit by typing QUIT, and typing:
mysql -u test_user -p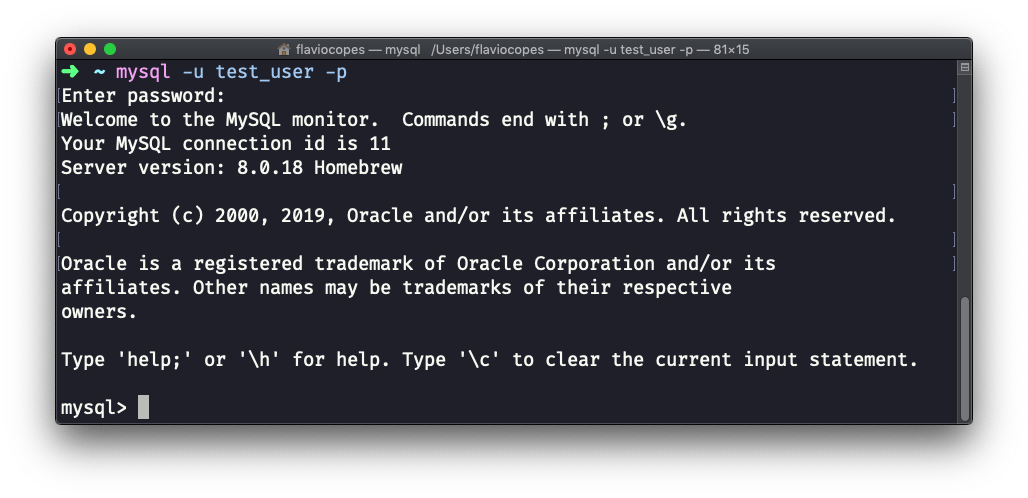
Now if I try to create a database, I’d get an error saying ERROR 1044 (42000): Access denied for user 'test_user'@'localhost' to database 'testing':
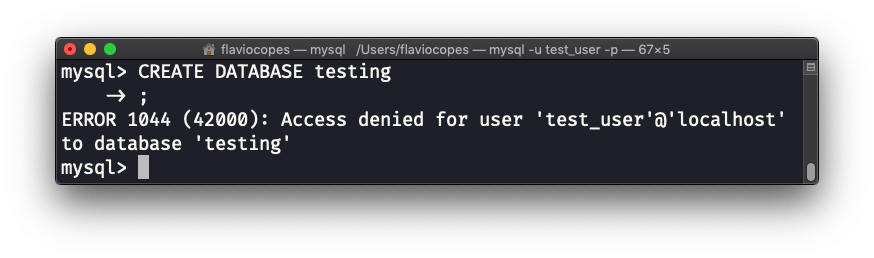
Why? Because the user does not have the permission to create a new database.
We’ll see how to work with permissions in another tutorial.
It’s worth mentioning the @'localhost' string we used to create the user. This tells MySQL that the user can only connect from localhost. Which is fine when testing things out and when any application that will connect to MySQL is running on the same computer that runs the DBMS.
When this is not true, you either need to manually enter the IP the user will connect from, or use the % wildcard:
CREATE USER 'test_user'@'%' IDENTIFIED BY 'test_password12A';I want to close this tutorial by showing how to remove the user we created:
DROP USER 'test_user'@'localhost';Related posts about database: