How to install PostgreSQL on macOS
By Flavio Copes
Learn how to install PostgreSQL on macOS with Homebrew, using brew install postgresql and brew services start postgresql to run it as a background daemon.
The following instructions to install PostgreSQL are based on macOS.
For Windows and Linux, go to https://www.postgresql.org/download/ and choose your package.
Also search “how to install postgres on windows” or “how to install postgres on your linux distribution” if you’re using other platforms.
It should not differ a lot, especially past the installation phase.
On macOS we’ll use Homebrew. If you don’t have Homebrew installed yet, go to https://brew.sh/ and follow the instructions there.
Once you are done, get back and in the command line run:
brew install postgresqland after it finished, run:
brew services start postgresqlto start PostgreSQL as a daemon, which means it will keep running in the background, listening for connections.
Using Homebrew has the great advantage that any update can be installed by running
brew upgrade postgresql
brew postgresql-upgrade-database
brew services restart postgresql
postgresql is the more complex to pronounce name of PostgreSQL, but they are the same thing. It just embeds SQL in the name. What’s SQL? SQL, pronouced “sequel”, means Structured Query Language, and it’s a special language we use to interact with a relational database.
If you’re new to database, it’s a lot of new terms for you! Basically a relational database organizes the data into tables, and provides a way to insert and extract data from those tables. That’s SQL.
And we’re going to use it soon.
Right after we log in to PostgreSQL!
Go back to the command line, and type
psql postgres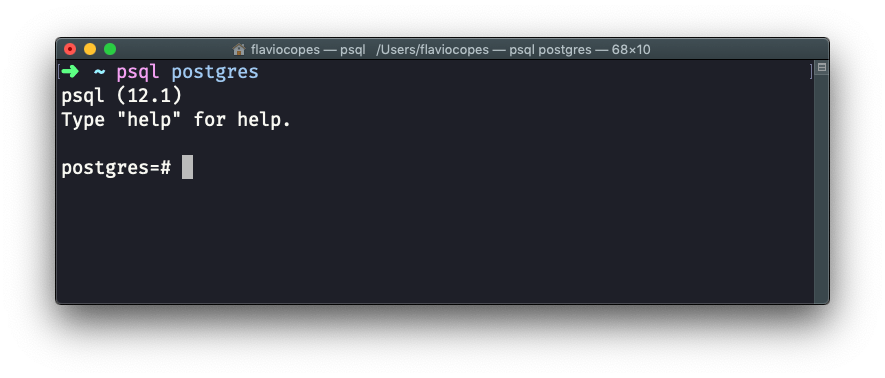
This will give you access to the postgres database, which is created by default, with your macOS username. Homebrew automatically created your user at installation.
Now that we are into the psql application, we can create a new database:
CREATE DATABASE test;Don’t forget the semicolon
;, because it’s needed by SQL otherwise the command will not run.
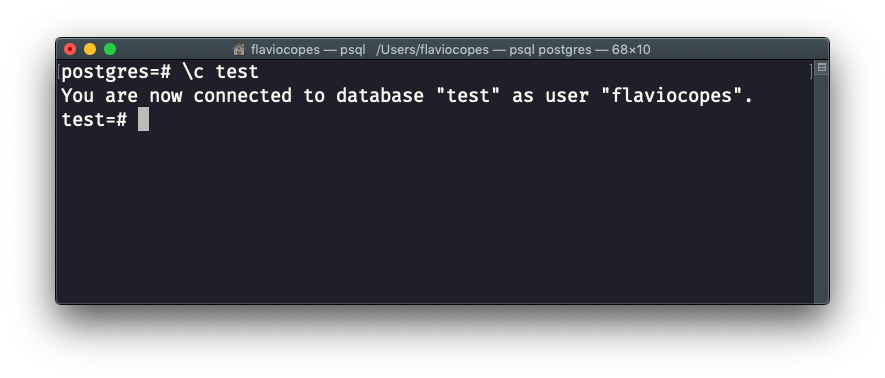
Now in a new line, we switch to this database using
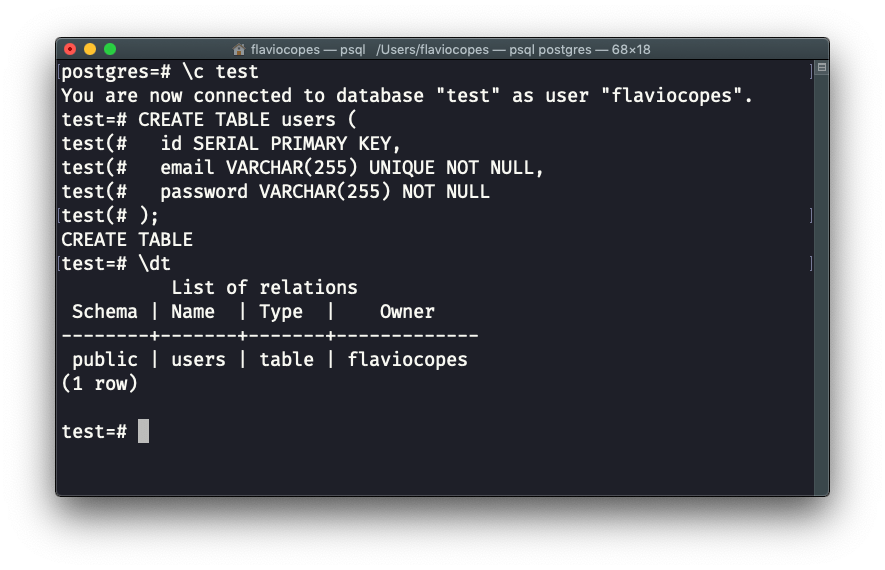
\c testThe prompt will tell something like this:
You are now connected to database "test" as user "flaviocopes"..
Now we’re going to create a new table.
Use this syntax:
CREATE TABLE users (
  id SERIAL PRIMARY KEY,
  email VARCHAR(255) UNIQUE NOT NULL,
  password VARCHAR(255) NOT NULL
);
Now if you run this, and no error shows up, you will have the table in the system.
You can see it by running the command
\dtwhich will show you the database tables:
If you did any error, you can delete the table by running the command
DROP TABLE usersTo finally quit psql, run
\qor just type quit.
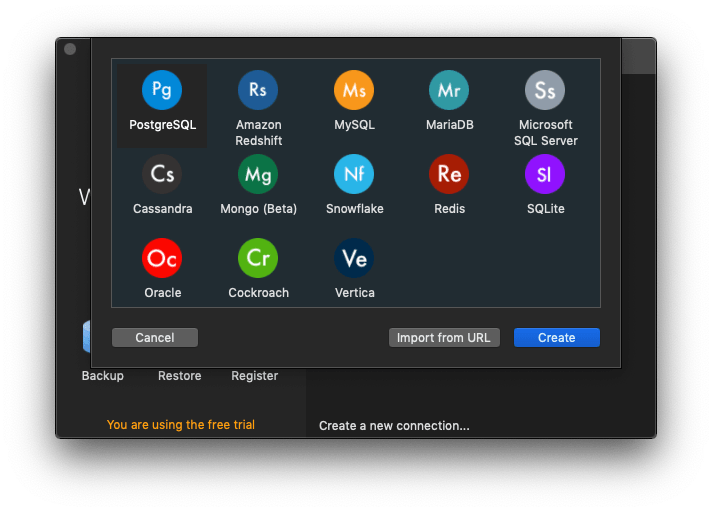
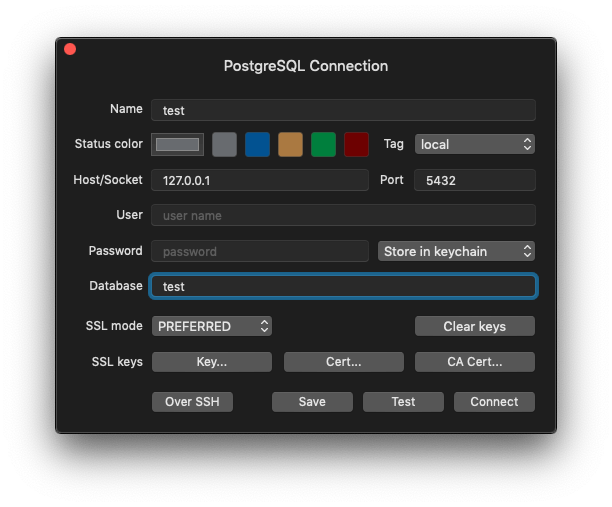
Now that you know how things work under the hood, I will show you an easier way to work with PostgreSQL, and other databases too: the TablePlus app. It works on macOS, Windows and Linux.
Connect to the database:
specifying the test database name:
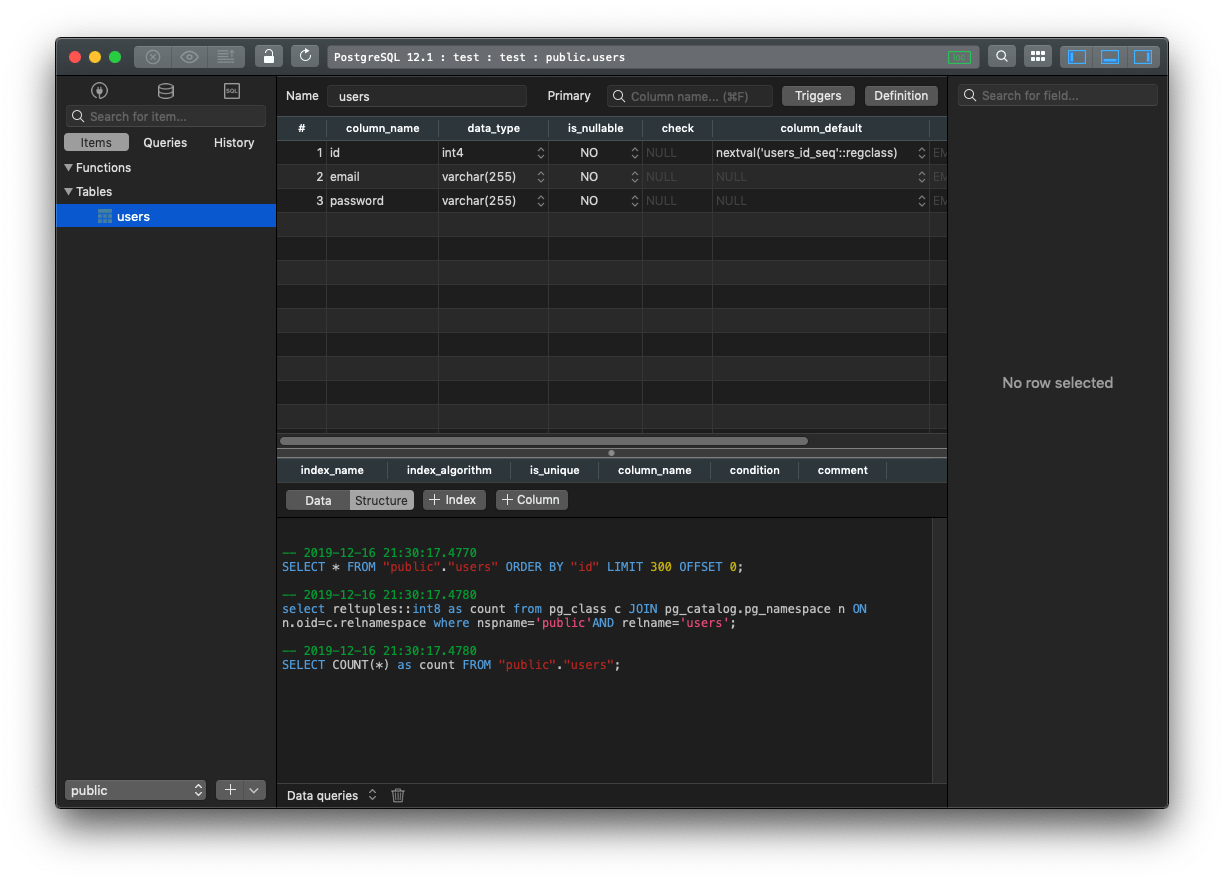
In addition to be able to inspect tables with a Graphical User Interface:
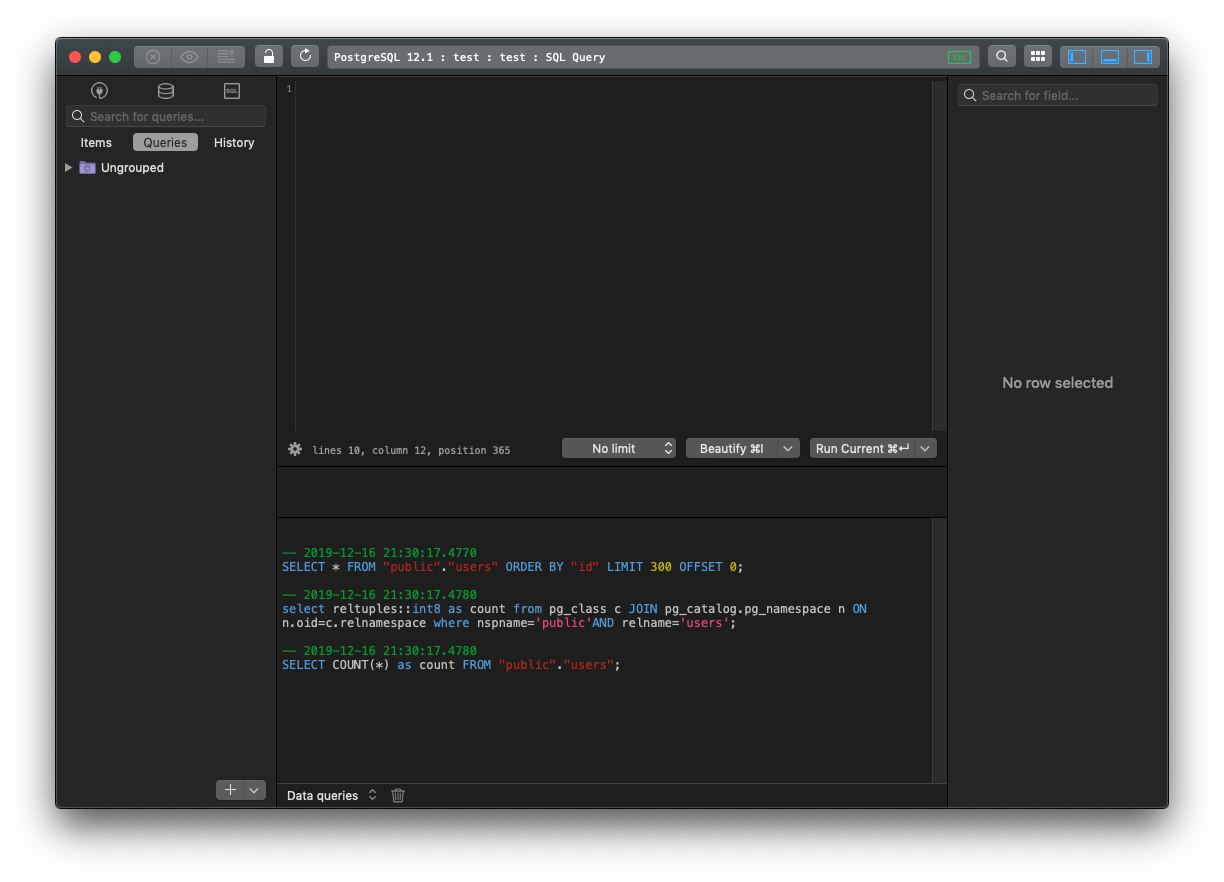
It also allows us to work with SQL queries, very easily:
Related posts about database: