How to use Google Fonts
By Flavio Copes
Learn how to use Google Fonts on your website, from picking a family and checking its license to embedding it with a link tag or a CSS import rule.
I am a huge proponent of using System Fonts, which are fast, lightweight and work great, but sometimes you need to be a little fancy.
You need a specific font that will make your designs look good.
Maybe a nice font like Slabo, Lato or Raleway.
Google provides, as part of its numerous services, a tool called Google Fonts, which (as I write this) supports 992 font families:
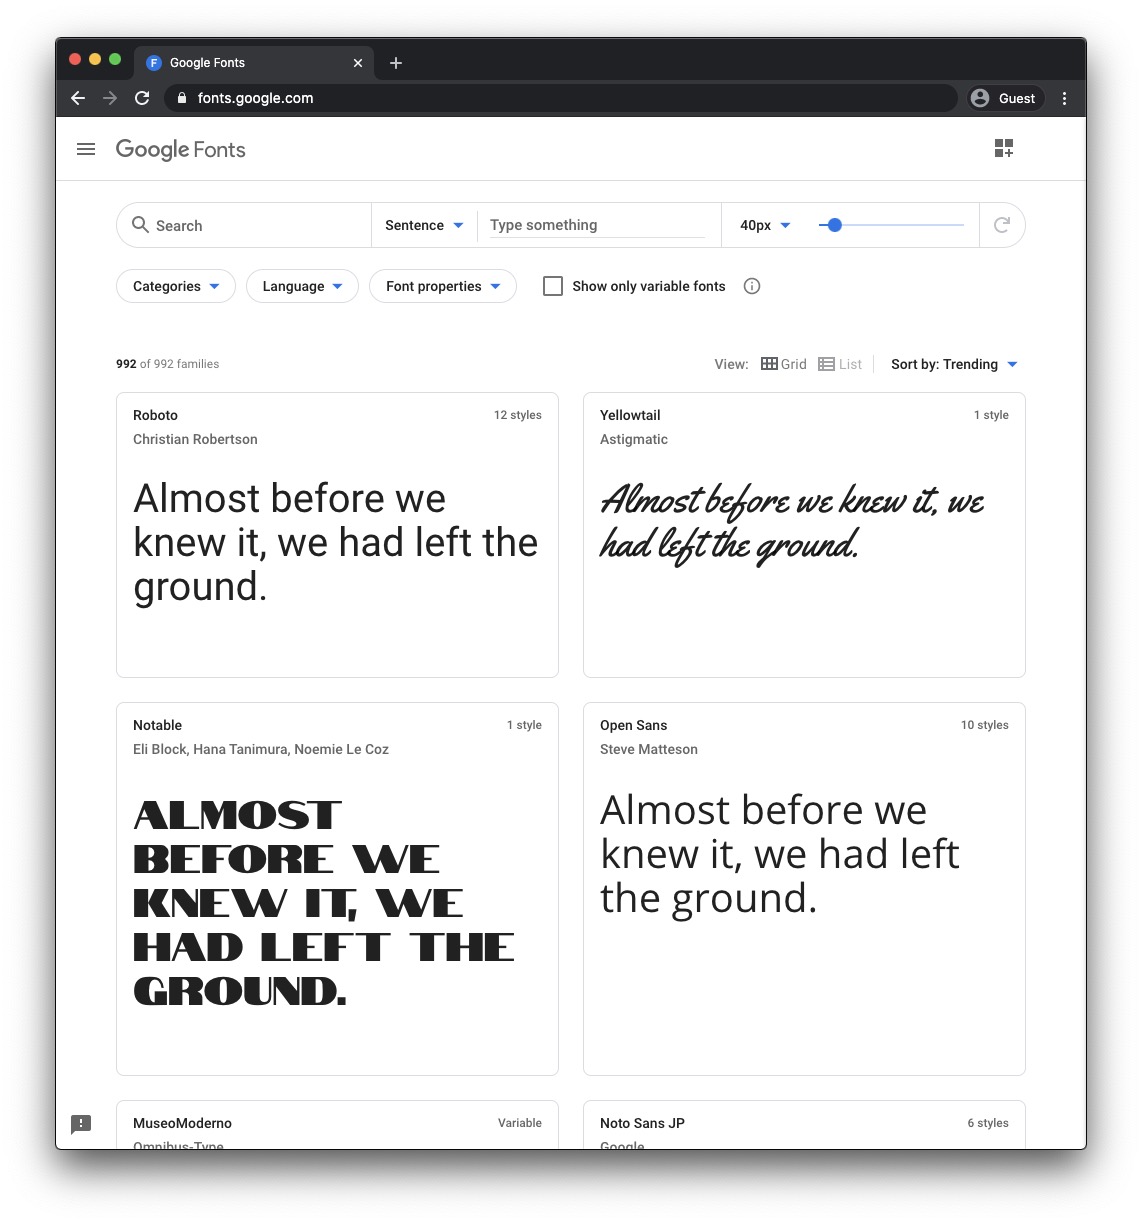
The interface is a bit overwhelming and as a person not expert in fonts, I am definitely confused at which font should I choose.
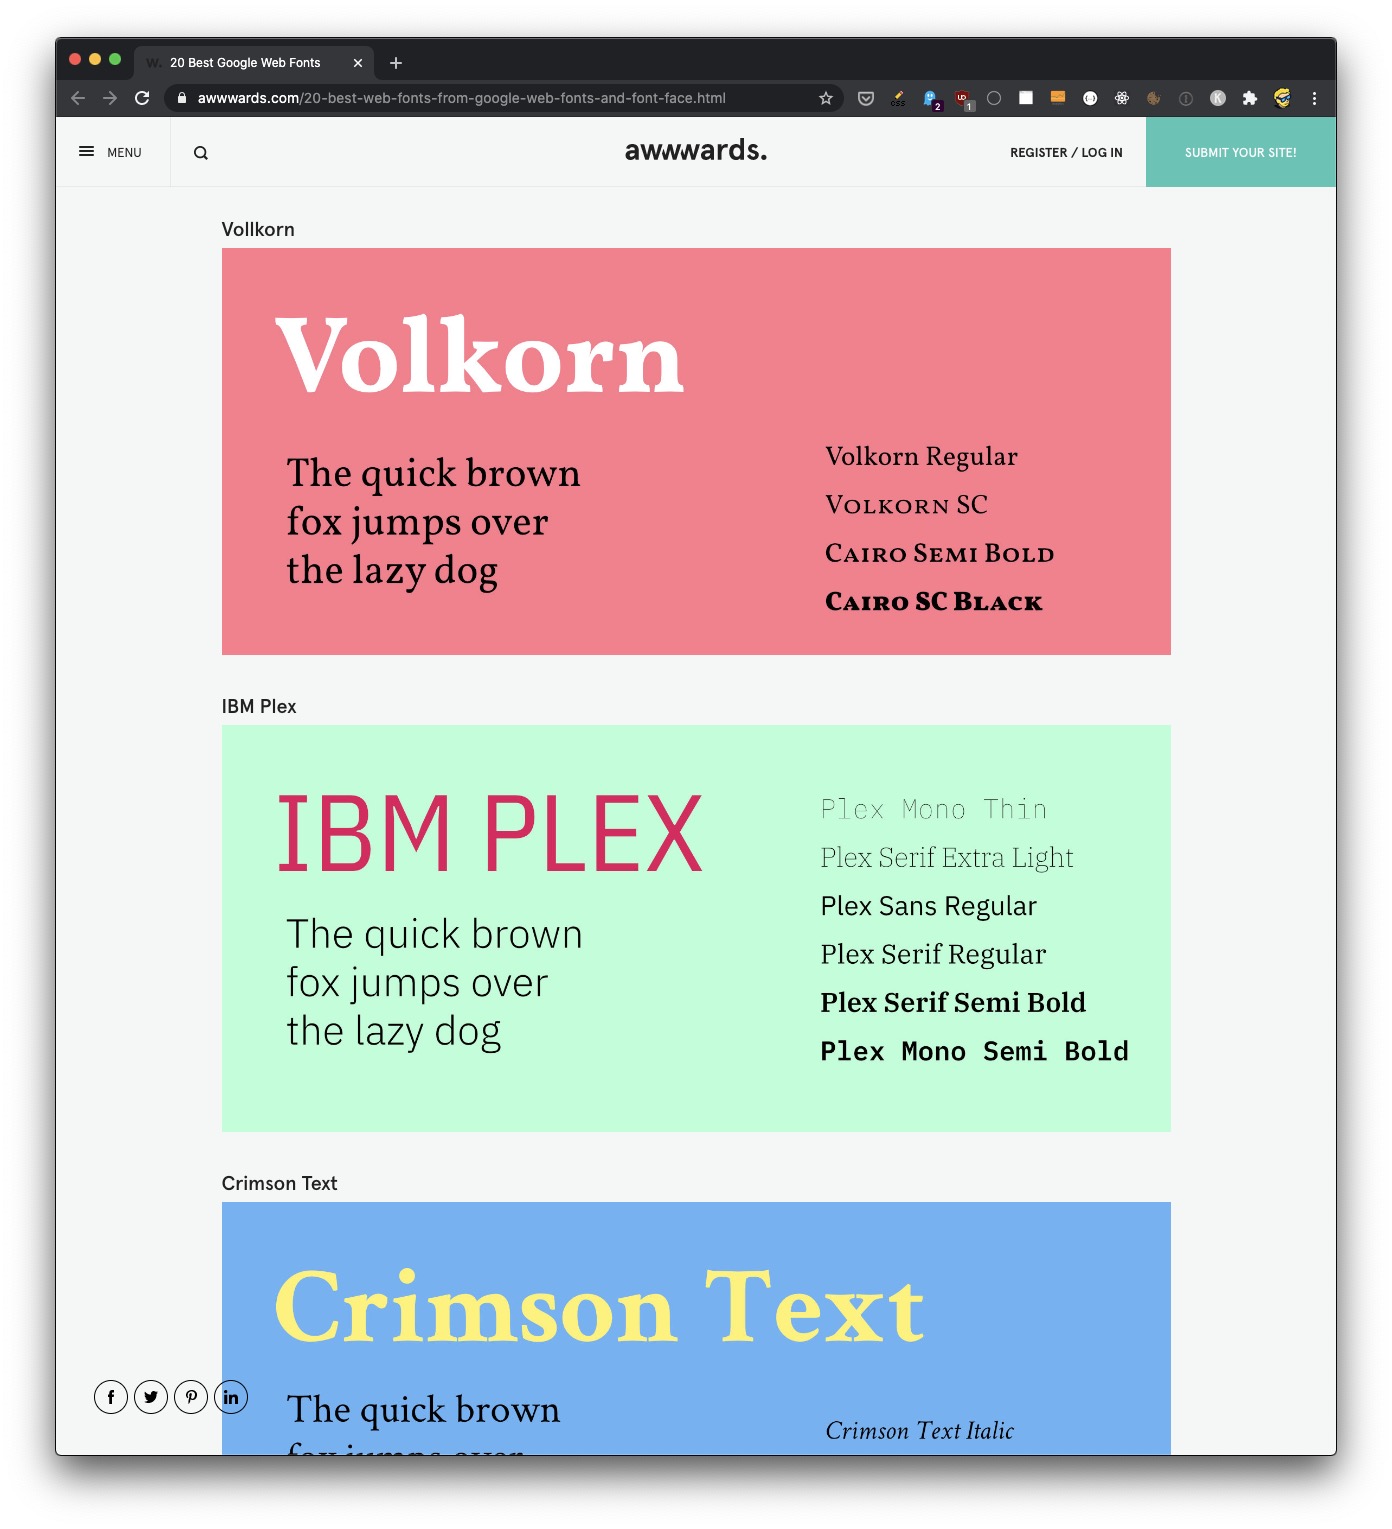
I typically search for “best google fonts” on Google and I look at the articles I get, to get an idea of how a font could look like. Looking at dozens of fonts on Google Fonts is not ideal for that, and some sites make it easy with colors, like on this post:
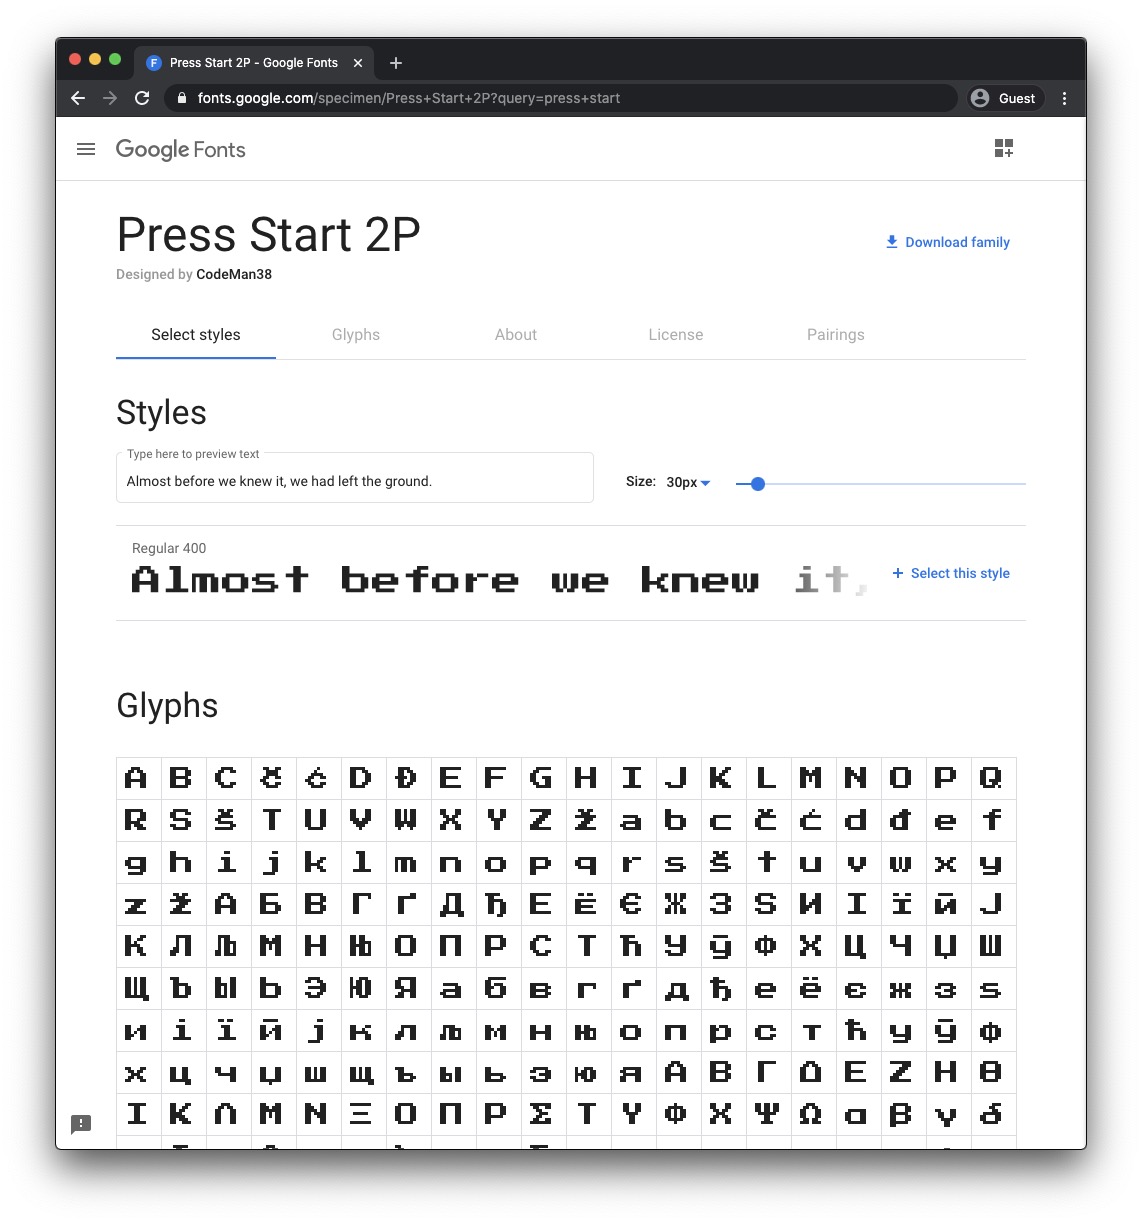
Let’s take one of the fonts I used in one of my websites: Press Start 2P.
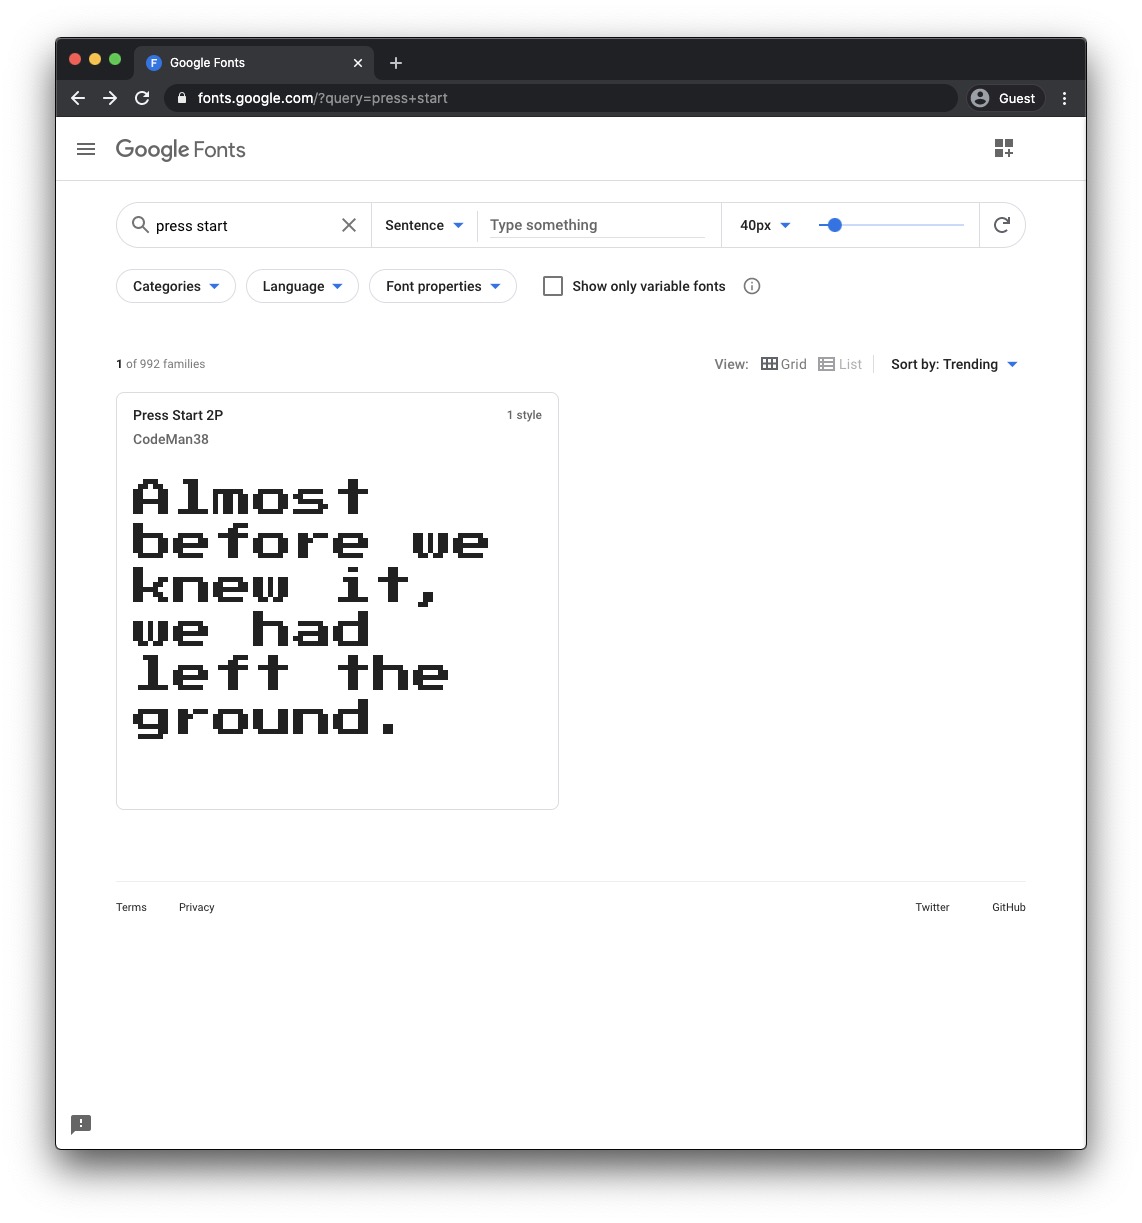
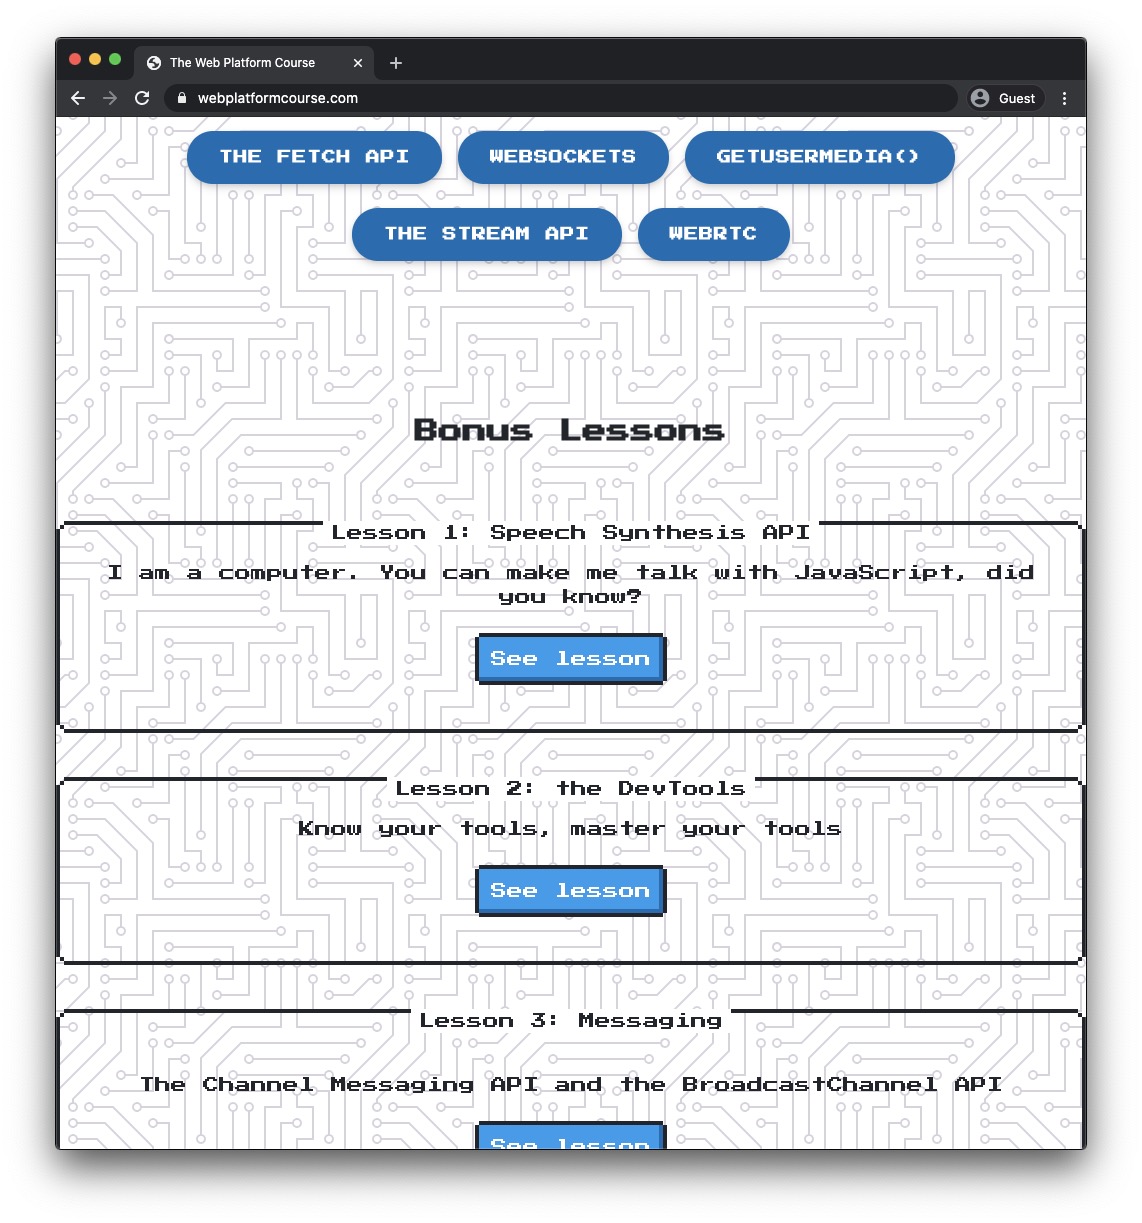
It’s a great font for a retro website. I used it in my Web Platform course homepage, to which I wanted to give a computer-y look.
On the font page, you can see how each character is rendered:
Scrolling down you can see who is the designer, and an important part: the license. In this case the page says
You can use them freely in your products & projects - print or digital, commercial or otherwise. However, you can’t sell the fonts on their own.
which grants us a lot of permissions.
We can use the font as we want, even in a commercial project, but we can’t resell it.
At the bottom we have an interesting section that lists which fonts are often paired with this one.

With fonts I try to be as conservative as possible because most of the times I don’t know what I’m doing and seeing what other people do and copying the most reasonable choice is a good strategy.
Now you can press the “Download family” link on the top right of the page to download the font TTF file, which you can install on your computer and use it as a font in your desktop programs.
But you don’t need to do so to use the font on a website.
What you can do is click “Select this style” next to each style you want, in the Styles section
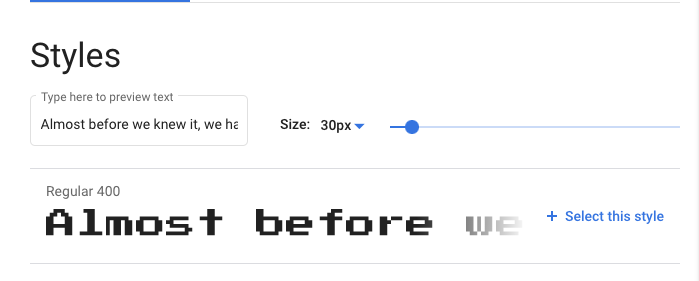
This will add it to the Selected families sidebar:
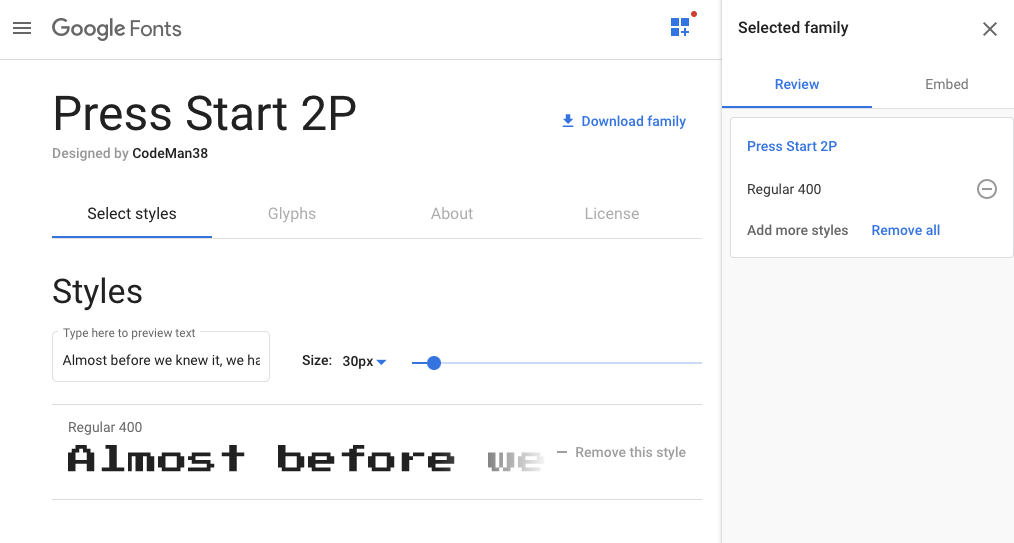
Once you are done with it, you click the Embed tab and there you can find the code you need to enter in your project: a link element to include the font in the HTML, and the CSS rule to apply the font family to specific elements:

So in this case what you need to do is to add this HTML:
<link
  href="https://fonts.googleapis.com/css2?family=Press+Start+2P&display=swap"
  rel="stylesheet"
/>
and then this CSS:
body {
  /* use your favorite selector here */
  font-family: 'Press Start 2P', cursive;
}
We have a fallback font in case the font can’t be loaded, or takes too much to load.
Another way to include the font is using the @import directive in the CSS, so you don’t need to use the link attribute in the HTML - all is in the CSS file:
@import url(https://fonts.googleapis.com/css?family=Press+Start+2P);But this approach has one limitation: it’s slower. If the font is linked in the HTML, the browser will make a request to the font URL as soon as it reads the HTML.
If the font is linked in the CSS, the browser first has to make a request to load the CSS, then it can make a request to load the font URL.
And a few milliseconds lost here can make the difference between a page that loads instantly with the right font, and a page that first loads with the fallback font, and then loads the correct font when it’s available.
Related posts about platform: