SwiftUI forms: Picker
By Flavio Copes
Learn how to use the Picker control in SwiftUI to choose one option from a list, bind it with selection, and get the pushed list style with NavigationStack.
After TextField and Toggle, another common form control is Picker. It lets us choose an option among a series of possible ones.
First thing we need to do is to have an array with a list of options:
var cities = ["Rome", "Milan", "Venice", "Florence"]Then we need a property to store the selected choice. We wrap it with @State as that’s something that will change based on the user’s input:
@State private var selected = "Rome"Finally we use a Picker view. We pass 2 parameters. The first is a label, the second is the property used for the selected item, and in the closure we add a Text view for each different option, using a ForEach view:
Picker("What's your favorite city?", selection: $selected) {
    ForEach(cities, id: \.self) {
        Text($0)
    }
}
Here’s the full code of our ContentView
struct ContentView: View {
    var cities = ["Rome", "Milan", "Venice", "Florence"]

    @State private var selected = "Rome"

    var body: some View {
        Form {
            Picker("What's your favorite city?", selection: $selected) {
                ForEach(cities, id: \.self) {
                    Text($0)
                }
            }
        }
    }
}
You can try to run it. On iOS 16 and later it works right away: tap the row and a menu pops up with the four cities. Inside a Form, the default picker style is now .menu.
When I wrote this post, on iOS 15, it was different. The picker showed up with the default option, but grayed out:
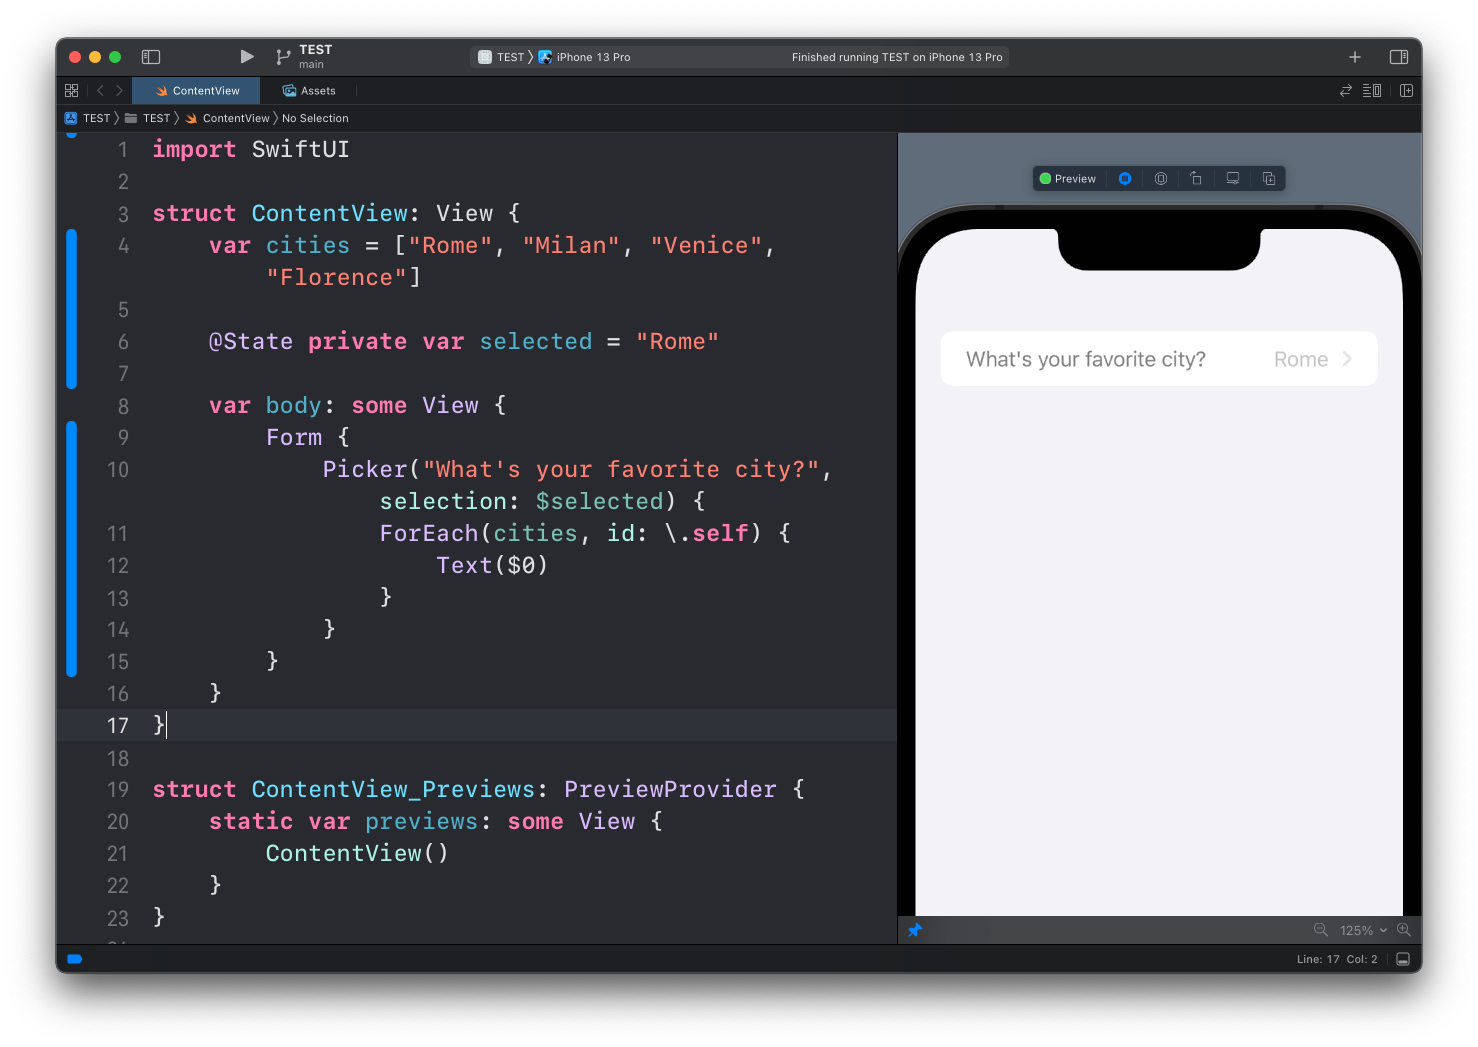
Even in preview mode, or in the Simulator, you couldn’t tap it.
Why?
Because back then a picker inside a form used a navigation link style by default. Tapping it pushed a new screen with the list of options, and pushing only works inside a navigation container. So you had to wrap it all inside a NavigationView.
You can still get that pushed list today, the same one you see in the iOS Settings app. Ask for it with .pickerStyle(.navigationLink), and wrap the form in a NavigationStack, which replaced NavigationView in iOS 16:
struct ContentView: View {
    var cities = ["Rome", "Milan", "Venice", "Florence"]

    @State private var selected = "Rome"

    var body: some View {
        NavigationStack {
            Form {
                Picker("What's your favorite city?", selection: $selected) {
                    ForEach(cities, id: \.self) {
                        Text($0)
                    }
                }
                .pickerStyle(.navigationLink)
            }
        }
    }
}
We’ll talk about
NavigationStackin another post
Apple suggests the menu for short lists, and the navigation link style when you have many options or the pushed screen fits your design better.
The screenshots below are from Xcode 13, when the code used NavigationView and no explicit style. What you see on screen is the same.
Now running it again, you can see the label turned black instead of gray:
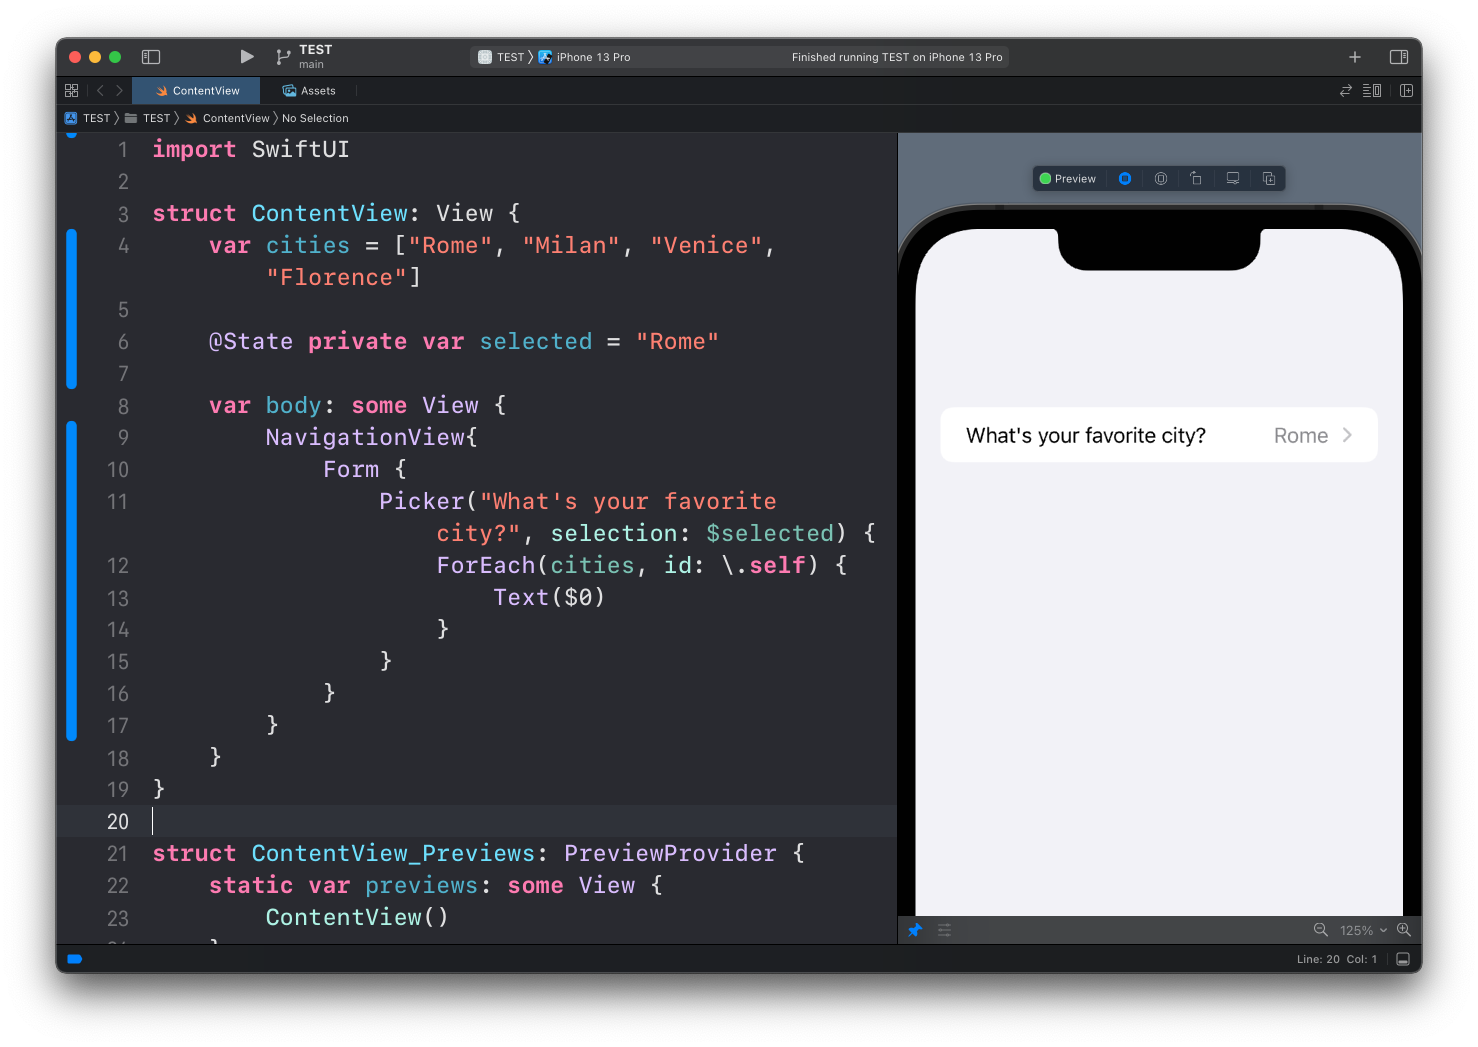
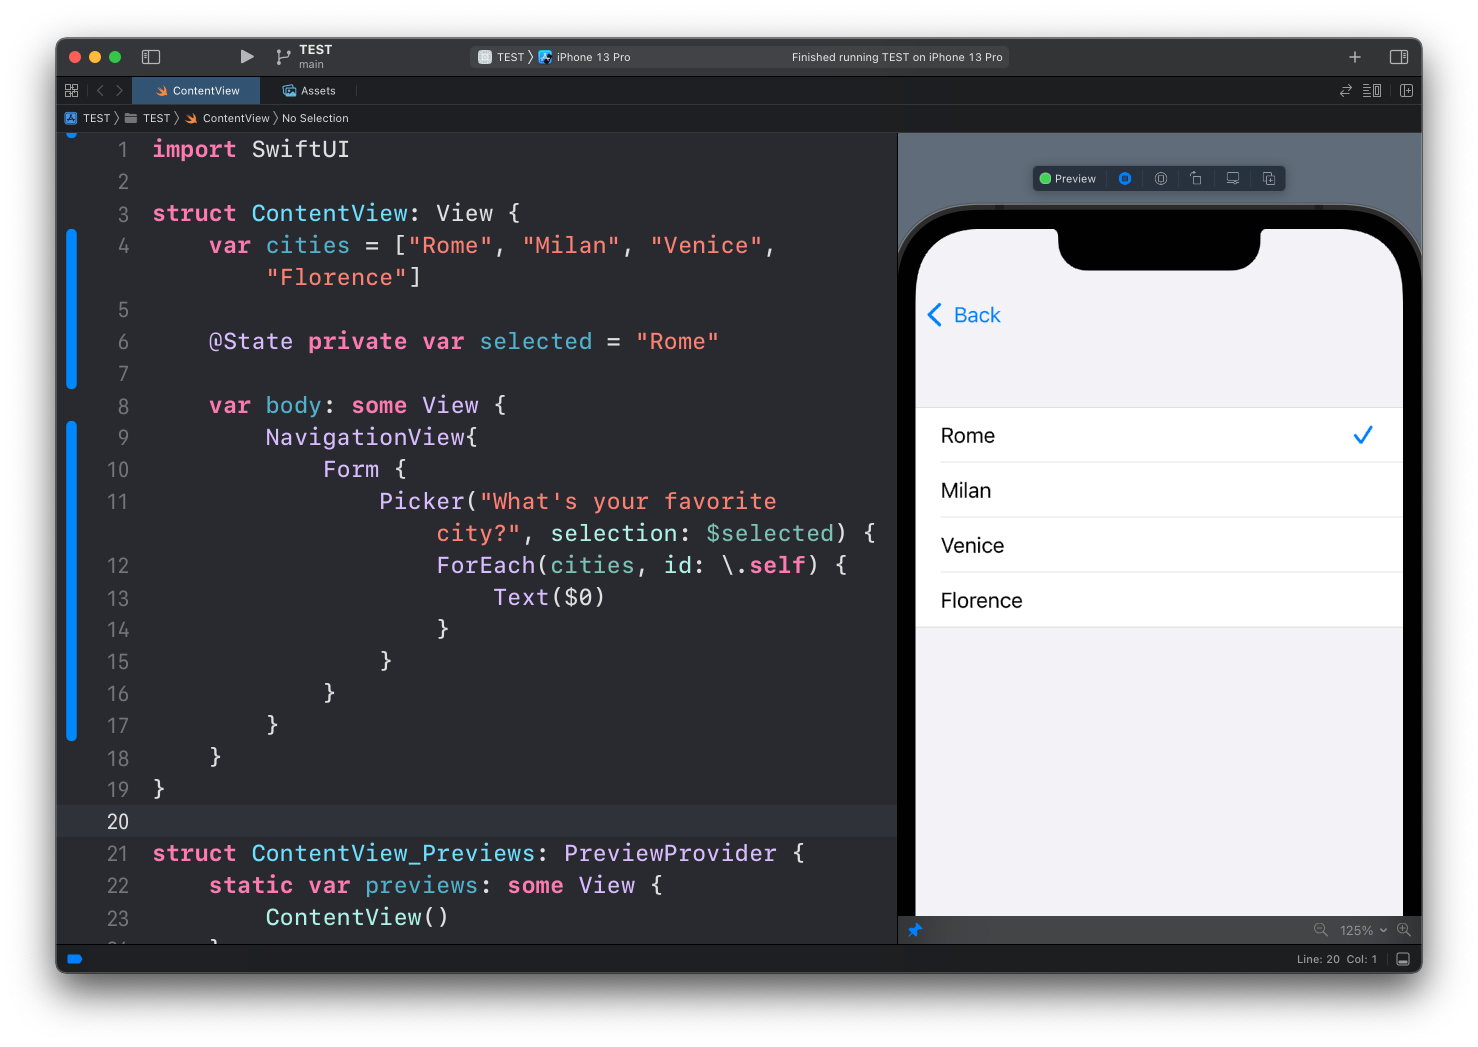
You can tap it, and you’ll see the options list, with a navigation link to go back:
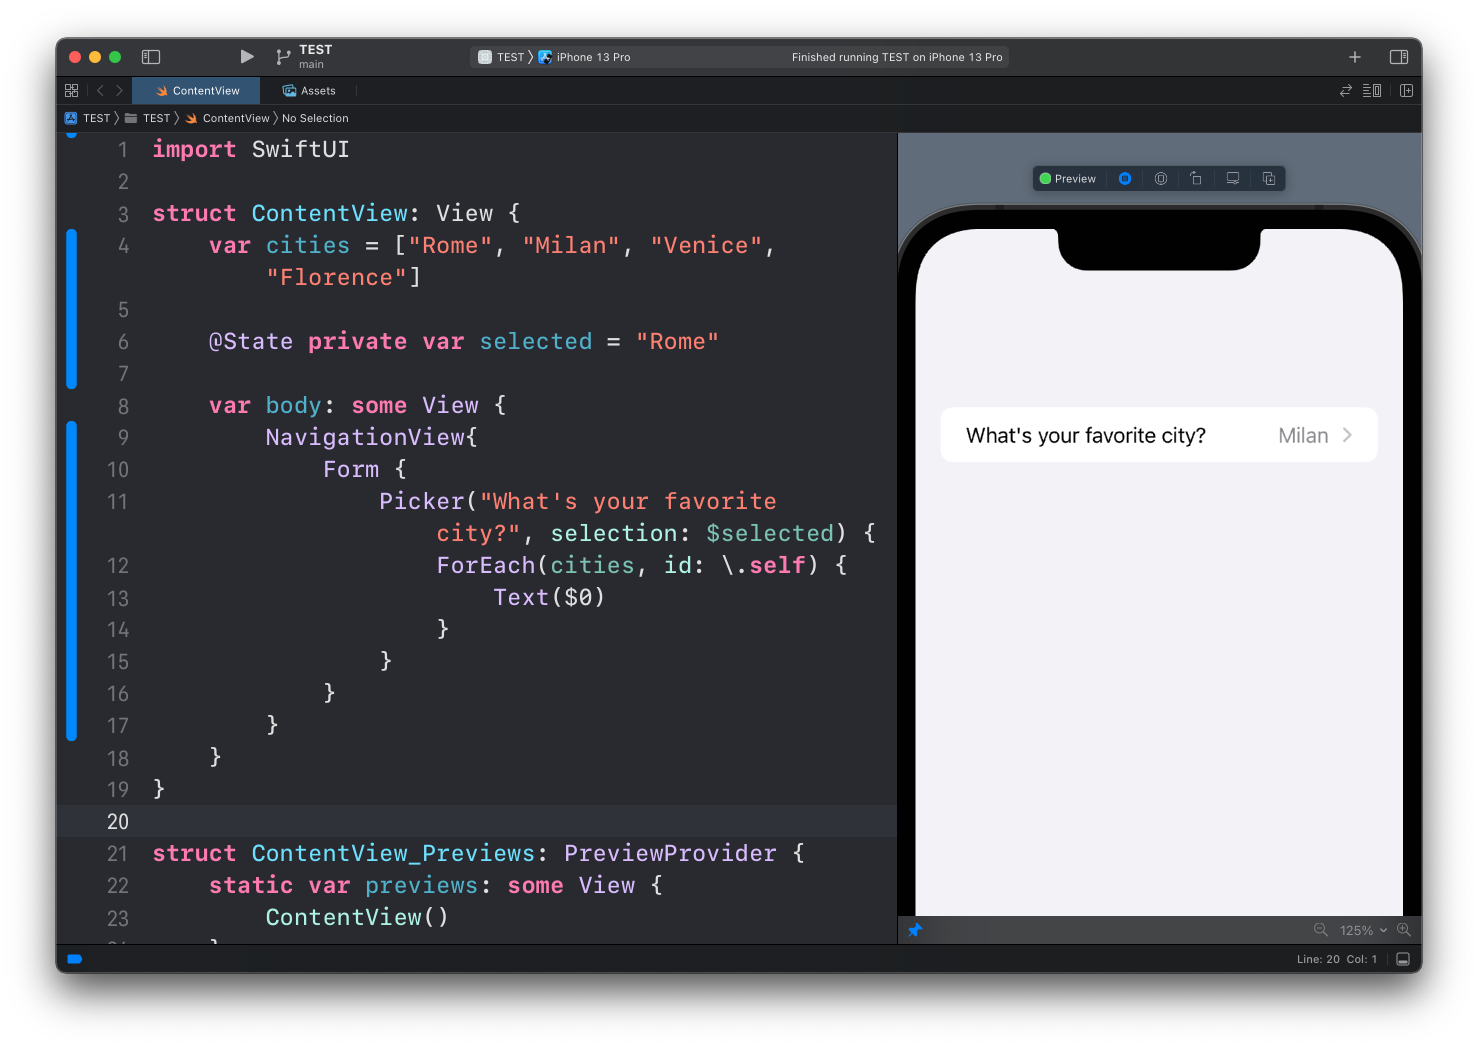
Tap one, and you’ll see the selected option being visualized instead of the default one:
You can also avoid using an array for the options and use a Text view directly, but you need to use the tag() modifier on each view to identify each option:
struct ContentView: View {
    @State private var selected = "Rome"

    var body: some View {
        NavigationStack {
            Form {
                Picker("What's your favorite city?", selection: $selected) {
                    Text("Rome")
                        .tag("Rome")
                    Text("Milan")
                        .tag("Milan")
                    Text("Venice")
                        .tag("Venice")
                    Text("Florence").tag("Florence")
                }
                .pickerStyle(.navigationLink)
            }
        }
    }
}
For more form controls, see the SwiftUI forms overview.
Want me to talk about your product? You can sponsor this site.
Related posts about swift: