SwiftUI: images
By Flavio Copes
Learn how to display an image in SwiftUI with the Image view, from loading an asset or a system image to modifiers like resizable, frame, and clipShape.
~~~
You can display an image in a SwiftUI view by using the Image view.
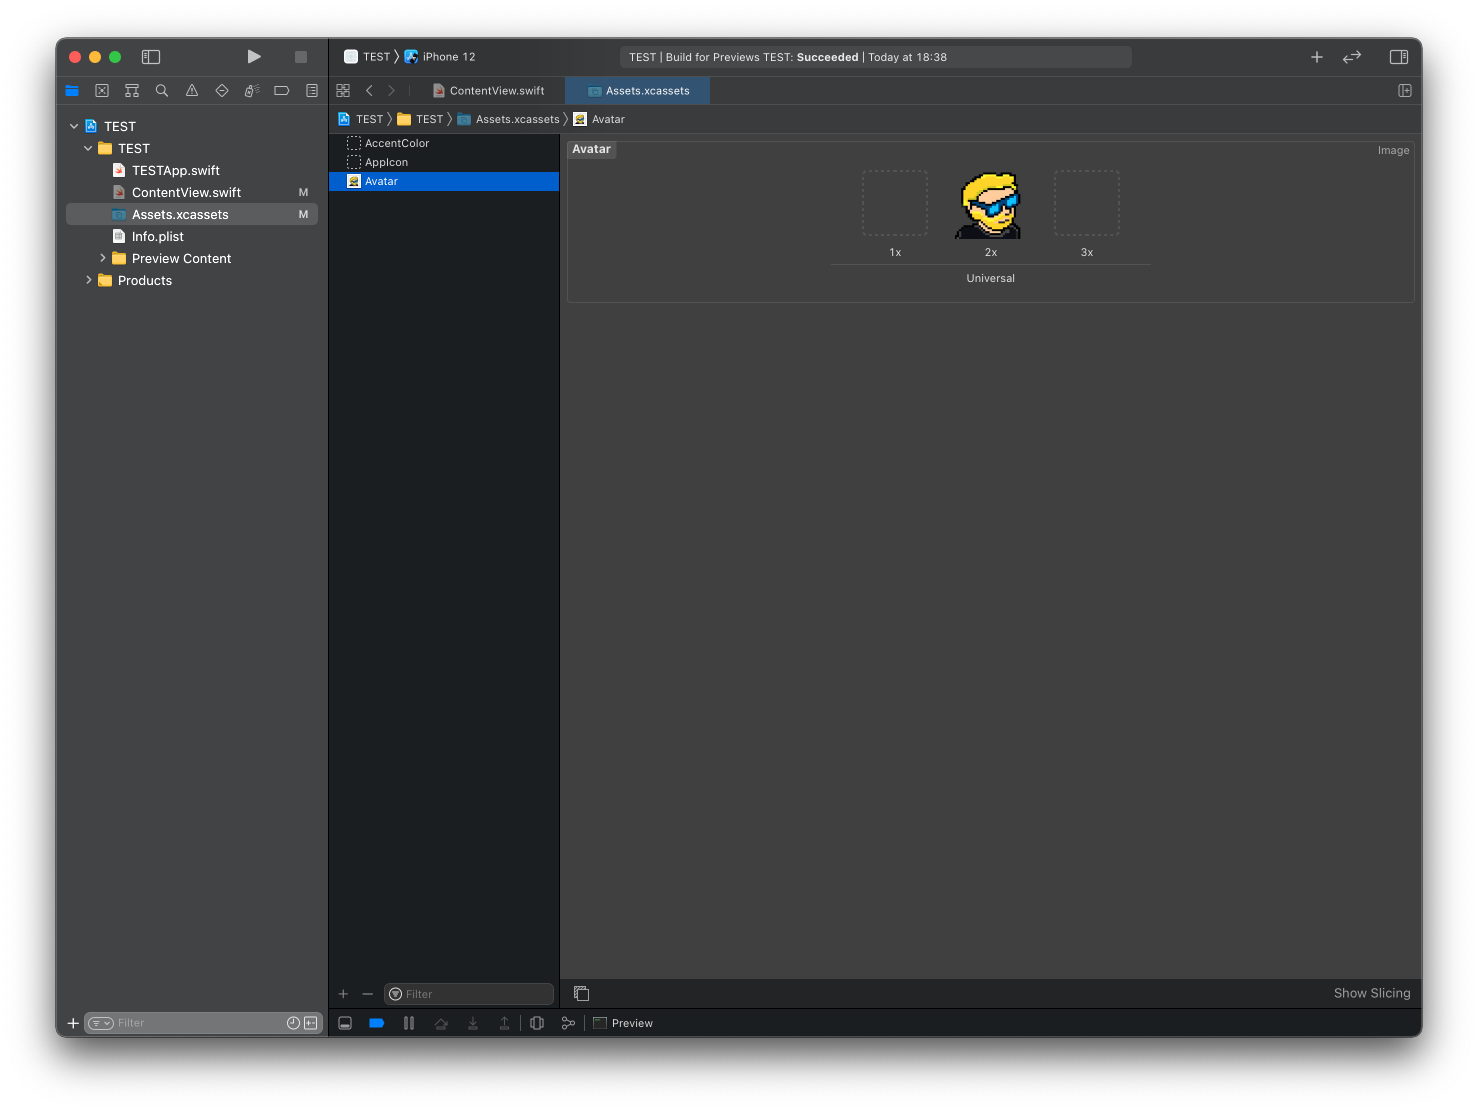
First you need to add the image to a new image set in your Assets.xcassets file in the Xcode project navigator.
Then you can add the image to your ContentView like this:
import SwiftUI

struct ContentView: View {
    var body: some View {
        Image("Avatar")
    }
}
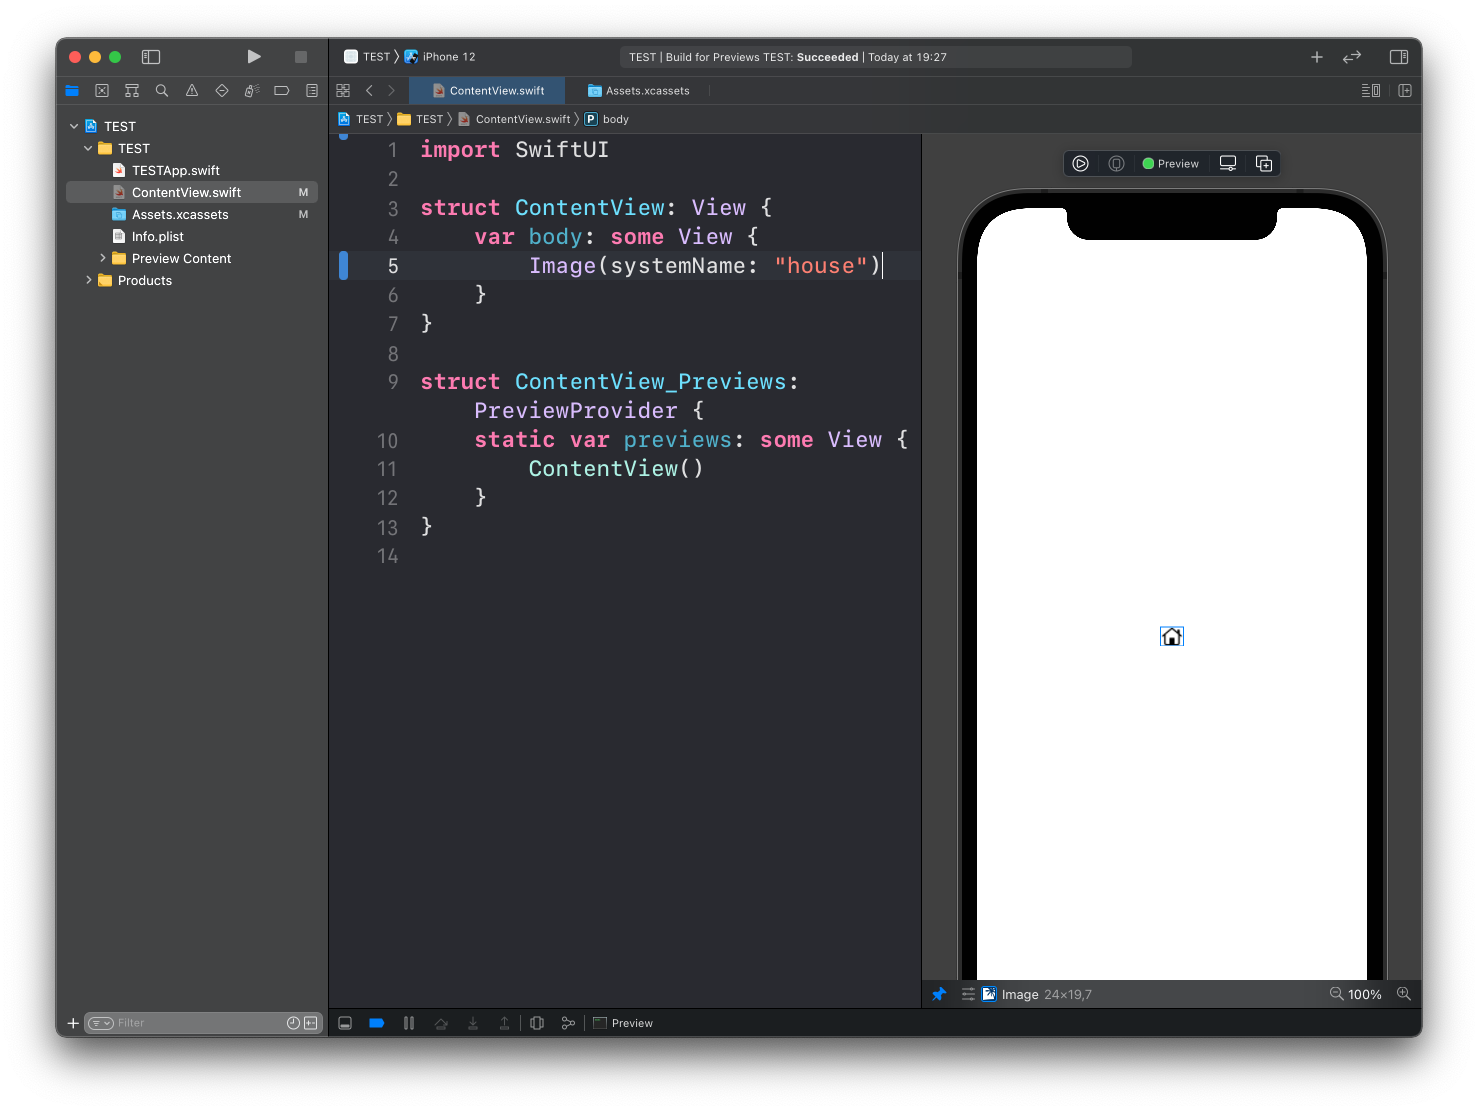
You can also use Image to show a system image, using the format Image(systemName:):
struct ContentView: View {
    var body: some View {
        Image(systemName: "house")
    }
}
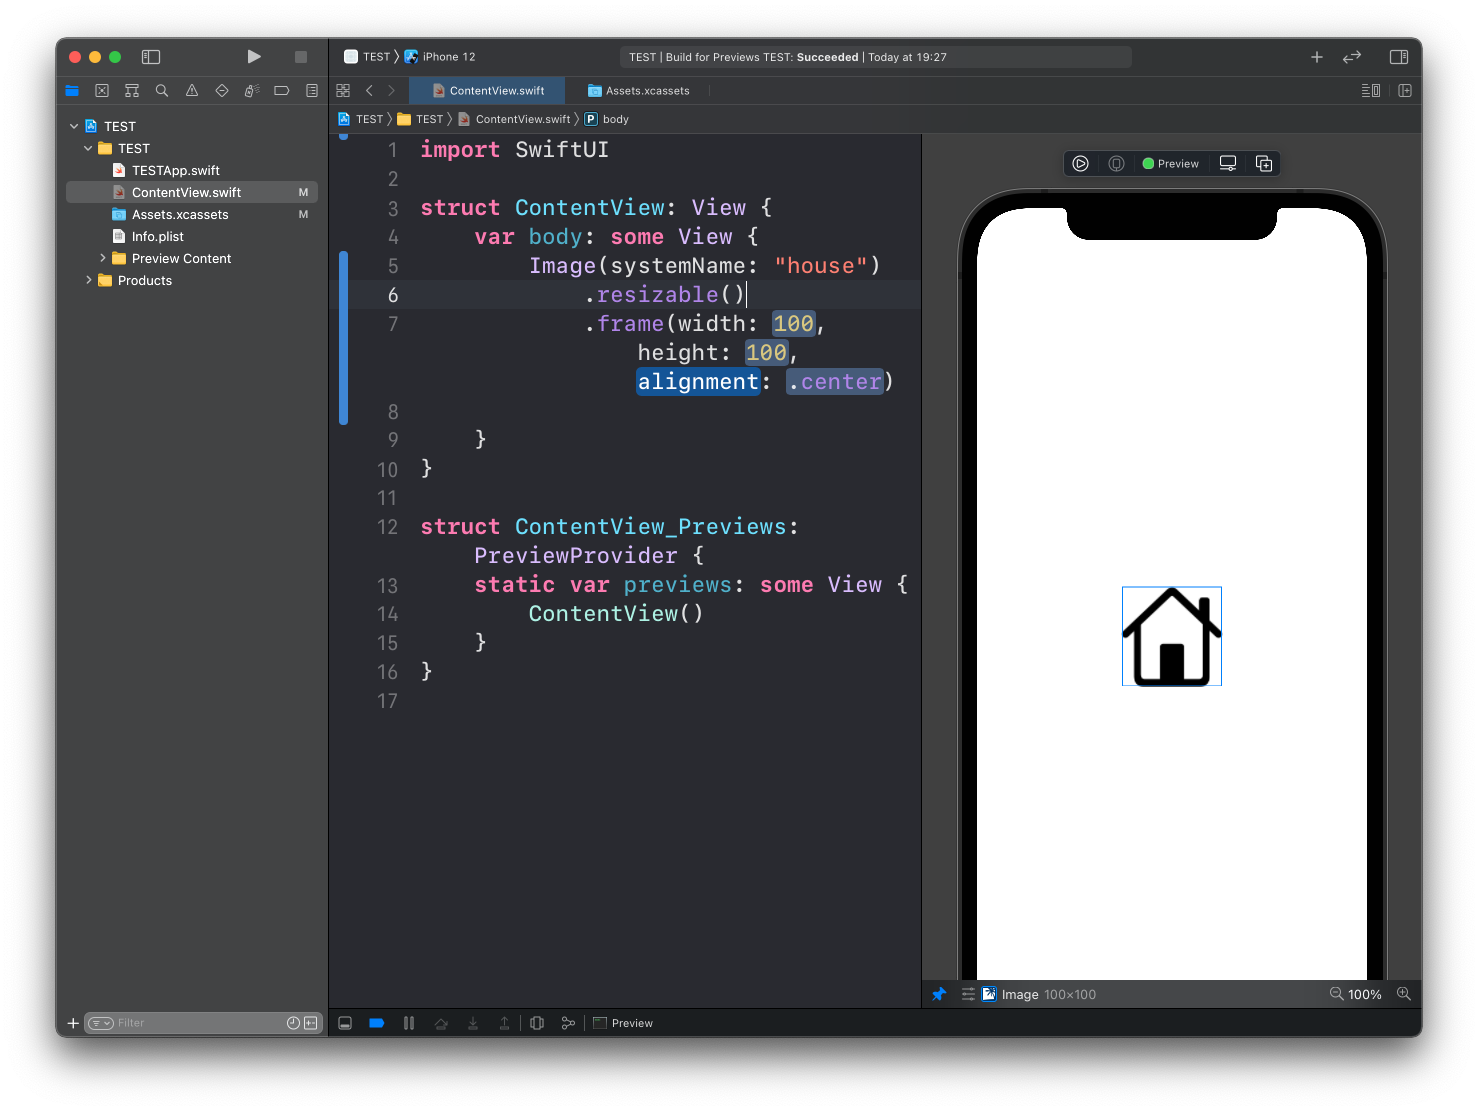
The Image view has a set of modifiers you can use, including:
.resizable()to resize the image and adjust to the.frame()dimensions.frame()to set its width/height.clipShape()to set a clipping shape.border()to set the color of the border.overlay()to layer another view in front of it.aspectRatio()to set the aspect ratio.clipped()to cut off the image outside of the frame
Example:
~~~
Related posts about swift: