Linux commands: gzip
A quick guide to the `gzip` command, used to compress a file
THE SOLOPRENEUR MASTERCLASS
Now open with 50% OFF launch discount!
You can compress a file using the gzip compression protocol named LZ77 using the gzip command.
Here’s the simplest usage:
gzip filenameThis will compress the file, and append a .gz extension to it. The original file is deleted. To prevent this, you can use the -c option and use output redirection to write the output to the filename.gz file:
gzip -c filename > filename.gzThe
-coption specifies that output will go to the standard output stream, leaving the original file intact
Or you can use the -k option:
gzip -k filenameThere are various levels of compression. The more the compression, the longer it will take to compress (and decompress). Levels range from 1 (fastest, worst compression) to 9 (slowest, better compression), and the default is 6.
You can choose a specific level with the -<NUMBER> option:
gzip -1 filenameYou can compress multiple files by listing them:
gzip filename1 filename2You can compress all the files in a directory, recursively, using the -r option:
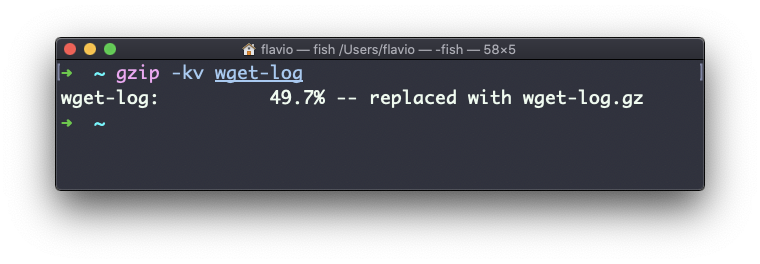
gzip -r a_folderThe -v option prints the compression percentage information. Here’s an example of it being used along with the -k (keep) option:

gzip can also be used to decompress a file, using the -d option:
gzip -d filename.gzThe gzip command works on Linux, macOS, WSL, and anywhere you have a UNIX environment
I wrote 20 books to help you become a better developer:
- Astro Handbook
- HTML Handbook
- Next.js Pages Router Handbook
- Alpine.js Handbook
- HTMX Handbook
- TypeScript Handbook
- React Handbook
- SQL Handbook
- Git Cheat Sheet
- Laravel Handbook
- Express Handbook
- Swift Handbook
- Go Handbook
- PHP Handbook
- Python Handbook
- Linux Commands Handbook
- C Handbook
- JavaScript Handbook
- CSS Handbook
- Node.js Handbook