How to use pm2 to serve a Node.js app
By Flavio Copes
Learn how to use pm2 to run a Node.js app on a Linux VPS, manage it with pm2 list and pm2 restart, and redeploy it on every GitHub push with GitHub Actions.
pm2 is a super useful process management tool for Linux.
I’ve used it for several projects of mine, and here I want to tell you how to use it too!
If you prefer to run your Node app with systemd instead of pm2, I built a free systemd service generator that writes the unit file and the install commands for you.
In particular I’m going to use it to run a Node.js app on a DigitalOcean VPS, and I’ll set it up so that whenever we push an update to the app’s GitHub repository, the server pulls the new code and pm2 restarts the app.
Sounds cool? Let’s go!
First, sign up for DigitalOcean with my referral link and you get $200 in credit for 60 days. This is an affiliate link: if you sign up through it and then spend $25, I get $25 in DigitalOcean credit. Then follow my tutorial to create a VPS on DigitalOcean.
Important: use the
NodeJSimage on DigitalOcean, which is already set up withpm2andnode, and has anodejsuser in addition toroot.
Once you’re up and running we can start.
Make sure you ssh as the nodejs user. When you’re logged in as root, you can just run su nodejs to use that user.
The sample Node.js app you have running in the VPS is in the folder /var/www/html/, and it’s composed by the hello.js file.
The deployment/running of the application is already managed through the pm2 program, a daemon process manager.
You can use pm2 list to see all the applications running now:
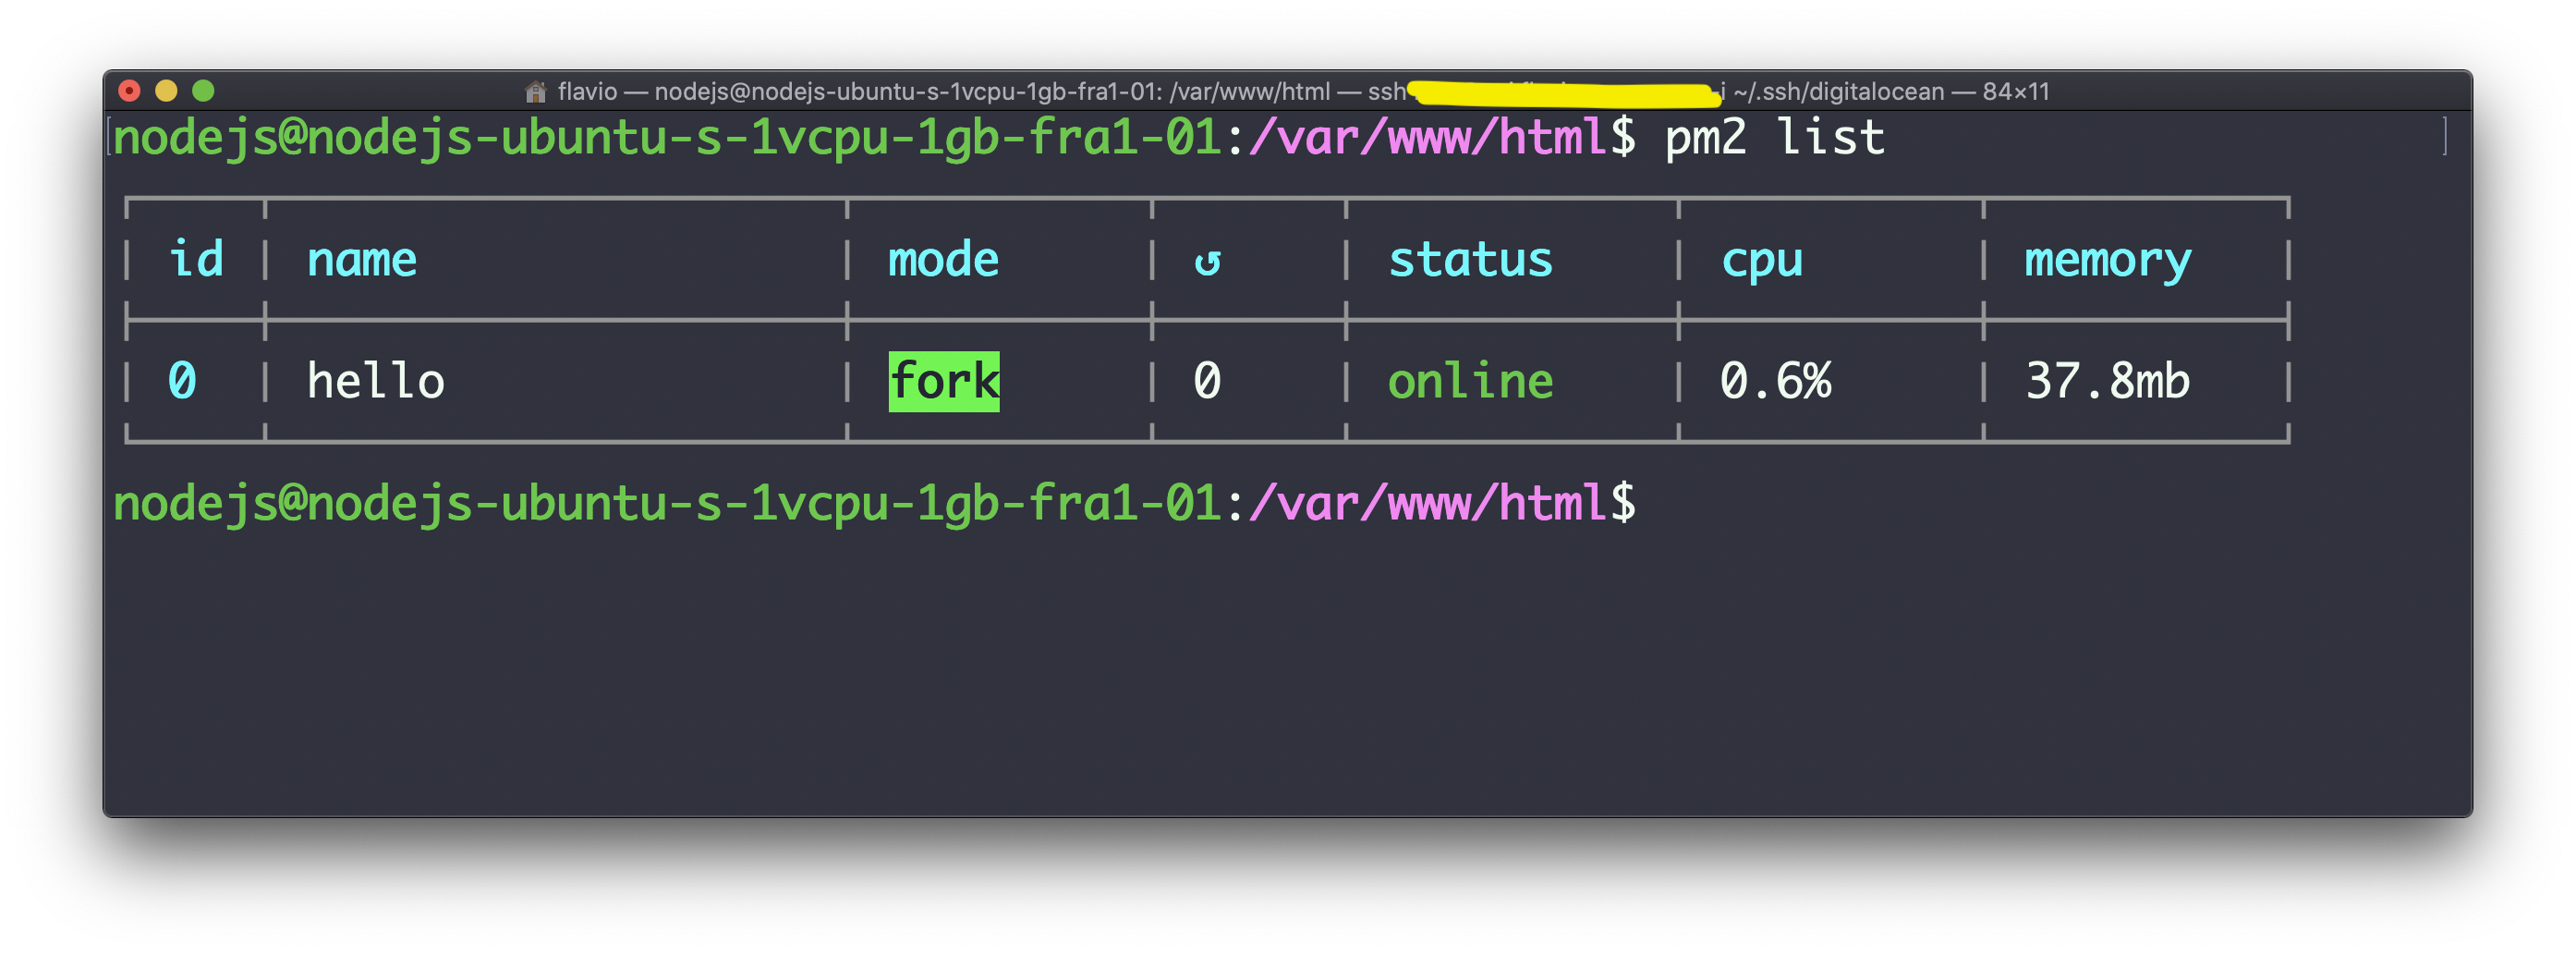
If you do any change to the application now, the changes won’t be applied until you restart the application running:
pm2 restart hello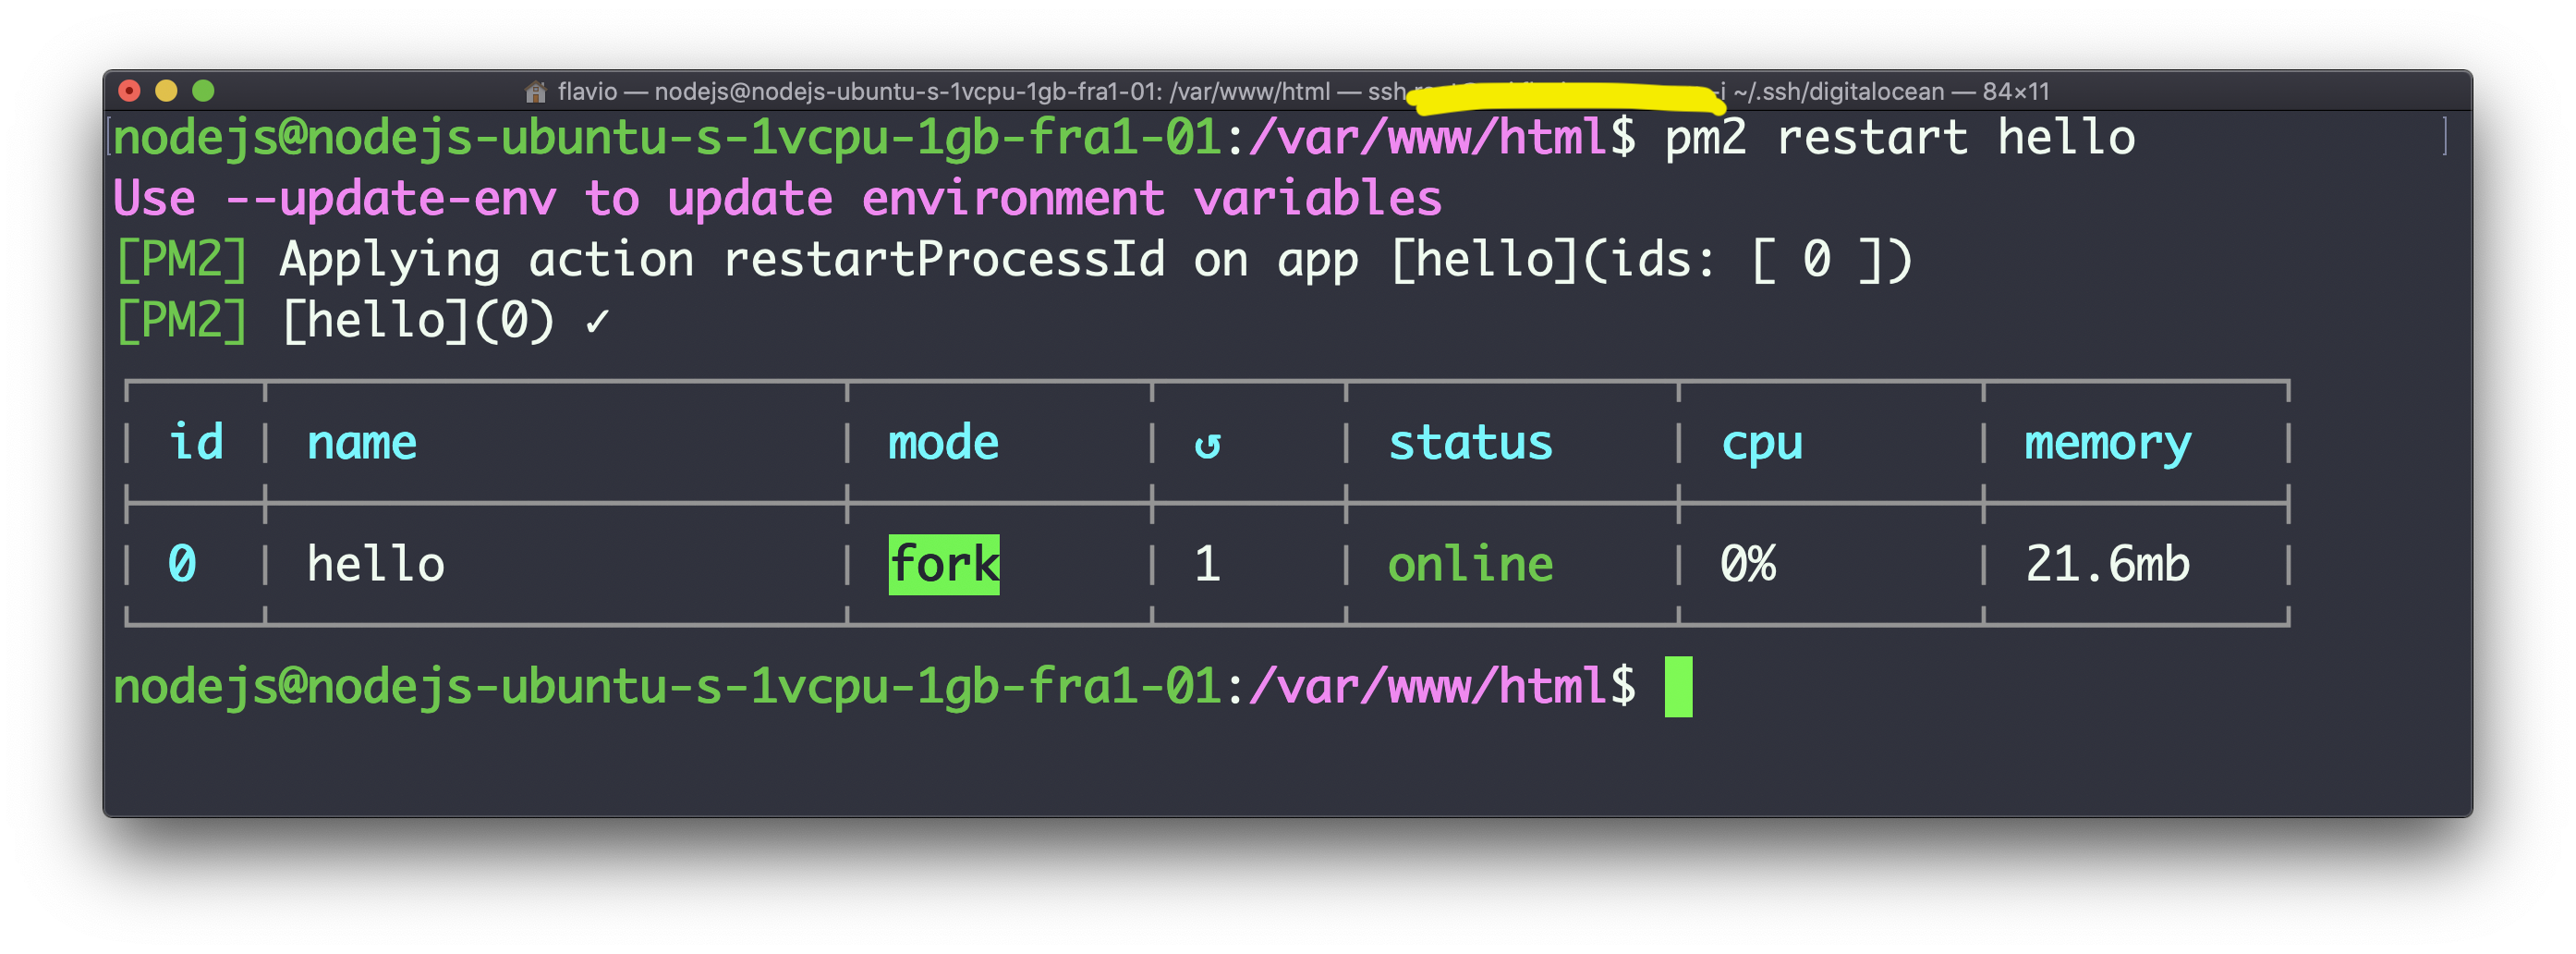
You can stop the application running
pm2 stop helloand this will give you an error in the browser if you try to reload the page:
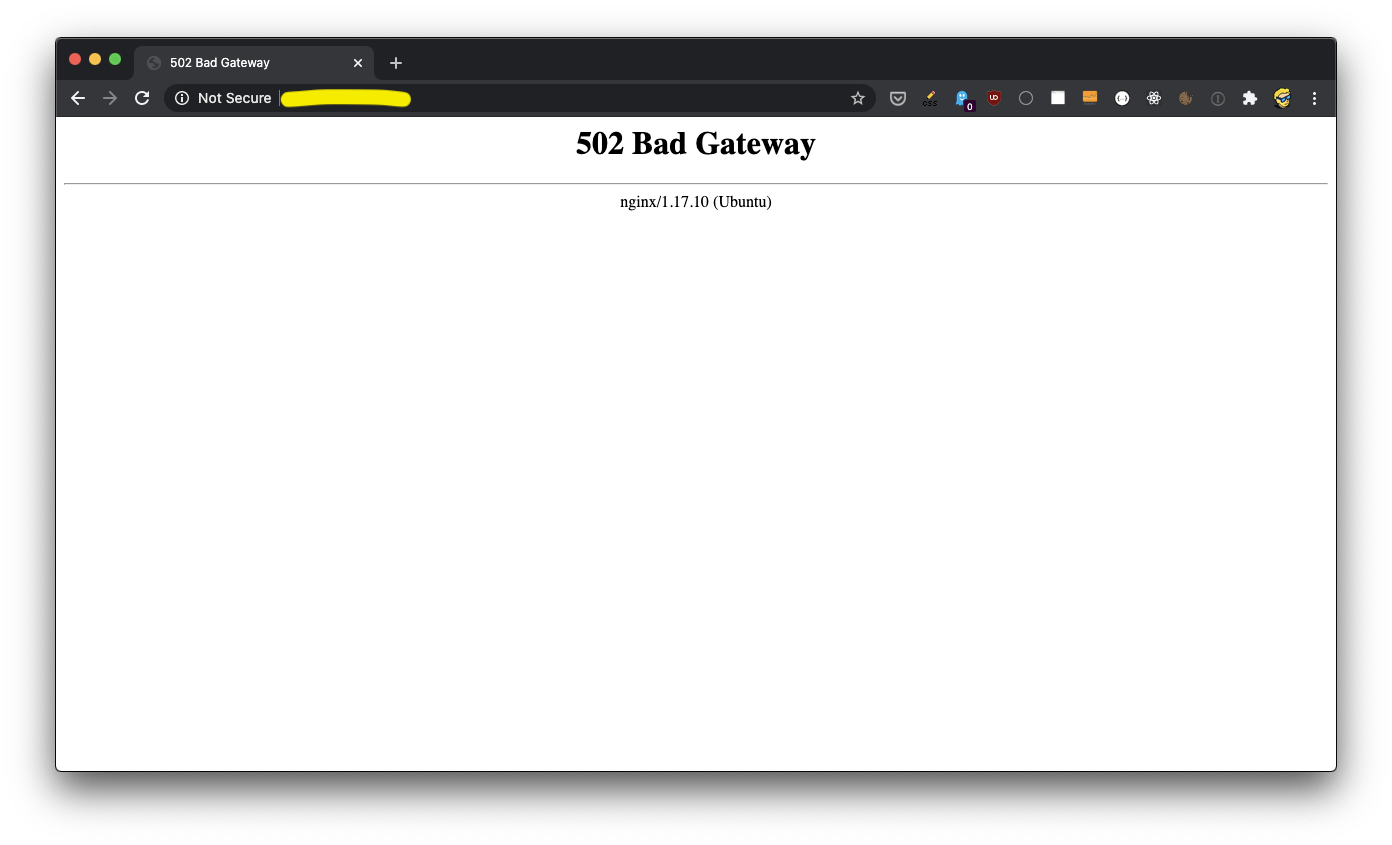
You can run:
pm2 start helloto bring the app up again.
The nice thing about pm2 is that it will take care of running the app(s) again when the system is restarted. When you start or stop apps, run pm2 save so pm2 remembers the current list for the next reboot.
pm2 is also the right place to set NODE_ENV=production for the app, either by prefixing the start command or with an env_production block in an ecosystem file. Without it Express runs in development mode on the server. I explain why that matters in Node, the difference between development and production.
Now that you’ve seen how the built-in hello world works, let’s deploy another application.
Let’s stop the current sample app:
pm2 stop helloand create a test folder in /var/www/html:
mkdir testgo into that
cd testand run
npm init -ythen install Express:
npm install expressNow run nano app.js and add this code:
const express = require("express")
const app = express()

app.get("/", (req, res) => res.send("Hello World!"))
app.listen(3000, () => console.log("Server ready"))
Run
pm2 start app.js --name appand you should see the app running!
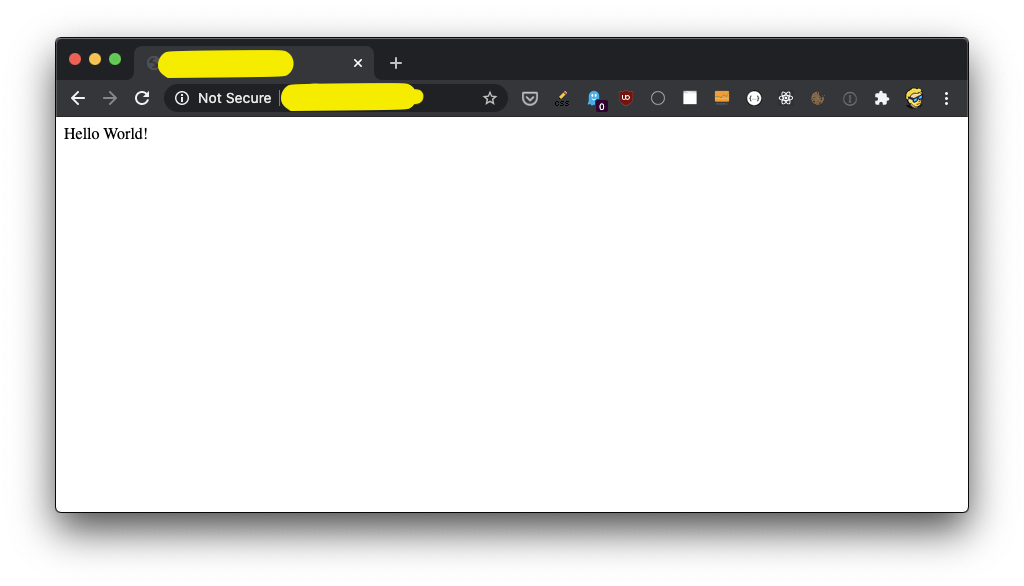
We used port 3000, which is what the hello app used, so we did not have to configure anything else.
Otherwise we’d need to modify the /etc/nginx/sites-available/default and add a new URL to map to our app.
Now that we deployed a sample app, let’s see how to deploy an app from GitHub.
First thing, let’s stop the app we just built in the previous lesson:
pm2 stop appand let’s make a sample GitHub app. It’s not going to be complex, it’s very similar to the app we built in the previous lesson, but it will say Hello World, deployed from GitHub! instead of just Hello World!
On your local create a folder, and inside it run
npm init -ythen install Express:
npm install expressNow run nano app.js and add this code:
const express = require("express")
const app = express()

app.get("/", (req, res) => res.send("Hello World, deployed from GitHub!"))
app.listen(3000, () => console.log("Server ready"))
Now it’s time to push the app to GitHub. I use GitHub Desktop, the official GitHub app, so I drag and drop the folder into the app, and it lets me create a new Git repo, and a GitHub repository.
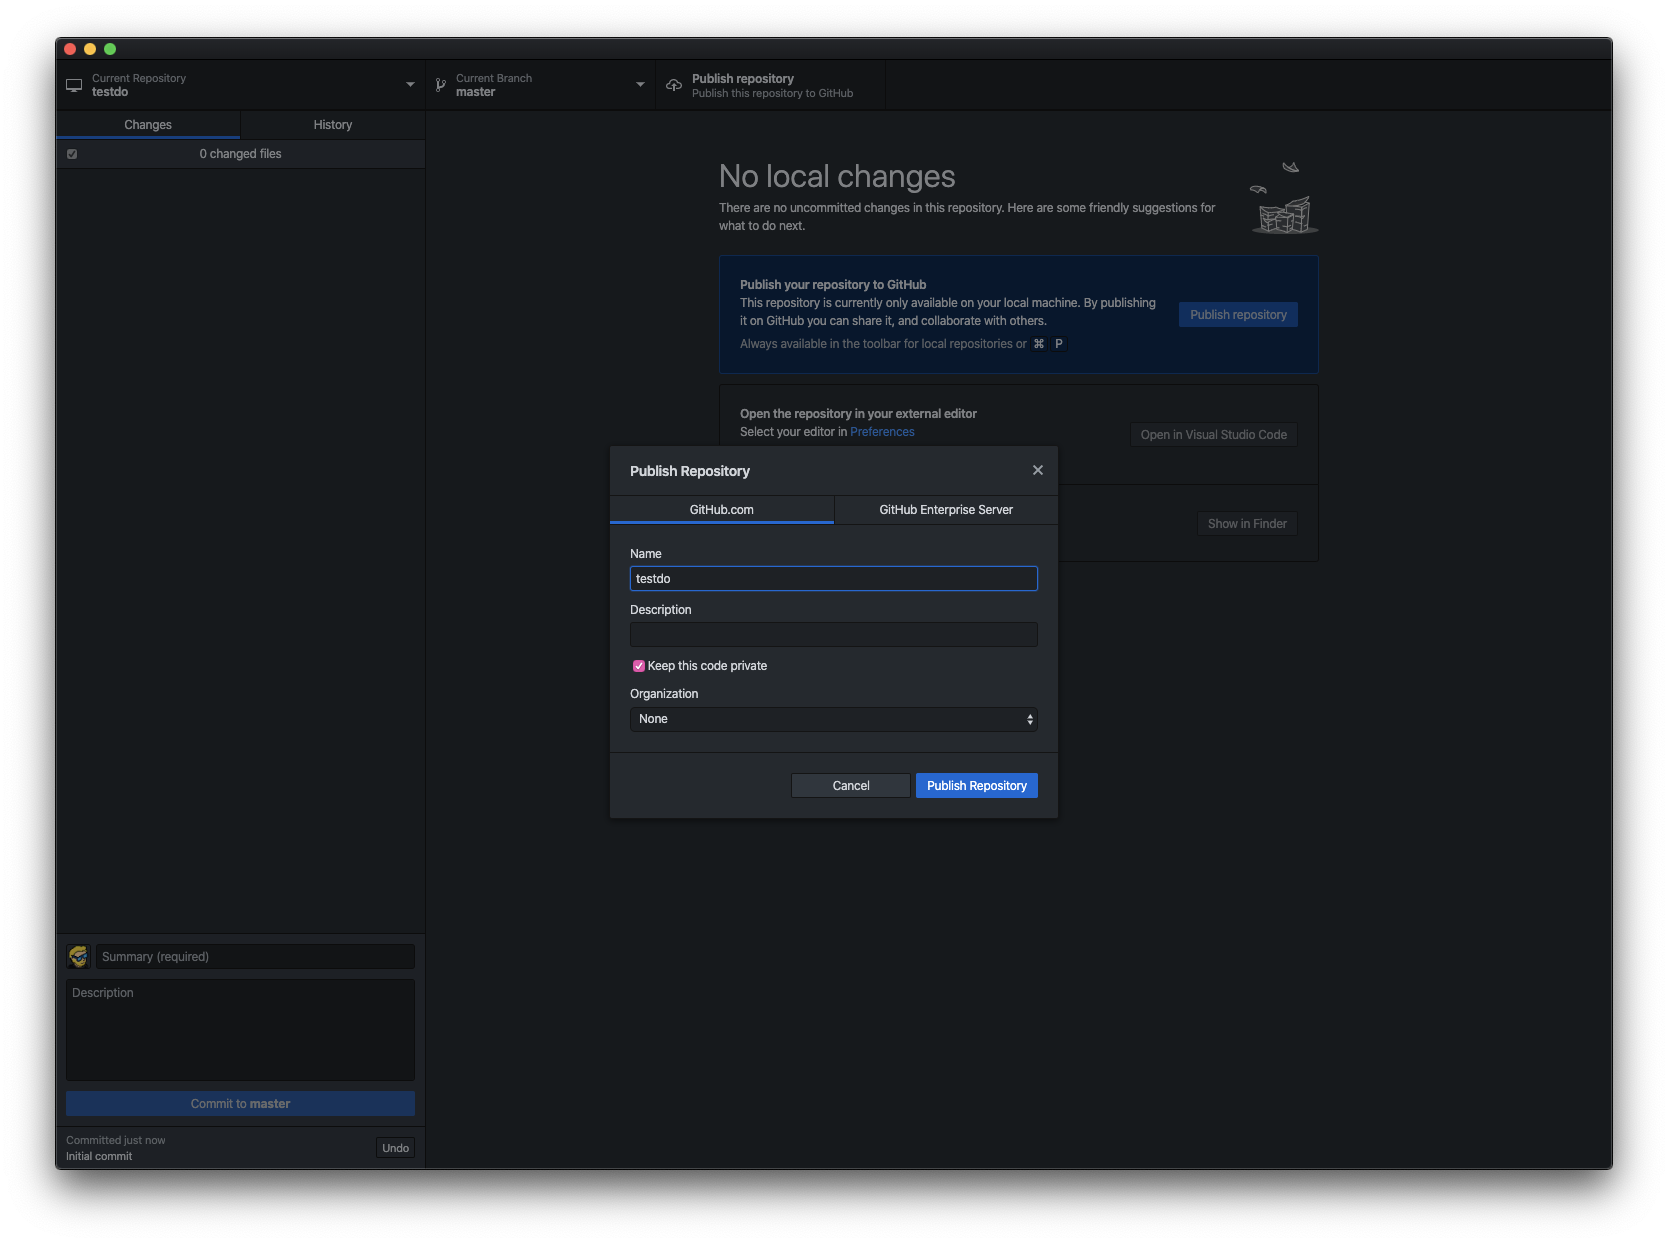
I initialized the repo with the standard Node.js .gitignore file, which ignored the node_modules folder. We’ll see how to initialize the npm modules during deployment.
Now we have to create a SSH key on the DigitalOcean machine, and add it to GitHub. Otherwise we will not have access to the private repository we just created.
Double-check the email address you used to connect to GitHub, because it’s important. You can find it in the GitHub settings, in the Email panel. Then run:
ssh-keygen -t rsa -b 4096 -C "[email protected]"Now open the “SSH and GPG keys” panel on GitHub:
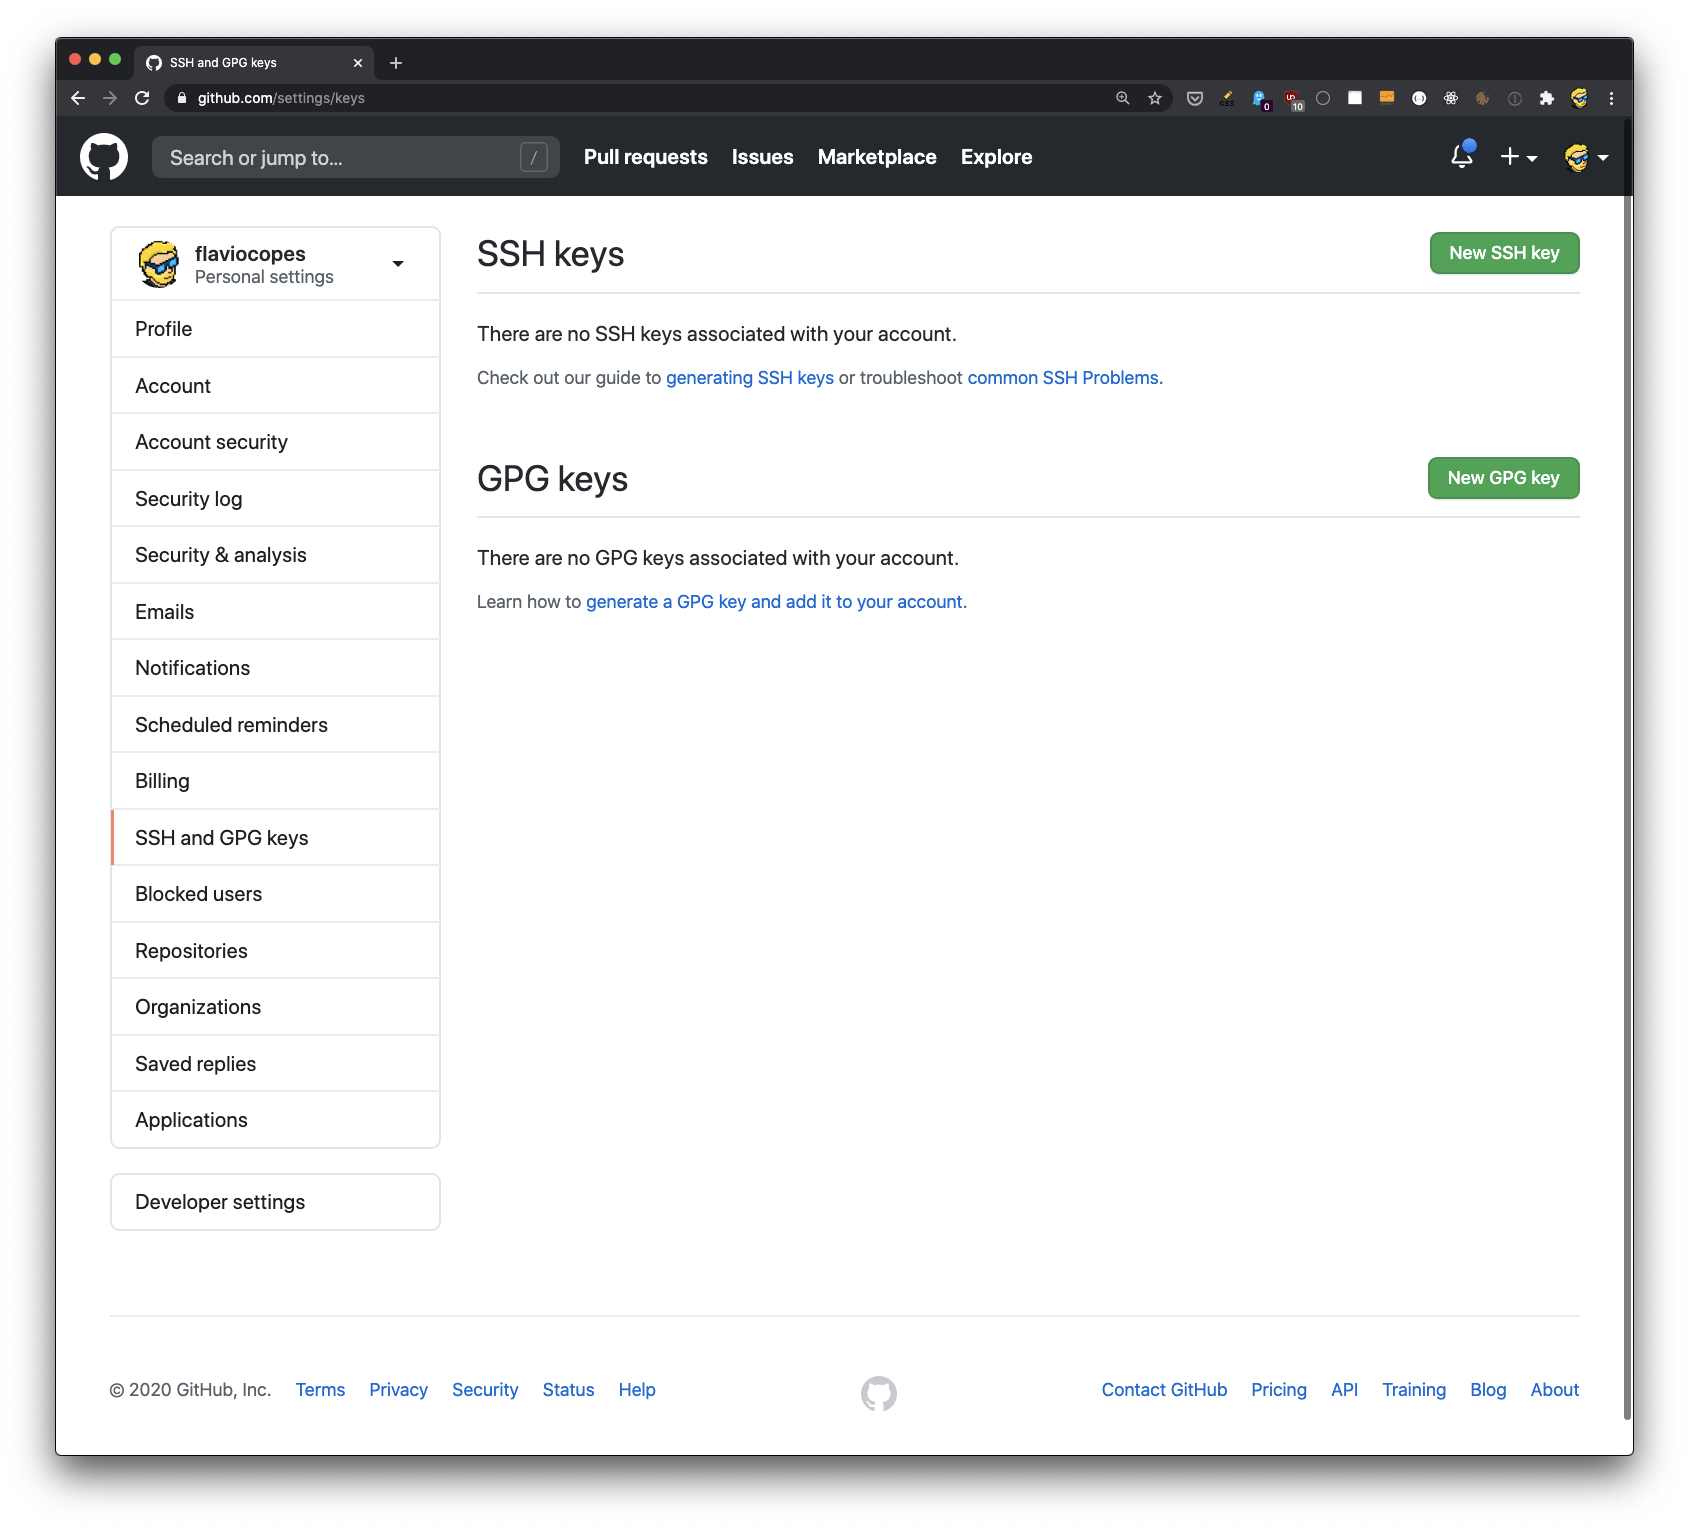
and click “New SSH key”. Enter “DigitalOcean” as the title, so you know what this key is used for.
Now type
less /home/nodejs/.ssh/id_rsa.pubon your DigitalOcean droplet to get the public key.
Copy that to your settings, and save. You should see it in the SSH keys list.
Now we should be able to clone the private repository on the server.
Go in the /var/www/html folder, and run
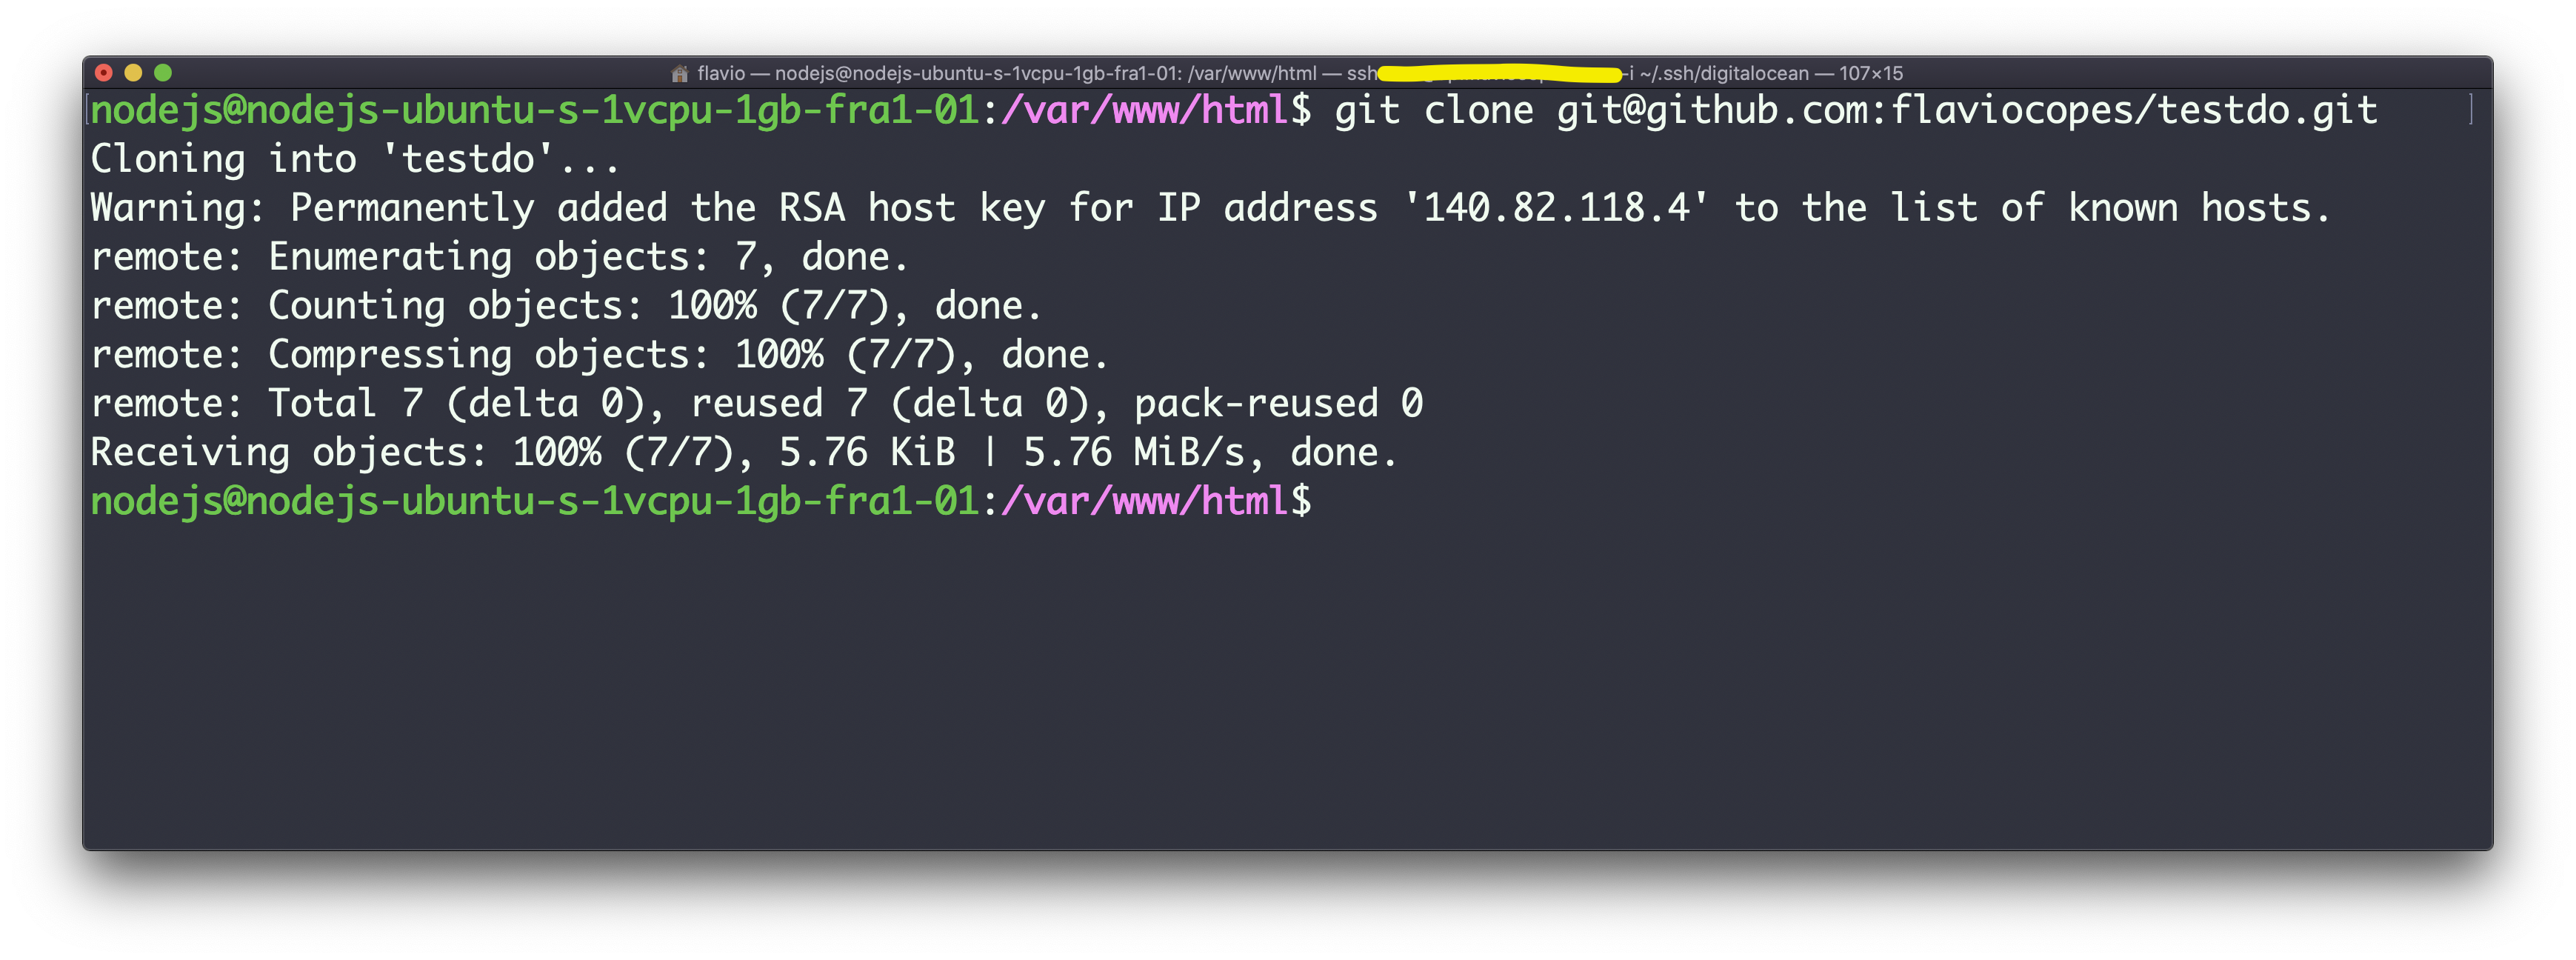
git clone [email protected]:<yourname>/<reponame>.gitIn my case it was:
git clone [email protected]:flaviocopes/testdo.gitand the app was successfully downloaded:
Now type cd testdo and run npm install.
The app is now ready to run, so type
pm2 stop testto stop the previous app, and
pm2 start app.js --name testdoto start the new one:
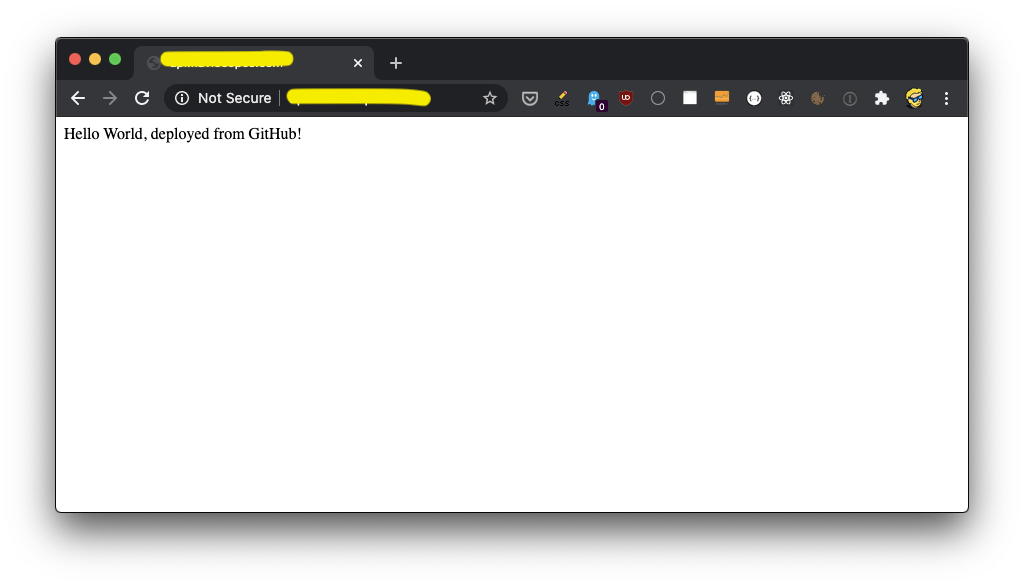
Now let’s make the server redeploy the app every time we push to GitHub.
We’ll use GitHub Actions for this. On every push, GitHub starts a small job that connects to our server over SSH, pulls the new code, installs the dependencies and restarts the app with pm2.
First we need a key that GitHub can use to log in to the server. On the droplet, as the nodejs user, run:
ssh-keygen -t ed25519 -C "github-actions-deploy" -f ~/.ssh/deploy_key -N ""
cat ~/.ssh/deploy_key.pub >> ~/.ssh/authorized_keys
chmod 600 ~/.ssh/authorized_keys
This creates a new key pair with no passphrase, and allows the public key to log in as nodejs.
Now print the private key:
cat ~/.ssh/deploy_keyOpen the repository settings on GitHub, go to Secrets and variables > Actions and add two repository secrets:
DEPLOY_SSH_KEY, with the whole private key you just printedDEPLOY_HOST, with the IP address or domain of your droplet
Once it’s saved in GitHub, delete the private key from the server with rm ~/.ssh/deploy_key. The public key stays in authorized_keys.
Back on your computer, create the file .github/workflows/deploy.yml in the app folder:
name: Deploy

on:
  push:
    branches: [main]

jobs:
  deploy:
    runs-on: ubuntu-latest
    steps:
      - name: Deploy over SSH
        env:
          SSH_KEY: ${{ secrets.DEPLOY_SSH_KEY }}
          SERVER: ${{ secrets.DEPLOY_HOST }}
        run: |
          mkdir -p ~/.ssh
          echo "$SSH_KEY" > ~/.ssh/deploy_key
          chmod 600 ~/.ssh/deploy_key
          ssh -i ~/.ssh/deploy_key -o StrictHostKeyChecking=accept-new nodejs@"$SERVER" \
            'cd /var/www/html/testdo && git pull && npm ci --omit=dev && pm2 restart testdo'
If your default branch is not main, change it in the branches line.
The last command is the whole deploy. It goes into the app folder, pulls the new code, and runs npm ci --omit=dev, which installs exactly the versions in package-lock.json and skips the dev dependencies. Then pm2 restart testdo restarts the app.
The git pull runs on the server with the GitHub key we created earlier, so that key must have no passphrase, otherwise the pull stops and waits for one.
Commit the workflow file and push it. You’ll see the job run in the Actions tab of the repository.
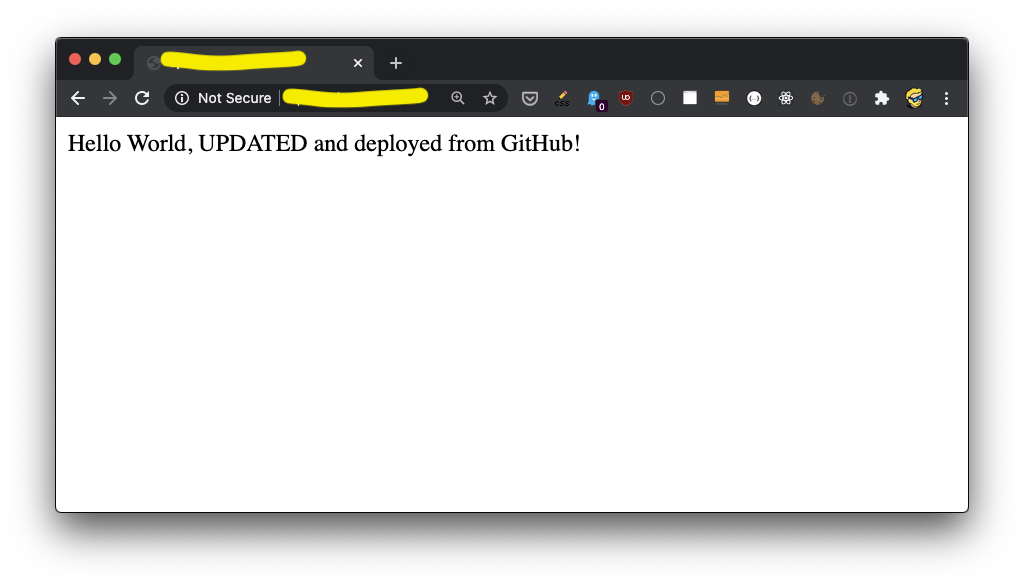
Now if you try doing a change to your code and push it, it should automatically be deployed!
An earlier version of this post used the pm2-githook module, which listened for GitHub webhooks on its own port. It hasn’t been updated since 2023, so I don’t recommend it anymore. GitHub Actions does the same job without opening an extra port on the server.
Want me to talk about your product? You can sponsor this site.