A short guide to vim
By Flavio Copes
A short, beginner-friendly guide to the vim editor: how to open files, switch between command and insert mode, move around, edit text, and save and quit.
vim is a very popular file editor, especially among programmers. It’s actively developed and frequently updated, and there’s a very big community around it. There’s even a Vim conference!
vi in modern systems is just an alias to vim, which means vi improved.
You start it by running vi on the command line.
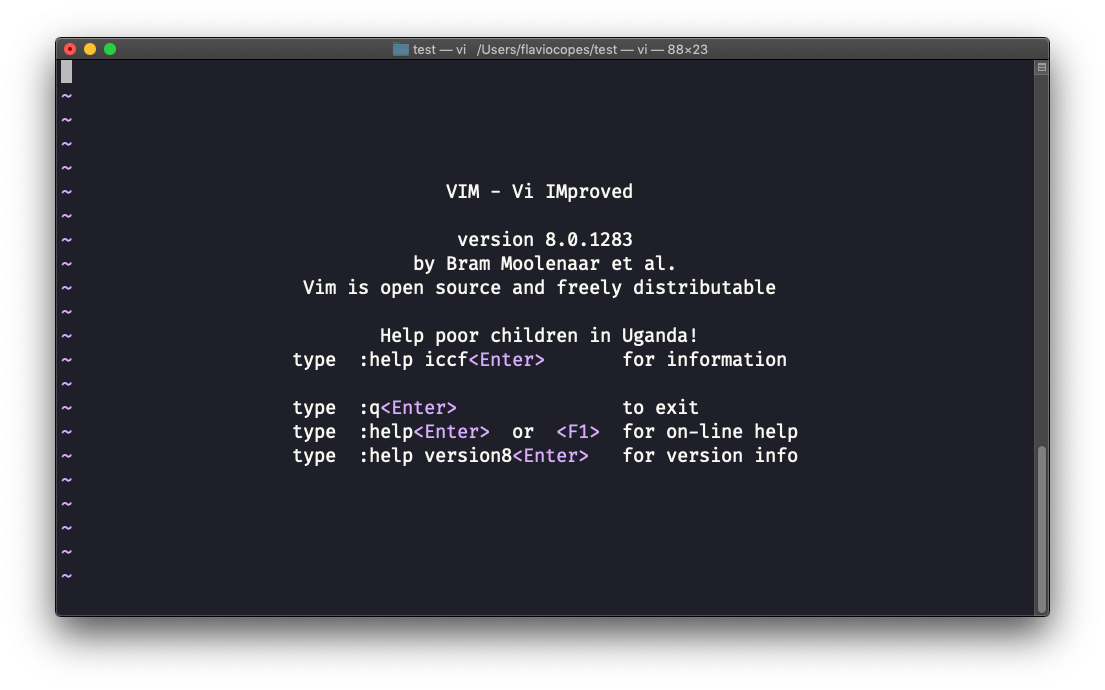
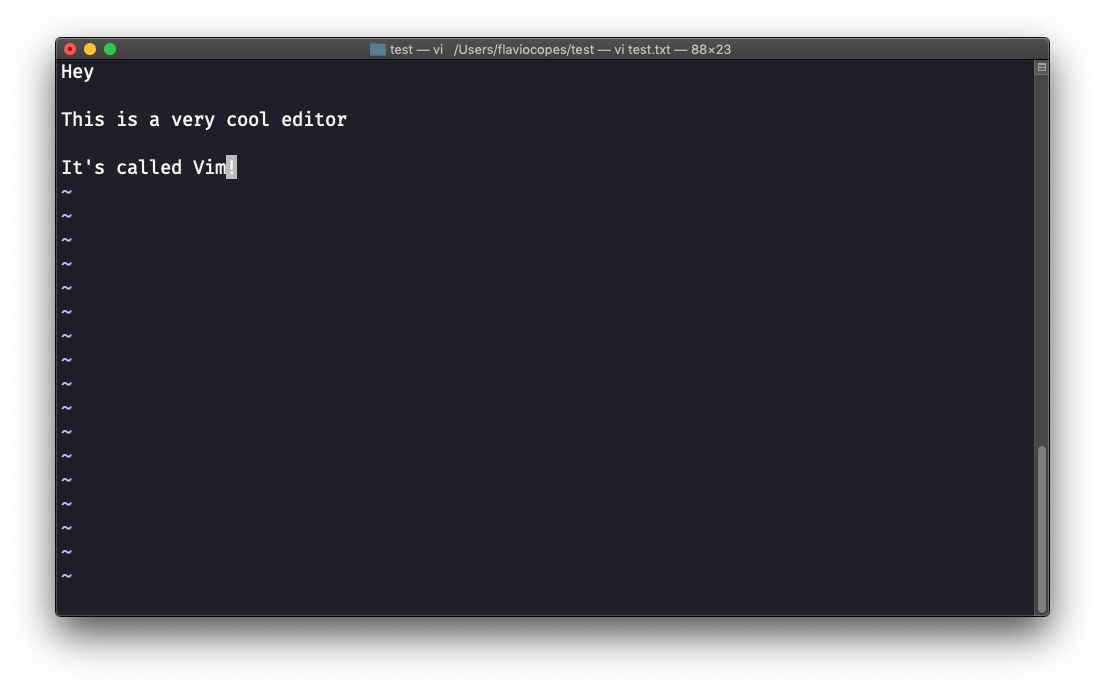
You can specify a filename at invocation time to edit that specific file:
vi test.txt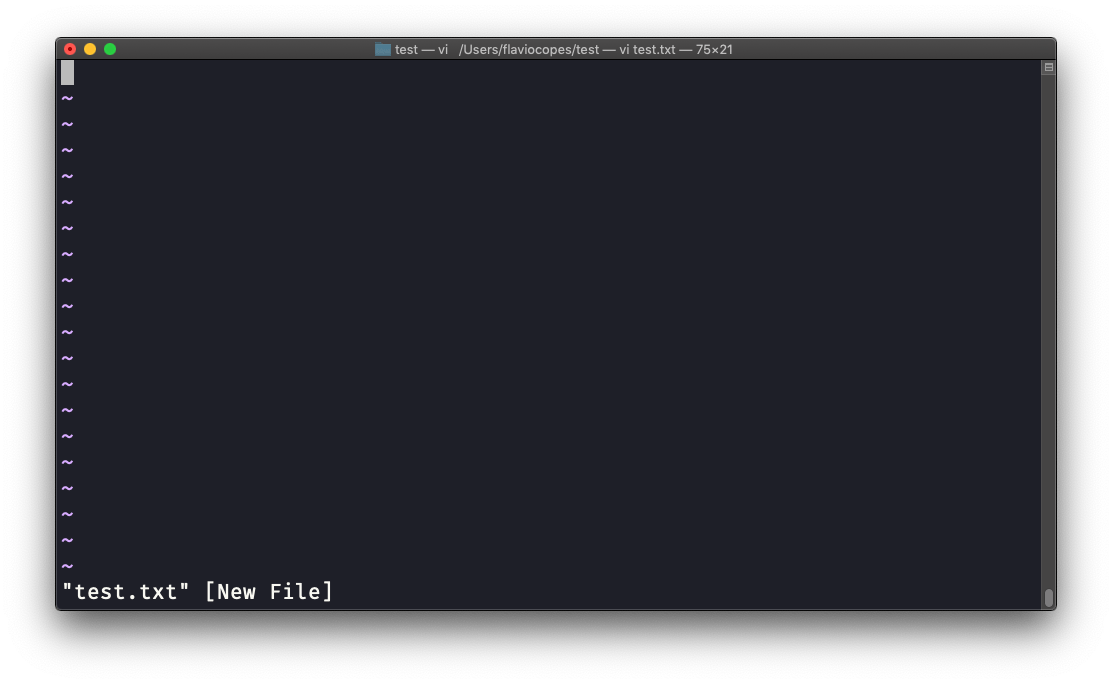
You have to know that Vim has 2 main modes:
- command (or normal) mode
- insert mode
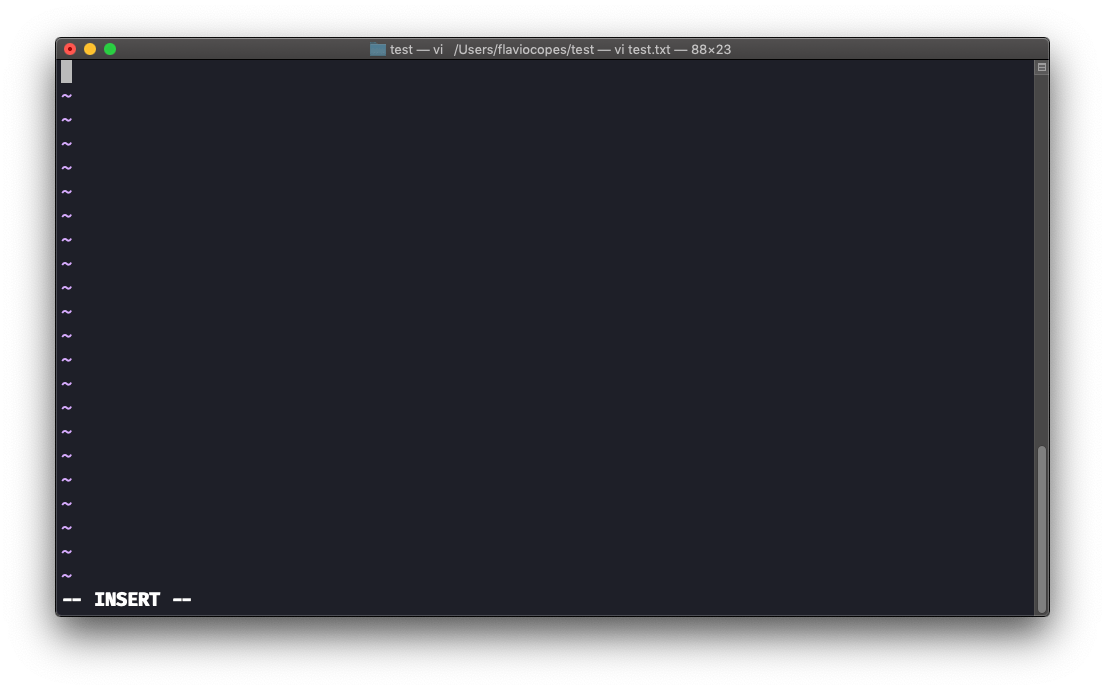
When you start the editor, you are in command mode. You can’t enter text like you expect from a GUI-based editor. You have to enter insert mode. You can do this by pressing the i key. Once you do so, the -- INSERT -- word appear at the bottom of the editor:
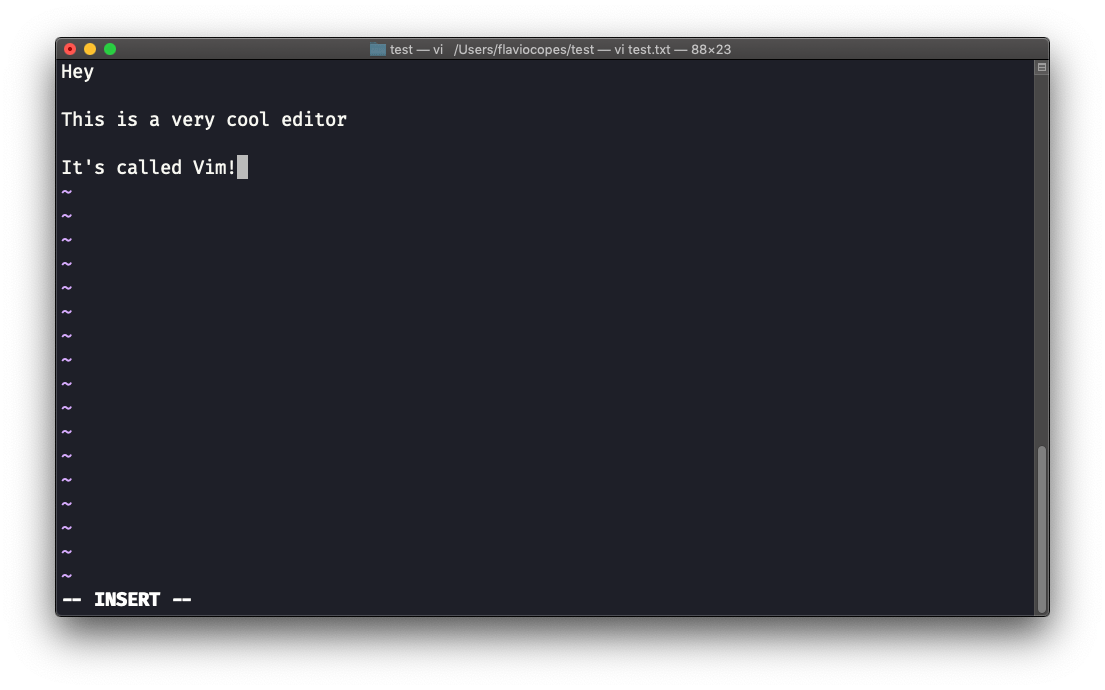
Now you can start typing and filling the screen with the file contents:
You can move around the file with the arrow keys, or using the h - j - k - l keys. h-l for left-right, j-k for down-up.
Once you are done editing you can press the esc key to exit insert mode, and go back to command mode.
At this point you can navigate the file, but you can’t add content to it (and be careful which keys you press as they might be commands).
One thing you might want to do now is saving the file. You can do so by pressing : (colon), then w.
You can save and quit pressing : then w and q: :wq
You can quit without saving, pressing : then q and !: :q!
You can undo and edit by going to command mode and pressing u. You can redo (cancel an undo) by pressing ctrl-r.
Those are the basics of working with Vim. From here starts a rabbit hole we can’t go into in this little introduction.
I will only mention those commands that will get you started editing with Vim:
- pressing the
xkey deletes the character currently highlighted - pressing
Agoes at the end of the currently selected line - press
0to go to the start of the line - go to the first character of a word and press
dfollowed bywto delete that word. If you follow it witheinstead ofw, the white space before the next word is preserved - use a number between
dandwto delete more than 1 word, for example used3wto delete 3 words forward - press
dfollowed bydto delete a whole entire line. Pressdfollowed by$to delete the entire line from where the cursor is, until the end
To find out more about Vim I can recommend the Vim FAQ and especially running the vimtutor command, which should already be installed in your system and will greatly help you start your vim explorations.
Related posts about cli: