Johnny Five, how to light a LED
By Flavio Copes
Learn how to light and blink an LED on an Arduino using Johnny Five and Node.js, creating a Board and a Led on pin 13 and calling led.blink().
This post is part of the Johnny Five series. See the first post here.
To light a LED with Johnny Five you create a Board, wait for its ready event, create a Led on a pin, and call one of its methods. Let’s build this from scratch.
Johnny Five lets us control the Arduino from JavaScript, running on our computer. Instead of writing C code in the Arduino IDE, we write a Node.js program that talks to the board over USB. The current major is johnny-five 2.
Set up the project
Create a folder and initialize npm:
npm init -yInstall Johnny Five locally:
npm install johnny-fiveNow create a app.js file, with this content:
const { Board, Led } = require("johnny-five")
const board = new Board()

board.on("ready", () => {
  const led = new Led(13)
  led.blink()
})
Johnny Five is a CommonJS package that builds its exports at runtime, so import { Board, Led } from 'johnny-five' fails with “Named export ‘Board’ not found”. Stick with require(), or import the default export and destructure from it.
This program initializes a new board by calling new Board().
When the board is ready the ready event is fired on the board object, and in the callback function we can do what our app is supposed to do.
In this simple example, we initialize a new LED on pin 13, by initializing a new Led object, and we blink it (we turn it on/off indefinitely).
The Led object and the Board object are two of the many functionality offered by the Johnny Five library.
Pin 13 on the Arduino Uno board is the pin that is connected to the built-in LED.
Run the program
Now run the program using node app.js:
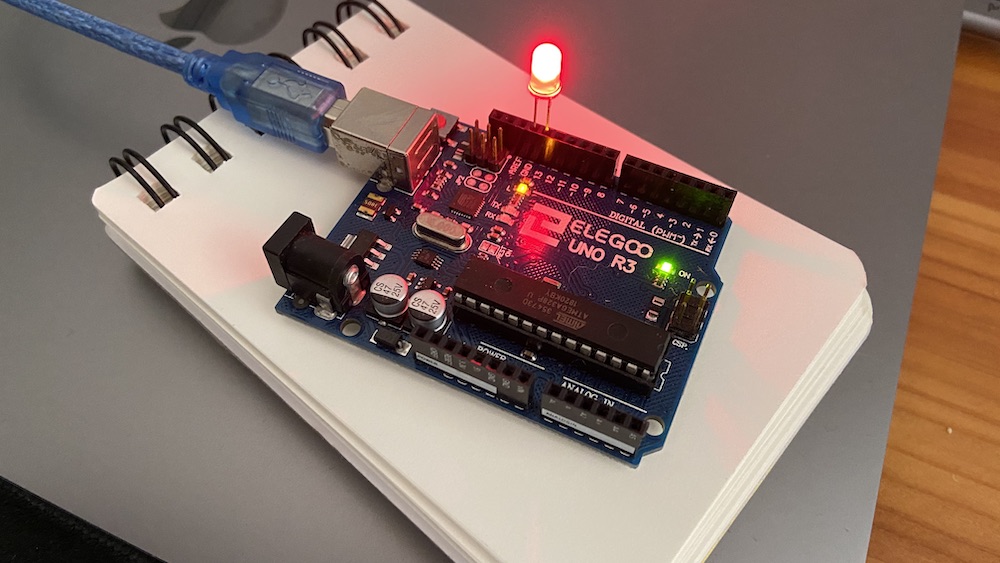
And you should see the led turn on and off!
blink() uses a 100ms interval by default. You can pass a different one:
led.blink(500)If you want the LED to stay on instead of blinking, call led.on(). There’s also led.off(), and led.stop() to stop a running blink animation. Note that led.stop() leaves the LED in whatever state it was, so chain led.stop().off() to also turn it off.
You can also attach a real LED by connecting the negative pin to GND (0V) and the positive pin to the pin 13:
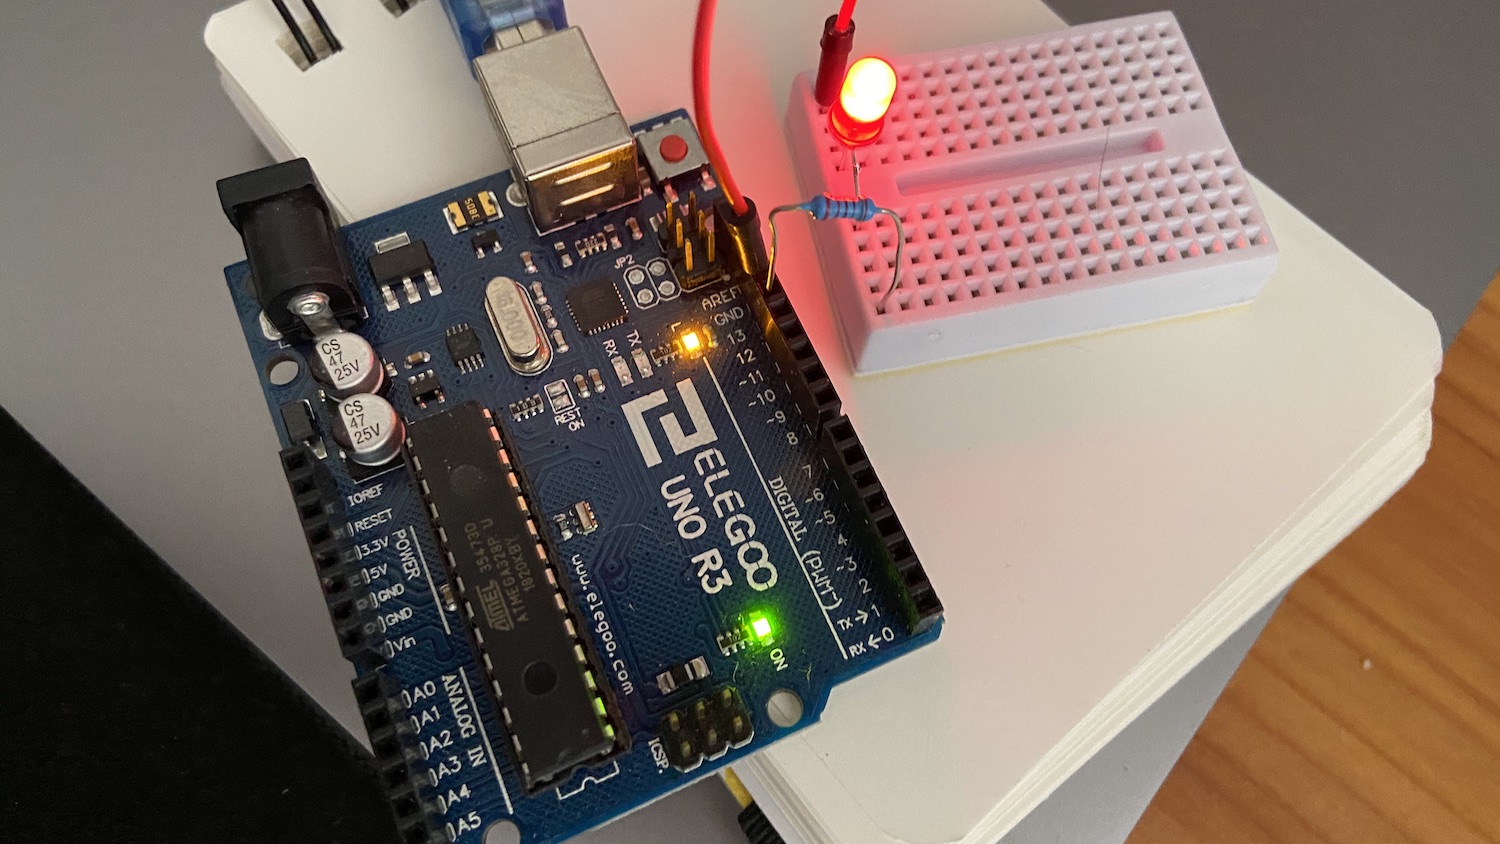
Note that I used a resistor, to limit the amount of current that flows through the LED.
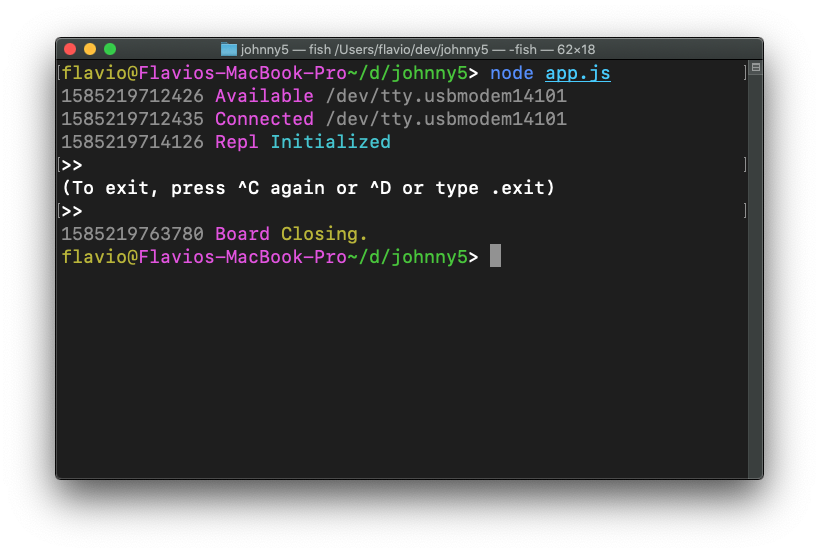
To stop the program from running, hit ctrl-C twice:
What if the board never gets ready?
If the program hangs or times out waiting for the board, the usual cause is Firmata. Johnny Five talks to the Arduino through the StandardFirmata sketch, which must be uploaded to the board first, using the Arduino IDE (File → Examples → Firmata → StandardFirmata).
Also make sure the Arduino IDE serial monitor is closed. Only one program can use the serial port at a time, and if the IDE holds it, Johnny Five can’t connect.
Want me to talk about your product? You can sponsor this site.
Related posts about js: